I'm Gillian, a Scotland based home & lifestyle blogger. Follow along as I navigate this new journey sharing my life from home.


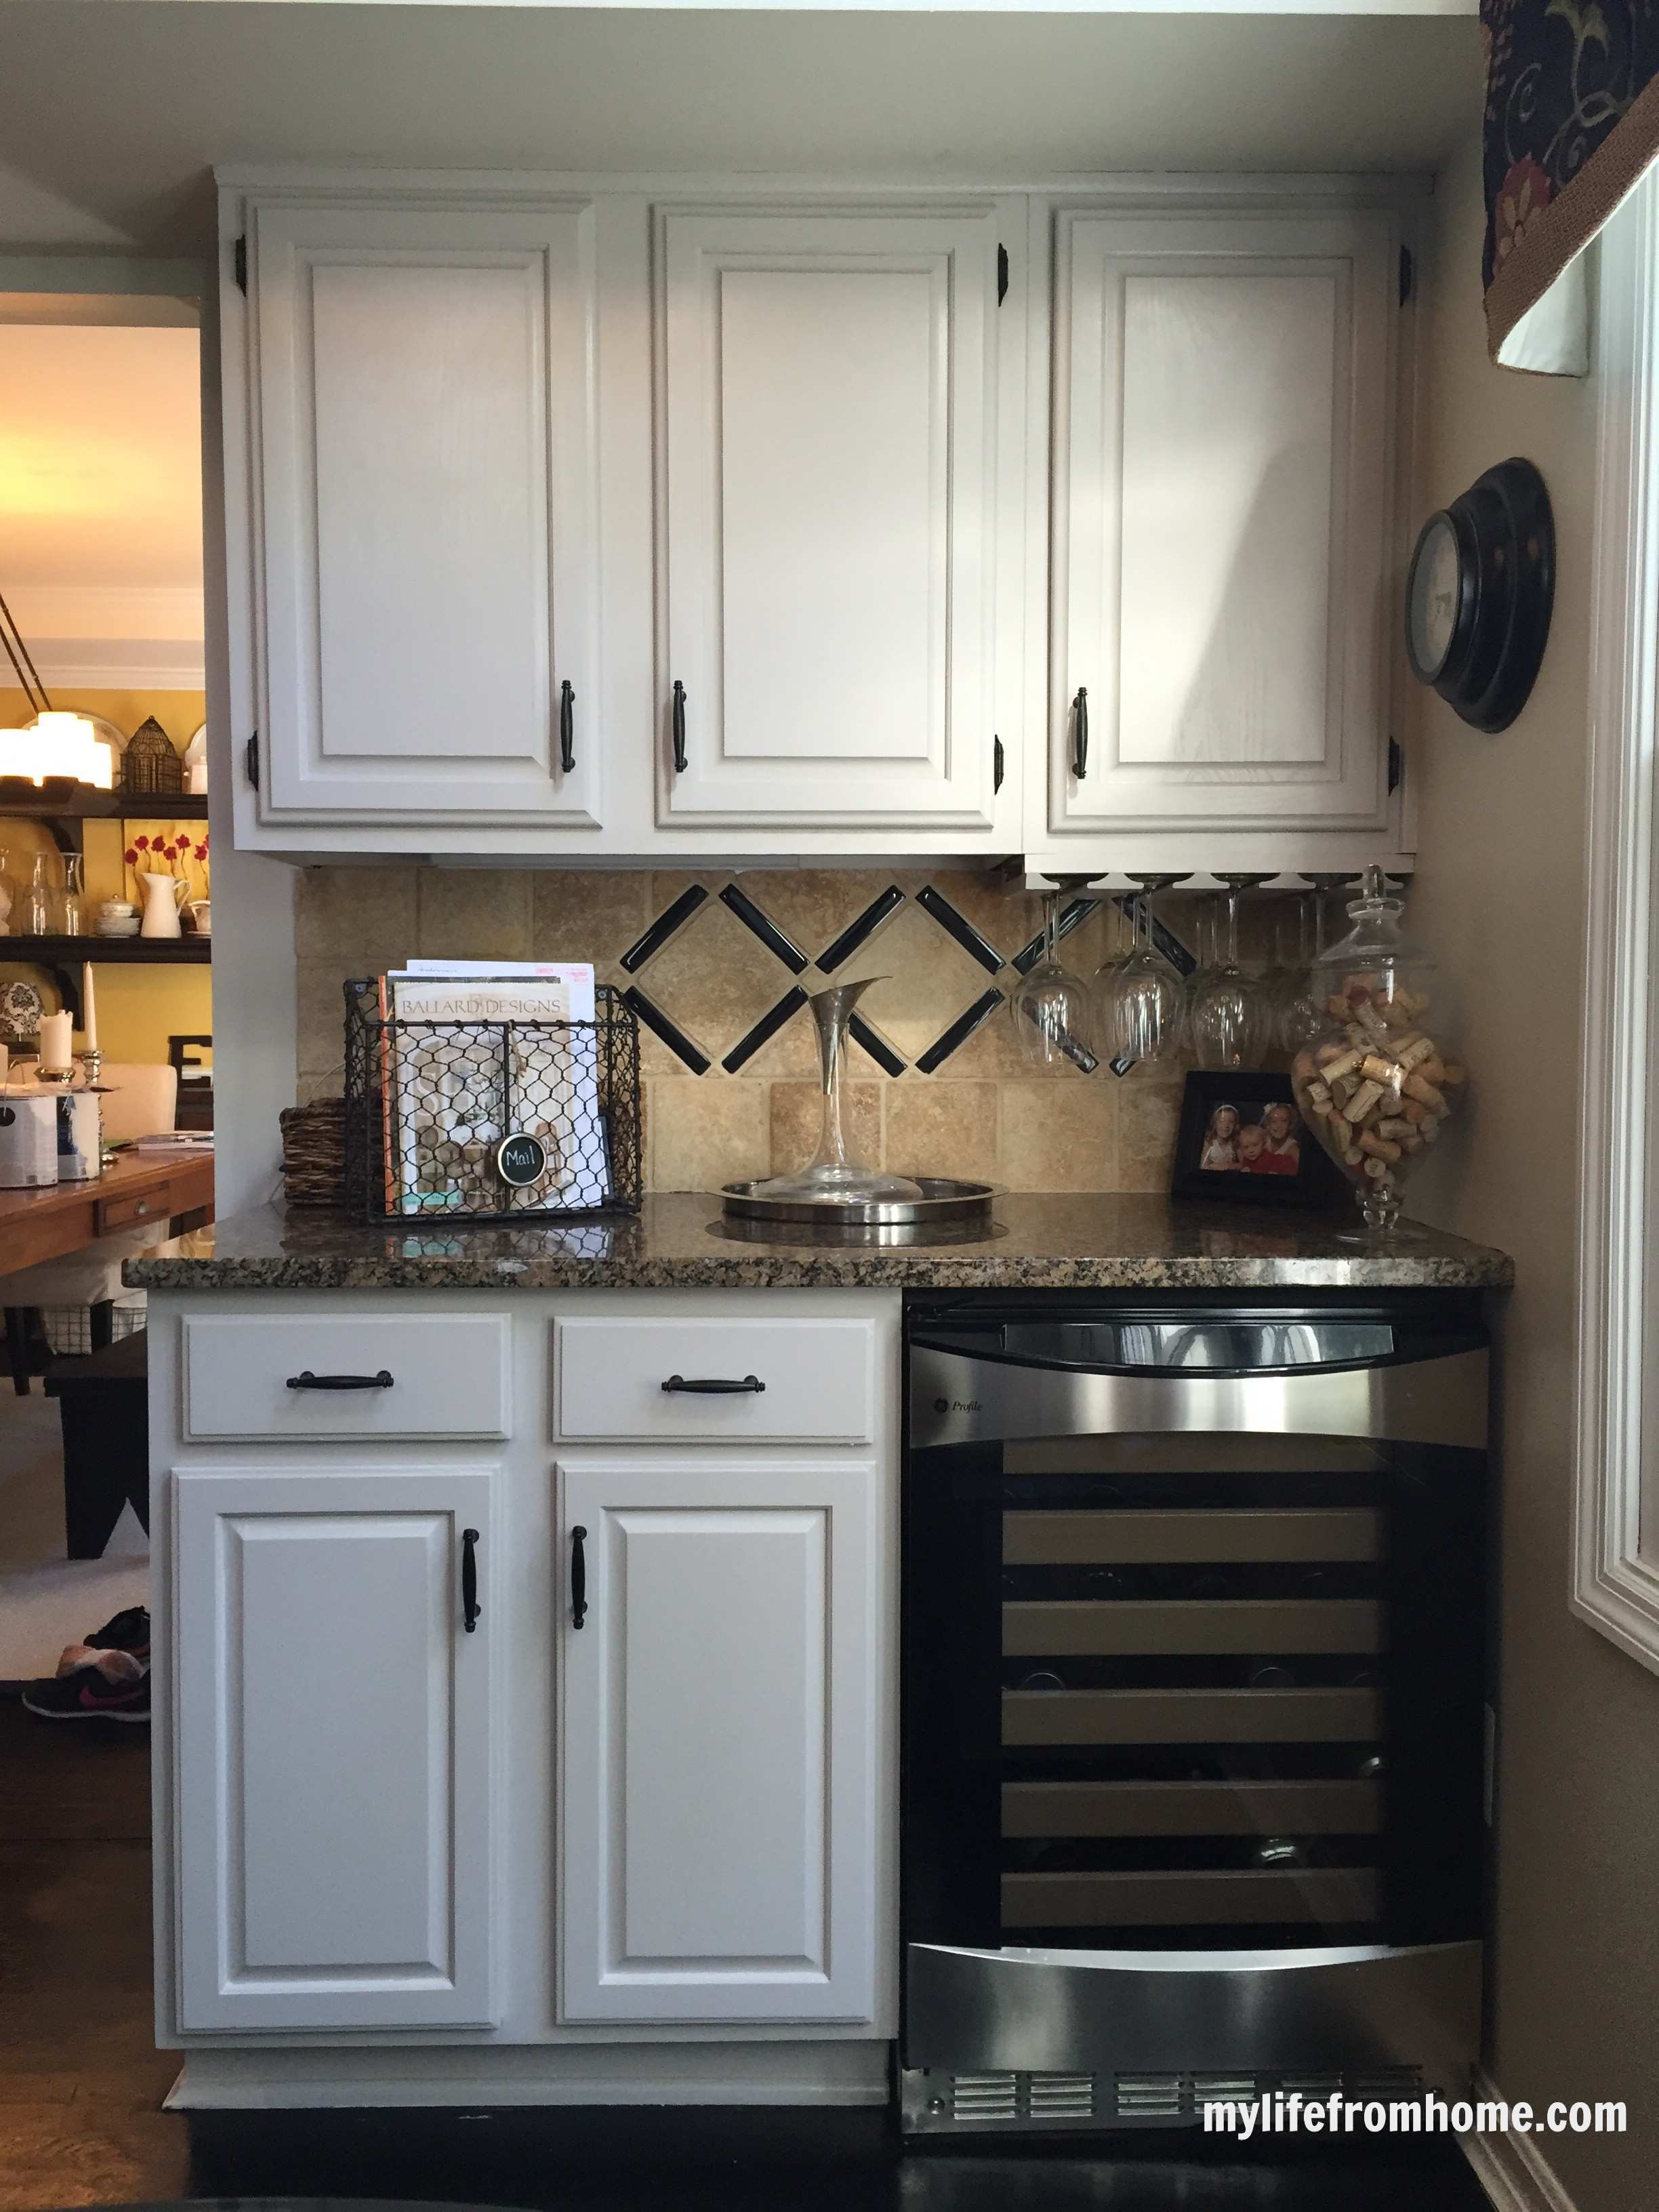
Painting your kitchen cabinets is one of those projects that sounds terrifying right up until you’ve actually done it, and then you spend the next year telling everyone who’ll listen how much money it saved you. I painted mine myself, oak cabinets that were in perfectly good condition but never a colour I loved, and years on they’re still holding up beautifully.
This is the full process, start to finish, including the mistakes worth avoiding and the small details that make the difference between cabinets that look professionally finished and cabinets that look obviously DIY.

Is painting your cabinets actually worth it?
Before you commit a few weekends to this, it’s worth being honest about what painting can and can’t fix. If your cabinets are structurally sound, the boxes are solid, the doors close properly, and the only issue is the colour or finish, painting is very likely worth it. Replacing cabinets you don’t dislike structurally, just because the colour is dated, is an expensive way to solve a problem paint solves for a fraction of the cost.
If the boxes themselves are damaged, warped, or falling apart, paint won’t fix that, and you’re better off looking at replacement or a proper refacing job instead.
The cost difference is the real draw here. A full professional cabinet repaint typically runs into several thousand pounds for an average kitchen, while doing it yourself is mostly the cost of paint, primer, and a few tools, which usually comes in at a small fraction of that professional quote.
What you’ll need
- Cabinet and trim paint (a paint specifically formulated for cabinets and trim gives a harder, more durable finish than standard wall paint)
- A bonding primer suited to your cabinet material
- A degreasing cleaner or sugar soap
- Fine grit sandpaper or a sanding sponge
- A tack cloth
- Good quality angled sacrificial brushes for cutting in
- A mini foam or microfibre roller for flat surfaces
- Painter’s tape
- Drop cloths or old sheets
- A screwdriver for removing hardware
- Ziplock bags or small containers and a permanent marker for organising screws and hinges
- Wood filler, if your doors have any dents or old hardware holes you’re not reusing
- Silicone caulk for the panel seams, if your doors have a raised centre panel
Step 1: Empty and label everything
Take everything out of the cabinets you’re working on, and remove all doors, drawer fronts and hardware before you do anything else. This is also the point to get organised: label each door and its matching hinges with masking tape and a marker, or photograph the layout before you start. It sounds excessive until you’re three cabinets in and can’t remember which hinge came from where.
Step 2: Clean thoroughly
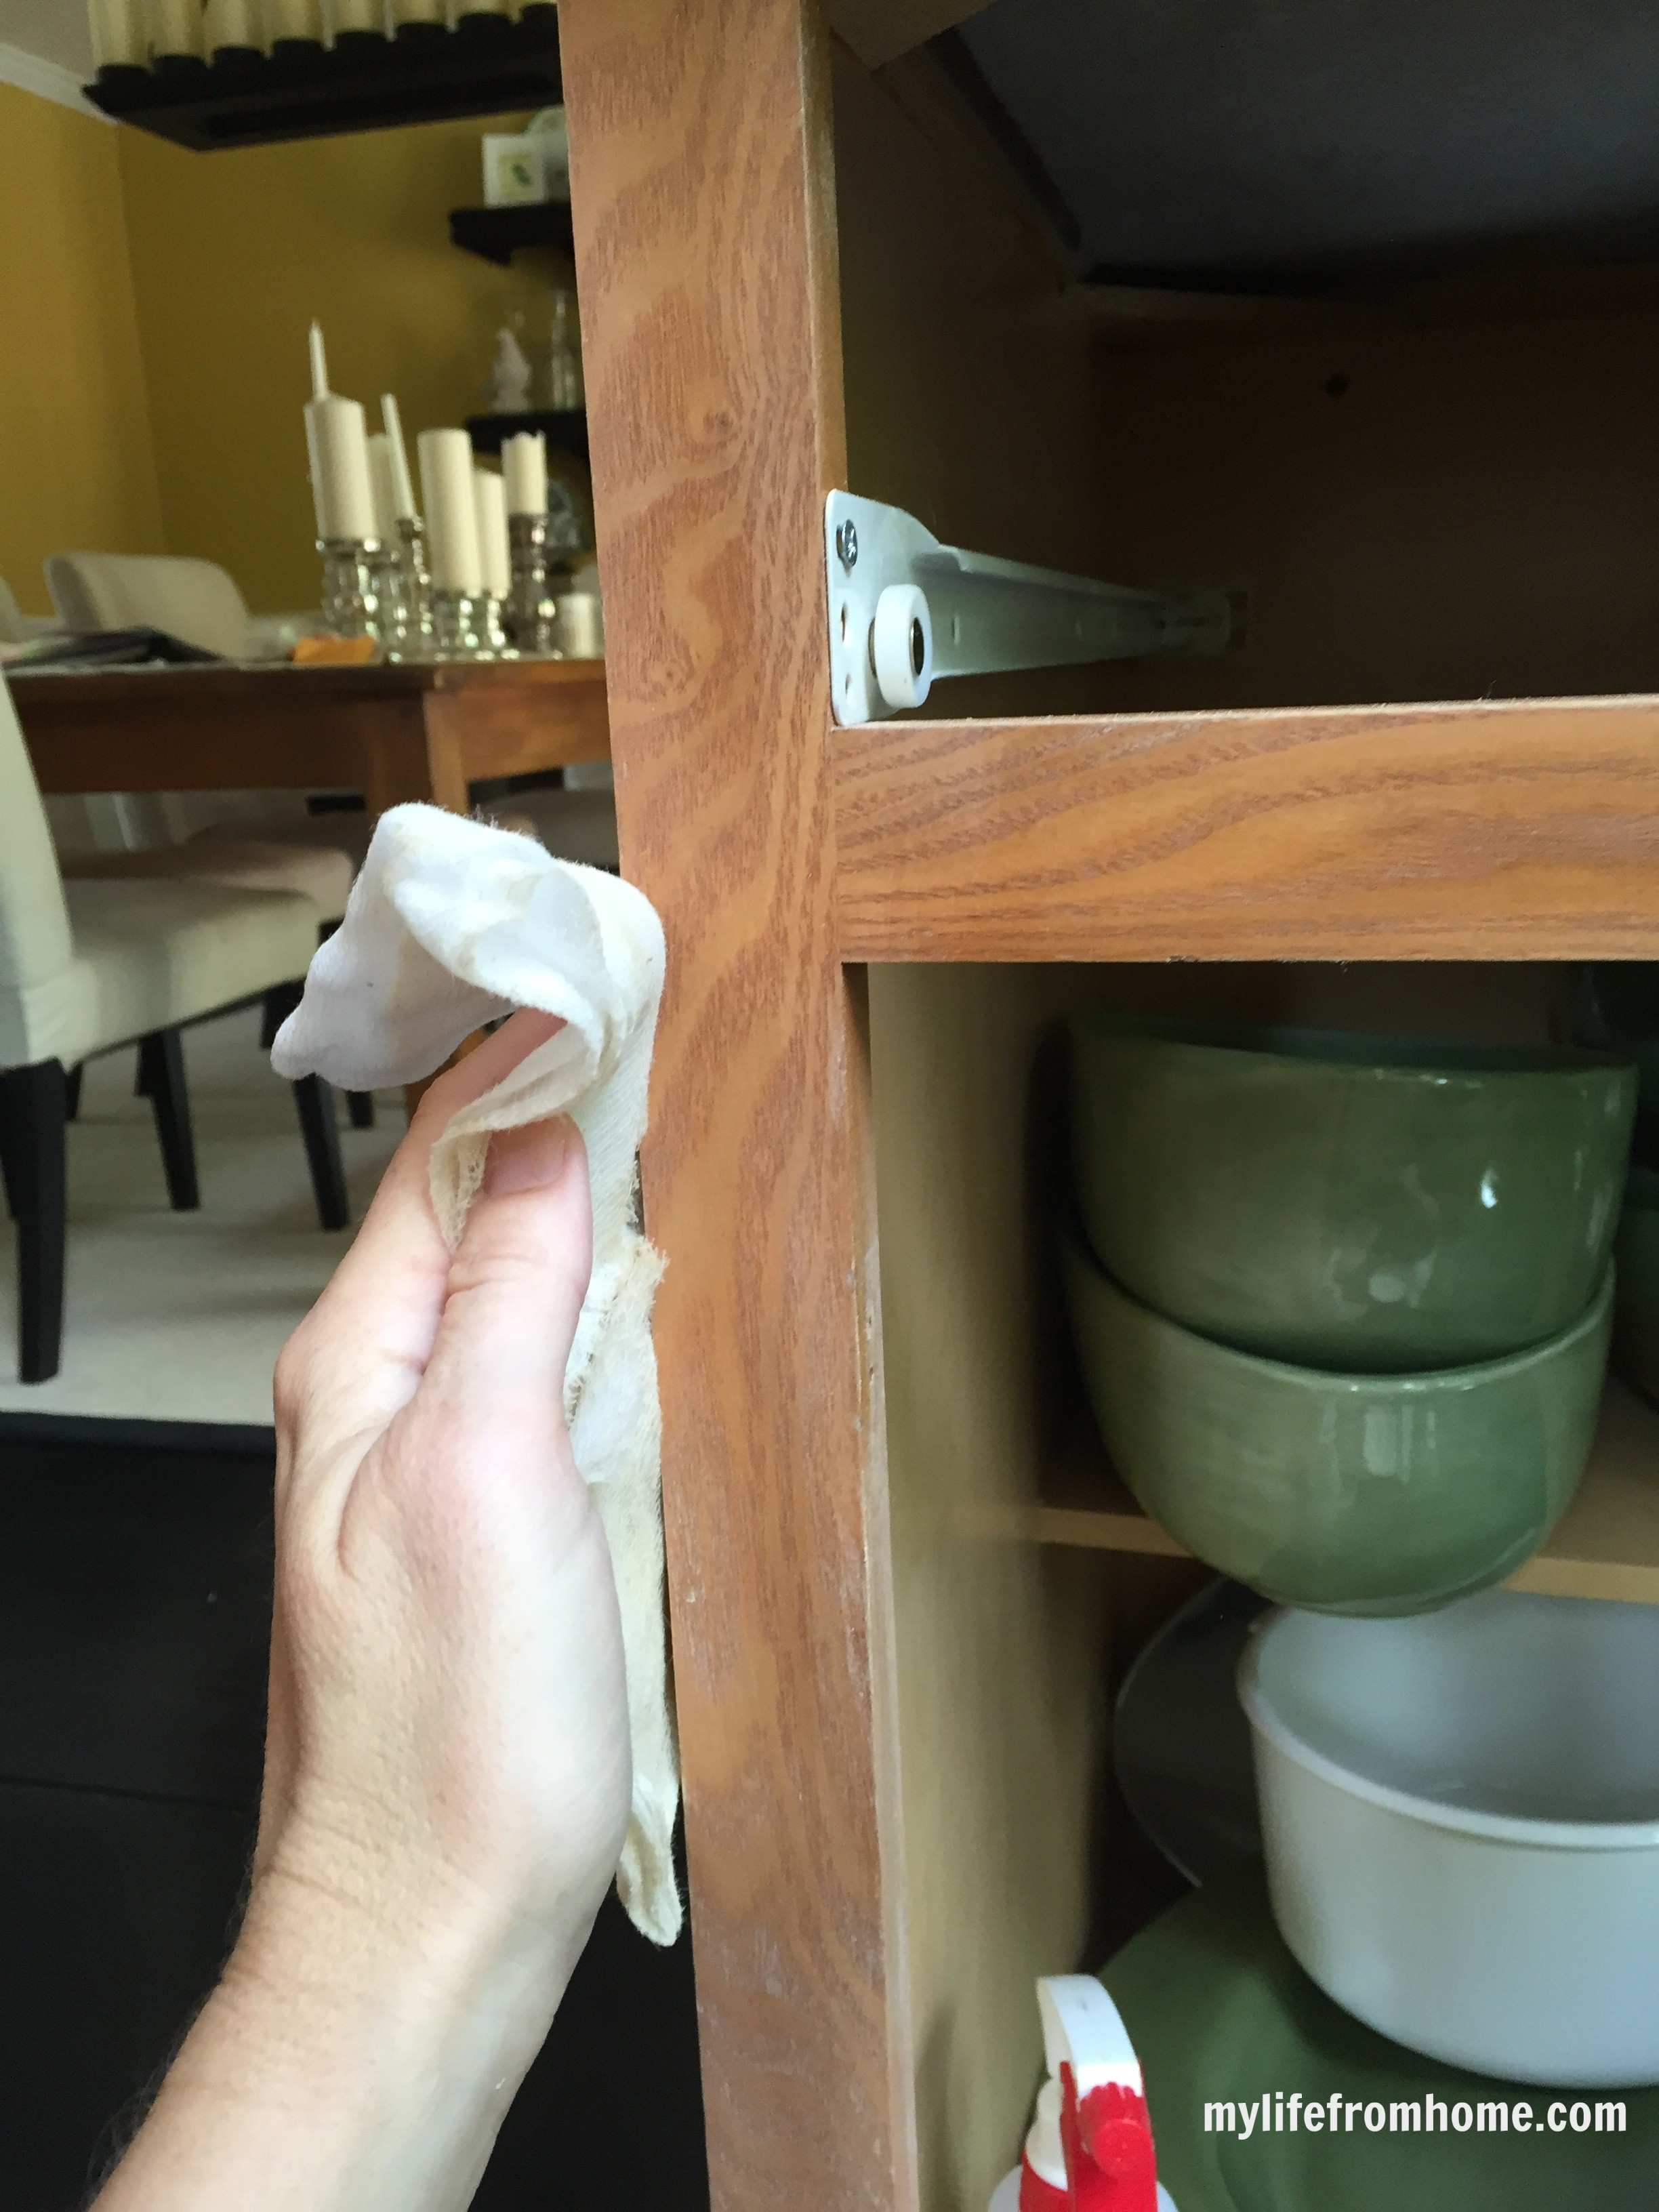
Kitchen cabinets accumulate a layer of cooking grease and grime that’s often invisible until you try to paint over it, and paint will not adhere properly to a greasy surface no matter how good the product is. A degreasing cleaner or sugar soap, mixed and applied with a sponge, then wiped down with clean water, gets the surface properly ready. Let everything dry fully before moving on.
Step 3: Sand and de-gloss
You don’t need to sand down to bare wood. The goal is simply to take the sheen off the existing finish so the primer has something to grip. A fine grit sanding sponge across every surface you’ll paint is usually enough. Wipe away all the dust with a tack cloth afterwards, since any dust left behind will show up under the paint.
Step 4: Fill and repair
This is the point to fill any dents, old hardware holes you won’t be reusing, or minor damage with wood filler. Let it dry fully and sand it smooth before moving on. Skipping this step is one of the most common reasons a finished cabinet still looks tired close up.
Step 5: Tape and protect
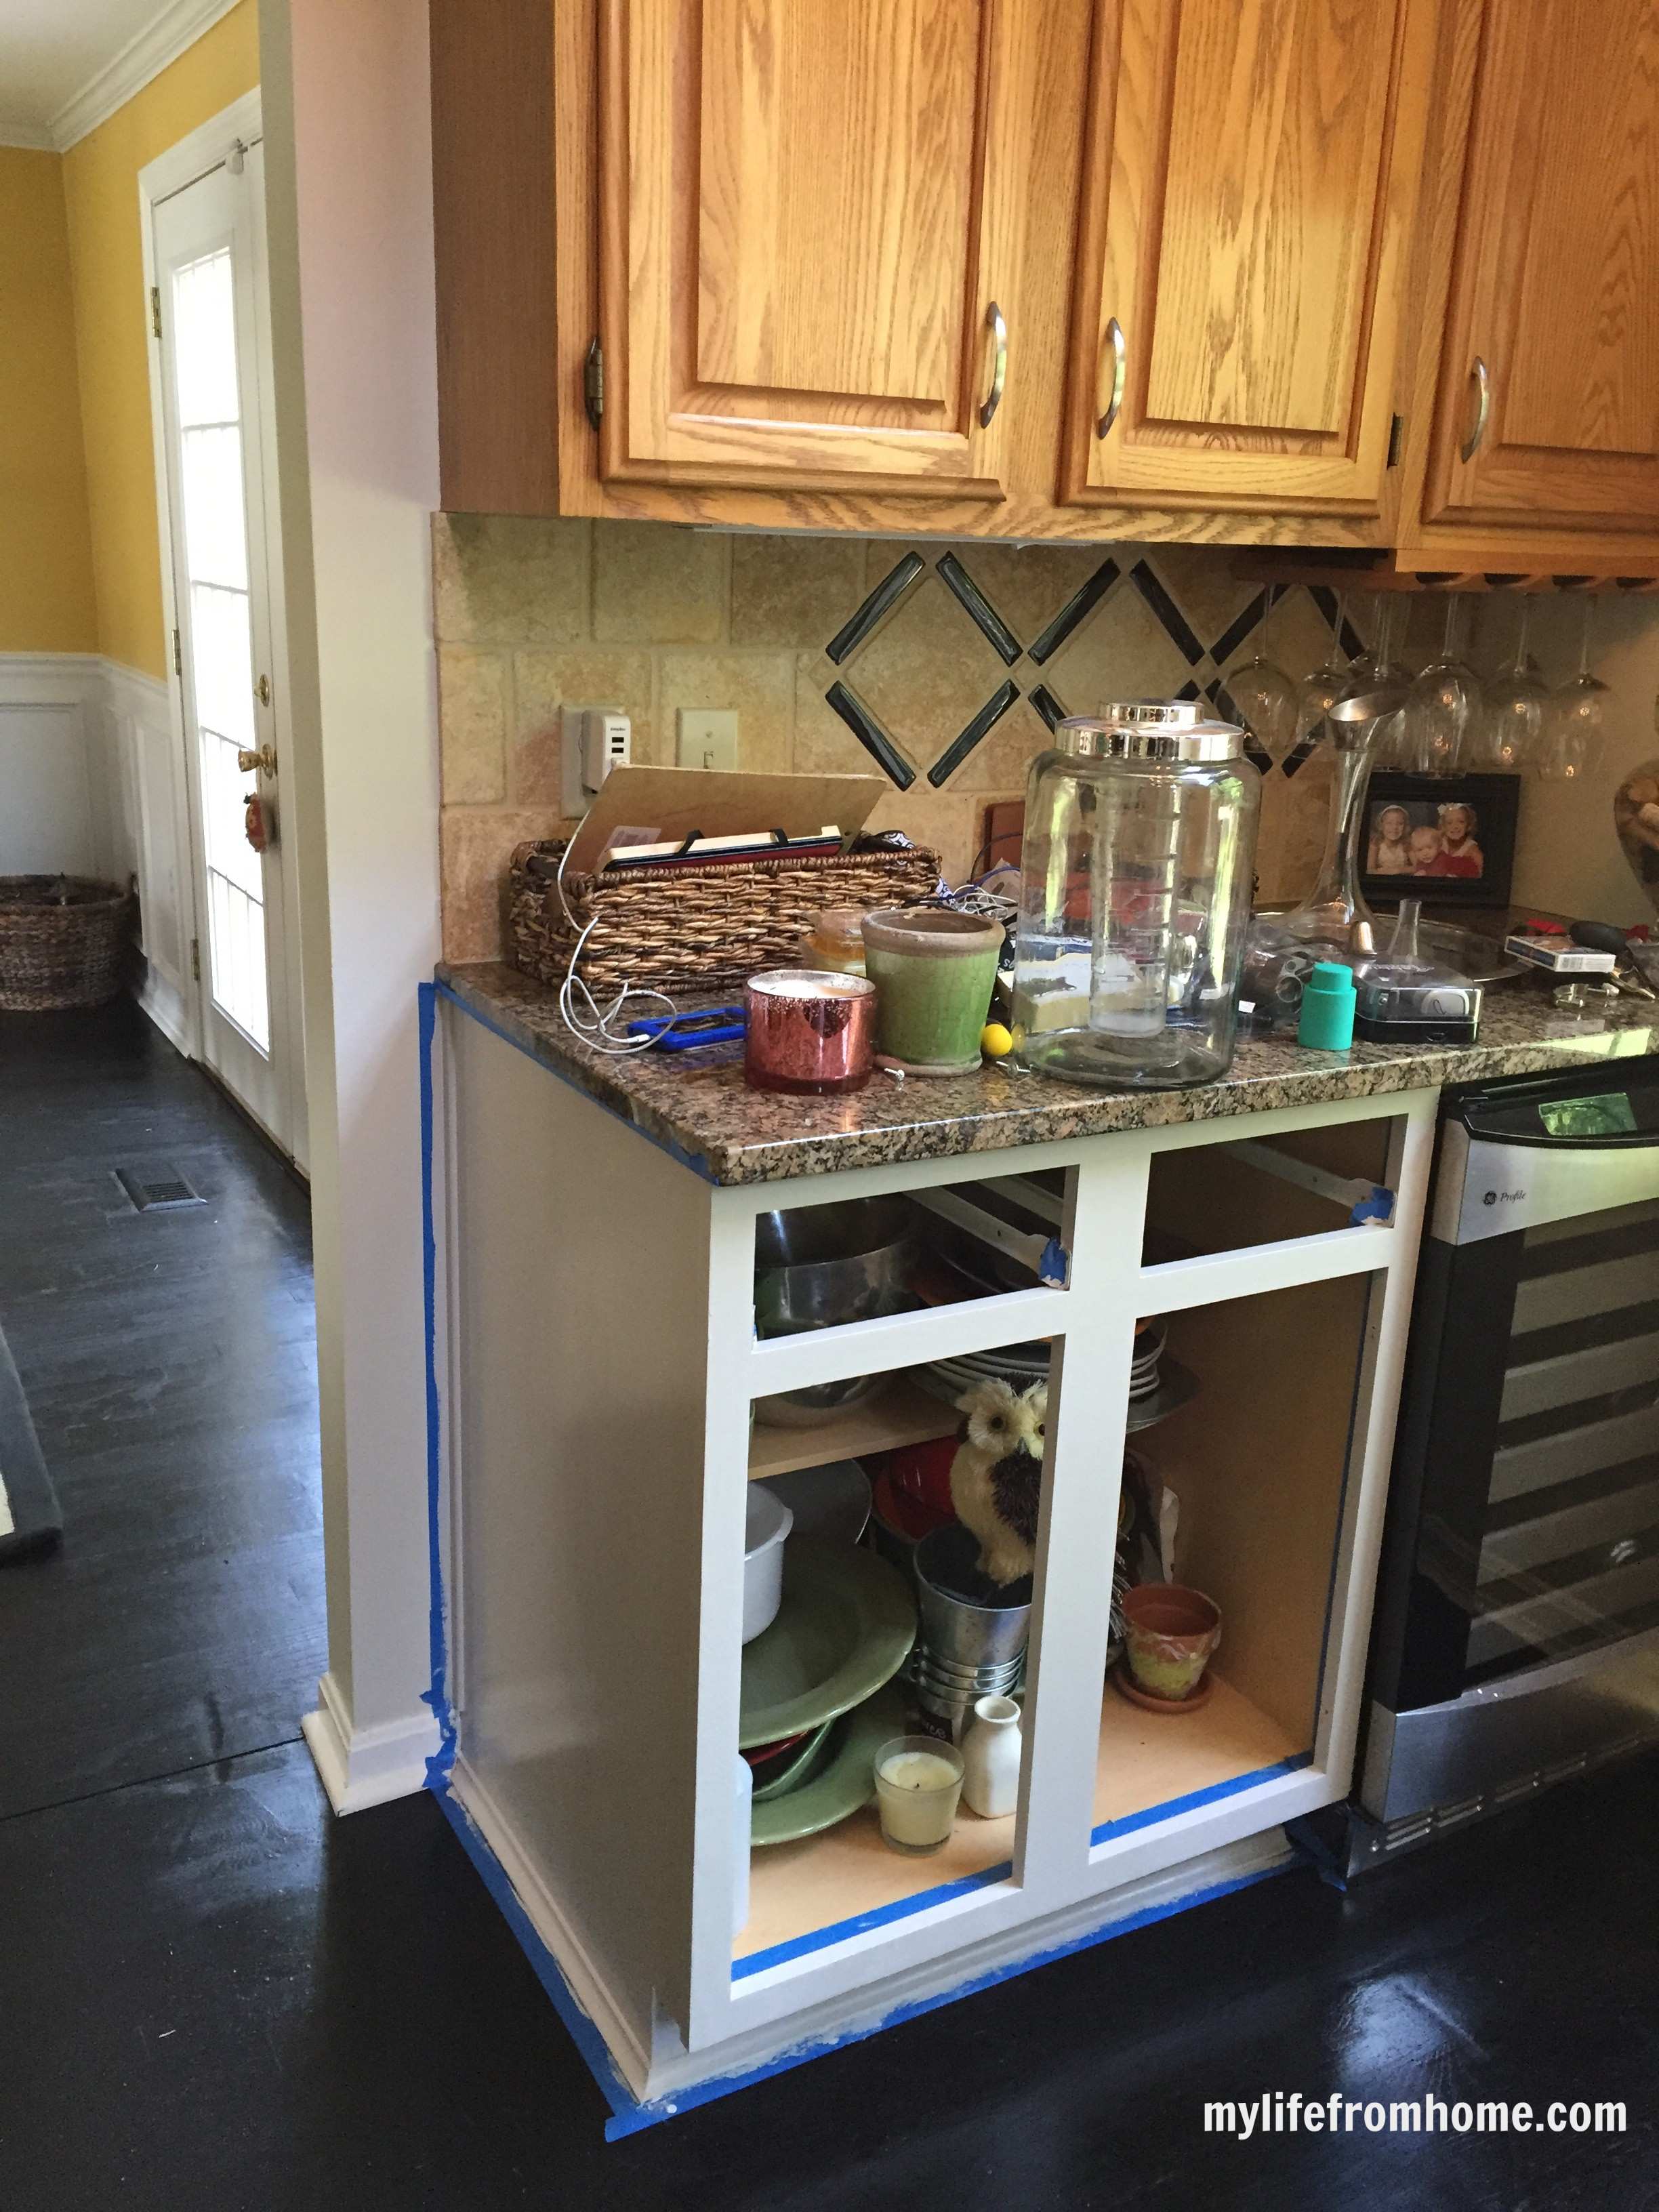
Tape off anything you’re not painting, hinges you’re reusing, walls, countertops, and backsplash, and lay drop cloths down properly. Kitchens are hard to seal off completely from dust and paint, so it’s worth taking the extra ten minutes here.
Step 6: Prime
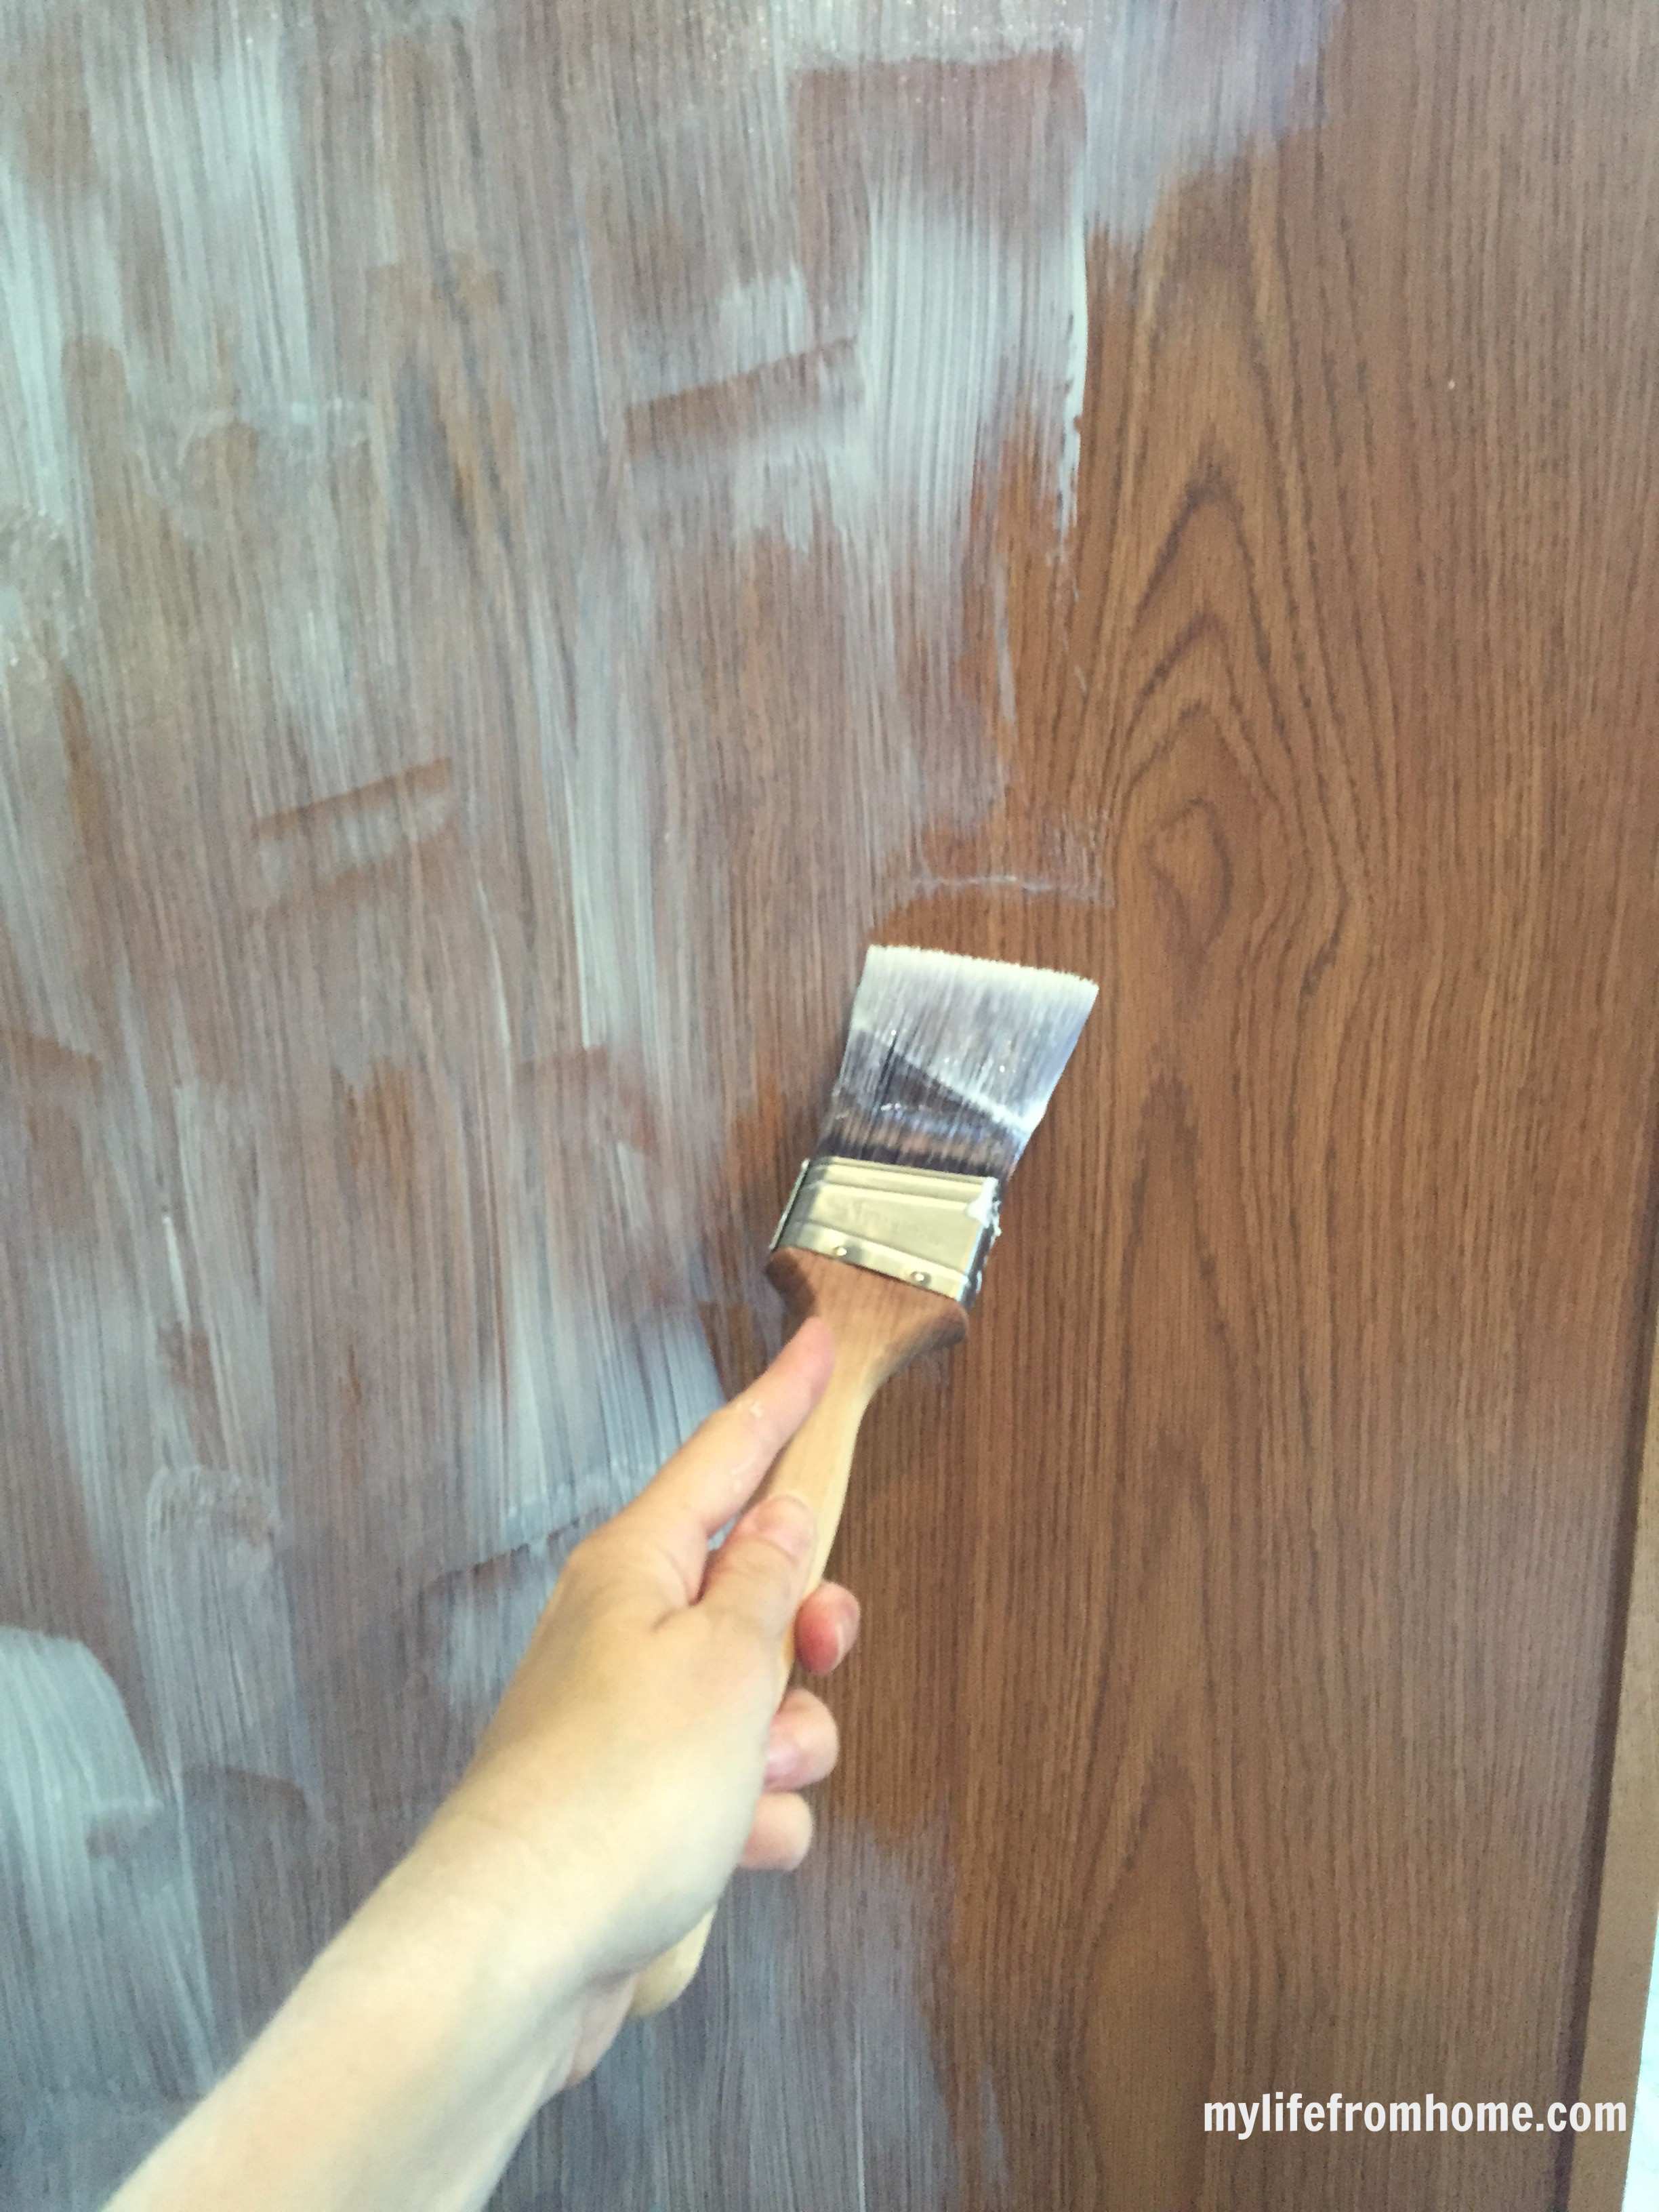
A bonding primer is what actually makes the paint stick properly to a previously finished surface, and it’s not a step worth skipping to save time. A clear bonding primer is genuinely useful here, since you can apply it without worrying about even coverage the way you would with a tinted paint, and it dries ready for your topcoat.
Step 7: Paint your first coat
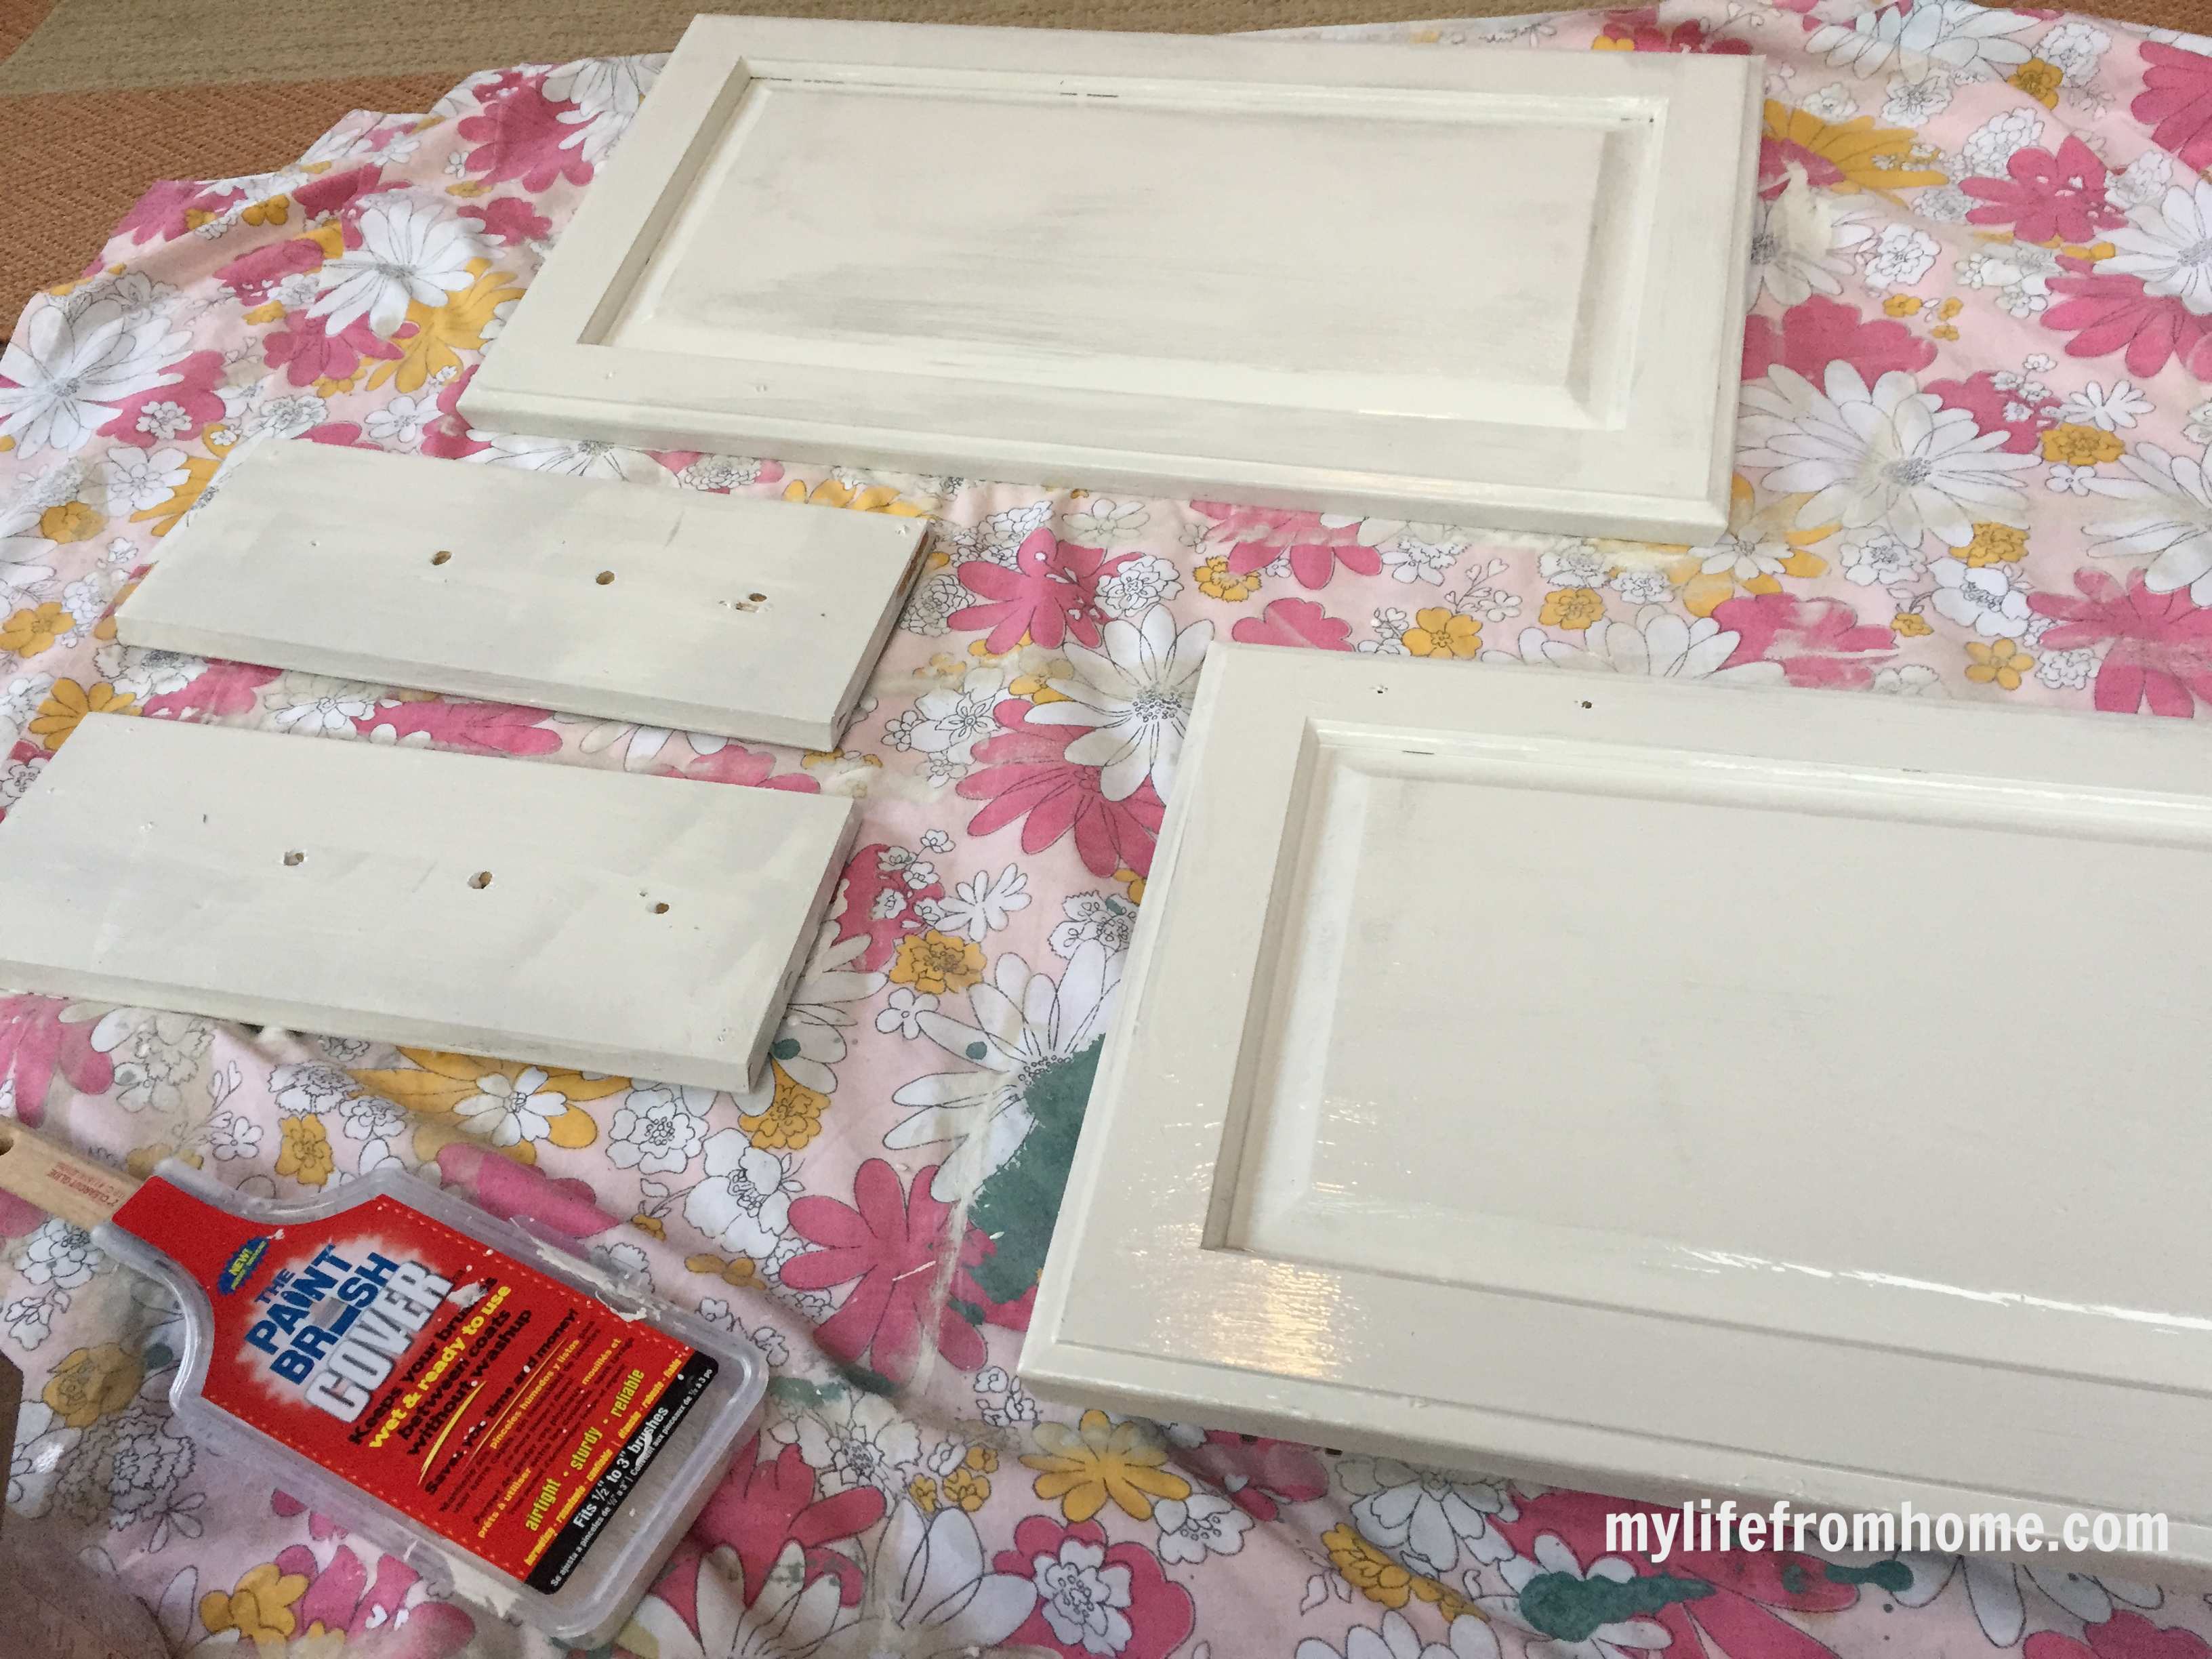
Use an angled brush for grooves, edges and any detailing, and a mini roller for flat surfaces, since a roller tends to give a smoother, more even finish than a brush alone on large flat panels. Paint both the front and back of doors, and the edges too, since half-painted edges are one of the fastest ways a cabinet reads as unfinished. Let the first coat dry fully according to the paint’s instructions before touching it again.
Step 8: Paint your second coat
Most cabinet paints need at least two coats for proper, even coverage and true colour depth, particularly if you’re going from a dark wood tone to a lighter colour. Apply the second coat the same way as the first, and resist the urge to add a third coat just to be sure. A properly applied two coats almost always outperforms three rushed ones.
Step 9: Caulk the panel seams
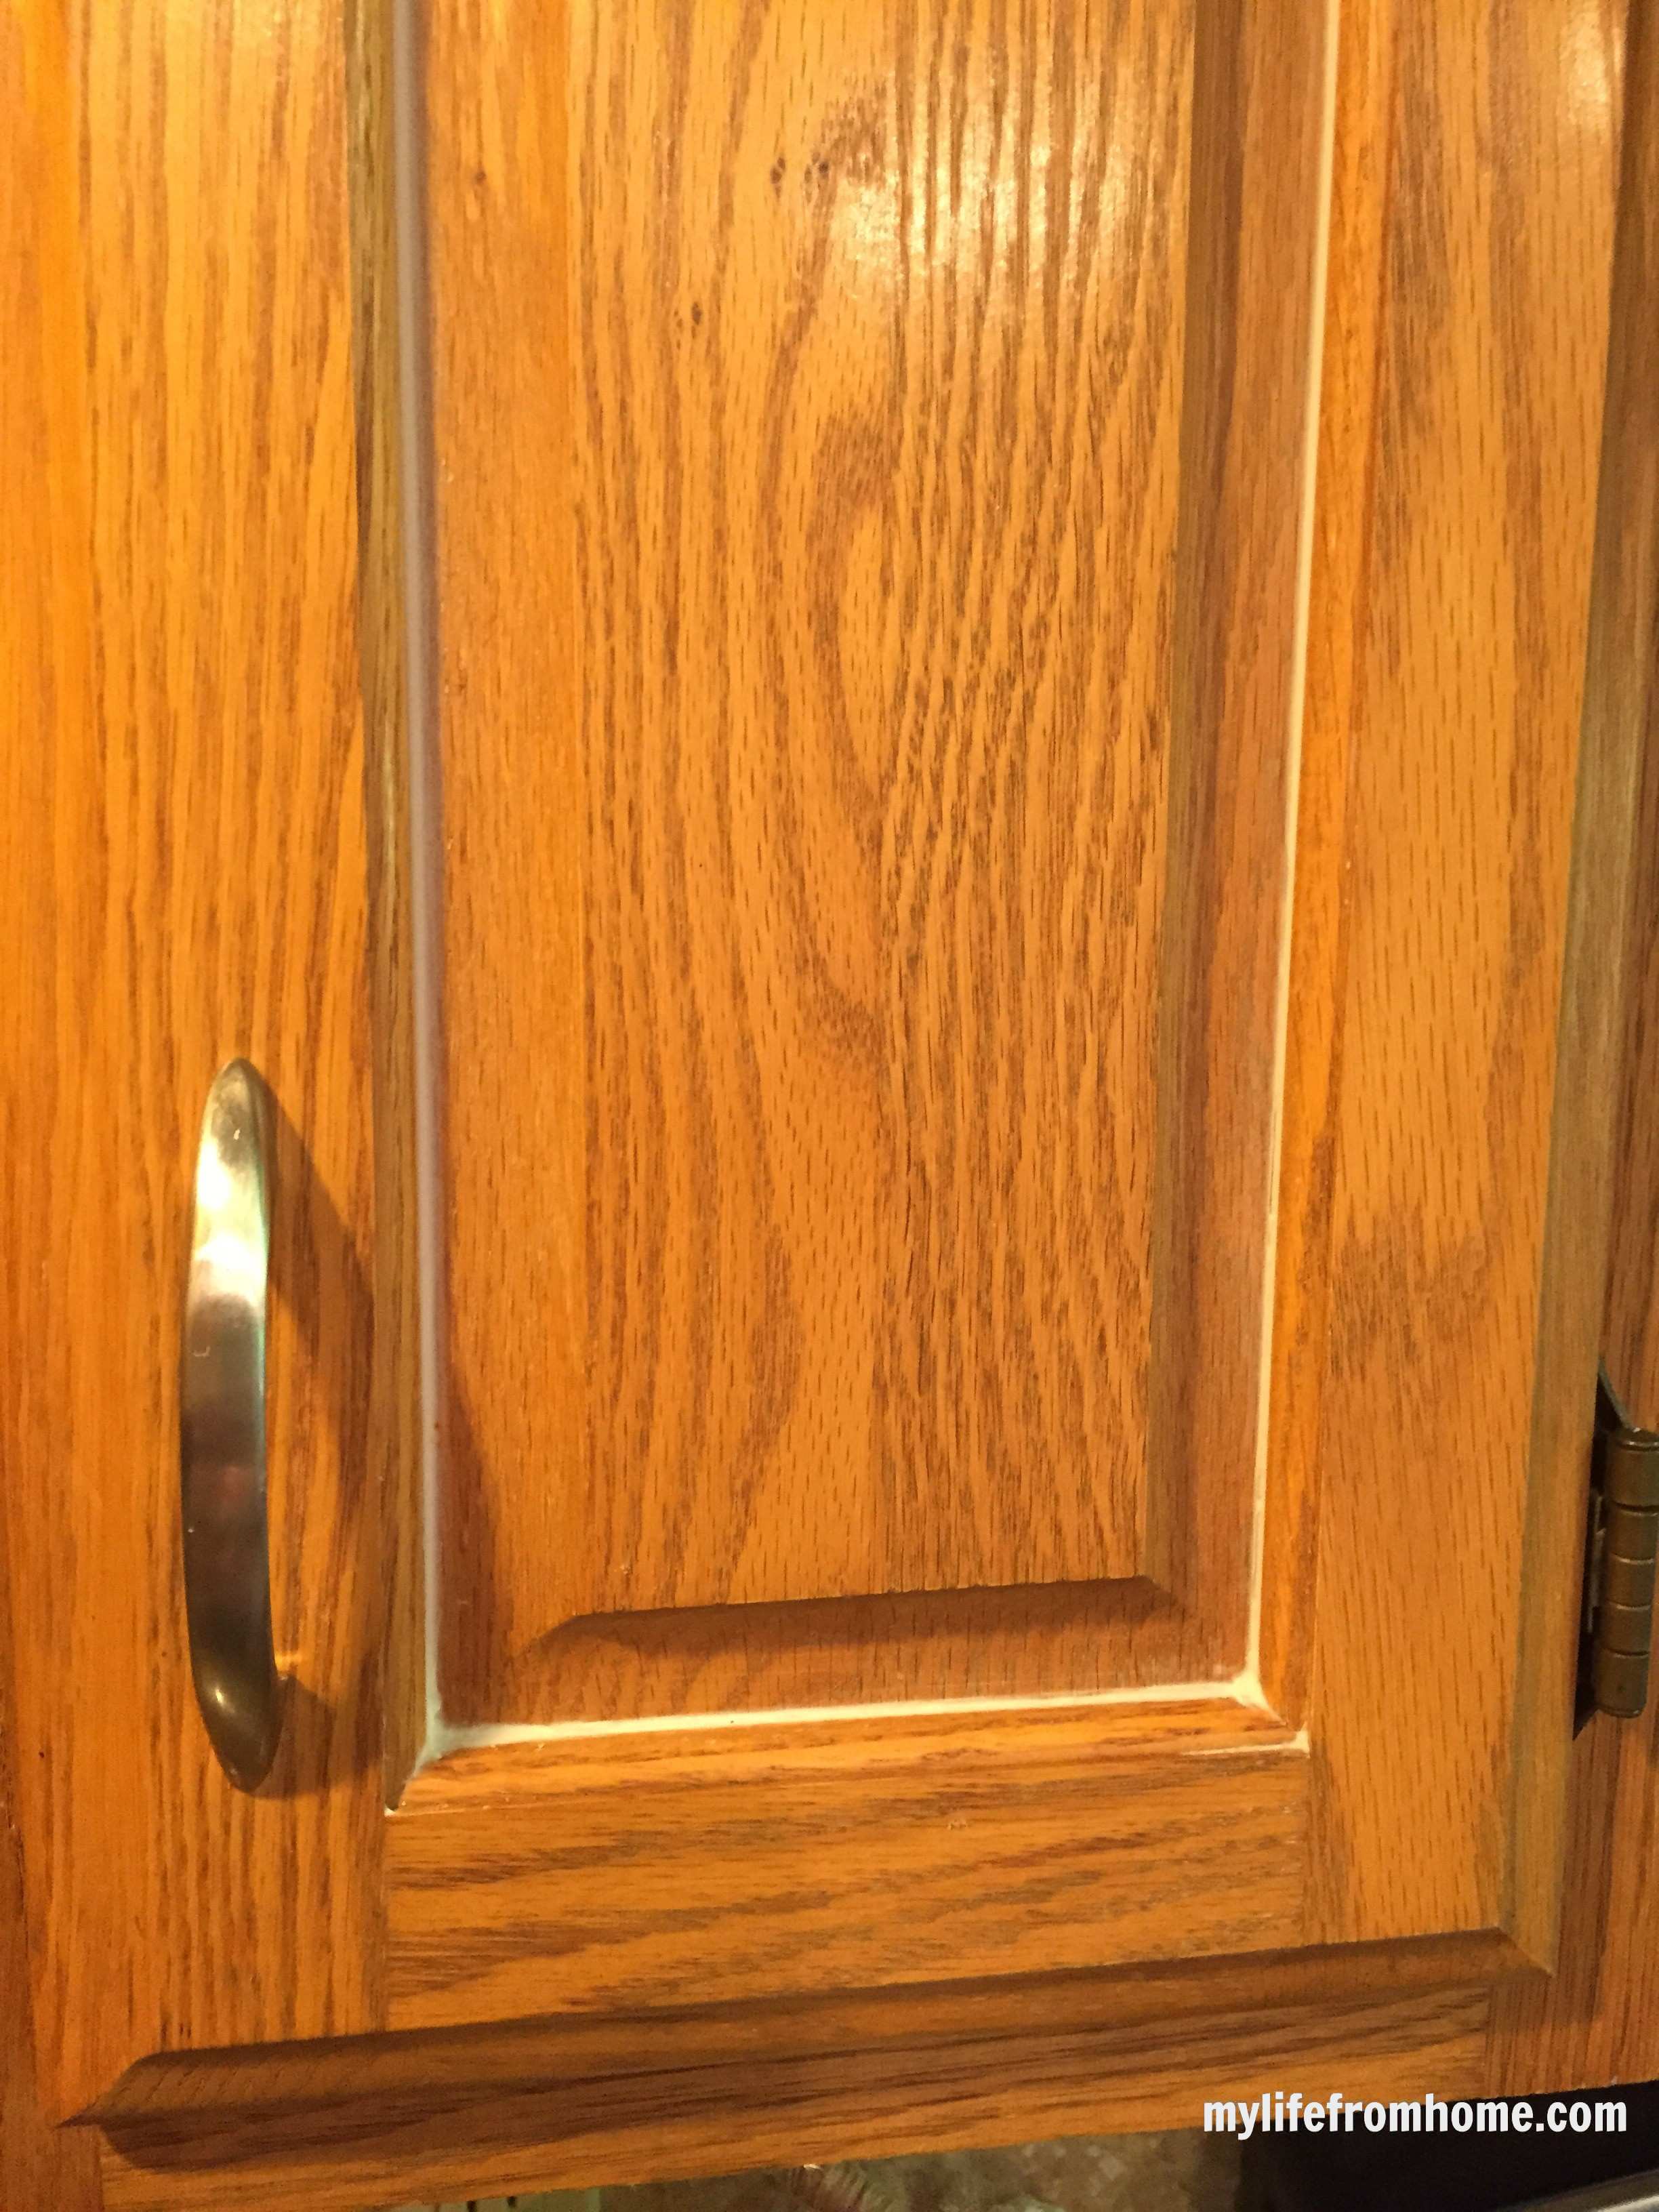
If your doors have a raised centre panel, running a thin bead of silicone caulk along the seam where the panel meets the frame, then smoothing it with a fingertip, closes the small gap that otherwise reads as a shadow line once painted. Let it dry overnight before handling. This one small step is what separates a genuinely professional-looking finish from an obviously DIY one.
Step 10: Let everything cure properly before rehanging
Dry to the touch and fully cured are two different things. Most cabinet paints need several weeks of full cure time before they reach maximum hardness and scratch resistance, even though they’ll feel dry within hours. Handle painted doors carefully during this window, and avoid stacking anything on painted surfaces until the cure time on your specific paint has passed.
Common mistakes to avoid
Skipping the degreasing step. Even cabinets that look clean usually have a layer of grease from cooking, and paint applied over it will eventually peel.
Using wall paint instead of cabinet paint. Standard wall paint isn’t formulated to withstand the daily handling, moisture and cleaning that cabinets go through, and it will show wear far sooner.
Rehanging doors before the paint has cured. This is the single most common reason painted cabinets chip or scratch within the first few weeks. The paint might feel dry, but it hasn’t hardened fully yet.
Not labelling hardware. Doors and drawer fronts are often not perfectly interchangeable, particularly on older cabinetry, and mismatched hinges cause headaches you don’t need mid-project.
How the finish holds up over time
The real test of a cabinet paint job isn’t how it looks on day one, it’s how it looks a year later. In my own kitchen, the cabinets have held up genuinely well with normal daily use. The one exception is the cabinet housing the pull-out bin, which gets opened constantly and needed a couple of small touch-ups over the year. Everywhere else has stayed chip-free, and spills wipe off without staining.
Keeping a small labelled jar of leftover paint under the sink makes touch-ups painless when they’re needed, and a high-traffic cabinet like a bin cupboard is worth checking on periodically regardless of how carefully you painted it.
Make It Your Own
If you want a completely different look, swapping the hardware at the same time as painting makes a bigger difference than people expect, and it’s the easiest moment to do it since the doors are already off.
If you’re nervous about committing to the whole kitchen, painting just the island or a single run of cabinets first is a reasonable way to test the process and the colour before tackling everything.
If your cabinets have a lot of detailed moulding, budget extra time for the cutting-in stage with a brush, since detailed profiles take considerably longer than flat shaker-style doors.
If you’d rather not remove doors at all, it’s possible to paint in place, but removing them gives a noticeably better finish since you can lay them flat and get full, even coverage on every edge.
Frequently Asked Questions
Yes, at least enough to take the sheen off the existing finish so the primer and paint can grip properly. You don’t need to sand back to bare wood, just enough to de-gloss the surface.
A paint specifically formulated for cabinets and trim gives the hardest, most durable finish, since it’s designed to withstand daily handling, moisture and cleaning better than standard wall paint.
Most cabinets need two coats for full, even coverage, particularly when painting over a darker existing colour. A properly applied two coats generally gives a better result than three rushed ones.
Most cabinet paints need several weeks to fully cure, even though they’ll be dry to the touch within hours. Handle doors gently and avoid stacking anything on painted surfaces until the full cure time has passed.
You can, but removing the doors and laying them flat to paint gives a noticeably smoother, more even finish, particularly on the edges, which are easy to under-paint if the door is still hanging.
DIY cabinet painting typically costs a small fraction of a professional repaint, since the main expense is paint, primer and basic tools rather than labour. A professional quote for a full kitchen repaint often runs into the thousands, while a DIY version usually comes in at a few hundred.
Bringing it together
This isn’t a weekend project, and it isn’t meant to be rushed. Taking it slowly, doing the prep properly, and letting each stage dry and cure fully is what separates a finish that looks professionally done from one that starts chipping within a month. If you’re on the fence, it’s genuinely one of the highest-impact, lowest-cost changes you can make to a kitchen.
See the full kitchen reveal with before and after photos, and read how the painted cabinets held up a year later for a genuine long-term durability check.
Leave a Reply
If you like the sort of recommendation that still holds up six months later, leave your email below and I'll write to you on Sunday.
Most Sundays, once the house has gone quiet and it's edging towards nine, a letter goes out. It's the one I'd write to a friend with good taste and not nearly enough time: one thing worth reading, one thing worth buying, and one thing to skip. No noise, no pressure to spend, just the considered version of what I've actually been using, loving, or quietly sending back.


September 17th, 2015 at 1:14 pm
You are my hero…it took me a year and a half to do my cupboards but I had to strip first…never again! You make it look so easy and you are so neat!!
September 20th, 2015 at 3:56 pm
Lynne, you are my hero that you were committed enough to strip all that wood! I never would have had the patience. I do remember that they looked amazing, so it was worth the time!
September 19th, 2015 at 8:00 am
It’s beautiful, Amy! I have been wanting to do that for years! Thanks for doing the research – I think that I can talk my husband into this now too. 🙂
September 20th, 2015 at 6:44 am
Thanks Kristen!! Definitely worth doing!!
September 20th, 2015 at 3:58 pm
Thank you Kristen! I’m almost done and utterly exhausted, but it makes a huge difference! You can definitely do this DIY project. It just takes time. patience and lots of wine 🙂
September 21st, 2015 at 2:44 pm
This is great. I think they look so good. Thanks for linking up with us this week. You really need to be proud of your accomplishment.
September 21st, 2015 at 8:48 pm
Thank you Leigh! It feels good to have that major project done!
September 21st, 2015 at 7:39 pm
These cabinets look fantastic. My white cabinets need a fresh coat of paint but I don’t know that they are real wood or some kind of laminate. Thanks for sharing with Small Victories Sunday linkup. Pinned to our linkup board and hope you join us again this weekend.
September 21st, 2015 at 8:50 pm
Thank you Tanya! It feels great to have this major project finished! 🙂
September 21st, 2015 at 8:05 pm
They look so great! Thanks for the tutorial! I’m hoping to get up the guts and motivation to do mine in the next few years. Thanks for sharing on #SmallVictoriesSundayLinkup
September 21st, 2015 at 8:52 pm
You can do it! I am by no means an expert. If I can do it, then you can. Just go for it! 🙂
September 25th, 2015 at 9:13 pm
I’ve been thinking of painting our cabinets but was afraid of how they’d turn out! You make it look very doable… plus I love that soft gray color! Thanks for linking up at the Welcome Home Wednesday Link Party… can’t wait to see what you link up next week! I’m also featuring you on this weeks Fantastic Finds Saturday!
September 26th, 2015 at 9:52 am
Thank you Betsy! I can’t even express enough you how glad I am to be finished! phew. Thanks for the feature! Yeah!
September 27th, 2015 at 10:27 pm
Your makeover looks FANTASTIC! I love the colors and how clean it looks now. Thank you for sharing with us on Welcome Home Wednesday. i hope you’ll stop by again next week.
September 29th, 2015 at 9:13 pm
Good Evening Amy!! Just popping in to let you know your post has been picked as a feature at the Welcome Home Wednesday Link Party! Stop by tomorrow morning to see your feature and link up! Don’t forget to grab your “Featured Button” too!
October 15th, 2015 at 7:35 pm
i love it! Been wanting to do this to my sad oak cabinets for sometime. The cabinets look pretty white in the pic. Are they more white then grey? I love the look on the pics but would like mine more on the white side before I decide to copy your color ? Thanks!
October 15th, 2015 at 8:40 pm
Thank you! 🙂
October 29th, 2015 at 8:19 am
Great step by step tutorial on how you painted your cabinets. I like your choice of paint color and how your kitchen is bright. Your final results speaks for itself, your kitchen looks amazing. I like your flooring as well. Pokey sure is cute!
October 29th, 2015 at 8:42 am
Thank you for your kind comments!! Pokey is the cutest if I do say so myself!! 🙂
October 30th, 2015 at 7:57 am
Did you have to seal the cabinets after painting do make sure that grease and dirt can be easily washed off? My husband started my kitchen cabinets now 4 times and it all looks terrible since none of it is completed and has four different colors.
October 30th, 2015 at 8:56 am
No I didn’t the Sherwin Williams paint adhered nicely and things wipe right off! Good luck! 🙂
February 6th, 2016 at 1:39 pm
Can you share where you got that chicken wire basket you have mounted to your cabinet? Thanks!
February 6th, 2016 at 2:40 pm
Hi! Pam, I got it at World Market. ?
March 28th, 2016 at 7:23 am
Thanks Amy, I found it. I wish I could be so brave to tackle painting my kitchen someday. Yours turned out beautiful!
February 25th, 2016 at 9:42 am
I know how you feel. I decided to paint my bedroom furniture.
I used Annie Sloan paint “Old White” which was a lot easier then what you did ~ or was it??
I wanted to see immediate gratification so I went real fast. I called the store where I purchased the paint from and they were so good at helping me through it.
The finished product came out so nice.
https://muchloverose.wordpress.com/2015/11/21/our-new-master-bedroom/
Your kitchen is beautiful.
Rose
February 27th, 2016 at 9:09 am
Thank you Rose!! I love Annie Sloan. I will have to check our kitchen out. Thanks for linking. 🙂
April 30th, 2016 at 5:29 pm
[…] you missed the prior post where I explained how I DIY’d the cabinets myself, you can catch up HERE. It’s not to be missed if you are thinking of painting your cabinets. I explain step by […]
September 4th, 2016 at 4:30 pm
Hi Amy – just found your post on painting the oak kitchen cabinets. Question – after completed, were you able to see any of the oak wood grain?
September 4th, 2016 at 9:48 pm
Hi Donna, no the wood grain is gone. If that is what you were hoping for, then you will be pleased!
June 20th, 2018 at 11:19 pm
Your cabinets look flawless! Absolutely beautiful! I will be painting my oak cabinets soon and do not want the wood grain to show through. The grain on my cabinets is pretty deep–it has a texture to it, is that how your cabinets were before you painted them? Or did they feel smooth to the touch? I’m thinking of using wood filler but am floored with how amazing yours look without that step. If you could give me an idea of what the grain was like on your cabinets before painting, I would greatly appreciate it.
July 10th, 2018 at 12:32 pm
Hi, Dianne! Sorry for the delay in responding. We’ve been traveling a ton this summer. My cabinets were smooth and the paint covered the woodgrain completely. I would definitely recommend a wood filler if you have a deep texture to yours. Good luck! It’s definitely worth the trouble. It made a ton of difference in our home.
September 27th, 2016 at 7:01 am
[…] If you are new around here and never got to see the before and after along with the step by step instructions on how I completed this project, you can visit this post here. […]
October 11th, 2016 at 9:01 am
[…] a look back and peek at how the painted cabinet project began, you can see the full post projects HERE and […]
December 29th, 2016 at 9:48 pm
Did you have to use special silicone caulk to be able to paint it? I’m about to tackle my lower cabinets!
January 1st, 2017 at 4:44 pm
Nothing special used! Good luck with your project, Dianna! It will be worth your hard work. 🙂
January 1st, 2017 at 10:10 pm
I love your results! Curious how you approached the drawers. Did you just paint the fronts or the inside too?
January 3rd, 2017 at 8:56 am
Hi Julie, I did not paint the insides, just the fronts! It will save you a whole lot of time and still looks great.
June 18th, 2018 at 8:07 pm
Did you use a roller on the door fronts? I am seeing some brush marks and wonder if I should use a roller with the last coat.
July 10th, 2018 at 12:34 pm
Hi, Georganna. I used a roller on the door fronts, but not on the cabinet trim. I would definitely recommend it for a smooth finish!
August 16th, 2018 at 10:31 am
I’m curious if you have any tips for painting the lazy susan door?! I’m starting my kitchen DIY tomorrow!! ????
August 21st, 2018 at 4:47 pm
Amy, can you share the exact shade and gloss of your paint color?
September 3rd, 2018 at 4:53 pm
Fabulous job!!!! Thanks to sharing
September 25th, 2018 at 3:14 am
Hi Amy,
I remember how I was so excited to repaint our kitchen cabinets, with too much excitement, I failed and it was a waste of money. This post will be very helpful for my next project 🙂
Thank you for sharing!
Cheers,
Jessica
November 19th, 2018 at 10:58 pm
They look great! Did you paint under the top cabinets?
November 19th, 2018 at 10:59 pm
Looks great! Did you paint under the top cabinets??
November 20th, 2018 at 8:57 am
Yes! Be prepared for some acrobatics but it can be done, lol!
February 15th, 2019 at 2:49 pm
Hi Amy,
I’m about to paint my bathroom cabinets and wondered how many coats of primer did you use? Also, how many coats of paint did you use and how long do you allow before the next coat of paint?
February 19th, 2019 at 12:15 pm
We did one coat of primer and two coats of paint. I waited a day in between each coat. Hope this helps!
April 8th, 2019 at 8:54 pm
I want to know if it would work on melamine cabinets.
Buy the way your finished project is so beautiful.
Anxious in starting mine this summer, but not sure about melamine.
December 9th, 2019 at 8:30 pm
How do you paint the corners so they look smooth like a newly purchased cabinet door?
May 12th, 2020 at 3:14 pm
Wow!
August 25th, 2020 at 7:03 pm
Your kitchen is beautiful!!! How did you paint the hinges? Primer? Do they open and close fine since they were painted?
August 25th, 2020 at 7:06 pm
Your kitchen looks beautiful!! Did you paint the hinges? Primer? How many coats? Do they still open and close well?
Thanks,
Kris
August 25th, 2020 at 7:20 pm
Thank you! I actually didn’t paint the hinges at all. I removed them and purchased new hardware to install.
September 17th, 2020 at 9:46 am
do you recommend semi gloss paint over Satin?
September 25th, 2020 at 11:40 am
I need to paint my oak colored cabinets white after seeing this gorgeous transformation, thanks for sharing!