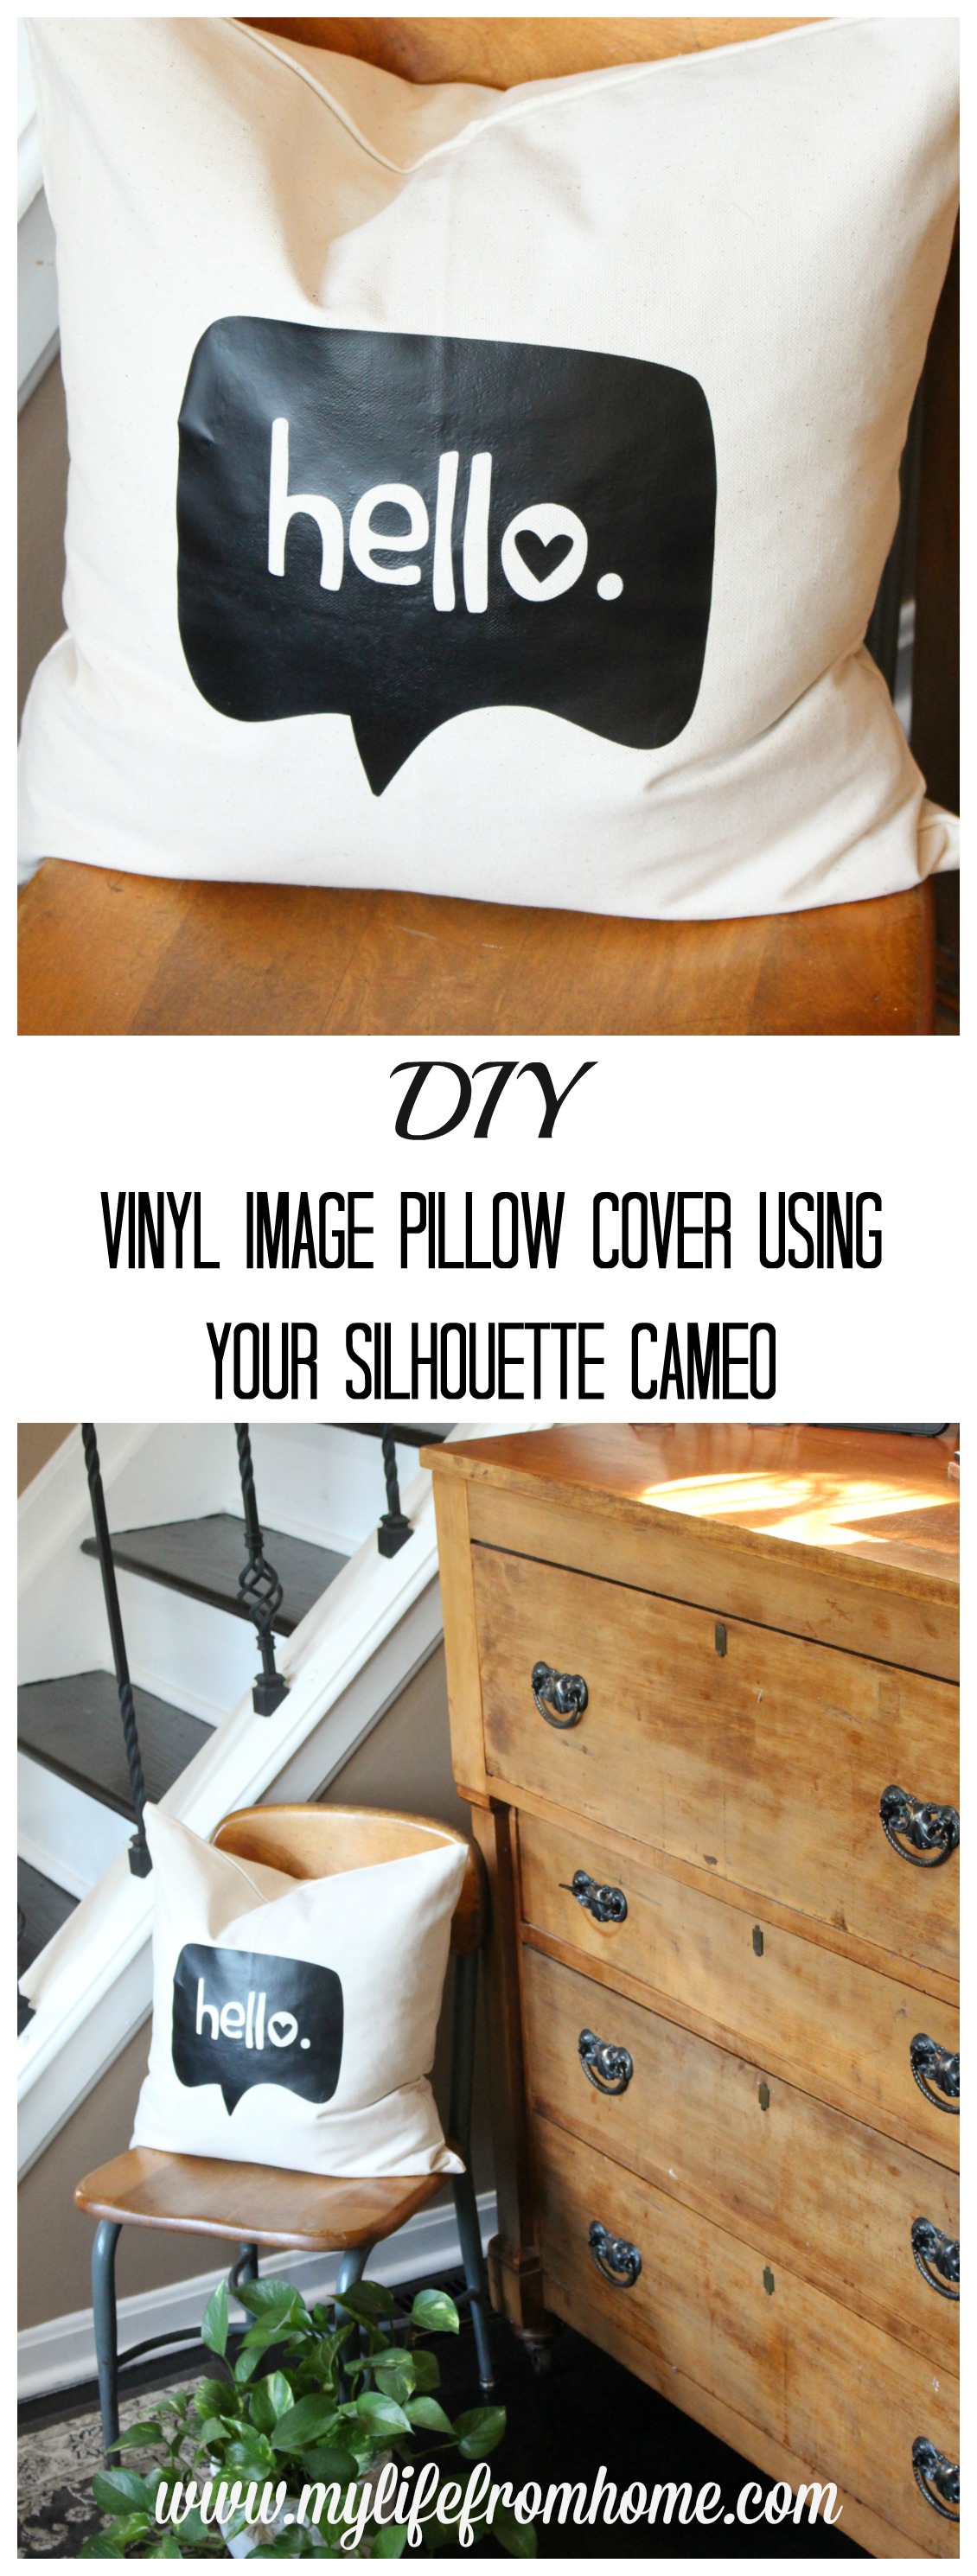
Silhouette Challenge: DIY Pillow Cover Using Heat Transfer Material

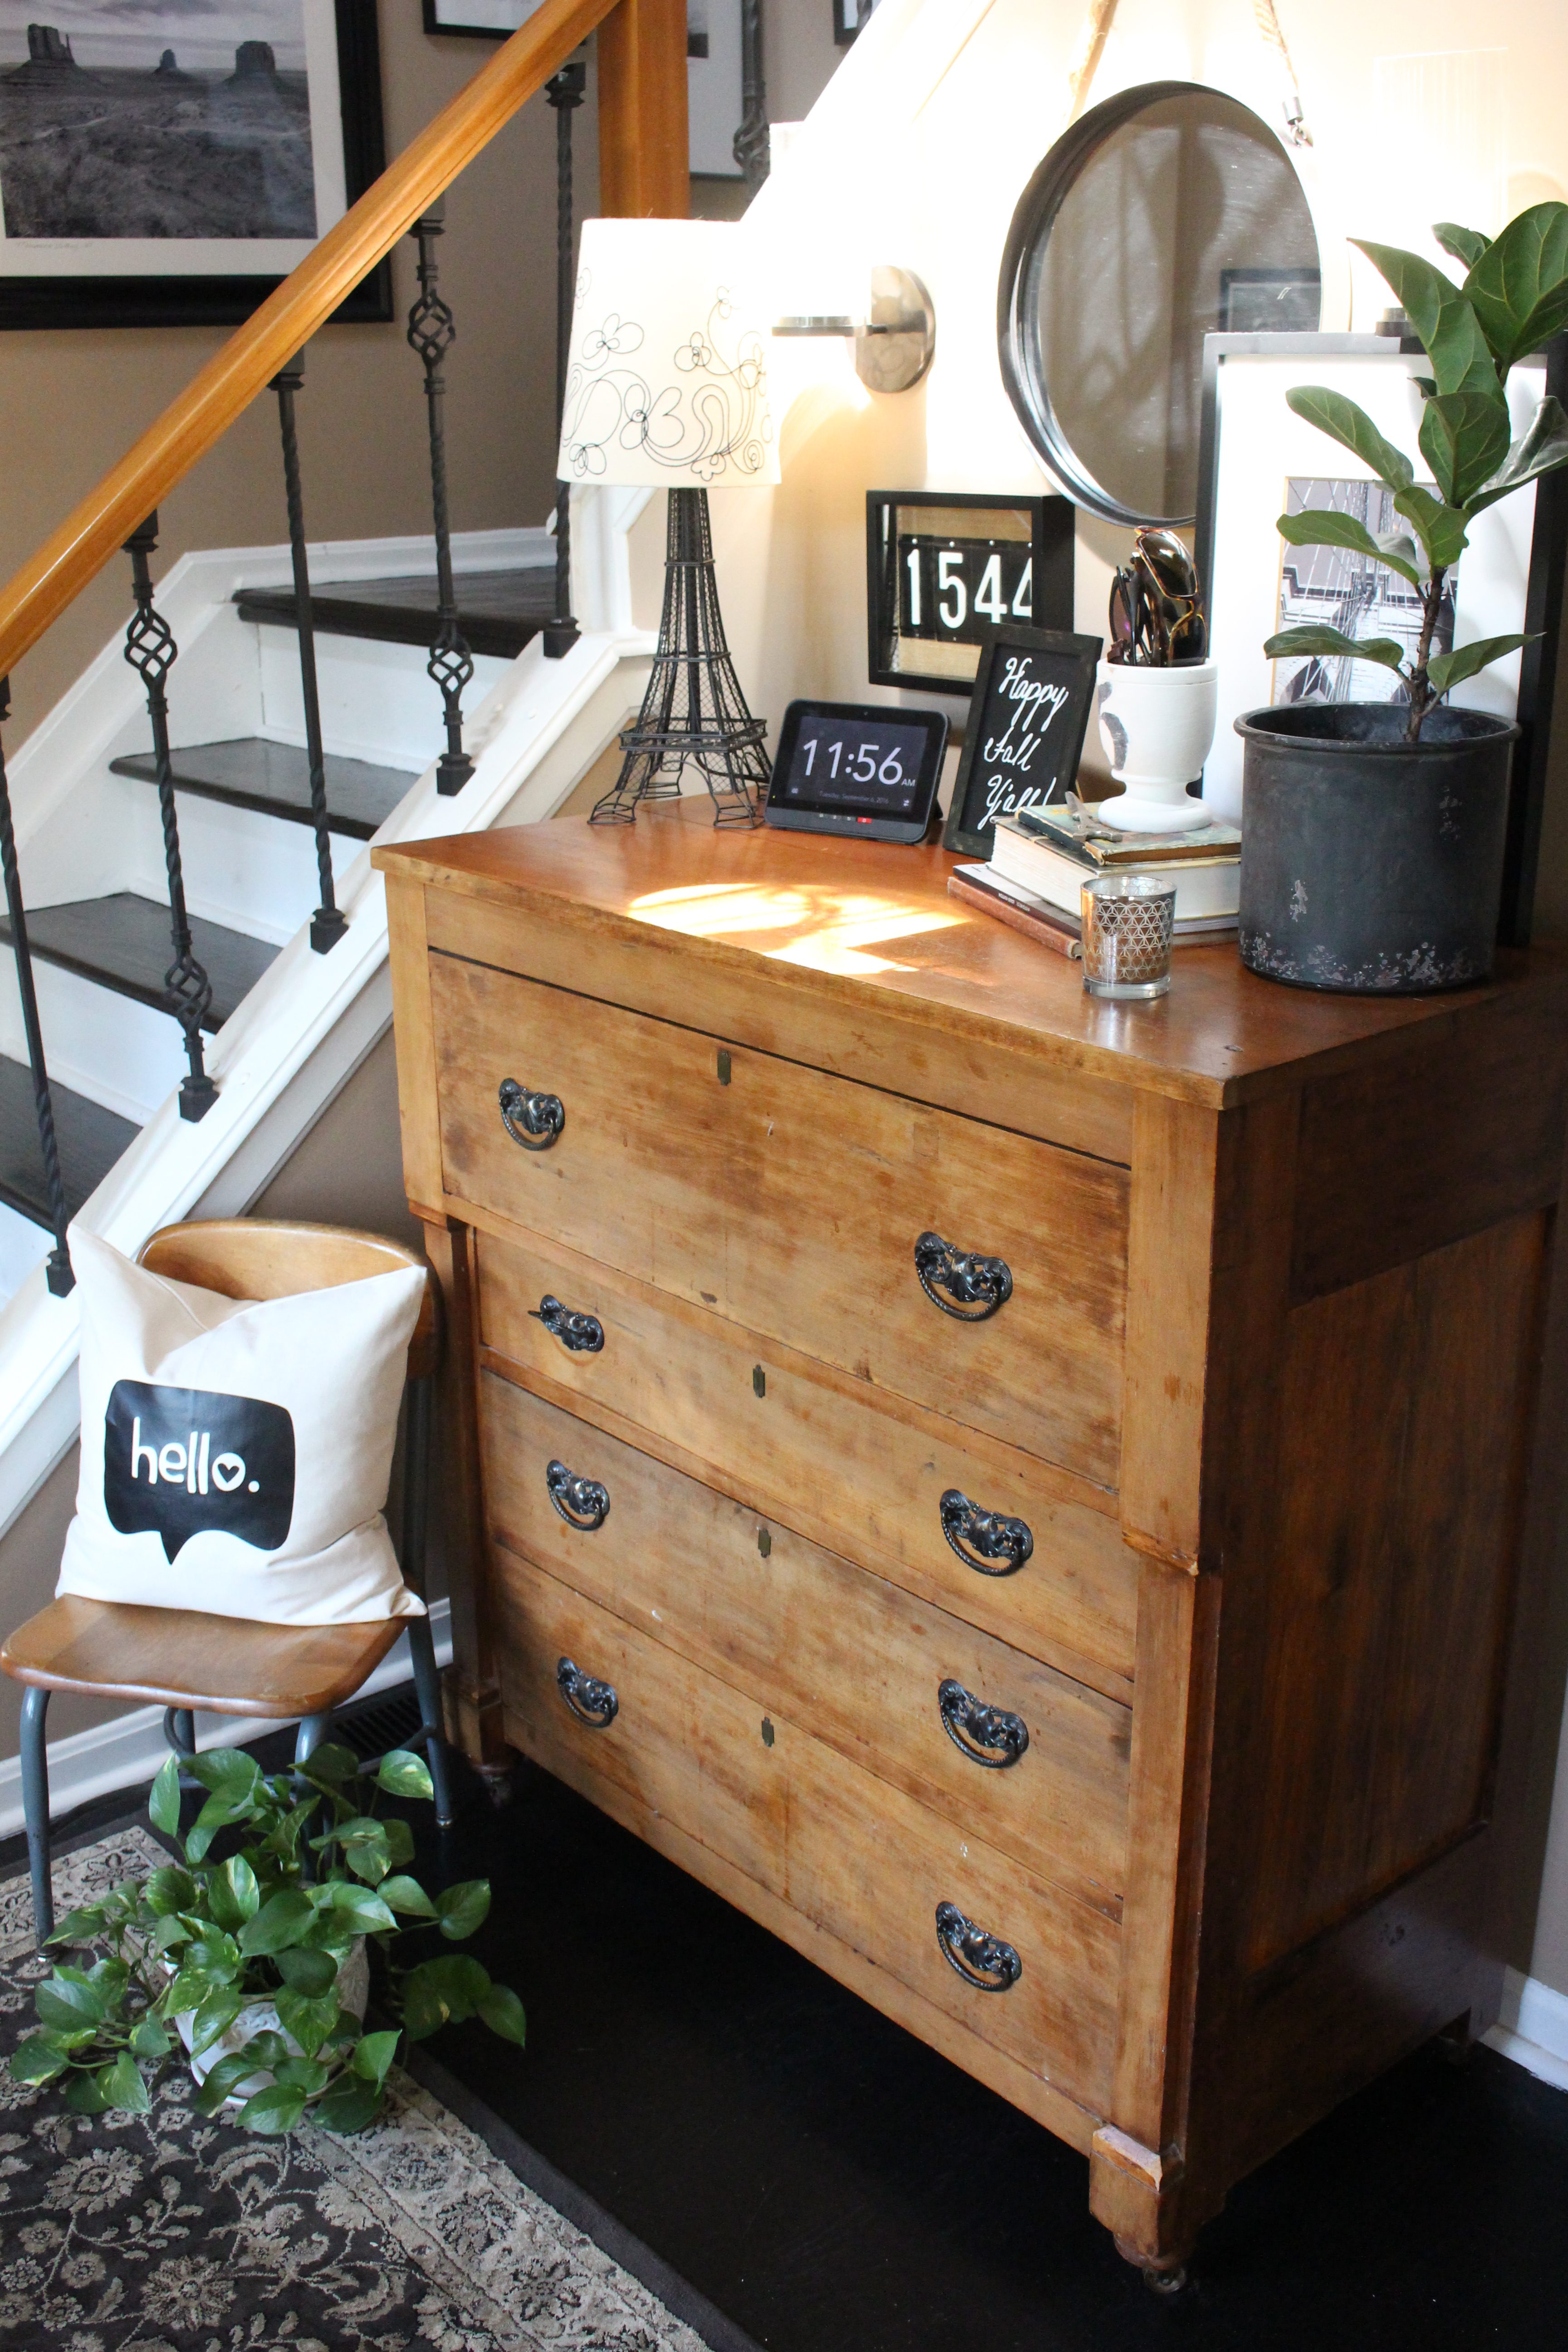
Hello! I am excited to be back with another Silhouette project today. Last time, I made a stencil with my Silhouette machine and created a hanging wood plaque. This month's theme was cloth, so I decided to make a pillow cover. I had so much luck using Heated Vinyl Transfer Material when I made the kitchen towels, so I thought it would be fun to try it again on a pillow cover for my new “old” chair in my entryway.
I can never have too many pillows. I have them all over the house and like to change them up for the season. I kept this cover neutral so it would work anywhere in the house.
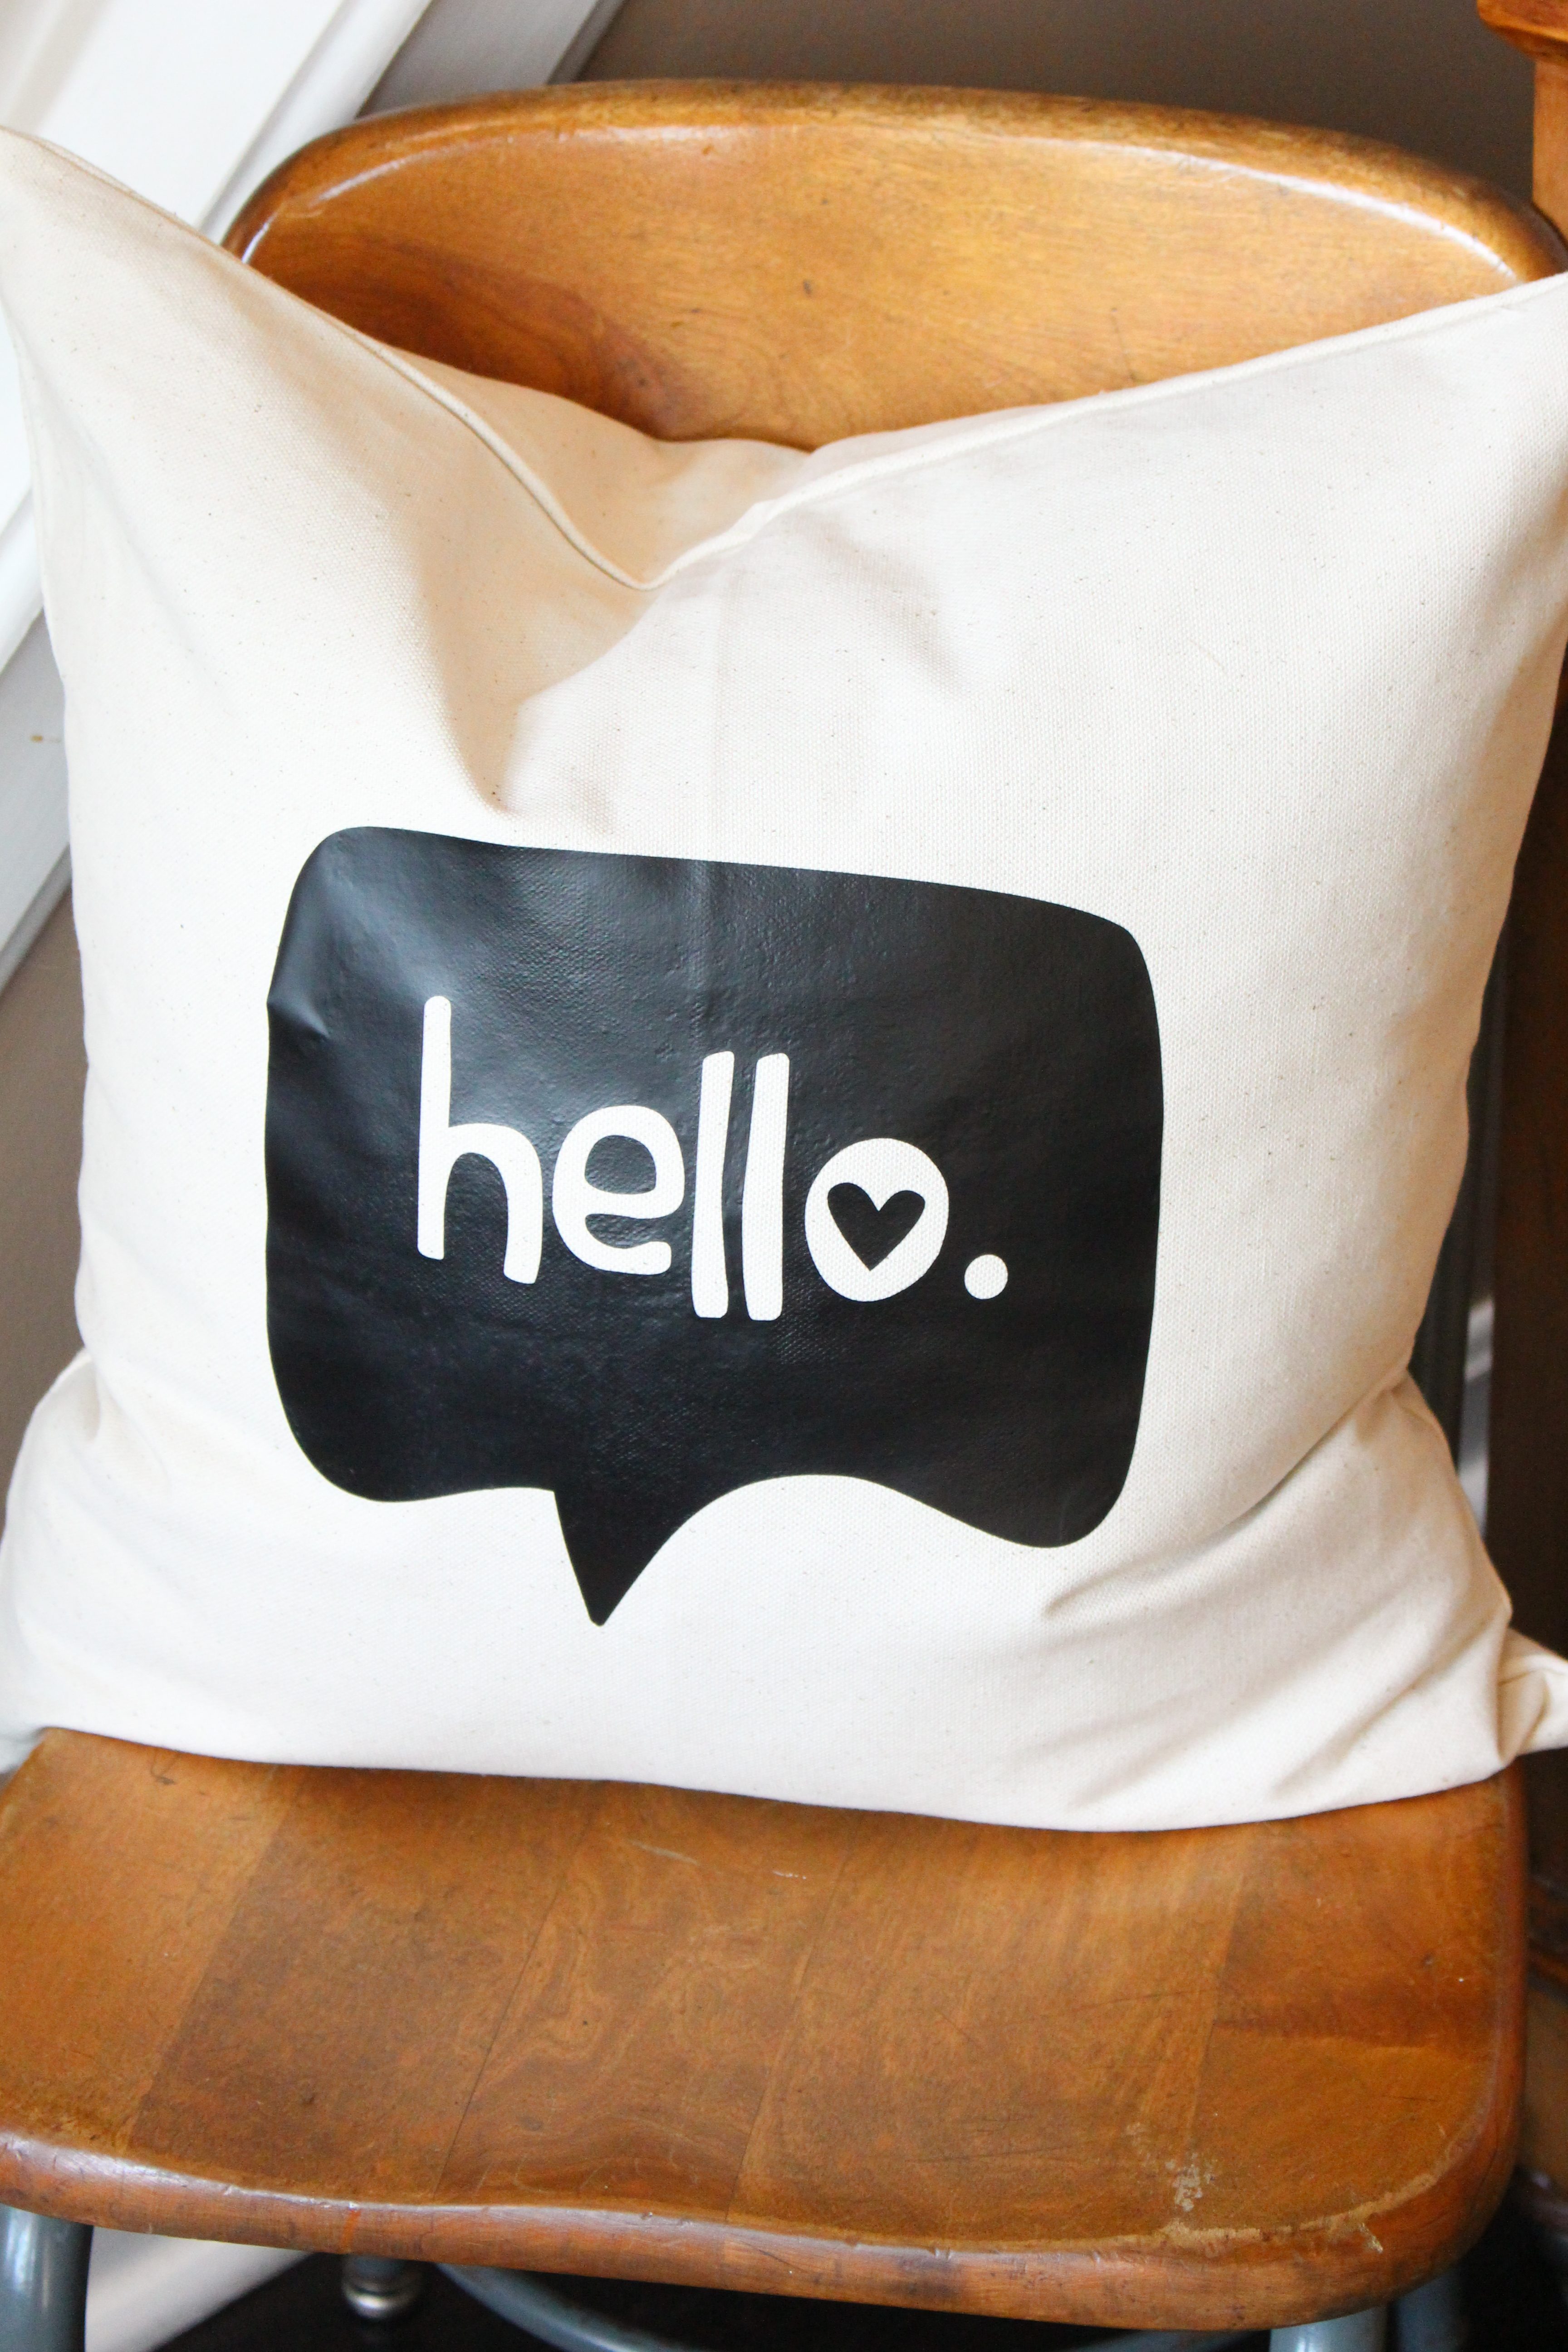
This was a fun project and turned out really cute!
DIY Pillow Cover Using Heat Transfer Material
Supplies Needed:
Silhouette image (your choice, I bought mine at the Silhouette Design Store)
Silhouette Heat Transfer Material Vinyl in Black
Iron
Clean Cloth
Instructions:
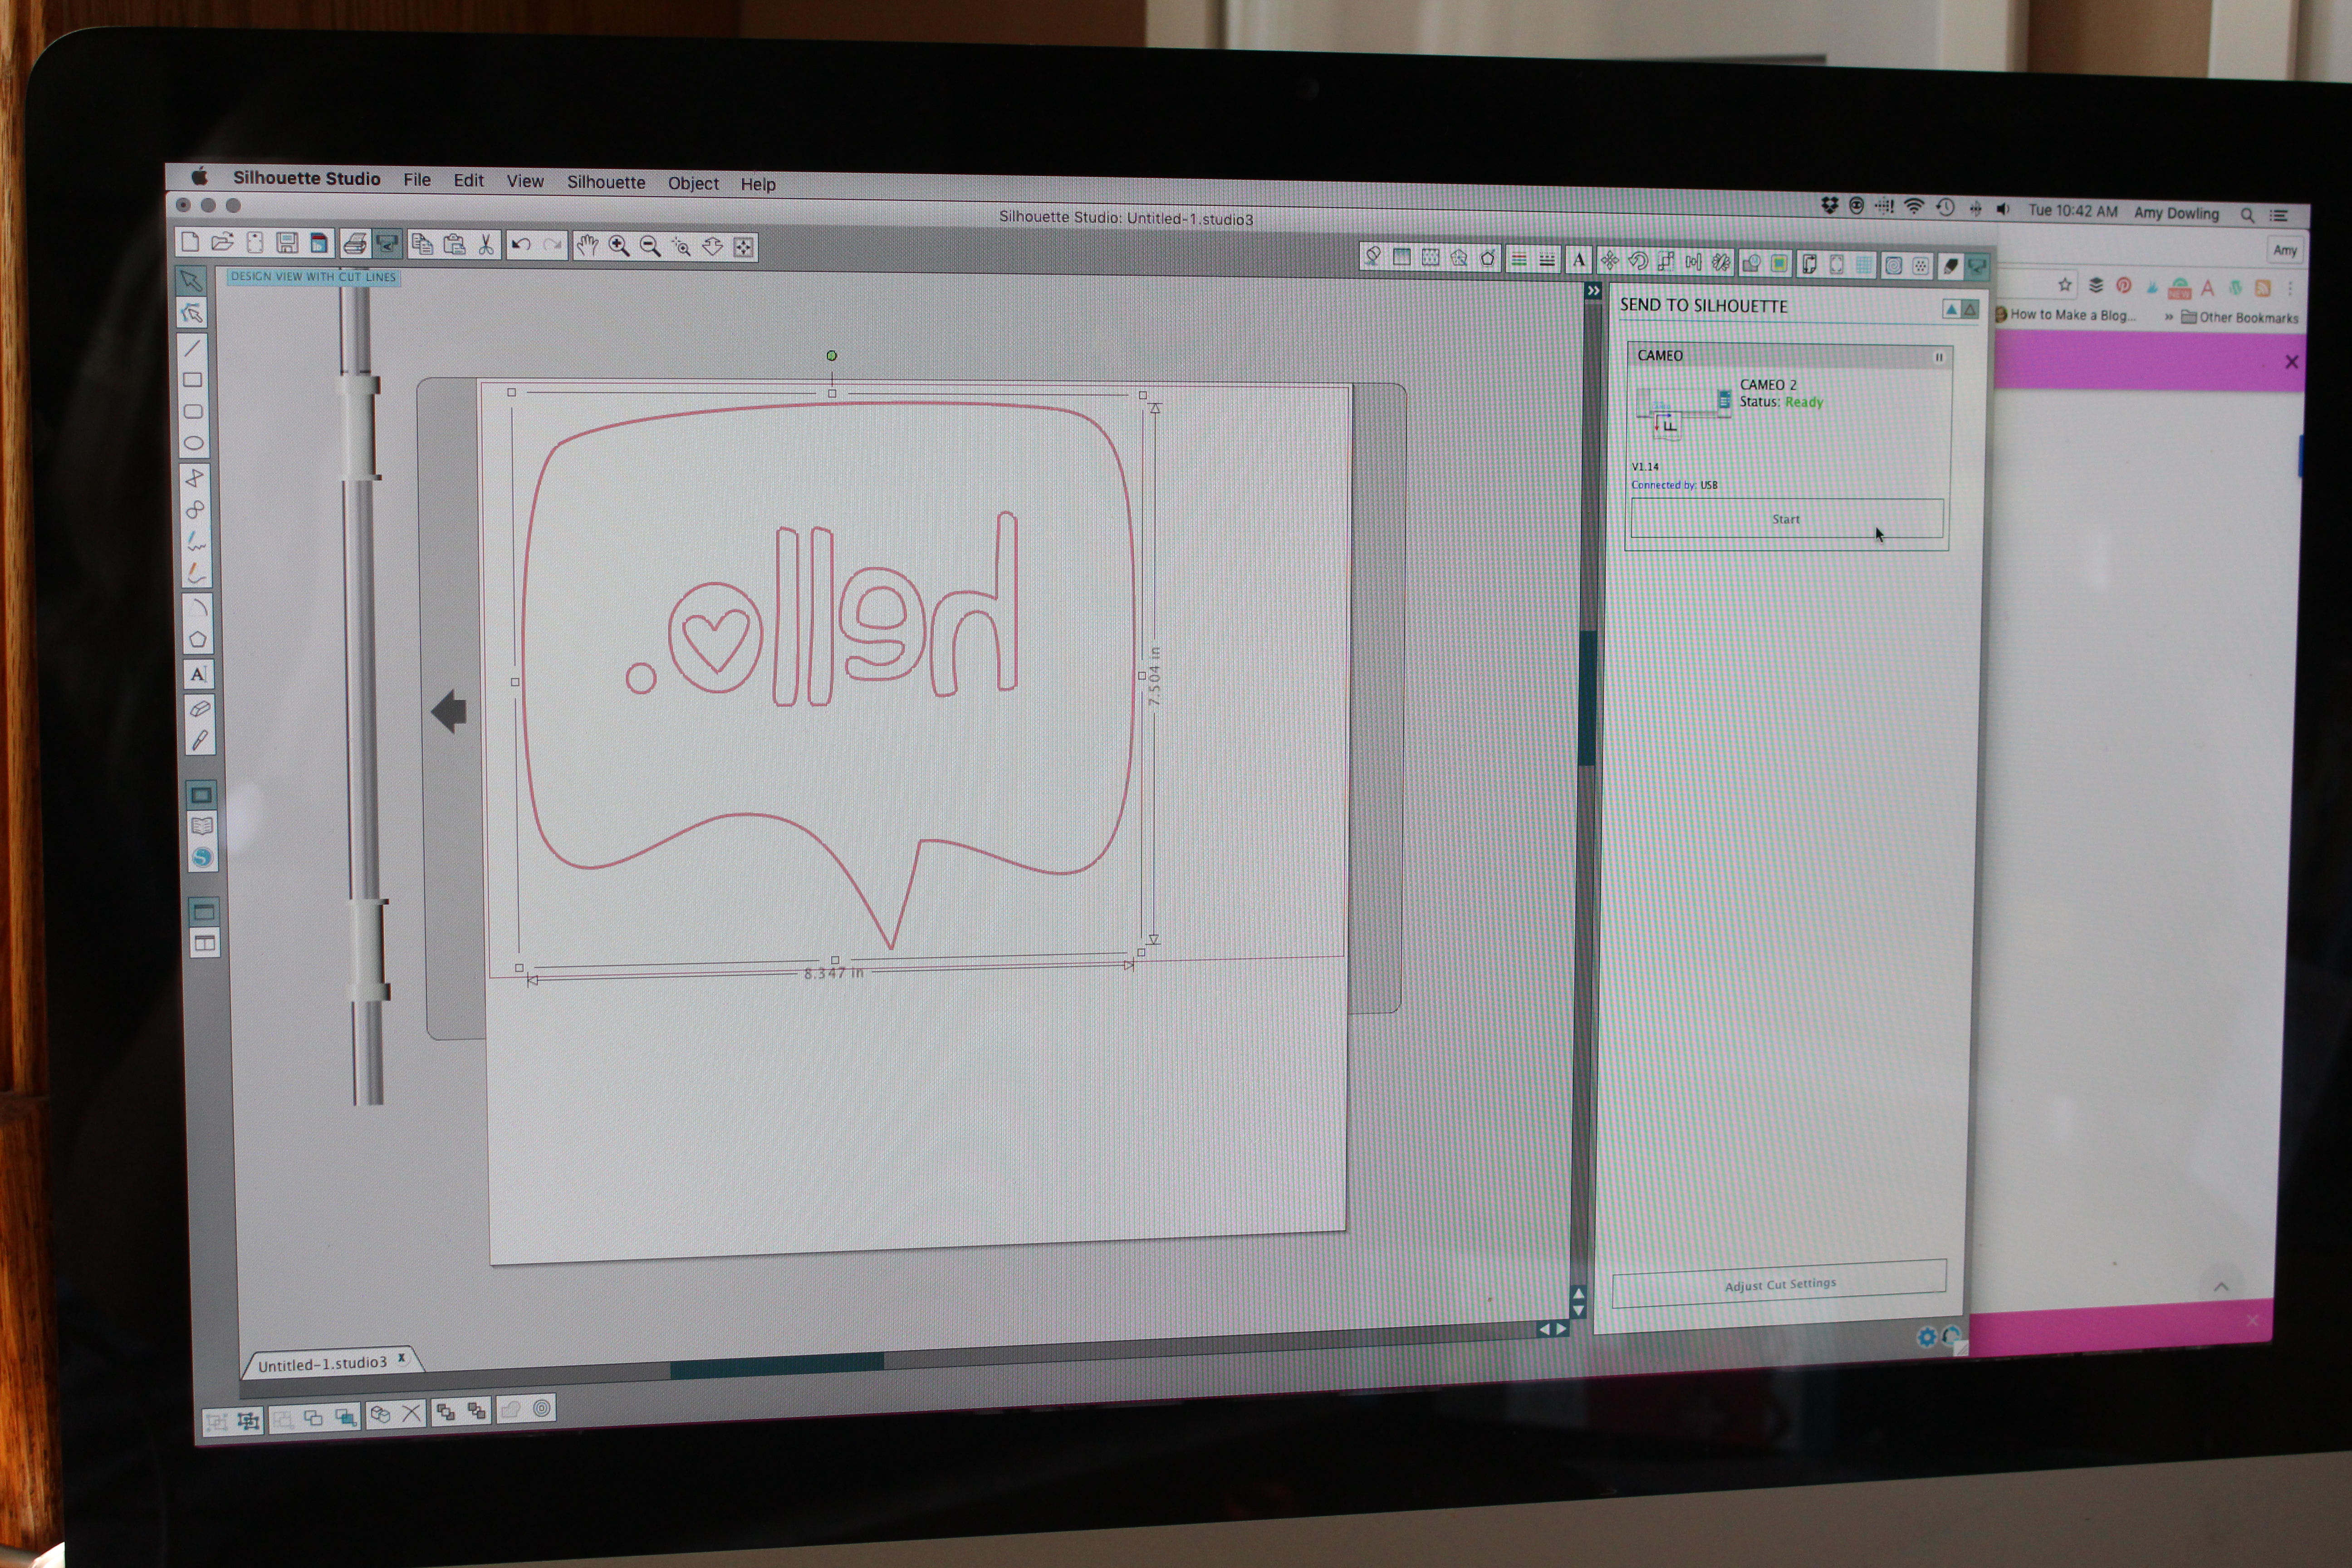
Step 1// Using your Silhouette machine, cut out your vinyl image. Make sure if you are using words, you are doing it backward, so that when transferred onto the fabric it reads the right way. You can do this in your Silhouette Dashboard by clicking mirror. Once it is cut, use your pick tool to release the excess vinyl around the image.

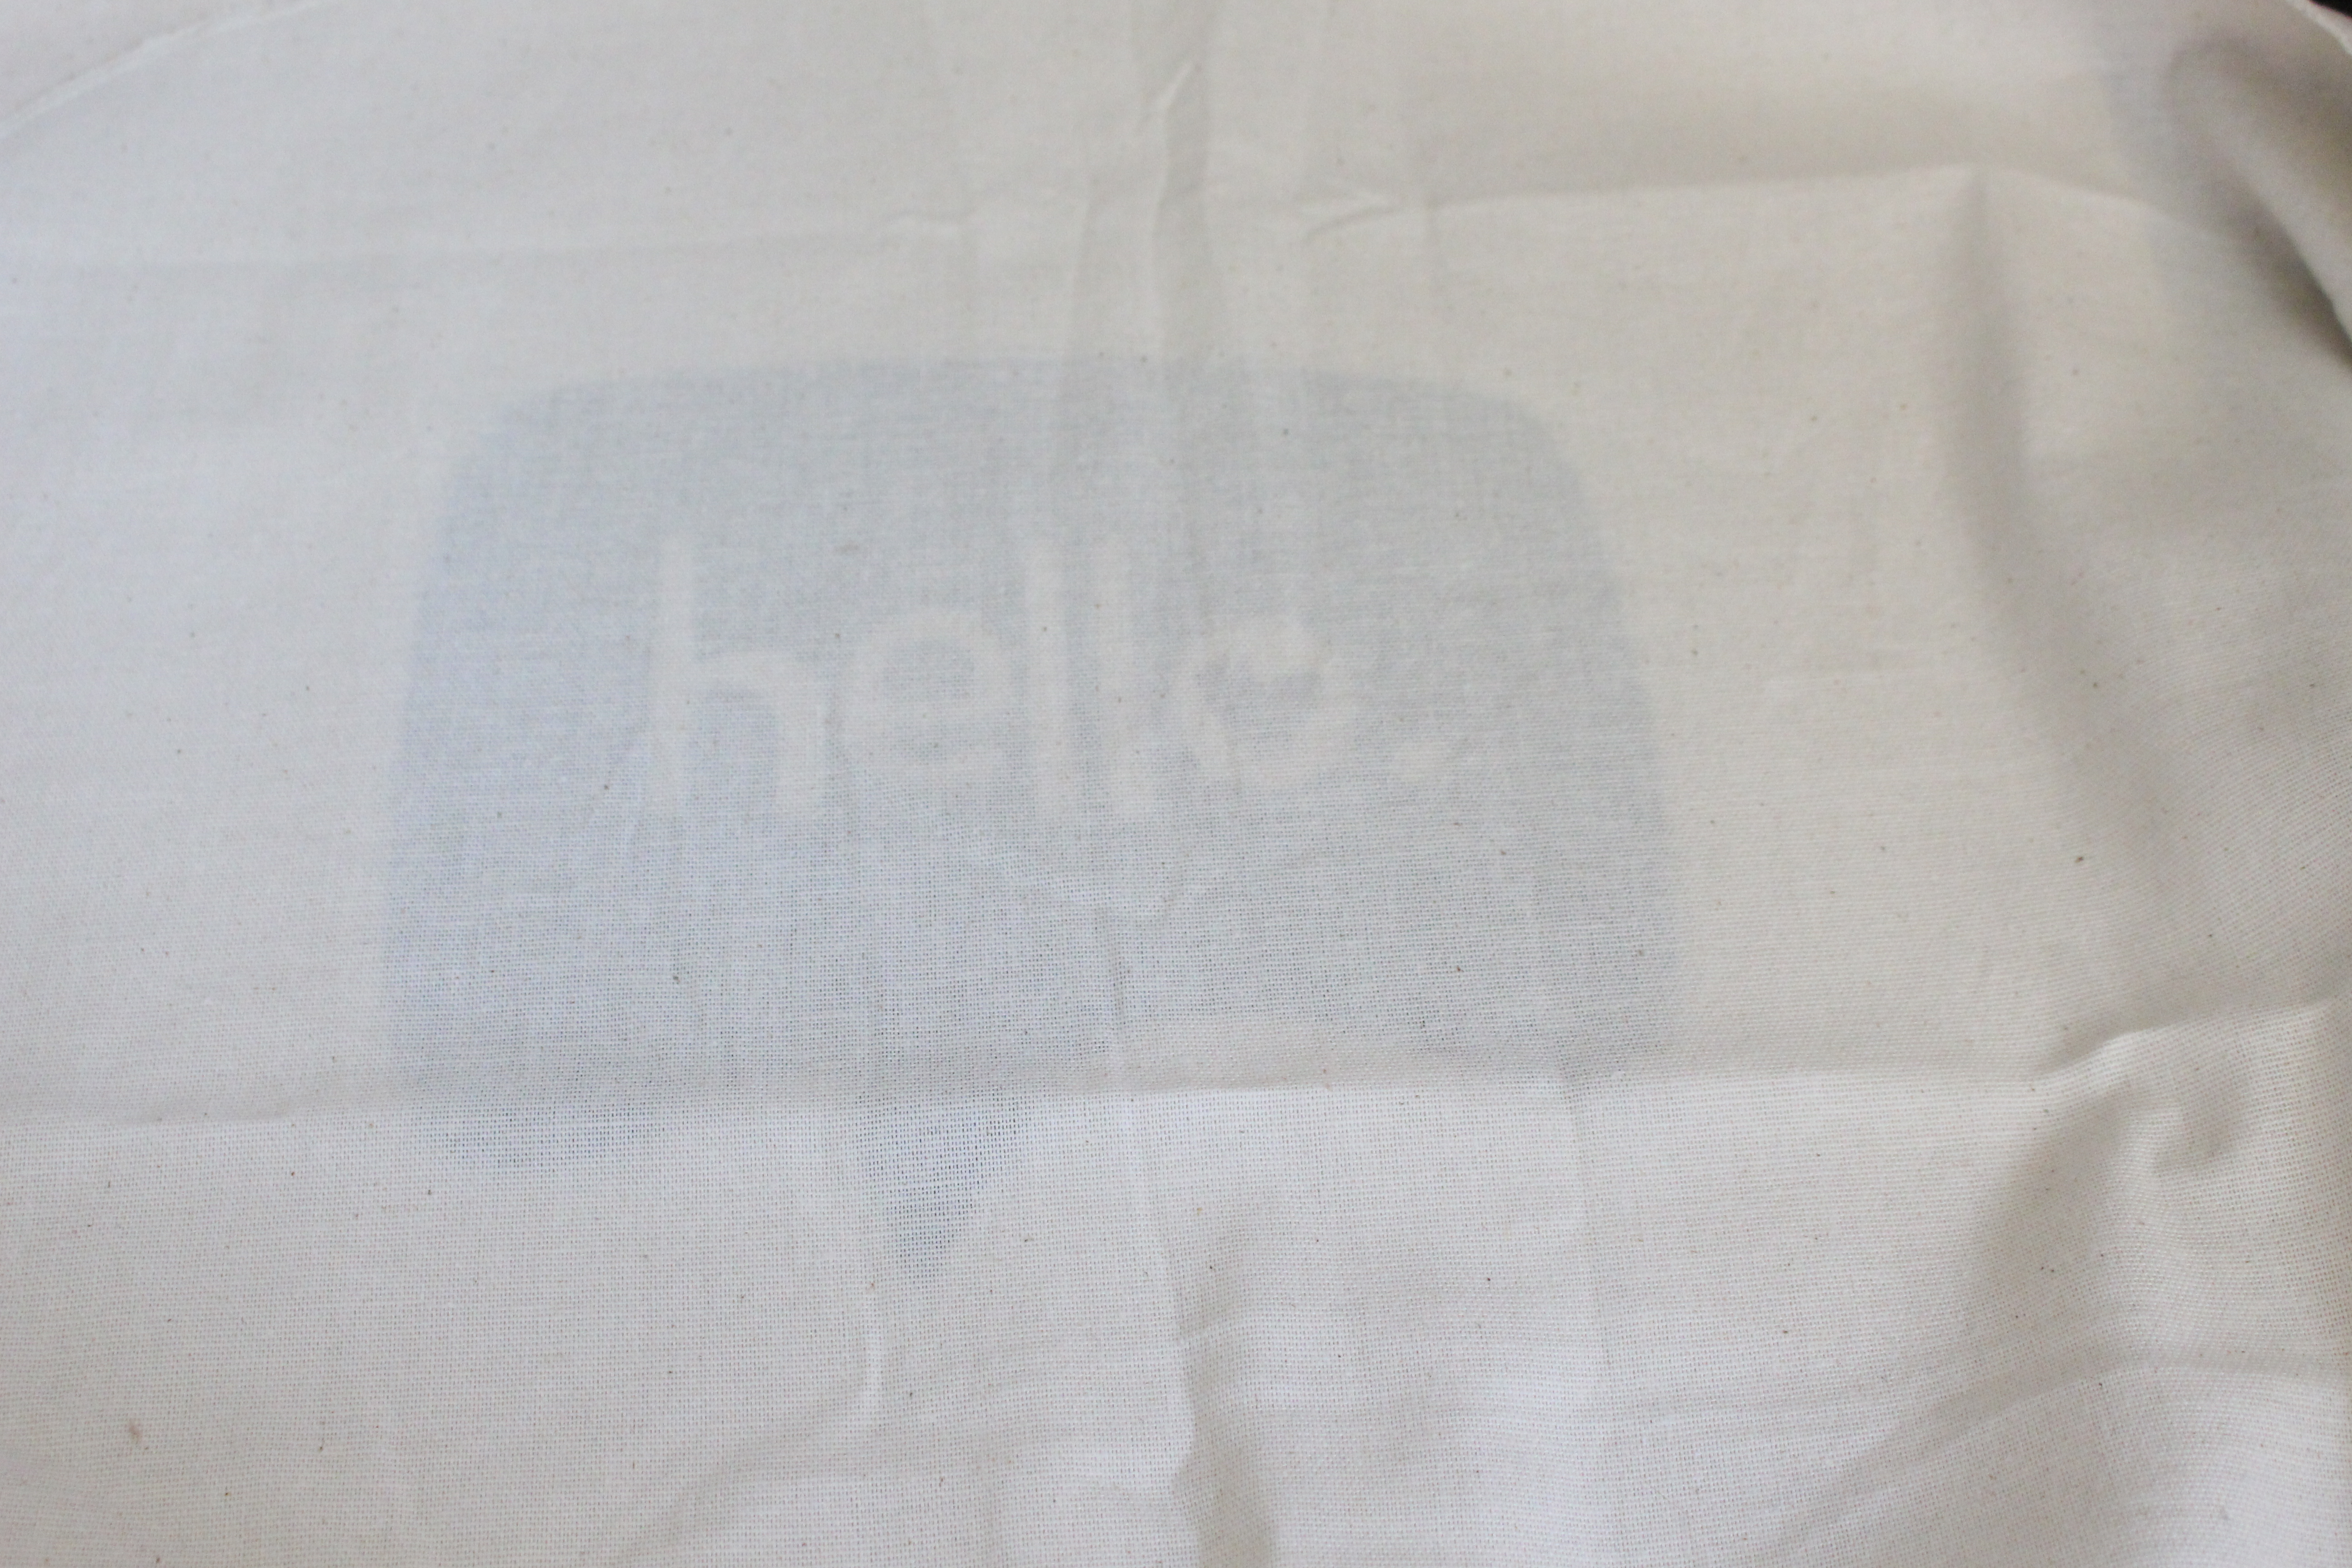
Step 2// Place your vinyl where you want it on the pillow cover. Smooth it down.

Step 3// Using a hot iron and a clean cloth, press the iron over the image for approximately 10 minutes. I used a high heat setting. Continue moving it back and forth instead of leaving it rest to avoid burning your fabric! I have read some places that you only need to leave it for 3-5 minutes. It definitely was longer for me.

Step 4// The last step is to peel away the clear backing from the vinyl. You will see that the image adhered. If it did not, smooth it back down and continue heating with your iron. If it stuck, then peel off the clear backing, place your cloth down again over your image, and continue to heat to set it for a few more minutes.
Lastly, you can use an existing pillow and change out the cover, or purchase a pillow form from a local store to stuff your cover.
Then you're done. That's it!
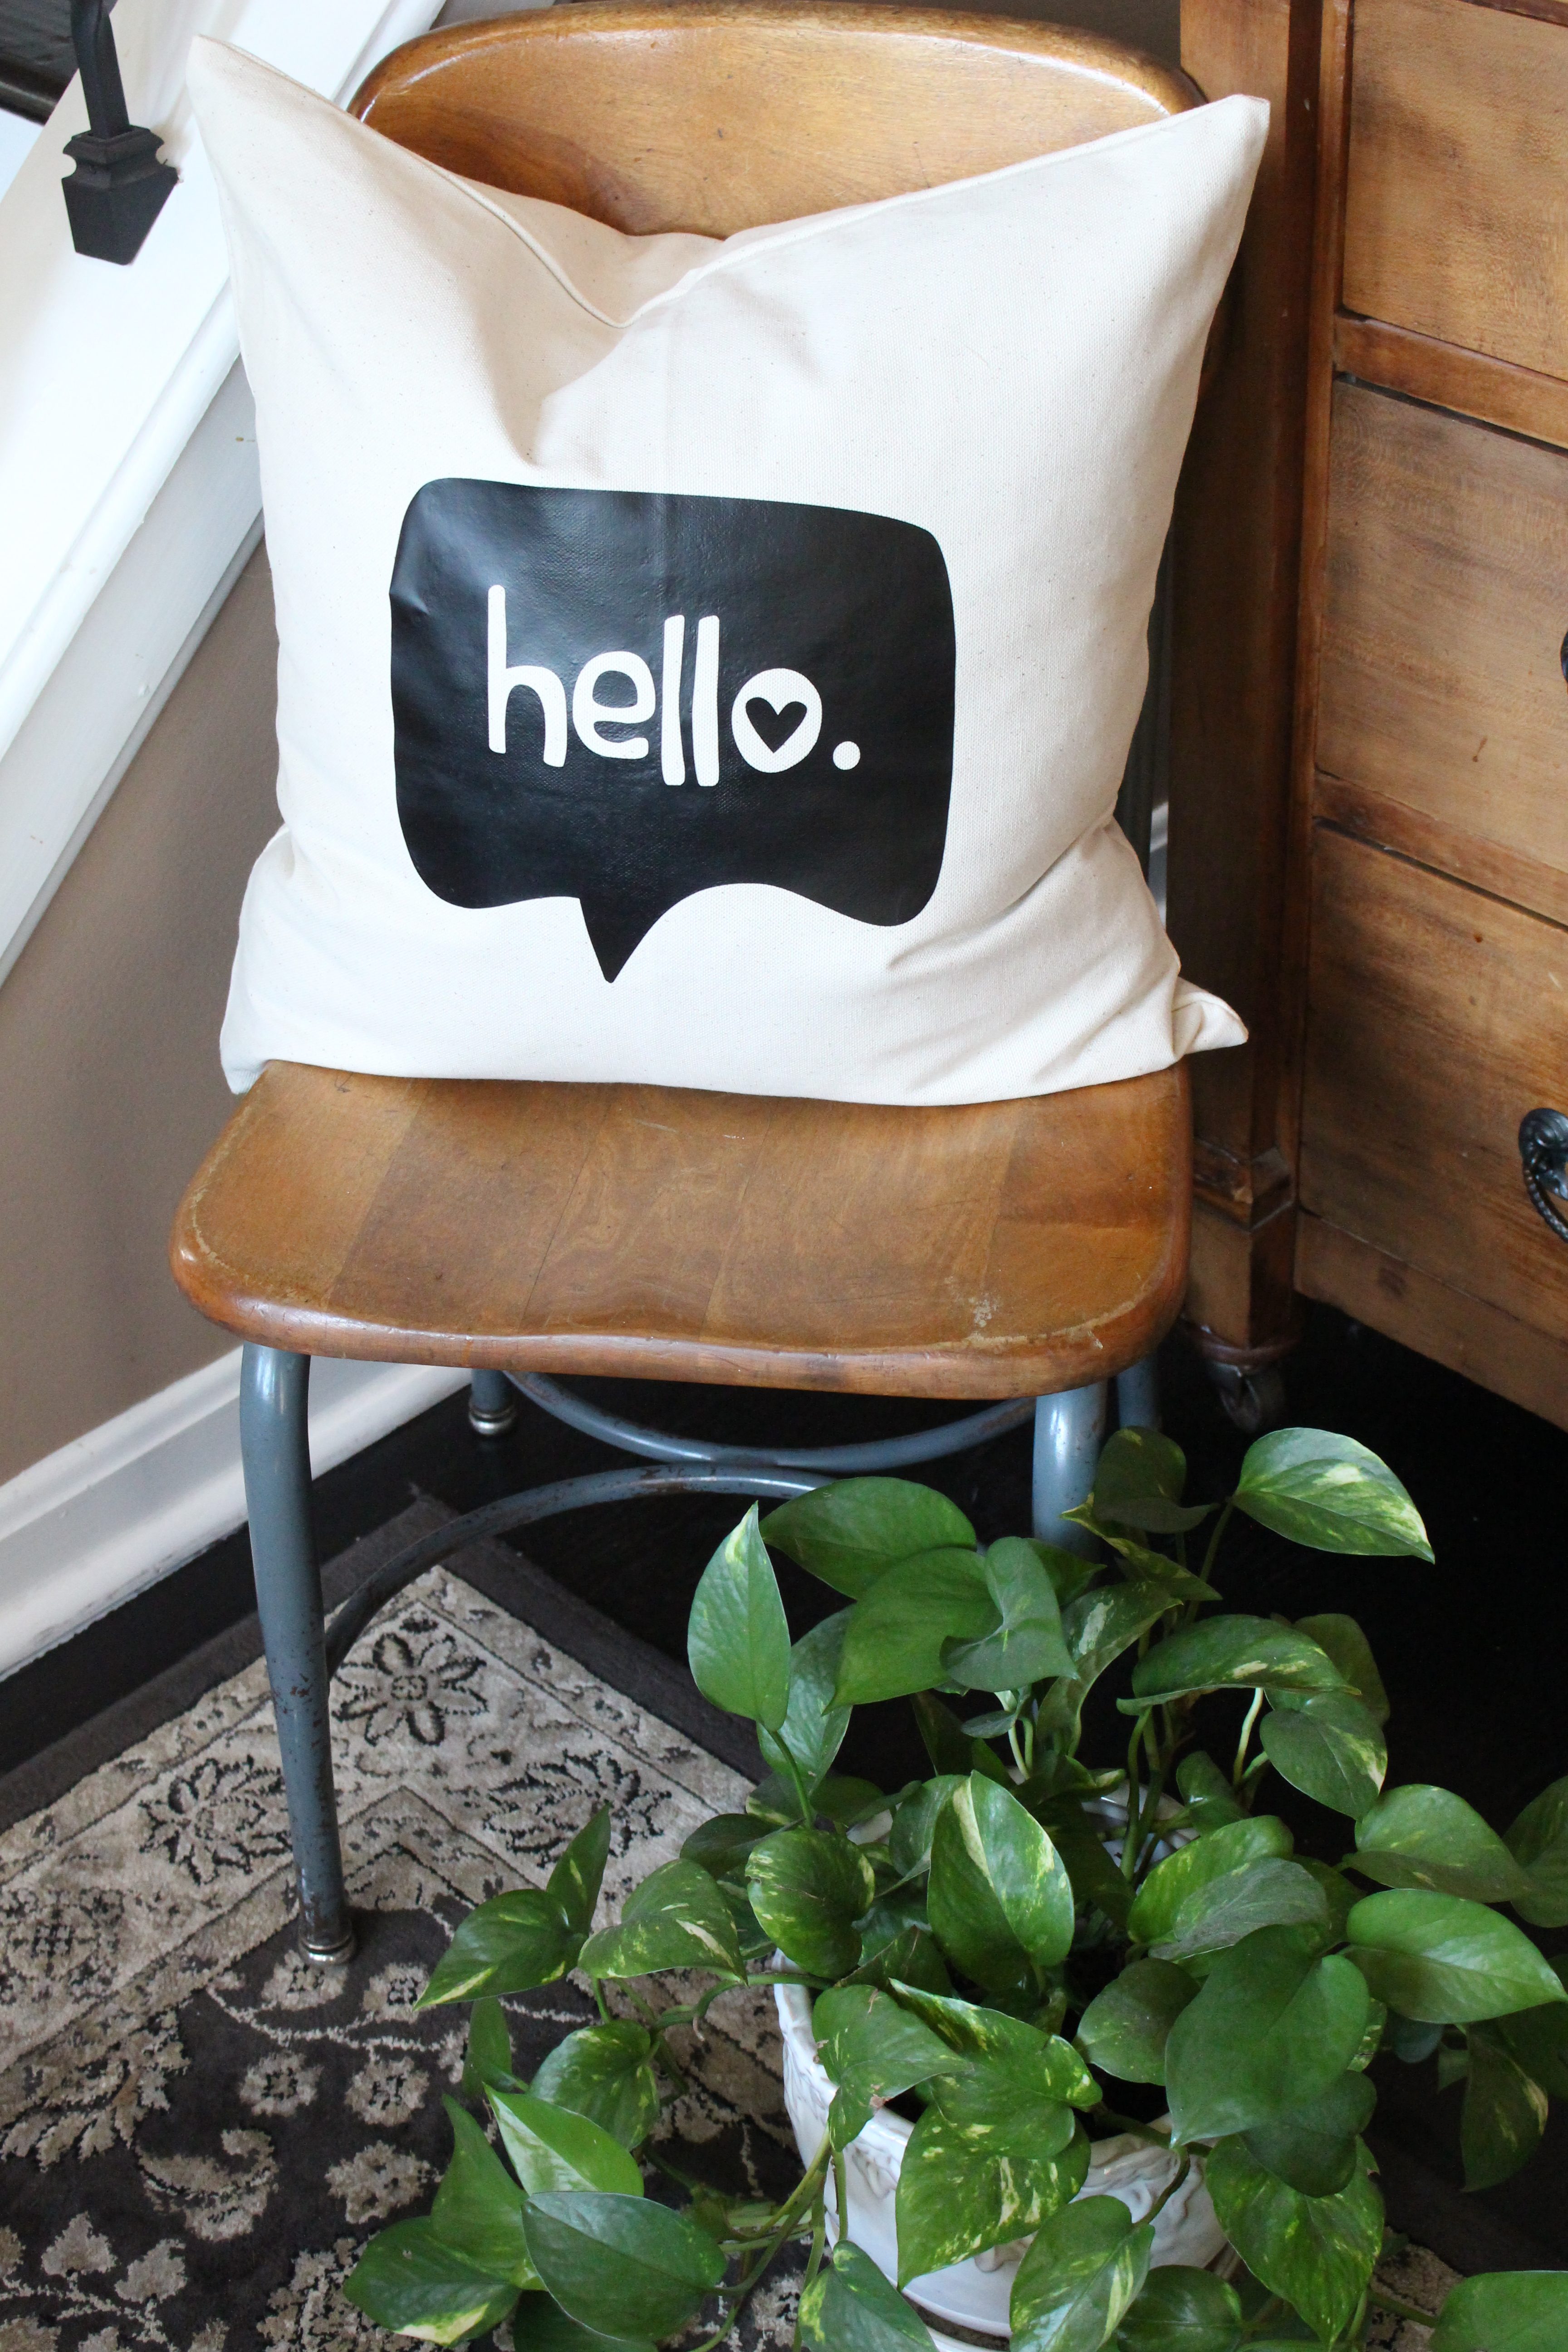
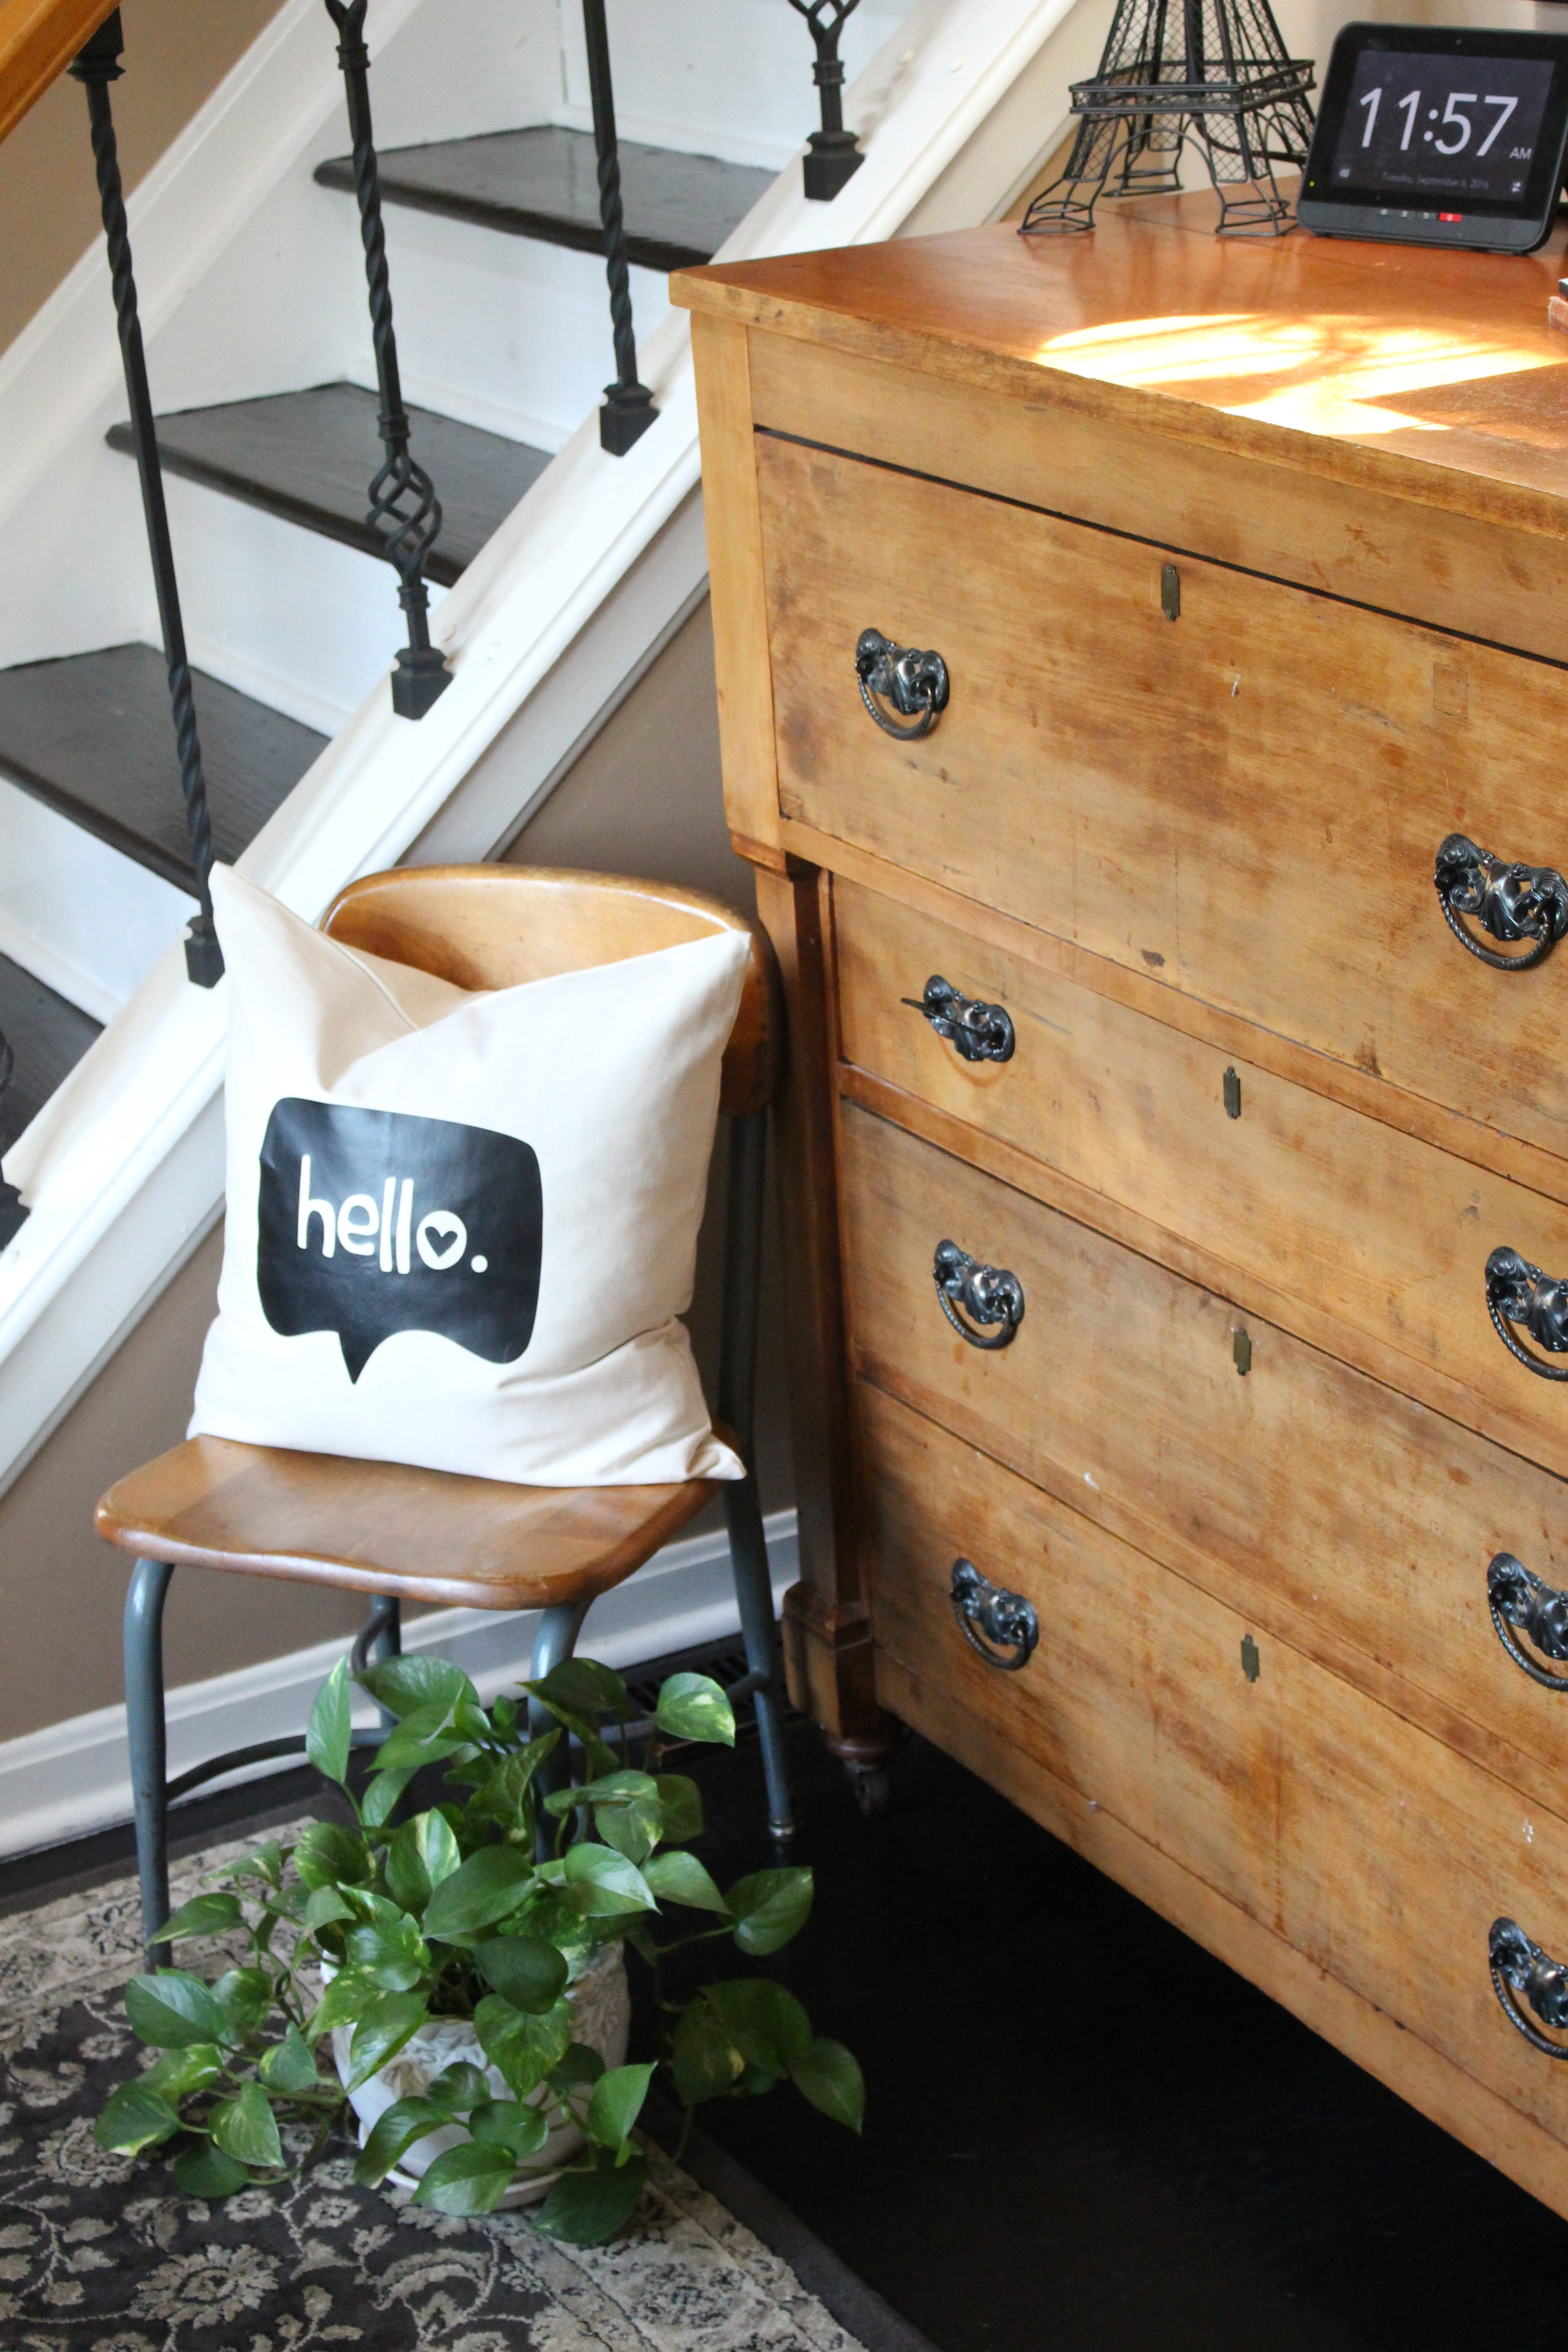
I love how it turned out and it's a great little pillow for our entryway. Can you believe I picked up this little chair from Goodwill for $4? It looks like an old school desk chair.
{This post contains affiliate links, see full disclosure here.}
![]()
Love it? Pin it!
Want to see more Silhouette Cameo cloth projects?

Fall Pumpkin Spice Tea Towel – Dwell Beautiful
Today's Project Is Sponsored By Coffee T-Shirt – Pocketful of Posies
Pillow Created Using Handwritten Note – Rachel Teodoro
Silhouette Challenge: DIY Pillow Cover Using Heat Transfer Material – My Life From Home
DIY Bakery Tea Towels – Houseful of Handmade
Pumpkin Spice For Life Kitchen Towel – Simply {Darr}ling
Super Cute Soccer Mom Shirt – Morena's Corner
DIY Pillow with Heat Transfer Vinyl – Craft and Tell
[mc4wp_form id=”7778″]


Love your DIY. Thanks for joining us at the Inspiration Spotlight party. Shared
[…] pillow is adorable and would work in any room. Get the full tutorial for the DIY Pillow Cover shared from My Life From […]
Thanks for sharing at INSPIRE ME MONDAY link party. I wanted to let you know that you are one of my features this week. Come check it at Monday morning at 9 est. http://www.farmhouse40.com
I love this! How cool and it would look good anywhere 😉 Thank so much for linking this up to our Inspiration Galore Project Party. I will be sure to pin for later.
Thank you, Lisa! It is an easy and fun project!
I’m a new silhouette owner so this is a great tutorial. I’m sure I can find some pillows needed some updating in my house. I’m visiting today from the #shinebloghop.
So happy to have you stop by, Bonnie! You will love your Silhouette.
Very fun pillow! Love the font. You’ve made an inviting entry and the pillow just adds to it. Visiting from Handmade Hangout.
Thank you, Victoria! It was a fun project. So glad you stopped by!
love it, really fantastic and great looking. thanks for sharing on craft schooling Sunday!
I’ve always wanted a silhouette because of how much you can do with it and this is such a clever idea and a great use of such a versatile gadget. Thanks for sharing this absolutely easy DIY with us on #shinebloghop this week
I am so in love with this! I am thinking I need to get myself that printer!
You will love it! I have found so many ways to use mine!
Well, now that is super cute! Guess I need to get a silhouette cameo machine 🙂
I have found so many uses for mine, Brooke!
So cute Amy! I have the Cricut & love to get inspiration like this! I plan to make some Fall pillows!
Yay! Can’t wait to see your pillows!
Too cute!!! I love it’s spot by the front entry too!
Thank you, Sara!
What a cute idea….love the pillow
Thank you, BonBon!
Now that is a CUTE pillow! Nice work, I am saving up for a Silhouette. I can’t wait!
Thanks April! You will love having a Silhouette. I’m still learning everything it can do!
Hello to you too! Cute pillow
Thank you, Ariel!
I love it! So cute!
Thank you so much, Morena!
I love this!
Thank you, Emily!
This is absolutely adorable! It looks great on that chair! I could think of so many cute pillow ideas I could make using this technique!
Thank you, Amanda! I was pumped when I found that chair!
This is SO cute! I absolutely love it.
This is the cutest pillow! Perfect for an entryway. And that chair is the best steal ever!
Thank you, Kati! I’m so happy with my little chair. ?
Super cute pillow! Love the little chair it sits on too!
Thank you, Rachel! I was stoked about my new chair. 🙂
Too cute! I love how it looks a bit like a leather applique. And it goes so perfectly in your little corner – what a great vignette!
Thank you, Erica!
So cute! I love the design you chose!
Thank you so much, Emily!