Wood Slice Winter Garland
Hello and welcome back! It was a cold weather weekend here and the perfect time to stay in and work on projects! Today we are sharing another month of Create With Me projects. I was thoroughly excited when you choose wood as our supply for the month. I had received a wood burning kit a while back, but until now, had not had the courage to give it a try. Have you used one? I decided this was the perfect time to whip it out! I was pleasantly surprised at how easy the wood burning tool was to use!

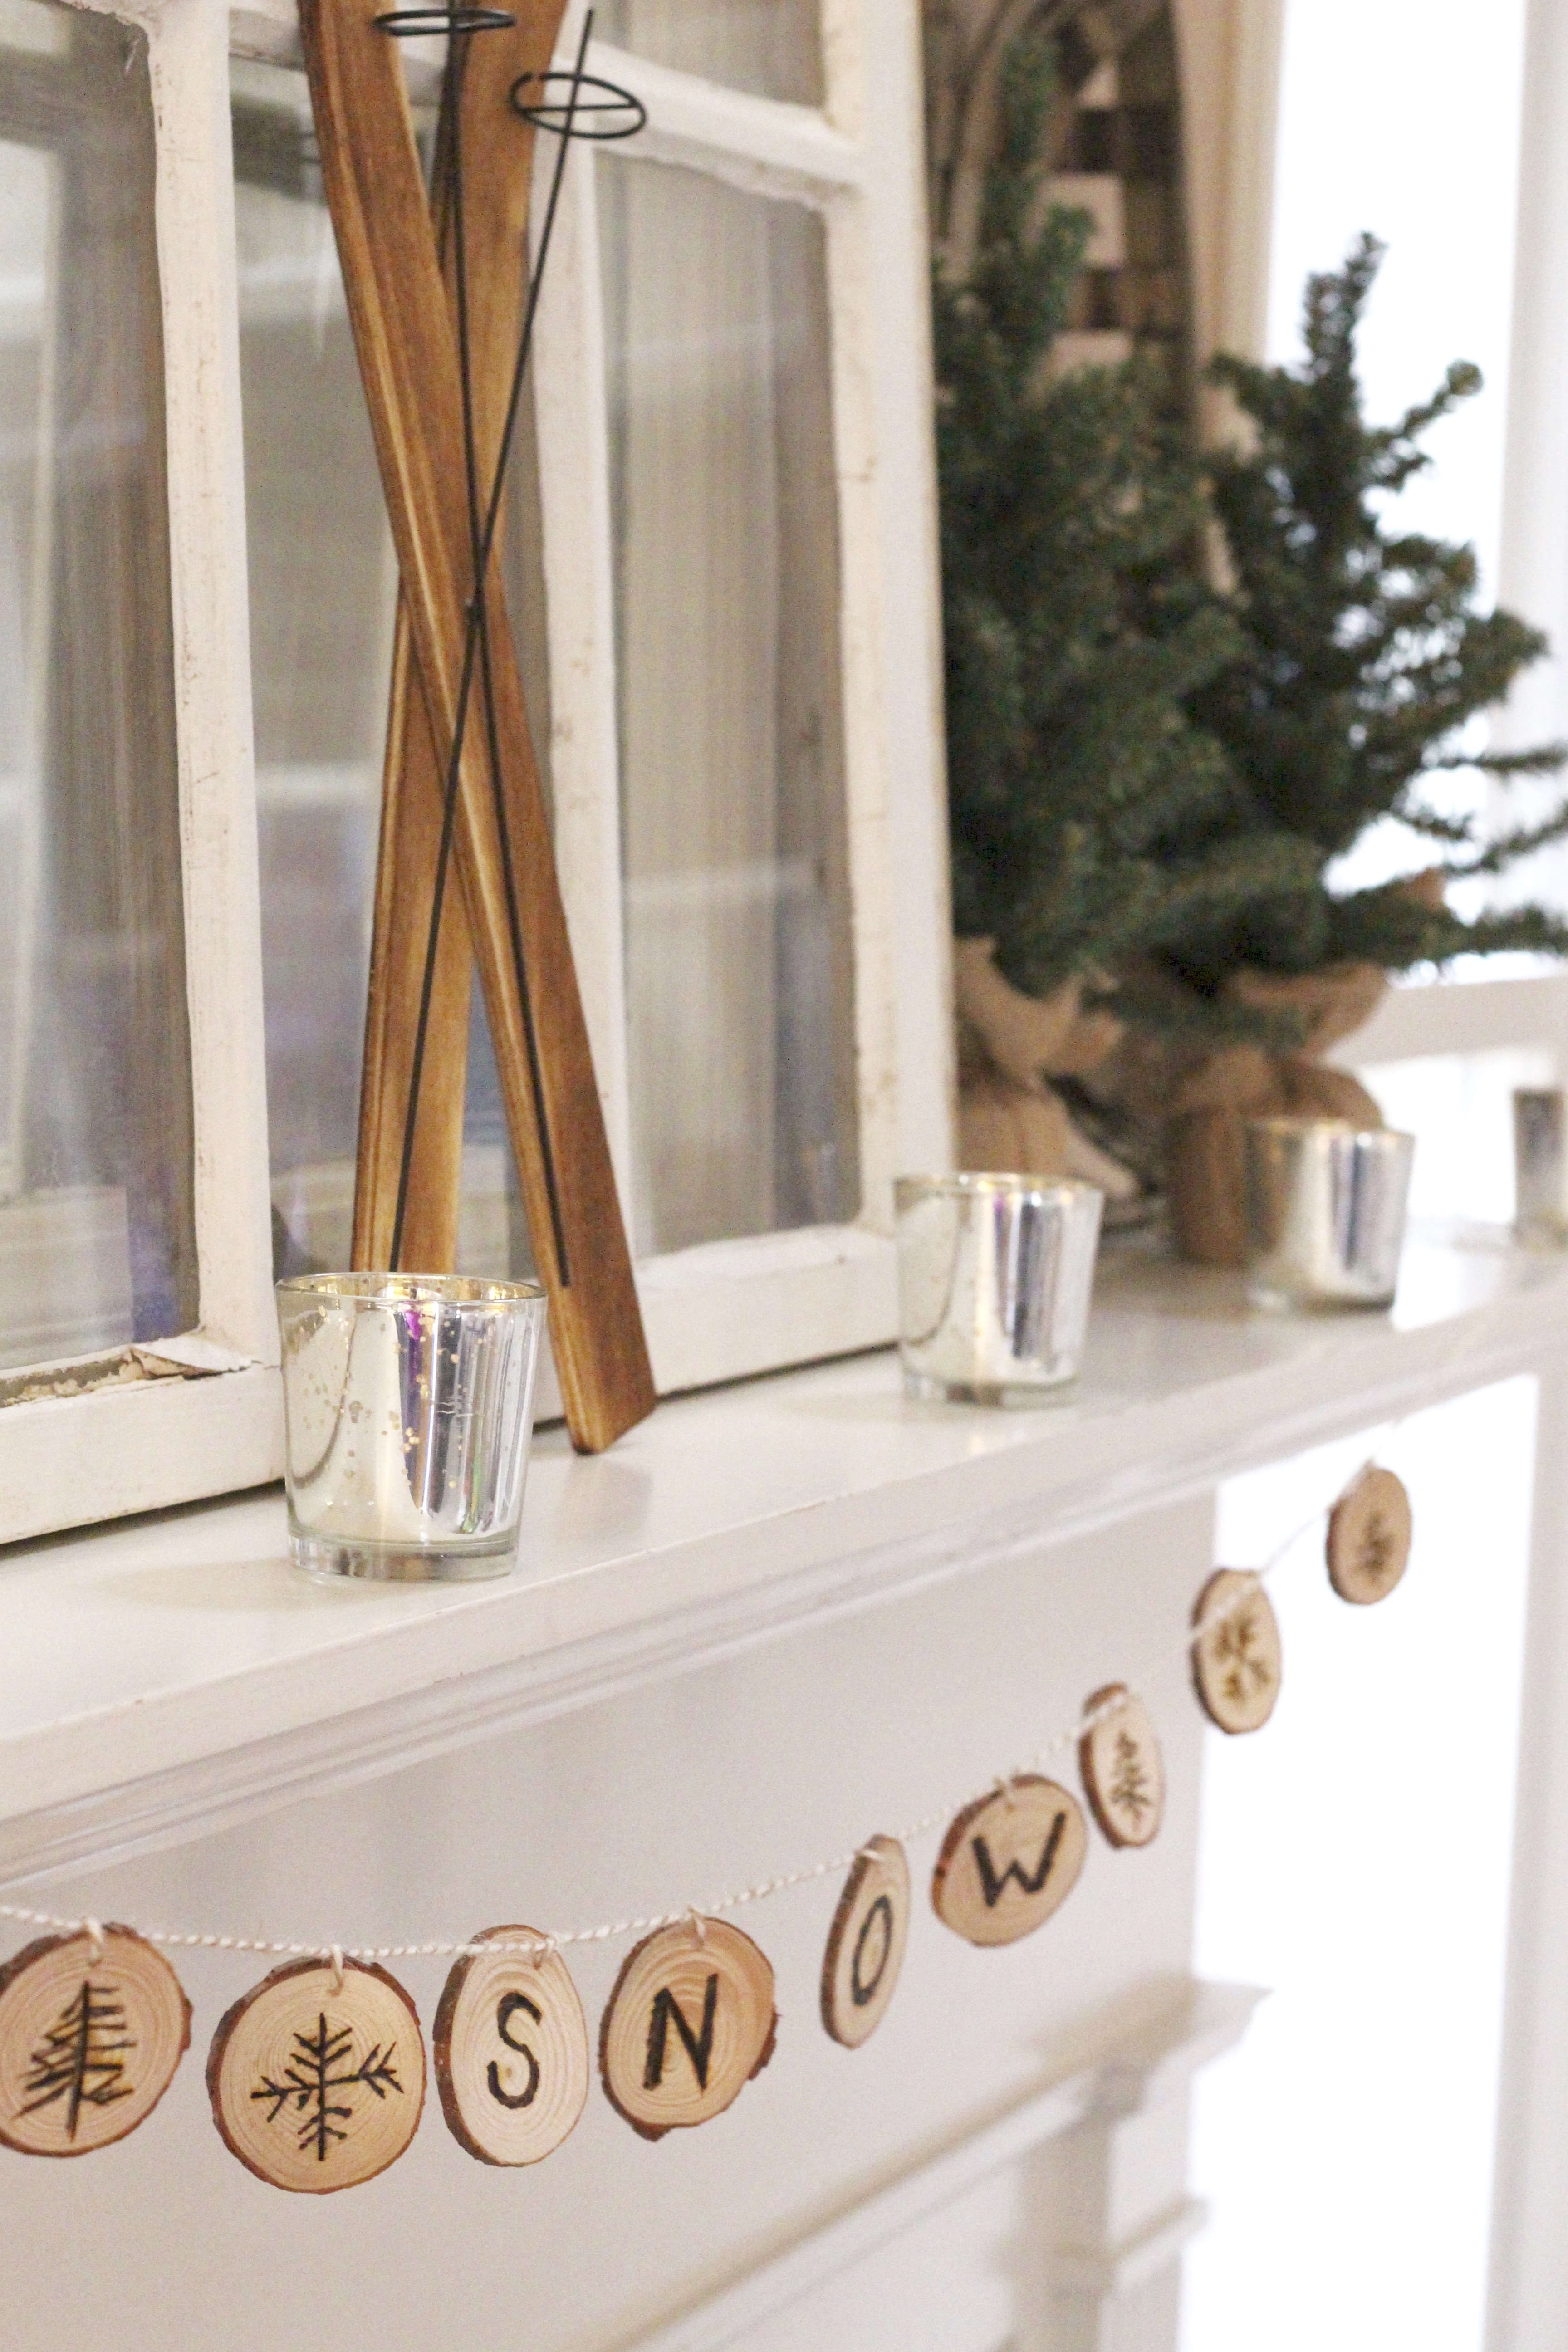
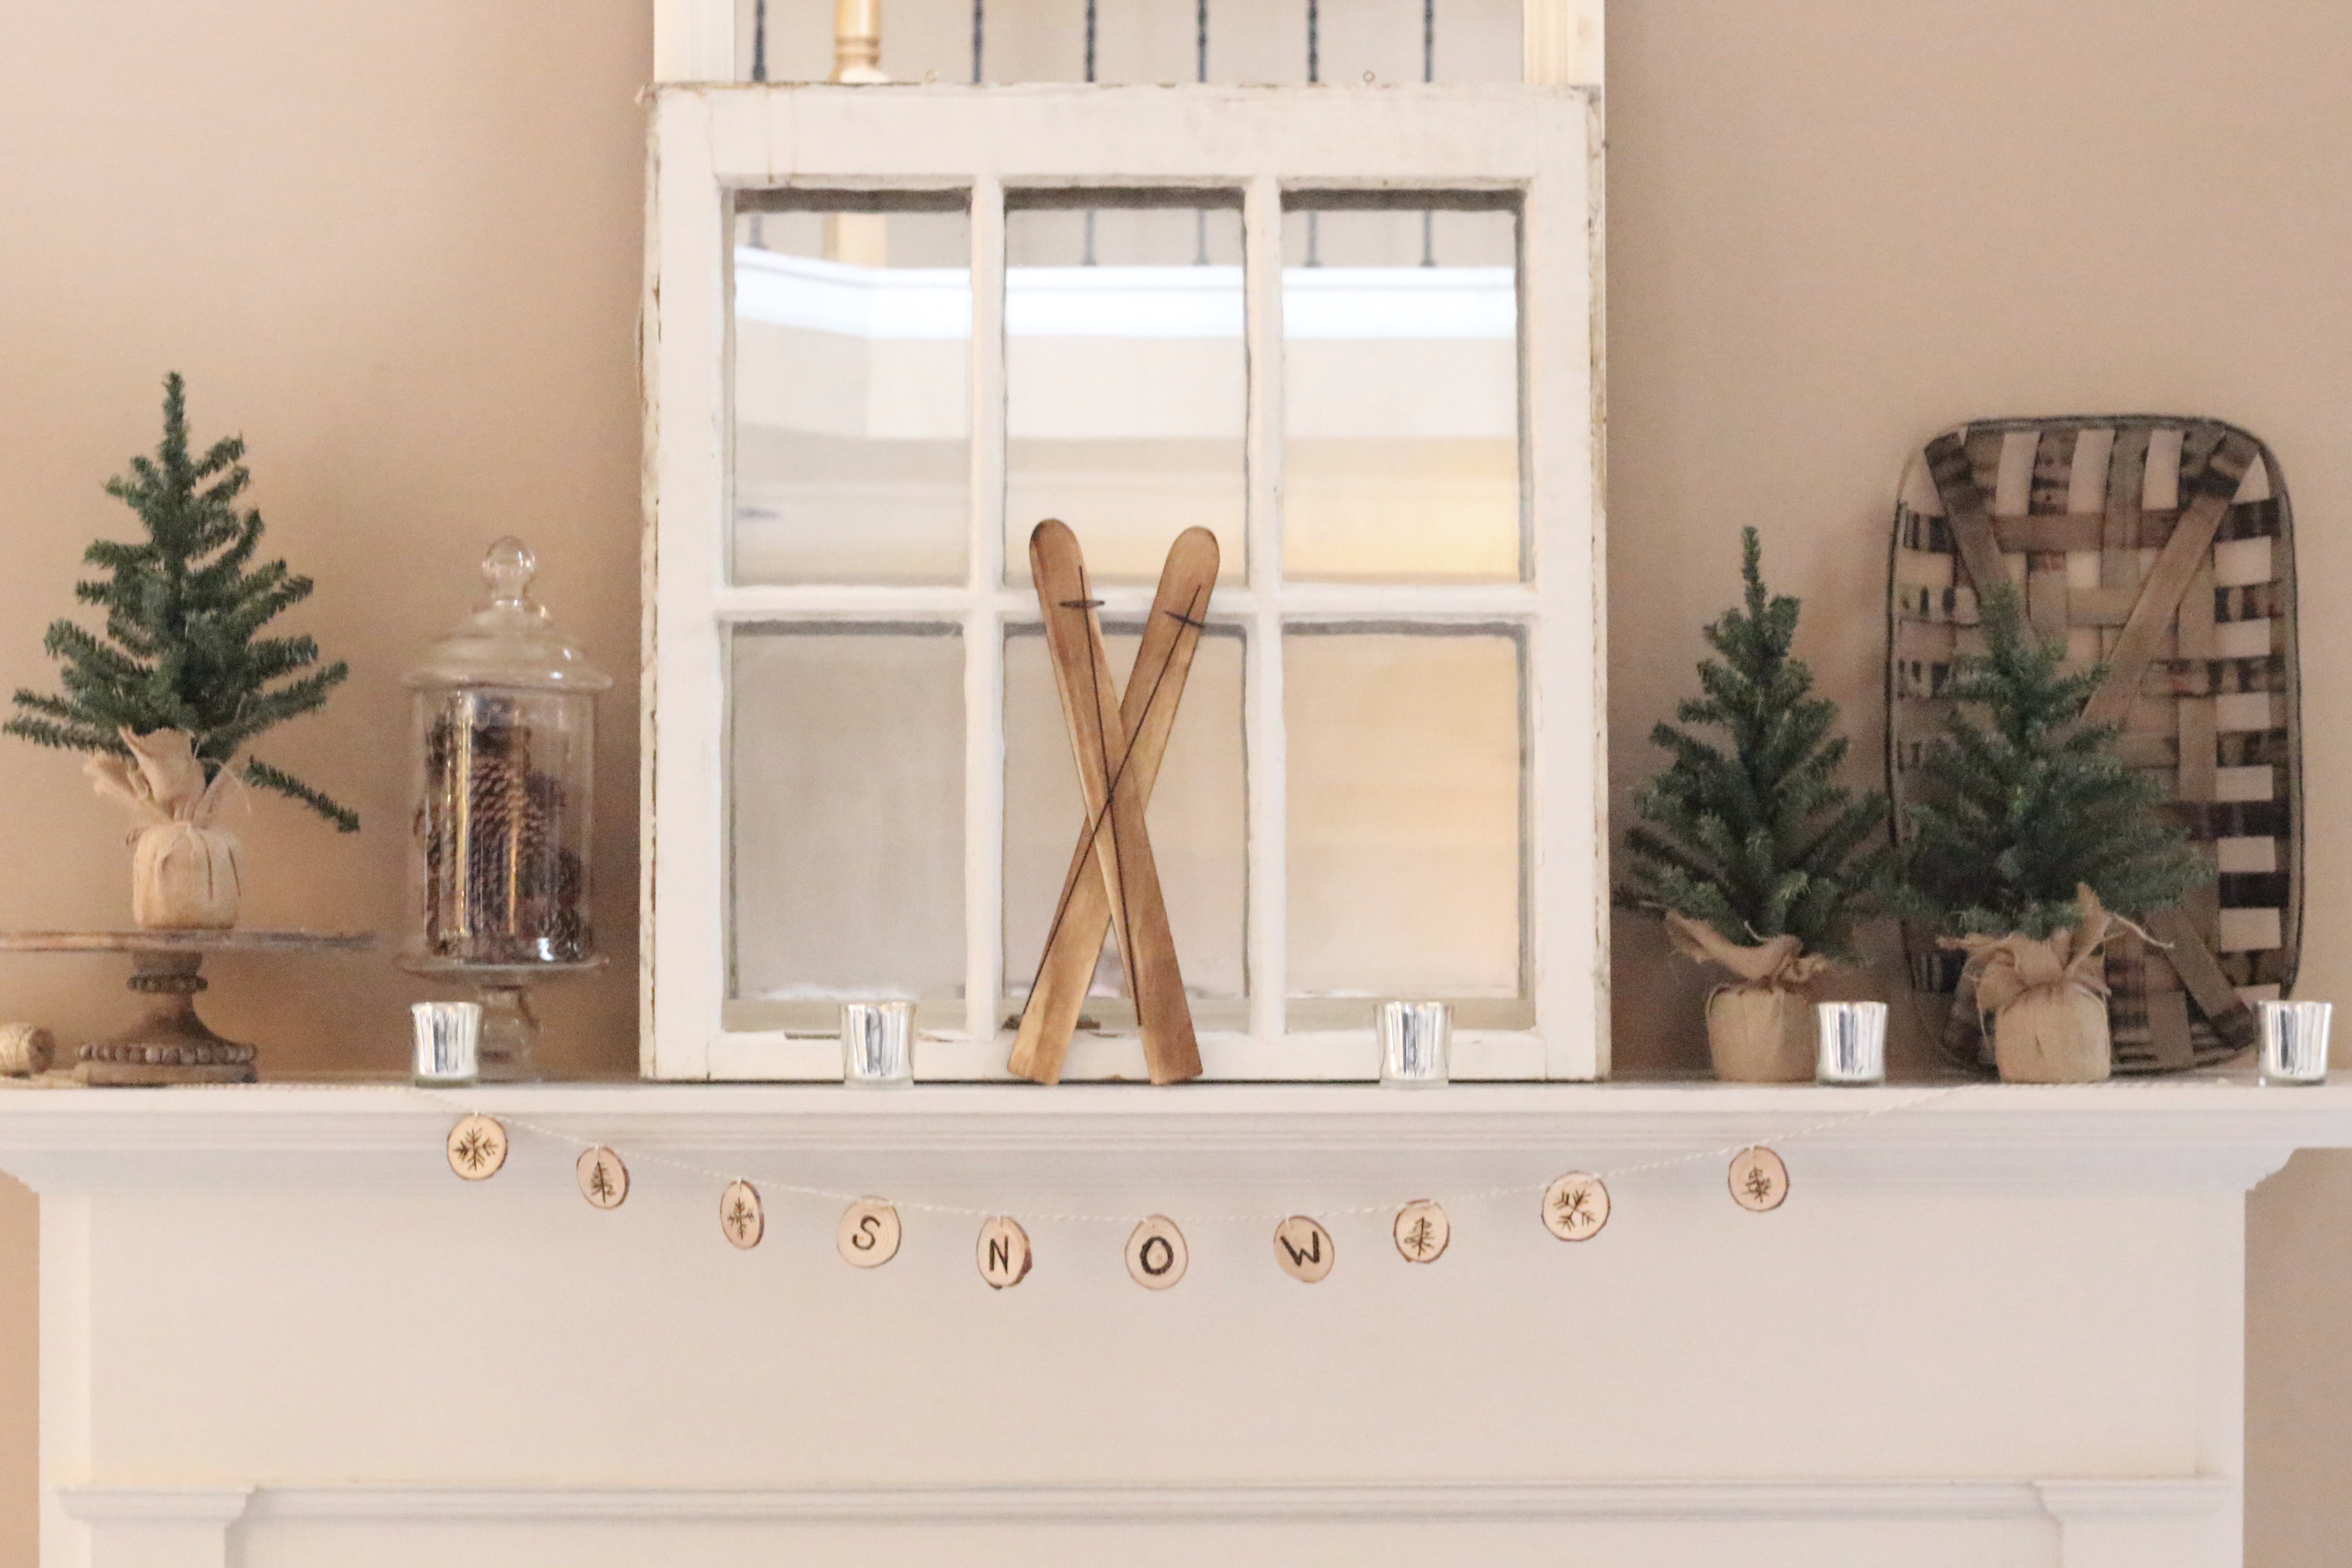
You actually got a sneak peek of this project on Friday when you saw my winter mantel.
Wood Slice Winter Garland
{This post contains affiliate links, see full disclosure here.}
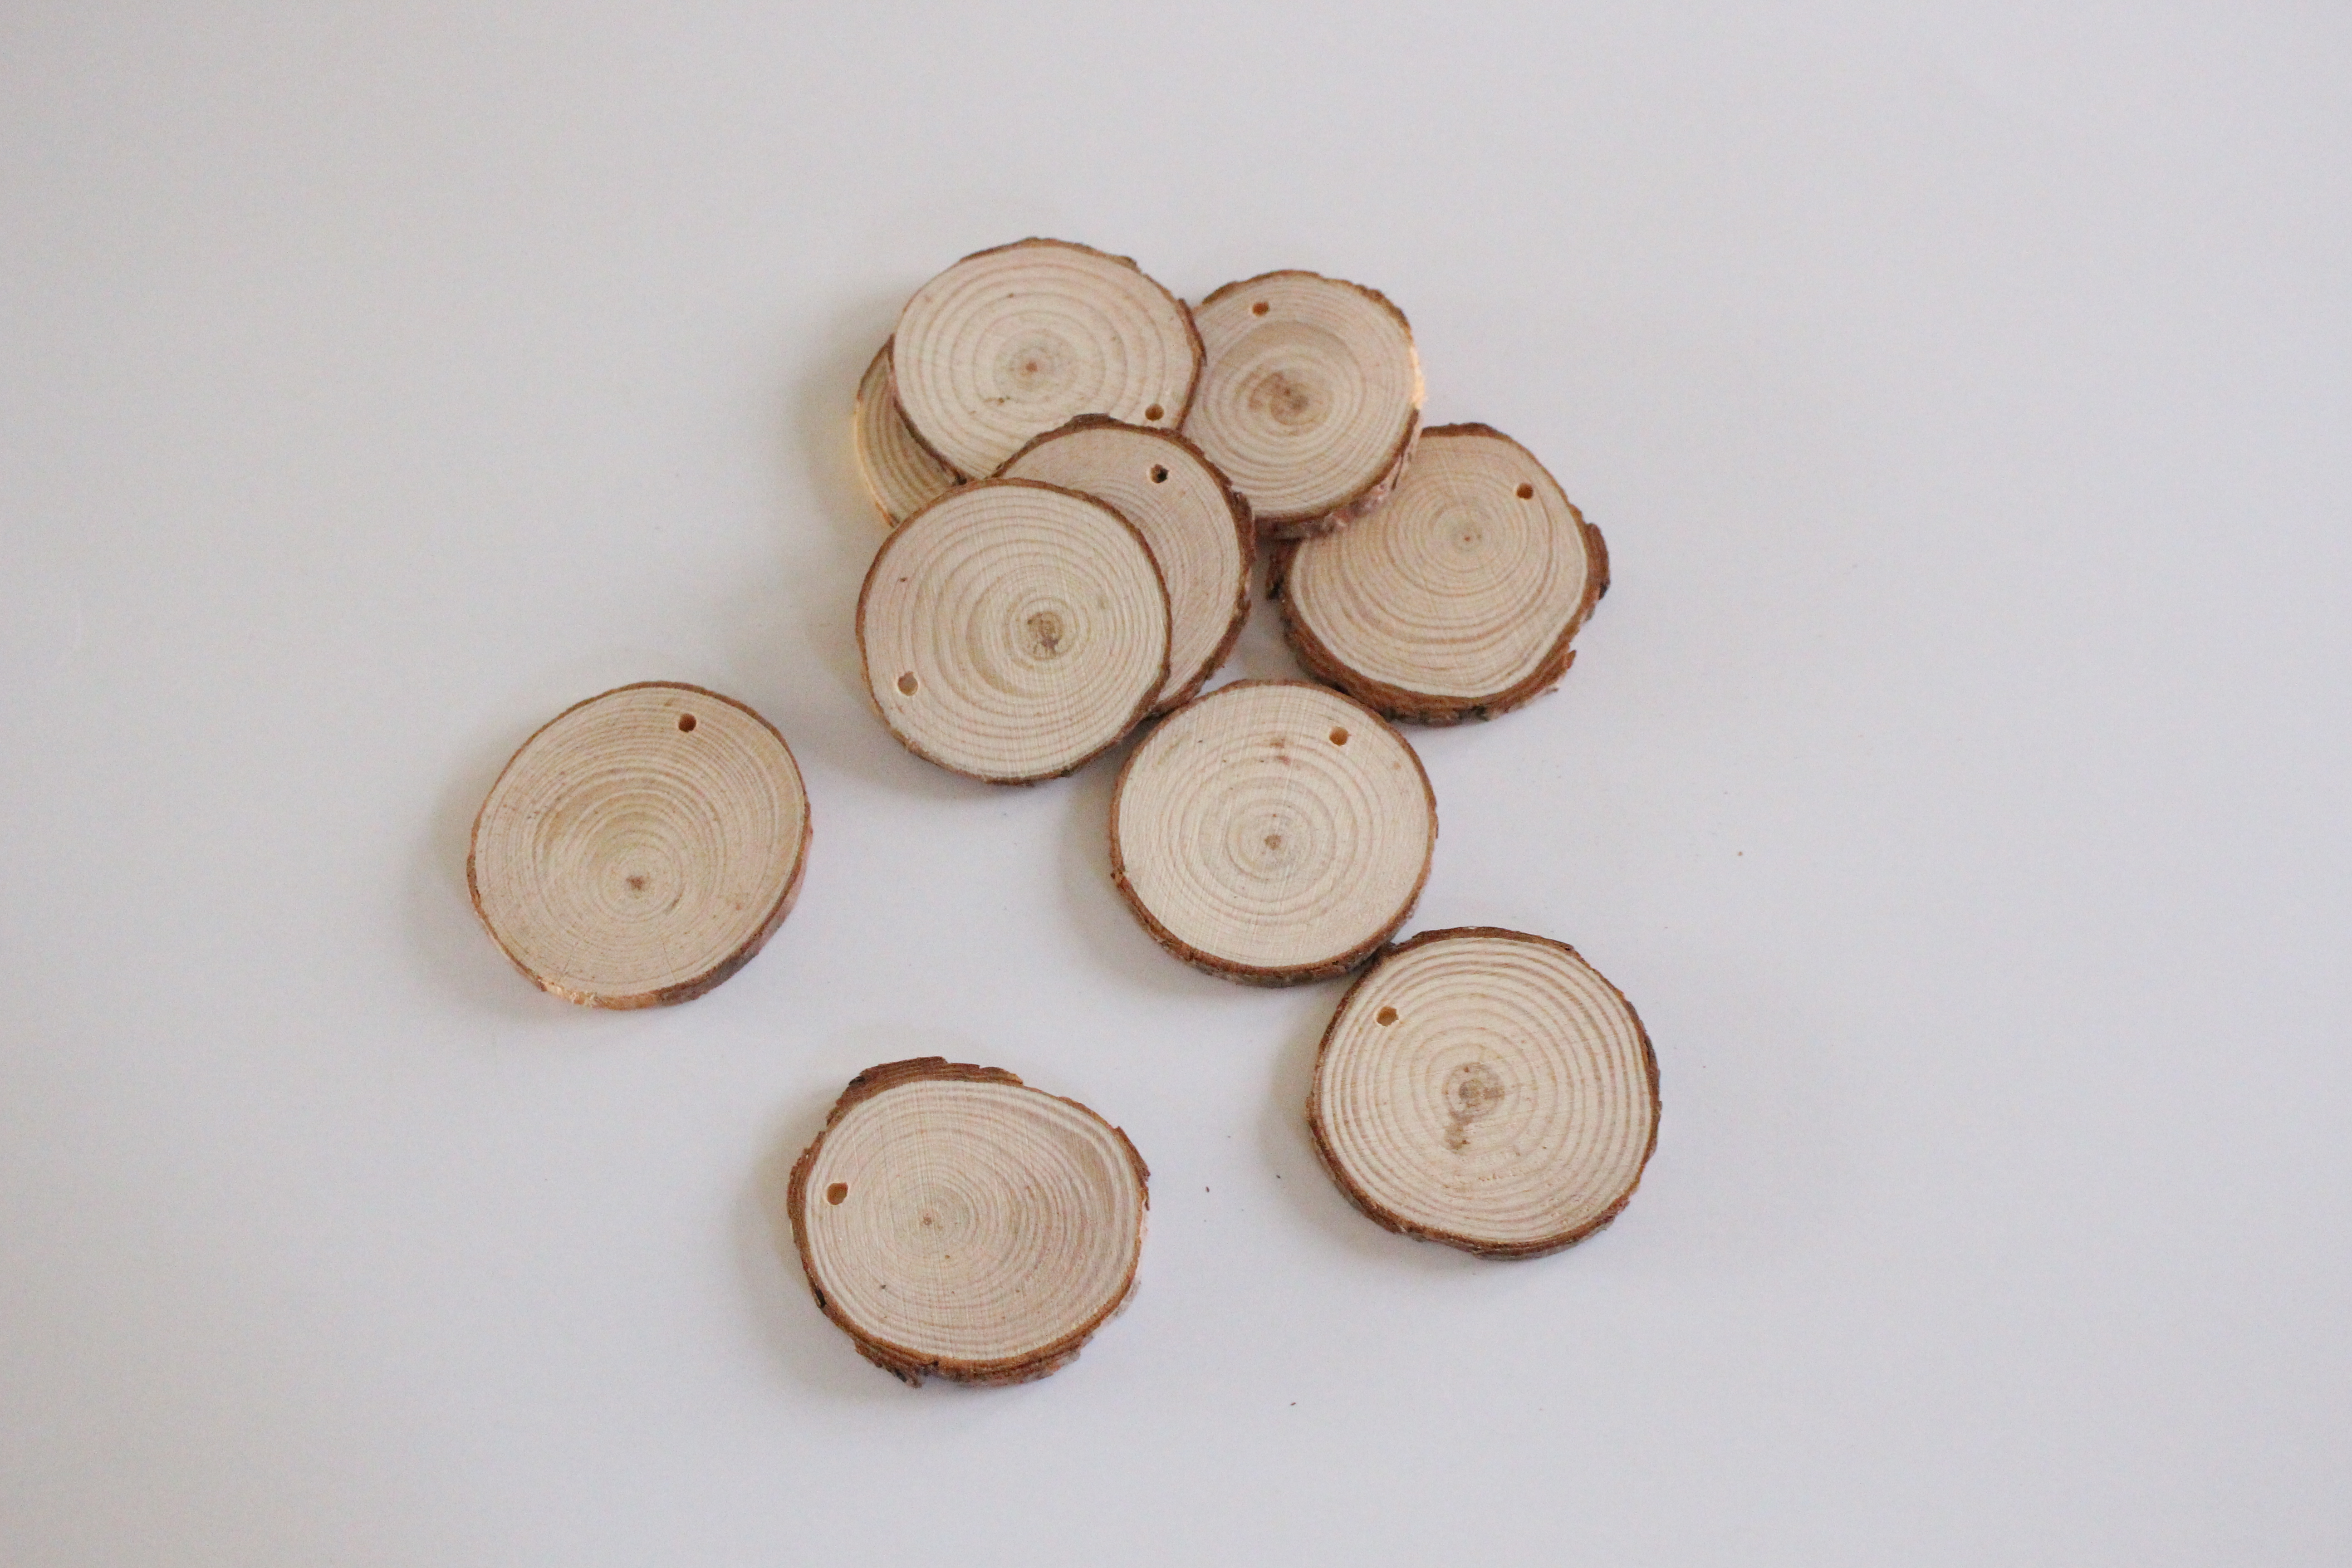
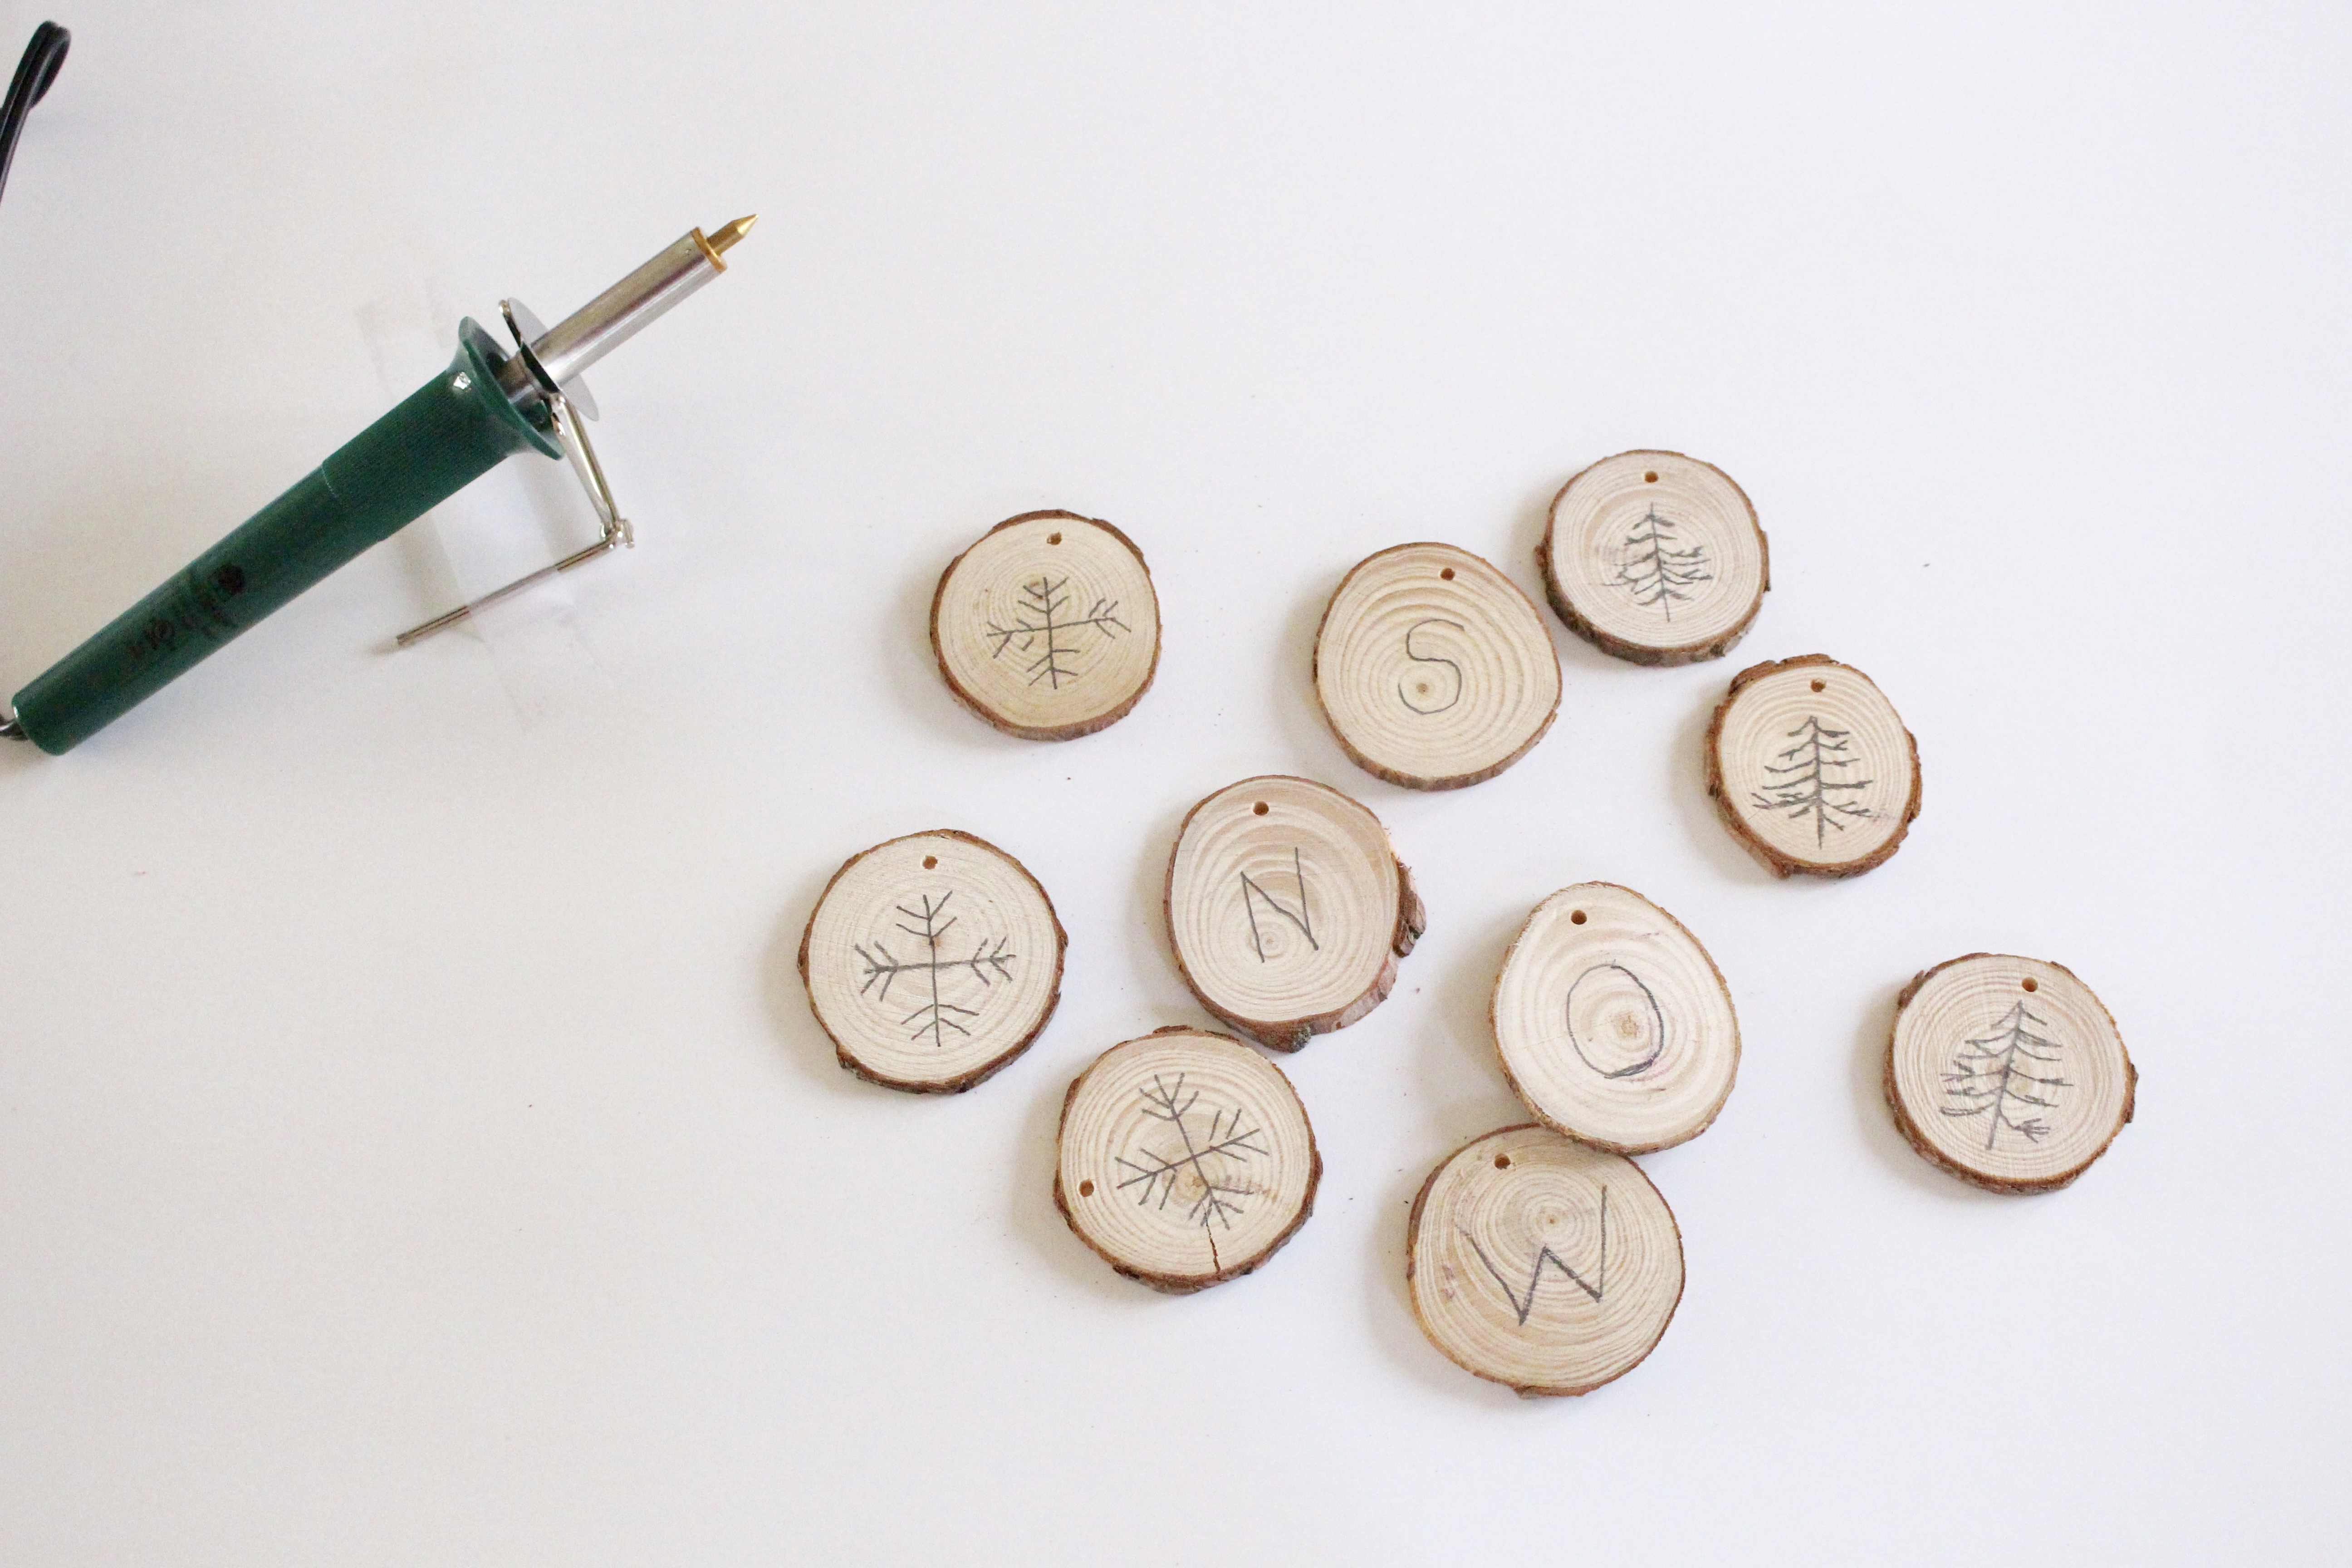
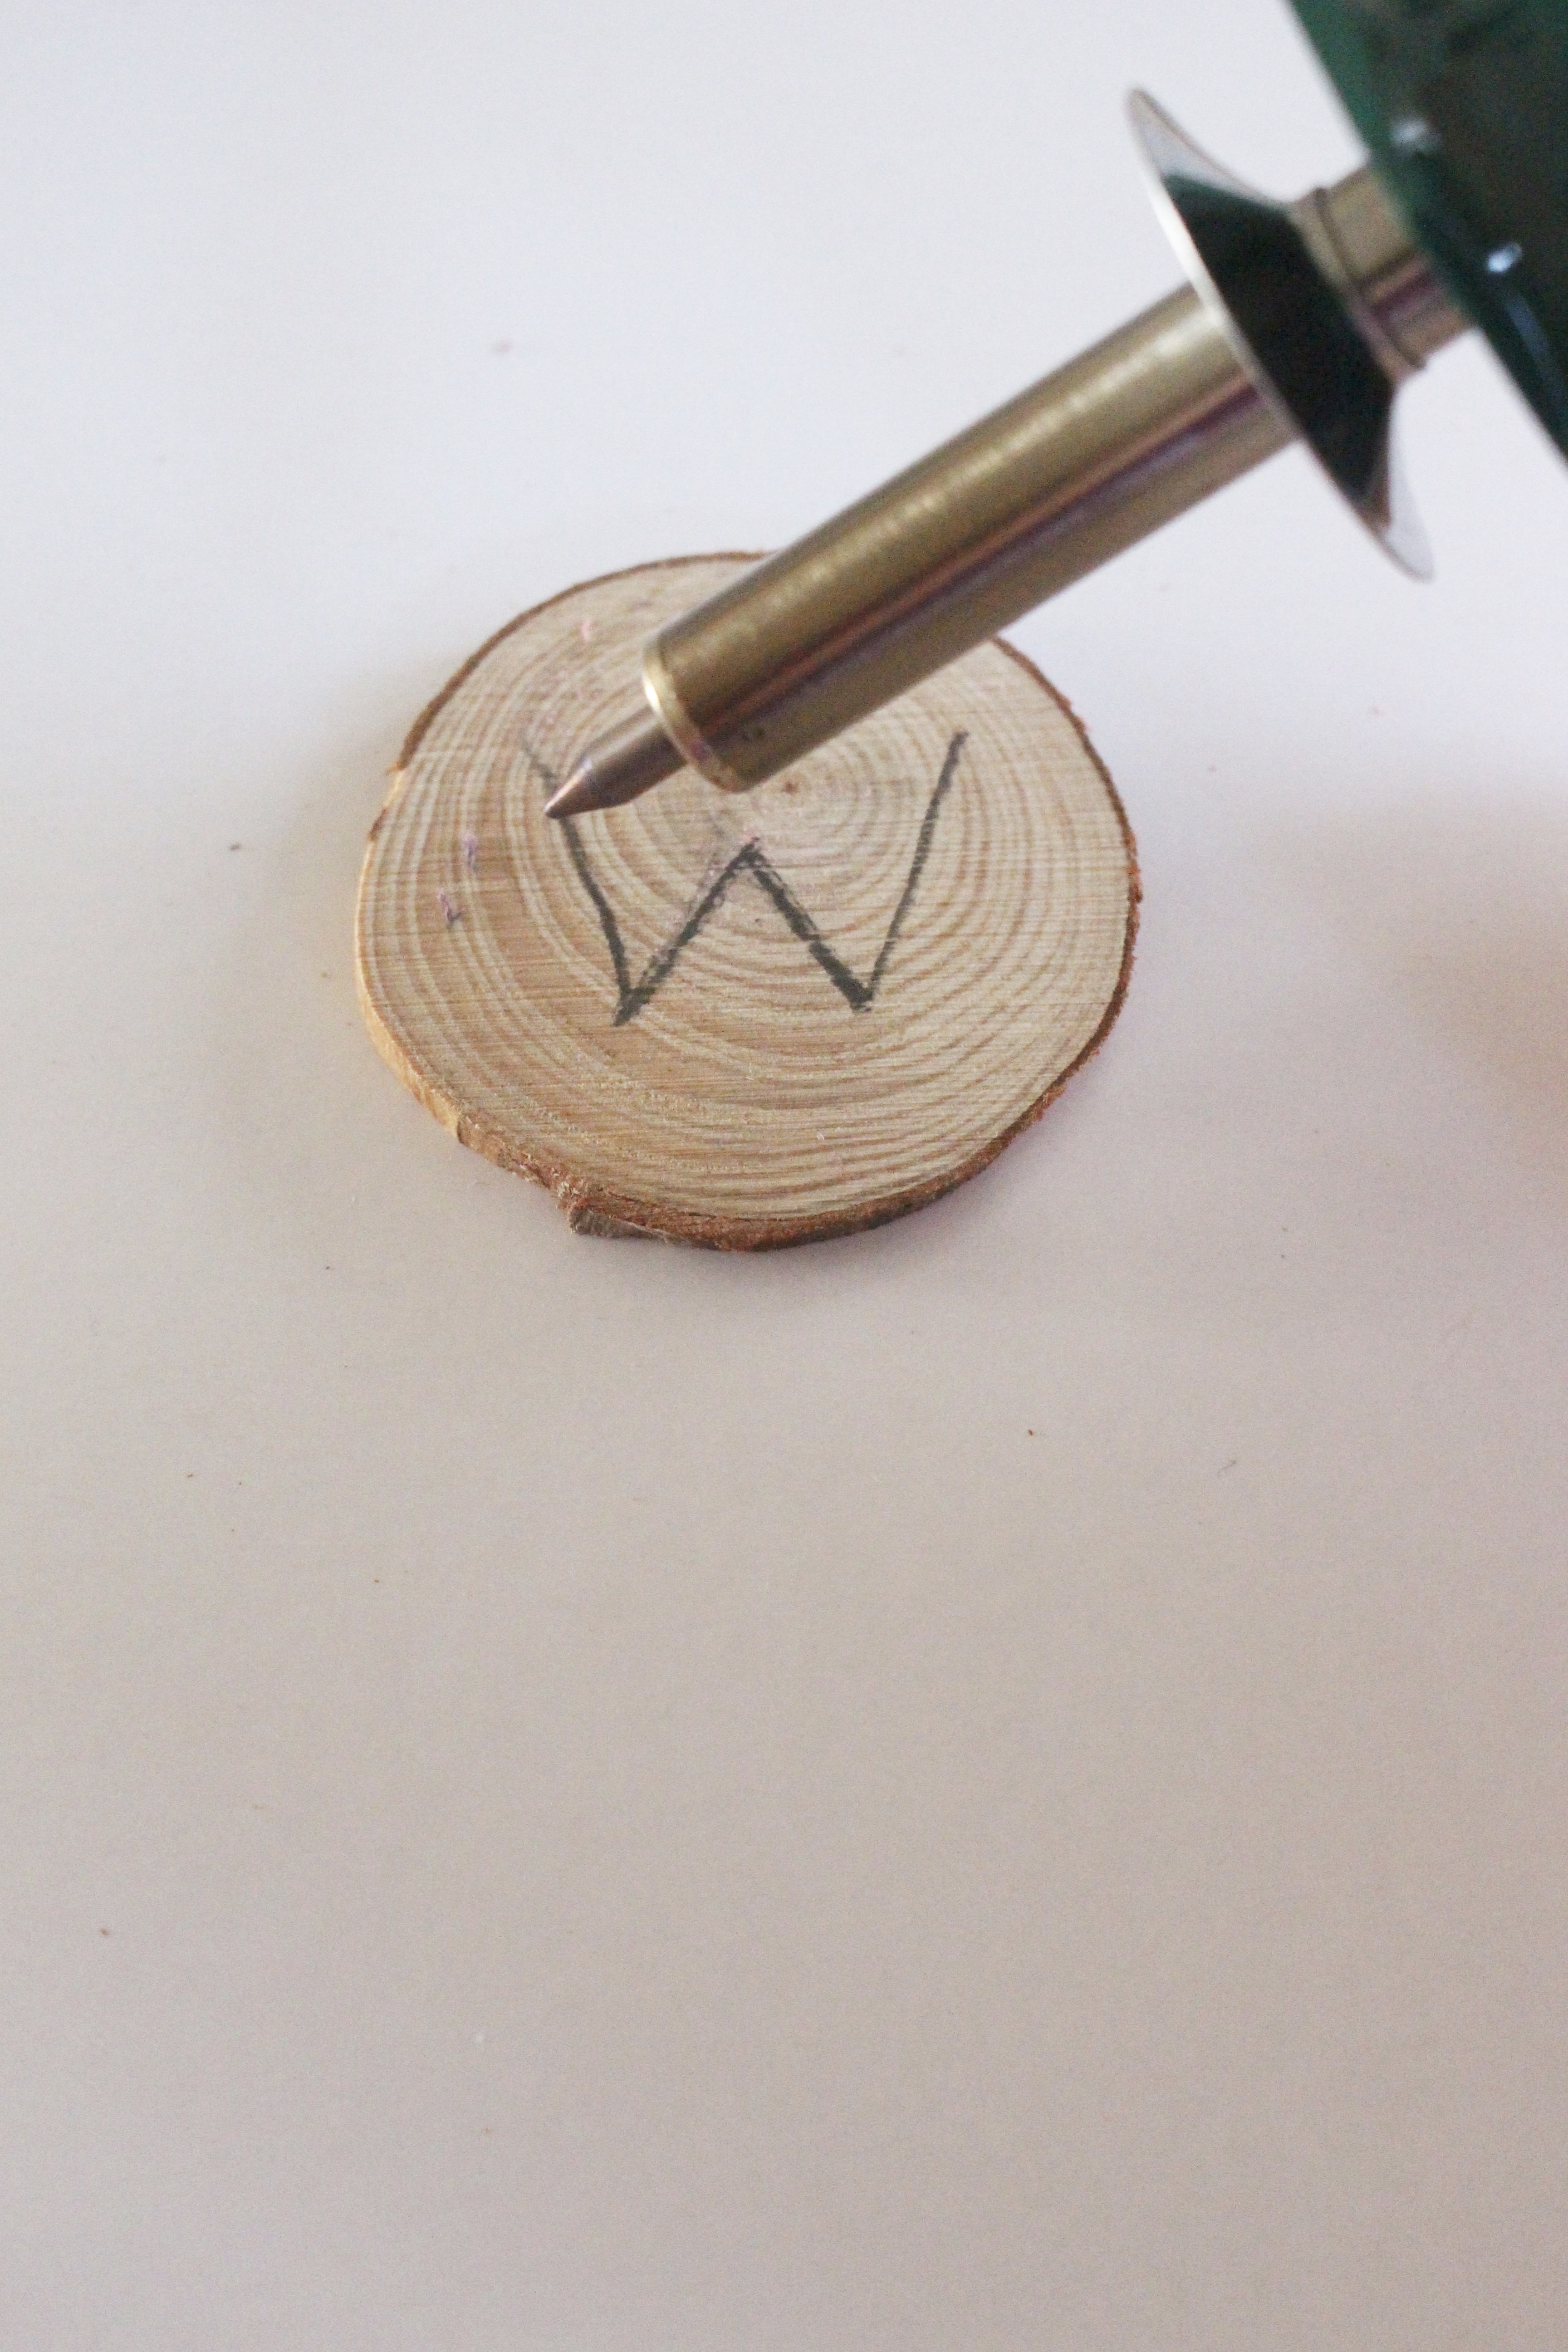
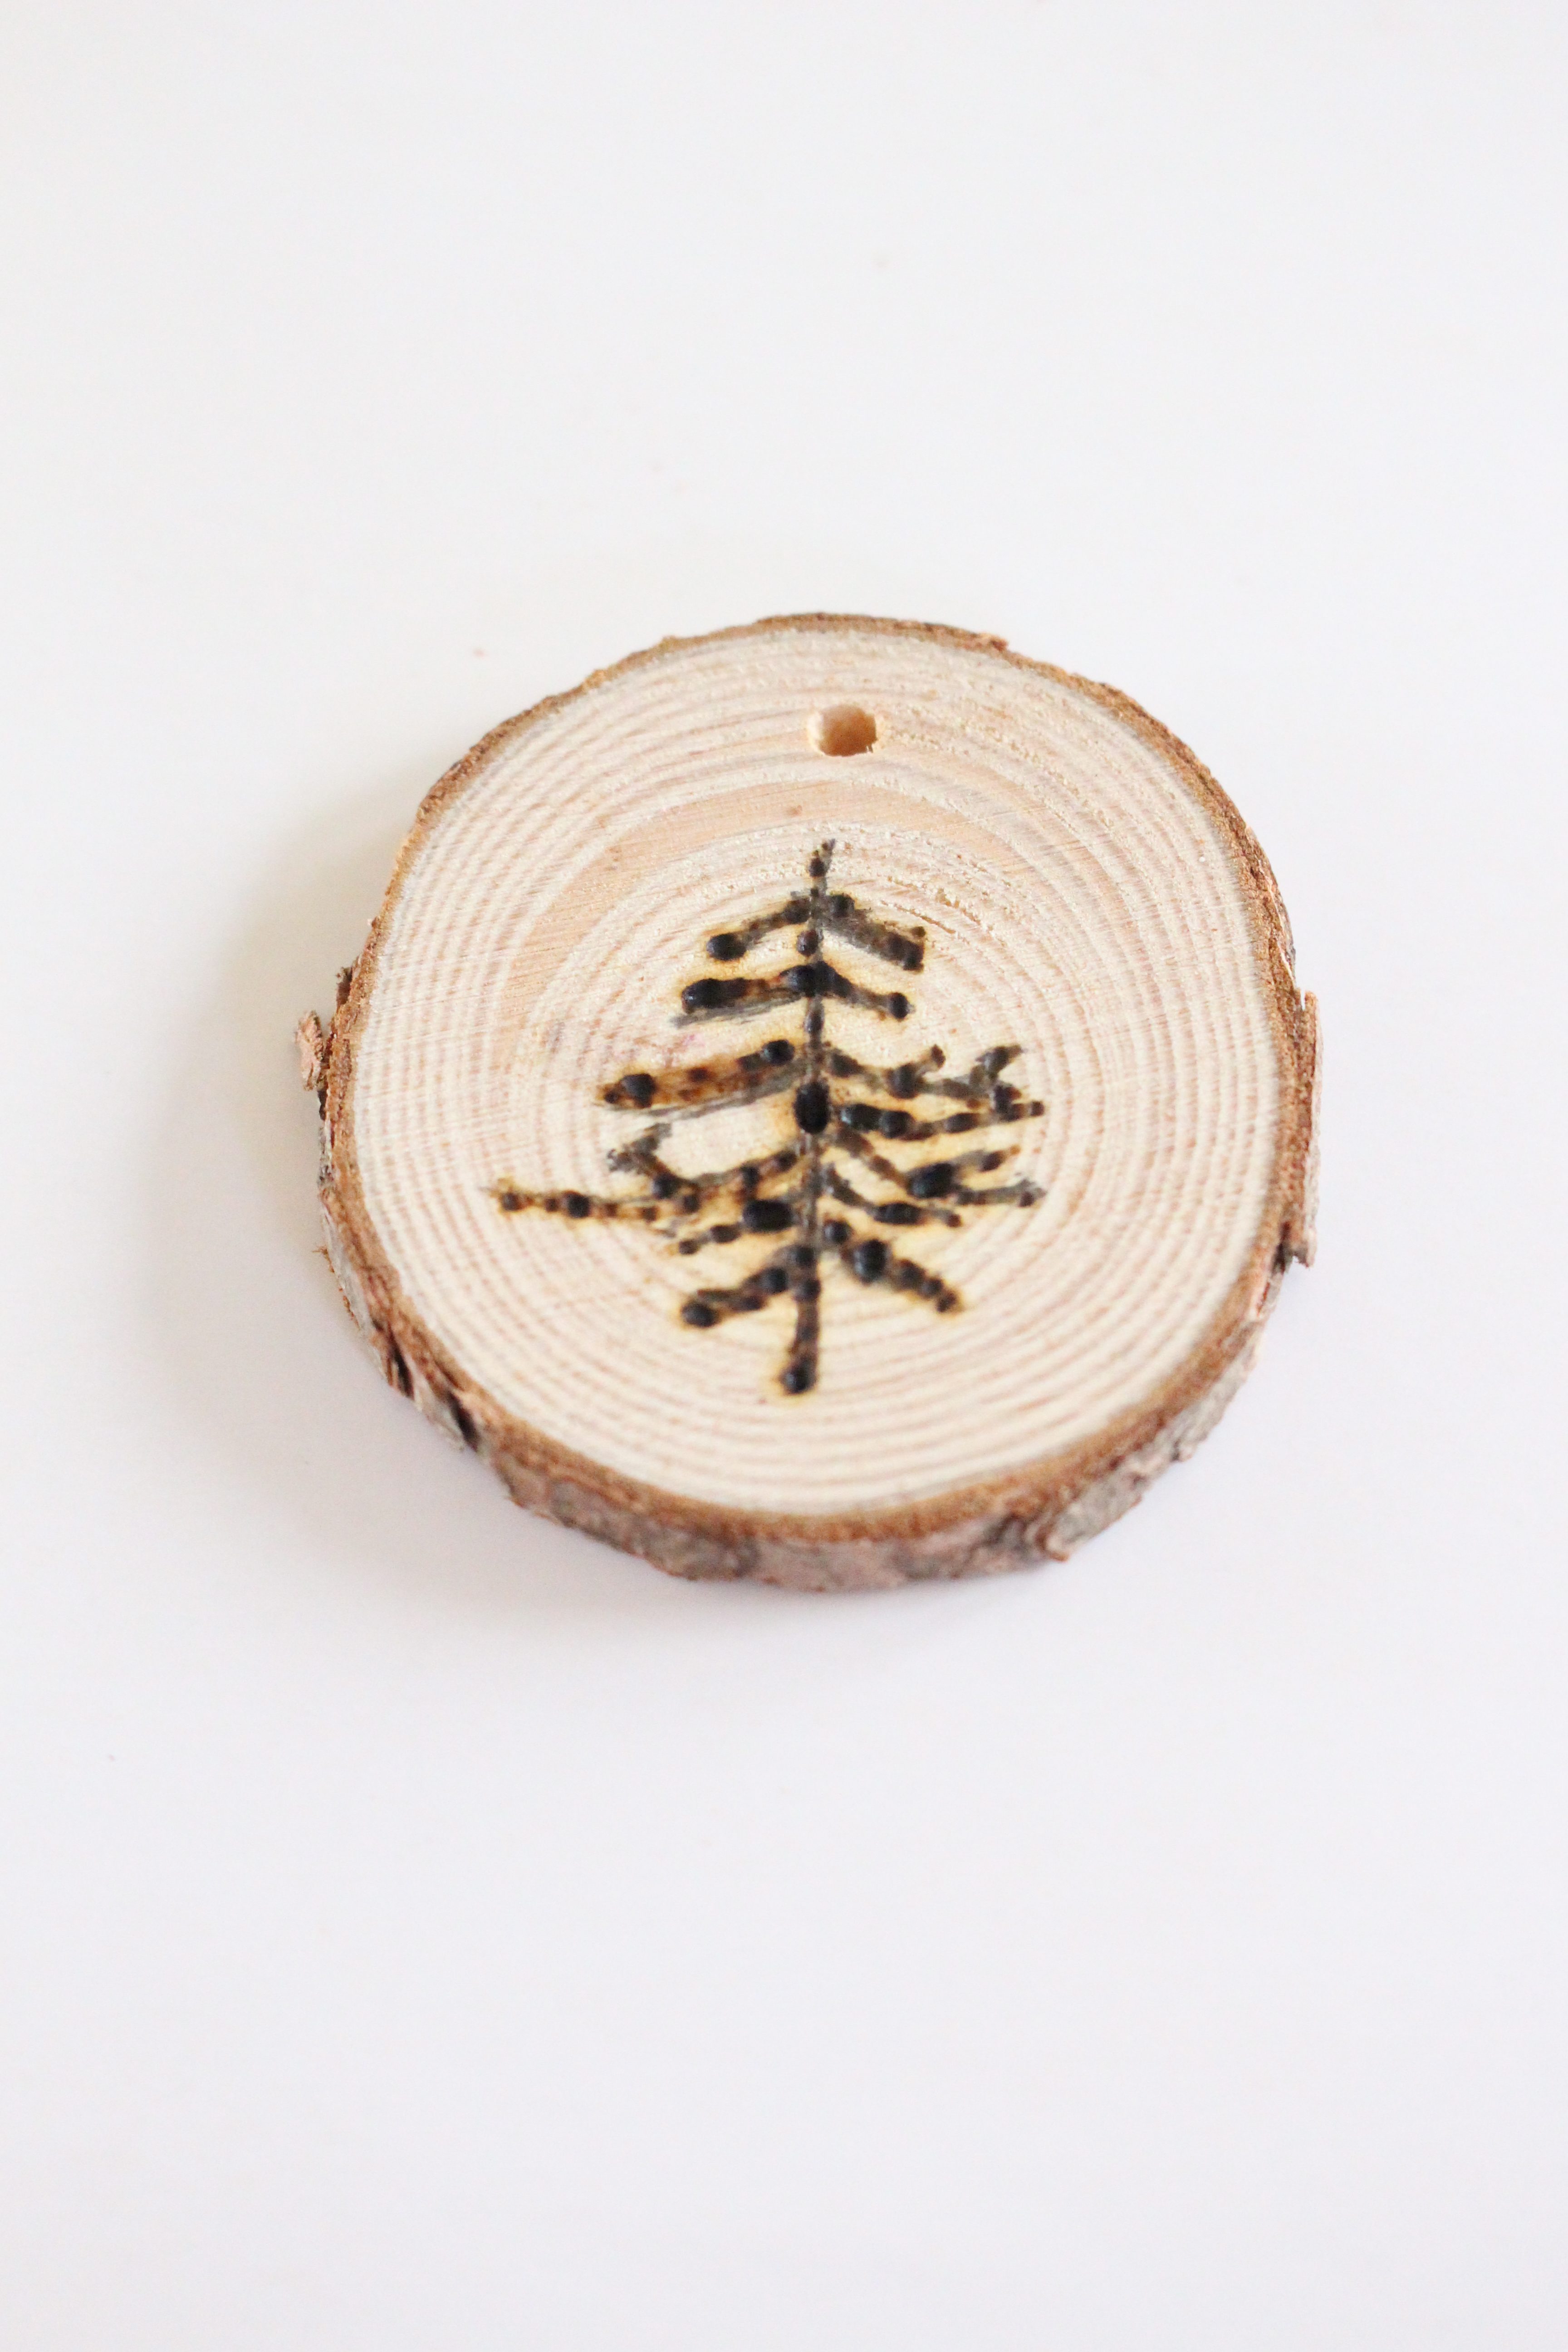
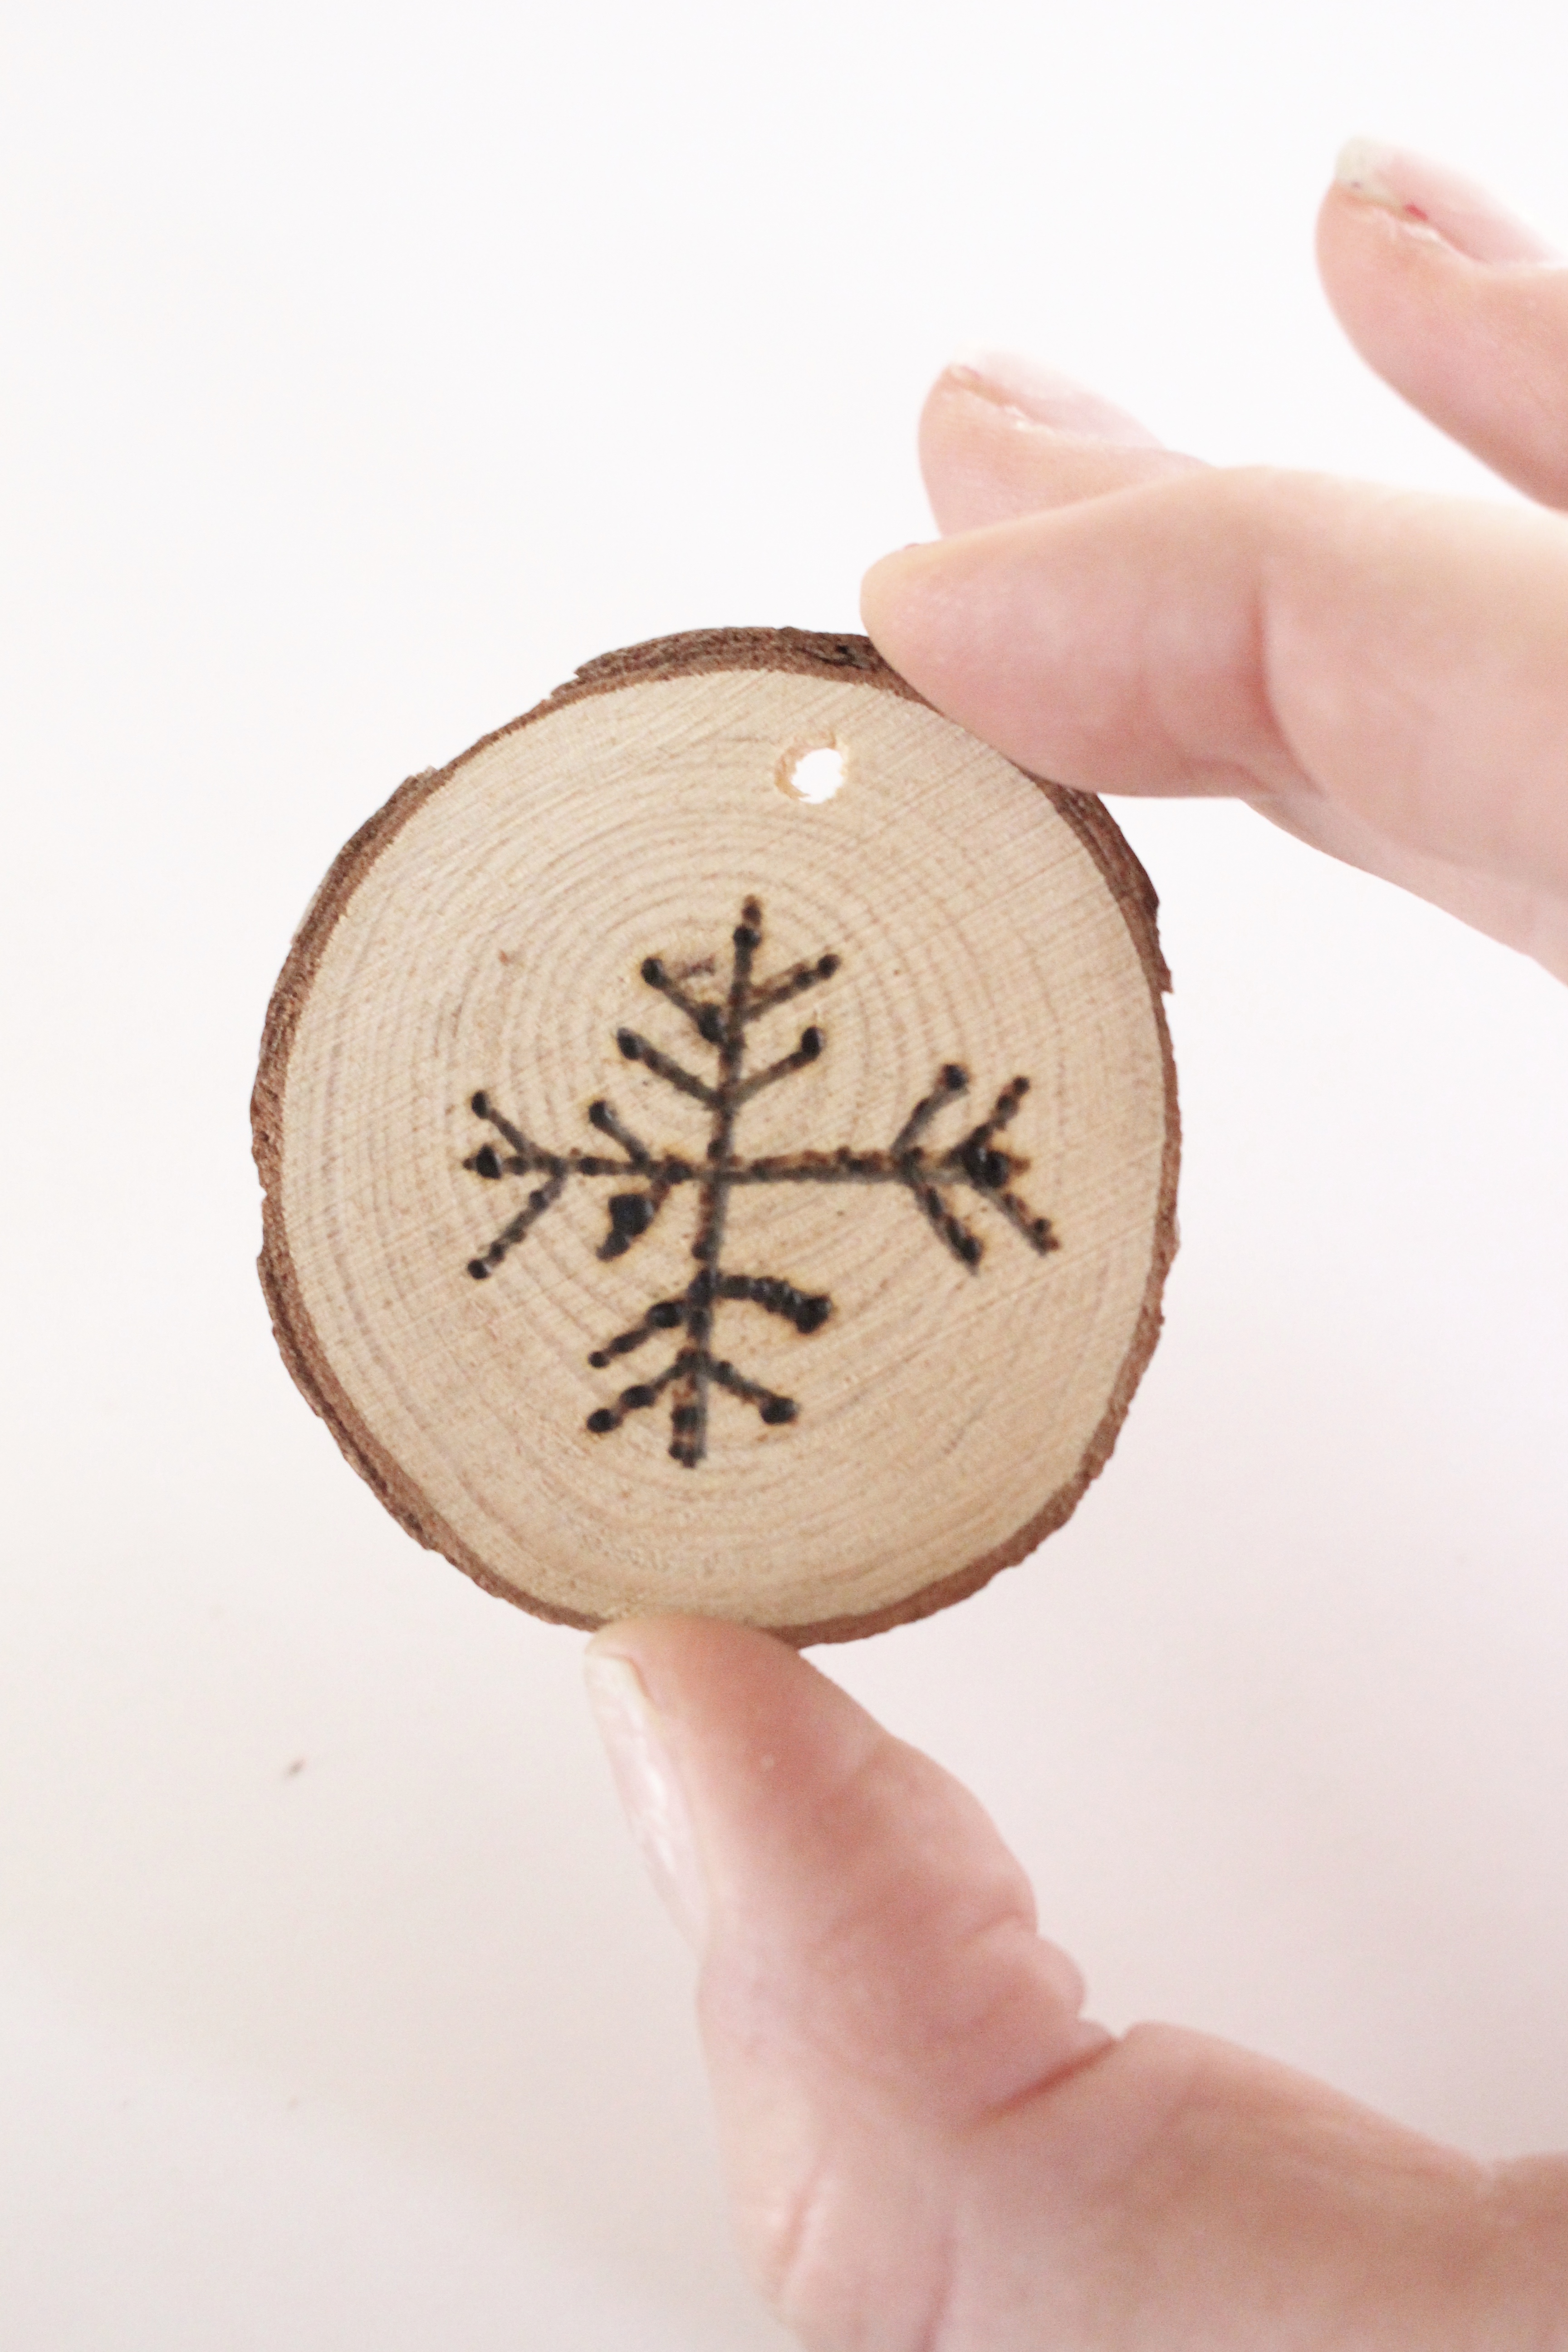
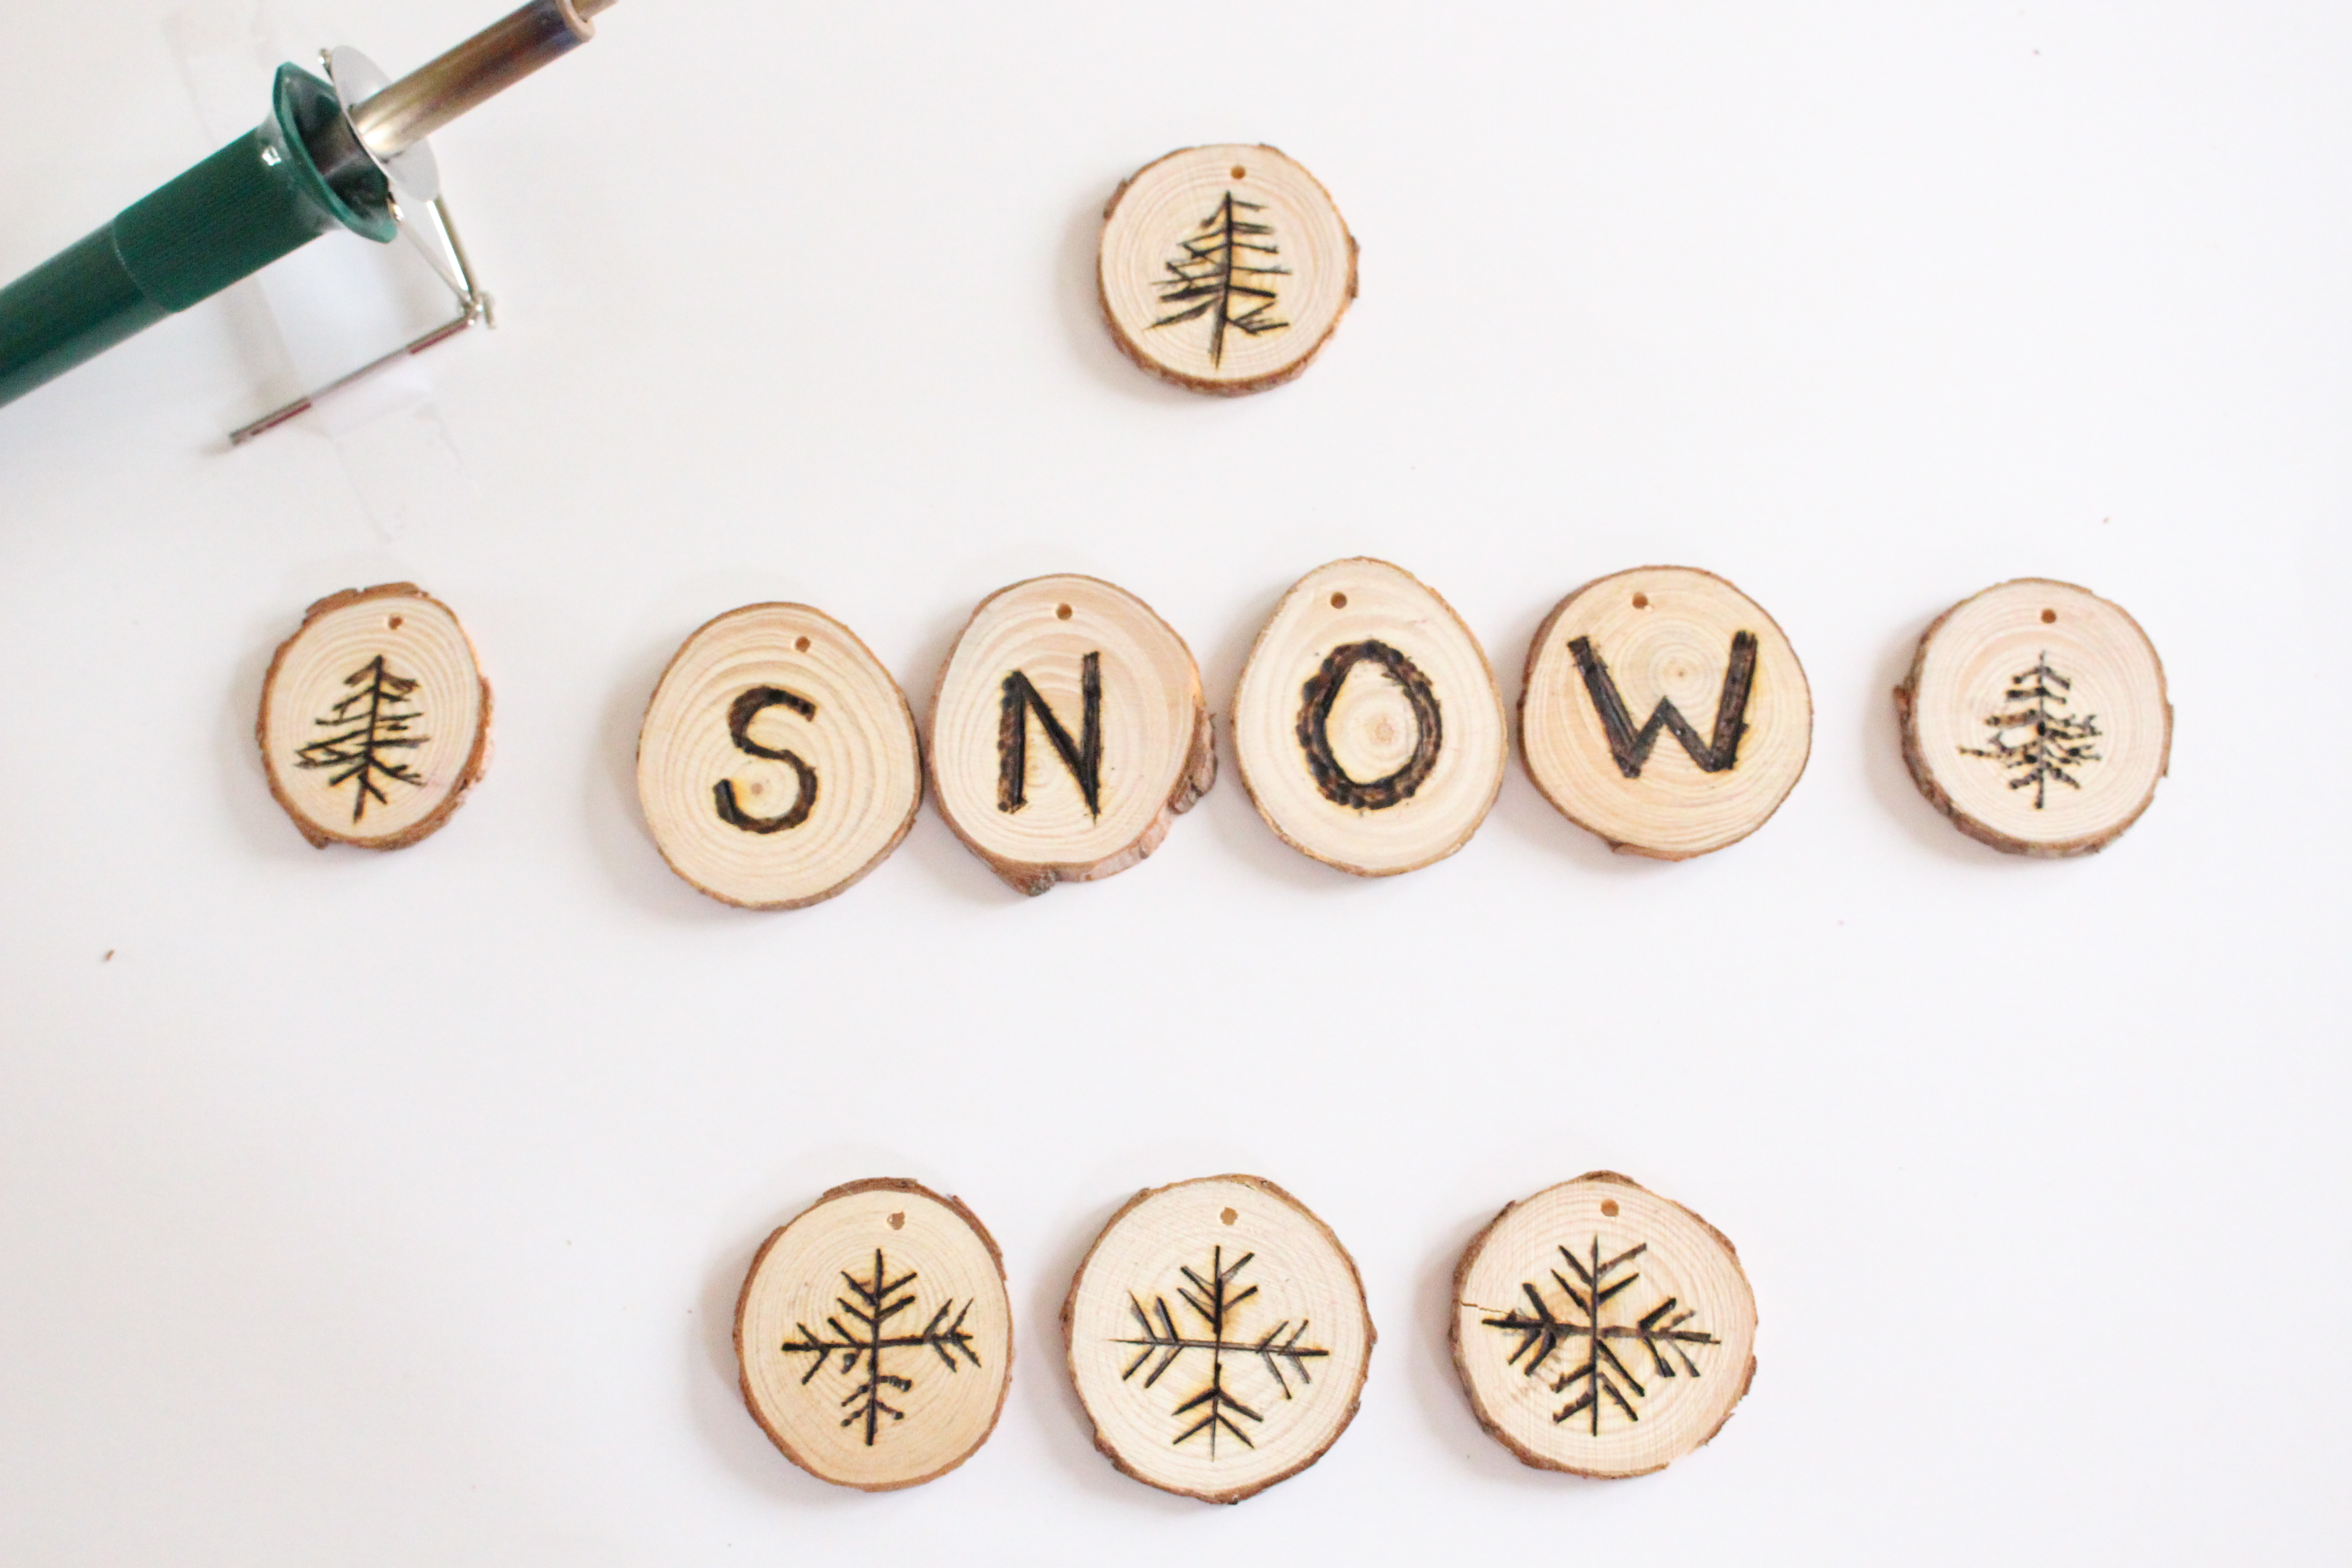
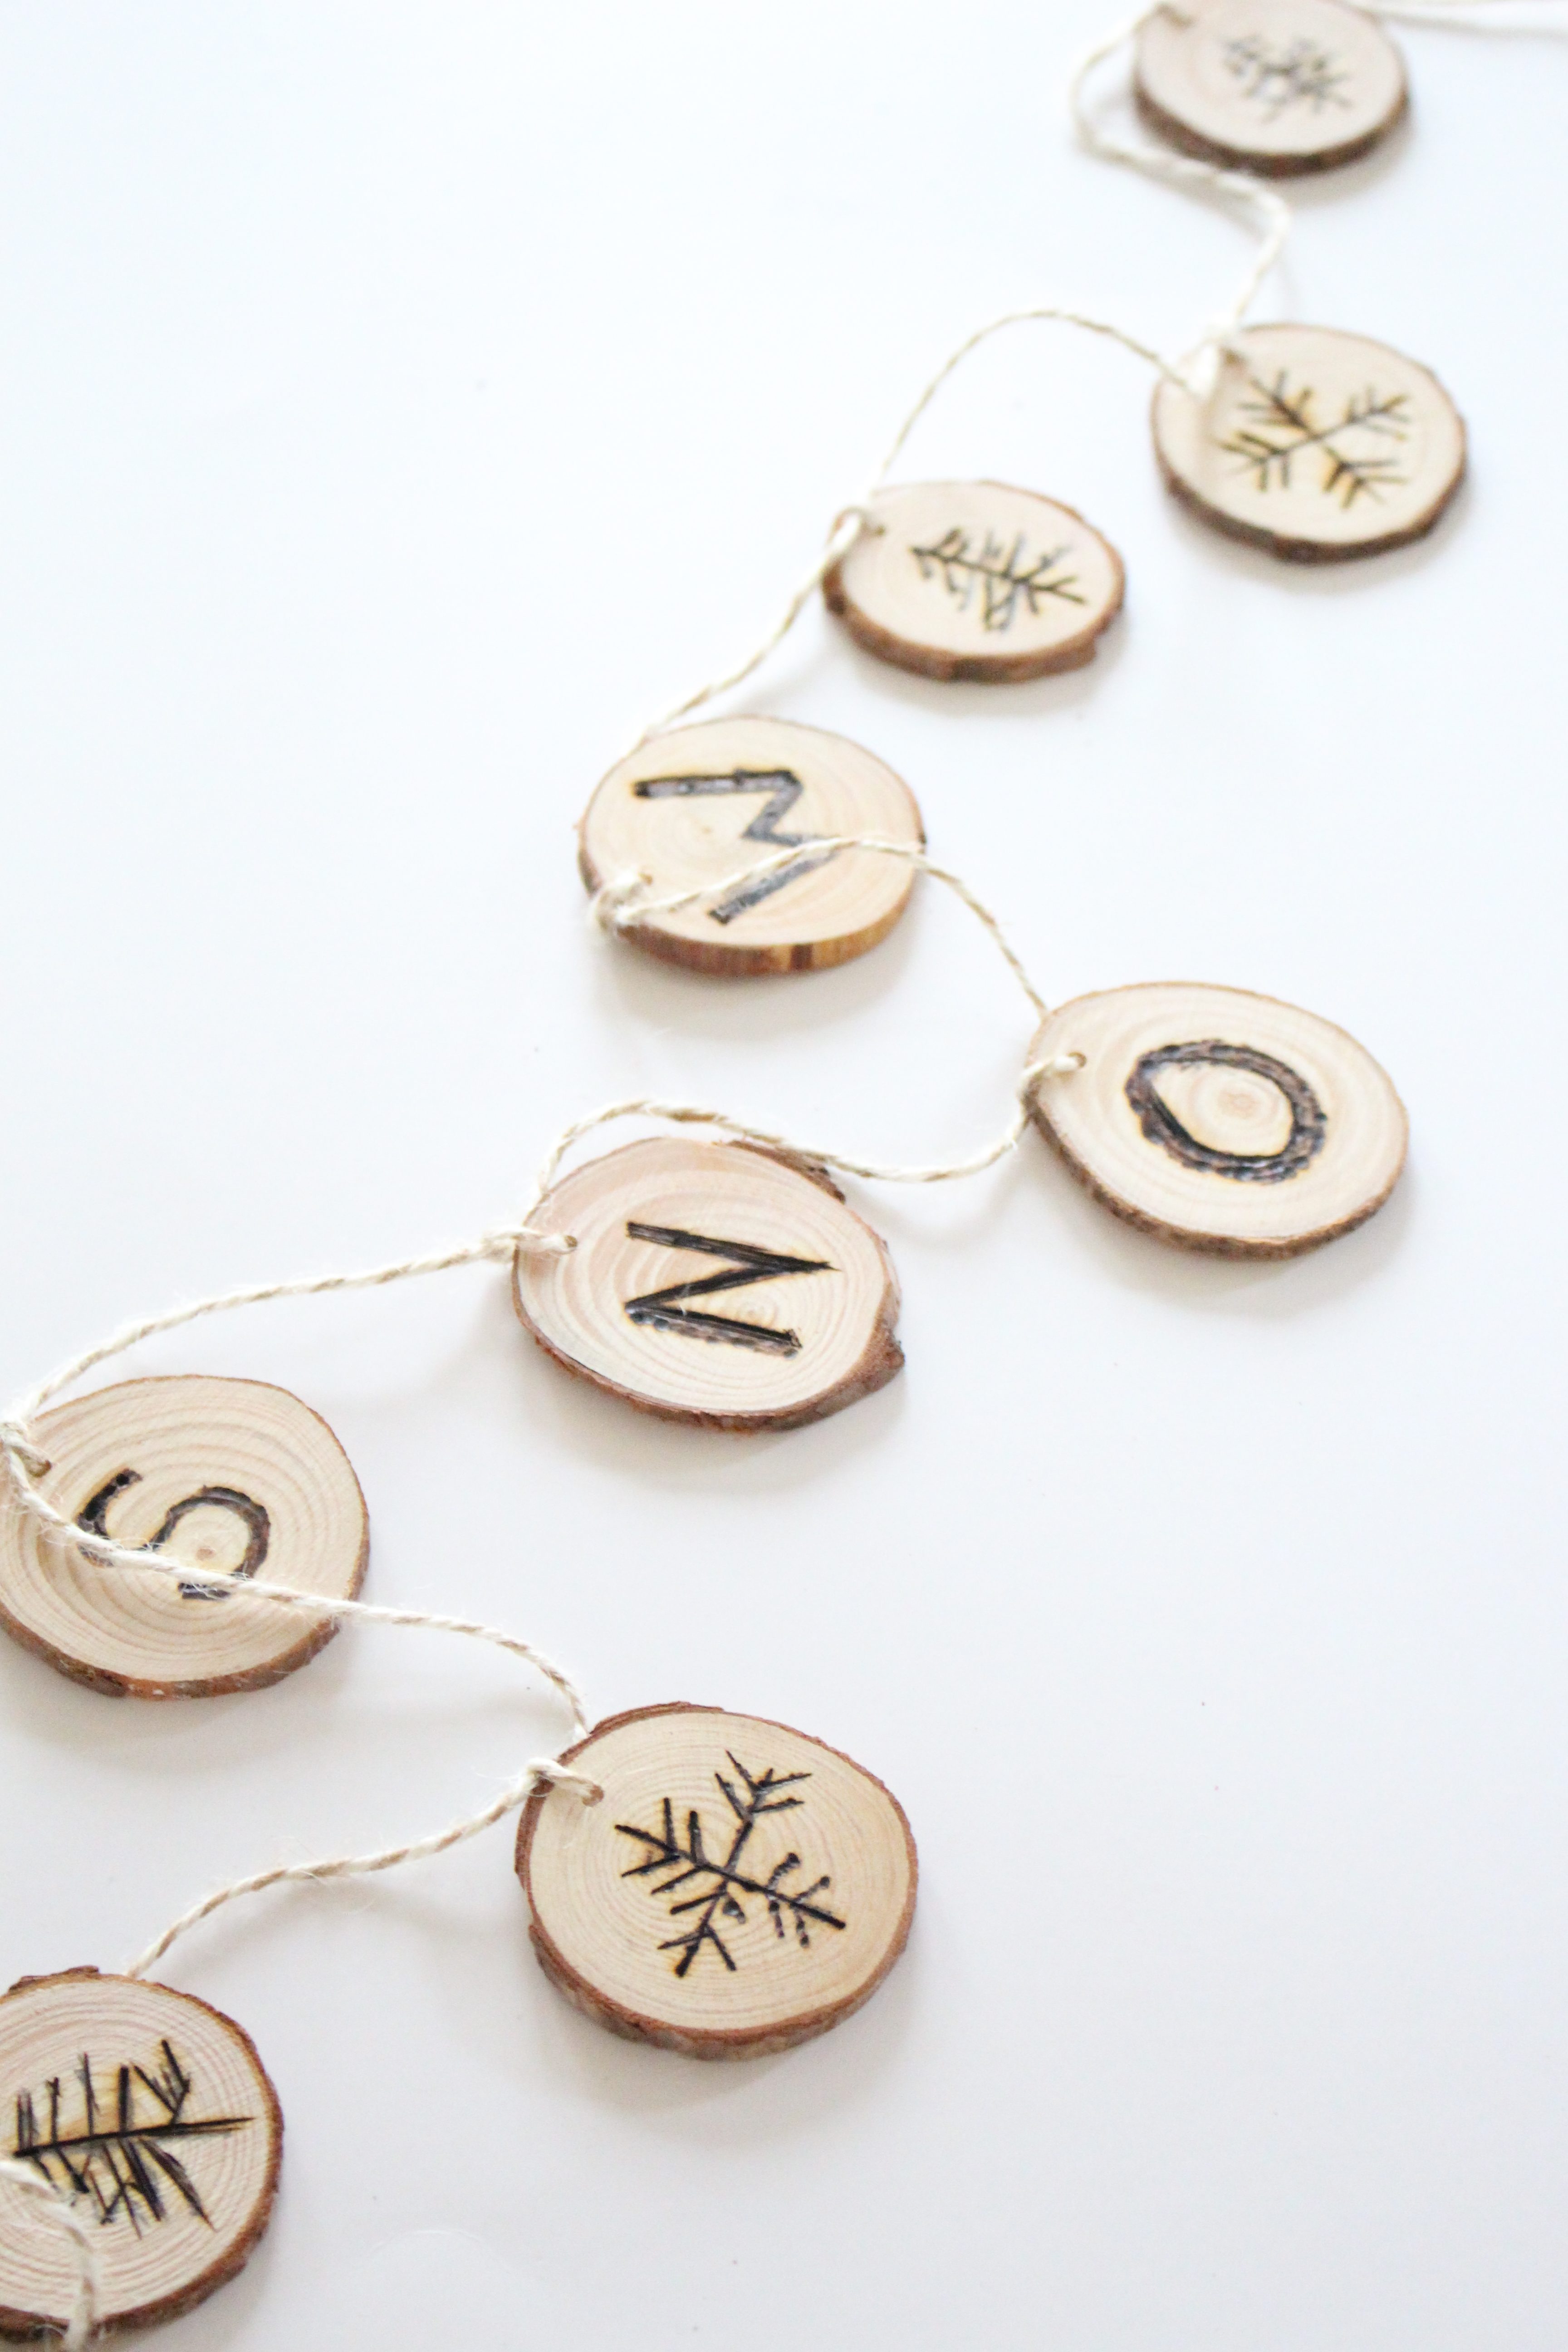
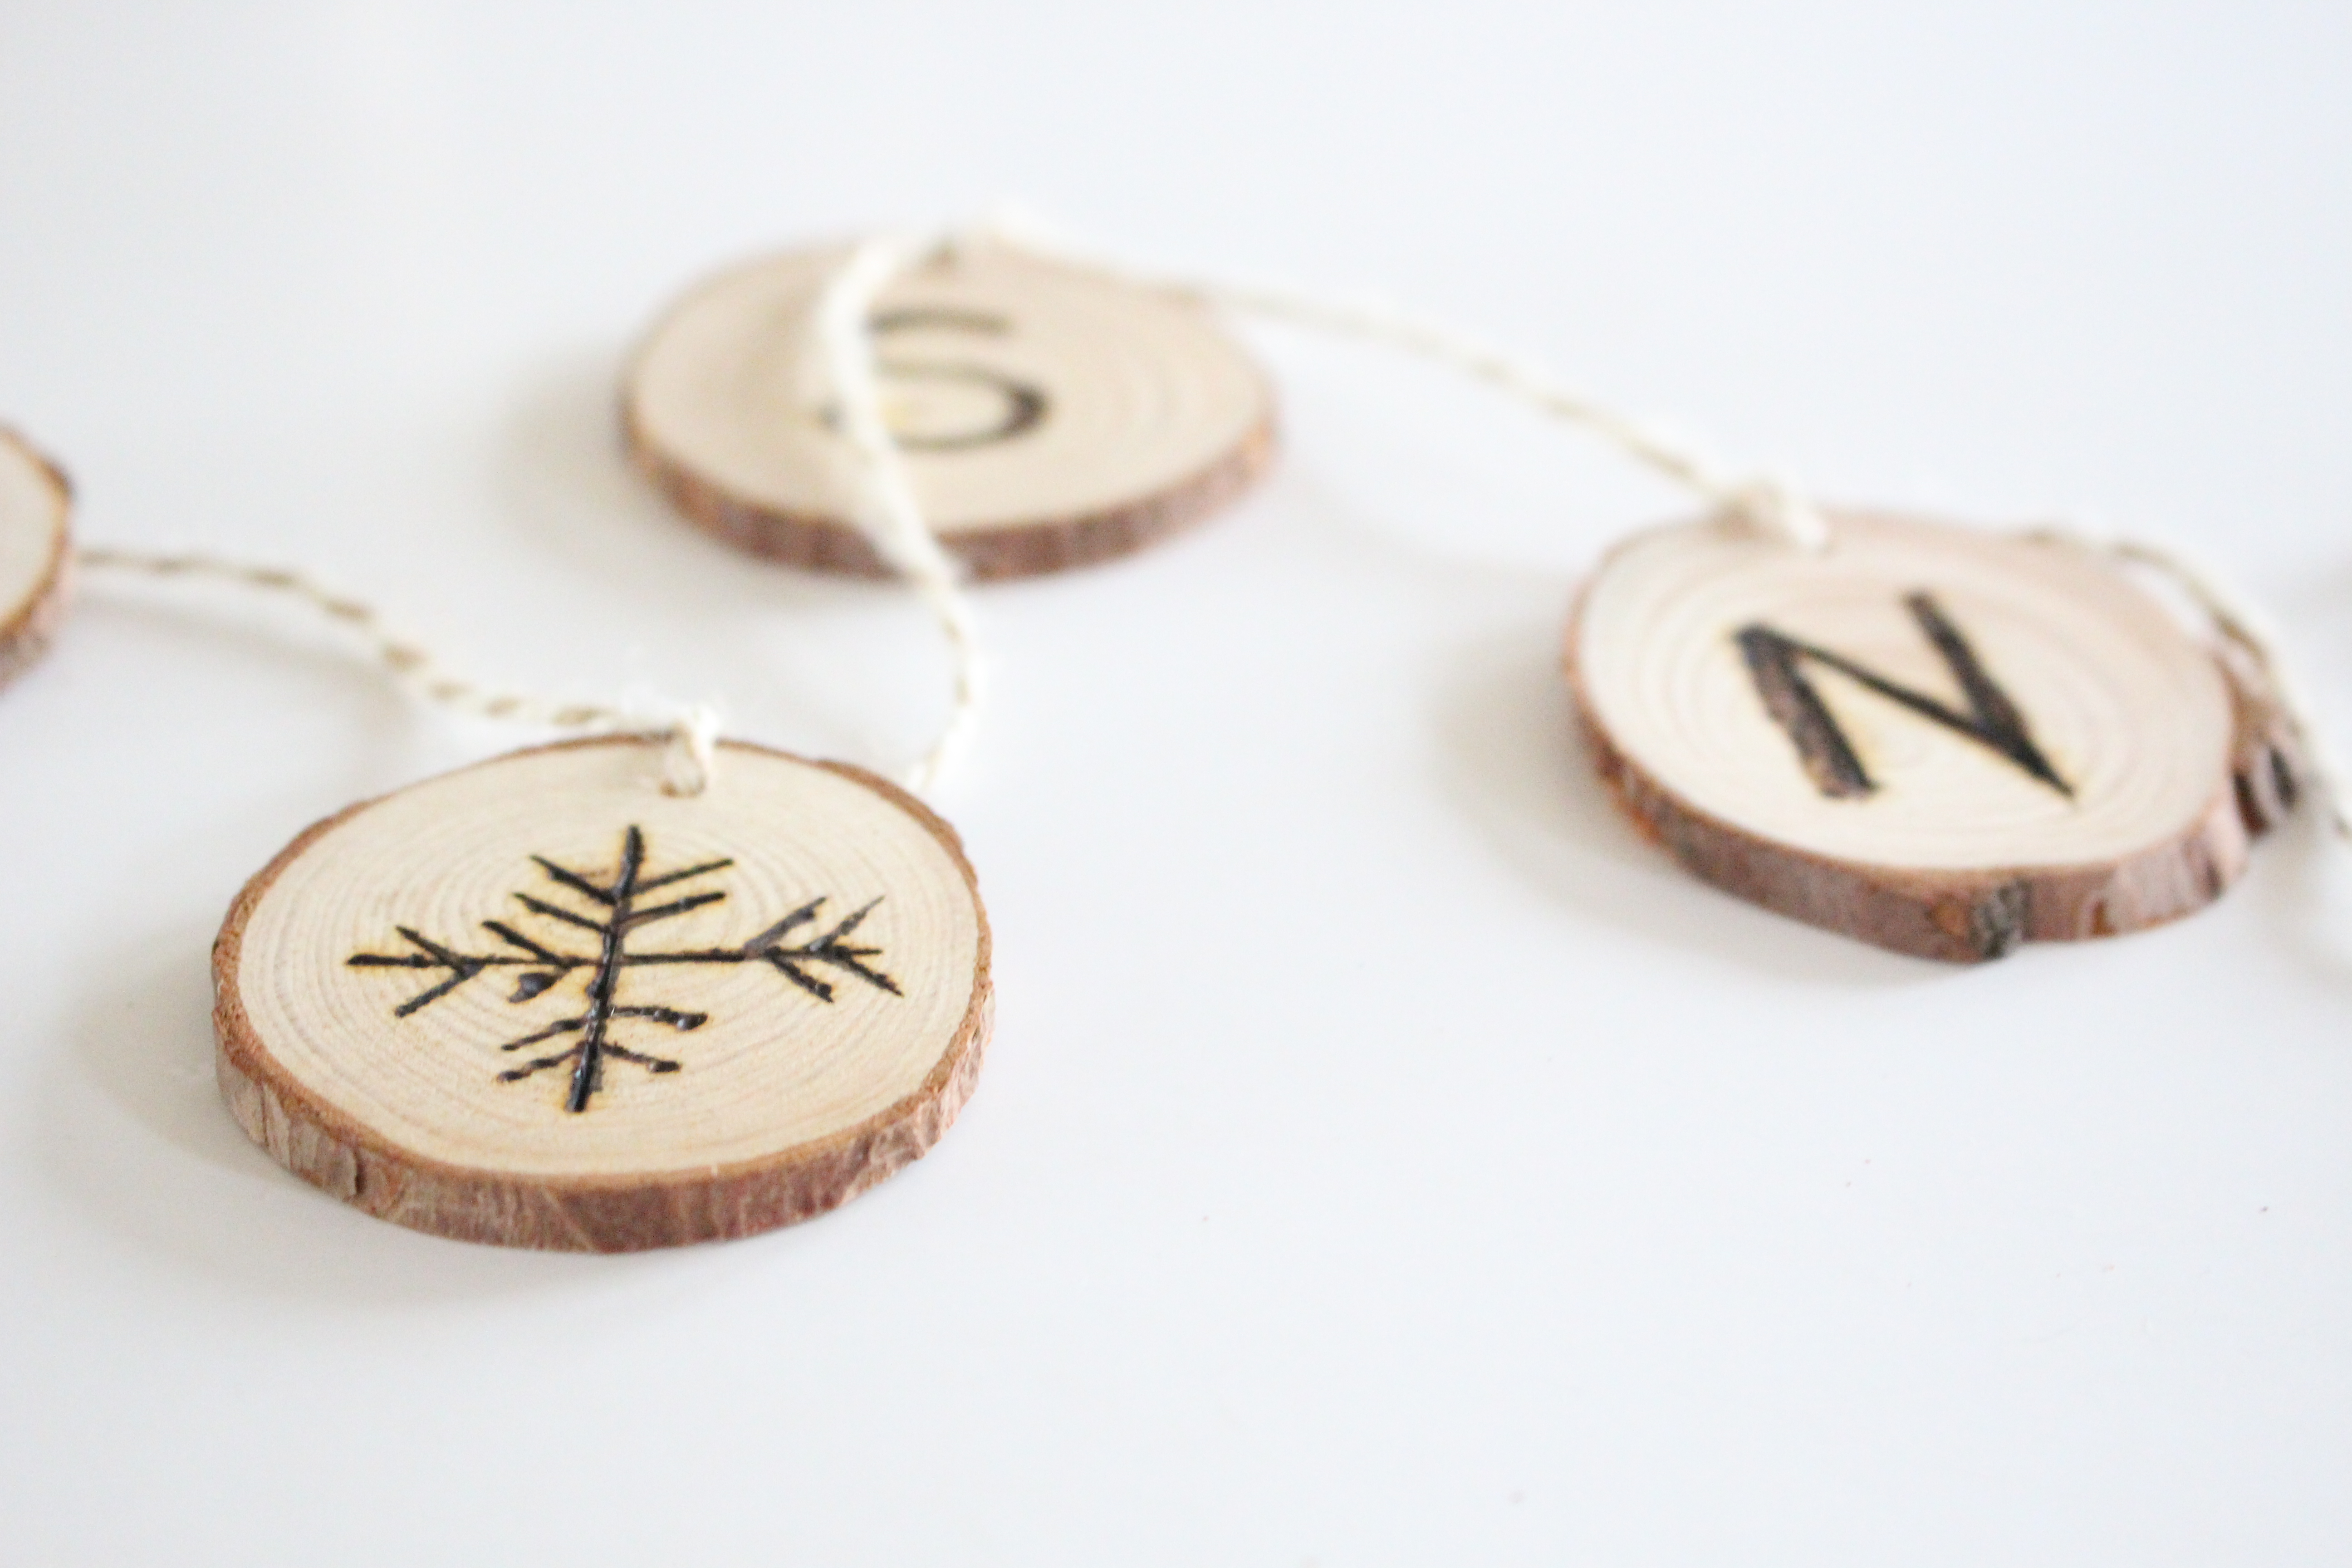
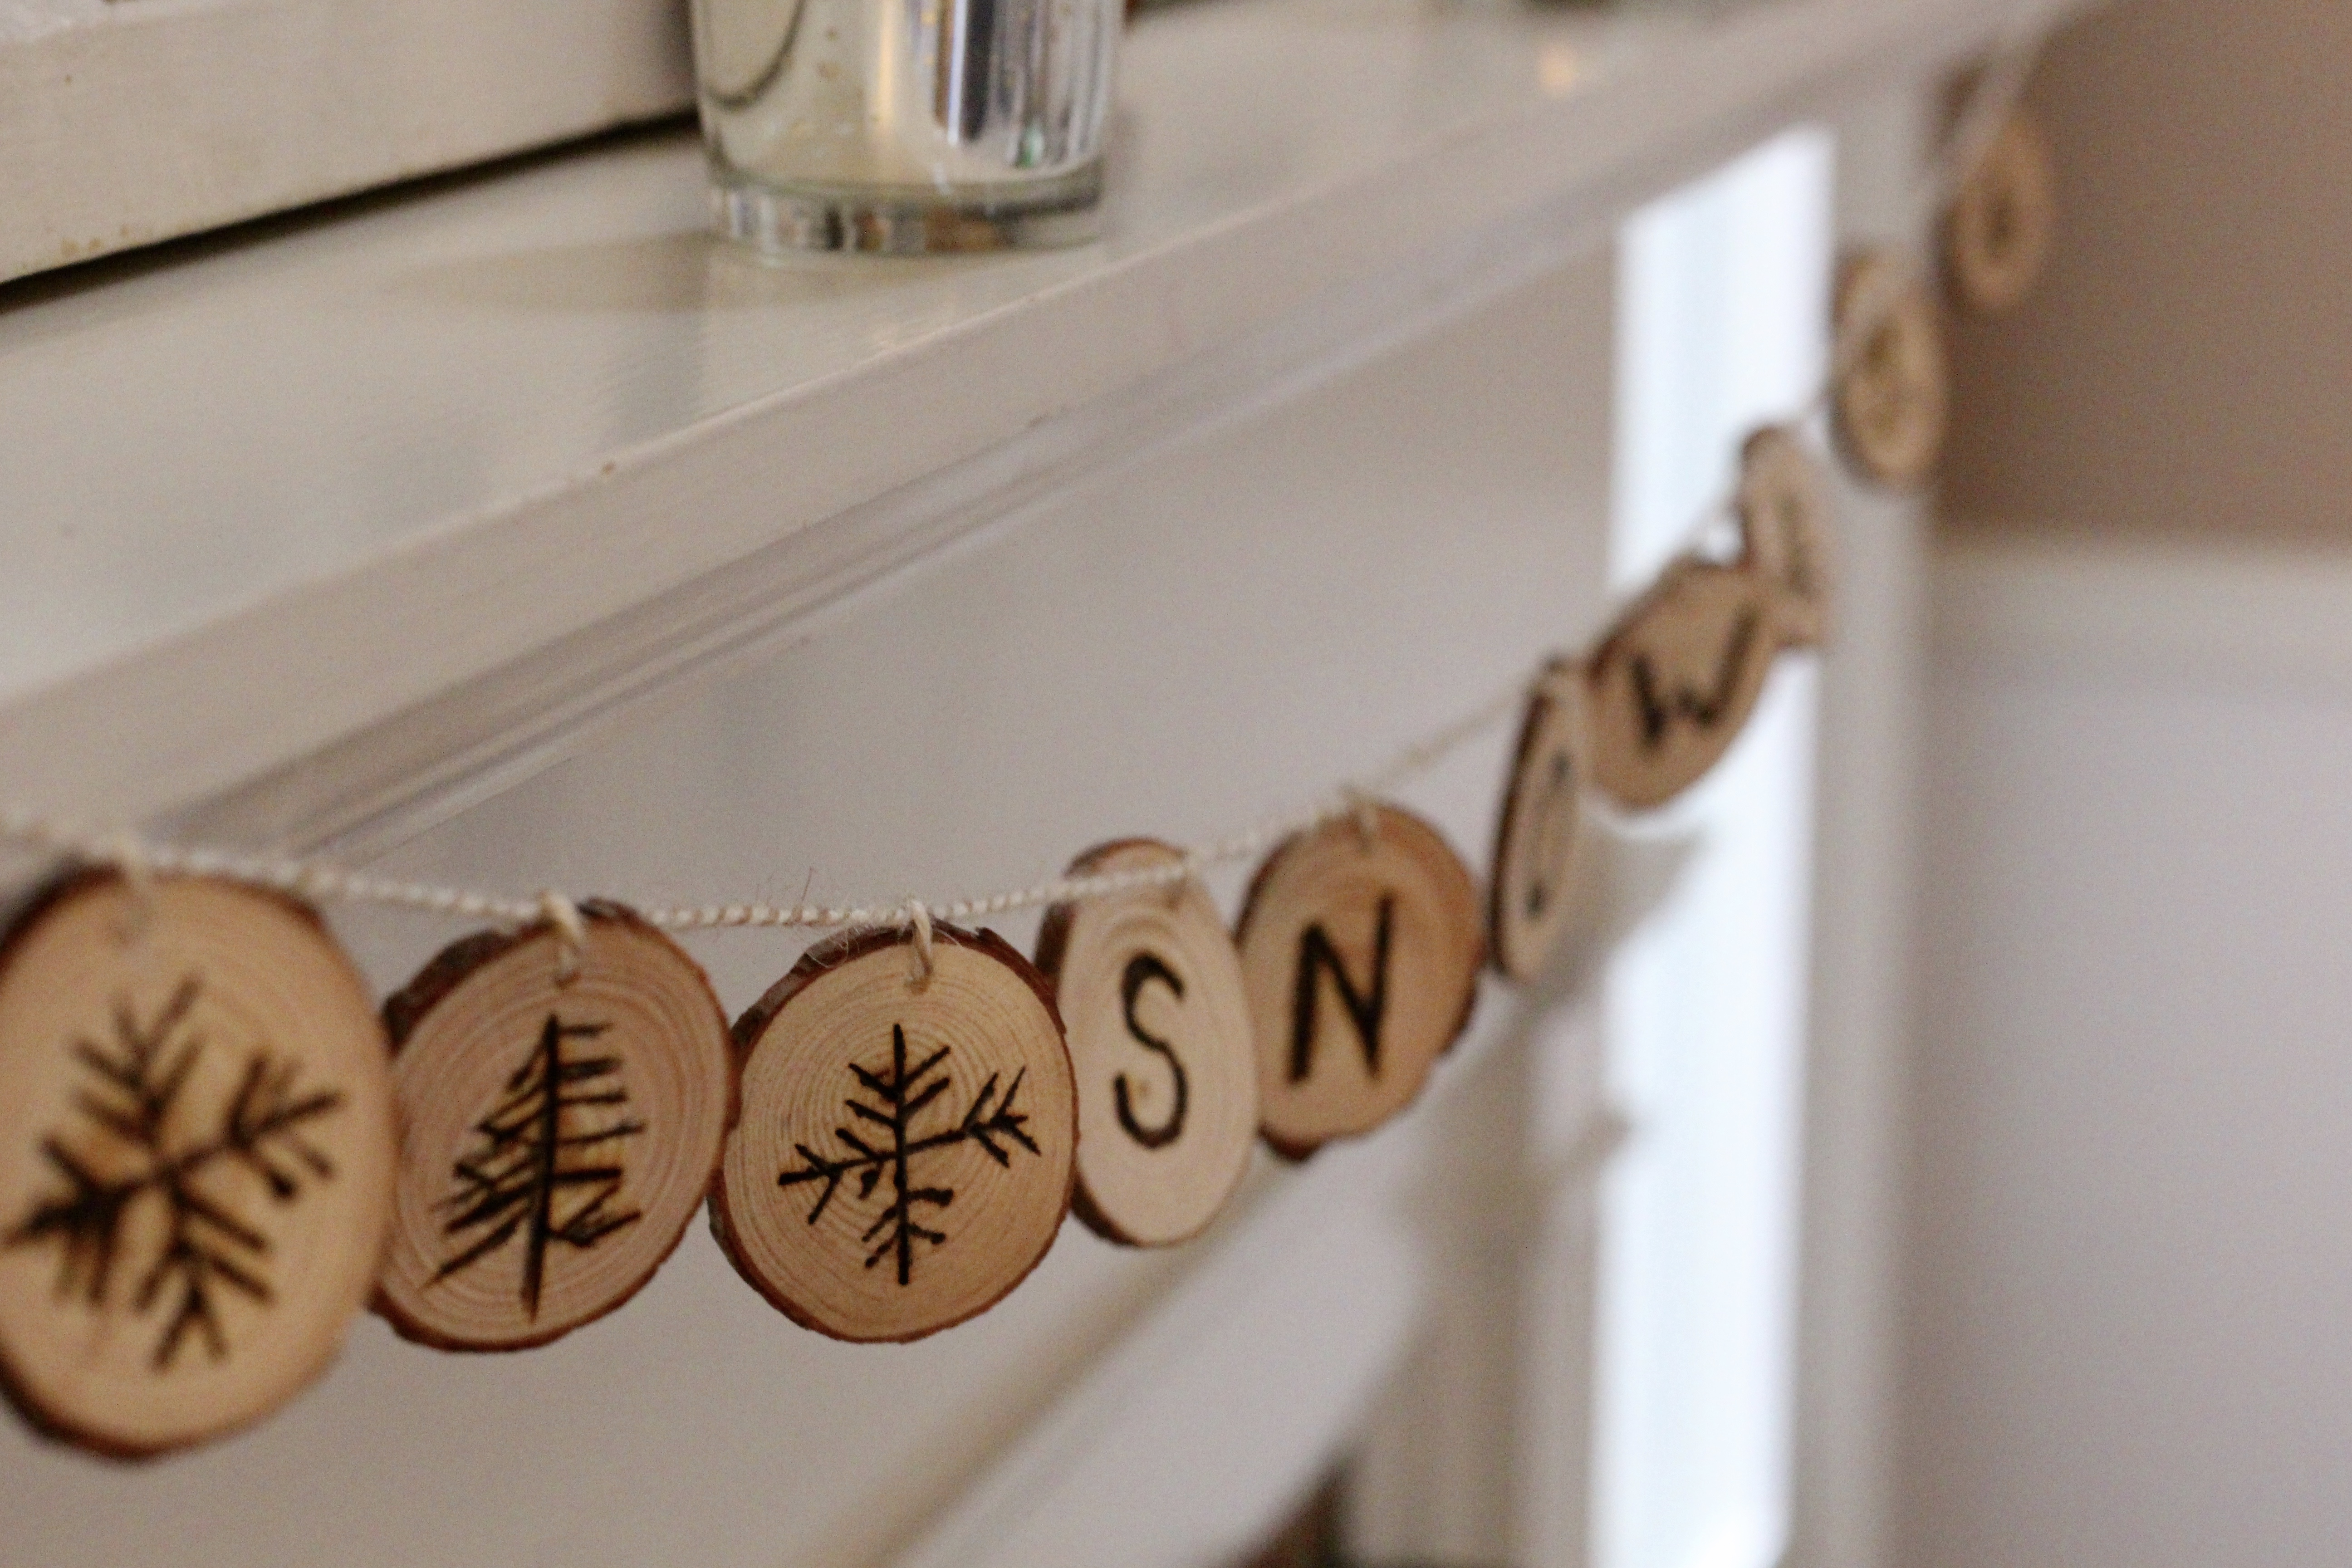
To make this project, I purchased pre-sliced wood rounds that already had a hole drilled in them. Using a pencil, I traced out the designs and letters I wanted on each round before beginning to use my wood burning tool. The pencil is removed when burning and any stray marks can be erased. After heating up, use the tool to trace your pencil marks. I made the word snow and then trees and snowflakes. I used twine to tie them on and hung loosely on the front of my mantel.
This would also be cute strung on a Christmas tree (idea for next year) or over a headboard or buffet.
Since this was my first time using the wood burning kit, I read the instructions thoroughly before beginning.
Here are some tips I would recommend.
•Make sure to tape down your tool stand to your surface. That way it is secure when it heats up.
•Have pliers handy to remove hot tips and change them out when needed. A little dish beside your workstation is helpful also for setting them while they cool.
•Practice on scrap wood first so that you can play around with the different tips included and see which one works best for your project.
Now that I've used the wood burning kit, I can think of so many other projects I want to tackle!

Help us choose which supplies to use next month!

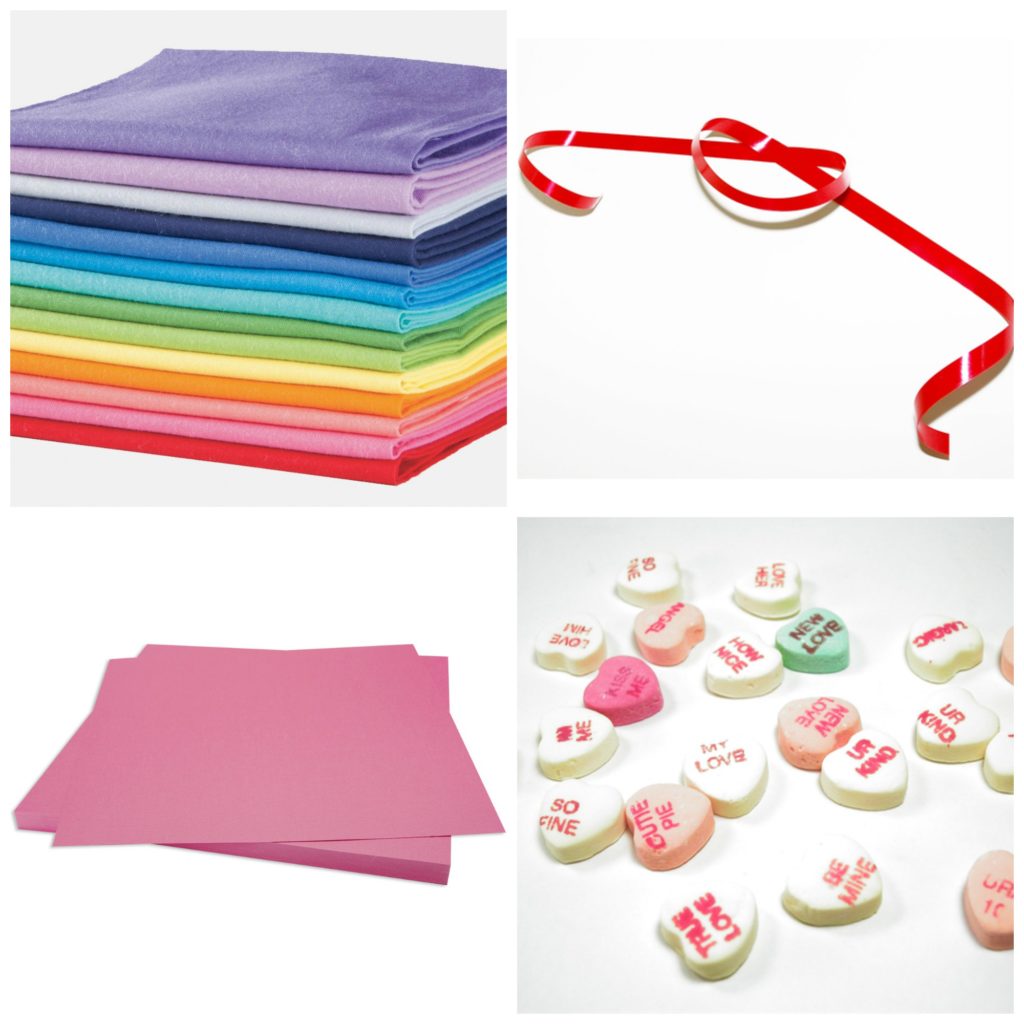
Images via Amazon.com, Joann.com, and Freeimages.com
Create your own user feedback survey
CLICK HERE if you cannot see the survey!
Let's see what projects the other Create With Me gals came up with!
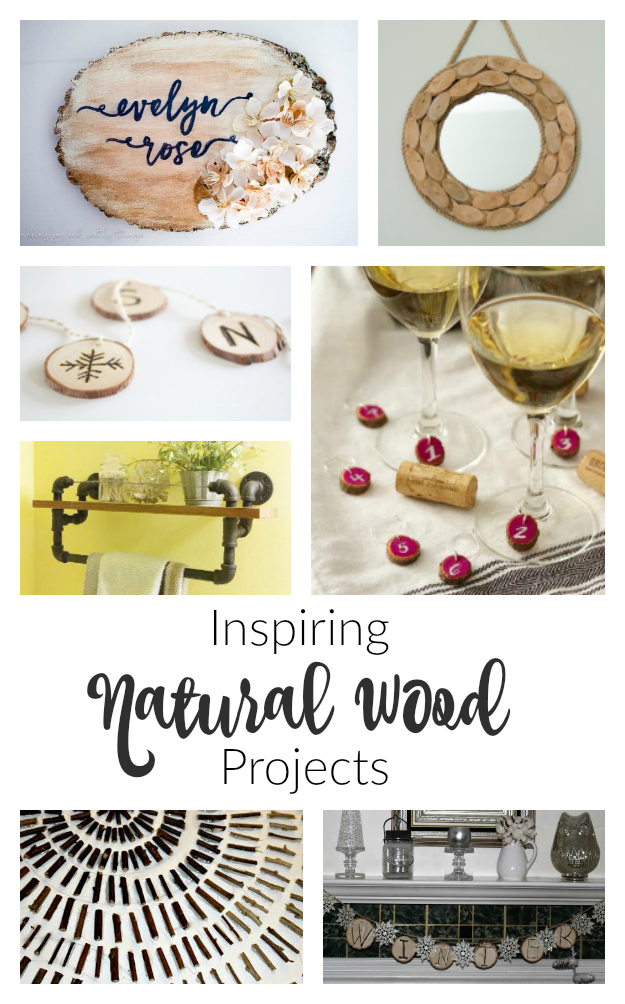
Personalized Nursery Wood Slice Sign- Making Joy and Pretty Things
Driftwood Mirror- Little Bits of Home
Wood Slice Winter Garland- My Life from Home
Natural Wood Shelf- Our House Now a Home
Mini Wood Slice Wine Charms- Two Purple Couches
Art Using Twigs- Knock it Off Kim
Wood Slice Garland- Our Crafty Mom



Lovely project! Thanks for sharing at the Inspiration Spotlight party. Pinned & Shared.
The garland is perfect for the decor on the mantel. I really like the small ski and window display. Its unique, fun and rustic.
Thank you for sharing your garland at the #HomeMattersParty. Leanna
Thank you, Leanna! I’m so happy with the way it all turned out. So glad you like it!
I totally want a wood burning kit now, love this!
Thank you, Roxanne! You would LOVE it!
This is really cute. Love the idea. Thanks for sharing.
Thank you, BonBon! I’m glad you like it! 🙂
I love this. I have a bunch of wood slices that my husband cut up from fallen tree! It would be great for the winter home tour!
Maria
Those would be perfect! Glad you like it, Maria.
Oh, I’ve always wanted to try wood burning! Thanks for the tips. And PS I love your winter mantle!!!
You will definitely need to give it a try, Kati! I’m already planning my next project.
SO cute! I love how this turned out, such a great idea!
Your garland looks great! I love your snowflakes. I’ve been wanting to try wood burning for a while – you’ve convinced me I need to now!!
This is adorable! Thanks for the how-to!
This is so cool, Amy! I’ve never tried wood burning, but now I want to! Love how your banner turned out!
I’ve been wanting to try out wood burning!! Love the snow garland! It’s perfect for winter decor (post Christmas) or for Christmas, too!
SO cute, Amy! It really adds so much to your winter mantel!