Custom built-ins can instantly elevate a room, adding style, storage, and a sense of permanence to your space. But let’s be real, they can cost a small fortune. That’s where the magic of IKEA hacks comes in! With a bit of ingenuity, I turned four Billy bookcases from IKEA into a set of elegant built-ins that look like they came straight from a high-end showroom.
In this post, I’ll walk you through my process, from planning to finishing touches, with all the details you need to replicate this project in your own home. Let’s dive in!
Why Built-Ins?
Built-ins are more than just functional, they’re a design statement. Whether you’re creating a cozy reading nook, displaying your favorite décor, or simply trying to maximize storage, built-ins are the ultimate multitaskers.
The challenge? Custom built-ins usually come with a hefty price tag. That’s why I decided to hack my own using IKEA’s beloved Billy bookcases, which are budget-friendly, versatile, and endlessly customizable.
The Vision: Turning Billy Bookcases Into Built-Ins
The goal was to create a wall-to-wall unit that looked like it had always been part of my home. My space required three 80cm-wide Billy bookcases and one 40cm-wide bookcase, trimmed to fit a smaller gap.
I also wanted the built-ins to feel substantial, so I planned to elevate them on a short wooden base, add trim to the top for a classic look, and reattach the room’s original skirting to tie everything together. A fresh coat of paint and some elegant brass knobs were the final touches.
What You’ll Need
Before starting, gather these materials:
- 3 IKEA Billy bookcases (80cm wide) – with height extenders
- 1 IKEA Billy bookcase (40cm wide) – with height extender – trimmed to fit
- 6 Oxberg Doors
- Wooden boards for the base (cut to size)
- Trim or crown molding for the top
- Skirting/baseboard for the bottom
- Wood filler or caulk for gaps
- Shellac MDF Primer (suitable for laminate surfaces)
- Paint (I used the colour Brinjal by Farrow & Ball)
- Rust-Oleum Clear Matt Furniture Lacquer
- Brass handles, knobs or your choice of hardware
- Basic tools: saw, drill, level, caulking gun, paintbrushes/rollers
Step 1: Planning and Prepping Your Space
Every great DIY project starts with a plan. Here’s what I did:
Measure Your Space
I measured the width, height, and depth of the wall where I wanted the built-ins to go. The Billy bookcases are modular, which means you can mix and match sizes to fit your space perfectly. For my setup, I used:
- Three 80cm-wide bookcases with height extenders
- One 40cm-wide bookcase with a height extender (trimmed to fit a narrow gap)
👉 Pro Tip: Leave a little extra space at the edges of your wall for caulking later. This ensures a snug, built-in look.
Remove Existing Skirting Boards
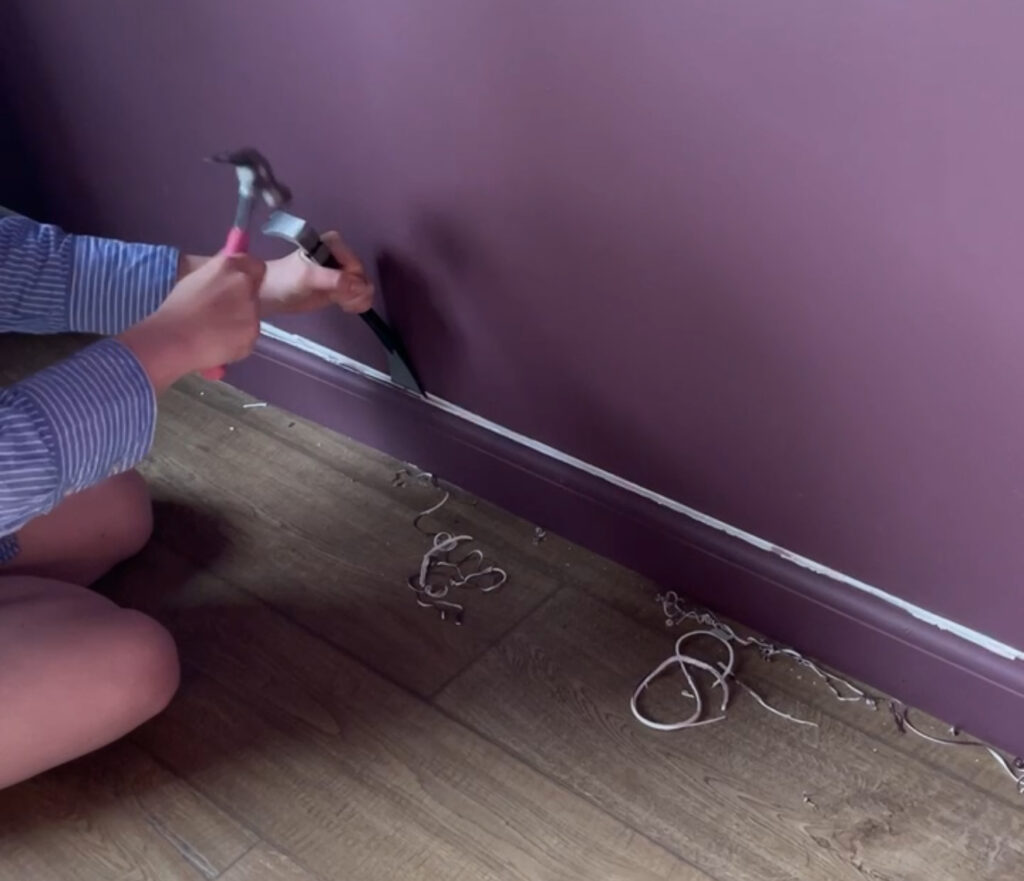
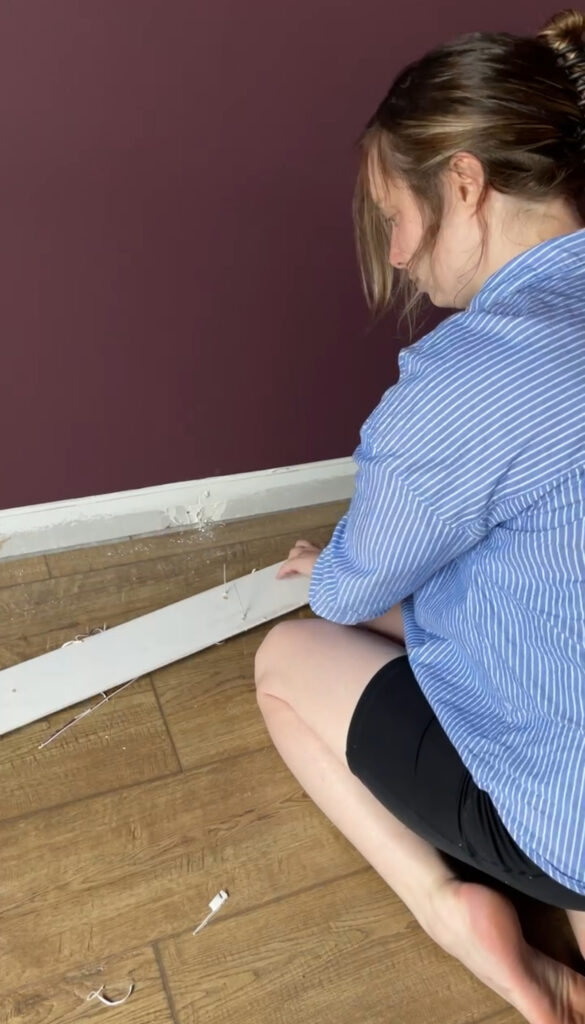
Before positioning the bookcases, I removed the existing skirting boards along the wall to ensure the built-ins would sit flush against the surface. Using a mini crowbar, I carefully pried the skirting boards off, taking care not to damage them. This made it easier to reattach them to the base of the built-ins later, creating a polished and cohesive finish.
👉 Removal Tip: Score along the top edge of the skirting boards with a utility knife to break any paint seal or silicone before prying them off. This prevents chipping and keeps your walls intact.
By taking the time to prep your space, you’ll set the foundation for built-ins that look truly seamless!
Step 2: Assembling the Billy Bookcases
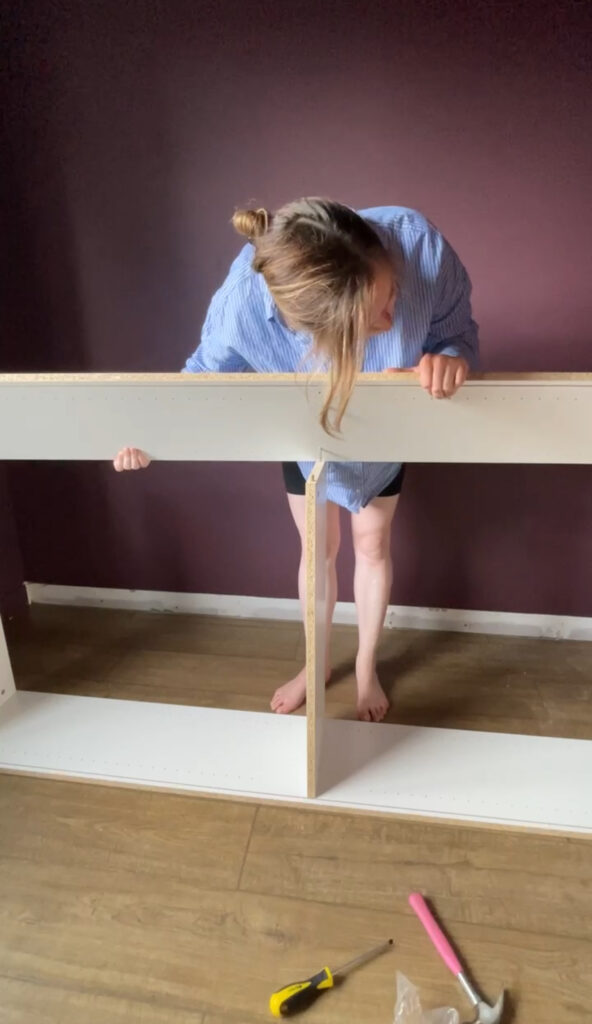
Once you’ve got your materials, it’s time to assemble your bookcases. IKEA’s instructions are straightforward, but here are a few tips to keep in mind:
- Assemble the bookcases in the room where you’ll be installing them, fully built bookcases can be tricky to move.
- Skip adding the back panel if you want to create a more open, airy look. For a solid backdrop, attach the back panel securely with nails.
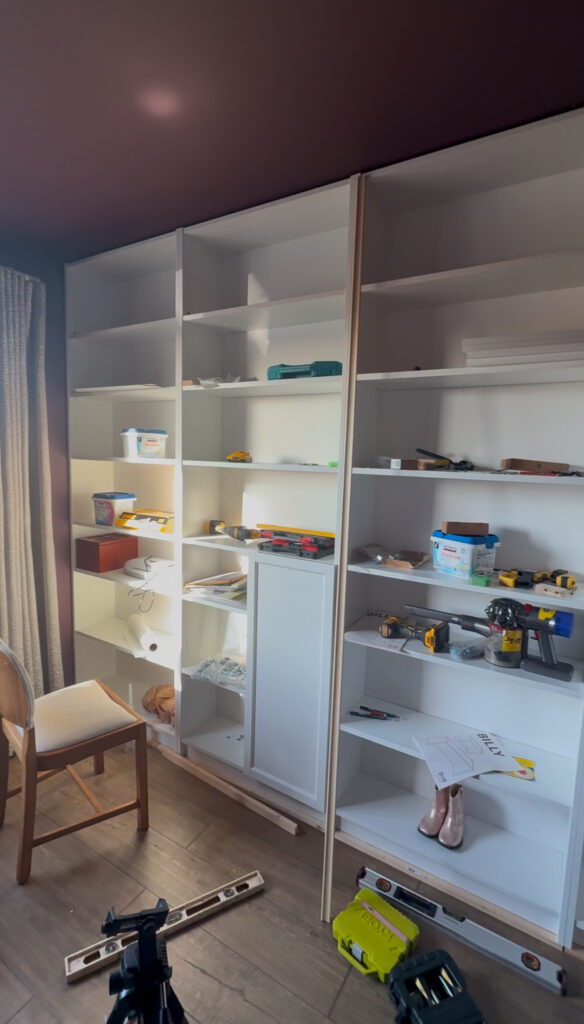
After assembling the bookcases, I positioned them along the wall to check the fit. The 40cm bookcase needed trimming to fit the remaining gap, so I marked the section to cut before moving to the next step.
Step 3: Creating the Base
To make the built-ins look substantial and match the room’s architecture, I elevated the bookcases on a short wooden base.
Building the Base
- Measure and Cut the Wood: Using 2×4 boards, I built a rectangular frame slightly smaller than the footprint of the bookcases.
- Assemble the Base: I used screws and a drill to secure the frame, making sure it was sturdy enough to support the weight of the bookcases.
- Level the Base: Use a level to ensure the base is even. Shims can help correct any unevenness in the floor.
With the base ready, I placed the bookcases on top and attached them securely to the wall with brackets.
Step 4: Trimming the Narrow Bookcase
The 40cm-wide bookcase didn’t quite fit the remaining gap, so I had to trim it down.
How to Trim a Billy Bookcase
- Measure and Mark: Measure the exact width you need and mark the section to be removed.
- Cut the Sides: Using a saw, carefully cut the sides of the bookcase to size.
- Reassemble: Once cut, reattach the shelves and back panel.
This step can be tricky, so take your time to ensure clean cuts and accurate measurements.
Step 5: Adding Trim and Skirting
Now comes the fun part: transforming the bookcases from flat-pack furniture into polished built-ins.
Top Trim
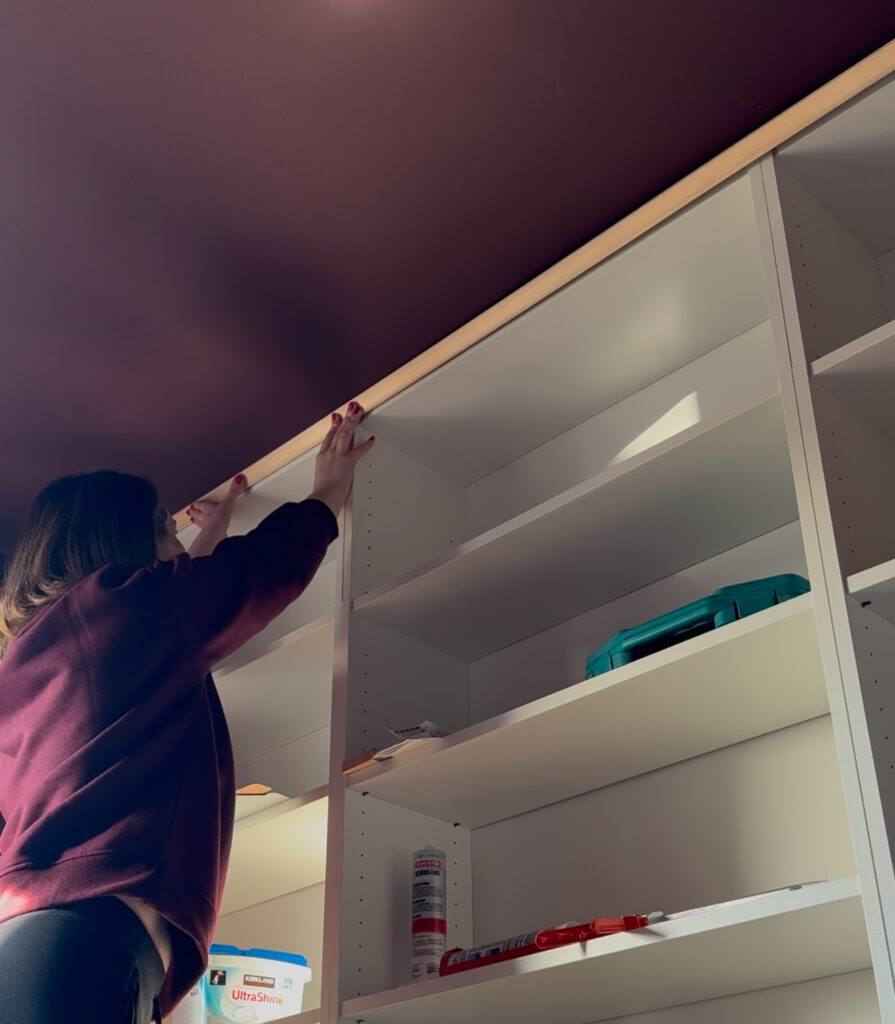
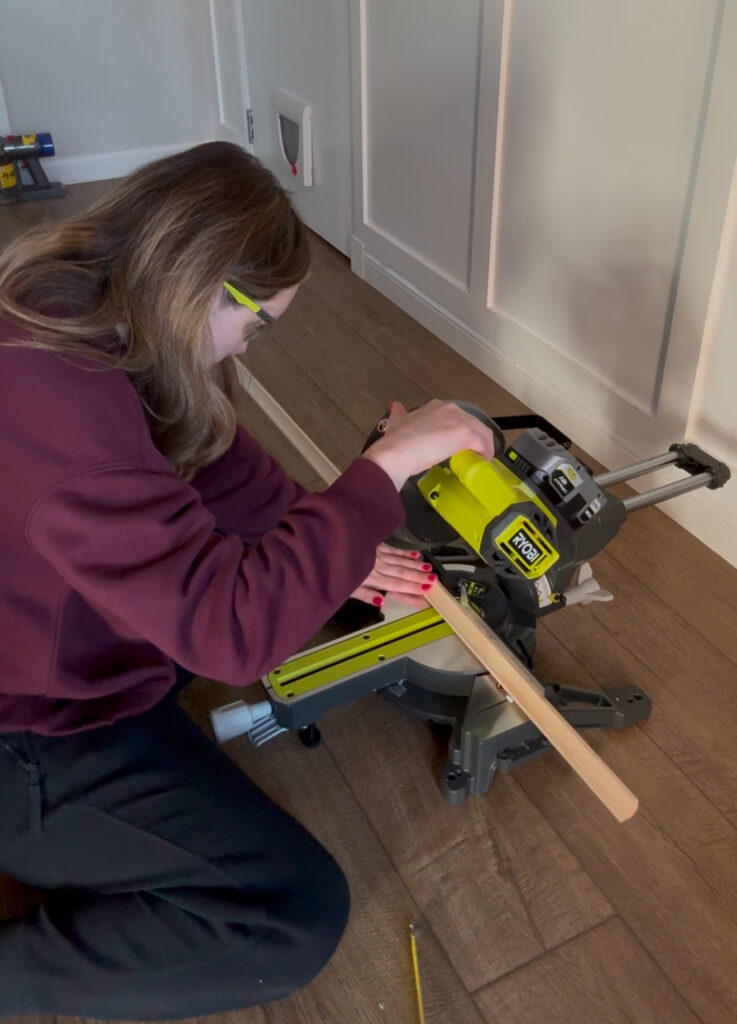
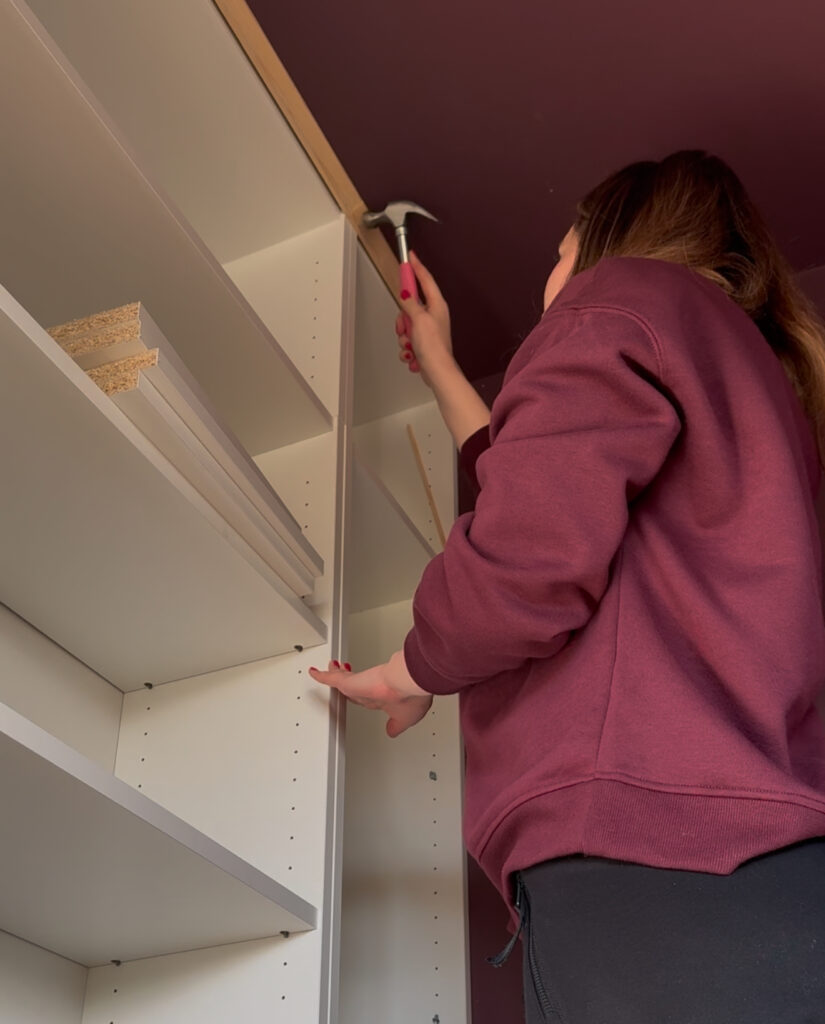
To create the look of crown molding, I added trim to the top of the bookcases:
- Measure and Cut: Cut the trim pieces to fit the length of the bookcases. Miter the corners for a professional finish.
- Attach the Trim: Use a hammer or wood glue to secure the trim to the top edges of the bookcases.
Vertical Trim
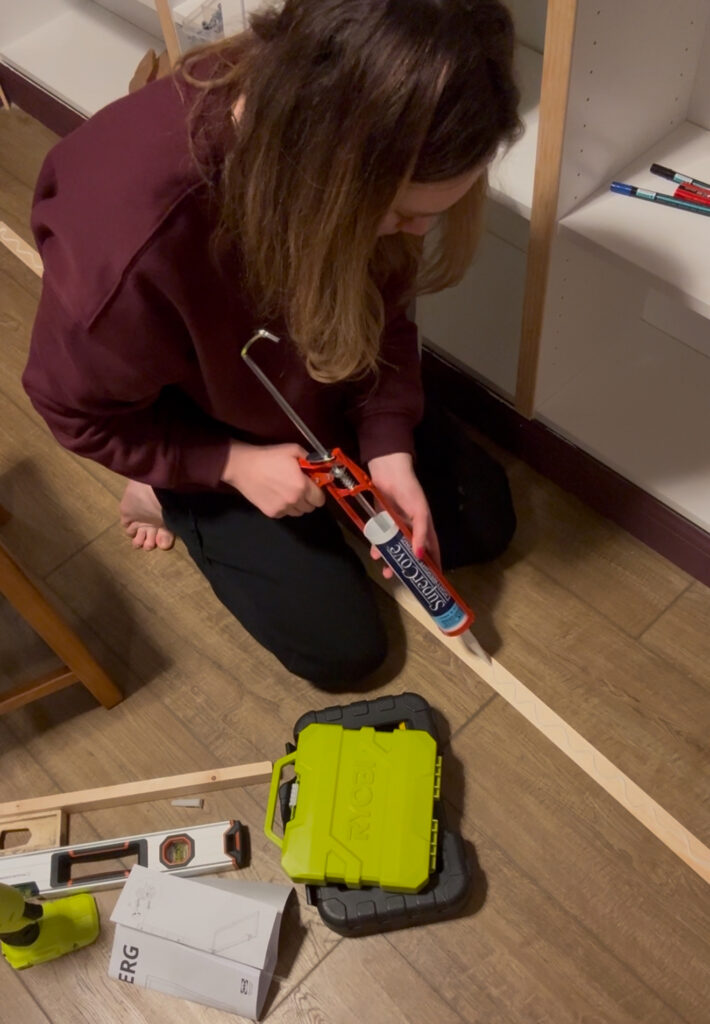
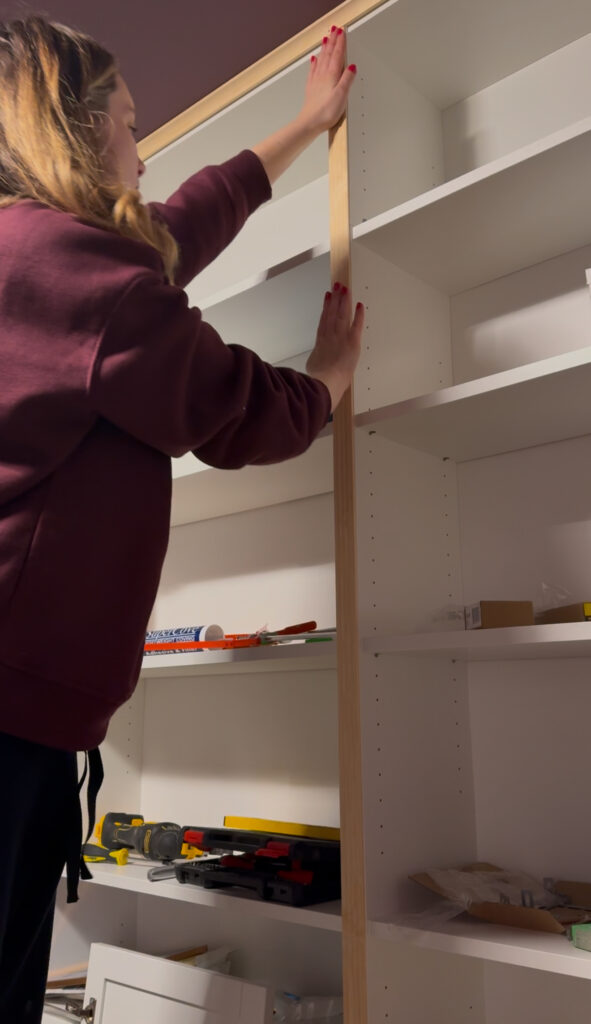
I also attached some detailed trim inbetween the units to close any gaps that may be seen where they join up. Again these were cut to cut to size and attached with wood glue.
Bottom Skirting
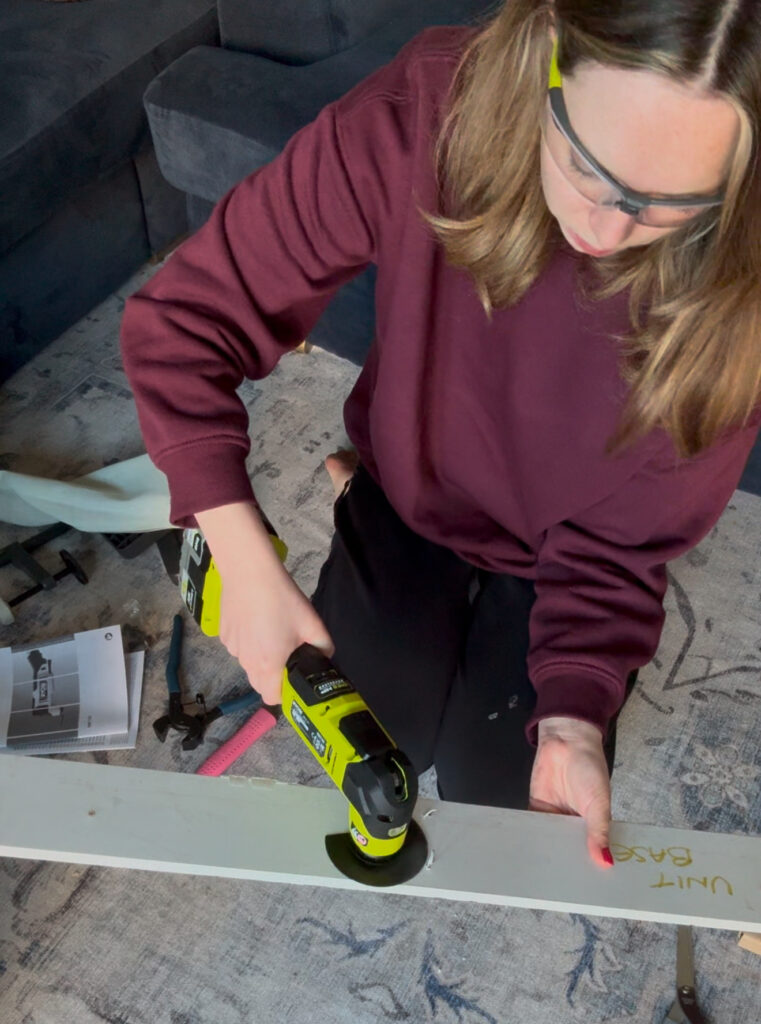
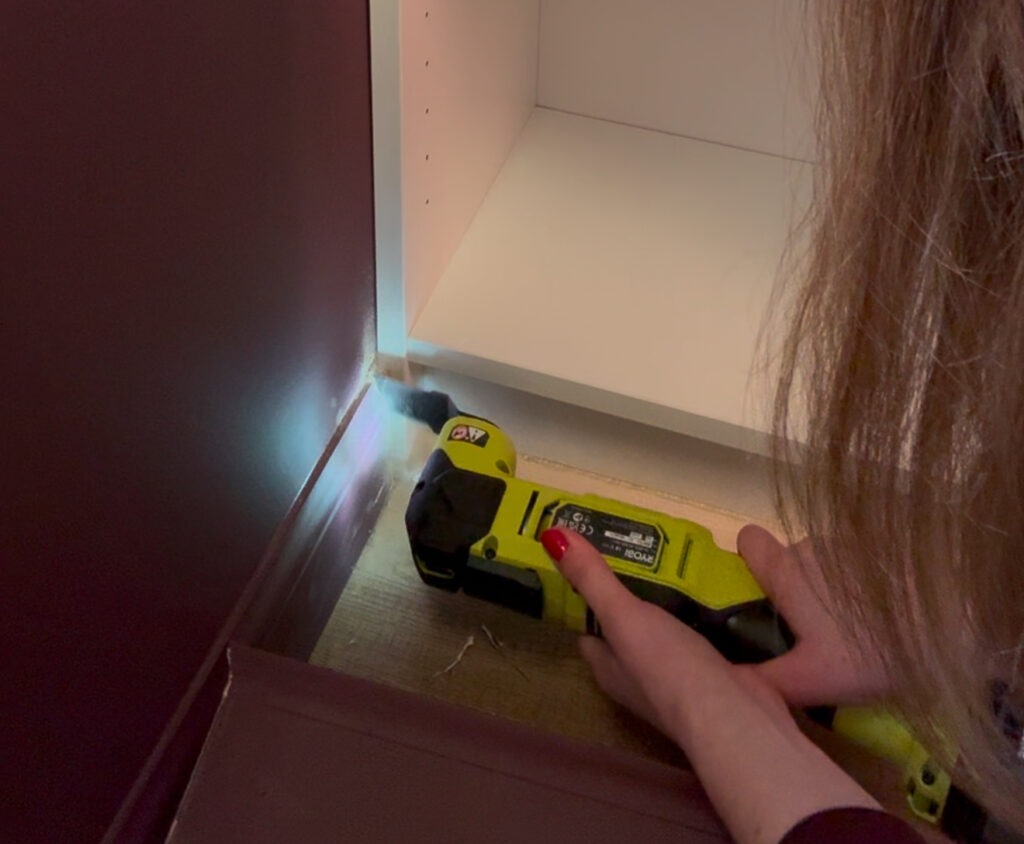
I reattached the room’s original skirting to the bottom of the bookcases, covering the wooden base. This simple step tied the built-ins to the room’s existing architecture. I did have to use my Ryobi multitool to cut out the existing nails from the skirting board, and also the trim the edge of the existing skirting so it fit perfectly.
Step 6: Filling Gaps and Holes
For a seamless look, I filled all gaps, nail holes, and seams with caulk.
Why Caulking Matters
This step ensures there are no visible gaps between the bookcases, the trim, and the walls. It’s the secret sauce that makes your DIY project look like a professional installation!
Step 7: Priming and Painting
Painting is where the transformation really starts to shine.
Priming
I used a shellac MDF primer designed for laminate surfaces to ensure the paint adhered well. This step is essential when working with IKEA furniture, as the surfaces are typically smooth and slick.
Painting
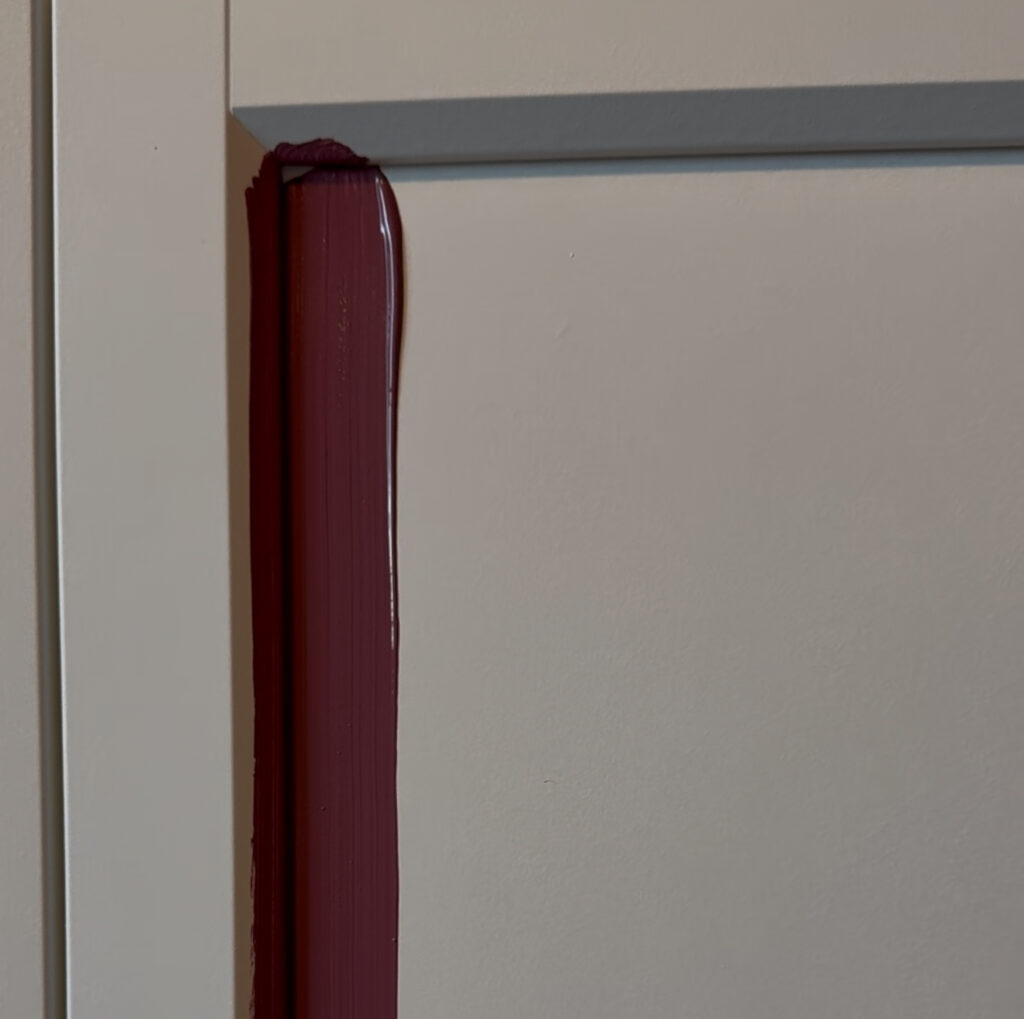
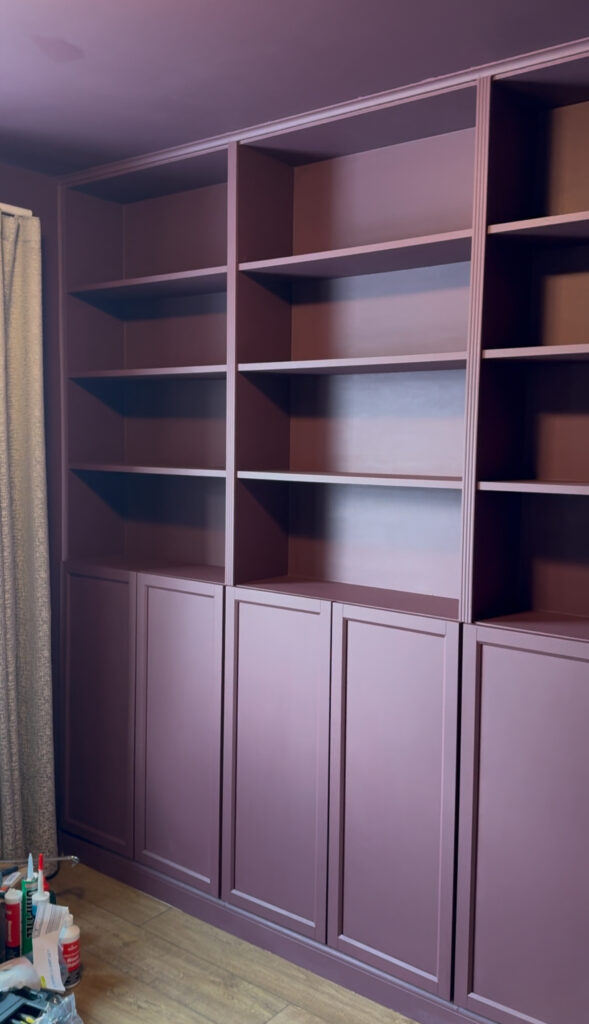
I love the colour Brinjal by Farrow & Ball, a muted yet sophisticated color that perfectly matches the rest of the room. However at this point I don't exactly have Farrow & Ball money. The Valspar counter at my local B&Q was able to colour match it for me in their V&CO paint, and it looks beautiful. Using a high-quality brush and roller, I applied two coats for an even, polished finish.
Sealing
I probably didn't use the bast type of paint with this unit, as soon as I finished up and started adding books to the shelves it started to scuff. So I applied a layer of Rust-Oleum Clear Matt Furniture Lacquer and so far it's held up.
Step 8: Adding Hardware
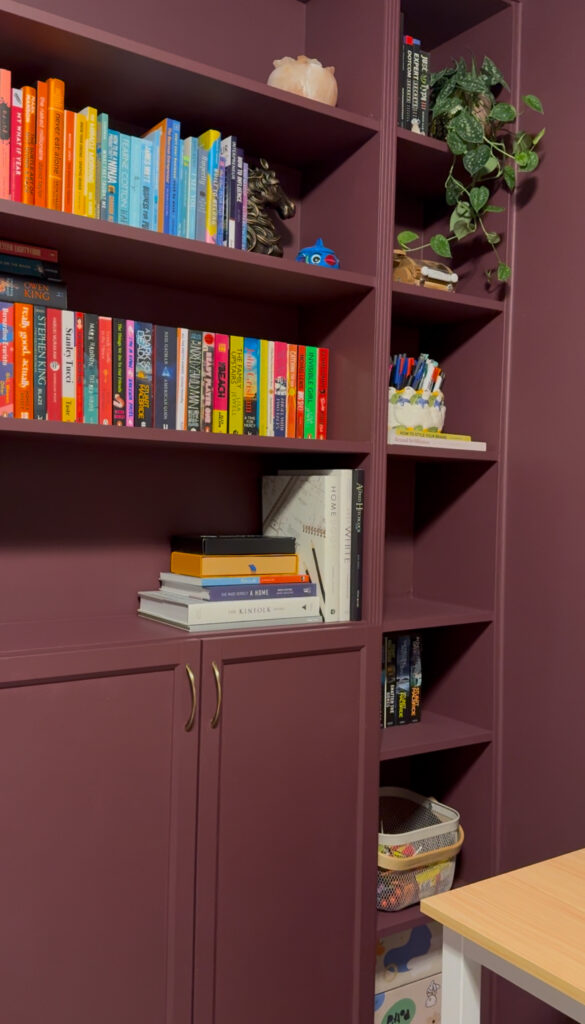
To complete the look, I added brass door handles to the bottom cabinets. These small details made a big impact, giving the built-ins an upscale, bespoke feel.
Final Reveal
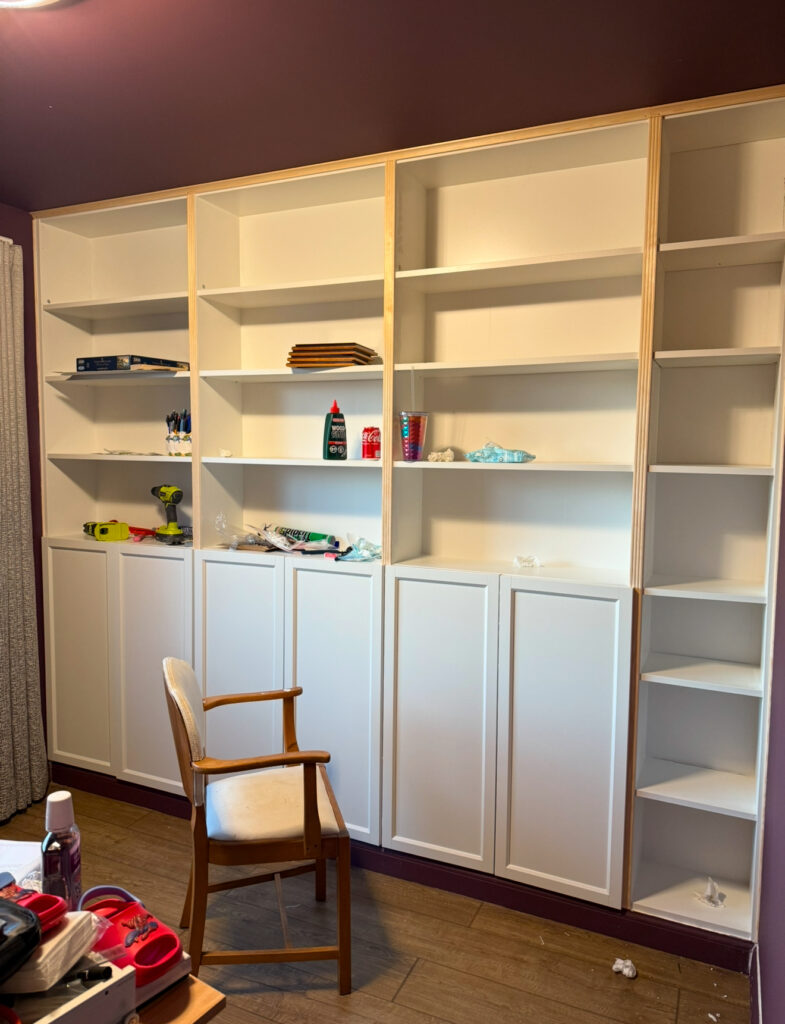
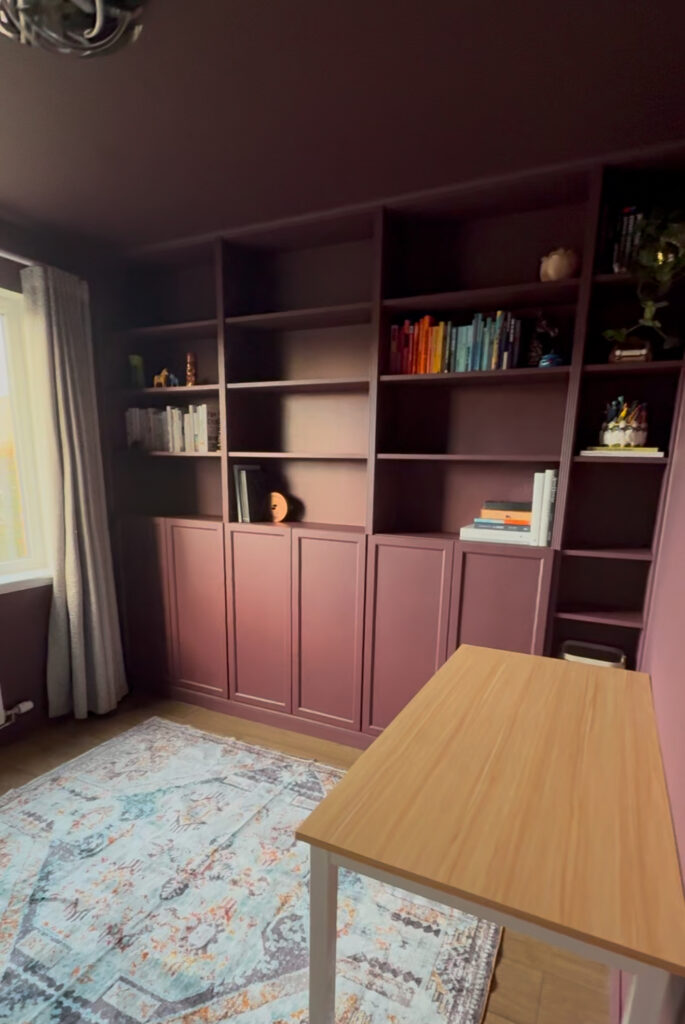
After weeks of planning and a few weekends of work, the finished built-ins were everything I’d envisioned and more. They’re functional, stylish, and perfectly tailored to my space.
Tips for Success
- Take Your Time: This project involves multiple steps, so don’t rush, precision matters.
- Use Quality Materials: From caulk to paint, investing in high-quality supplies will make a noticeable difference in the final result.
- Plan for Imperfections: DIY projects rarely go exactly as planned. Be flexible and ready to adapt when things don’t fit perfectly.
Why the IKEA Billy Bookcase Hack is Perfect for Built-Ins
- Affordable: They’re budget-friendly compared to custom-built cabinetry.
- Customizable: From paint to trim, you can tailor them to your style.
- Versatile: Available in multiple sizes to fit any space.
Final Thoughts
This IKEA Billy bookcase hack is proof that you don’t need a massive budget to achieve a high-end look. With a little creativity and effort, you can create custom built-ins that transform your space into something truly special.
So grab your tools and get started, you’ll love the results!
Frequently Asked Questions
Yes! Just use removable wall brackets and avoid permanently attaching the skirting.
Other IKEA lines, like the Besta or Hemnes, can also be used for built-in hacks.
A saw, drill, and level are essential. A nail gun and caulking gun are helpful but not mandatory.
The cost of an IKEA Billy bookcase hack depends on the number of bookcases you use and the materials for customization. Billy bookcases start at around £35, making this hack a budget-friendly option for creating built-ins. Additional expenses include trim, paint, hardware, and tools, which can range from £100–£300 depending on your choices
Absolutely! One of the best things about the IKEA Billy bookcase hack is its versatility. Billy bookcases come in multiple widths and heights, so you can mix and match sizes to fit your space. Plus, they’re easy to modify, like trimming a smaller unit to fit an awkward gap or adding adjustable shelves for tailored storage.
To ensure a durable and smooth finish, use a primer designed for laminate surfaces, followed by high-quality paint. Chalk paint and satin or semi-gloss paints work well for furniture makeovers. For my IKEA Billy bookcase hack, I used Brindal by Farrow & Ball, which added a luxurious look to the built-ins.
Yes! Adding doors to an IKEA Billy bookcase is a popular way to customize the look. IKEA offers compatible doors for Billy bookcases, or you can create your own for a more personalized finish. Adding doors can make your Billy bookcase hack feel more polished and functional, especially if you’re using it for concealed storage.
The IKEA Billy bookcase hack is a favorite among DIY enthusiasts because it’s affordable, customizable, and easy to work with. The versatility of the Billy bookcase allows you to create everything from stylish built-ins to chic display cabinets, all without the expense of custom cabinetry.
Take This With You
This post isn't going anywhere, but a project like this is a lot easier when you've got something you can tick off as you go, keep open on your phone while you're in B&Q, or print out and stick on the wall. Pop your email below and I'll send it straight to you.


What is your best estimate of total working hours to complete this?
Ooh that’s a hard question, because I started and stopped so many times. Probably about 8-10 hours in total I believe.