There is something about a limewash finish that just makes a room feel like it has soul. That soft, cloud-like texture with gentle variation in tone, the kind of walls you see in beautiful old Italian farmhouses or those impossibly chic Parisian apartments all over Pinterest. The problem? Real limewash paint is expensive, limited in colour, and honestly a bit of a nightmare to get right if you have never worked with it before. So when it came time to transform my utility room, faux limewash paint felt like the obvious answer; all of the character, none of the hefty price tag.
What started as a straightforward limewash project with my sister actually turned into a two-stage learning curve that taught me exactly what works, what does not, and how to get that perfectly imperfect finish with nothing more than two tins of regular emulsion and a good brush. The finished result is genuinely one of my favourite rooms in the house now, and the technique itself is far simpler than it looks.
Project Overview
Skill Level: Beginner
Time: 1 to 2 days (including drying time between coats)
Budget: Approximately £30 to £50 (two tins of matte emulsion plus a brush)
What You Get: A textured, cloudy finish that mimics traditional limewash paint without the cost or complexity
Why Faux Limewash Works So Well in a Utility Room
Before jumping into the how-to, it is worth talking about why this technique is such a good fit for a utility room specifically. Utility rooms tend to be functional spaces that get overlooked when it comes to interiors, but there is no reason they cannot feel just as considered as the rest of your home. A faux limewash finish adds warmth and visual interest to what might otherwise be a fairly plain, boxy room, and it does it without the impracticality of real limewash in a space where things get splashed and wiped down regularly.
Because you are using standard emulsion paint rather than actual lime-based products, the walls are far more durable and much easier to touch up if they get scuffed. Faux limewash also works beautifully in smaller rooms where you want texture and depth without the walls feeling heavy or closing in on you. The soft, tonal variation creates a sense of movement that makes even a compact utility feel airy and intentional.
What You Need for DIY Faux Limewash Walls
The beauty of this technique is how little you actually need. There are no specialist products, no mixing powders into paint, and no expensive limewash brushes required.
- Two paint colours in a similar tonal family. For my utility room, the combination was a warm beige and a soft white. Choose shades that sit close together on the colour card rather than high contrast colours, so the blending looks natural and organic rather than stripy. One or two shades apart is the sweet spot.
- Matte or flat finish emulsion only. Anything with a sheen will not give you that chalky, lived-in quality that makes limewash so appealing. Matte is non-negotiable.
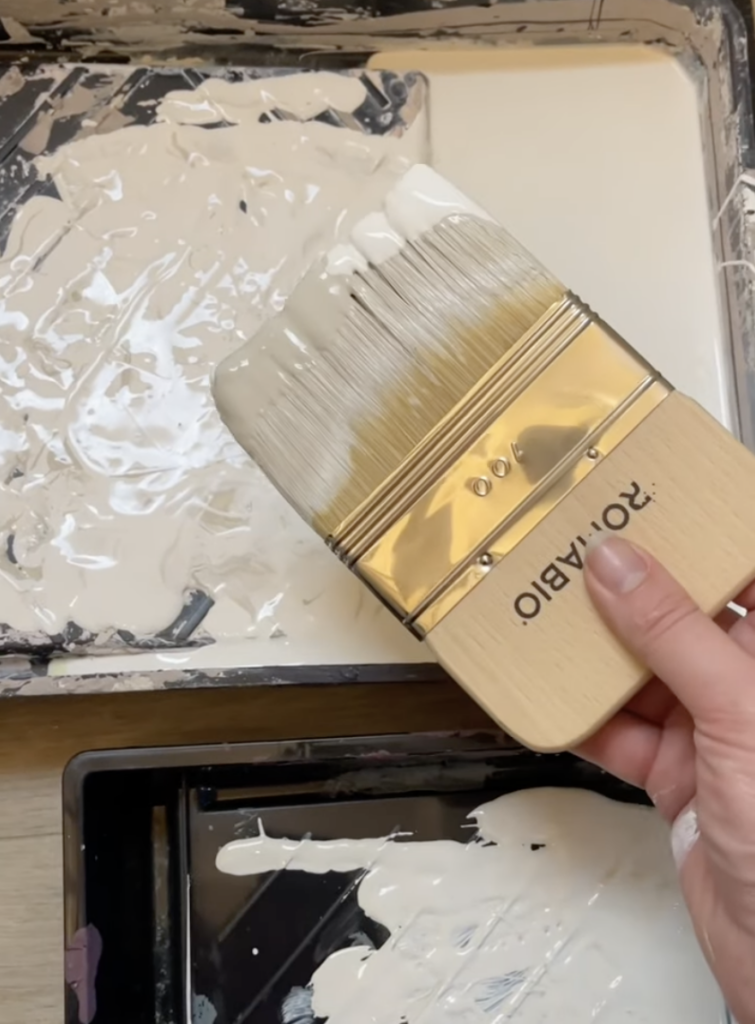
- A reasonably stiff paint brush. Not a roller, and not a soft decorating brush. You need bristles with enough body to blend the two colours on the wall. A wide brush (around 100mm to 150mm) is ideal. A natural bristle brush holds more paint and creates a softer blend, but a stiff synthetic brush is more durable for the scrubbing motion this technique demands. Either will work; just avoid anything too floppy or too fine.
- Two paint trays. One for each colour. Do not try to use a divided tray or the frog tape hack. More on that below.
- Masking tape and dust sheets. Standard prep supplies to protect your edges, skirting boards, and floors.
Pro tip: if you prefer a more subtle, washed-out effect, you can thin your lighter colour slightly with water (roughly one part water to three parts paint) before loading your brush. The two-colour dry-brush method detailed below gives the best depth and texture, but a diluted wash can work well as a finishing pass if you want to soften things even further.
How to Create a Faux Limewash Finish Step by Step
Step 1: Prepare the Surface for Painting
Start with clean, dry walls. If there are any holes or cracks, fill them and sand smooth before you begin. A coat of primer is worth doing if your walls are particularly dark or patchy, but if they are already a neutral base colour, you can skip this step. Tape off your skirting boards, ceiling edges, and any trim you want to protect.
Step 2: Set Up Two Separate Paint Trays
Pour your beige (or darker shade) into one tray and your white (or lighter shade) into the second. Having two separate trays is important here, and honestly, do not bother trying to use one of those divided trays or the frog tape hack to split a single tray. Trust me on this one. My attempt at the single tray approach nearly sent me over the edge, and it took about five minutes to accept that a second tray was the only sane option. Two trays, two colours, no stress.
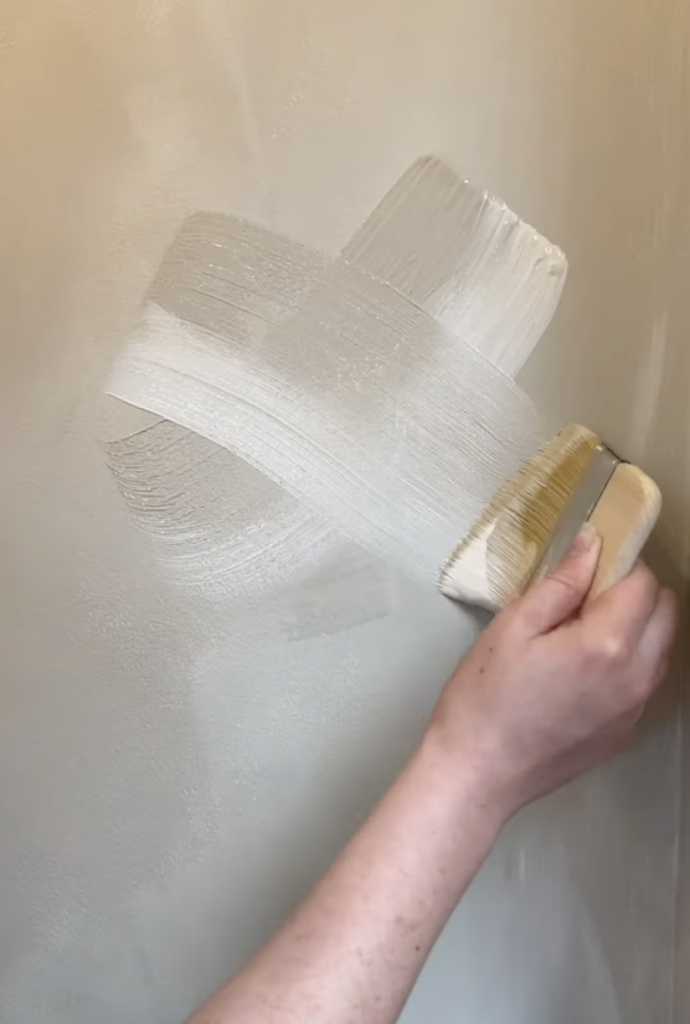
Step 3: Load the Brush With Both Colours
This is where the magic happens. Take your stiff brush and dip one half into the beige paint and the other half into the white paint. You do not need to be precise about the split; roughly half and half is fine, and a bit of overlap between the two colours on the brush is actually what you want.
Step 4: Blend the Paint in Random Strokes for the Faux Limewash Effect
Press the loaded brush against the wall and start blending the two colours together using sweeping, slightly random strokes. The aim is to create a soft, cloudy effect where the two tones merge into each other without any obvious lines or brush marks. Work in sections of roughly a square metre at a time, varying the direction of your strokes so you get that organic, hand-finished look.
Do not try to be too neat or controlled with this. The whole point of a limewash effect is that it looks naturally imperfect, so embrace a bit of randomness. Some areas will lean slightly more beige, others slightly more white, and that variation is exactly what gives the finish its depth and character.
Step 5: Build Up Depth With a Second Coat
Here is the thing nobody tells you about faux limewash: the first coat might look a bit rough, and that is completely normal. When my sister and I did the initial coat in the utility room, the brush strokes were far too obvious and the finish looked uneven in a way that felt messy rather than characterful. After weeks of staring at it and quietly hating it, the answer turned out to be surprisingly simple. A second coat using the same two-colour blending technique toned everything down beautifully.
The second coat softens any harsh marks from the first layer and creates a more cohesive, cloudy texture across the whole wall. This is the step that takes the finish from “painted by someone who was clearly learning” to “this looks like it was always meant to be this way.”
Step 6: Manage the Hand Cramp and Keep Going
This is only partly a joke. The gripping motion required when you are holding a stiff brush and applying that kind of pressure for an extended period is genuinely tiring on your hands. Switching hands, taking breaks, and shaking out your fingers between sections helps. A wider brush might also reduce the strain if you find a thinner handle is causing problems. It is worth pushing through though, because the result is so much better than what a roller or sponge technique can achieve.
Tips for Getting the Best Faux Limewash Finish
Choose colours that are close together on the colour card. If your two shades are too far apart, the finish will look patchy and deliberate rather than soft and organic. One or two shades apart is the sweet spot. I used white, and Dulux Egyptian Cotton.
Use a matte or flat finish emulsion. Silk or satin finishes reflect light differently and will not give you the chalky, textured appearance that makes this technique look like real limewash. Matte is non-negotiable for this.
Do not skip the second coat. The first coat lays the groundwork, but it is the second that really pulls everything together. If you are looking at your first coat thinking it looks a bit rough, do not panic. The second pass will transform it.
Work in manageable sections. Trying to cover an entire wall in one go before stepping back will leave you with inconsistent patches where the paint has started to dry mid-section. A square metre at a time keeps things workable.
Vary your brush strokes constantly. Up, down, side to side, small sweeps, bigger sweeps. If you fall into a repetitive pattern, it will show in the finished wall. The more random and varied your strokes, the more convincing the limewash effect.
Have realistic expectations about drying time. The colours will look slightly different when wet compared to dry, and the contrast between the two tones often softens as the paint dries. Give it a full 24 hours before deciding whether you need to adjust anything.
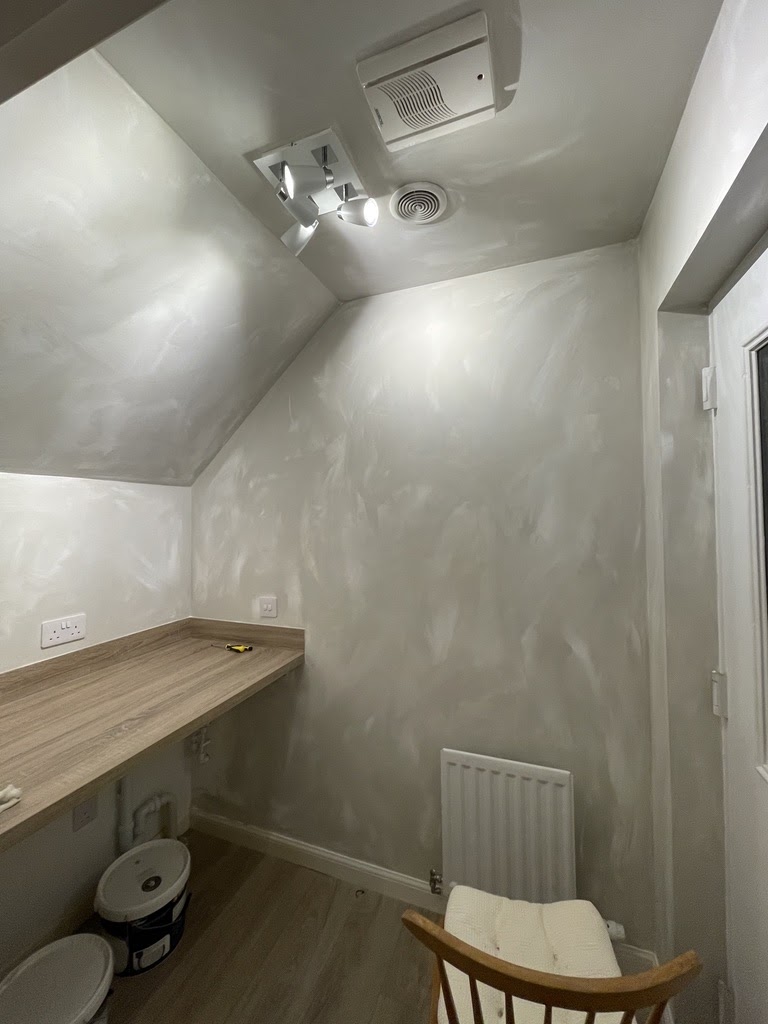
Styling a Faux Limewash Utility Room
Once the walls were finished and the paint had dried, putting the utility room back together was genuinely exciting. The faux limewash creates such a lovely backdrop that even the most functional items, the washing machine, the cleaning supplies, the ironing board, looked better against it. But it was the finishing touches that really brought the room to life.
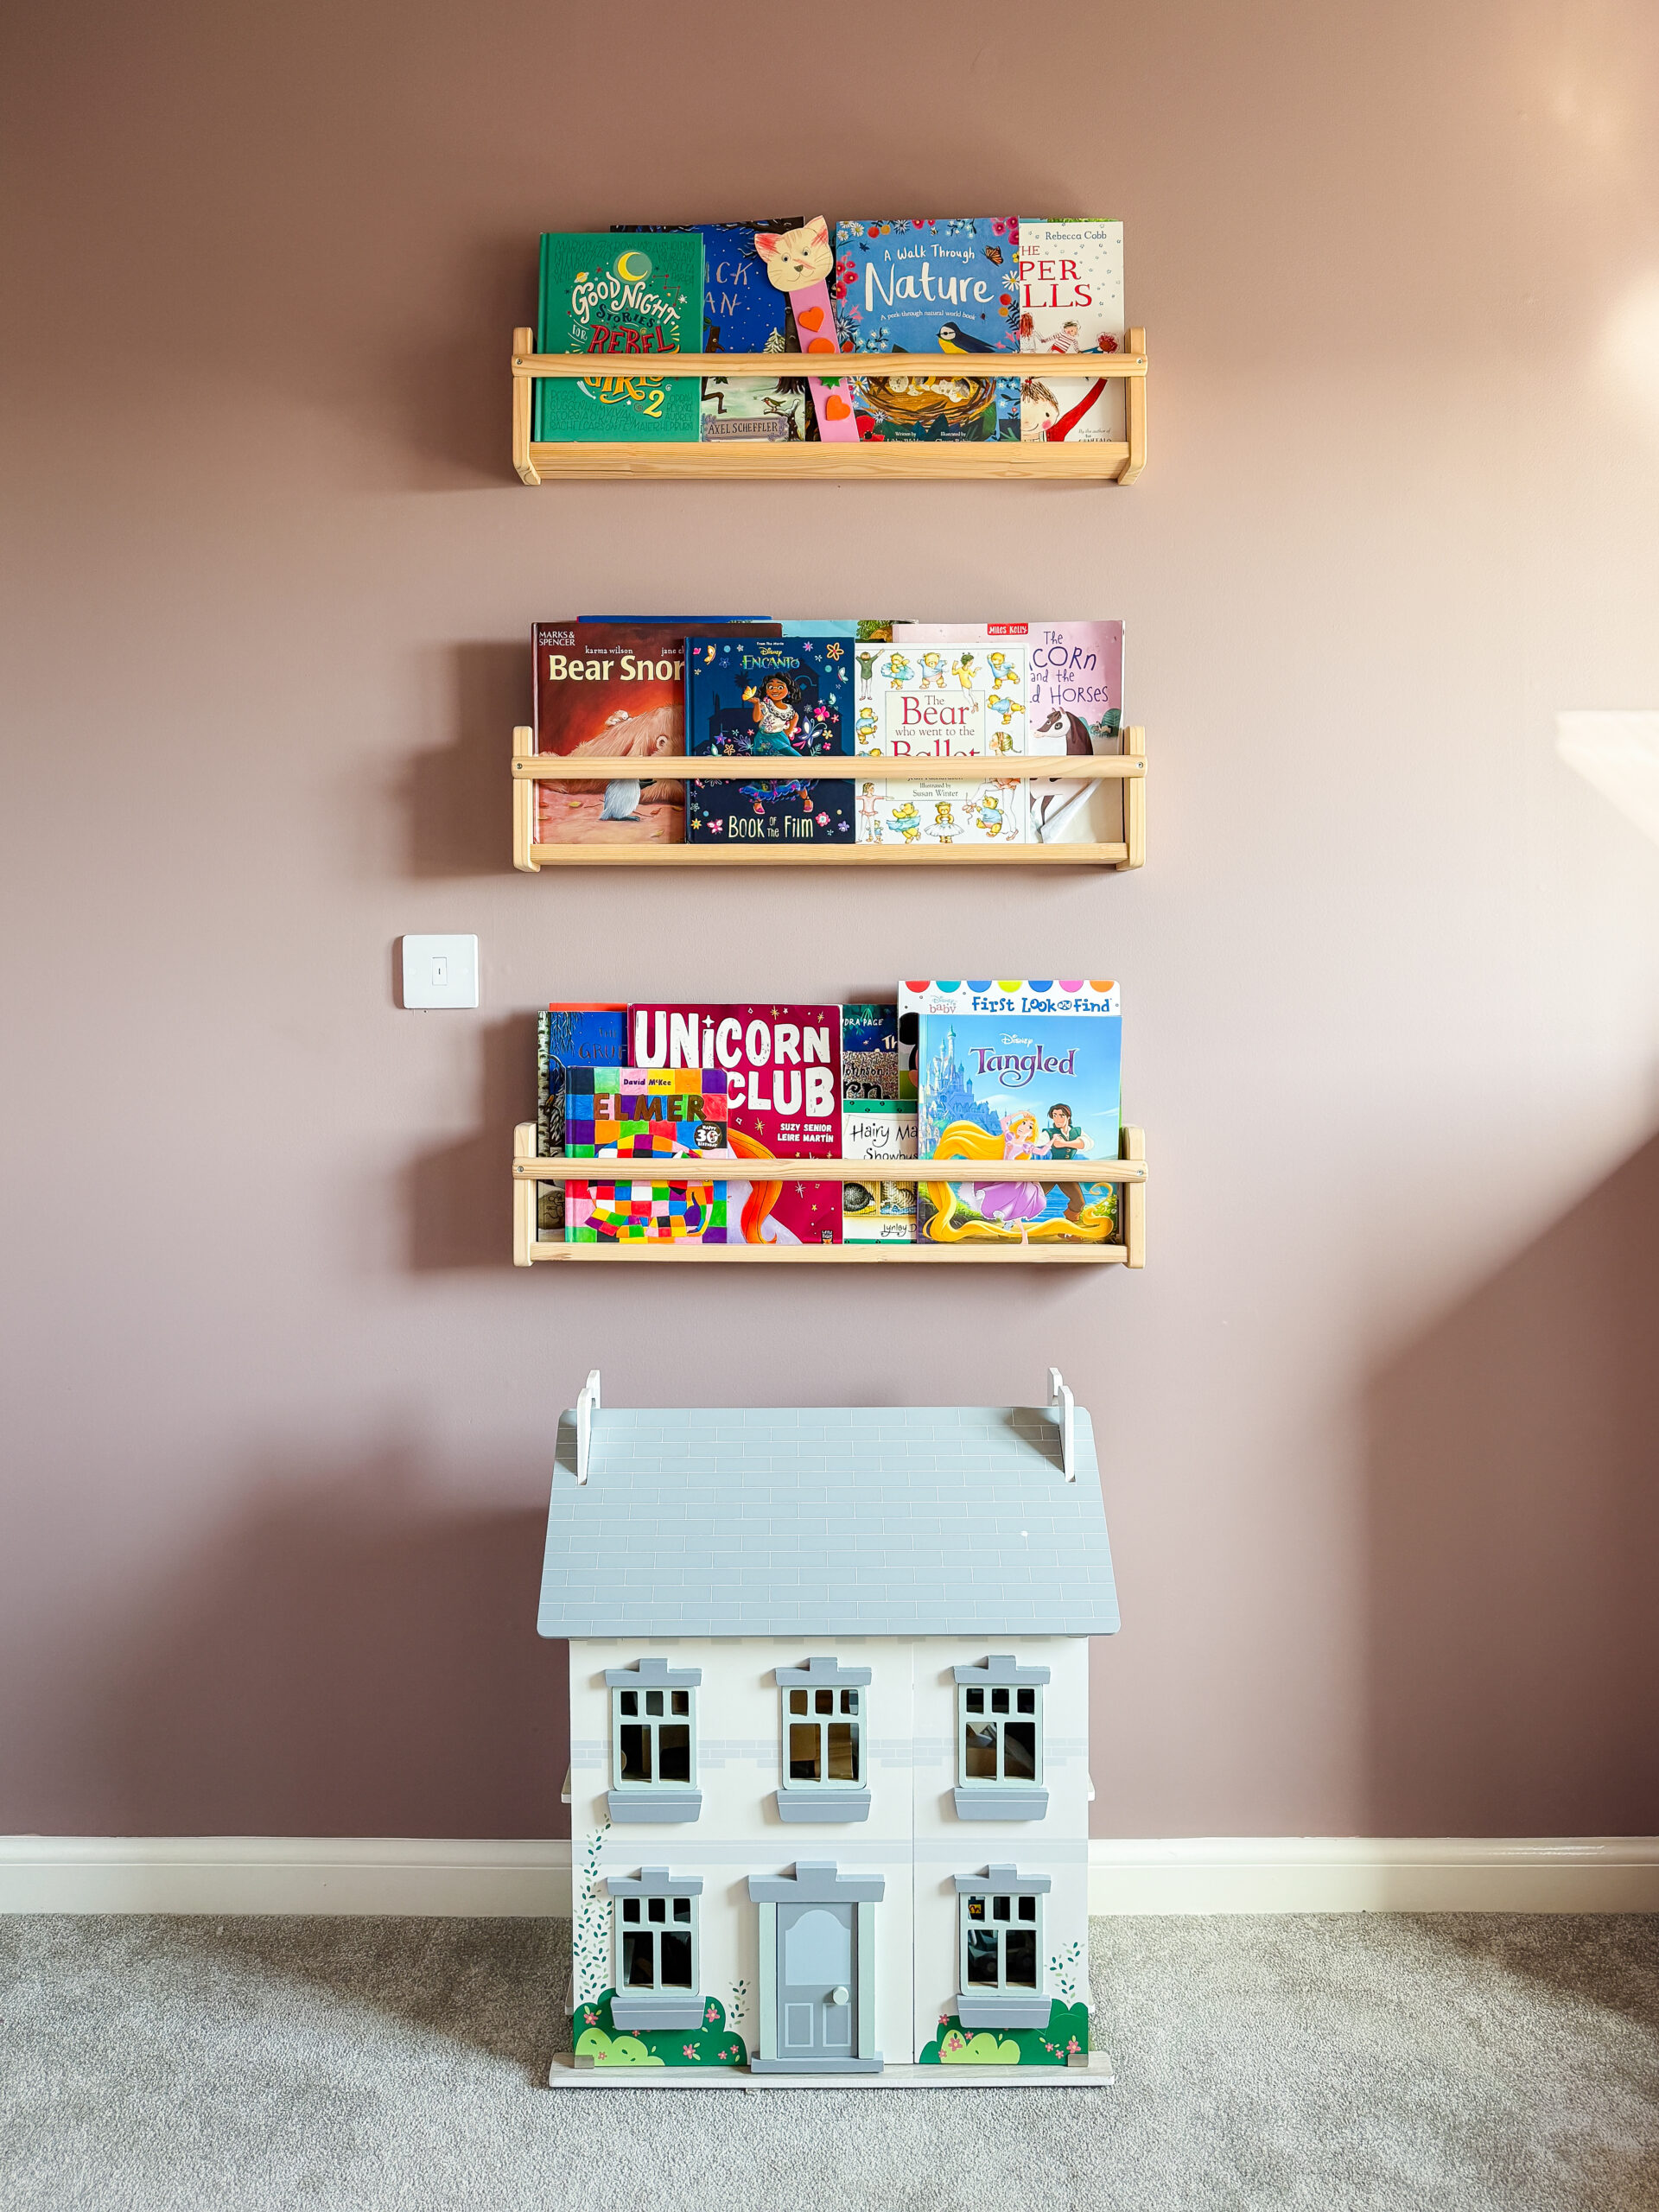
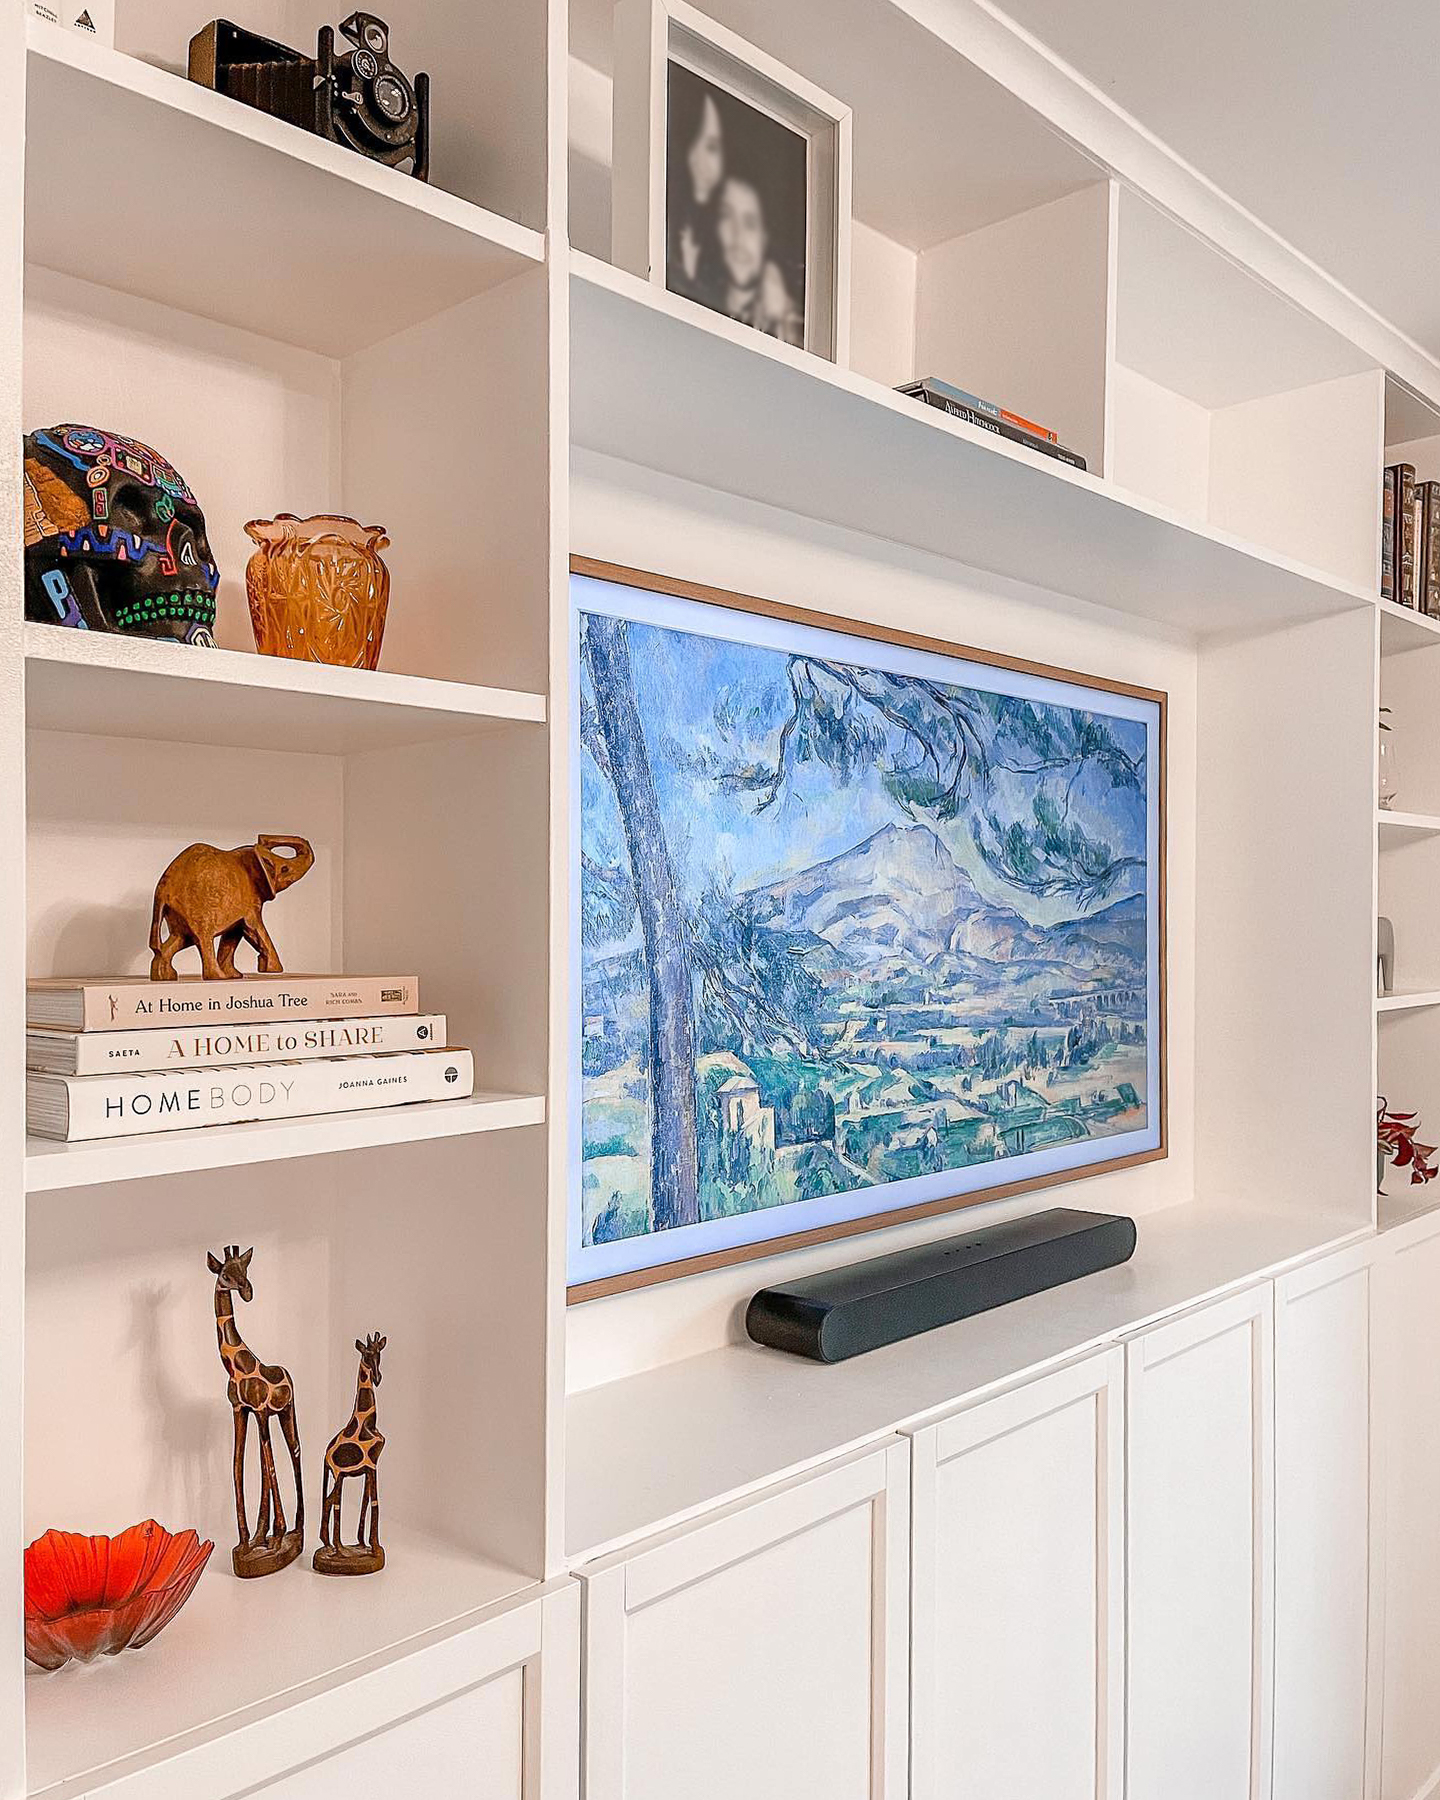
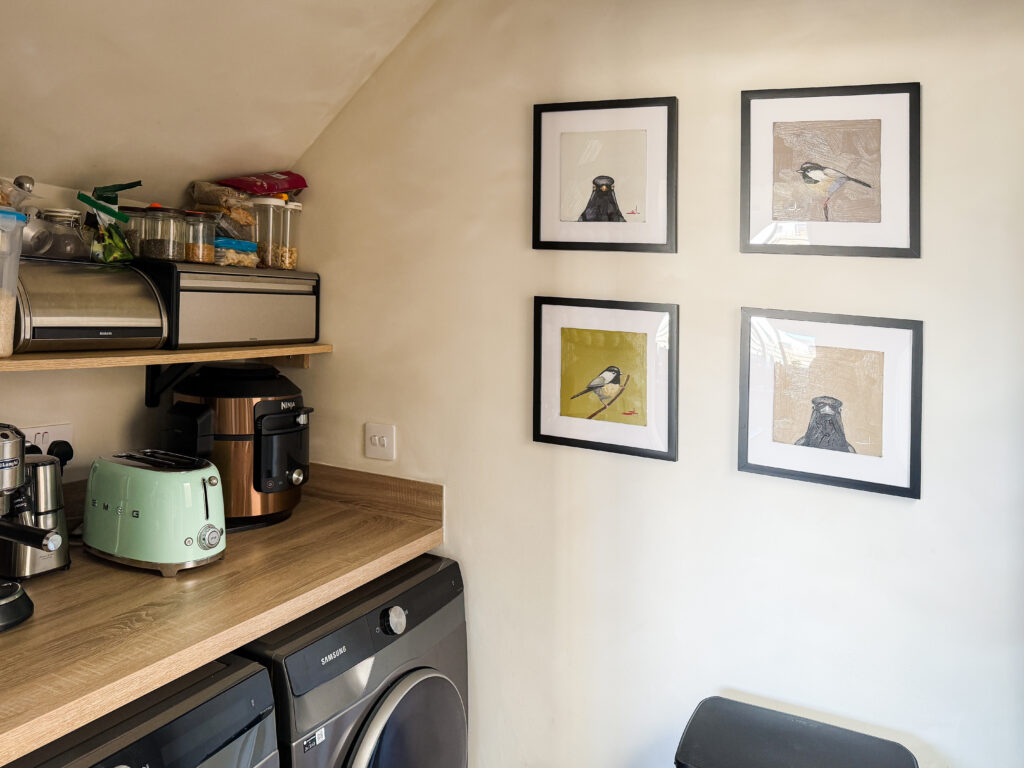
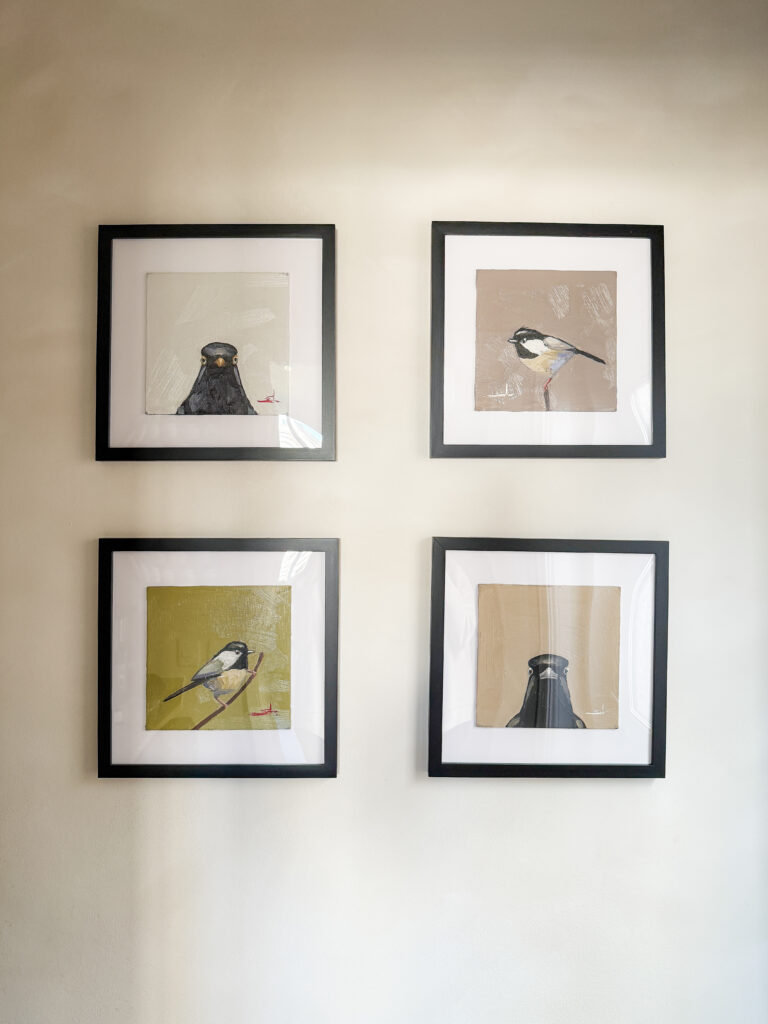
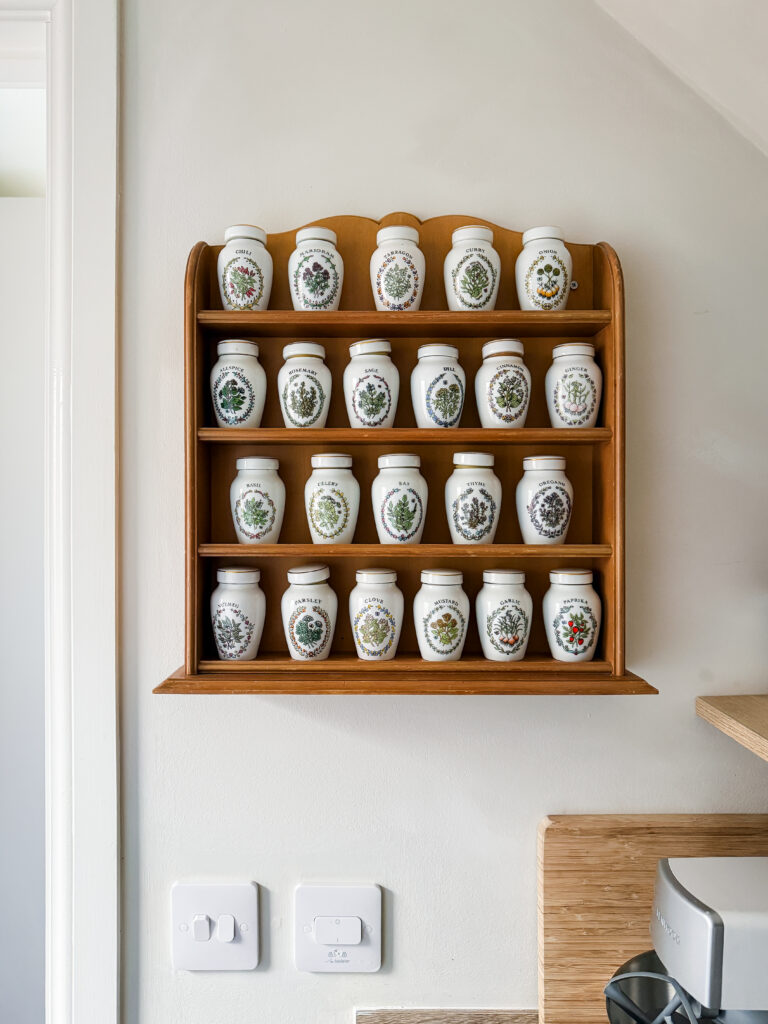
Quirky artwork against limewash walls is an absolute dream. The soft, textured background means prints and frames stand out beautifully without competing with the wall behind them. In my utility room, a collection of bird prints adds personality and makes the space feel curated rather than purely practical. It is that balance between functional and beautiful that makes such a difference in rooms like this.
Keeping countertops clear and appliances neatly arranged lets the walls do the talking, and the whole room feels elevated despite being one of the most hardworking spaces in the house. That is really what everyday luxury is about; taking the rooms you use every single day and giving them a bit of love and intention, even when they are tucked away behind a closed door.
Frequently Asked Questions
Yes, you can apply a faux limewash finish directly over existing paint. As long as the surface is in reasonable condition, clean, and dry, it will work well. If the current colour is very dark or bold, a coat of primer in a neutral shade first will give you a better base to work from. If the existing paint has a sheen (silk or satin), a light sand first will help the new matte emulsion grip properly.
Real limewash is a natural paint made from slaked lime and water, sometimes with pigments added. It penetrates porous surfaces like bare plaster and creates an authentically textured, breathable finish that develops a patina over time. Faux limewash uses regular emulsion paint applied with a specific brushing technique to mimic the look. The faux version is more durable, easier to clean, available in any colour, and significantly cheaper.
It works best on smooth plasterboard or previously painted walls. Very textured surfaces like artex or heavy woodchip may not give you the same smooth, cloud-like result because the existing texture interferes with the brush technique. On smooth walls, the result is beautiful.
For a small room like a utility, expect to spend a full afternoon on the first coat and another session for the second coat once the first has dried. Larger rooms will obviously take longer. The technique itself is not complicated, but it is physically demanding on your hands and arms, so building in breaks is sensible.
Yes, because you are using standard emulsion paint, the finish is just as durable as any normal painted wall. Matte finishes can be slightly less wipeable than silk, so if your utility room gets particularly messy, a very light coat of clear matte varnish over the top would add an extra layer of protection without changing the appearance.
Warm neutrals tend to give the most convincing limewash effect: soft beiges, creamy whites, warm taupes, and gentle grey-greens. Earthy, muted tones look the most natural because they mimic the kind of pigments traditionally used in real limewash. Bold or saturated colours can work but tend to look more like a colour wash than a true limewash effect.
You can absolutely do this solo. Having a second pair of hands is useful for prep work and for taking turns if the hand cramp becomes an issue, but the technique itself does not require two people. In fact, sometimes having consistent technique from one person produces a more cohesive result than two people with slightly different brush pressures and styles.
The Honest Truth About This Project
Not every DIY project goes smoothly on the first attempt, and this one definitely did not. The first coat of limewash my sister and I applied looked, frankly, a bit rubbish. The brush strokes were far too visible, the finish felt uneven, and for a few weeks, every time I walked into the utility room, all I could see was what had gone wrong rather than what had gone right.
But that second coat changed everything. Going back in with the two-colour blending technique softened all the rough patches, evened out the texture, and gave the walls that beautiful, cloud-like quality that makes limewash so appealing. The lesson here is that faux limewash is genuinely forgiving; even if your first attempt is not perfect, another layer will almost always fix it.
The finished utility room genuinely makes me smile now. It went from a room that was purely functional to one that feels like a considered part of the house, and the whole project cost less than a single tin of proper limewash paint. If you have been thinking about trying this technique, particularly in a smaller space where you can experiment without committing to an entire living room, a utility room is the perfect place to start.
If you are looking for more home projects and room transformations, have a browse through the home interiors section for plenty of inspiration.
How to Get a Faux Limewash Paint Finish: Quick Reference
Time needed: 2 days
A budget-friendly way to get the look of traditional limewash using two shades of regular matte emulsion and a simple blending technique. No specialist products or skills needed; just a stiff brush, two paint trays, and a free afternoon. The result is a soft, cloudy, textured finish that adds warmth and character to any room.
- Prepare the surface.
Clean the walls, fill any holes, sand smooth, and tape off skirting boards, ceiling edges, and trim. Prime if the existing colour is very dark.
- Set up two separate paint trays.
Pour the darker shade into one tray and the lighter shade into the other. Do not attempt to split a single tray.
- Load the brush with both colours.
Dip one half of the brush into the darker paint and the other half into the lighter paint. Roughly half and half is fine.
- Blend the paint onto the wall in random strokes.
Press the brush against the wall and sweep in varied directions to create a soft, cloudy effect. Work in sections of about one square metre at a time.
- Allow to dry, then apply a second coat.
The first coat may look uneven; this is normal. A second pass using the same technique will soften brush marks and create a more cohesive finish.
- Take breaks to manage hand fatigue.
The gripping and scrubbing motion is tiring. Switch hands, stretch your fingers between sections, and consider a wider brush to reduce strain.