Handmade Christmas Decorations That Look Anything But Homemade

Some of the most beautiful Christmas decorations in our home are the ones I've made myself. Not because I'm particularly crafty (though I do enjoy it), but because there's something about a handmade piece that adds a warmth and charm you just can't buy off a shelf. The trick is choosing projects that look polished and elegant rather than like a primary school art project gone rogue.
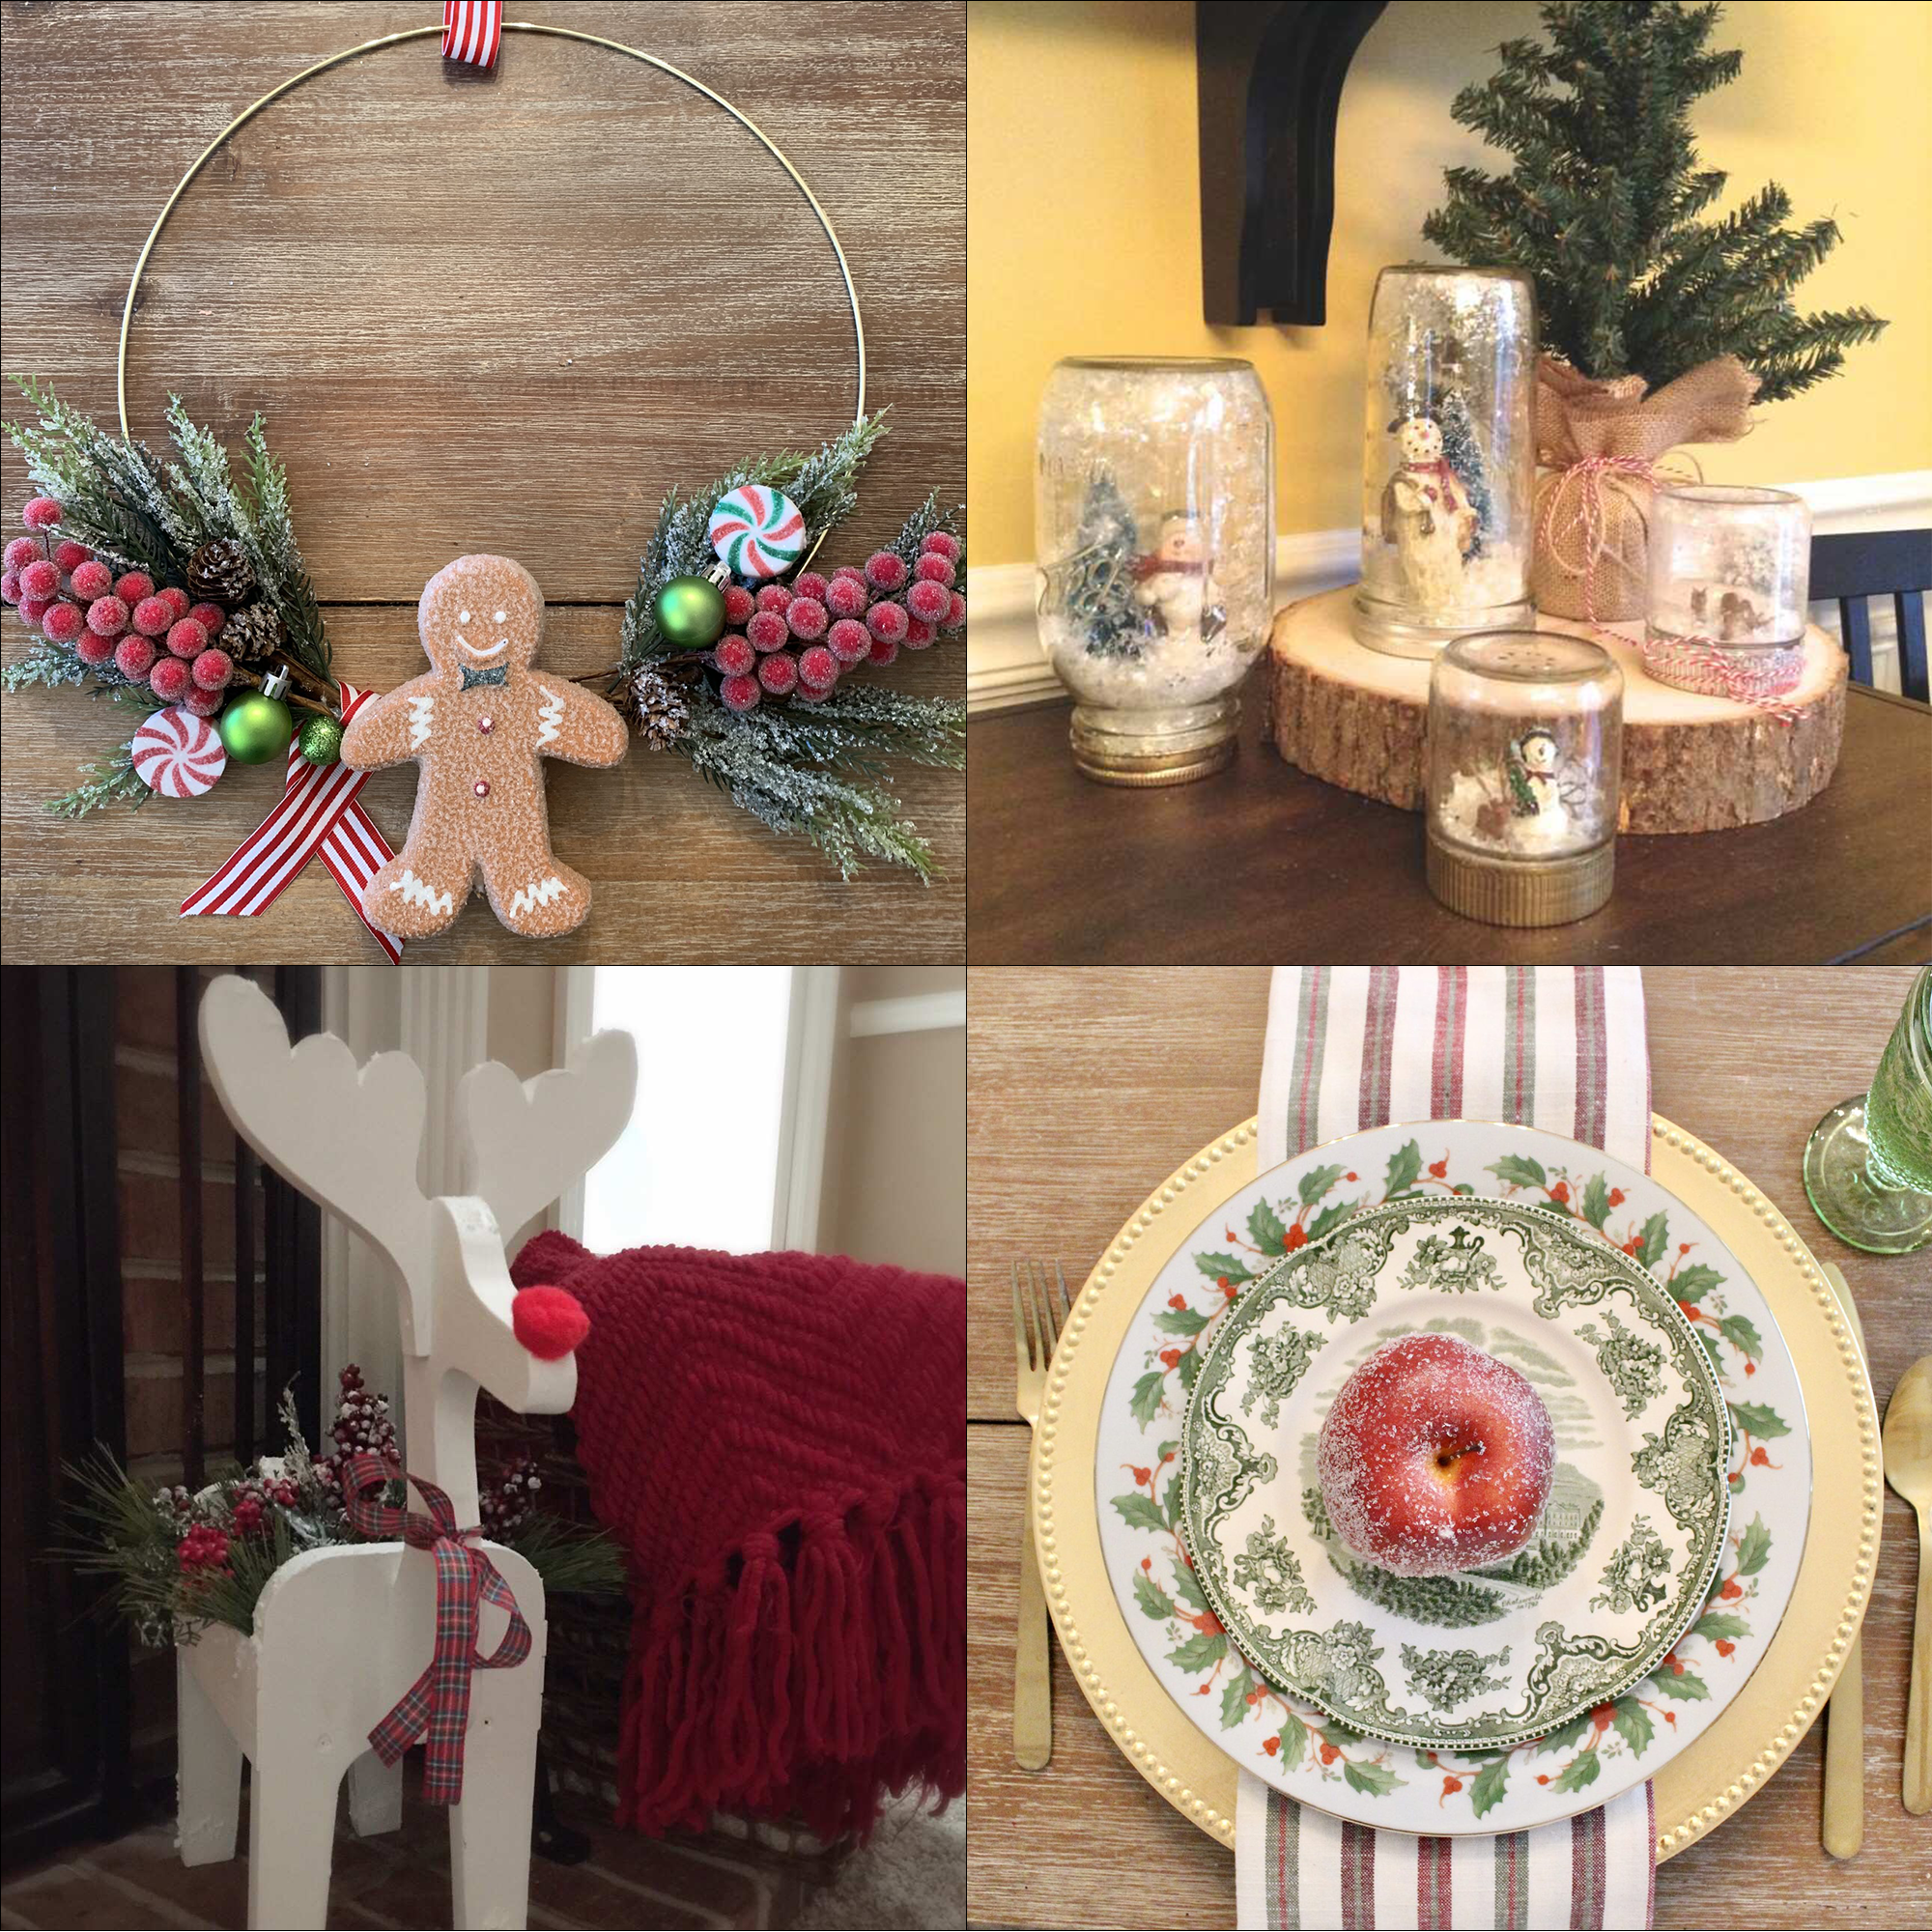
Over the years, I've collected a handful of handmade Christmas decorations that I bring out every season, and they always get compliments. Today I'm sharing four of my favourite festive craft projects, all of which are simple enough to make in an afternoon and look far more expensive than they actually are. Whether you're making them for your own home or putting together thoughtful hostess gifts, these are the kind of projects that deliver on style without demanding hours of your time.

Upcycled Thrift Shop Reindeer
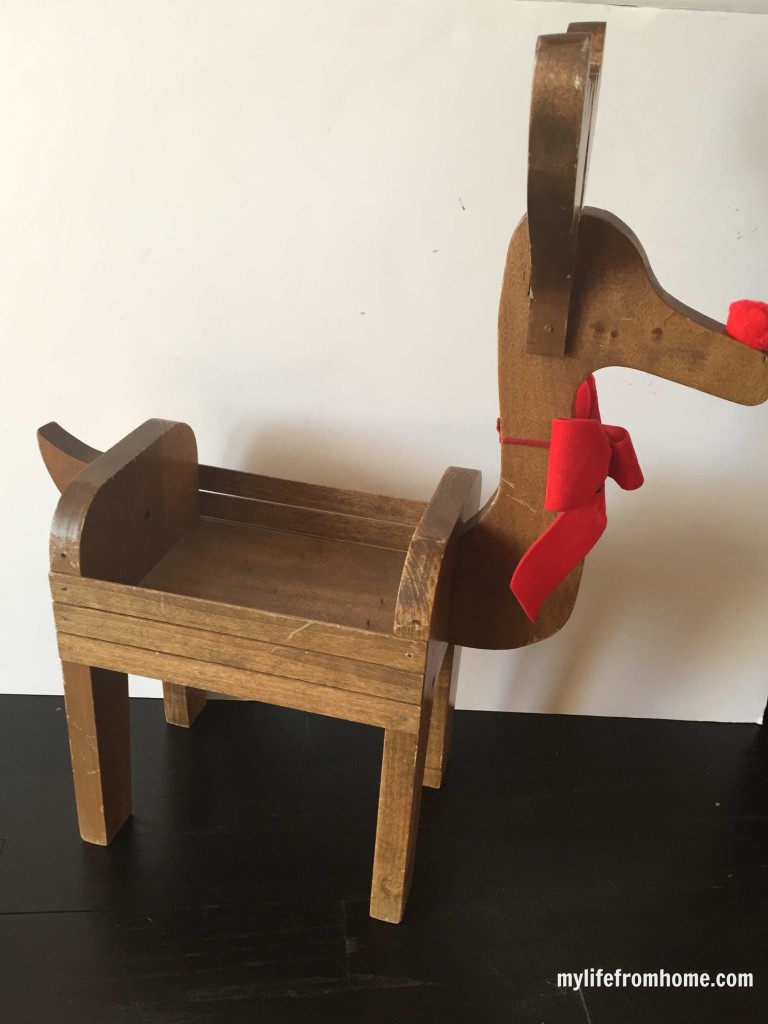
Not every charity shop find is ready to go straight onto the mantel, but that's half the fun. I found a wooden reindeer at a thrift shop a while back, and while the shape was lovely, the finish was tired and the bow around his neck was, well, questionable. He had potential though, and for the price, he was worth the experiment.
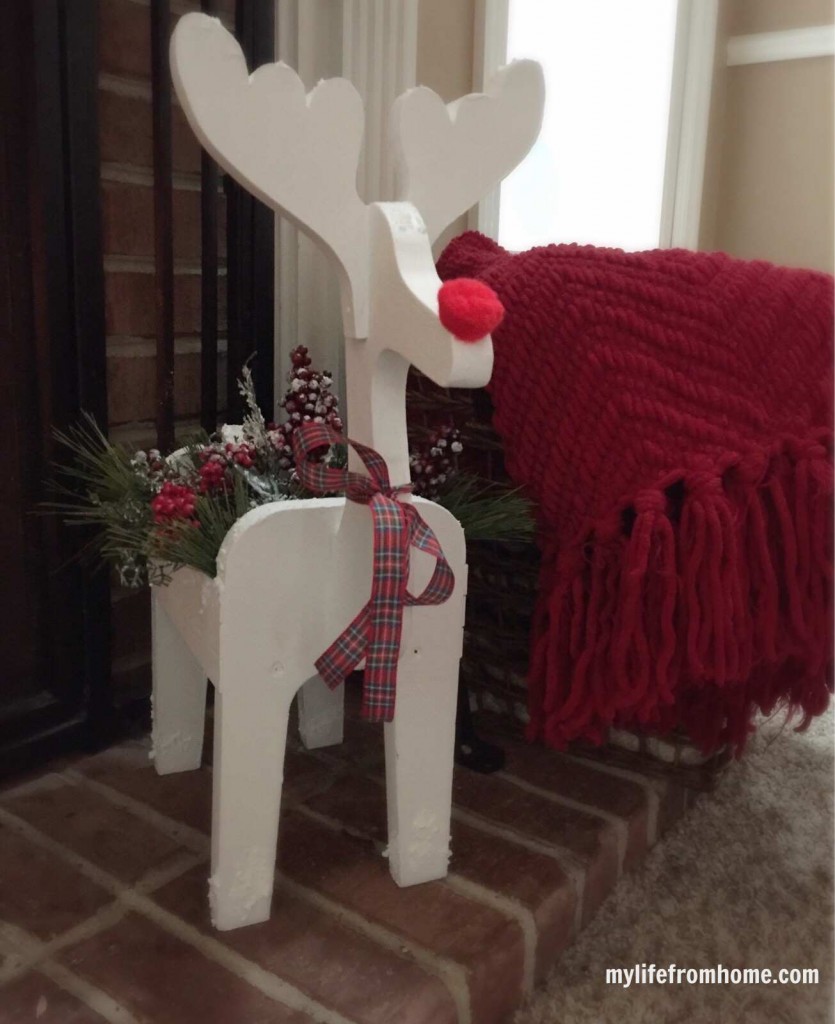
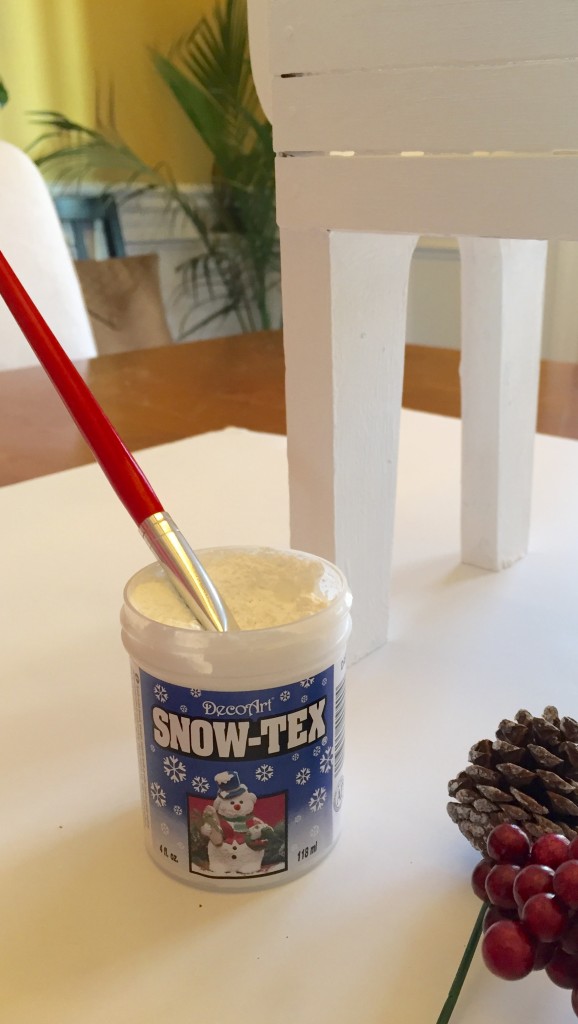
The first step was a good sand down followed by a coat of DecoArt paint in Everlasting, which gave the whole piece a fresh, chalky finish. Then came the part that really transformed him: Snow Tex from DecoArt. If you haven't used Snow Tex before, it's a white texturising product that creates a three-dimensional snow effect on whatever you brush it onto. You can layer it as thickly as you like to build up the texture, and the result looks remarkably realistic.

I applied it around the feet, across the antlers, along the tail, and into the little basket on his back. Then I filled the basket with a mix of real greenery and faux berry branches, painting them lightly with Snow Tex as well to give that just-dusted-with-snow look. A simple plaid bow around the neck finished him off, and honestly, he looks like something you'd find in a boutique homeware shop rather than a charity shop rescue.
This is the kind of handmade Christmas decoration that works beautifully on a mantel, a bookshelf, or as part of a larger festive vignette. The key is keeping the colour palette restrained and letting the texture do the work.
Mason Jar Snow Globes
These waterless snow globes are probably the most charming little project I've made for Christmas, and they're simple enough to do with children too. My daughter and I made a whole collection one afternoon, and they've come out of storage every year since. There's something about tiny figurines in a jar surrounded by falling snowflakes that never gets old.
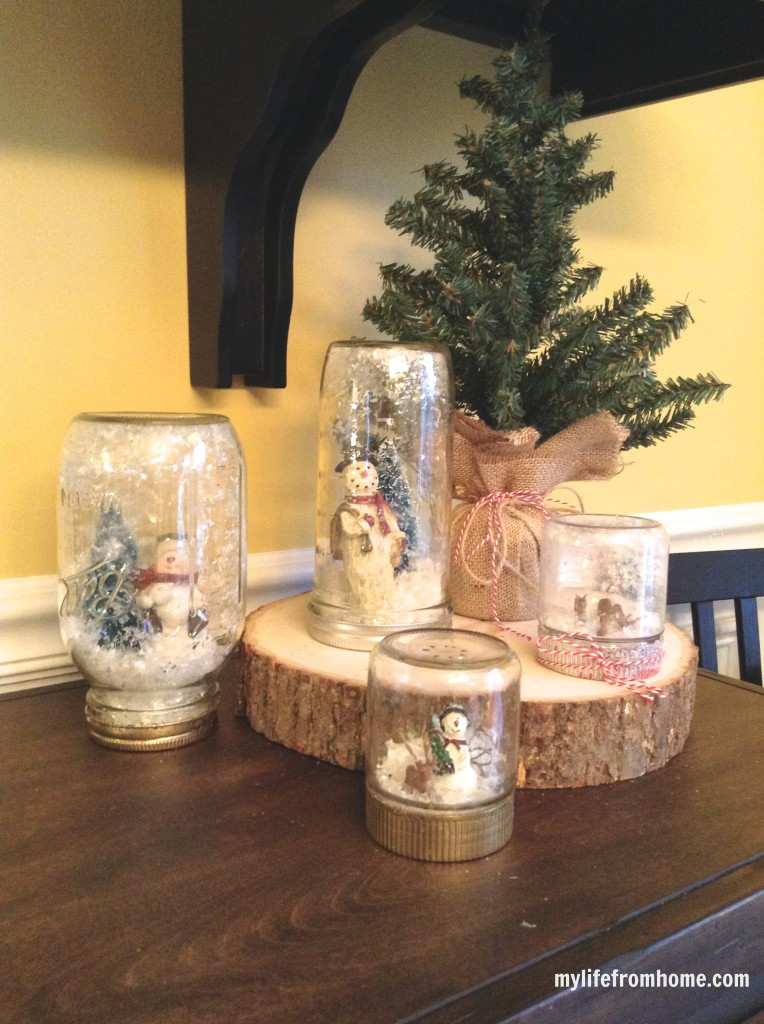
You'll need mason jars (or any small glass jars; recycled bouillon jars work brilliantly for miniature versions), metallic spray paint for the lids, glitter, a hot glue gun, faux snowflakes, and your choice of small figurines and bristle trees. I used a mix of snowmen and deer rather than Father Christmas figures, which means they can stay out well into January without looking out of place.

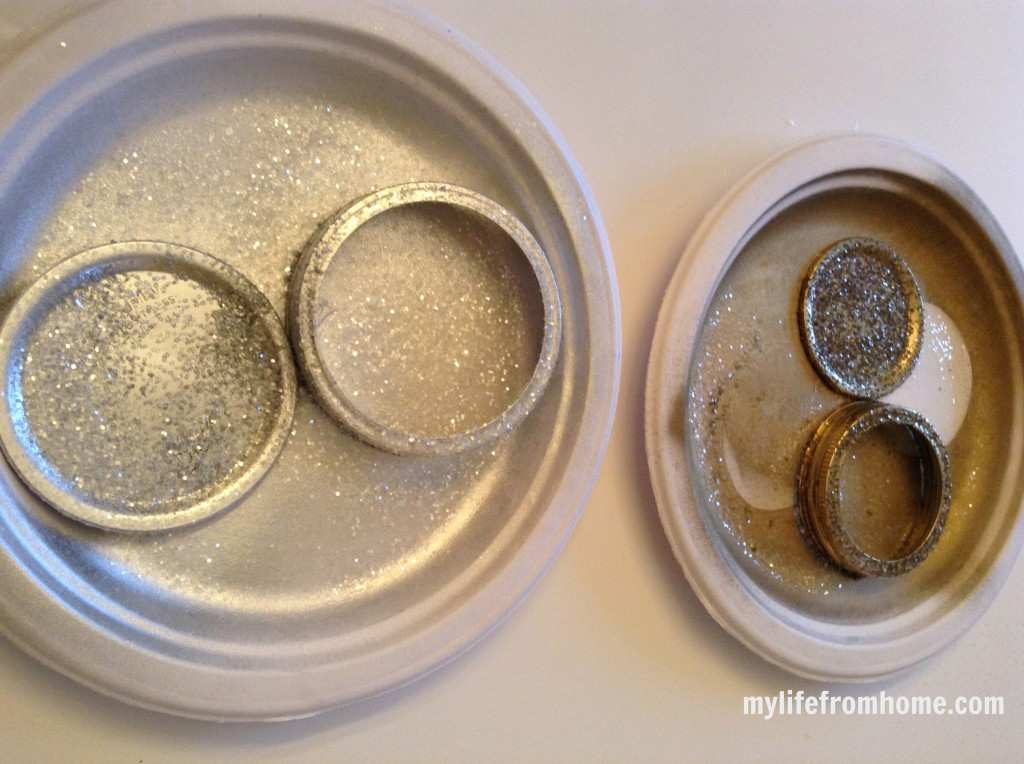
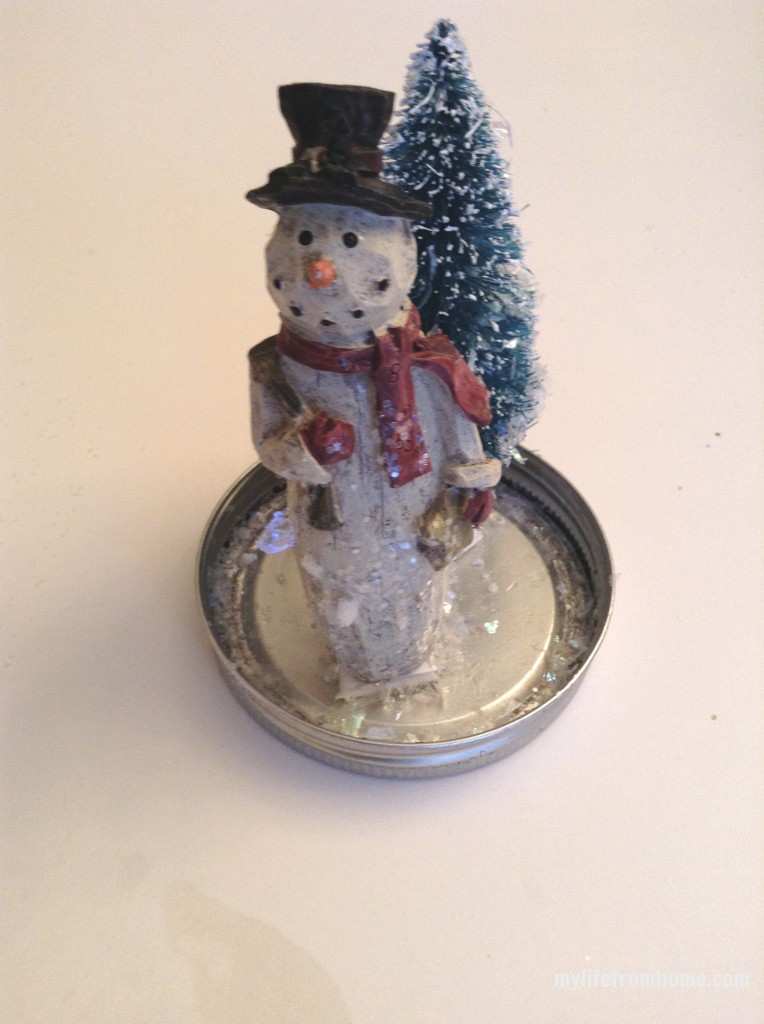
Start by spray painting the lids. While the paint is still wet, dust them generously with glitter for a bit of sparkle. Once dry, hot glue the inner disc to the ring so the lid becomes one solid piece. Next, hot glue your figurine and tree to the inside of the lid. Turn the jar upside down, drop in a scattering of faux snowflakes, screw the lid on, and you're done. A length of twine or ribbon around the lid adds a nice finishing touch.
We displayed ours on a wood slice with a mini bristle tree alongside, and it made the sweetest little vignette on the dining room buffet. The only word of caution is the hot glue gun if small hands are involved, but every other step is completely family-friendly.
These make wonderful hostess gifts too. A snow globe tucked into a small gift bag with some tissue paper is the kind of thoughtful, personal present that people genuinely love receiving.
Gingerbread Hoop Wreath
Hoop wreaths have been having a moment for the last few seasons, and it's easy to see why. They're elegant, minimal, and feel modern without trying too hard. I'd been admiring them for a while before I finally had a go, and I'm so glad I did because this gingerbread version has become one of my favourite handmade Christmas decorations.

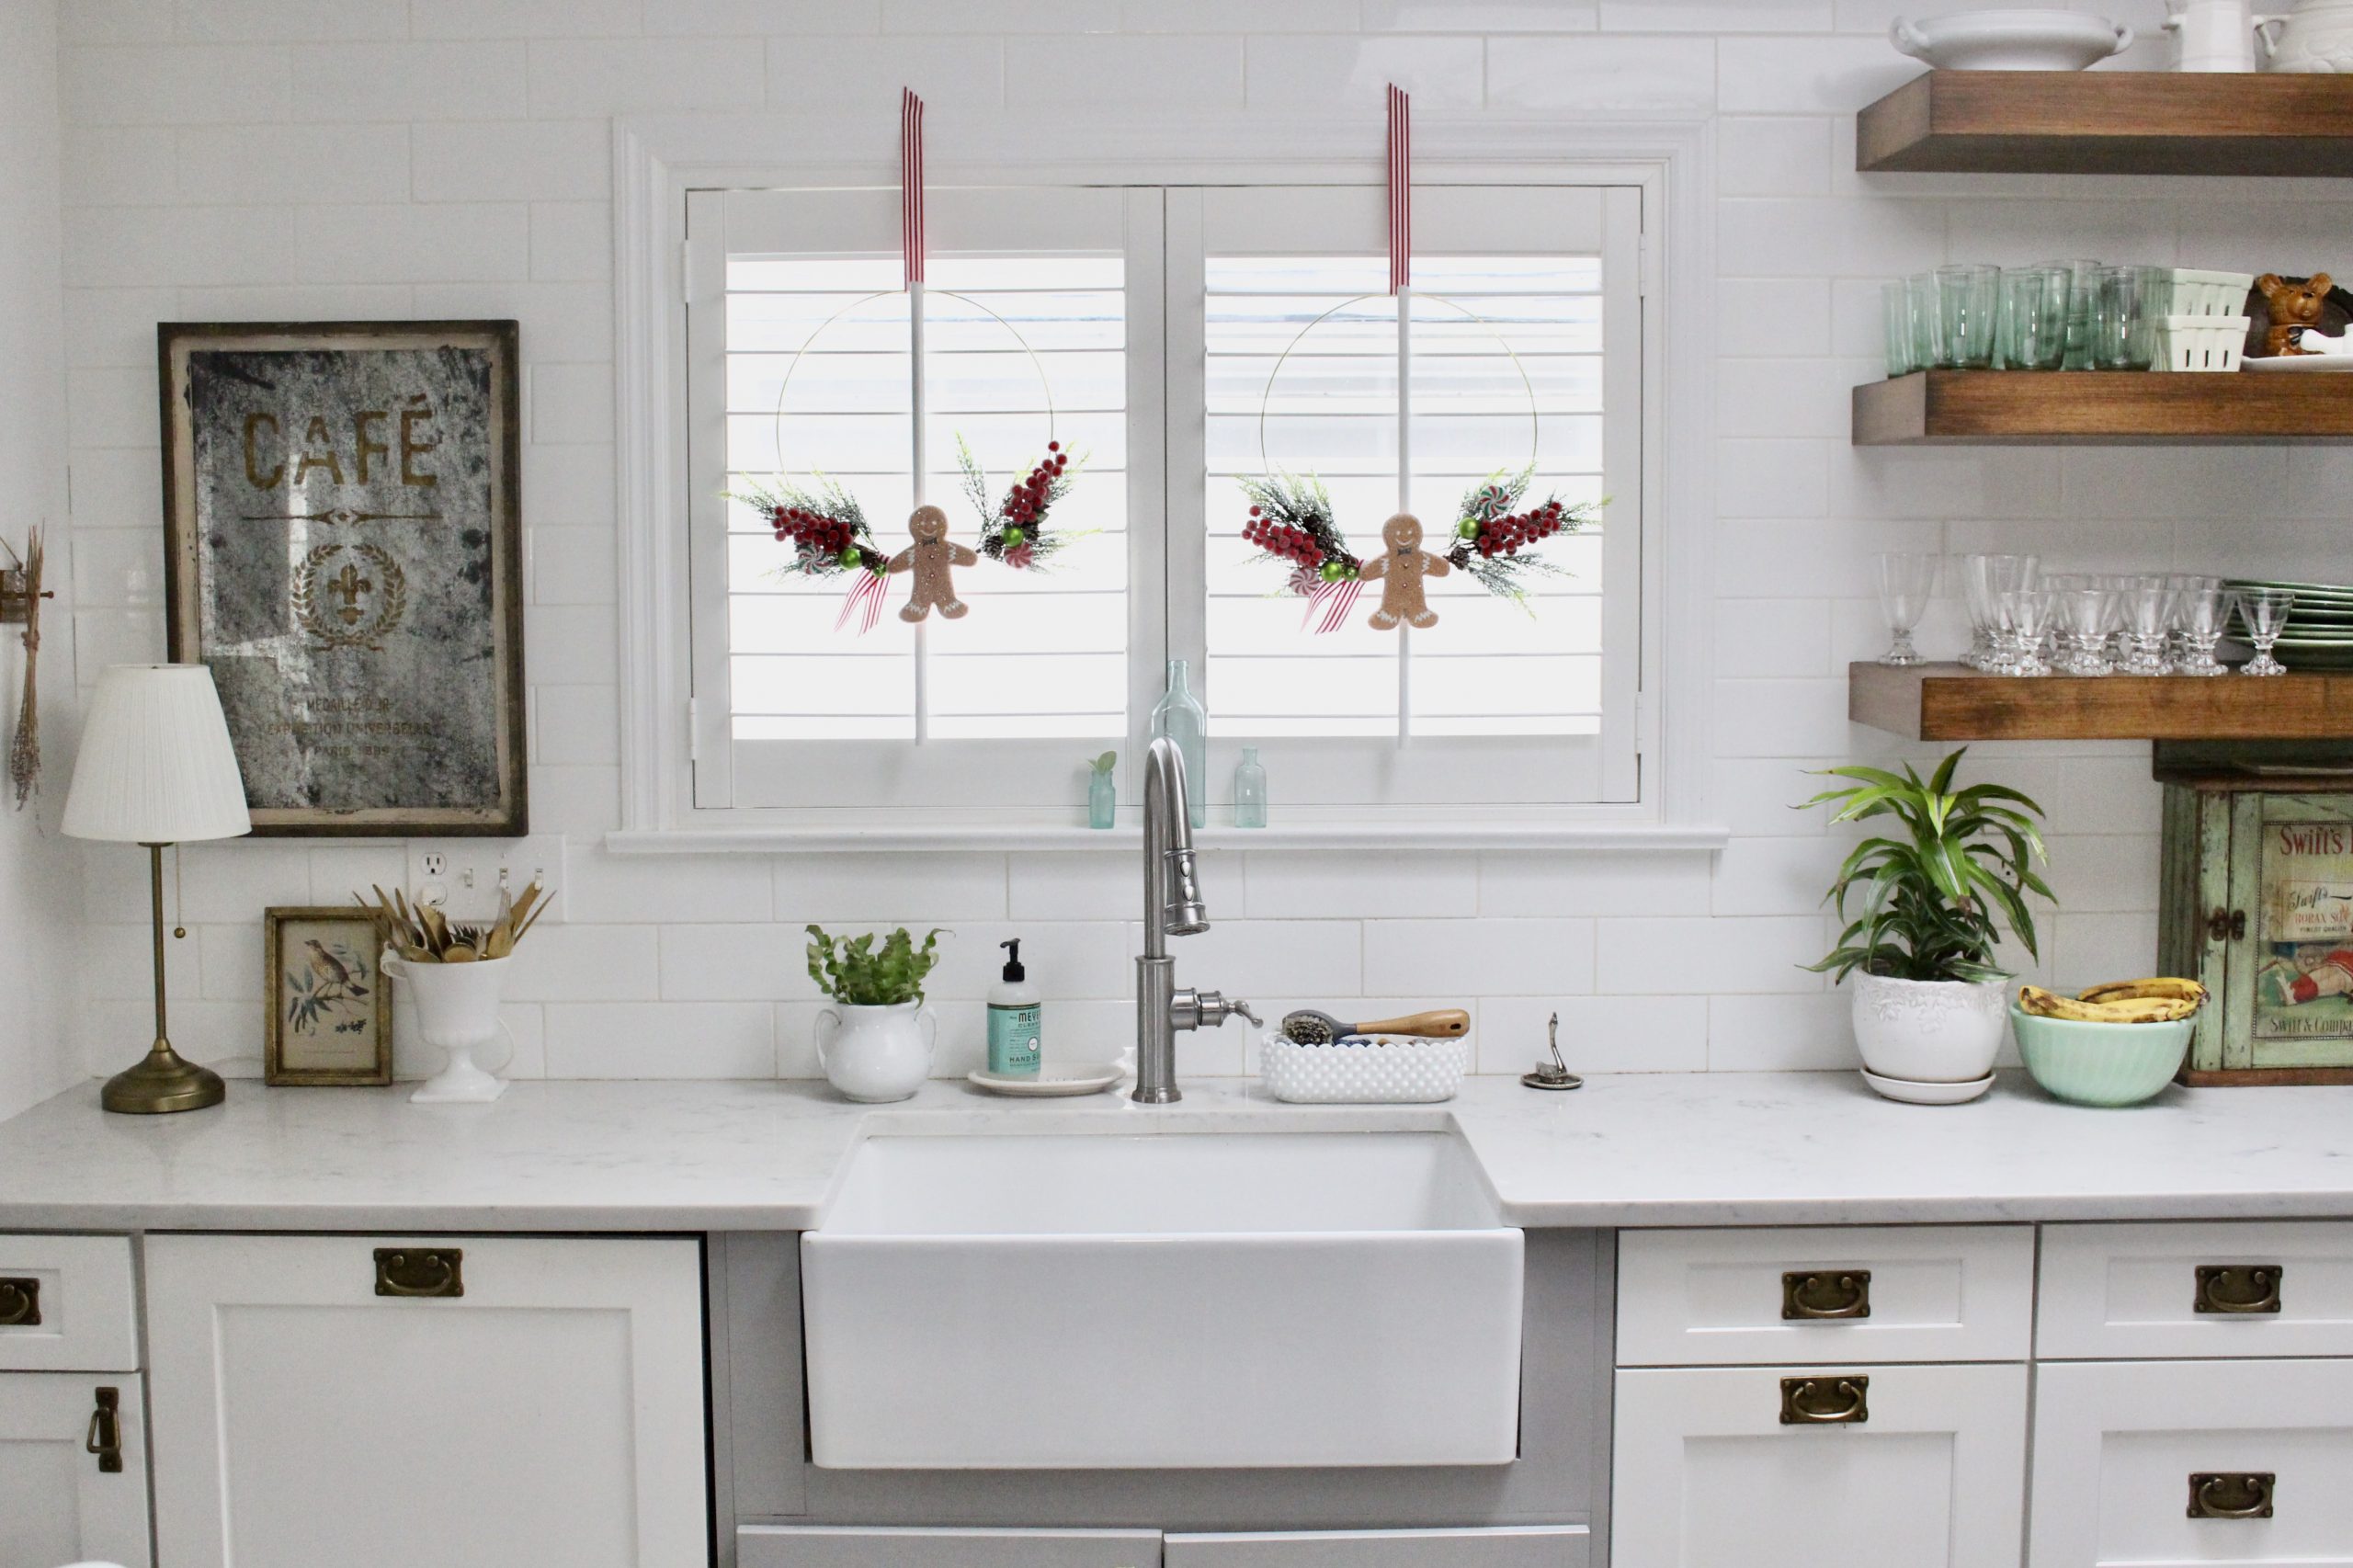
I used 14-inch brass hoops from Amazon as the base, which gives them a slightly more polished feel than an embroidery hoop. The remaining supplies, including faux gingerbread ornaments, candy picks, and ribbon, all came from a craft shop. The beauty of a project like this is that there's no single right way to do it. You arrange and attach the elements however feels right to you, building up layers until you're happy with the balance.

I made a pair of them to hang in the kitchen alongside a bakery-themed tree, and the combination looked absolutely lovely. But they'd work just as well on a front door, above a mantel, or propped on a shelf as part of a wider Christmas display.
The brass hoop is what elevates this from looking like a standard craft project. It catches the light, it feels intentional, and it pairs beautifully with natural textures like gingerbread, dried orange slices, and cinnamon sticks if you wanted to take it in a more natural direction. One wreath takes about thirty minutes from start to finish, which makes it a perfect project for a quiet afternoon with a cup of tea and some Christmas music on in the background.
DIY Glittered Fruit
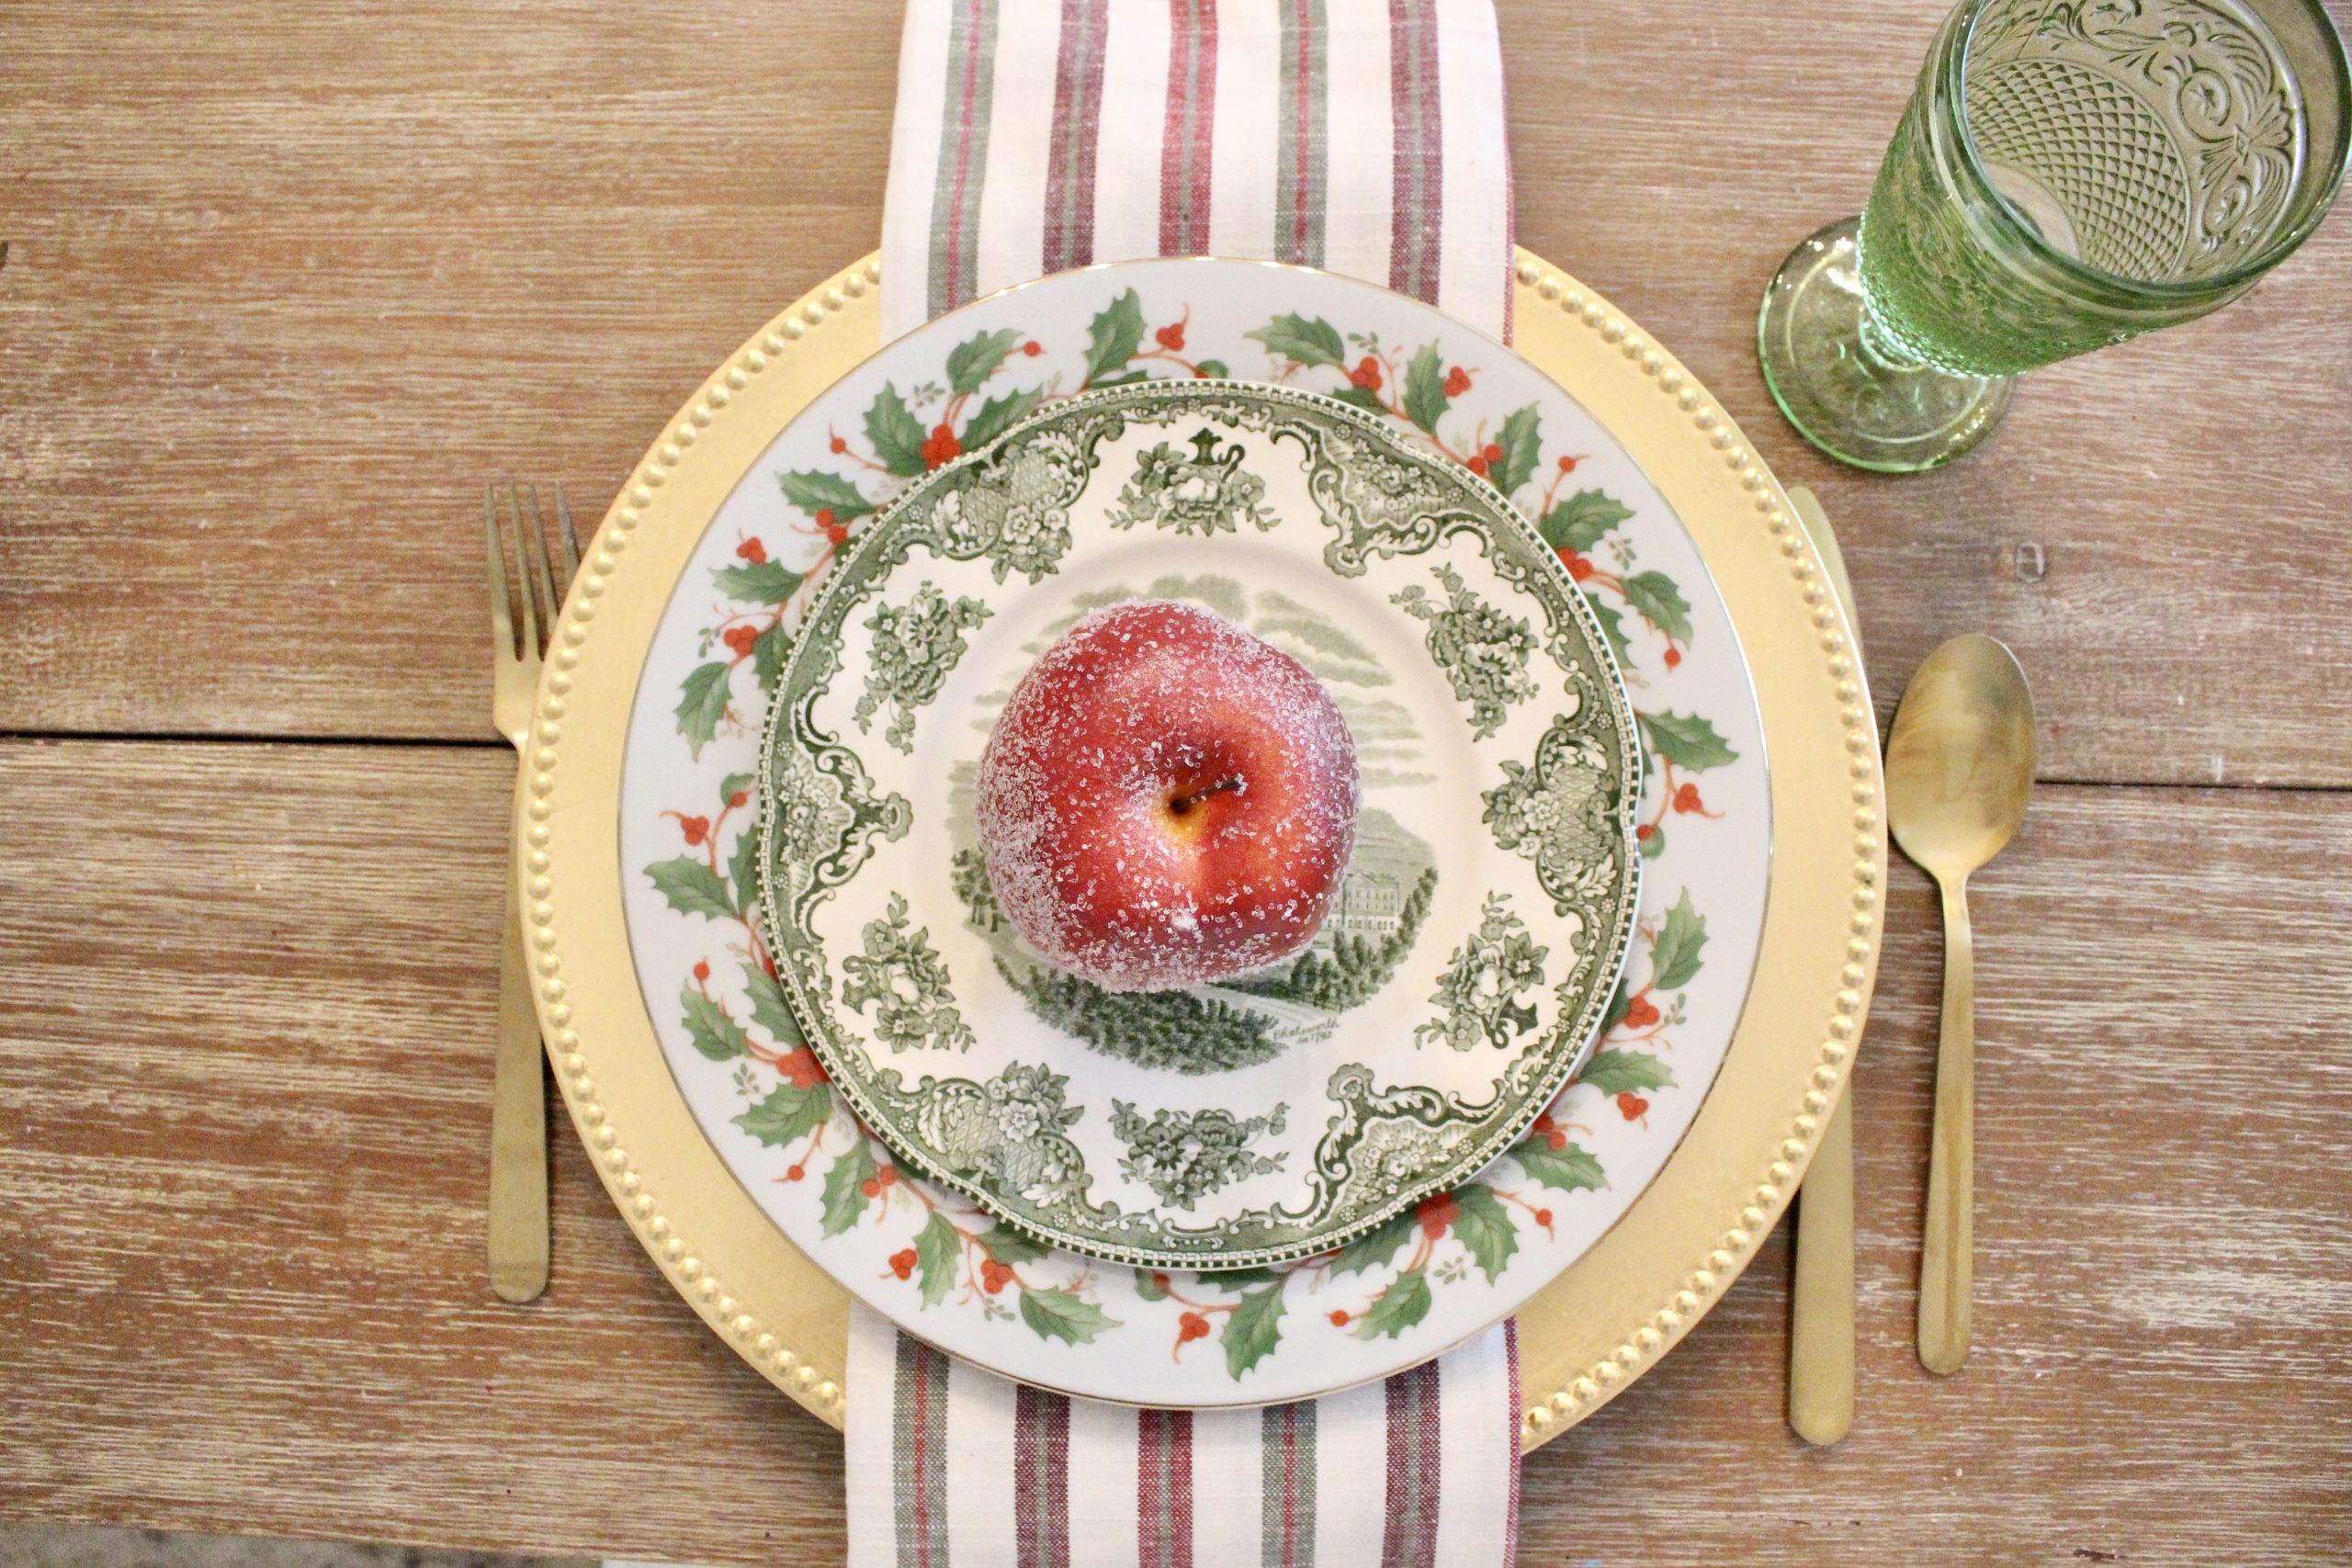
Sugared or glittered fruit is one of those classic Christmas decorating touches that you see in the most beautiful traditional homes. It looks incredibly elegant piled into a bowl on a dining table or scattered along a mantel, and it's almost embarrassingly easy to make.
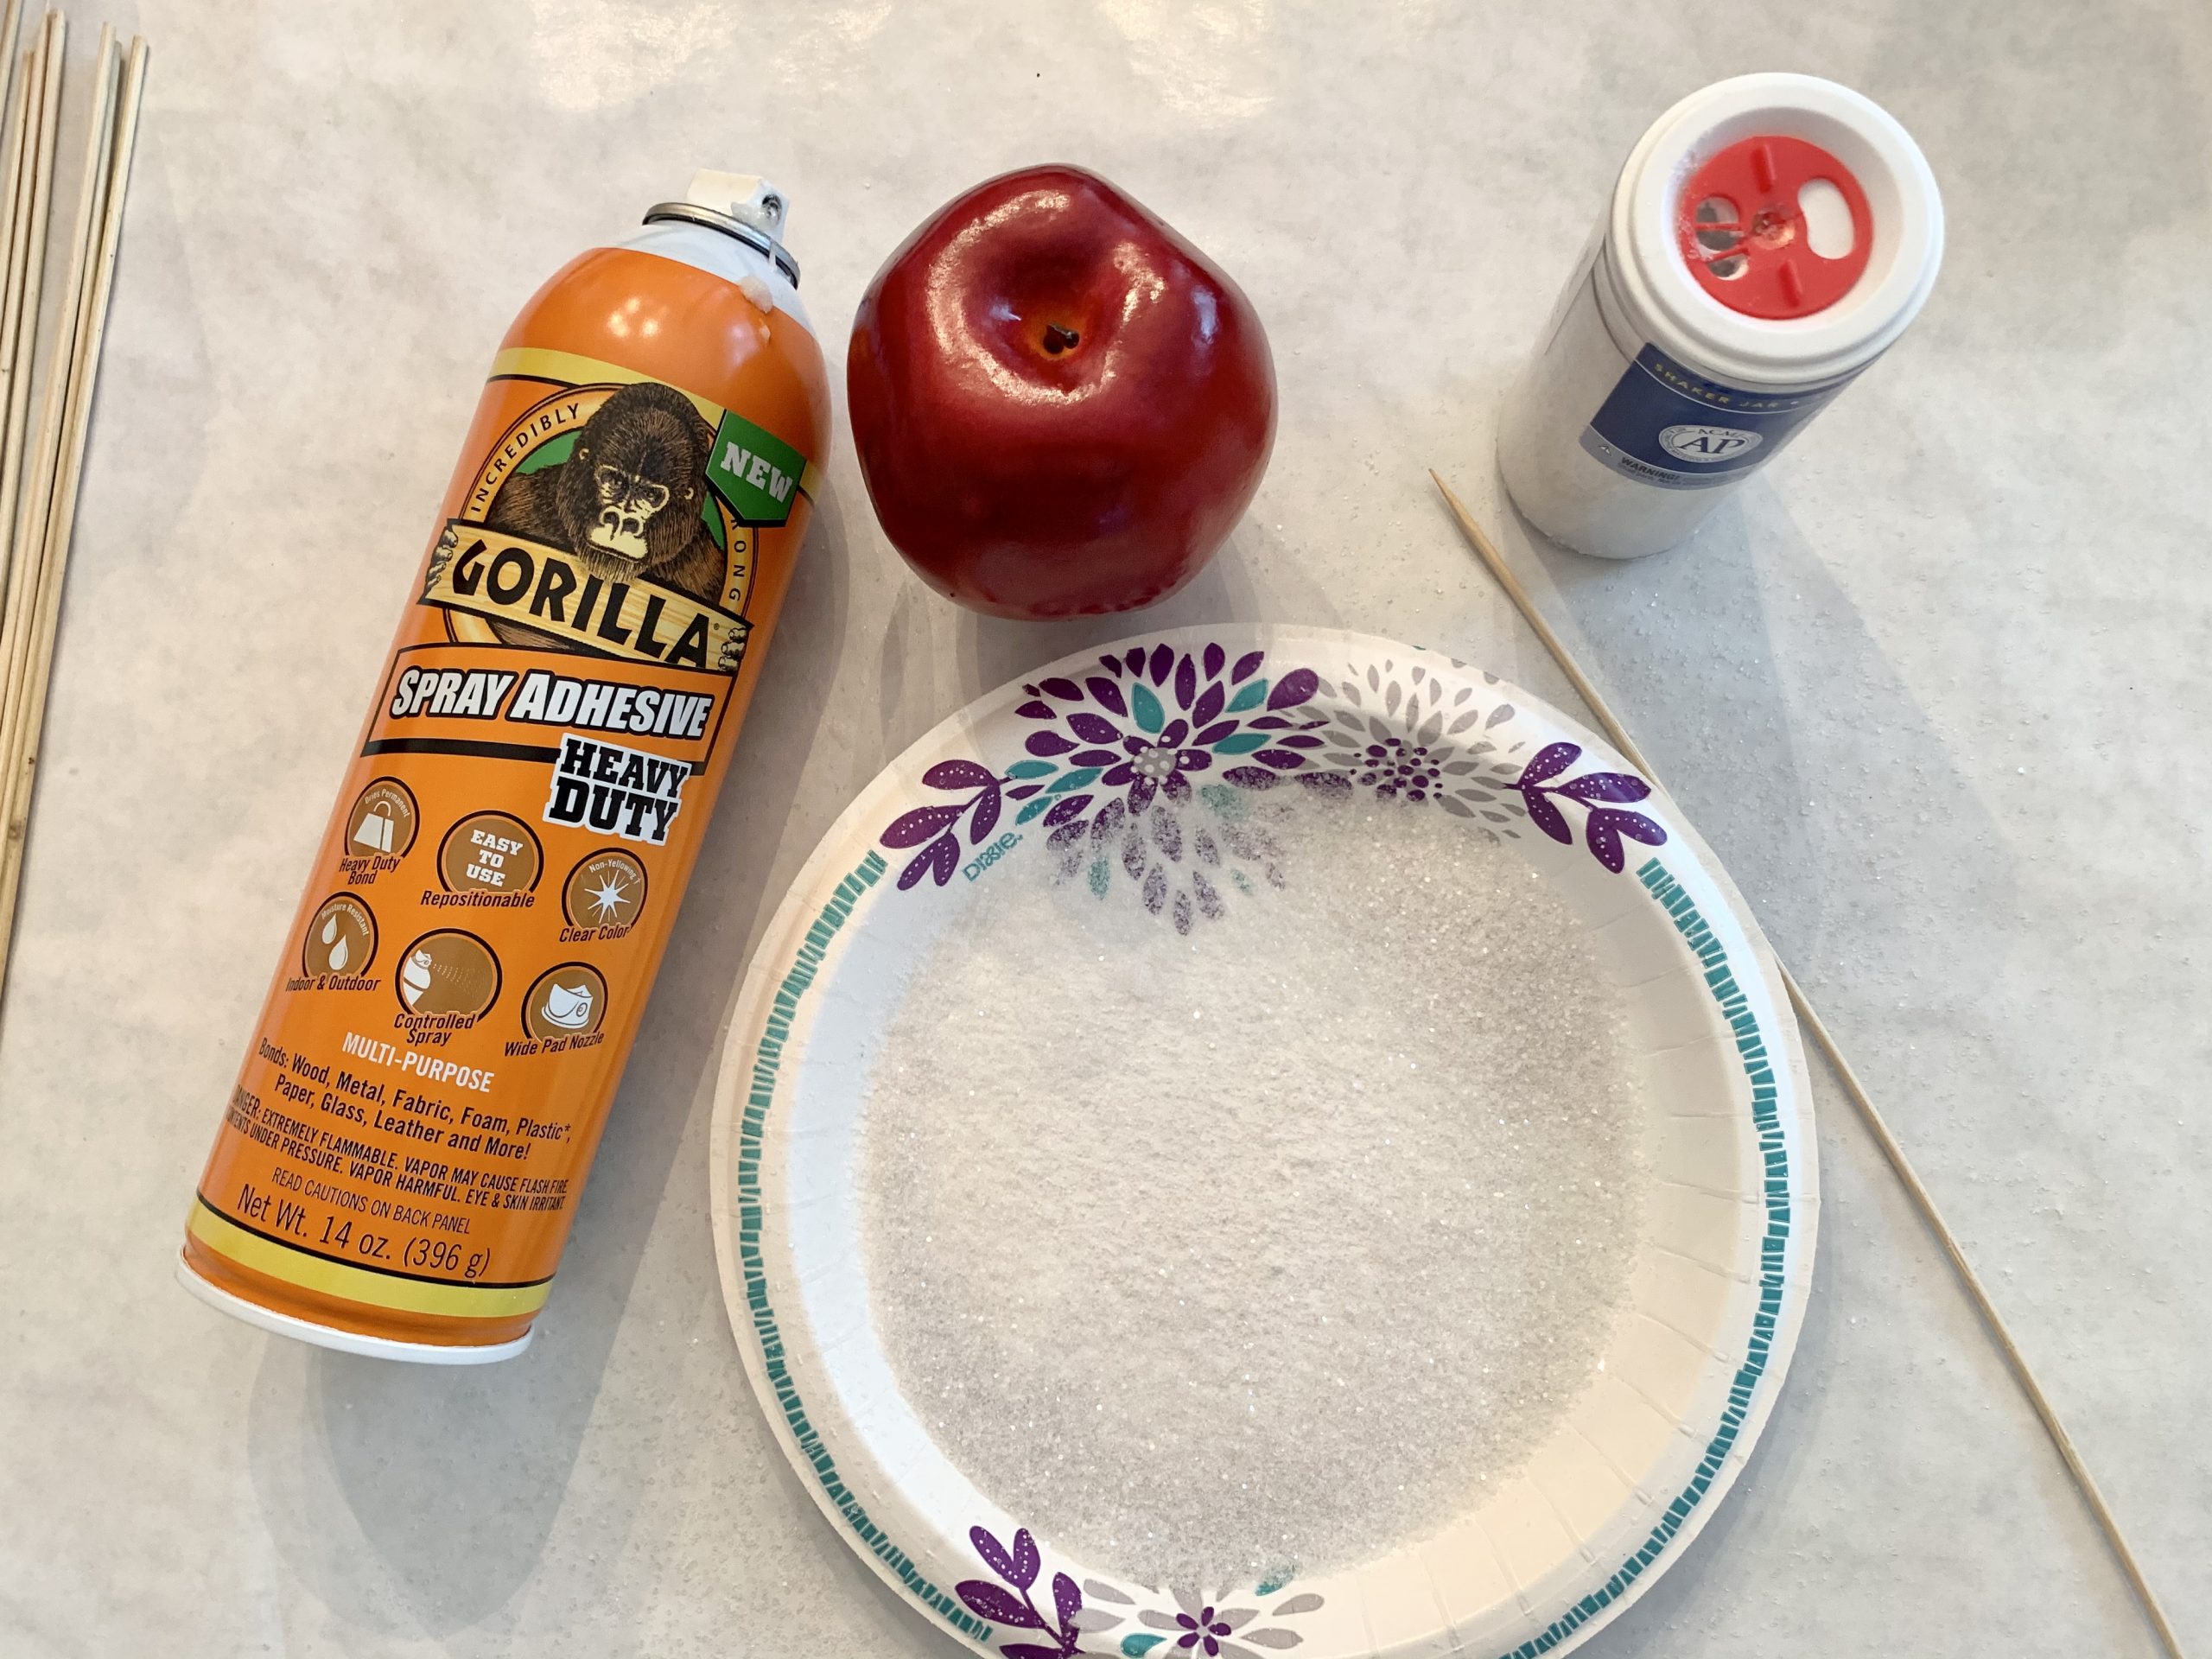
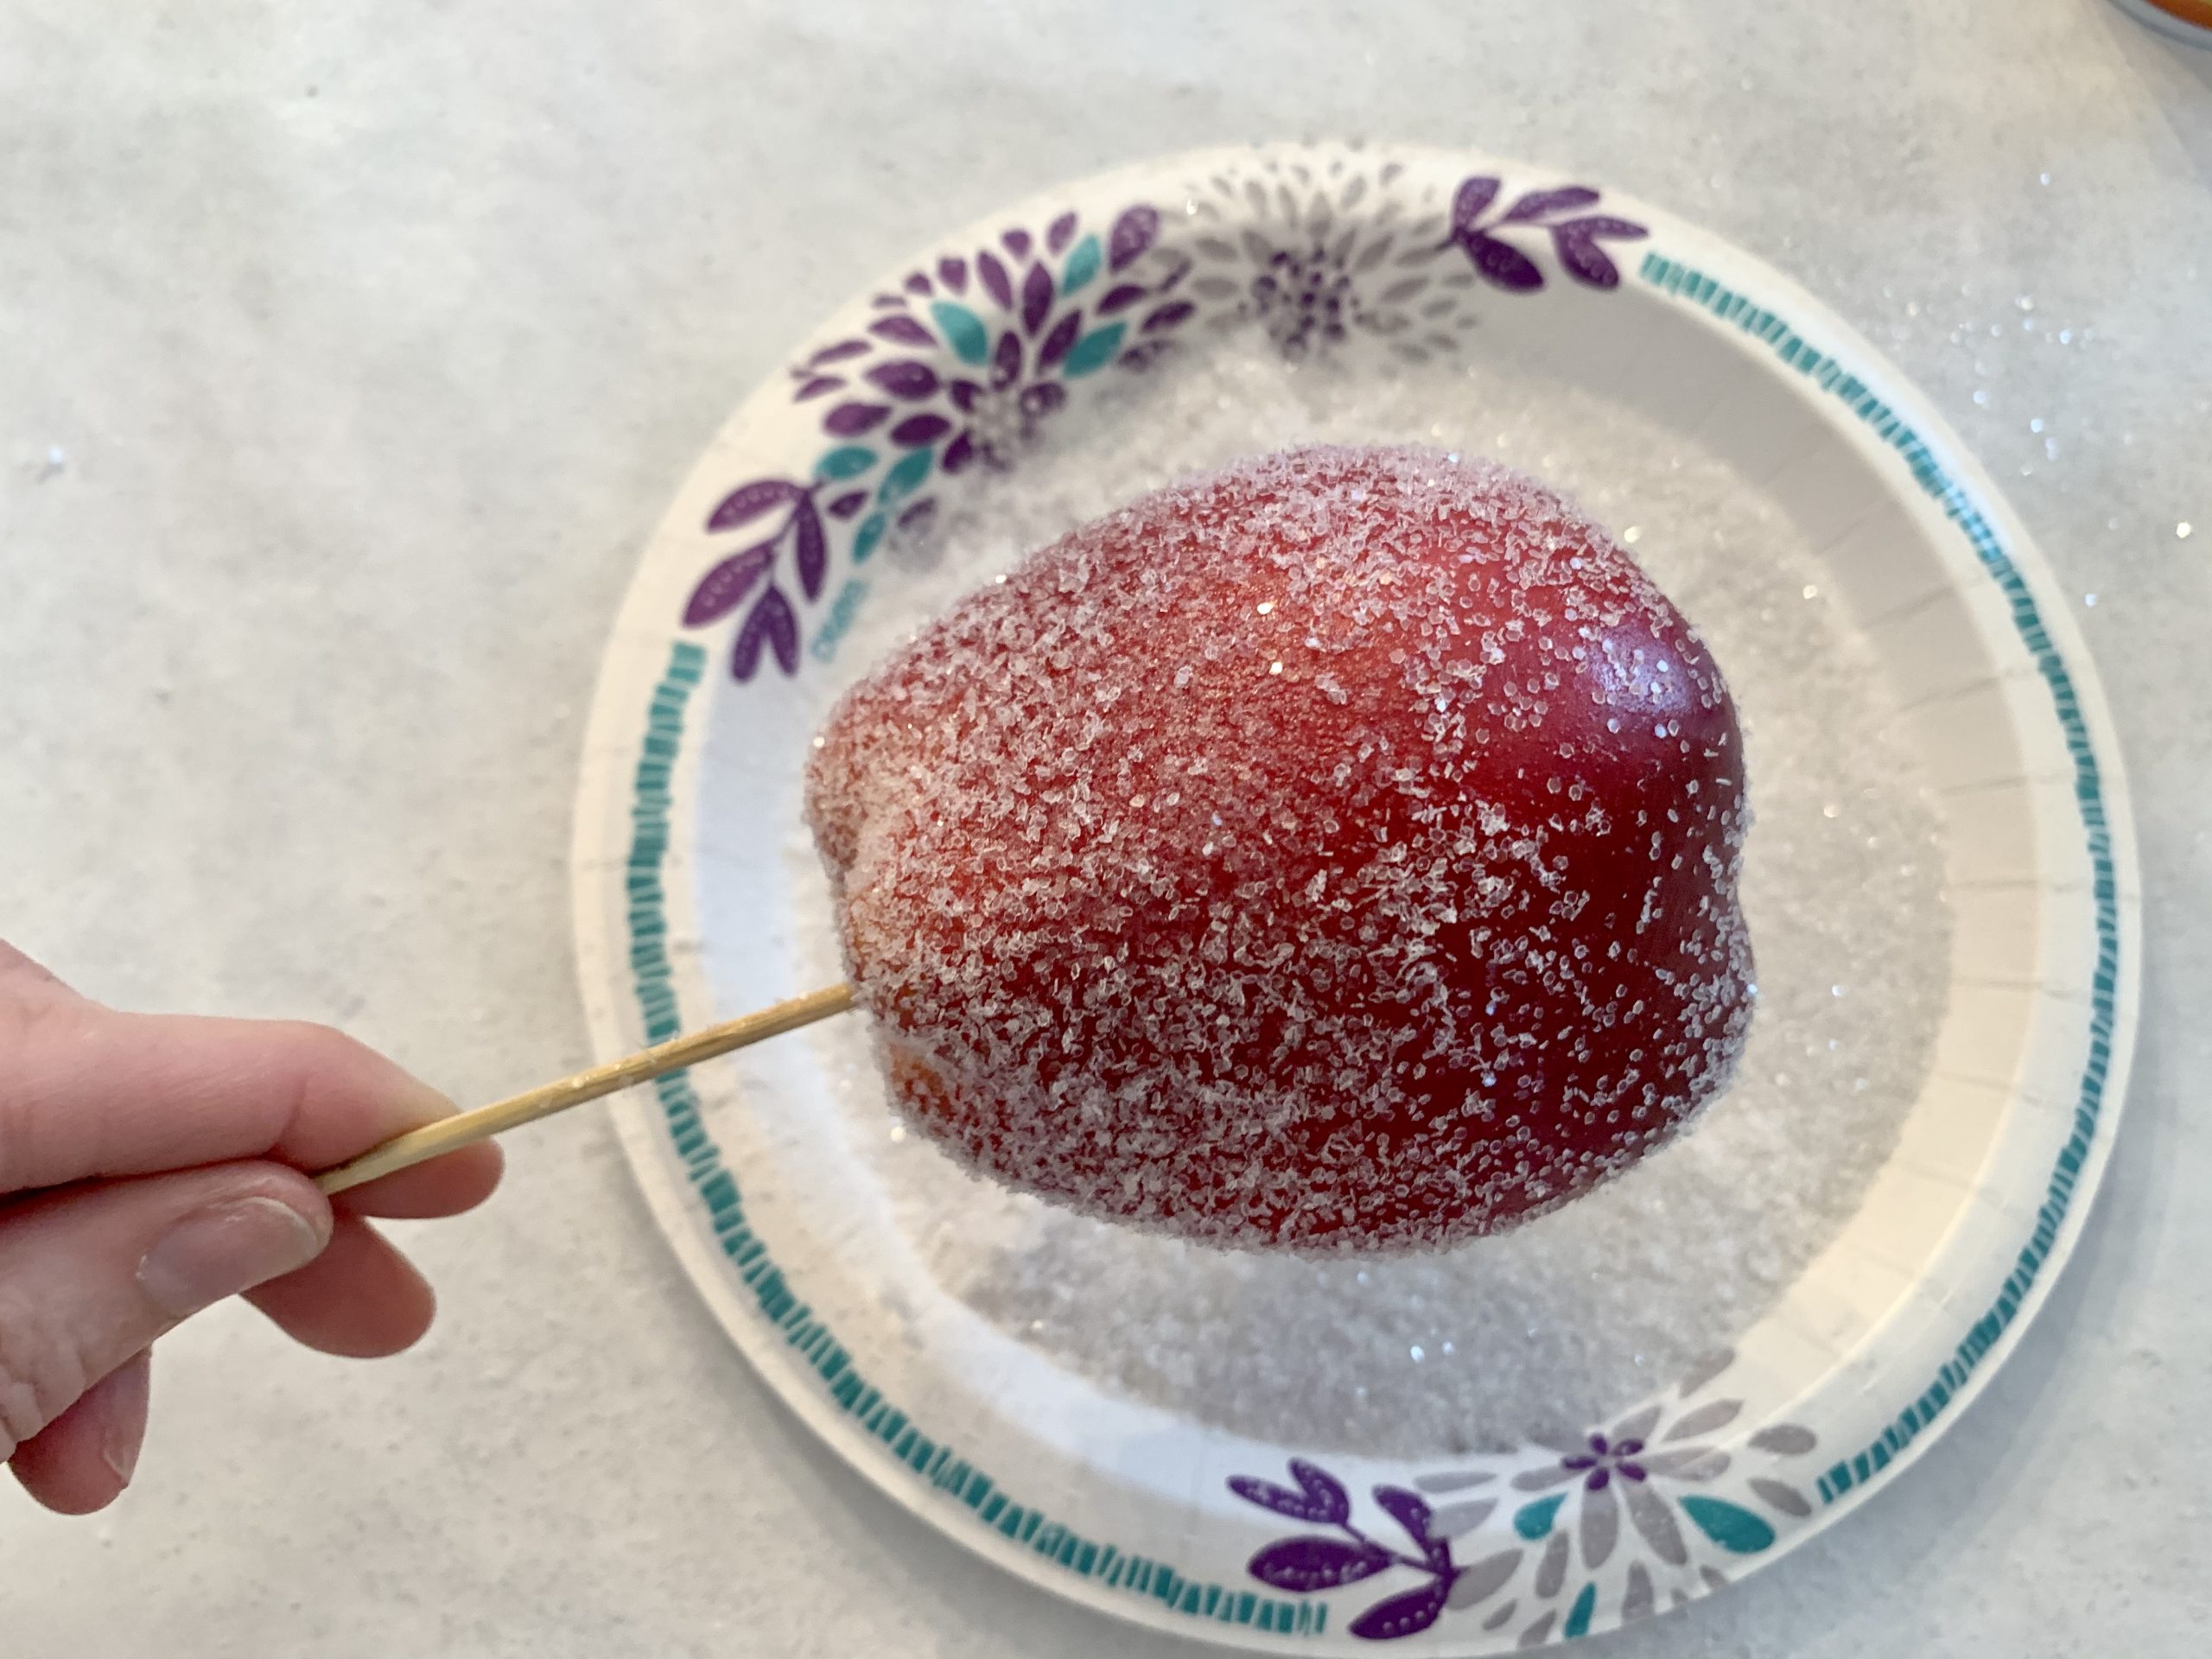
All you need is faux fruit (pears, apples, pomegranates, and grapes all work well), spray adhesive, and glitter. Give each piece a light coat of spray adhesive, roll or dust it in glitter, and let it dry. That's it. The whole process takes minutes, and the result looks like something from a high-end Christmas catalogue.
I've used glittered fruit as part of a Christmas table setting, mixed in with candles and greenery, and the effect is gorgeous. The slight shimmer catches the candlelight without being overwhelming, and because you're using faux fruit, you can pack them away at the end of the season and bring them out again next year looking exactly the same.
If you want a slightly more subtle finish, use a fine white or champagne glitter rather than anything too bold. It gives a frosted, sugared effect that looks refined rather than glitzy. For a more dramatic centrepiece, mix metallics: gold glitter on pears, silver on apples, and copper on pomegranates for a rich, layered look.
This is one of those handmade Christmas decorations that genuinely impresses people. It takes almost no skill, costs very little, and looks like you've spent far more than you actually have. That, to me, is the sweet spot.
Making Handmade Decorations Part of Your Christmas Tradition
One of the things I love most about these projects is that they've become part of our Christmas. Every year when the decorations come out of storage, there's a little moment of recognition with each piece: the reindeer that started life looking rather sorry for himself, the snow globes my daughter and I made together, the hoop wreaths that smell faintly of cinnamon from sitting in a box next to the dried orange garland.
Handmade Christmas decorations build layers of memory into your home in a way that shop-bought pieces simply don't. And when they happen to look this good, there's really no reason not to give them a try.
If you're looking for more seasonal projects and home inspiration, have a browse through my home section.