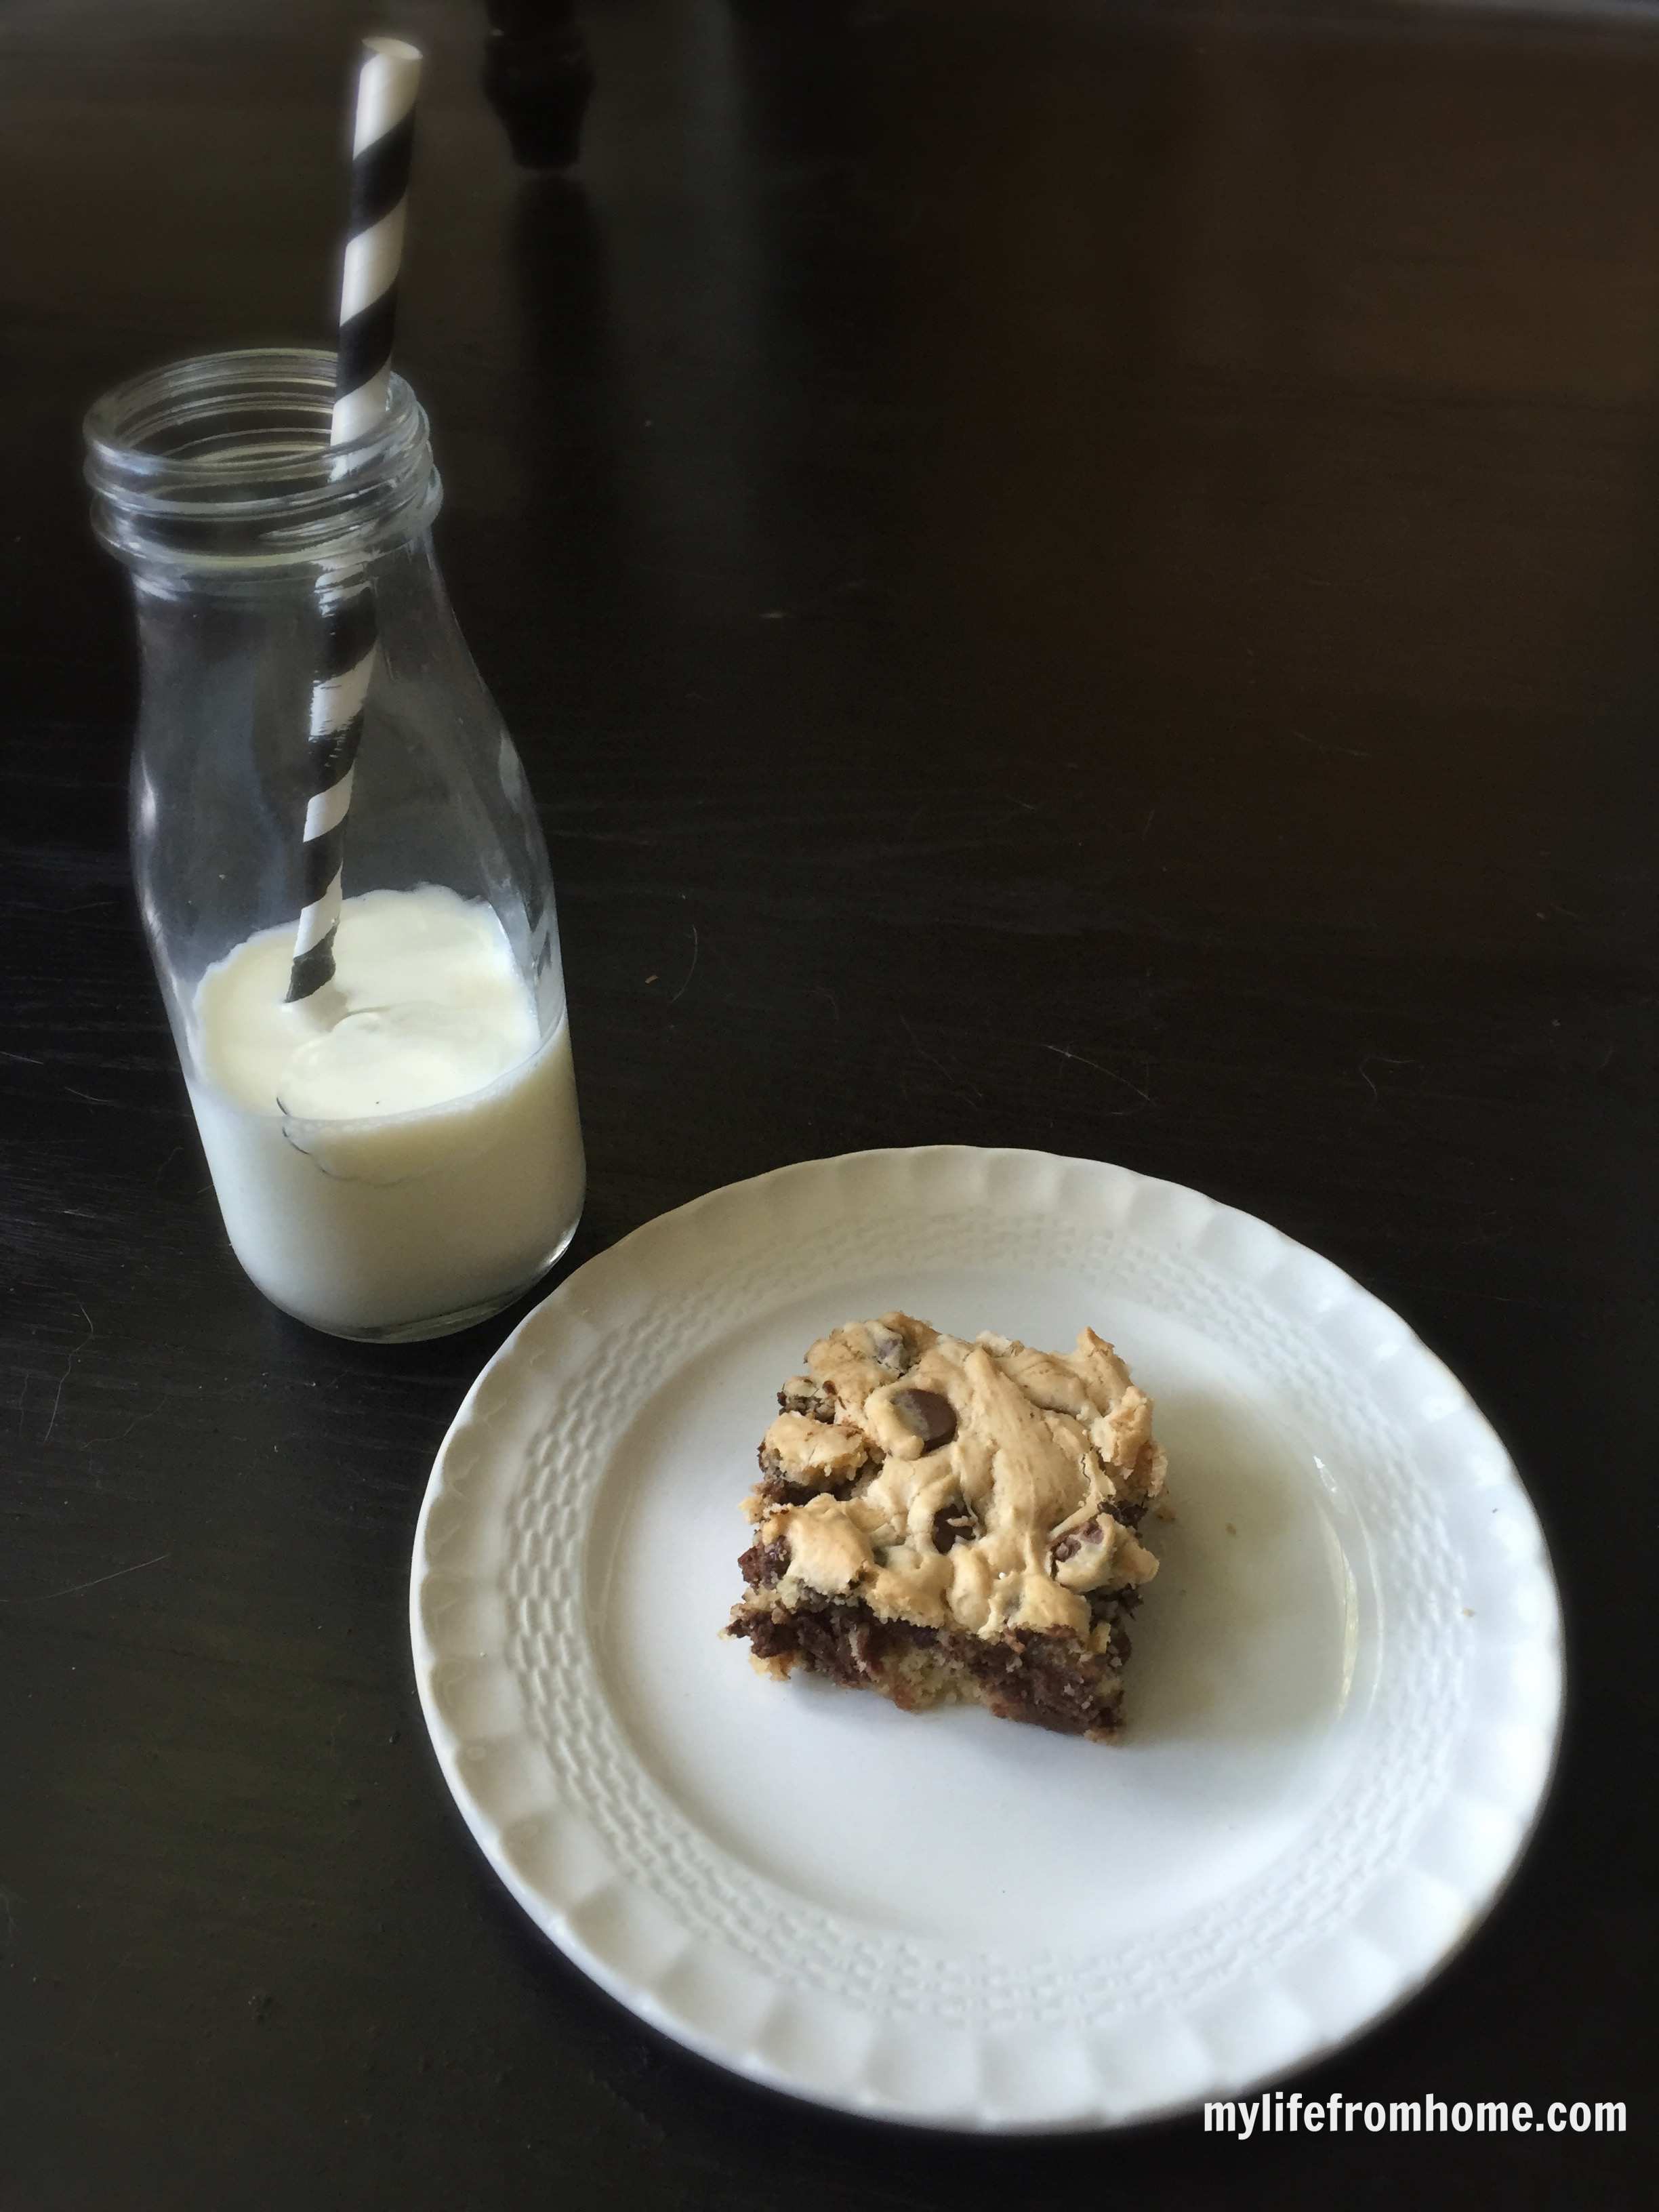
There are some days when you want something homemade, something warm and a little indulgent, but you genuinely do not have the energy for a full baking session. These Lazy Day Cookie Bars were made for exactly those moments. Four ingredients, one bowl, one tin, and about 30 minutes of your time. The result is a thick, chewy, deeply satisfying bar that sits somewhere beautifully between a soft cookie and a traybake, with pockets of chocolate in every single bite.
They're the kind of thing you can throw together on a Sunday afternoon when guests mention they're popping over, or make midweek when you want something a bit special without the washing up. The base is a cake mix, which gives them that slightly fluffy, soft texture you don't always get from a traditional cookie recipe, but they hold together in bars perfectly. They slice well, they travel well, and they go down extremely well with absolutely everyone.
If you've ever found yourself staring into a cupboard wondering what you can make from almost nothing, this is the answer. Simple, fuss-free, and genuinely delicious.
Four ingredients is all it takes. There's no creaming butter and sugar, no chilling dough, no complicated steps. You mix everything in one bowl and you're done.
The texture is exactly right. Thick, chewy, and soft in the middle with slightly golden edges. It's the best of a cookie and a traybake combined.
They're a proper crowd-pleaser. Whether it's kids, colleagues, or guests at a gathering, these bars disappear quickly. Every single time.
The chocolate makes them feel a little bit special. M&Ms give you bursts of colour and a satisfying crunch. Mini chocolate chips give you that classic, melty chocolate-in-every-bite experience. Either way, you can't go wrong.
They're brilliant for making ahead. Bake them the day before, store them in a tin, and they're just as good the next day. Arguably better once they've fully cooled and settled.
They work year-round. Swap the M&Ms for seasonal colours at Christmas or Easter and they instantly become a festive treat. Versatile is an understatement.
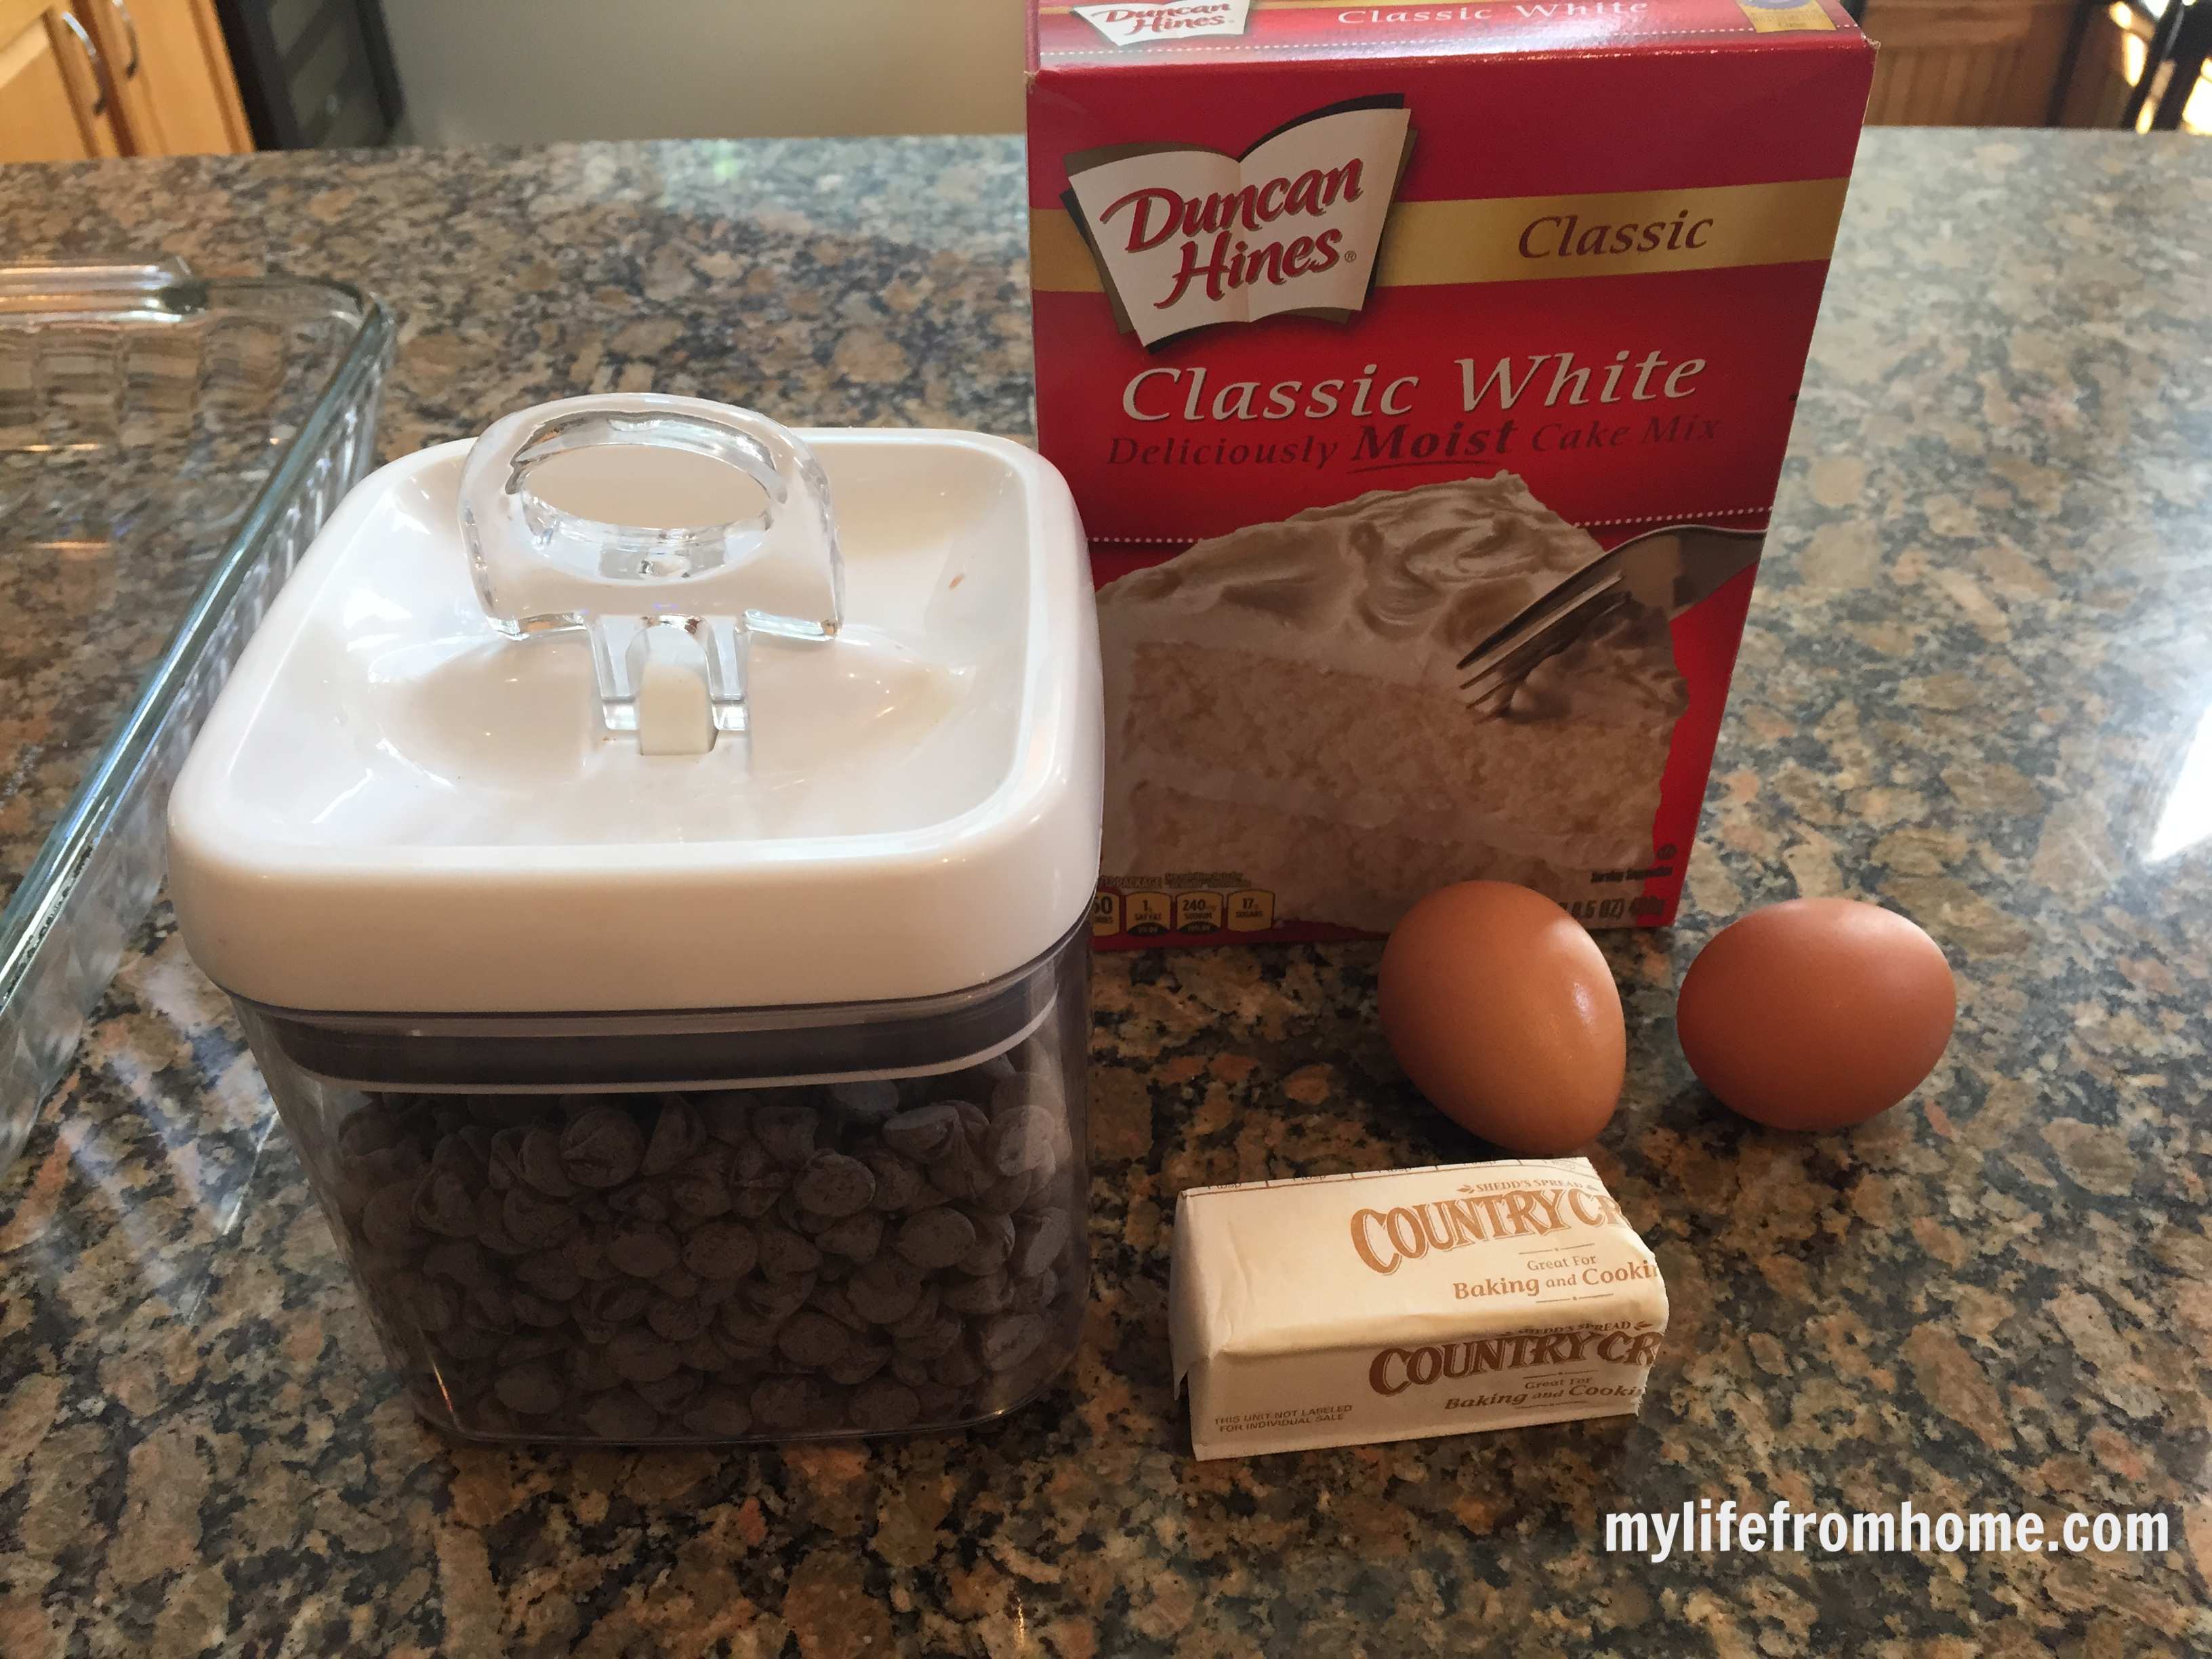
What You'll Need: Ingredients for Lazy Day Cookie Bars
The ingredient list here is genuinely short, which is the whole point. The one thing worth noting for UK readers is the cake mix. Yellow or white cake mix isn't always on the main supermarket shelf in the UK, but it's absolutely out there if you know where to look.
UK readers note: Betty Crocker vanilla or golden sponge cake mix works perfectly and is available at Tesco, Asda, and Sainsbury's. You can also find it reliably on Amazon UK. If you want to use a British alternative, a 400g box of Sainsbury's or Tesco own-brand sponge mix works well too.
1 box (approx. 432g) yellow or white cake mix
2 eggs, beaten
75g (5 tablespoons) unsalted butter, melted
200g (2 cups) M&Ms or mini chocolate chips (or a mix of both)
For the butter, unsalted gives you more control over the overall sweetness. Salted works too and actually gives a lovely, subtle contrast to the chocolate, so use whatever you have.
Equipment You'll Need
This is a wonderfully low-effort bake from an equipment perspective too.
23x33cm (9×13 inch) baking tin
Large mixing bowl
Fork or wooden spoon
Baking paper or non-stick baking spray
How to Make Lazy Day Cookie Bars
Step 1: Preheat and Prepare Your Tin
Heat your oven to 180°C fan / 200°C conventional (350°F). Line your 23x33cm (9×13 inch) baking tin with baking paper or give it a generous spray of non-stick baking spray. Lining the tin makes it much easier to lift the whole slab out for slicing, so it's worth doing even if your tin is non-stick.
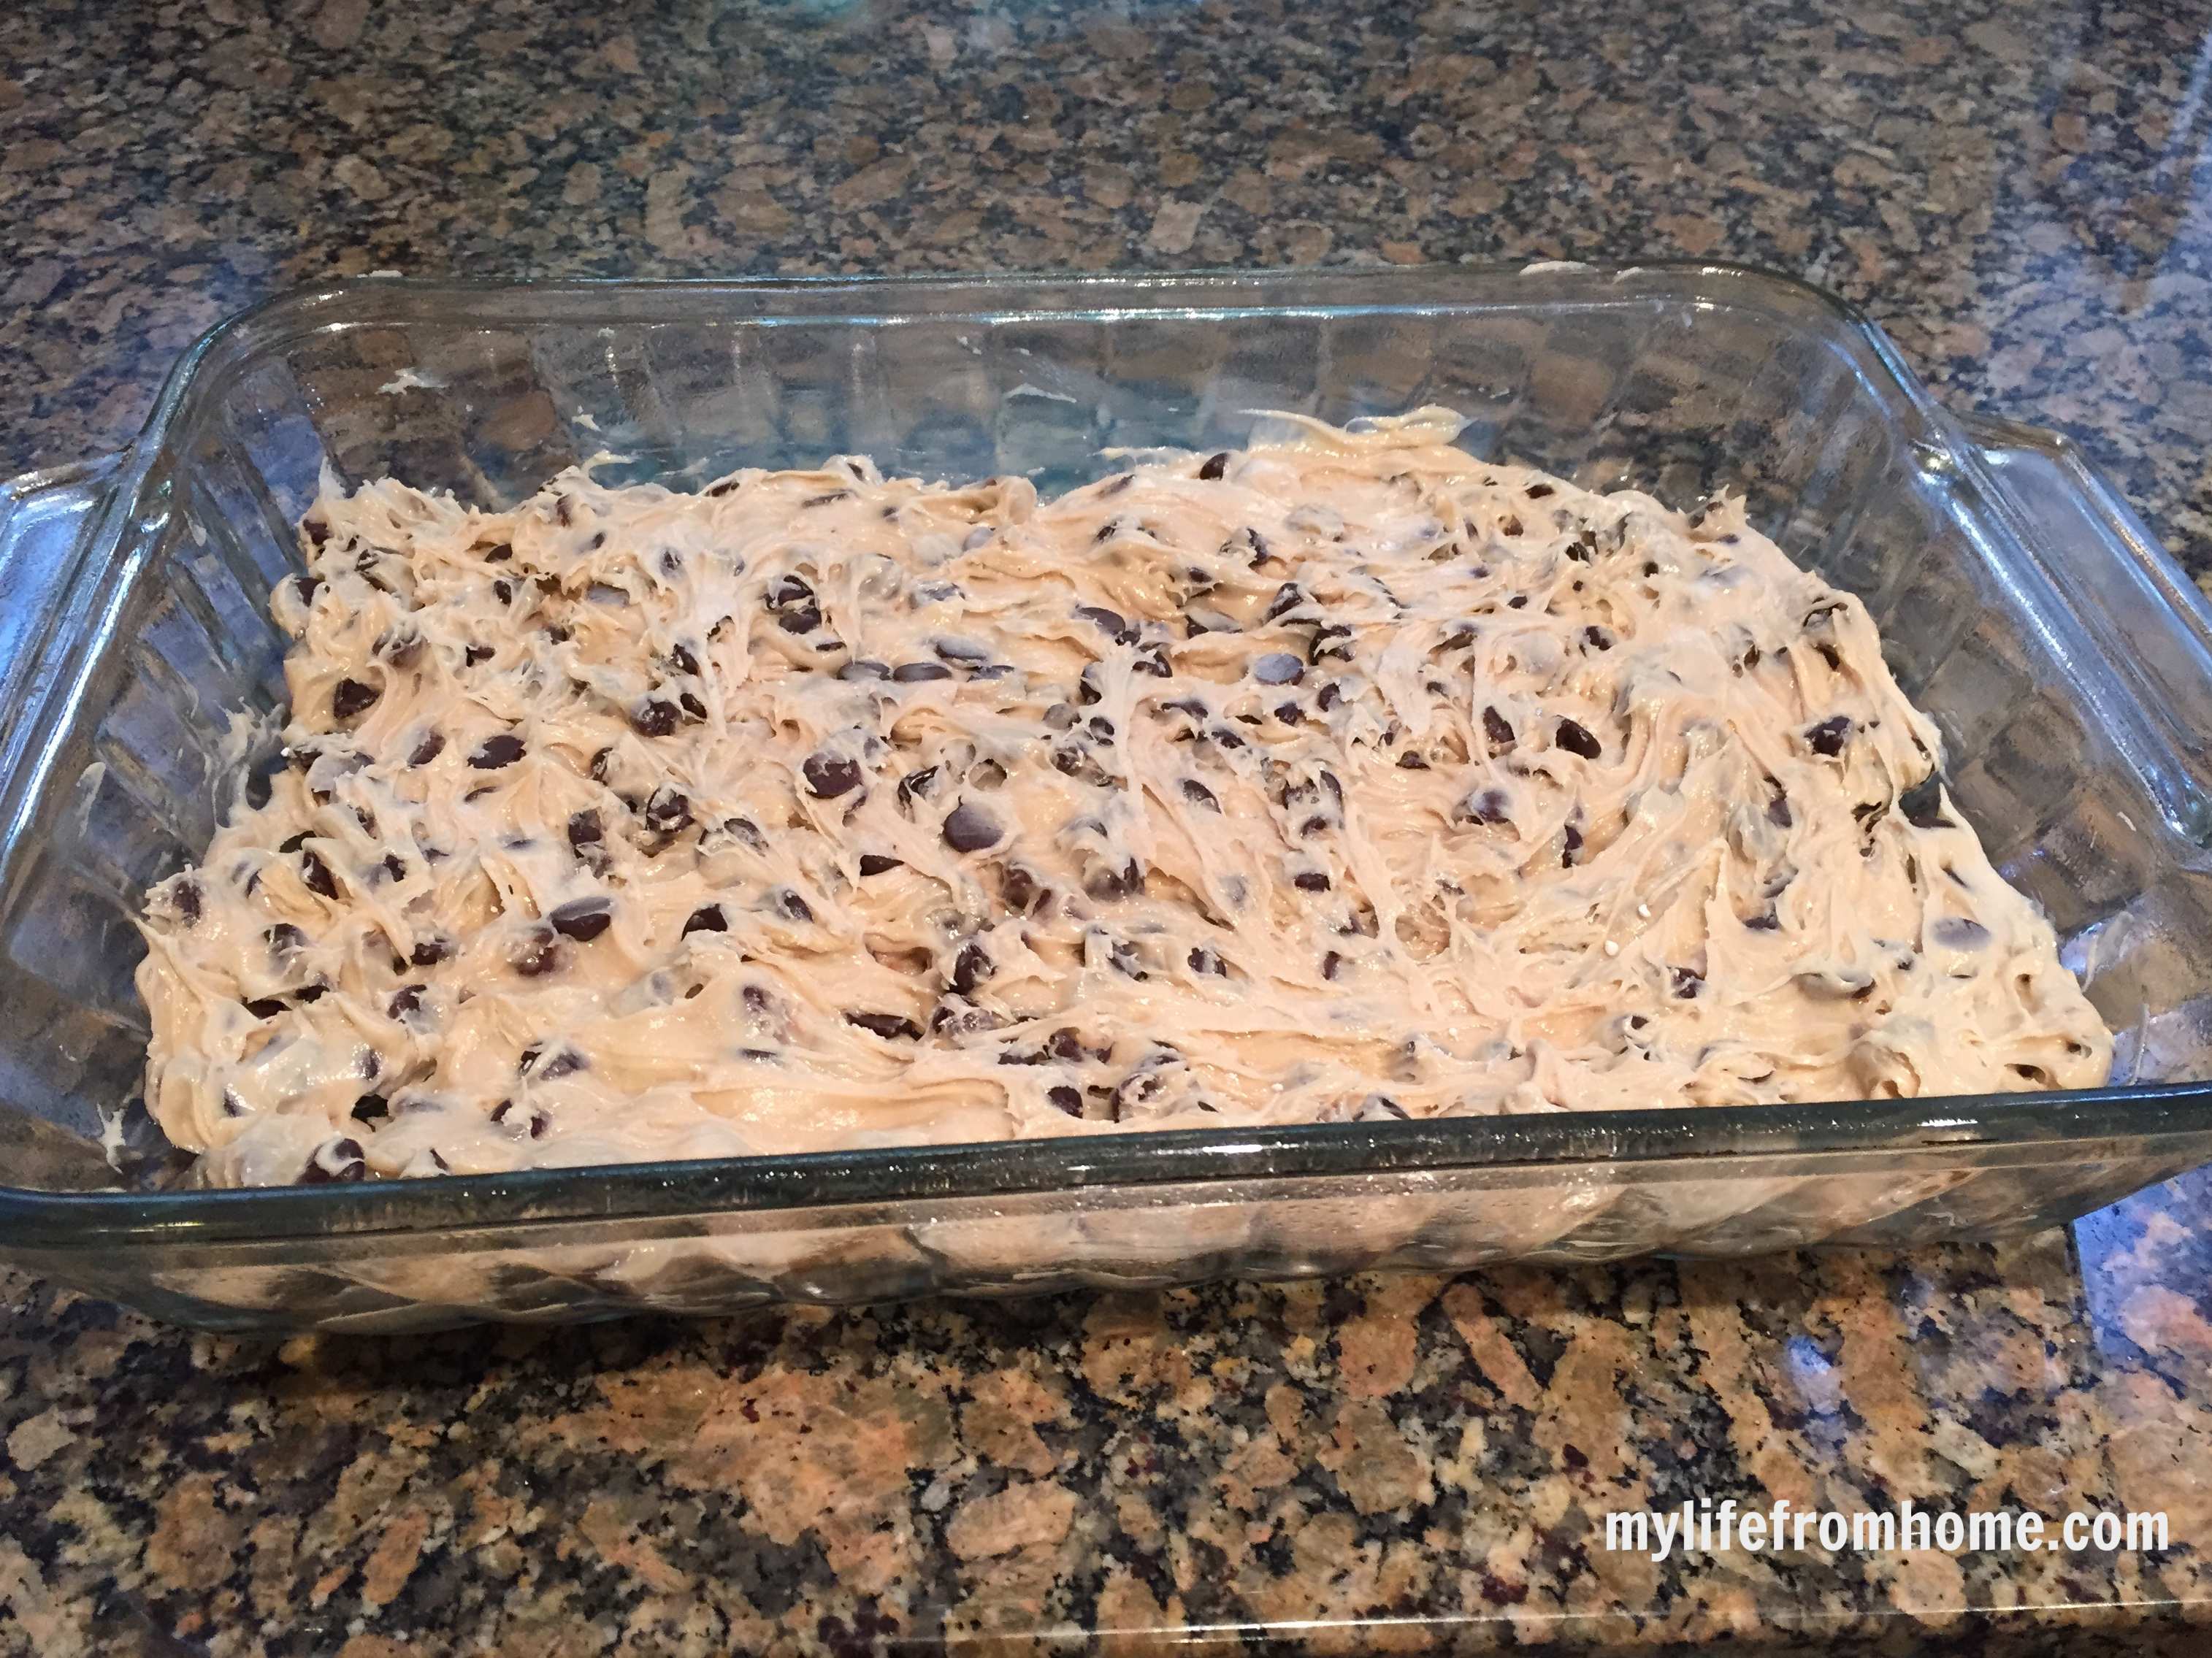
Step 2: Mix the Dough
In a large bowl, combine the cake mix, beaten eggs, and melted butter. Stir everything together until you get a thick, slightly sticky dough. It will be denser than a cake batter and that's exactly right. Make sure there are no dry pockets of cake mix left at the bottom of the bowl.
Step 3: Fold In the Chocolate
Add your M&Ms, mini chocolate chips, or a combination of both and fold them through the dough until they're evenly distributed. If you're using M&Ms, save a small handful to press onto the top before baking. It gives a really nice finish and makes them look properly homemade and thoughtful.
Step 4: Press Into the Tin
Tip the dough into your prepared tin and press it out into an even layer, right to the edges and corners. It's quite a stiff mixture, so use slightly damp fingertips or the back of a spoon to help spread it evenly. An even layer means an even bake, so take an extra minute to get it level across the whole tin.
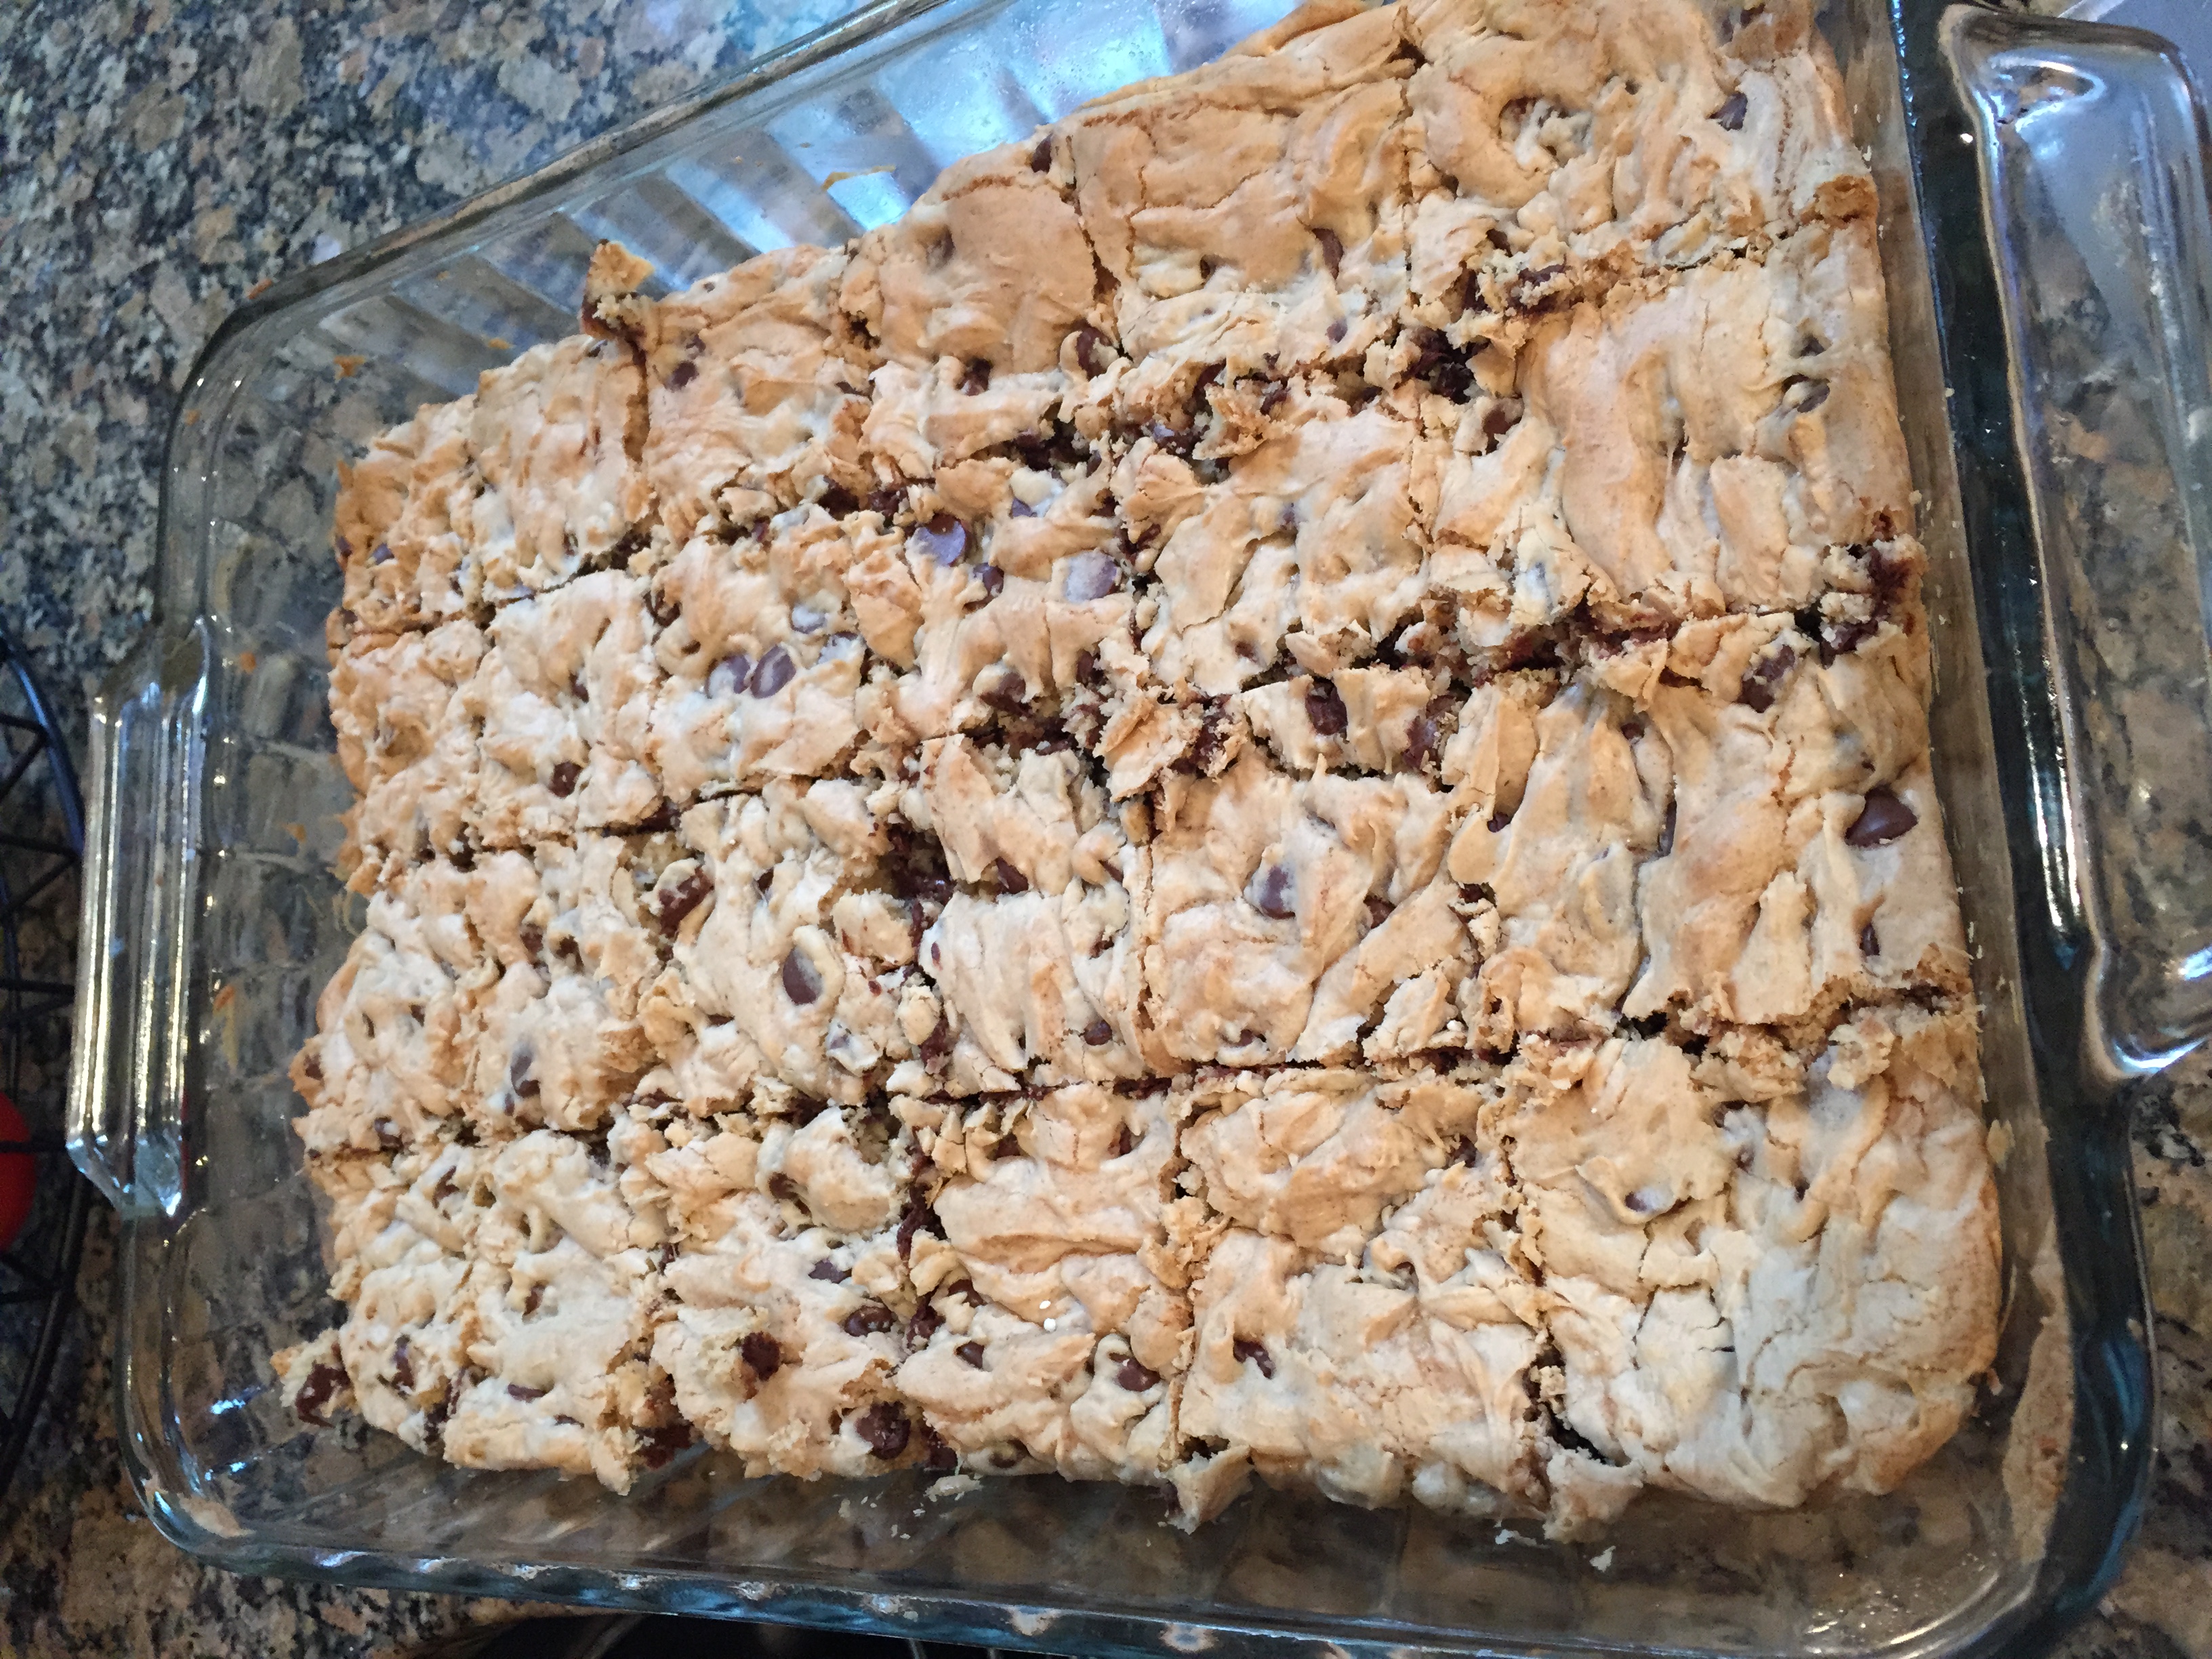
Step 5: Bake to Golden Perfection
Bake in the centre of the oven for 18 to 22 minutes. You're looking for lightly golden edges and a surface that looks set rather than wet or shiny. The bars may look slightly underdone in the very centre when you pull them out, but they firm up considerably as they cool. Pulling them out just a couple of minutes early is the secret to that wonderful chewy texture. Overbaking will make them dry.
Step 6: Cool and Slice
Leave the bars to cool completely in the tin before attempting to slice them. This is where patience really pays off. If you try to cut them while warm they'll crumble at the edges. Give them at least 30 minutes, or pop the whole tin in the fridge for 15 minutes if you're in a hurry. Once cool, lift out using the baking paper and slice into 12 to 16 bars depending on how generous you want to be.
Tips for the Best Lazy Day Cookie Bars
Don't overbake them. The number one tip for these bars is to pull them out of the oven slightly earlier than you think. The centre should look just barely set when they come out. They'll continue cooking in the residual heat of the tin and you'll end up with the perfect chewy texture.
Use room-temperature eggs. Cold eggs straight from the fridge can make the melted butter seize slightly when they meet. Taking the eggs out 15 minutes before you start makes for a smoother, more even dough.
Mix your chocolate additions. Using half M&Ms and half mini chocolate chips gives you the best of both. You get the visual pop of colour from the M&Ms and the melty pockets of chocolate from the chips. It makes every bar feel a little more interesting.
Press reserved M&Ms on top before baking. It sounds like a small thing, but scattering a handful of M&Ms over the surface before the tin goes in the oven makes these look genuinely bakery-worthy when they come out. A tiny effort for a noticeably better result.
Add a pinch of sea salt. This is the everyday luxury touch that elevates these from simple to slightly special. A light scatter of flaky sea salt over the top just before baking brings out the chocolate and adds a sophisticated contrast to the sweetness.
Use good quality chocolate chips if you're going that route. If you're making the version with chocolate chips rather than M&Ms, it's worth using a decent brand. Callebaut chips are brilliant and widely available online. The flavour difference is noticeable.
Make It Your Own
One of the best things about this recipe is how adaptable it is. Once you've made the basic version, the variations are almost endless.
Swap the cake mix flavour. A chocolate fudge cake mix base with white chocolate chips is absolutely wonderful. A lemon cake mix with white chocolate and a handful of dried cranberries is a more grown-up, sophisticated version that works beautifully for entertaining.
Make them seasonal. Use Christmas M&Ms (red and green) for a festive bake, pastel ones for Easter, or orange and black for Halloween. The basic recipe stays the same and they instantly feel appropriate for the occasion.
Add a peanut butter swirl. Drop small spoonfuls of peanut butter over the dough before baking and swirl lightly with a skewer for a gorgeous flavour addition that pairs beautifully with the chocolate.
Try a biscoff twist. Fold a few tablespoons of smooth Biscoff spread through the dough and top with some Biscoff biscuit pieces before baking. It's indulgent in the best possible way.
Add nuts. A handful of roughly chopped pecans or walnuts folded through the dough adds a wonderful texture contrast and makes these feel a little more grown-up alongside a cup of coffee.
Frequently Asked Questions
Can I make lazy day cookie bars ahead of time?
Absolutely, and they're honestly just as good the next day. Bake them, let them cool completely, and store in an airtight tin at room temperature. They keep well for up to four days.
What cake mix works best in the UK?
Betty Crocker Golden Sponge or Vanilla cake mix is the closest UK equivalent to an American yellow cake mix. Tesco, Asda, and Sainsbury's usually stock it. Own-brand vanilla sponge mix works well too.
Can I use salted butter?
Yes, salted butter works perfectly well here. It actually adds a nice subtle contrast to the sweetness of the chocolate. If you're using salted butter, you don't need to add any additional salt.
Can I freeze these cookie bars?
Yes, they freeze really well. Once fully cooled, cut into bars, wrap individually in cling film, and freeze for up to two months. Defrost at room temperature for a couple of hours before serving.
Why are my bars dry?
They've likely been slightly overbaked. These bars need to look just barely set in the centre when they come out of the oven. They firm up significantly as they cool, so pulling them out a minute or two early is always the right call.
Can I make these in a smaller tin?
Yes. A 23x23cm (9×9 inch) square tin will give you thicker, chunkier bars. The bake time will increase to around 25 to 28 minutes. Keep a close eye on them and use the same visual cues: golden edges, just-set centre.
Can I add other mix-ins besides chocolate?
Of course. Dried cranberries, white chocolate chips, toffee pieces, or a combination of any of these all work beautifully. Keep the total volume of mix-ins to around 200g so the dough doesn't become too heavy to spread.
How to Store and Reheat
At room temperature: Store in an airtight tin or container at room temperature for up to four days. They actually improve slightly on day two once they've had time to settle and the texture becomes even chewier.
In the fridge: If your kitchen is warm, you can refrigerate them in an airtight container for up to five days. Let them come back to room temperature before eating for the best texture.
In the freezer: These freeze brilliantly. Wrap individual bars in cling film and place in a freezer bag or container. Freeze for up to two months. Defrost at room temperature for a couple of hours. They won't need reheating, but if you want them slightly warm, 10 seconds in the microwave does the job beautifully.
Lazy Day Cookie Bars
Thick, chewy traybake bars made with just four ingredients. Somewhere between a soft cookie and a classic bake, they're packed with chocolate and ready in under 30 minutes.
200gM&Msmini chocolate chips, or a combination of both
Equipment
23x33cm (9×13 inch) baking tin
Large mixing bowl
Fork or wooden spoon
Baking paper or non-stick baking spray
Method
Preheat your oven to 180°C fan / 200°C conventional (350°F). Line a 23x33cm (9×13 inch) baking tin with baking paper.
In a large bowl, mix together the cake mix, beaten eggs, and melted butter until you have a thick dough.
1 box yellow or white cake mix, 2 eggs, 75 g unsalted butter
Fold in the M&Ms or chocolate chips until evenly distributed. Reserve a small handful to press on top.
200 g M&Ms
Press the dough evenly into the prepared tin. Scatter reserved M&Ms on top.
Bake for 18 to 22 minutes until golden at the edges and just set in the centre.
Cool completely in the tin before slicing into bars.
Notes
Don't overbake. The centre should look barely set when you remove them from the oven. They firm up as they cool and this is the key to a chewy, rather than dry, texture. Store in an airtight container at room temperature for up to four days, or freeze individually for up to two months.
Let's See Yours
These bars are the kind of bake that once you've made them, you'll find yourself making them on rotation. If you give them a try, share a photo with me on Instagram or drop a comment on Facebook, especially on a Friday when I'm usually Live. For more easy bakes you can pull together without much fuss, check out the recipe index.
We love these… we call them “cake dump” cookies because we dump in whatever extras I have left over from another cooking spree… candies, mini marshmallows, etc… it’s fun
Those cookies look great! By the way, I love your countertops! I know it has nothing to do with the post, BUT they’re beautiful! Are they granite? We are remodeling our kitchen and we ran out of money, so we are going with cheap formica counters. Maybe in a few years we can get the “real thing”. Have a great day!
Thanks Danielle! They are granite. I have really been happy with them. They hid crumbs and are no maintenance. Definitely the nicest part of our kitchen. I want to ditch my cabinets 🙂
Very easy-peasy, but in my house I have to substitute for the eggs and use completely guaranteed free of peanut chocolate chips. I will have to try this out with my allergy substitutions and pingback to you at some point.


[…] may also like these yummy desserts; Lazy Day Cookie Bars, Peach & Blueberry Crumble, and Strawberry Cream Cheese […]
Mmm-sounds good! I will have to try this! Stopping by from Work It Wed linky.
We love these… we call them “cake dump” cookies because we dump in whatever extras I have left over from another cooking spree… candies, mini marshmallows, etc… it’s fun
Marissa
Those cookies look great! By the way, I love your countertops! I know it has nothing to do with the post, BUT they’re beautiful! Are they granite? We are remodeling our kitchen and we ran out of money, so we are going with cheap formica counters. Maybe in a few years we can get the “real thing”. Have a great day!
Thanks Danielle! They are granite. I have really been happy with them. They hid crumbs and are no maintenance. Definitely the nicest part of our kitchen. I want to ditch my cabinets 🙂
Ooh, looks yummy. Pinning for future reference.
going to have to try this with my 4 year old niece. she loves baking and this is something she could easily do.
Oh yum! I always make a snack when the grandkids come over. I think they will love these.
Love these ideas! How fun and easy are these cookie bars? Thanks for sharing!
my mouth is simply watering 😀
Oh my yum! These sound AMAZING! I’m so trying them this weekend.
They are so good! Let me know what you think when you give them a try. So easy!
oh wow, these couldn’t be any easier, could they? they look so yummy!
Hi! Thanks for sharing! I’m making these right now!
That’s great! Let me know what you think!
Very easy-peasy, but in my house I have to substitute for the eggs and use completely guaranteed free of peanut chocolate chips. I will have to try this out with my allergy substitutions and pingback to you at some point.
Yes, I would love to know how you can tweak it to make it work for you. Let me know! Thanks Angie!
Oh my goodness–this is the perfect rainy day treat that my kids can actually help make!
Yummy!
Thanks for posting!
My kids love to bake and this was so easy to do together!
This does indeed look like the perfect lazy day recipe. And oh my goodness, brownies are my weakness! Gotta try em!!!
Let me know what you think!