How to Update a Vintage Nightstand with Chalk Paint
Transform a vintage nightstand with chalk paint for a simple and stylish update.
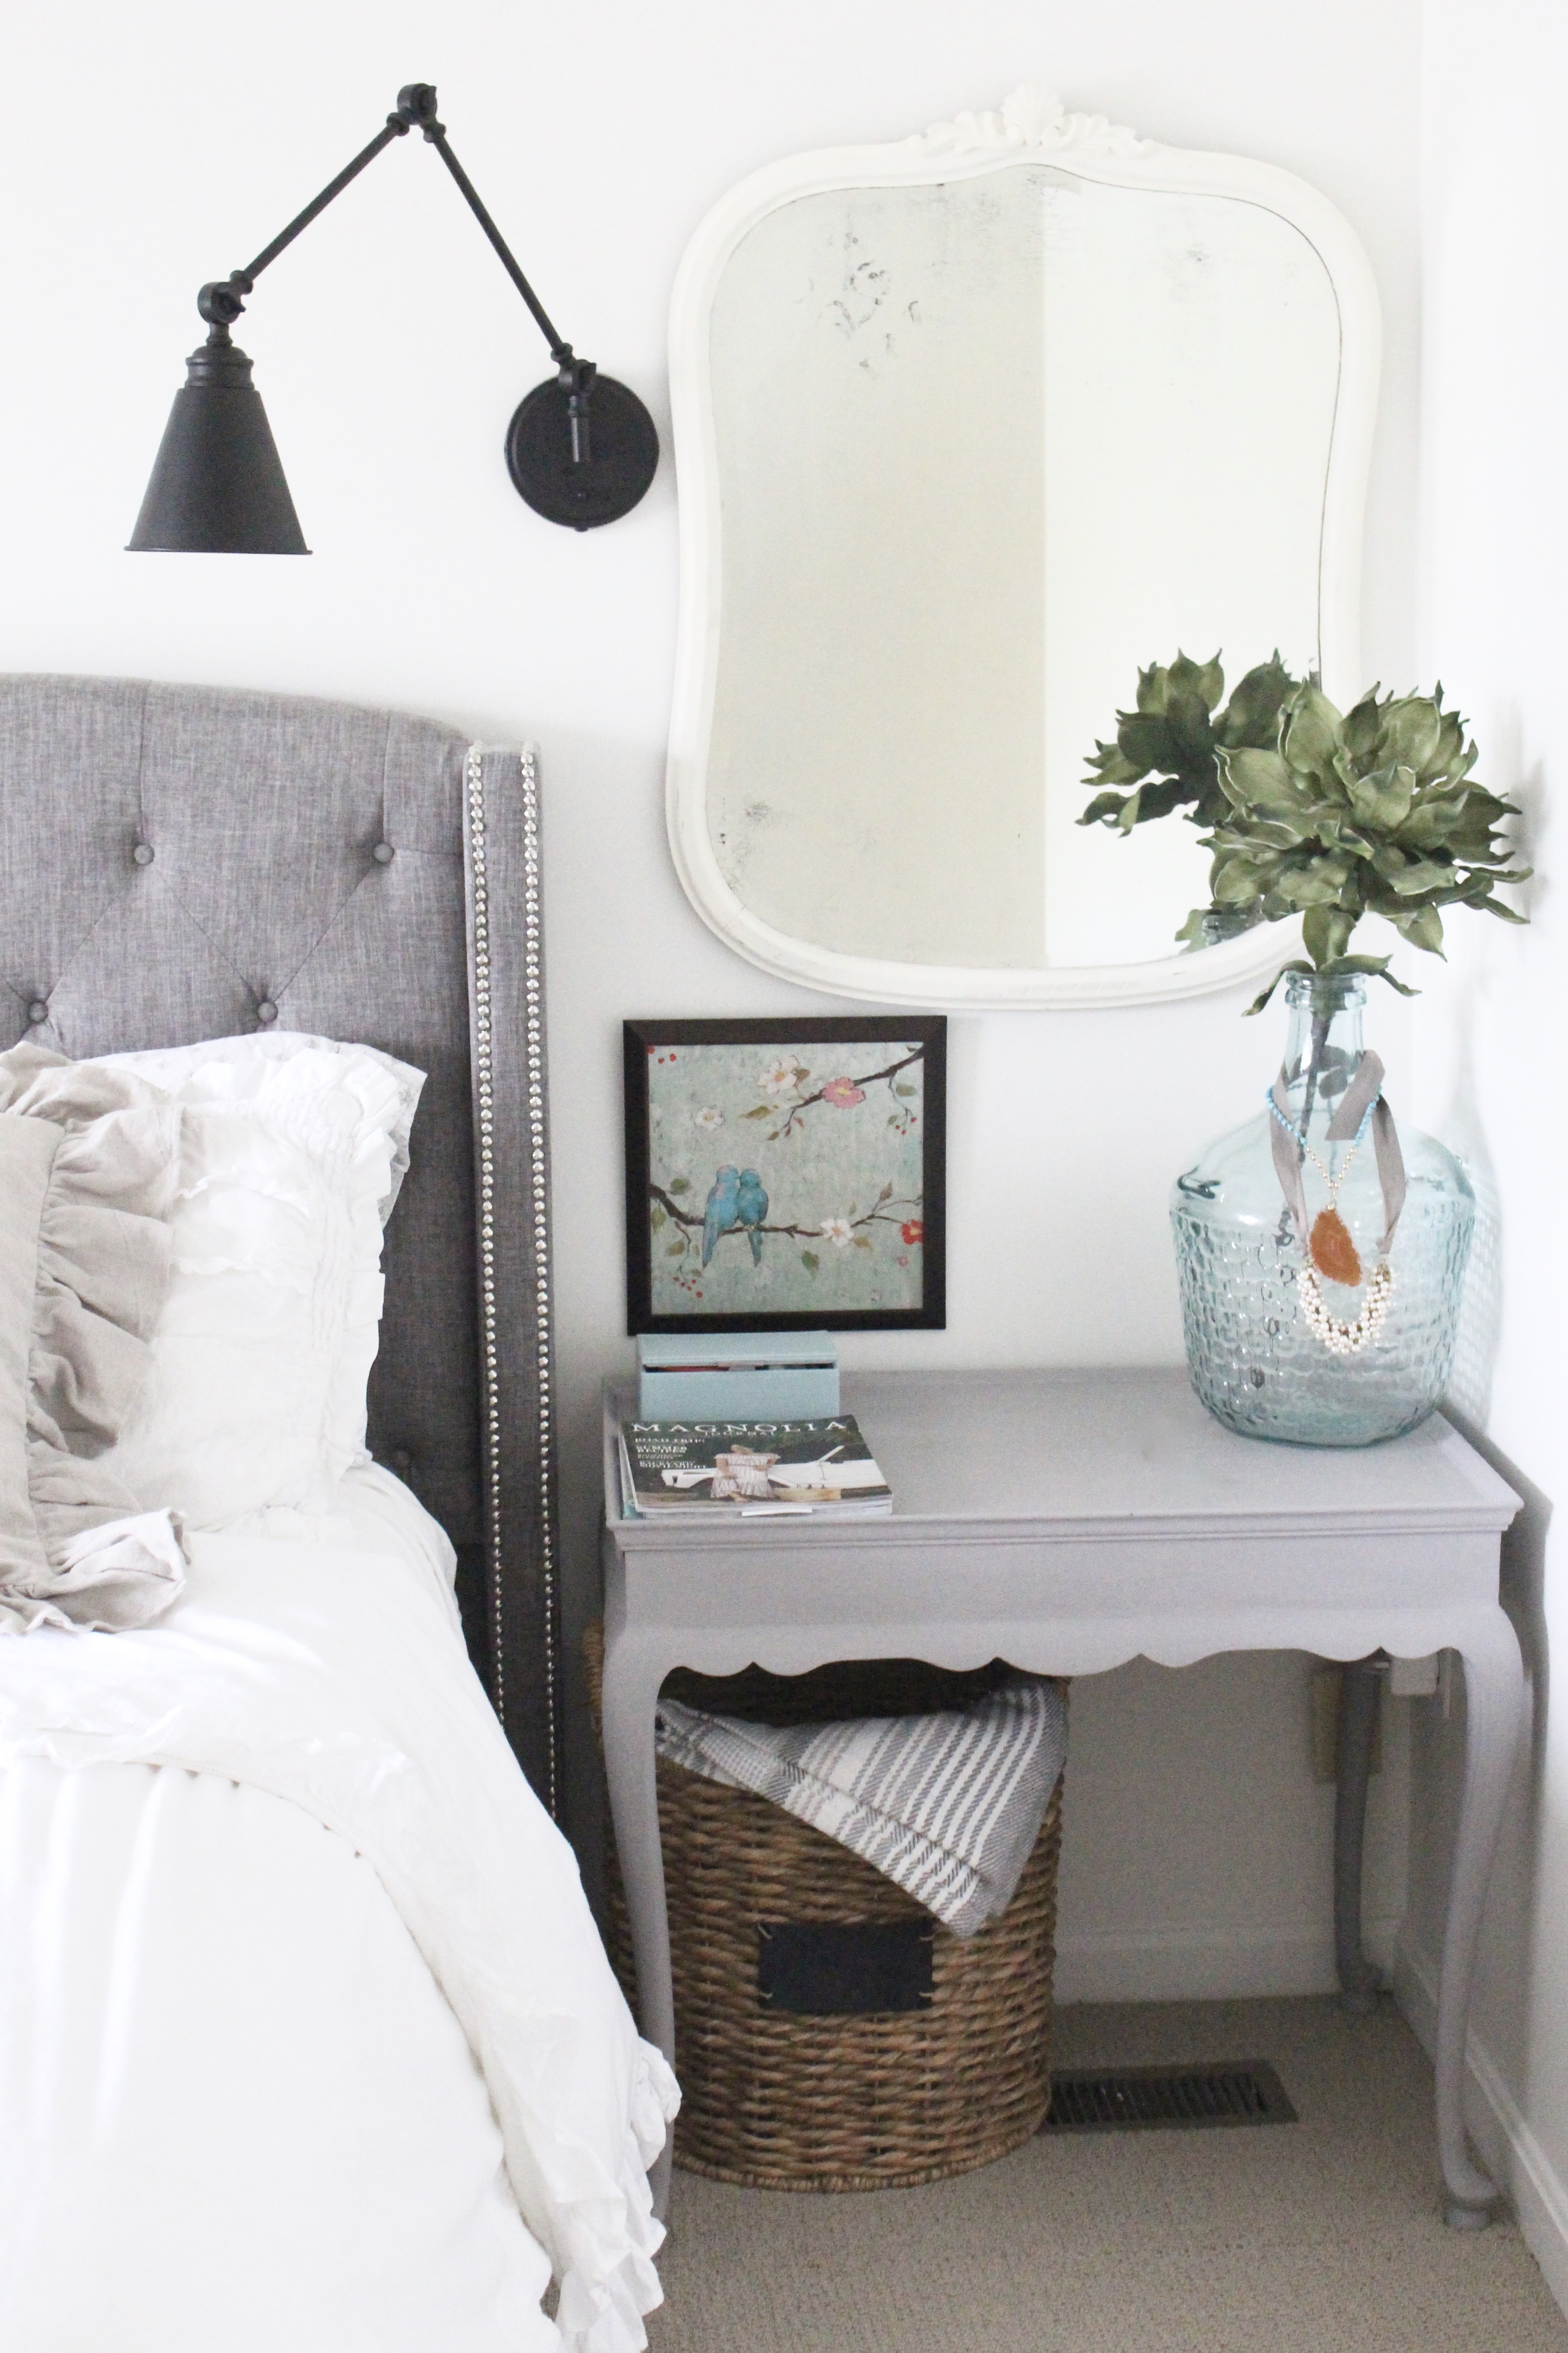
Hi, friends! You may or may not remember that I promised you a post on how I transformed two random vintage tables into the perfect nightstands for our master bedroom redo. I apologize that it's been a bit, but I still wanted to get you the full tutorials on these. When we looked at the new space in our bedroom, we decided to go with less bulky nightstands. Our previous stands were very large, dark, and with drawers. In all honesty, I found that we did not use all of the drawers and the ones we did use tended to fill up with junk and unnecessary items. This time around, not only to save space in the room but to discourage clutter, we decided to find small tables as nightstands instead.
I found this small table at a local thrift store. She was in pretty bad shape, but I liked her size, the small drawer, and the shelf. The other table was a hand me down from my husband's parents. It had been painted once already, but just needed a new color!
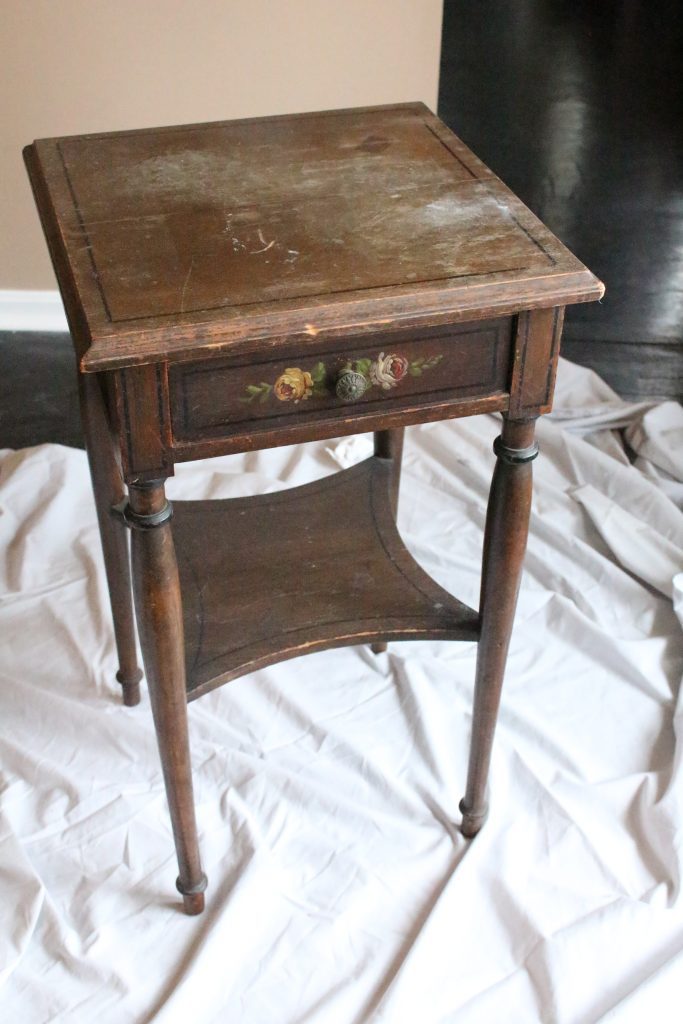
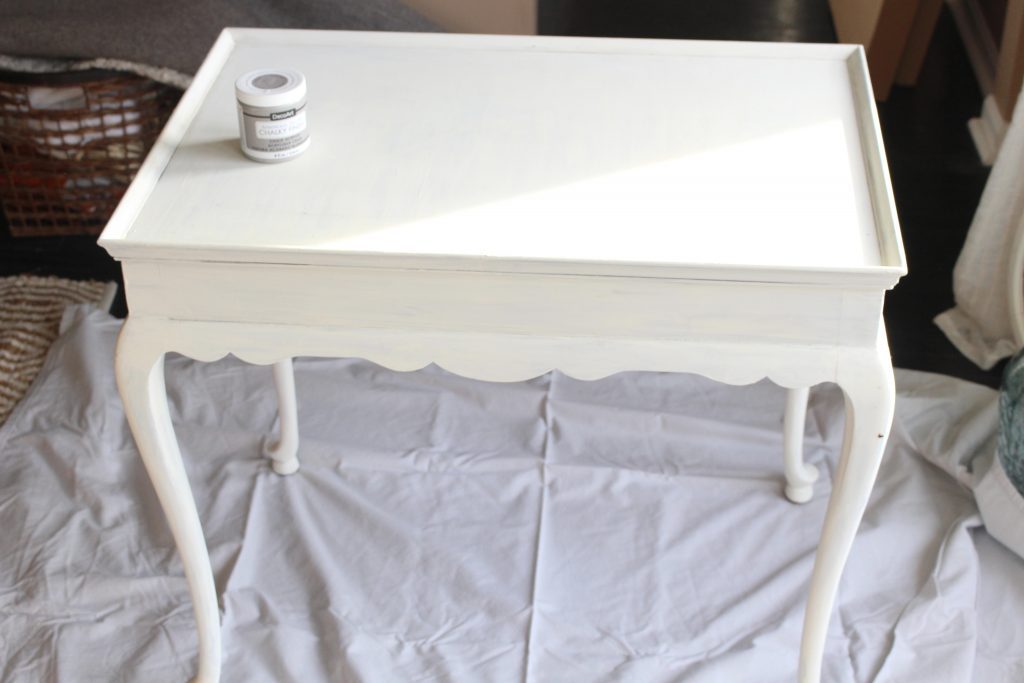
Steps to Achieving a Chalky Paint Finish
{This post contains affiliate links, see full disclosure here.}
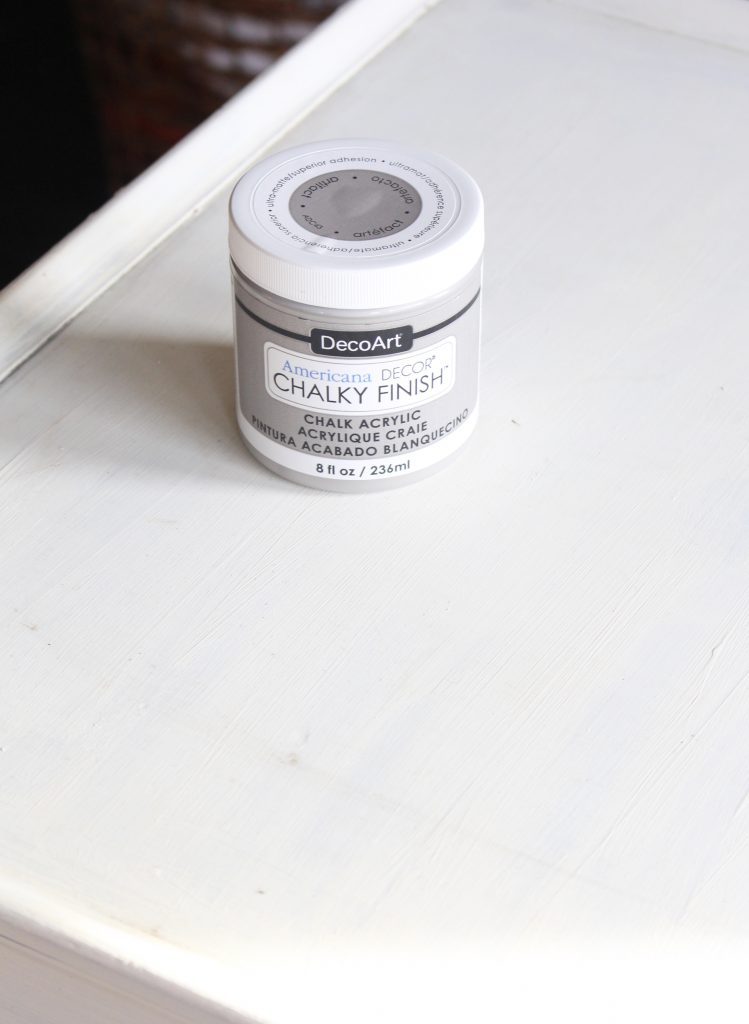
1.I chose this paint from DecoArt in Artifact. It dries to a beautiful muddy gray. I LOVE this color!
2. Clean and dry your piece with a clean rag. I like using TSP. It's a heavy duty cleaner for even the dirtiest pieces.
3. Gather your paint and supplies such as brushes, painters tape, and a drop cloth. My favorite brushes are these from Purdy. I've found these have the smoothest finish of all brushes I've used. Tape off any areas that you do not want paint.
4. Begin applying your first coat. You do NOT need a primer. Do not be discouraged after the first coat, you will see brush strokes. Just wait until you see it after the second coat! The paint dries quickly
5. Apply your second coat and see how the brushstrokes disappear! My pieces needed only two coats, but judge your individual pieces to see.
6. After allowing the second coat to dry, apply a furniture wax to seal it and give it a bit of a shine. I like this Clear Wax from Amy Howard at Home. Apply this with a clean cloth and massage on gently in a circular motion. I worked sections at a time. Allow to dry.
That's it!
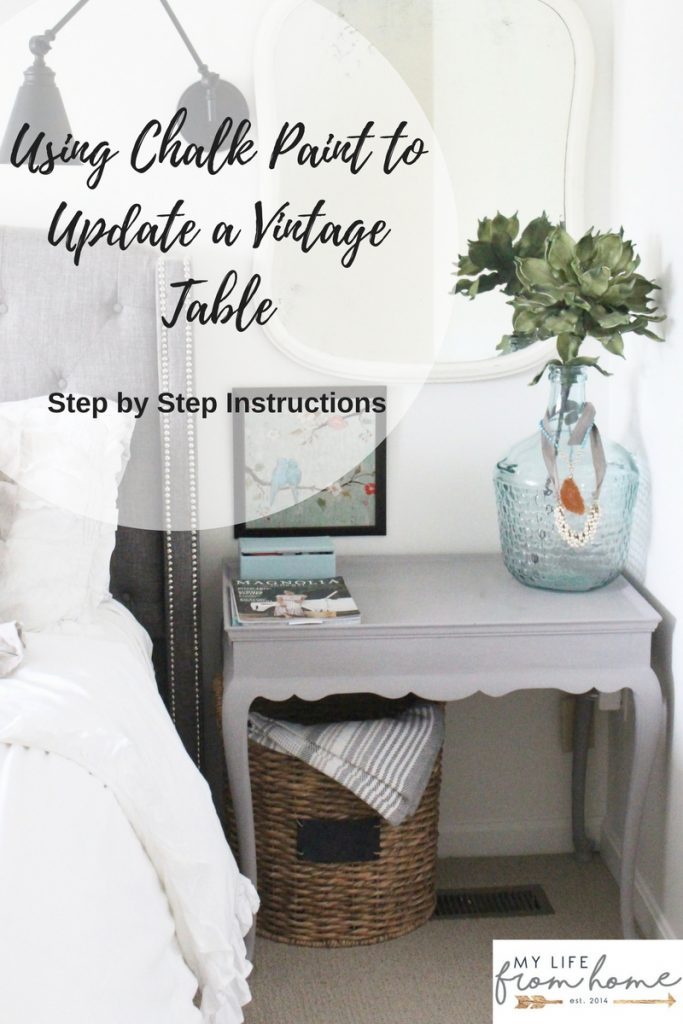

Now that we've been using our new nightstands for several months, I am happy to report that they are working out great. What we use on a nightly basis is neatly placed on the nightstand (no bottomless pit drawers!). My hand lotion, chapstick, hair ties, and items are stored in the little turquoise box. It forces us to put things away and not let things build up. It's all part of my declutter our life plan!
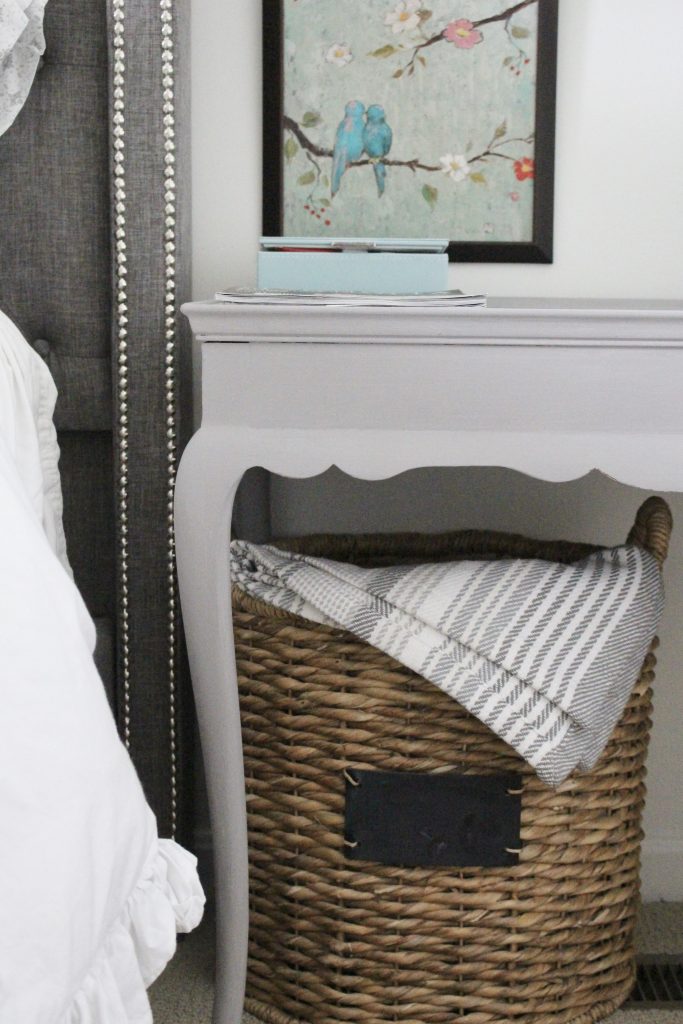
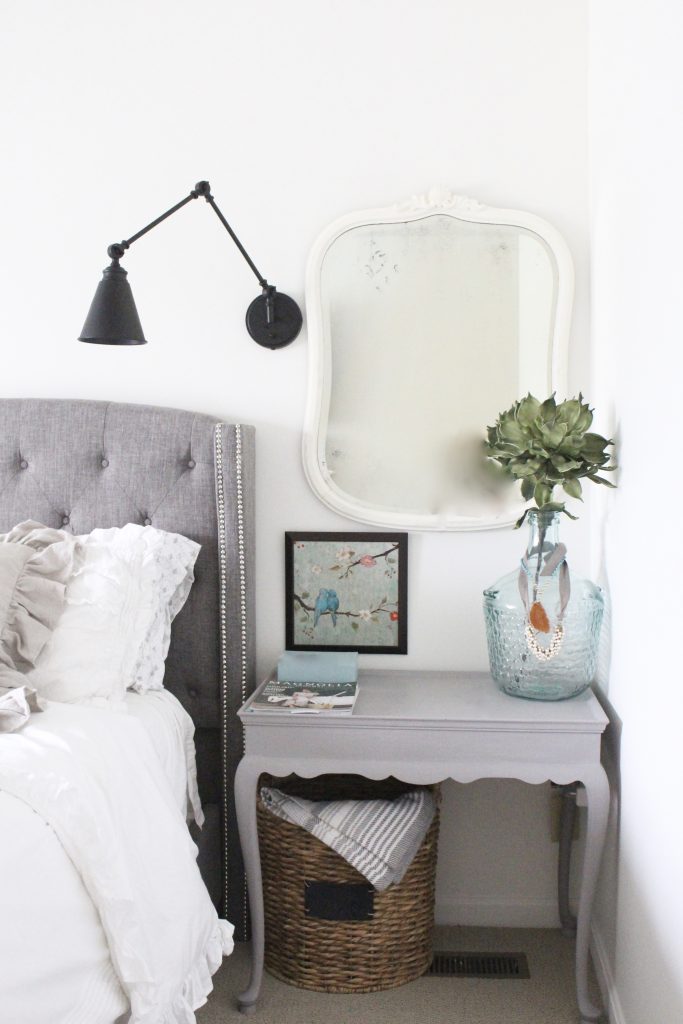
To update the small one, I changed out the hardware for a white marble knob that I picked up at Target. That alone made a huge difference in the look of the table.
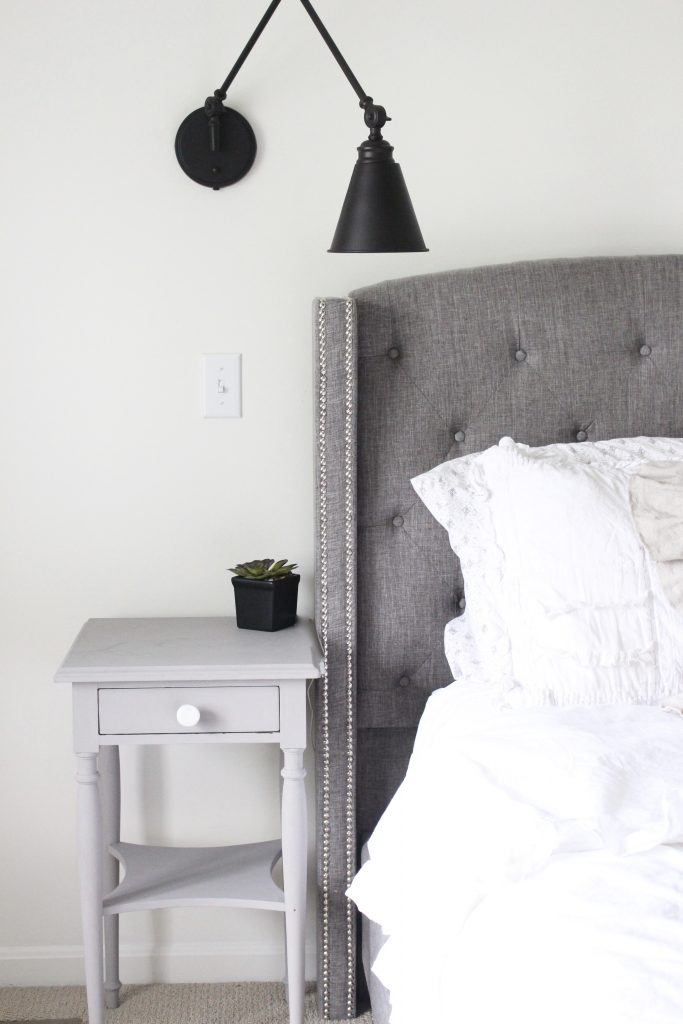
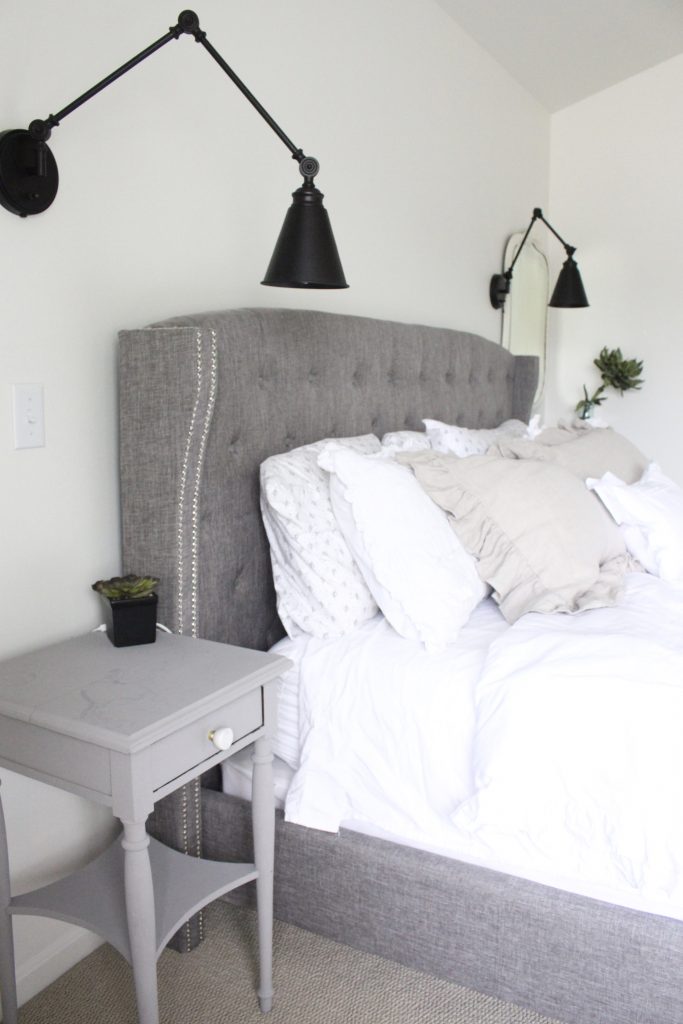
I hope this post will give you some inspiration or MOTIVATION to try a chalk paint project yourself! You really can't mess it up! I'd love to see any projects you do. Send me some pictures!
If you are looking for other chalk paint projects, you may want to visit these.
To life feeling like home!
XO,



Excellent makeover!
Amazing makeover!
[…] How to Update a Nightstand with Chalk Paint […]
[…] Baskets are great for extra storage if your nightstand has an open shelf. Or you can add a basket under or beside your nightstand. You don’t even have to use a nightstand as a nightstand… use a little side table and add a big basket like this: […]
[…] 2- Nightstands- Vintage Makeovers (Deco Art paint) You can see the full makeover HERE. […]
Chalk paint is the best! The nightstand came out great!