DIY Kitchen Chalkboard
I'm excited to introduce you to a guest today! My good friend and my hair magician, Sara. She is a super talented gal and loves to DIY and craft. She recently did the cutest project that I couldn't wait to have her share.
Hi, I'm Sara! Thanks for having me today.
DIY Kitchen Chalkboard
What you'll need:
– Any frame of your choice
– Paint (I used flat black to paint the frame)
-Sandpaper
-Cork-board
-Burlap
-Tacks
-Buttons
-Tacky Glue
-Spray-on Fabric Glue
-Chalk
-Hot Glue Gun
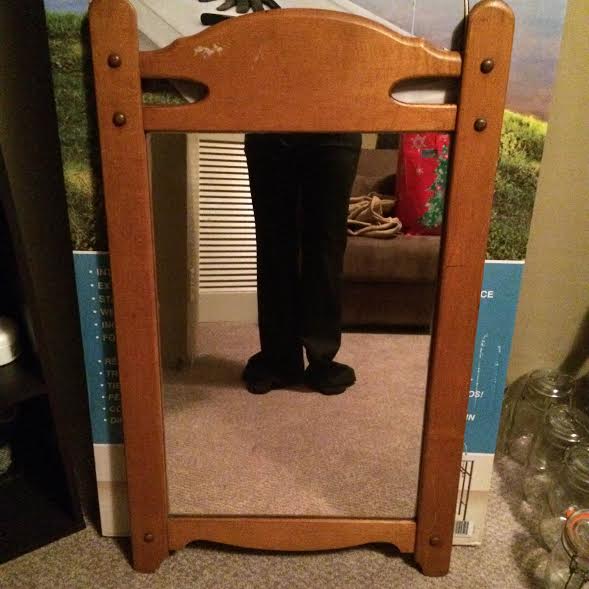
I have been looking for a cute message board for my kitchen for months. I love to be creative, and really wanted to do something unique. I shopped around at second-hand stores and decided to use an antique mirror frame for my chalkboard.
I loved the original color of the frame, but it had a couple of imperfections so I decided to paint it black. I always use Valspar Flat Black. After it completely dries, you can use a flat piece of sandpaper to distress the edges. Make sure to keep the back of the frame and the nails so you can re-apply the back when you're all finished!
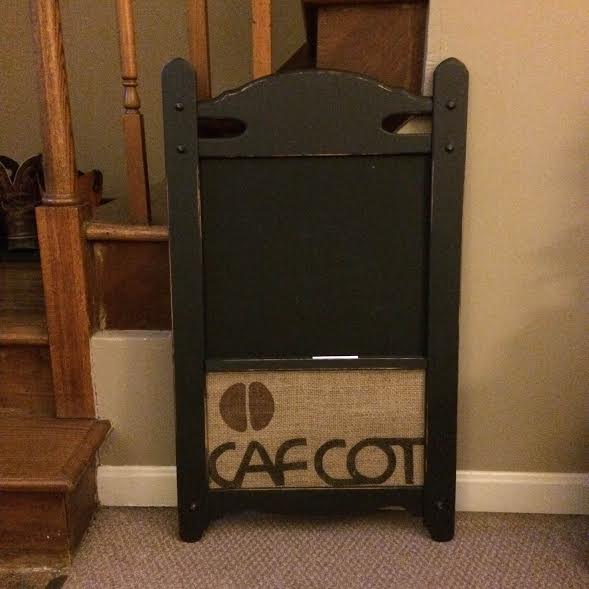
While the paint was drying on the frame, I cut the pieces for the chalkboard and the cork-board. I really loved the name of the coffee company on the burlap coffee sack I used, so I made sure to center the name with the coffee bean on the front. You can use whatever kind of burlap you would want, I think a color would even look cute! I also wanted to make sure that I had more chalkboard than cork, but you can also do half chalkboard, half cork-board.
I found the cork at Goodwill, and it was in a small wooden frame. It was less expensive than having to buy it at a craft store. But, I always prefer Hobby Lobby if need be. Also, the chalkboard is actually Elmer's chalk poster board. I got it at Meijer in the isle with all of the other poster board. It was less money and work then using the paint and it works like a charm!
Once you cut the cork to fit the size you want in the frame, take the spray on fabric glue and press the burlap flat. You will have to smooth out any bubbles. The glue doesn't take too long to dry, and is workable and forgiving if you need to adjust the burlap at all.
Helpful tip: If you find the cork-board in a frame like I did, you may decide to use a piece of the frame as the chalk holder. It also made for a great divider to separate the two parts of the board. We got lucky that the chalk fit perfectly! I cut it to the width of the frame, painted it and distressed it to match.
After the frame has dried fully, everything is cut and the burlap is dry:
Place the chalkboard and cork-board firmly in the frame (like you would a picture)
If you were able to make the chalk holder from the cork-board frame, hot glue it on the front side to divide the burlap and chalkboard. Let it dry completely before doing anything else. (It usually only takes a couple of minutes)
Once everything is in place, put the old back on the frame to hold it all together and you're finished!
One more thing..
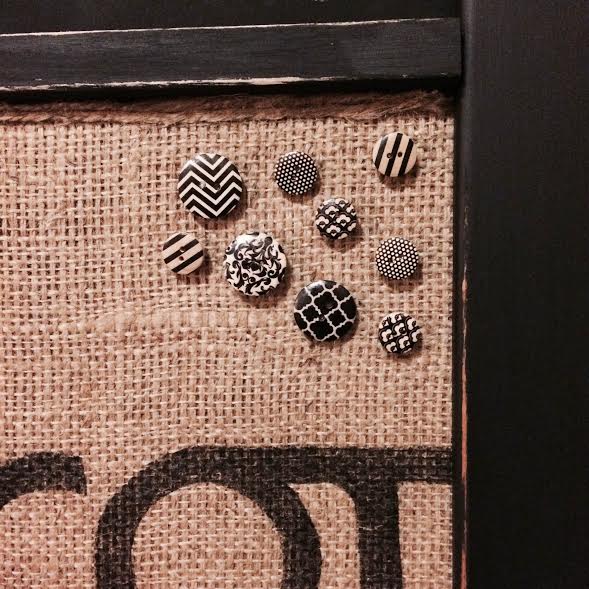
I also made my own tacks for the board!
Pick out any buttons that you like at the craft store along with some plain metal tacks. Use tacky glue or hot glue to secure them together and ta-daaa! Adorable homemade tacks. 🙂
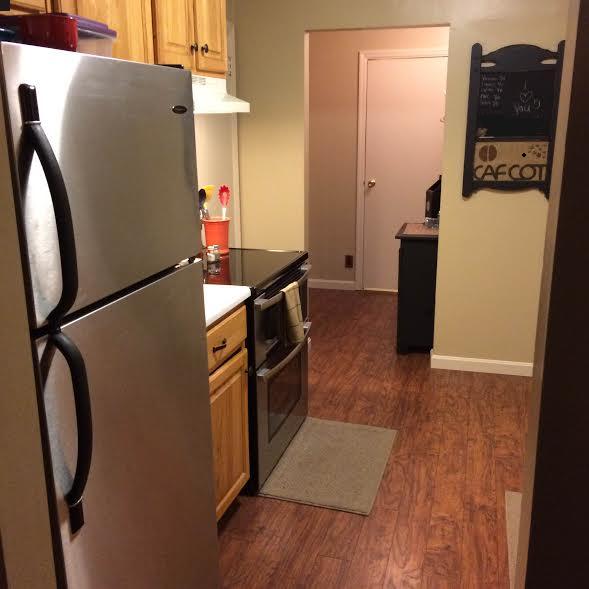
Wow! How cute is that? And completely DIY'able. I love how functional it is, but also unique with the one of a kind, coffee sack. And the button tacks! I'm so going to do that. Really simple but makes all the difference.
Sara, thank you so much for sharing your project today and I can't wait to see what you come up with next!
