Dining Room Hutch Cabinet Gets Green Paint and a Makeover
A $10 hutch top from the thrift store becomes a beautiful piece for our dining room with a little paint and TLC!
Today's inspiring makeover was a DIY project that I saw my friend, Deb, from Seeking Lavender Lane do several years ago on her blog. I have been waiting to recreate this makeover when I came across just the right piece. For her full tutorial, see this LINK. I want to thank her so much for the inspiration. I just love how her piece turned out and I think you'll be surprised at how easy this transformation was!
{This post contains affiliate links, see full disclosure here.}
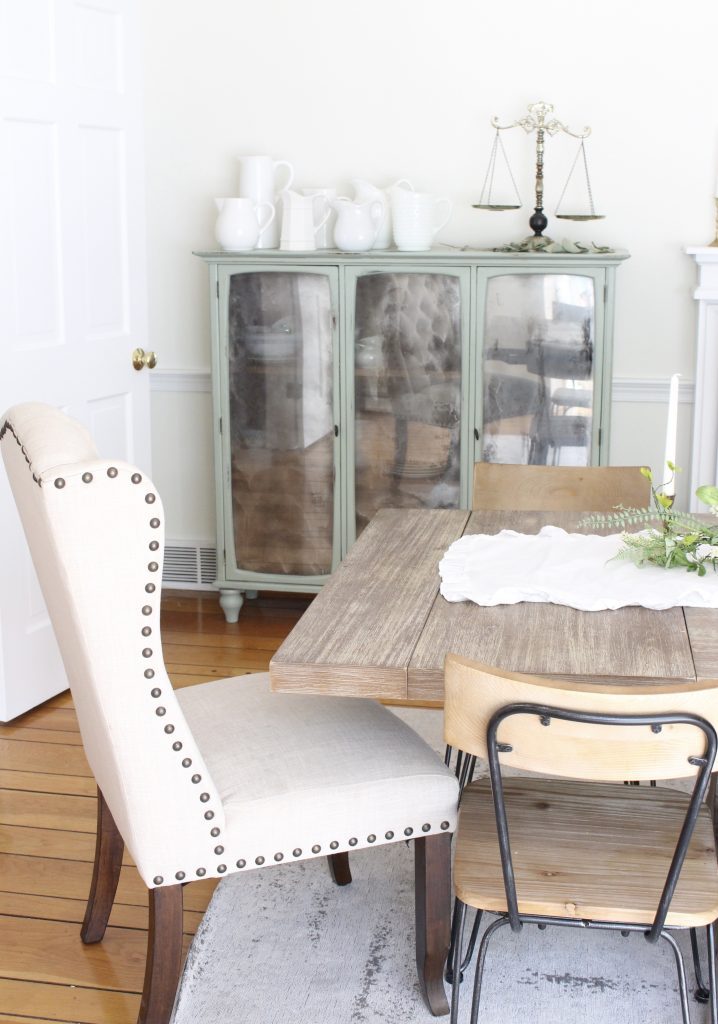
Our dining room is twice the size of our old one, so my first mission was to buy a new table that would provide more seating. We host most holidays along with several dinner parties a year for large groups, so I decided to go with this Extended Dining Table from Wayfair (LINK) that seats 10. After finding the table, and surrounding it with mismatched chairs, I was hoping to find a few additional pieces that didn't break the bank.
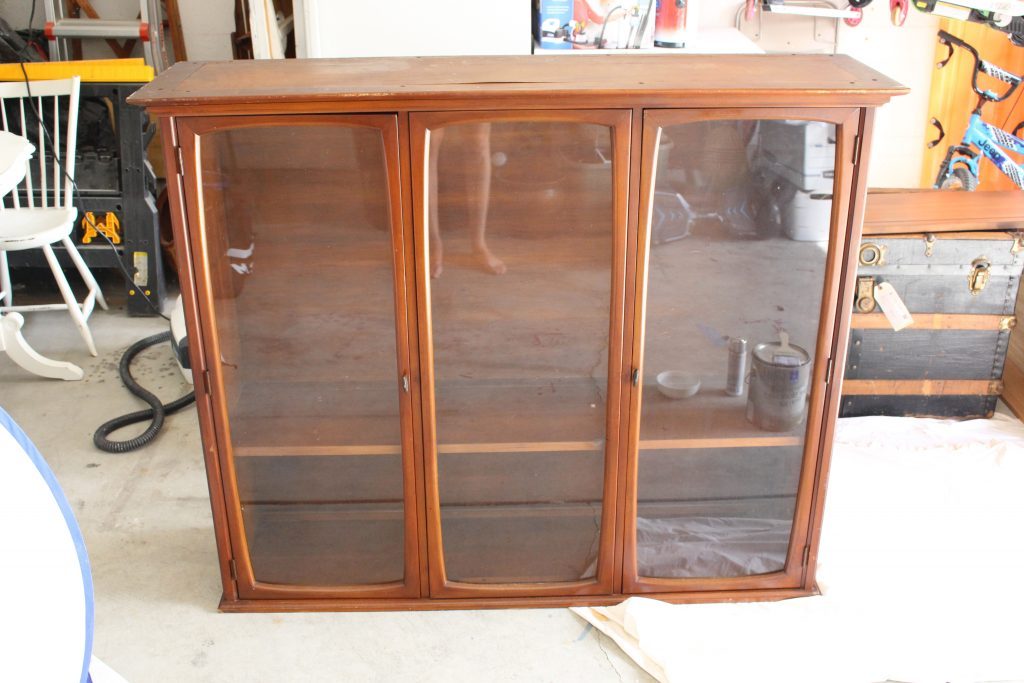
That's just when I came across this top from a hutch selling for $10 at our local thrift store. I remembered then the makeover that Deb did and knew this was what I wanted to do.
Dining Room Hutch Cabinet Makeover
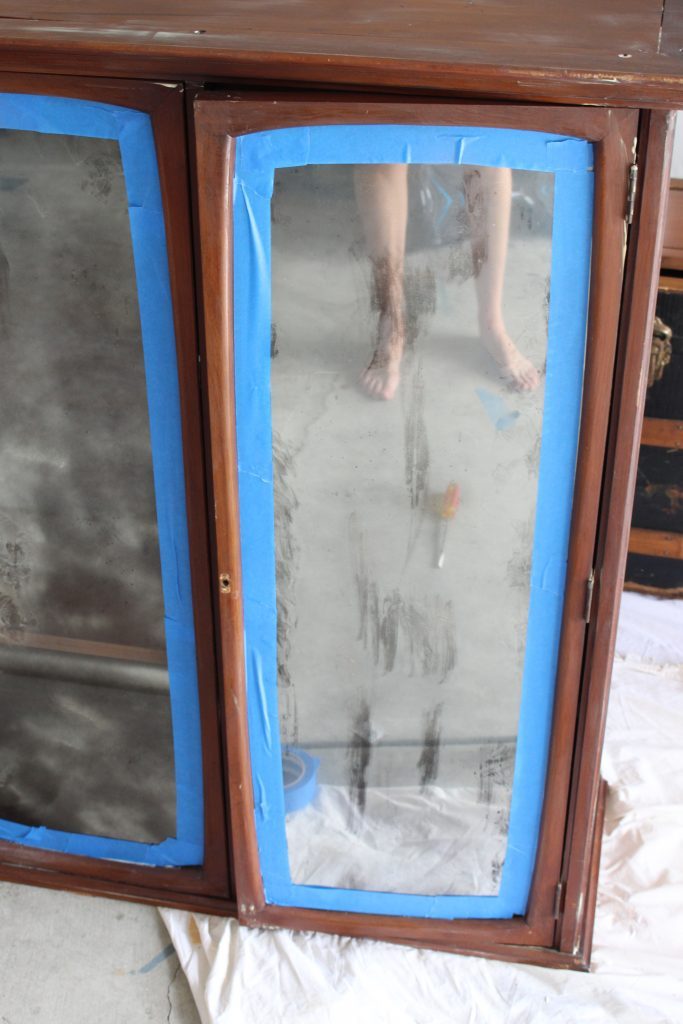
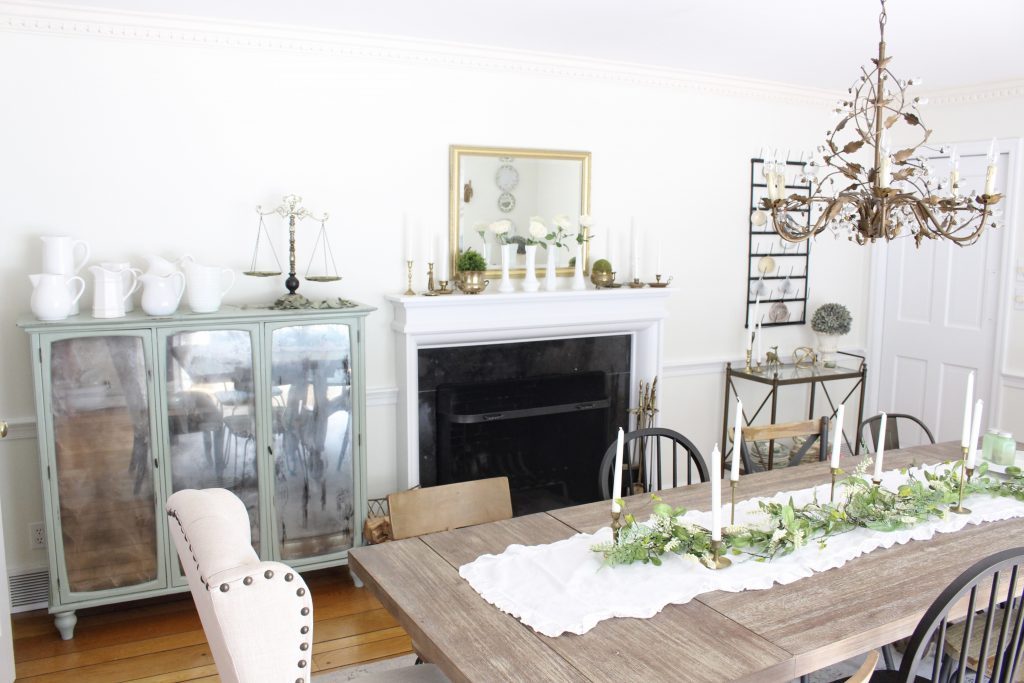
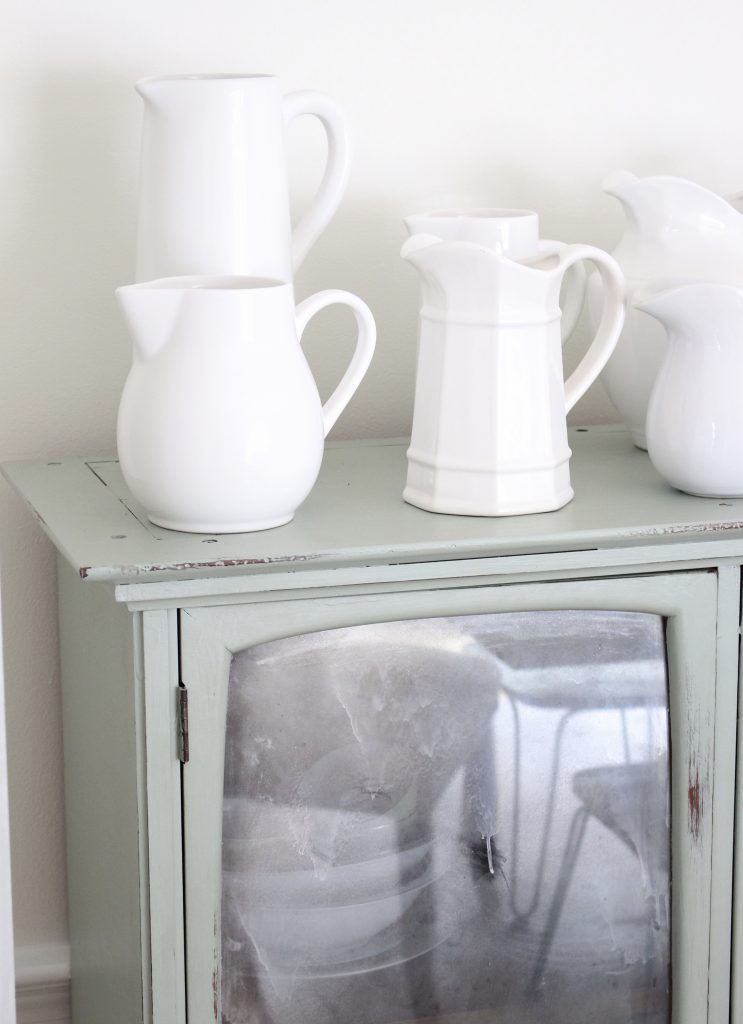
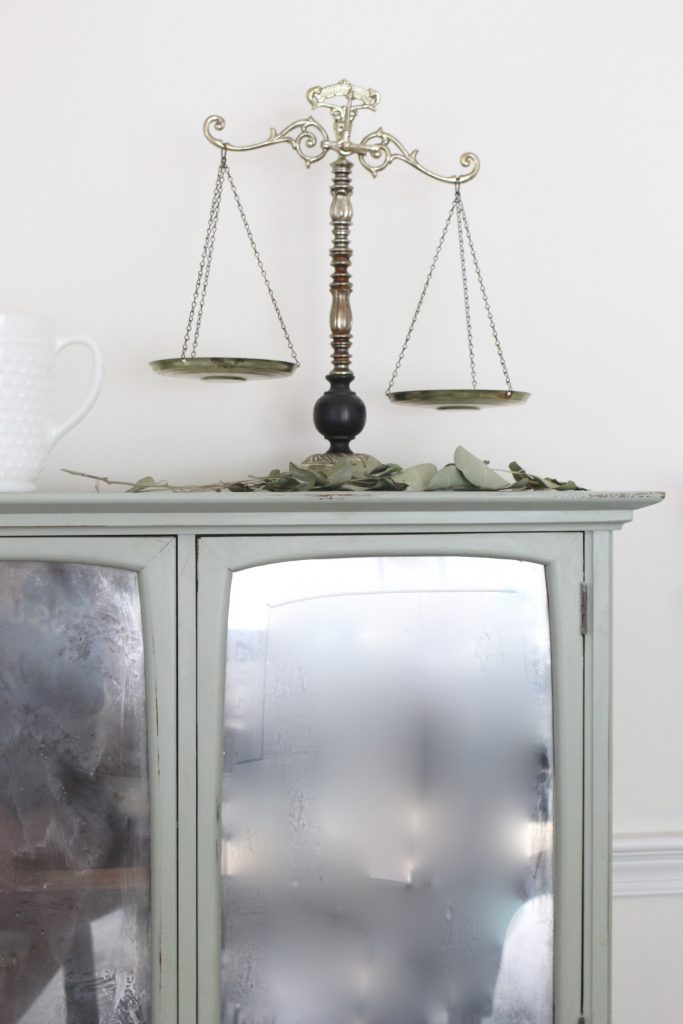
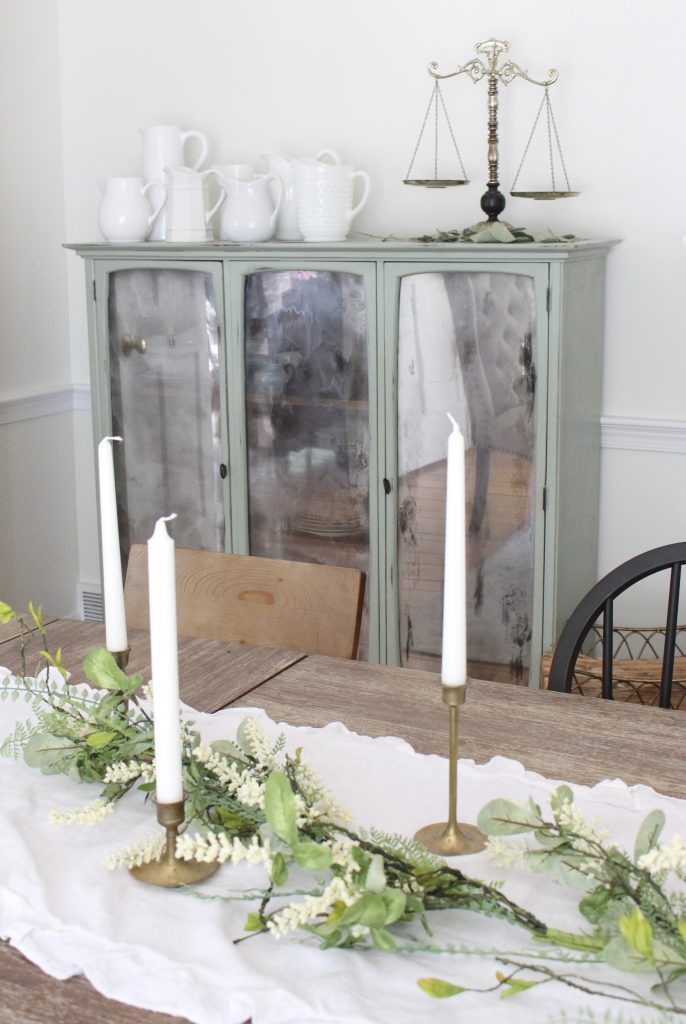
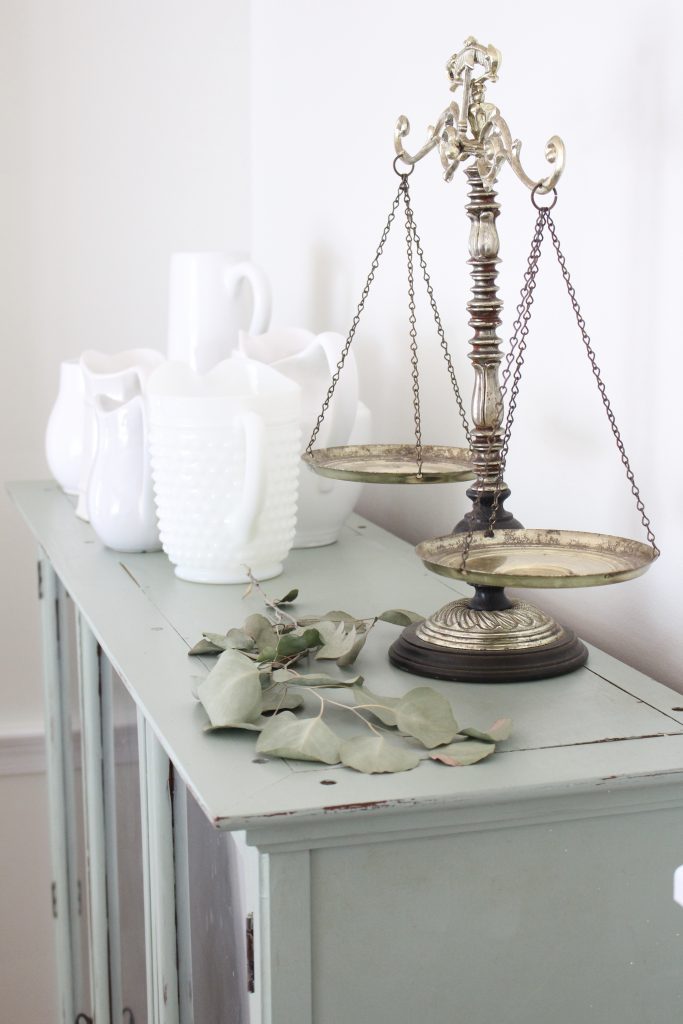
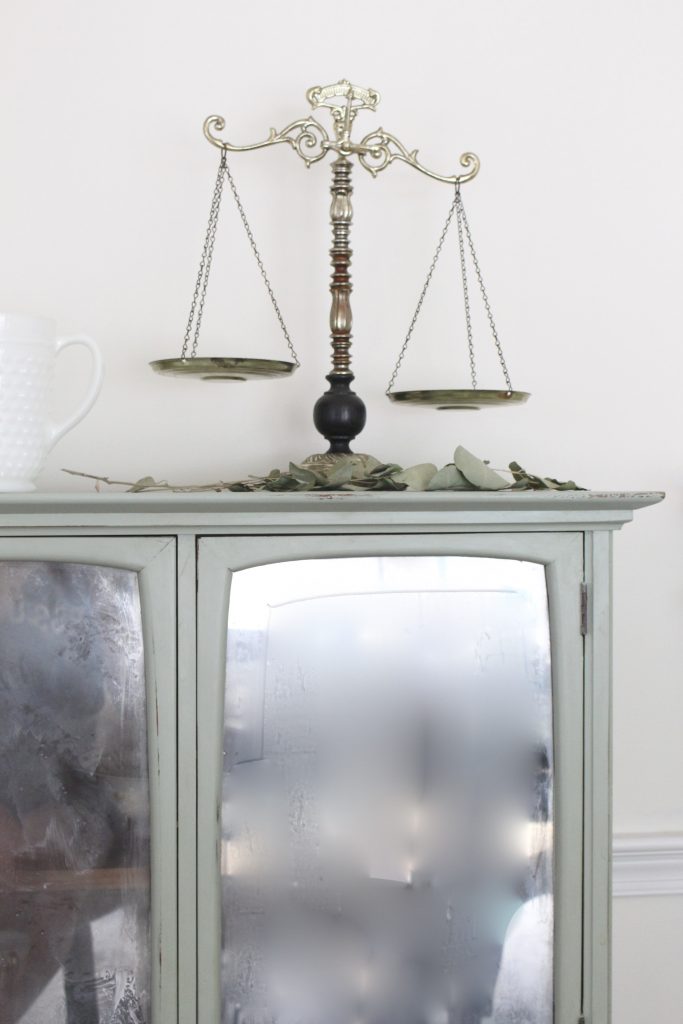
The first step for this makeover was to give this cabinet some feet. To make it look like its own piece of furniture, I added 4 Tulip Bun feet LINK. These were easy to screw into the bottom and it elevated it off the ground giving the cabinet a whole new look. For the color, I was looking for a soft green and decided on one of my favorites, Sherwin Williams Coastal Plain. I primed it and then gave it two coats. I did not paint the inside since I knew you wouldn't be seeing it. I distressed the edges a bit to give it a more rustic look. For the glass, I used Looking Glass spray paint by Krylon LINK. The spray was a little difficult to work with. My recommendation is to spray in short light strokes. You need to layer the spray to create that mirrored effect that you are going for. Make sure to read the directions on the can for their best recommendations. It definitely had some drips and smudges when I was done, but that kind of gives the piece an aged look which I love.
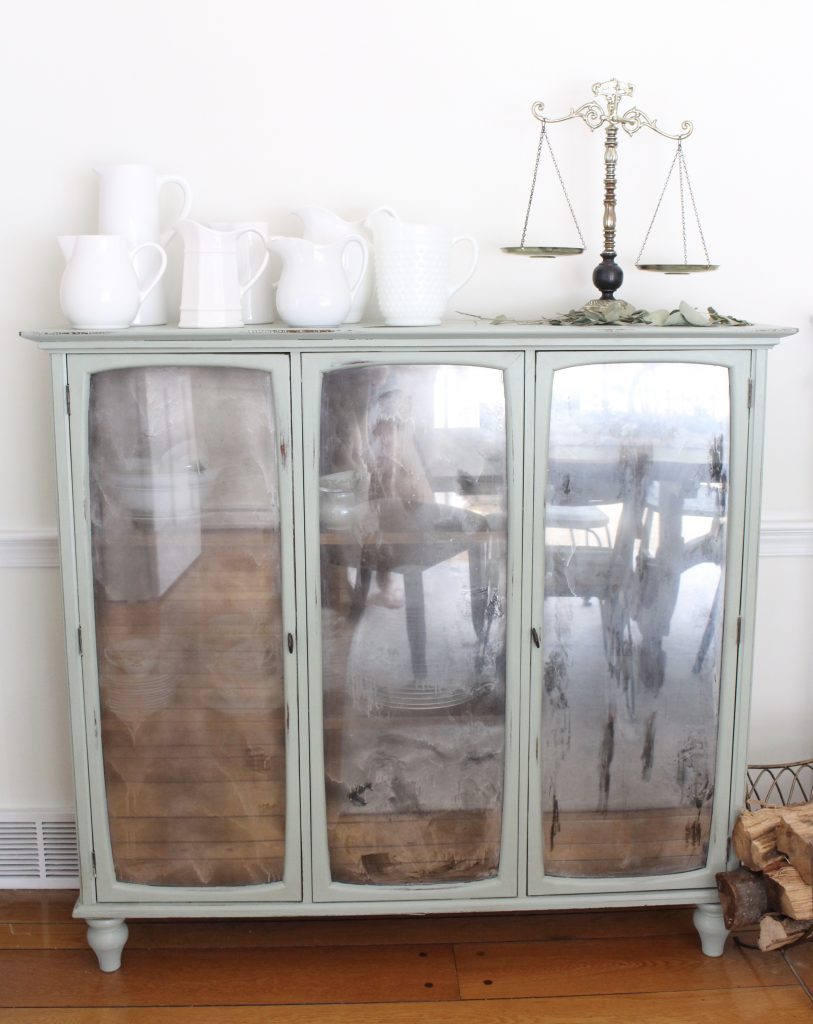
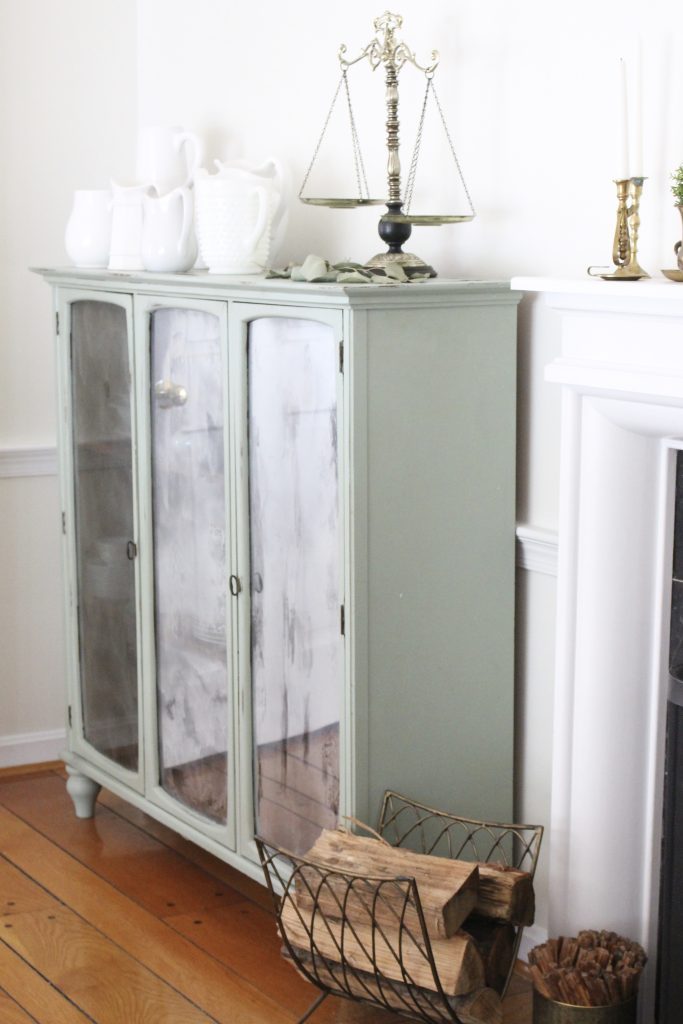
What do you think? Isn't she a beauty for just $10!!! I love the extra storage for holiday dishes and other items we don't use every day.


[…] Green Painted Hutch Into a Dining Room Cabinet […]
[…] You may remember this green hutch project, it was the top of a dining room hutch which I added legs too. It used to be in our dining room. You can see the whole project, here (LINK). […]
[…] just how I would have done. Isn’t that the best when that happens? I replaced my green cabinet (LINK) with this because I wanted more visual display for my china collections. The green cabinet […]
[…] I inherited from my grandmother that I haven’t shown you today. I keep that set in my green hutch cabinet. I will have to do a blog post about that one soon. I hope this was a fun little tour […]
[…] thrift store find was this antique scale on my green hutch. You can read all about this pretty green cabinet here (LINK) and see how I transformed it with paint and legs. My scale only needed a couple of little […]
[…] If you’d like to read more about how I turned a hutch top into that Green Painted Hutch Cabinet, you can follow this LINK, here. […]