Turning a Regular Wardrobe into a Gruffalo Mural: Part 2
I'm thrilled to bring you the second part of our Gruffalo mural transformation. Now that we have sanded and primed the wardrobe, we can dive deeper into the process, overcoming some challenges, and reveal the enchanting final touches.
Step-by-Step Transformation
Preparing the Wardrobe
First things first, we turned our regular wardrobe into a canvas for our Gruffalo mural. This involved a bit of heavy lifting and nearly breaking it (as usual!). Once the hardware was removed, it was a bit tricky as the doors wouldn't close properly.
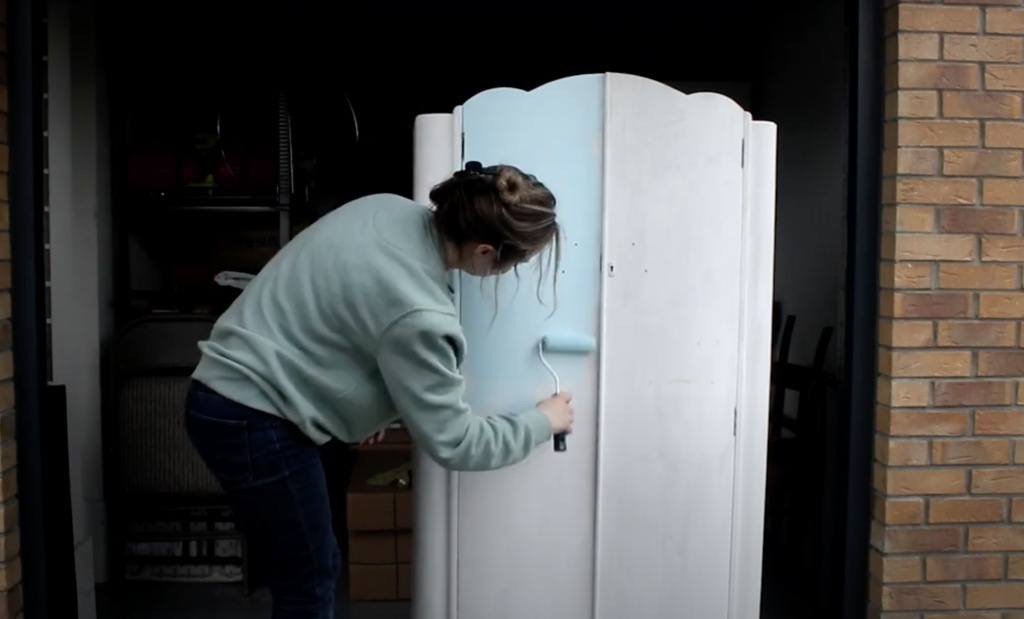
Painting the Sky
I used Valspar's Stay A While Blue for the base, painting everything in a dead flat matte to get a good base color for the sky. Carefully painting around the hinges, which was more complicated than anticipated. The relentless little bugs that kept landing on the unit didn't help either! After several coffee breaks and lots of patience, I managed to avoid painting over the hinges (until later when I totally gave up and painted over the hinges).
Gruffalo’s Features
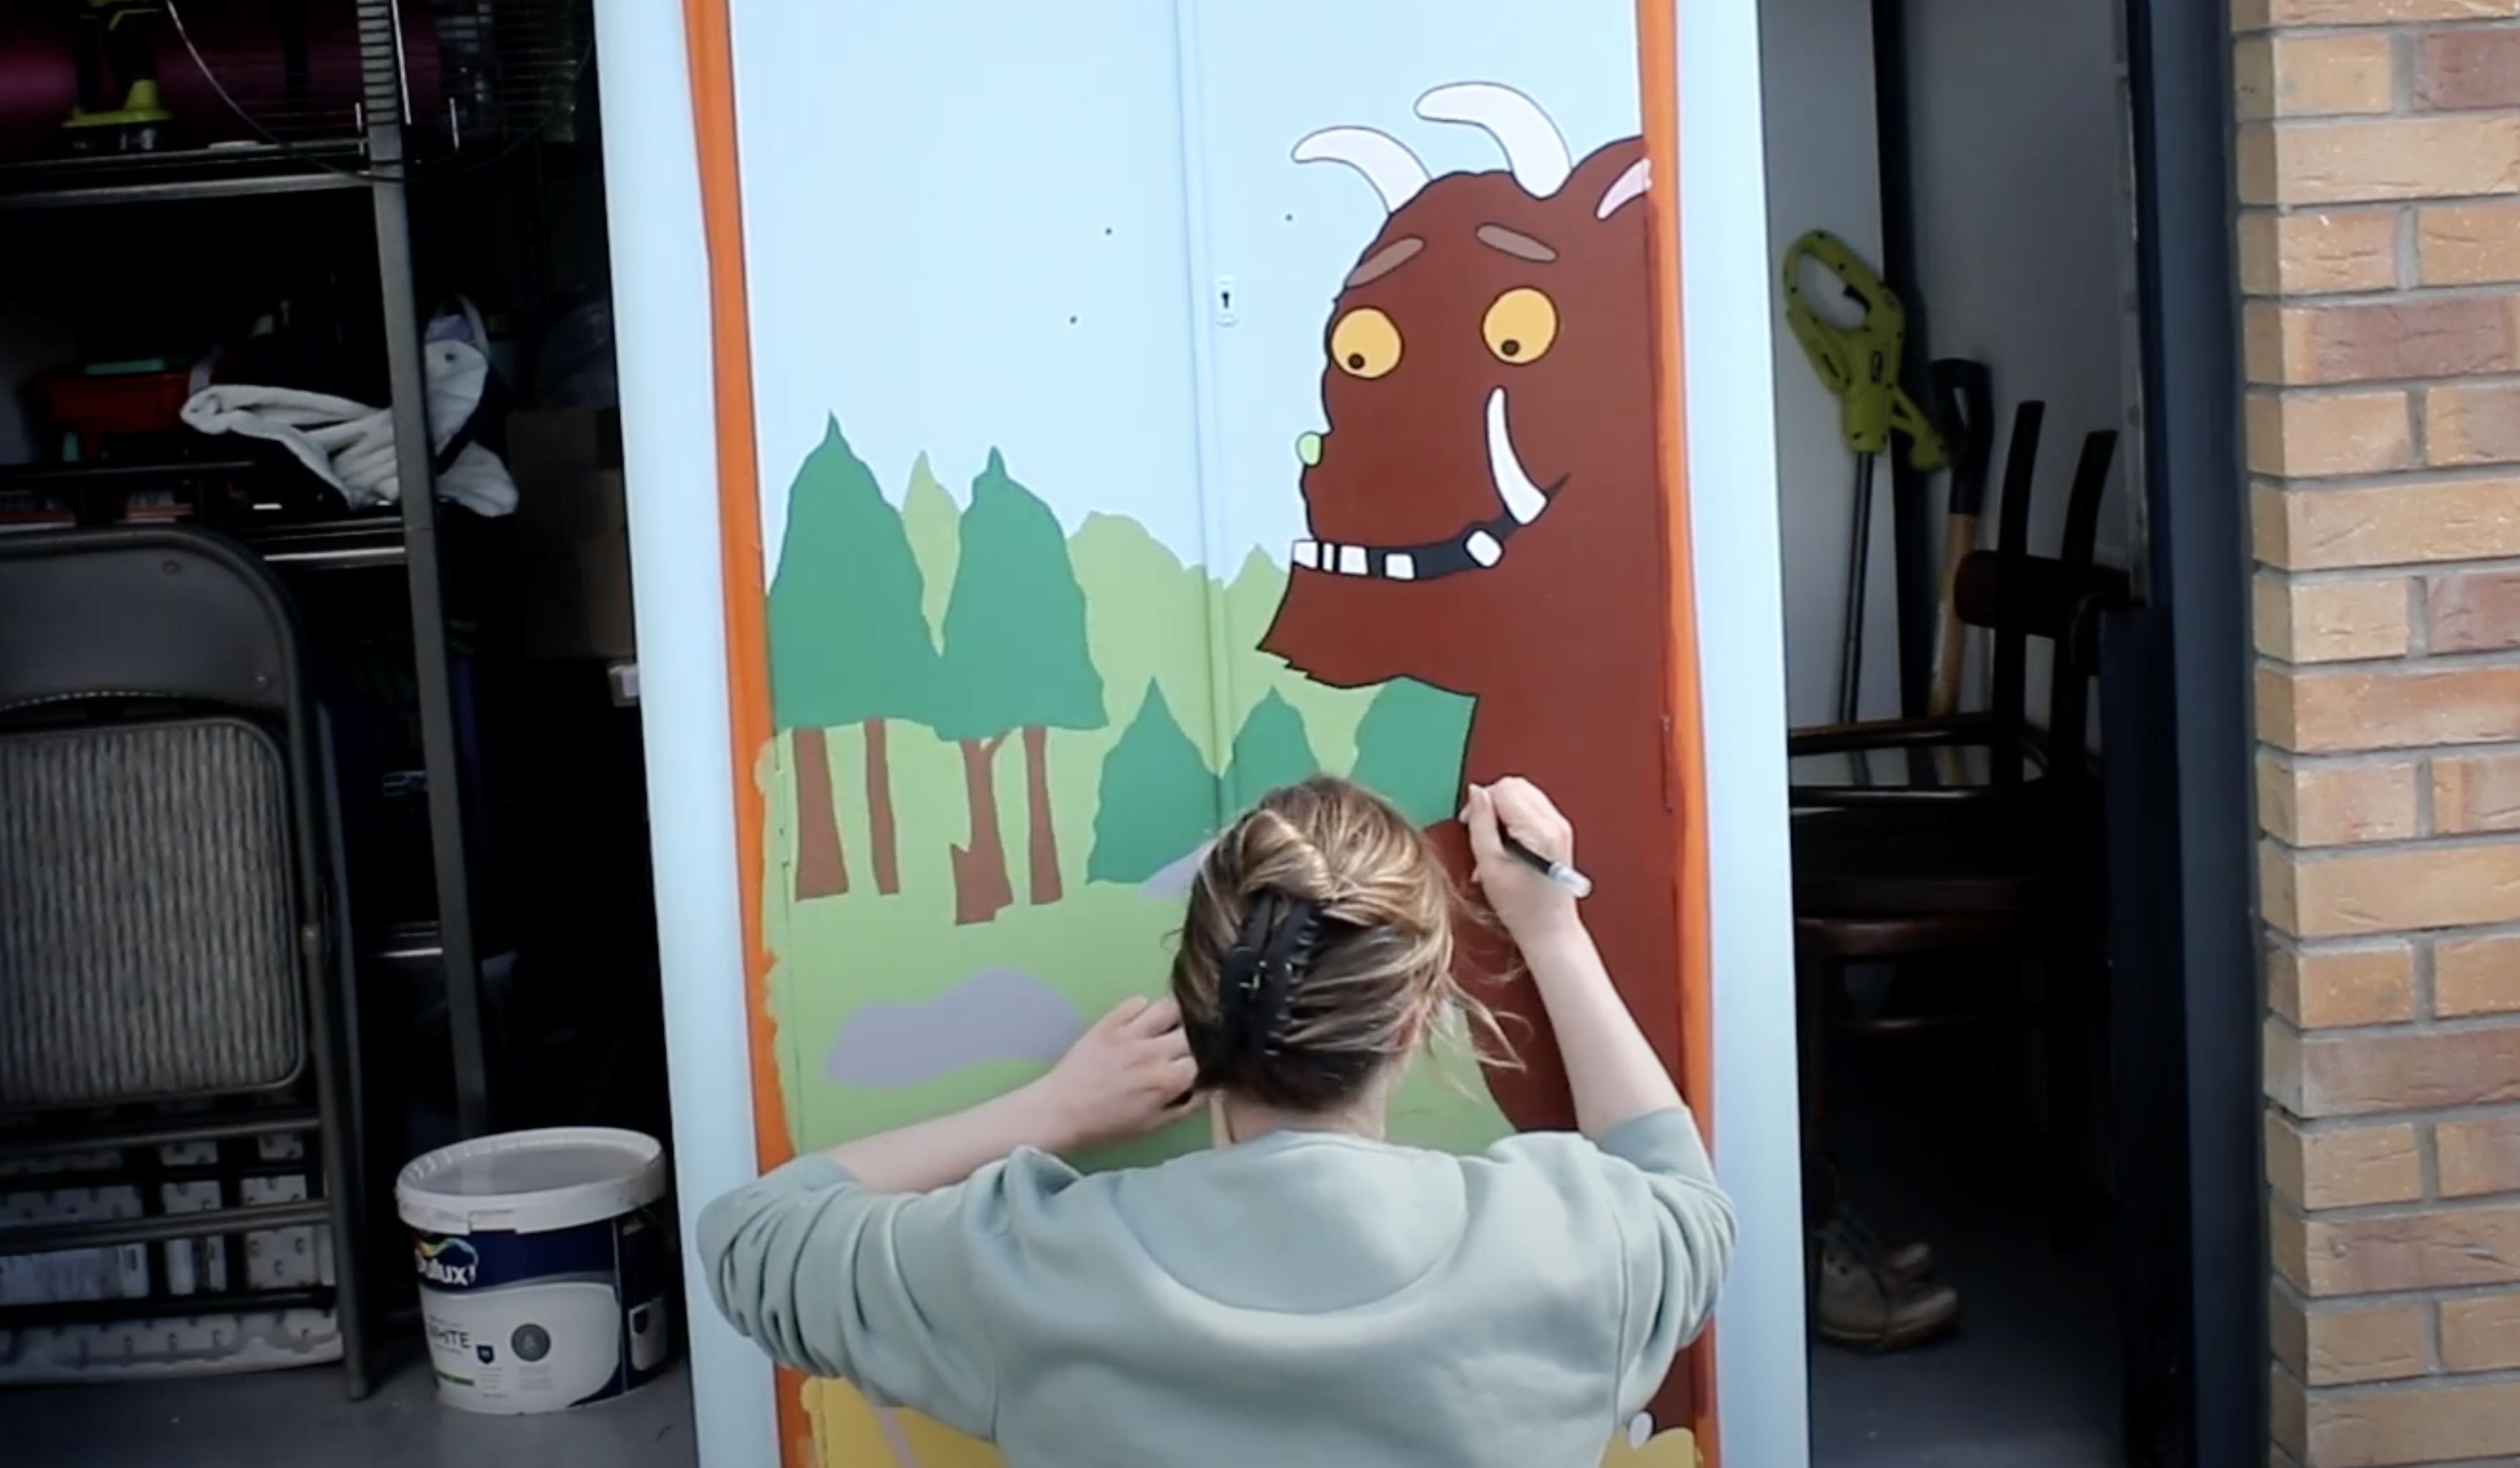
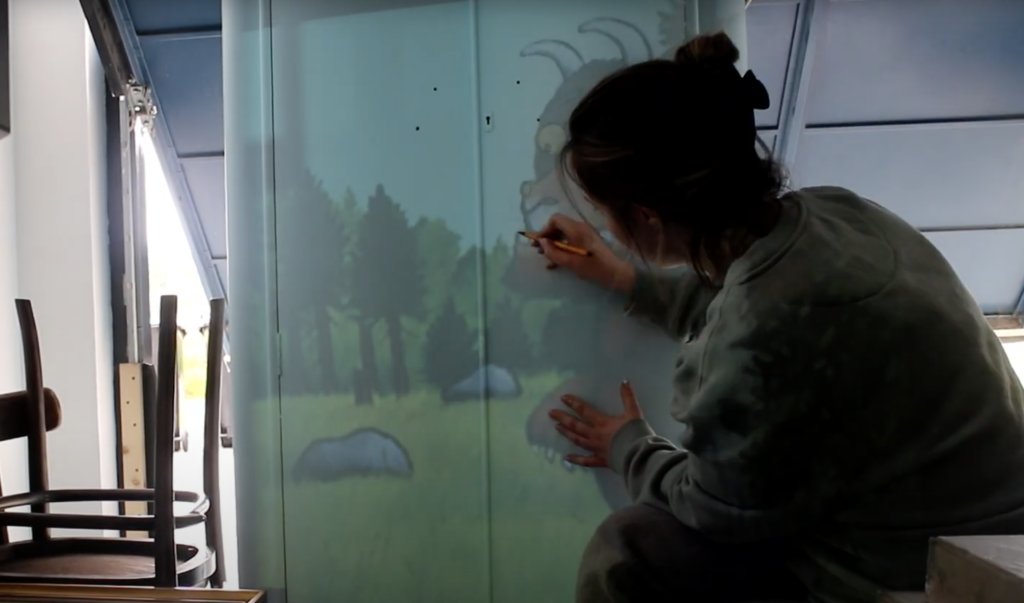
With the base done, it was time to bring the Gruffalo to life. Using a projector, I draw the outlines of everything I wanted to paint. The Gruffalo, the mouse, the background… so I knew where all my block colors were going.
Overcoming Challenges
Living in Scotland, the unpredictable weather with gigantic gray clouds was a constant worry. I had to work quickly to avoid rain ruining the paint. Moving the wardrobe in and out of the garage also added to the complexity. However, once the sky and major elements were done, it was time to start on the fun part – adding the color!
Adding Details
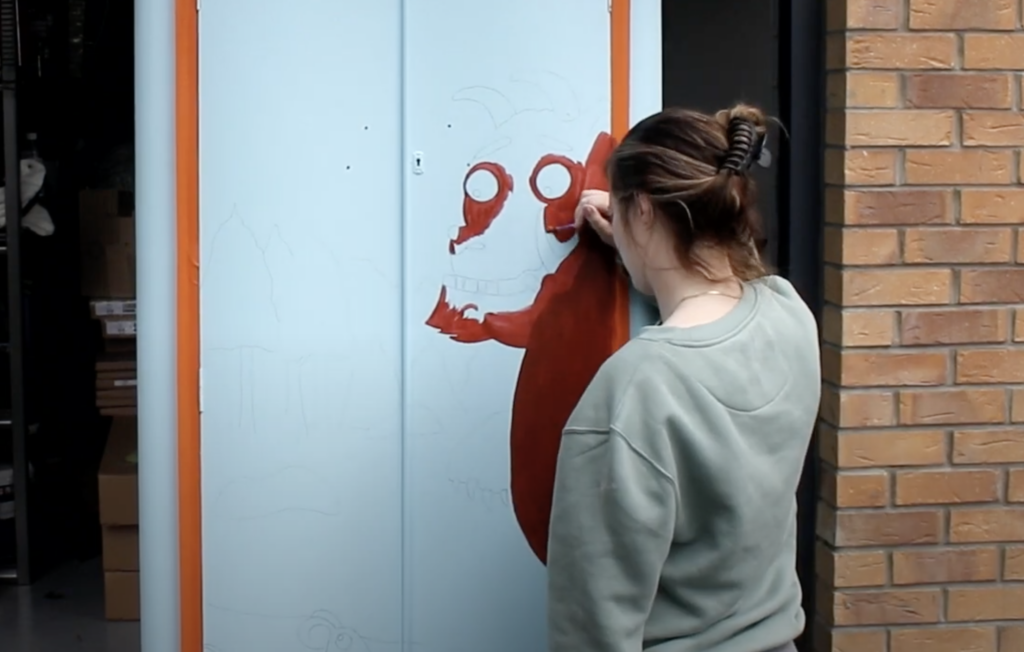
For the colors, I used a variety of sample pots from the Valspar paint counter. The man there thought I was a bit crazy with all the different shades of browns, yellows, and greens I wanted mixed, but it was all for a purpose! I began with the Gruffalo himself, and then the mouse, carefully adding several coats of paint to ensure it wasn't see-through and had a clean, flat look.
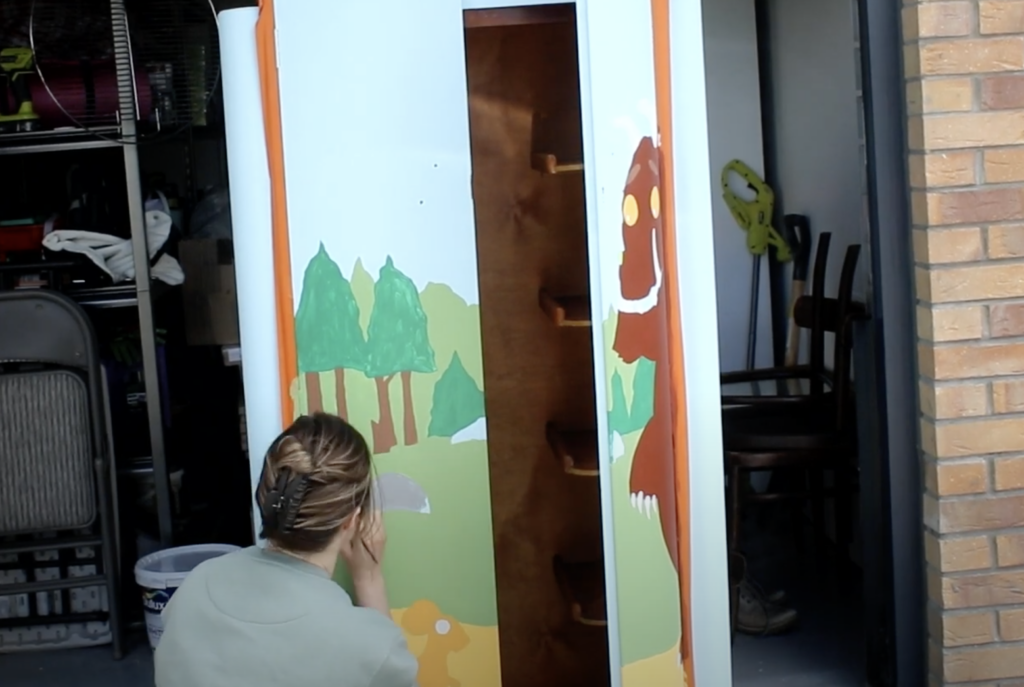
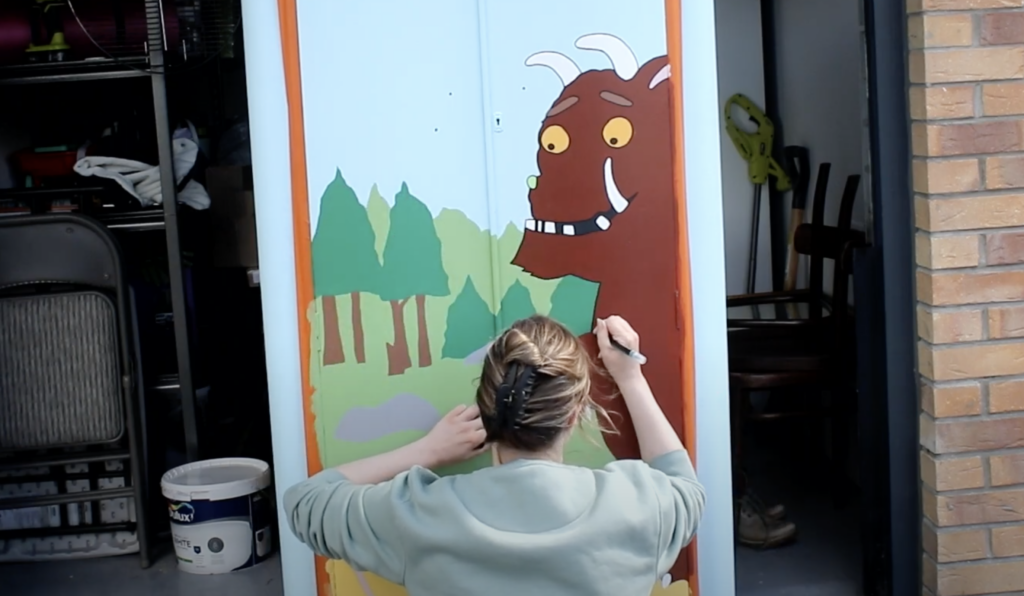
Once everything was painted, I took one of my acrylic marker pens and I outlined everything I had done. This included the Gruffalo's distinct features like his nobly knees, turned-out toes, and the poisonous wart on his nose. This part required a steady hand and a lot of precision, but it truly gave it the cartoon look I was going for.
The Grand Reveal
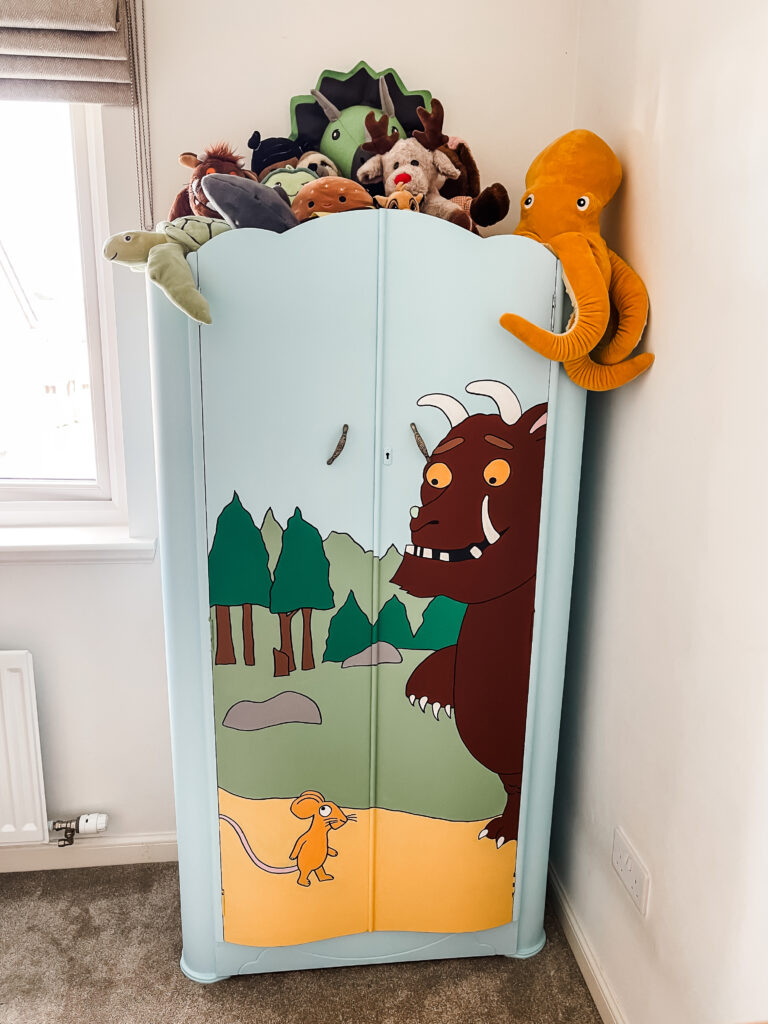
After hours of meticulous painting and outlining, the final moment arrived – taking off the frog tape to reveal the completed mural. I can't express how satisfying it was to see the bold colors and the Gruffalo's character come to life exactly as I had envisioned.
Why the Gruffalo?
The Gruffalo is not just any character; it's from one of Scotland’s most beloved children's books. The story, with its clever mouse and monstrous Gruffalo, has captured the hearts of children and adults alike. Bringing this story to life on a wardrobe was a way to celebrate this charming tale and create something magical for the kids' room. And of course, my children love the Gruffalo and all of his friends.
Final Thoughts
Transforming this wardrobe into a Gruffalo mural was a journey filled with challenges and triumphs. The final result is absolutely gorgeous, and it’s everything I wanted it to be. The kids are going to love it, and I hope it inspires some creativity in their room.
Stay tuned for more creative transformations and DIY adventures!
