Transforming an Old Wardrobe into a Dream Bedroom Piece
Hey there! I'm Gillian, a single mom of two, and today I'm sharing my journey of transforming an old wardrobe I found on Facebook Marketplace into a dreamy piece for my kids' bedroom. This project was a mix of excitement, creativity, and a few challenges along the way, but the end result was so worth it!
Finding the Perfect Wardrobe
It all started with a casual browse through Facebook Marketplace, where I stumbled upon an old wardrobe that was being given away for free. It was one of those finds that you can't believe at first – a beautiful piece just asking to be painted and loved again. My dream is to give my children their absolute dream bedroom, and this wardrobe seemed like the perfect project to get started.
Preparing the Wardrobe
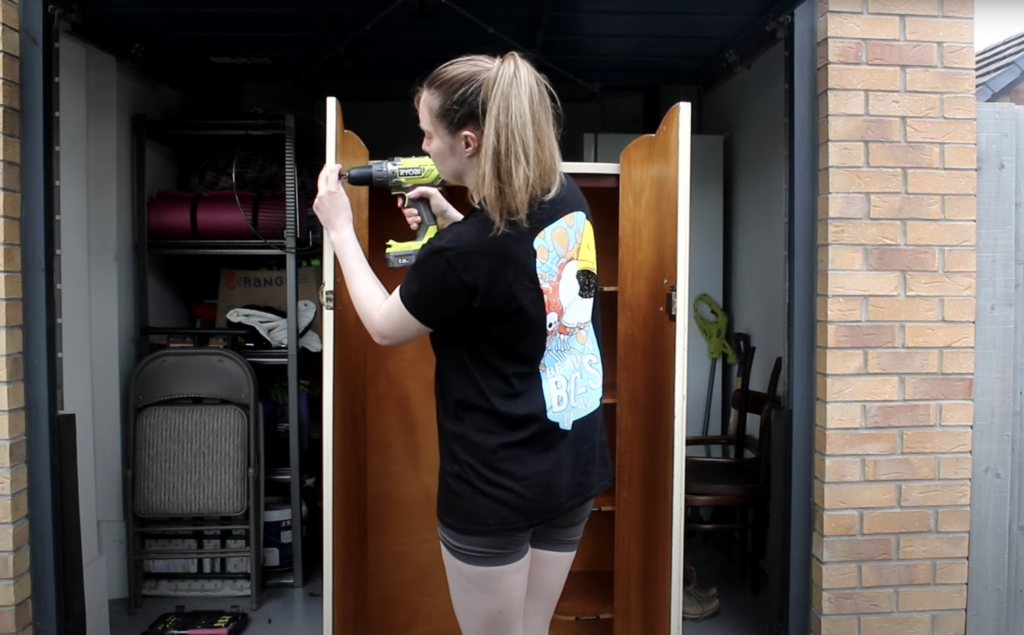
The first step in any makeover is preparation. I began by trying to remove all the hardware from the wardrobe. This wardrobe was quite old, with these little clip things in front of the screws, making the process a bit tricky. I realized quickly that my shorts weren't the best choice for this task, but it was too late to change, so I powered through.
Removing the hardware was harder than I anticipated. I had to switch between screwdrivers multiple times, and at one point, it felt like I was getting nowhere. But persistence pays off! Eventually, I decided to bring out the big guns – my trusty Ryobi power drill. This tool was a game-changer and finally helped me remove the stubborn bits.
The Learning Curve
There were moments of realization and learning throughout this project. For instance, I initially removed some internal components that didn't need to come off. It was a good reminder that sometimes, less is more, and it's okay to leave some parts as they are.
When it came to the latch, I realized that my disregard for health and safety wasn't the best approach. My first injury happened when I stabbed myself in the finger with a power drill. But as they say, no pain, no gain! I powered through and eventually removed the necessary parts without further incident.
Deciding on the Makeover Plan
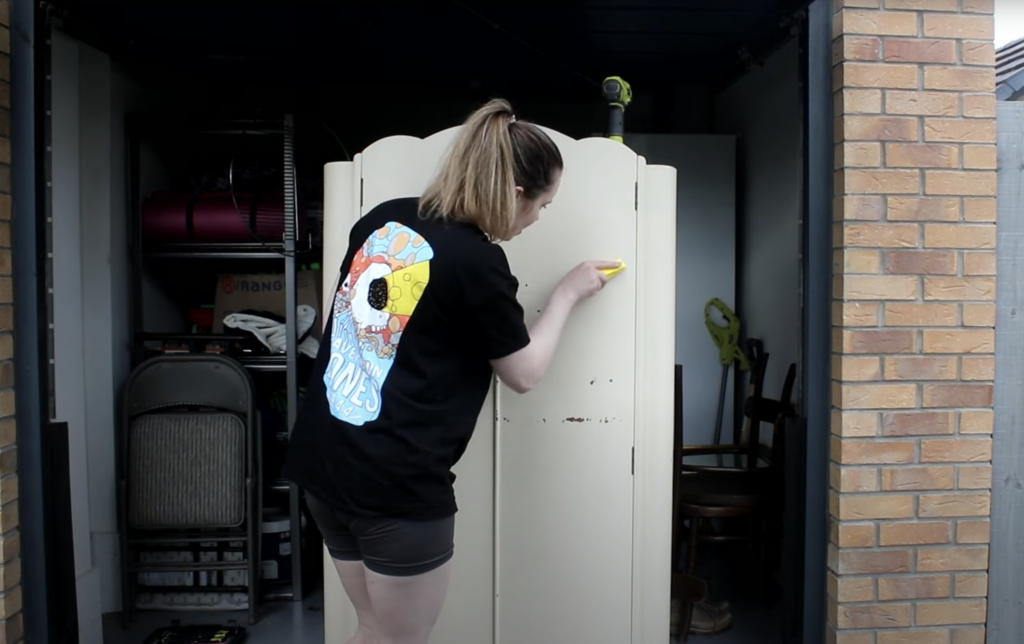
With all the hardware off, it was time to decide what to do with the wardrobe. I had a paint stripper that I was unsure how to use. The bottle instructions mentioned using one liter per square meter, and I quickly realized this wasn't a cost-effective solution for the entire wardrobe. So, I decided to sand down the chipping paint instead.
Sanding was another learning curve. Was it the correct approach? I had no idea. But sometimes, the best way to learn is by doing. I didn't do extensive research, just relied on bits and pieces I had seen on Instagram and dove in.
Painting the Wardrobe
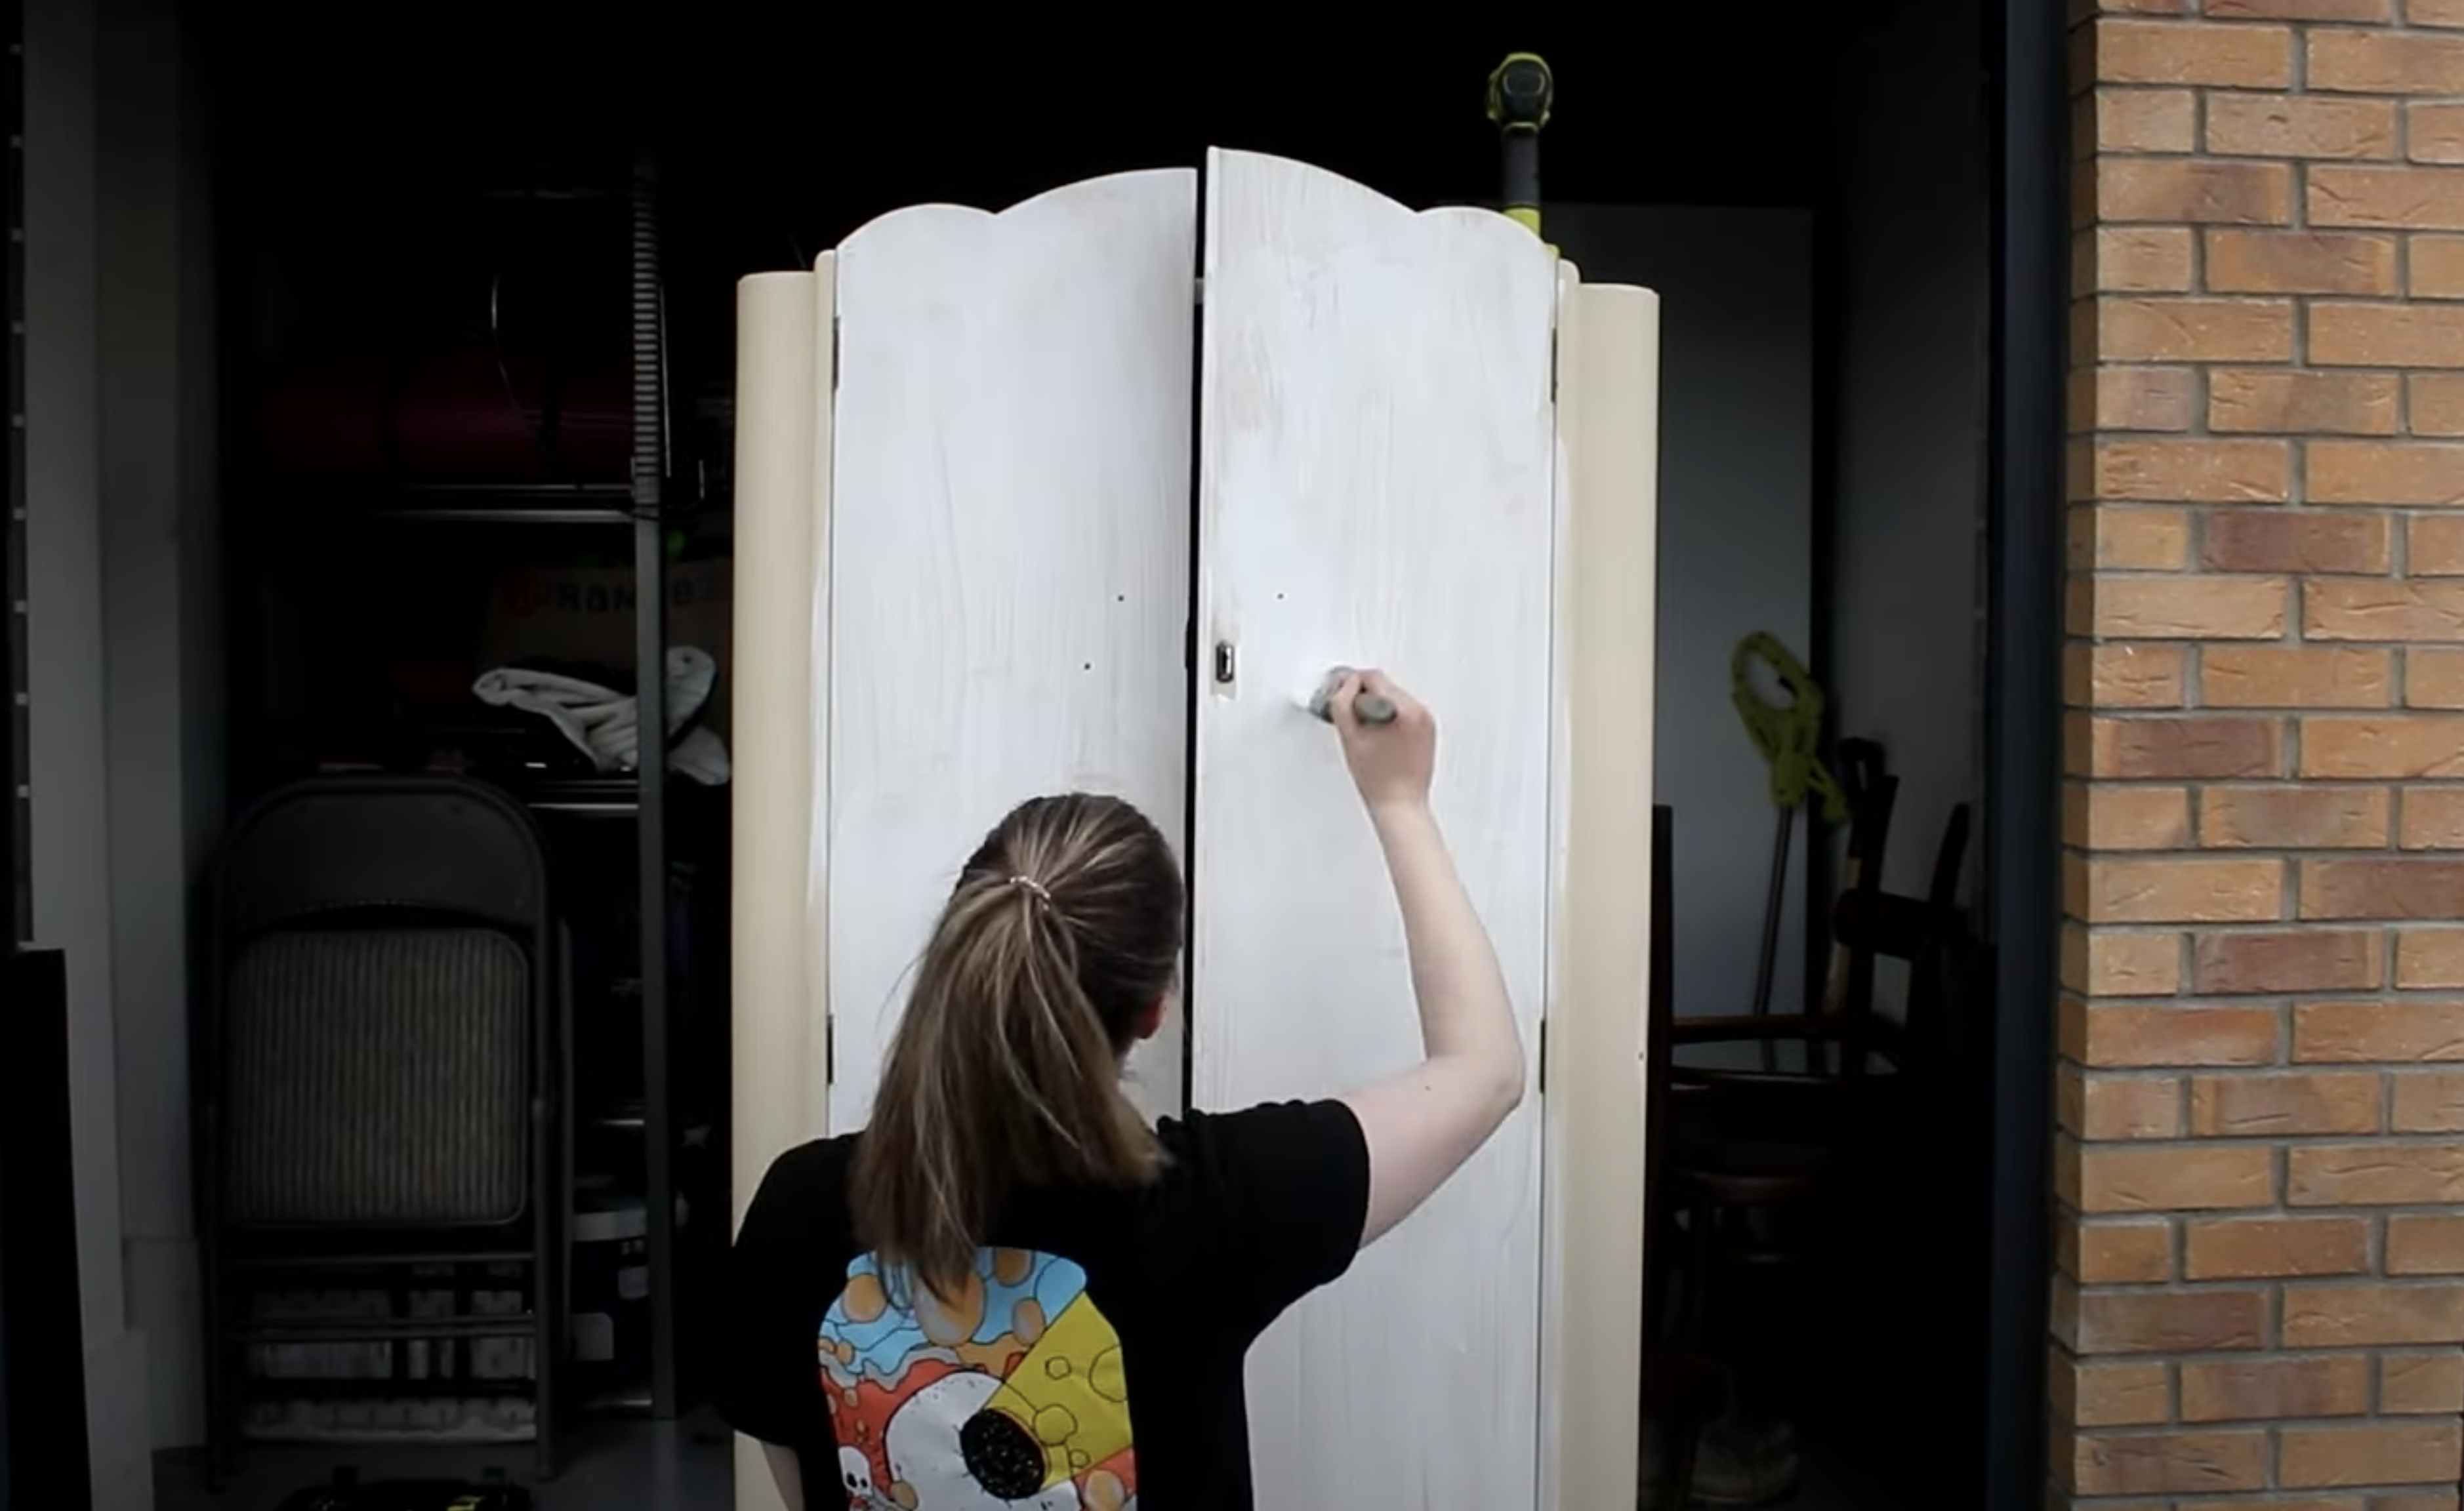
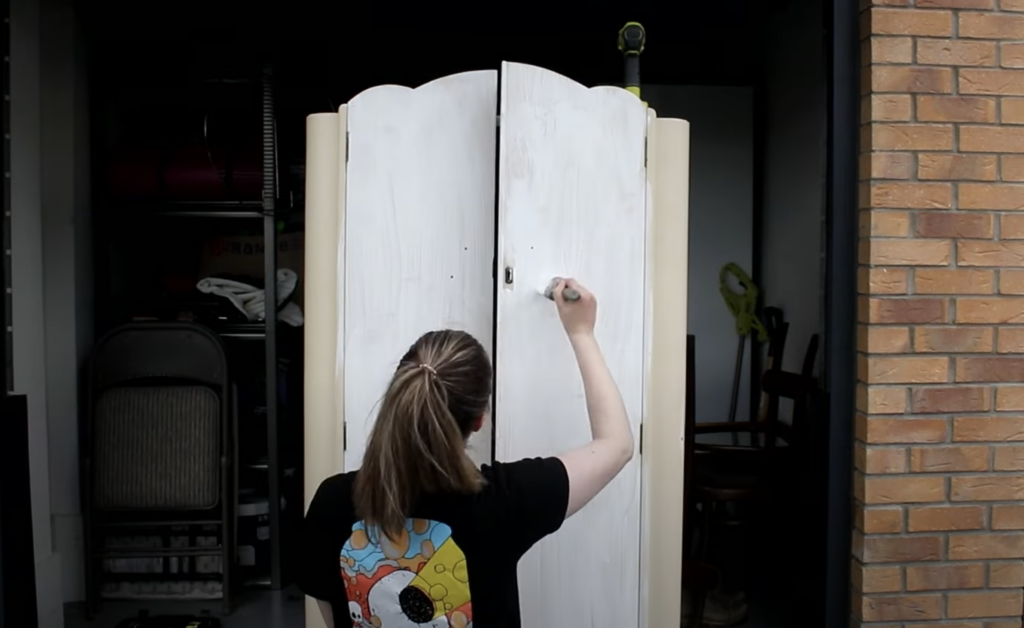
After sanding, the next step was priming. My logic was that if I didn't take all the paint off, a good wood primer and undercoat would do most of the work for me. As I started priming, I realized the wardrobe wasn't white as I initially thought, but rather just dirty. The primer made a huge difference, revealing a fresh, clean surface ready for the next steps.
Once the priming was done, it was time to paint. I chose a nice blue base coat that would look stunning in the kids' room. Painting was a therapeutic process. There’s something incredibly satisfying about watching a piece transform with each stroke of the brush.
The Details That Matter
One of the things I loved most about this wardrobe was its vintage shelves, complete with little metal labels. These small details add so much character and charm to the piece. I made sure to preserve and highlight these features during the makeover.
Final Thoughts
Prepping and priming this old wardrobe was just the beginning of an exciting transformation. The real fun starts next as we bring the Gruffalo mural to life in part two. This journey of creativity and preparation has been incredibly rewarding. If you have an old piece of furniture that needs some love, I encourage you to start with the basics of prepping and priming. You might surprise yourself with what you can achieve!
Thanks for following along with my project. You can checkout the follow up post where we paint a Gruffalo mural. If you try your own wardrobe makeover, I’d love to hear about it. Happy crafting!
Tips for Your Own DIY Wardrobe Makeover
If you’re inspired to try your own wardrobe makeover, here are some tips:
- Start with a Vision: Know what you want to achieve with your piece. Having a clear vision helps guide your choices throughout the project.
- Be Prepared: Gather all the tools you’ll need before starting. This includes screwdrivers, a power drill, sandpaper, paint, primer, and safety gear.
- Patience is Key: DIY projects can be time-consuming and sometimes frustrating. Take your time and don’t rush the process.
- Embrace Mistakes: Mistakes are part of the learning process. Don’t be afraid to experiment and learn from any mishaps along the way.
- Add Personal Touches: Personalize your project with unique touches that reflect your style and personality. This could be a mural, special hardware, or vintage elements.
