I'm Gillian, a Scotland based home & lifestyle blogger. Follow along as I navigate this new journey sharing my life from home.


This is a sponsored post written in partnership with Milo’s Tea. All opinions are entirely my own.
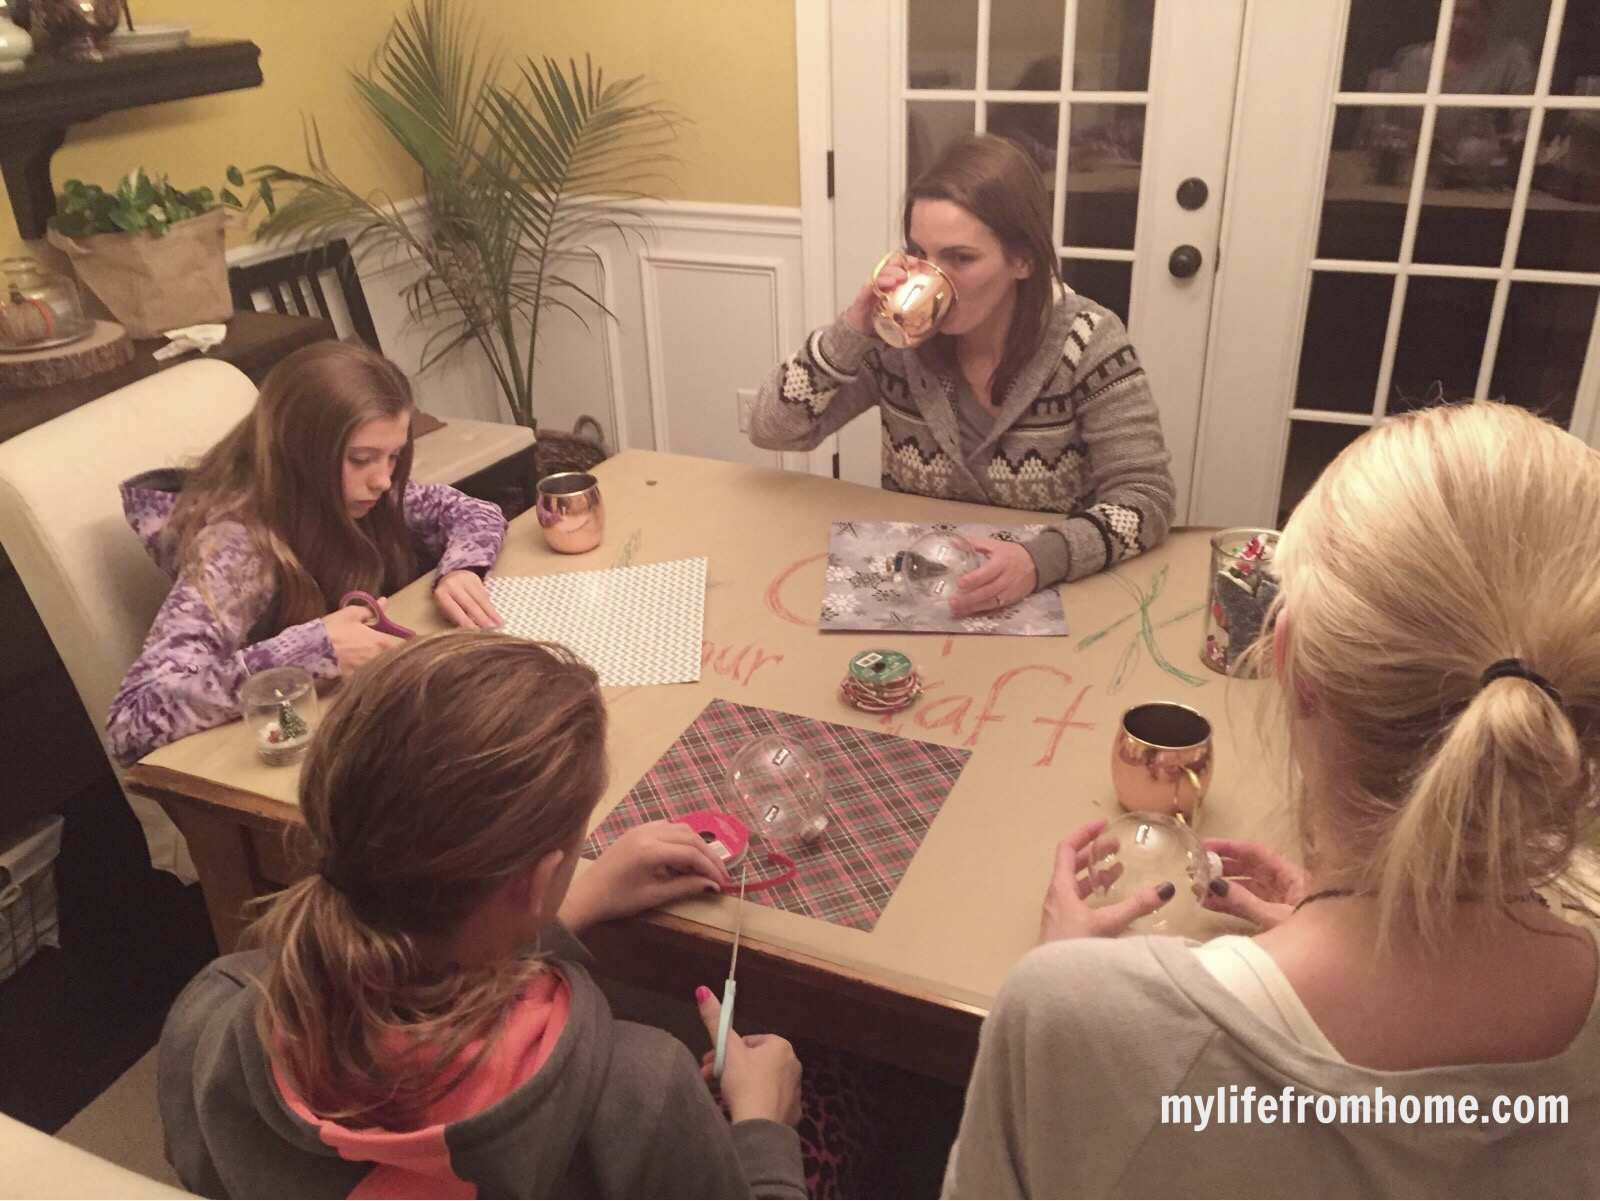
There is a point in December when another formal dinner feels like one commitment too many, yet staying home with friends sounds exactly right. Christmas craft party ideas work beautifully for this part of the season because the entertainment is already built in: everyone gathers around the table, makes something simple and leaves with a decoration that carries a memory with it.
The loveliest craft nights are not ambitious workshops. They are relaxed evenings with one achievable project, a well-organised table, food that can be prepared in advance and a warm drink within easy reach. A few thoughtful details make the gathering feel special without turning the host into an event manager.
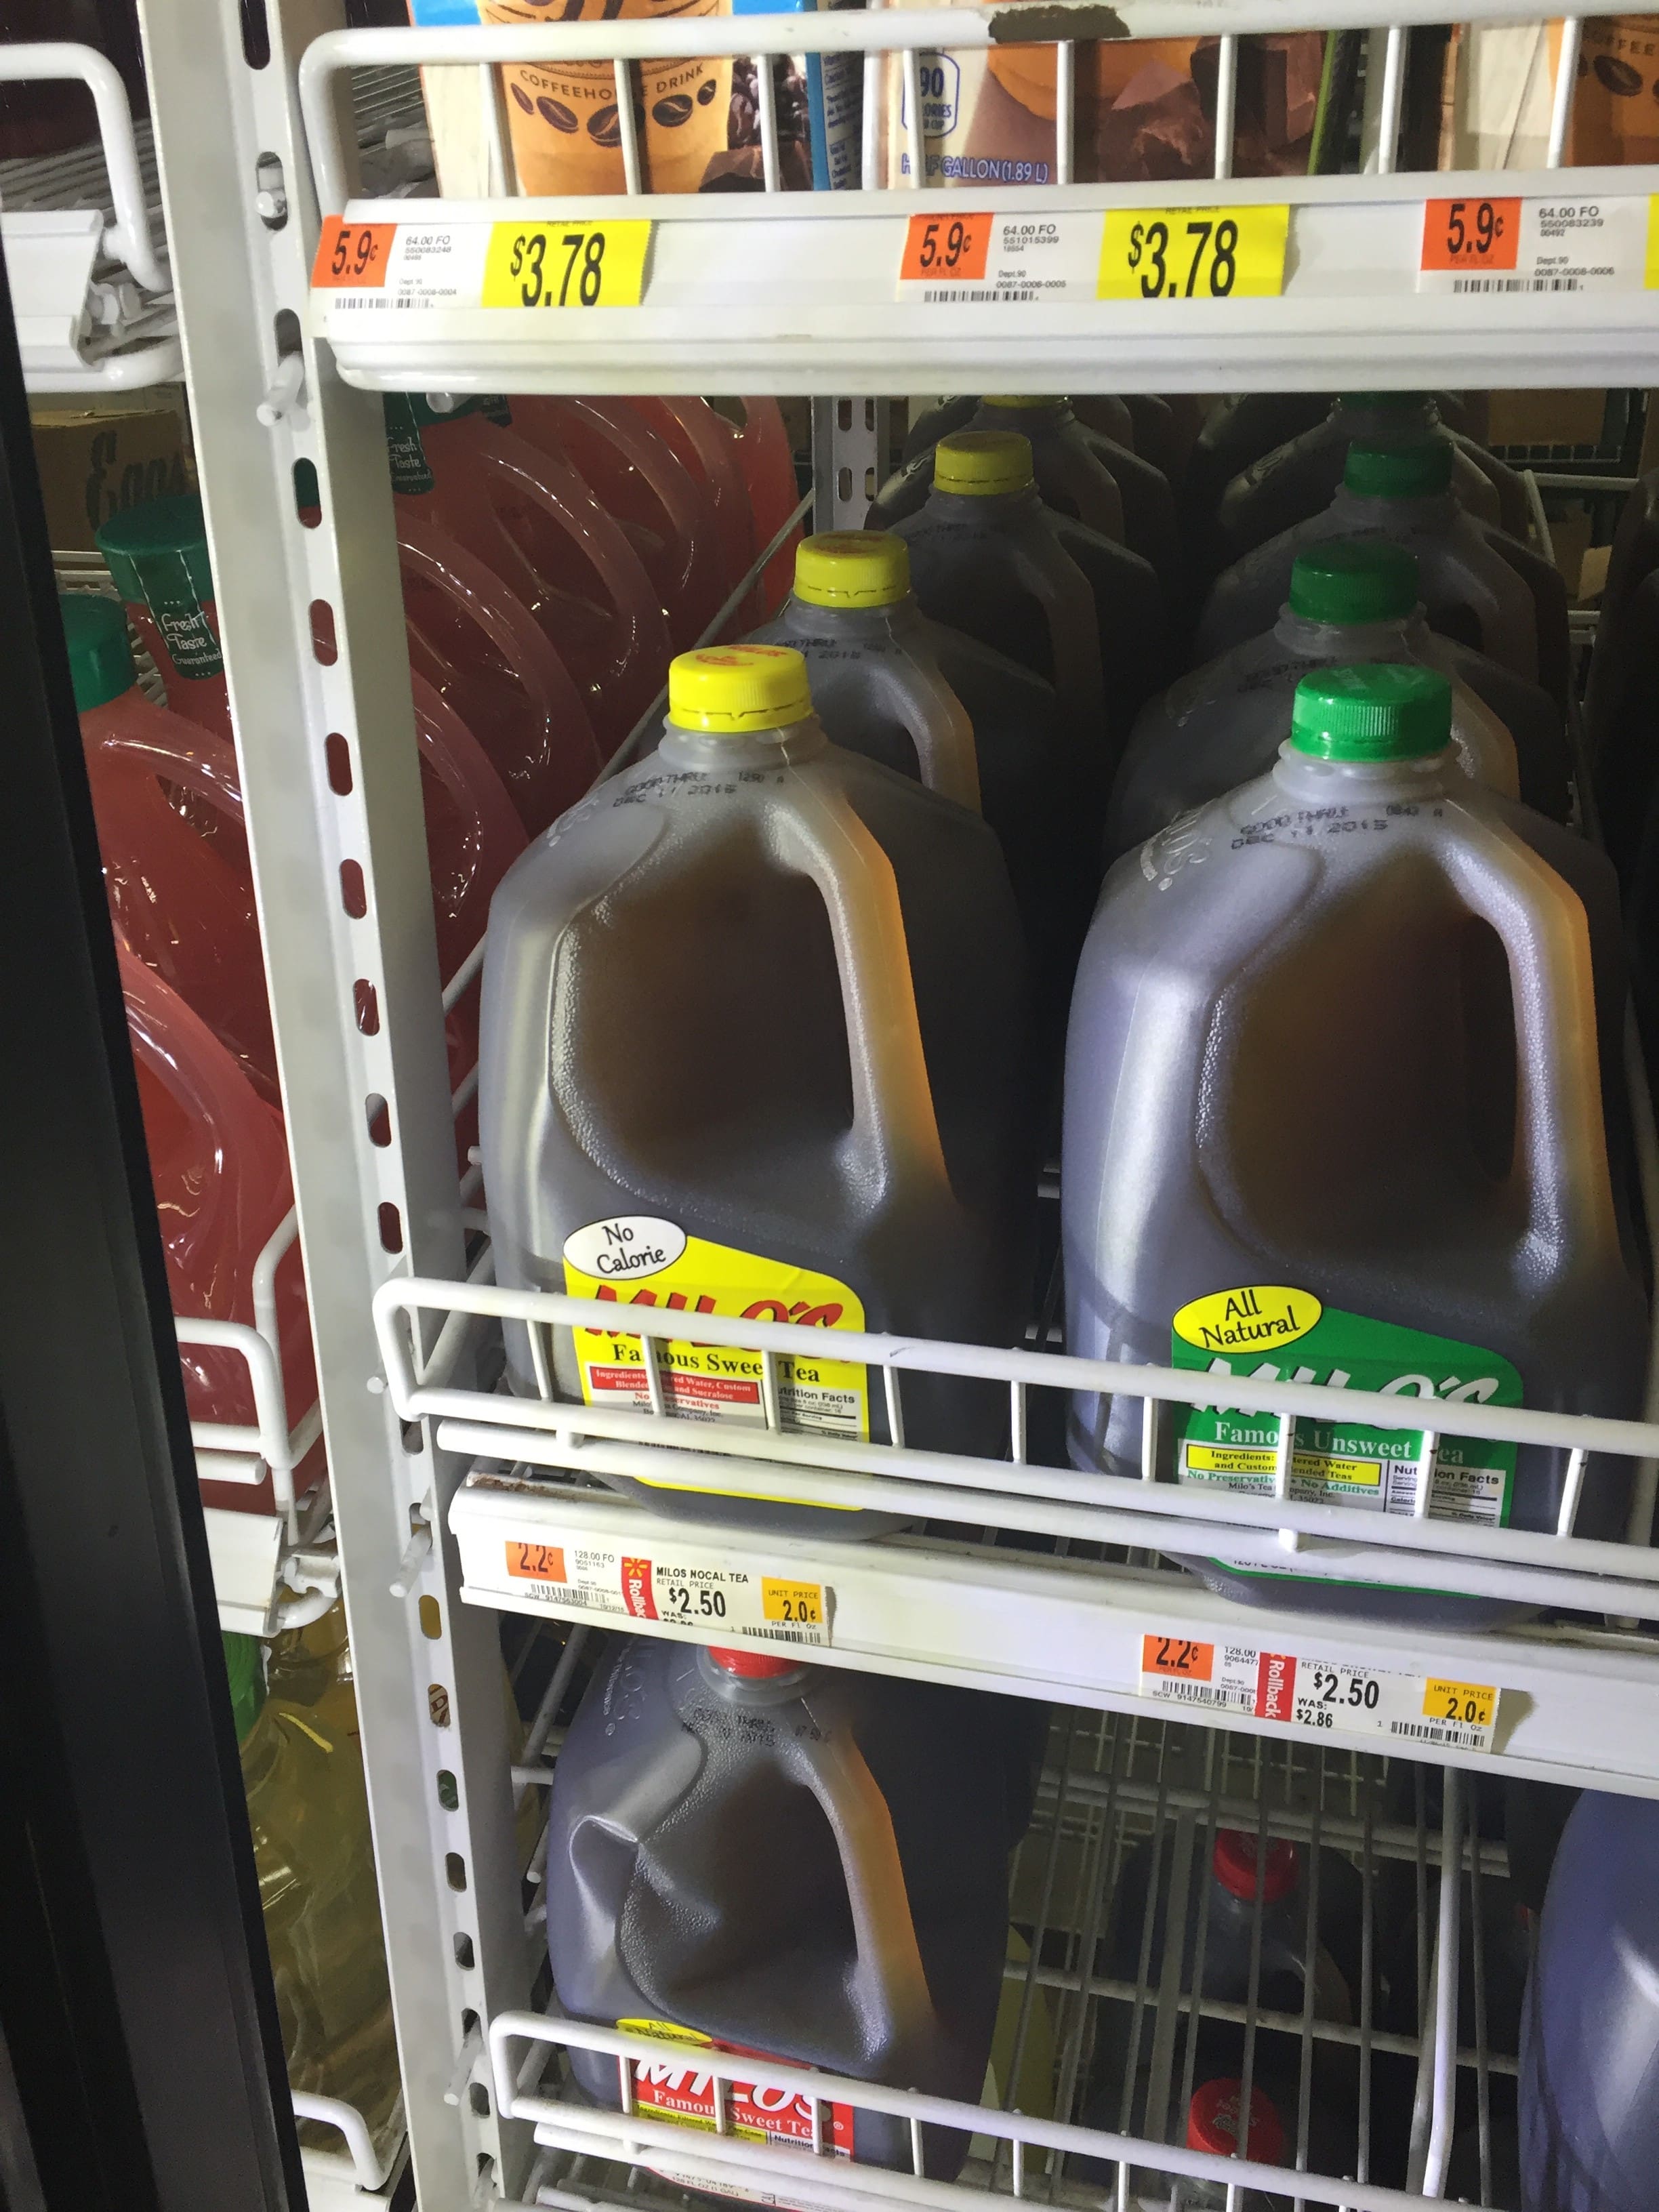
This party originally featured Milo’s Sweet Tea as part of a sponsored campaign. The practical hosting ideas still work with whatever tea, mulled juice or festive drink is easy to find where you live, so the evening can be recreated without relying on a particular product.
Why You’ll Love These Christmas Craft Party Ideas
- The activity gives the evening a natural focus. There is no awkward gap while everyone waits for dinner or wonders what happens next.
- It is relaxed but still feels considered. A prepared craft table and one good drink create an occasion without requiring formal entertaining.
- Guests leave with something meaningful. A handmade ornament or set of gift tags is far more personal than a conventional party favour.
- Most of the work can happen beforehand. Arrange the supplies and food before anyone arrives, then sit down and enjoy the evening too.
- The budget is easy to control. Choose one project and a limited palette rather than buying every festive craft supply in sight.
- It works for friends, families or children. The materials can be adapted while the basic party structure stays exactly the same.

Choose One Main Christmas Craft
The project decides almost everything else, from the guest list to the amount of table space you need. Choose something a complete beginner can finish in about an hour. Clear fillable baubles, painted wooden ornaments, decorated gift tags or simple paper garlands all work because they allow creativity without demanding specialist skill.
Make one example before the party. This reveals whether the glue takes longer to dry than expected, whether the ribbon fits through the ornament and whether a supposedly simple project actually needs three tools you have not bought. The sample also gives guests a visual starting point without implying that every finished piece should look the same.
Offer two or three colour directions rather than an unlimited pile of materials. Red, cream and natural wood feels traditional; forest green, gold and velvet feels richer; soft pink, silver and white creates a lighter look. A restrained palette helps mismatched supplies feel intentional and makes the table itself part of the decoration.
Keep the Guest List Comfortable
A craft party needs more space per person than an ordinary dinner. Six guests around a dining table is often more comfortable than eight because each person needs an area for the project, tools and a drink. If you are hosting a larger group, use a second table or create small duplicate supply stations so nobody spends the evening reaching across wet paint.
Send the invitation two or three weeks beforehand and describe the project clearly. Tell guests whether food will be served, whether children are invited and roughly when the evening will finish. There is no need to ask everyone to bring supplies unless doing so is part of the plan; a fully prepared table is one of the details that makes the gathering feel generous.
Christmas Craft Party Supplies
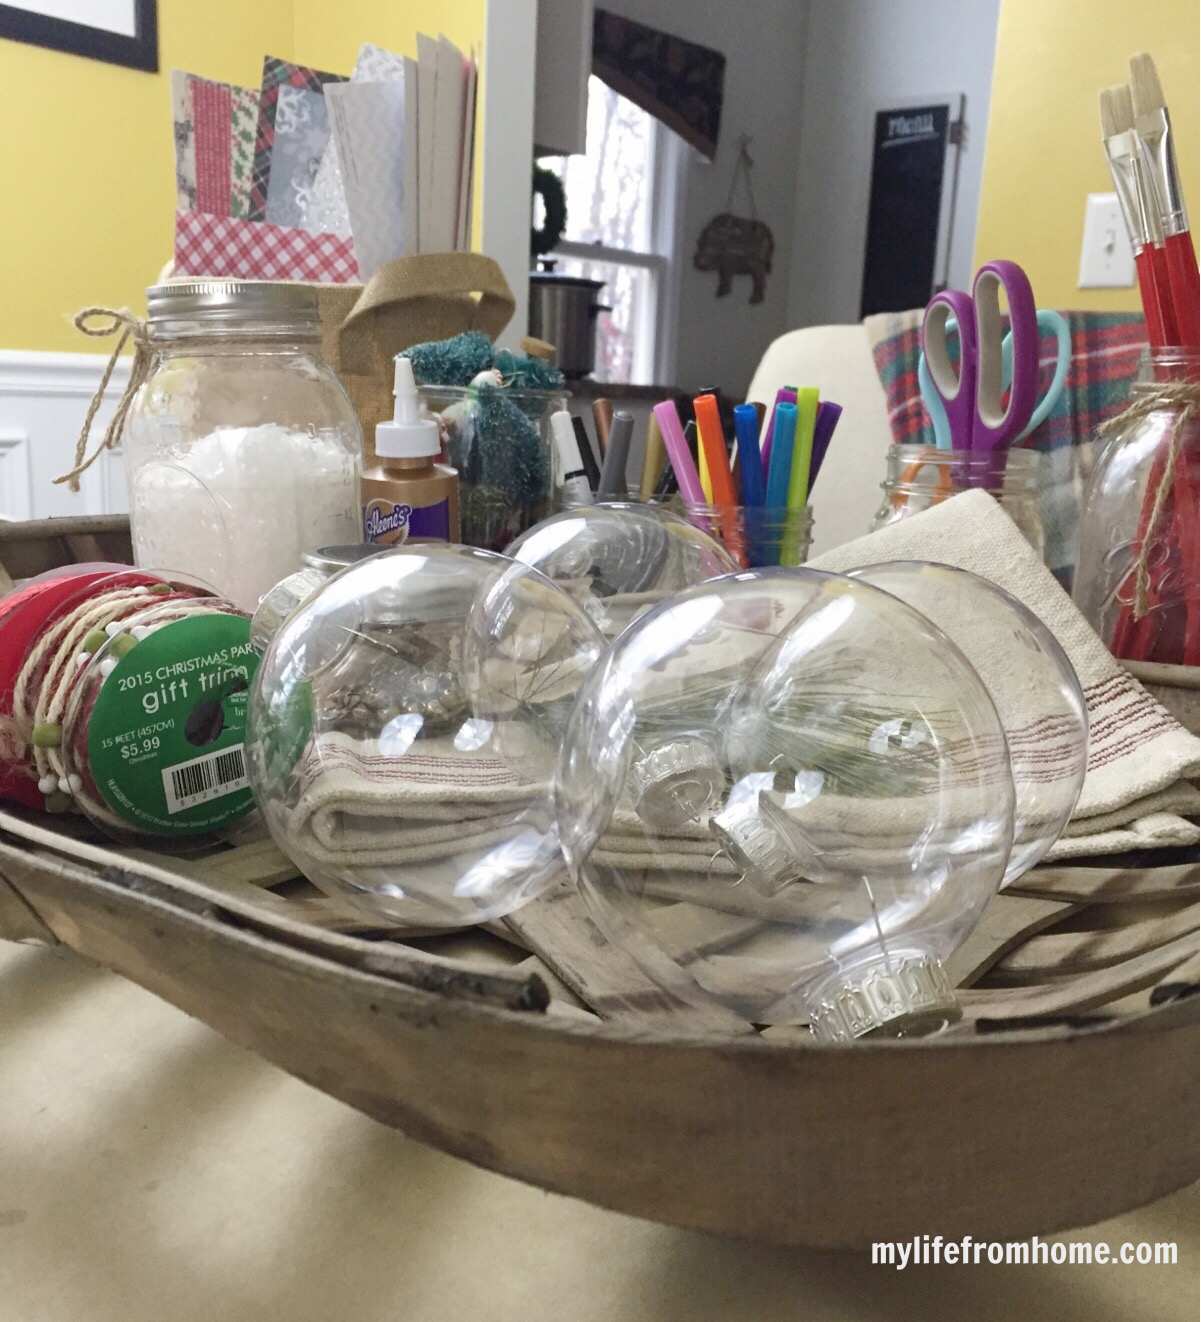
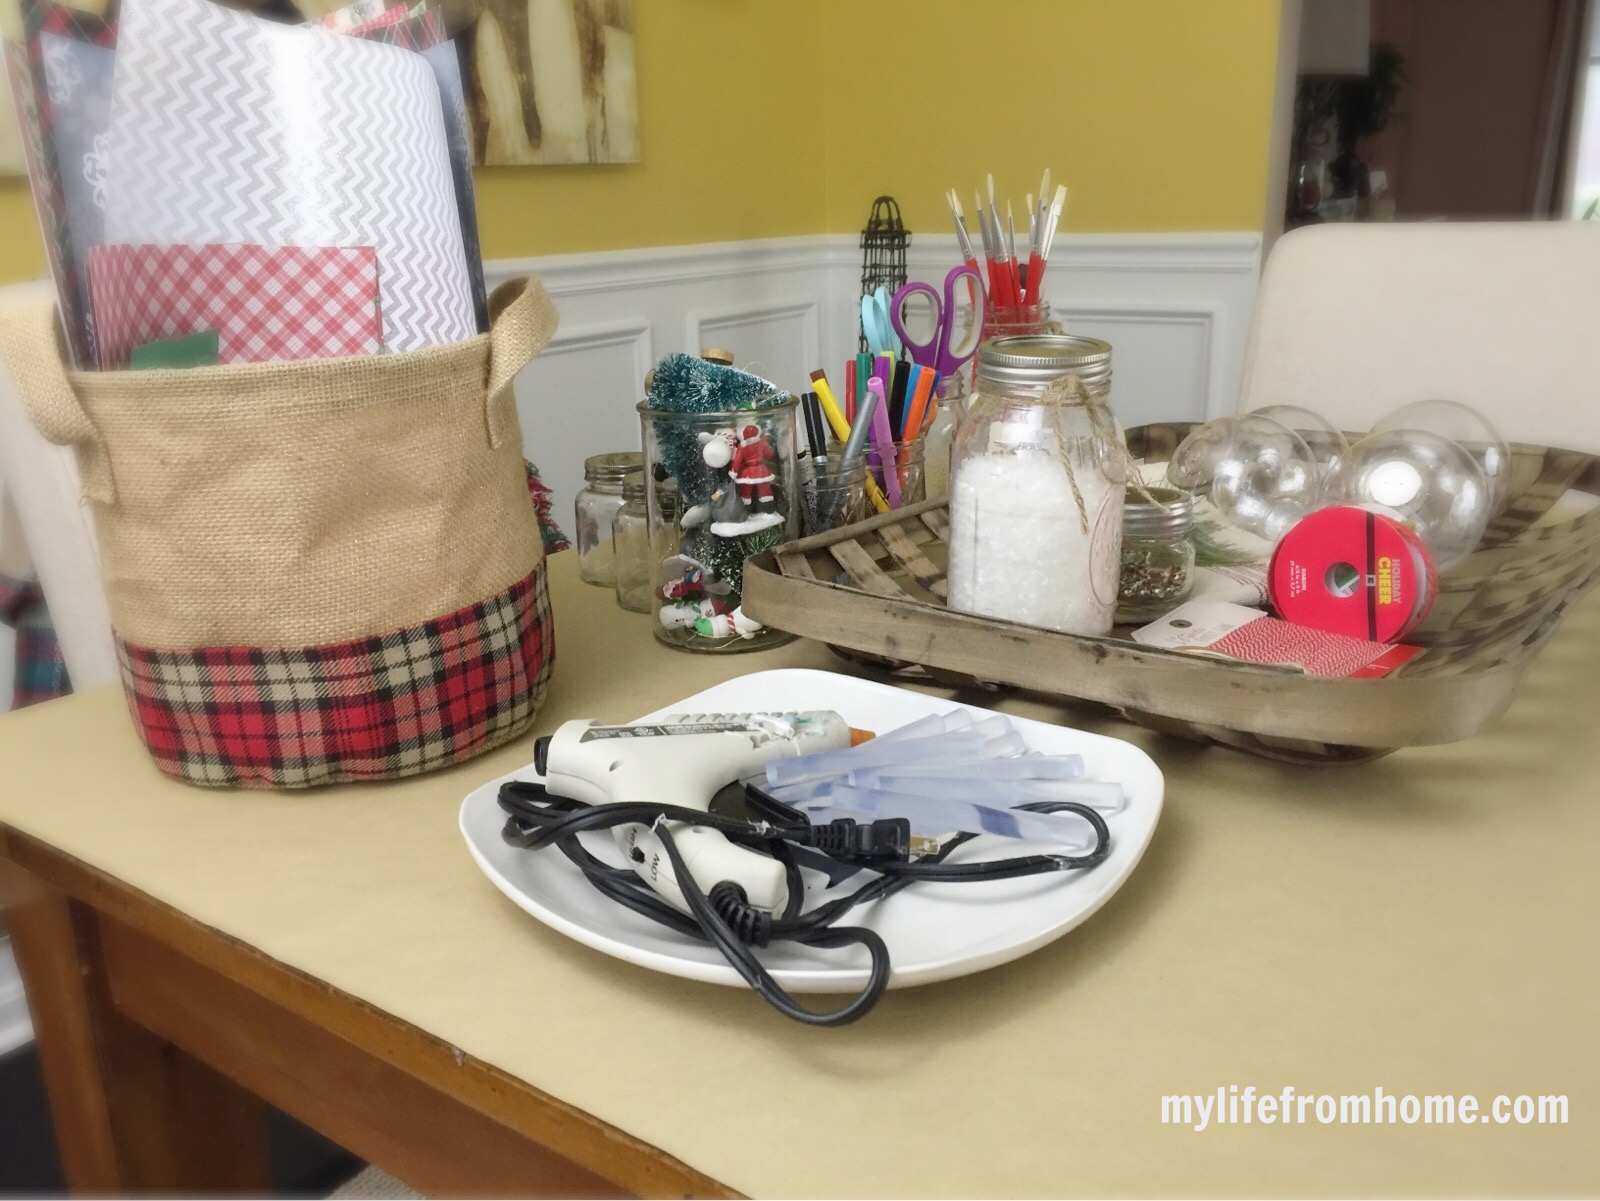
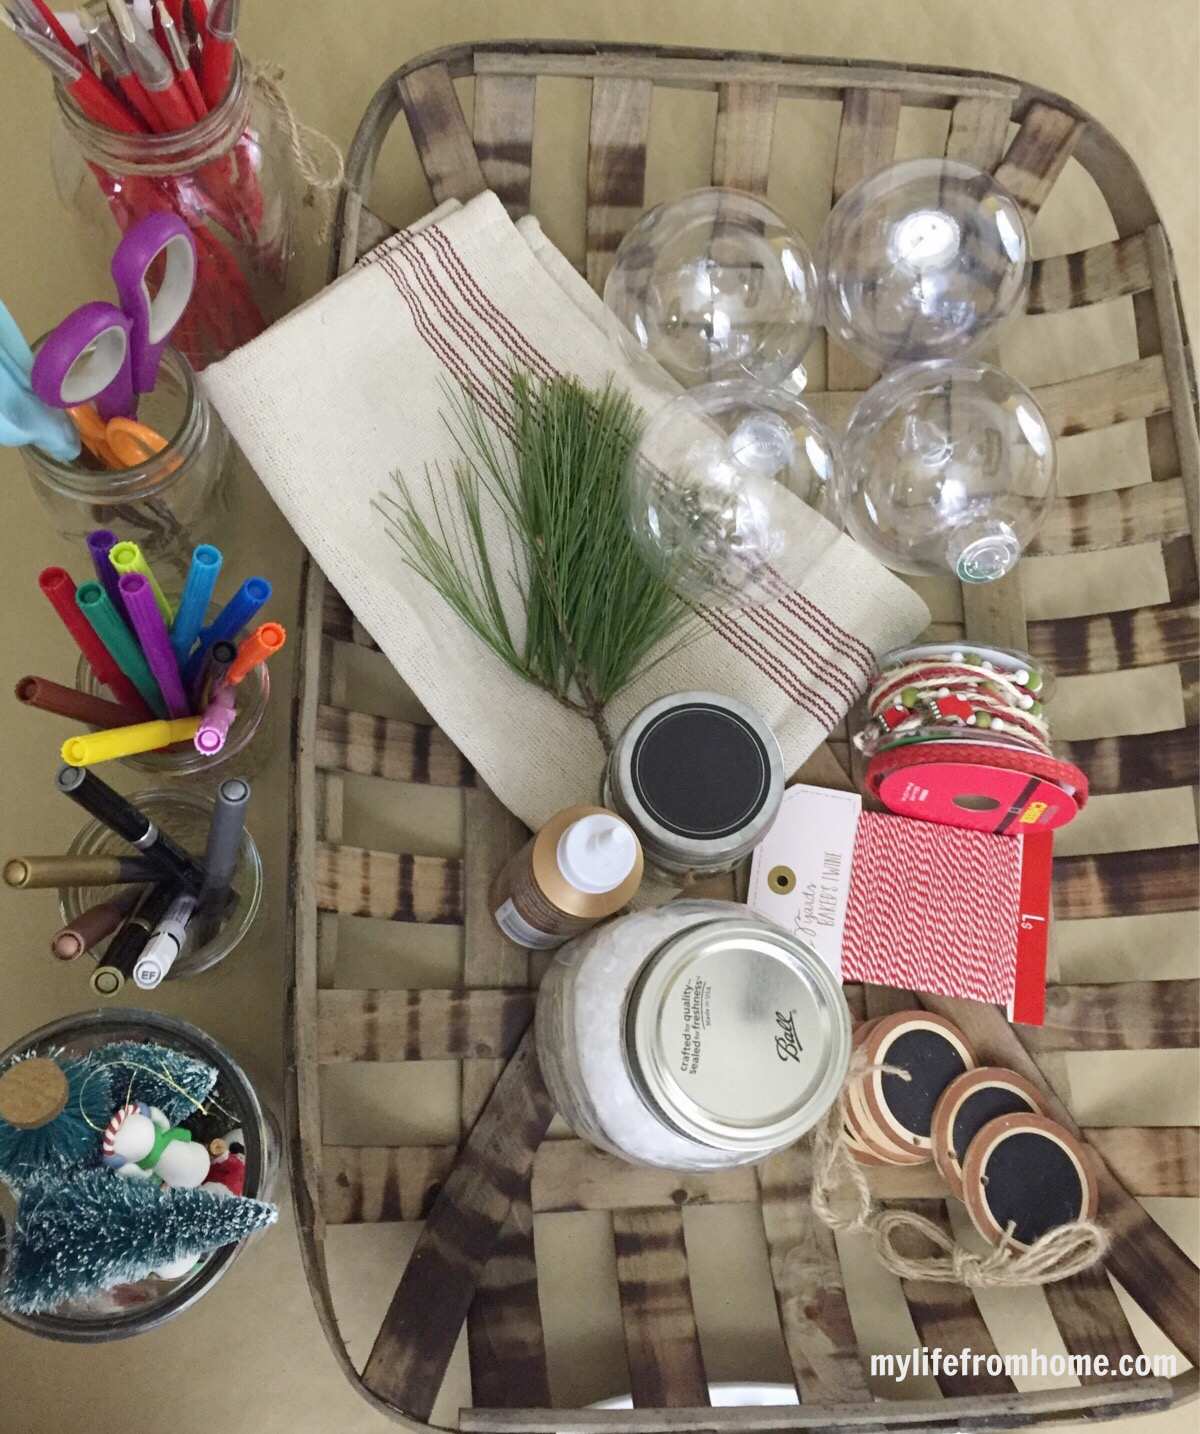
Set out only what the chosen project genuinely needs, then keep refills in a nearby box. Too many materials can make a table look chaotic before the party has even begun.
- Blank wooden, card or fillable ornaments
- Paint pens, coloured pencils or washable markers
- Small paintbrushes and water jars where required
- Strong craft glue and double-sided tape
- Scissors, hole punches and rulers
- Ribbon, twine and a small selection of embellishments
- Aprons or old shirts for messy projects
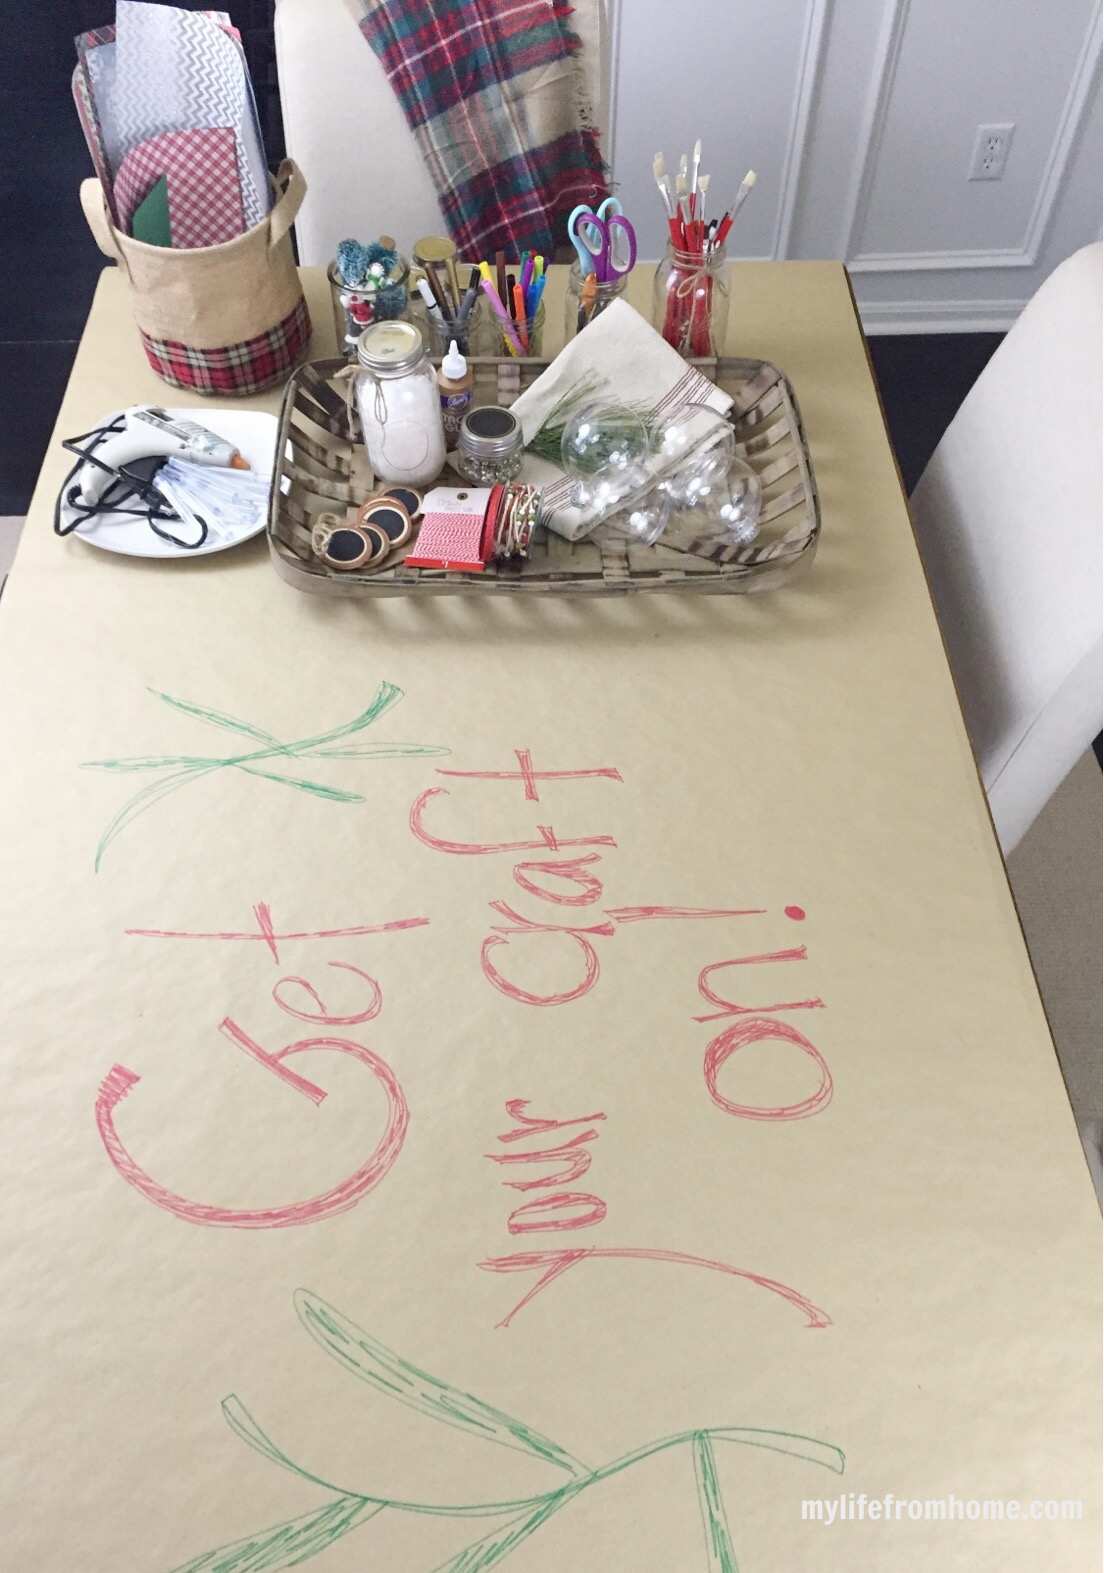
- Kraft paper or wipe-clean tablecloths
- Small jars, ramekins or trays for organising supplies
- Labels, tissue and bags or boxes for finished crafts
A hot glue station can be useful, but place it on a heat-resistant mat at the end of the table rather than passing a plugged-in gun between guests. Keep it away from drinks and trailing ribbon, and make one adult responsible for it if children are present.
Set Up the Craft Table Properly
Protect the whole surface before styling anything. Tape kraft paper beneath the table edge so it cannot slide, then give every guest a defined workspace using a placemat, tray or large sheet of card. Put shared tools in low containers down the centre and repeat essentials such as scissors at both ends.
Keep finished pieces away from the active work area. A cooling rack works for painted wooden ornaments, while a branch arranged in a heavy vase gives baubles somewhere to hang and dry. Add a small name label immediately so nobody has to identify six nearly identical ornaments at the end of the evening.
Serve Food That Stays Away From the Glue
Food should be easy to prepare and, crucially, kept on a separate table. Serve something savoury when guests arrive so nobody is trying to eat with paint or glue on their hands. Sausage rolls, small sandwiches, a restrained grazing board or mugs of soup all feel generous without requiring a seated meal.
Bring out traybakes, biscuits or chocolates during a natural break while the first layer of paint dries. Make-ahead snacks can be portioned into glass storage containers, then transferred to serving plates shortly before guests arrive. This keeps preparation contained and the craft table completely clear of food.
Choose snacks that do not leave greasy fingers or loose sugar over the materials. Napkins and hand wipes are worth placing beside the food rather than relying on guests to find the kitchen sink between stages.
Offer One Warm Festive Drink
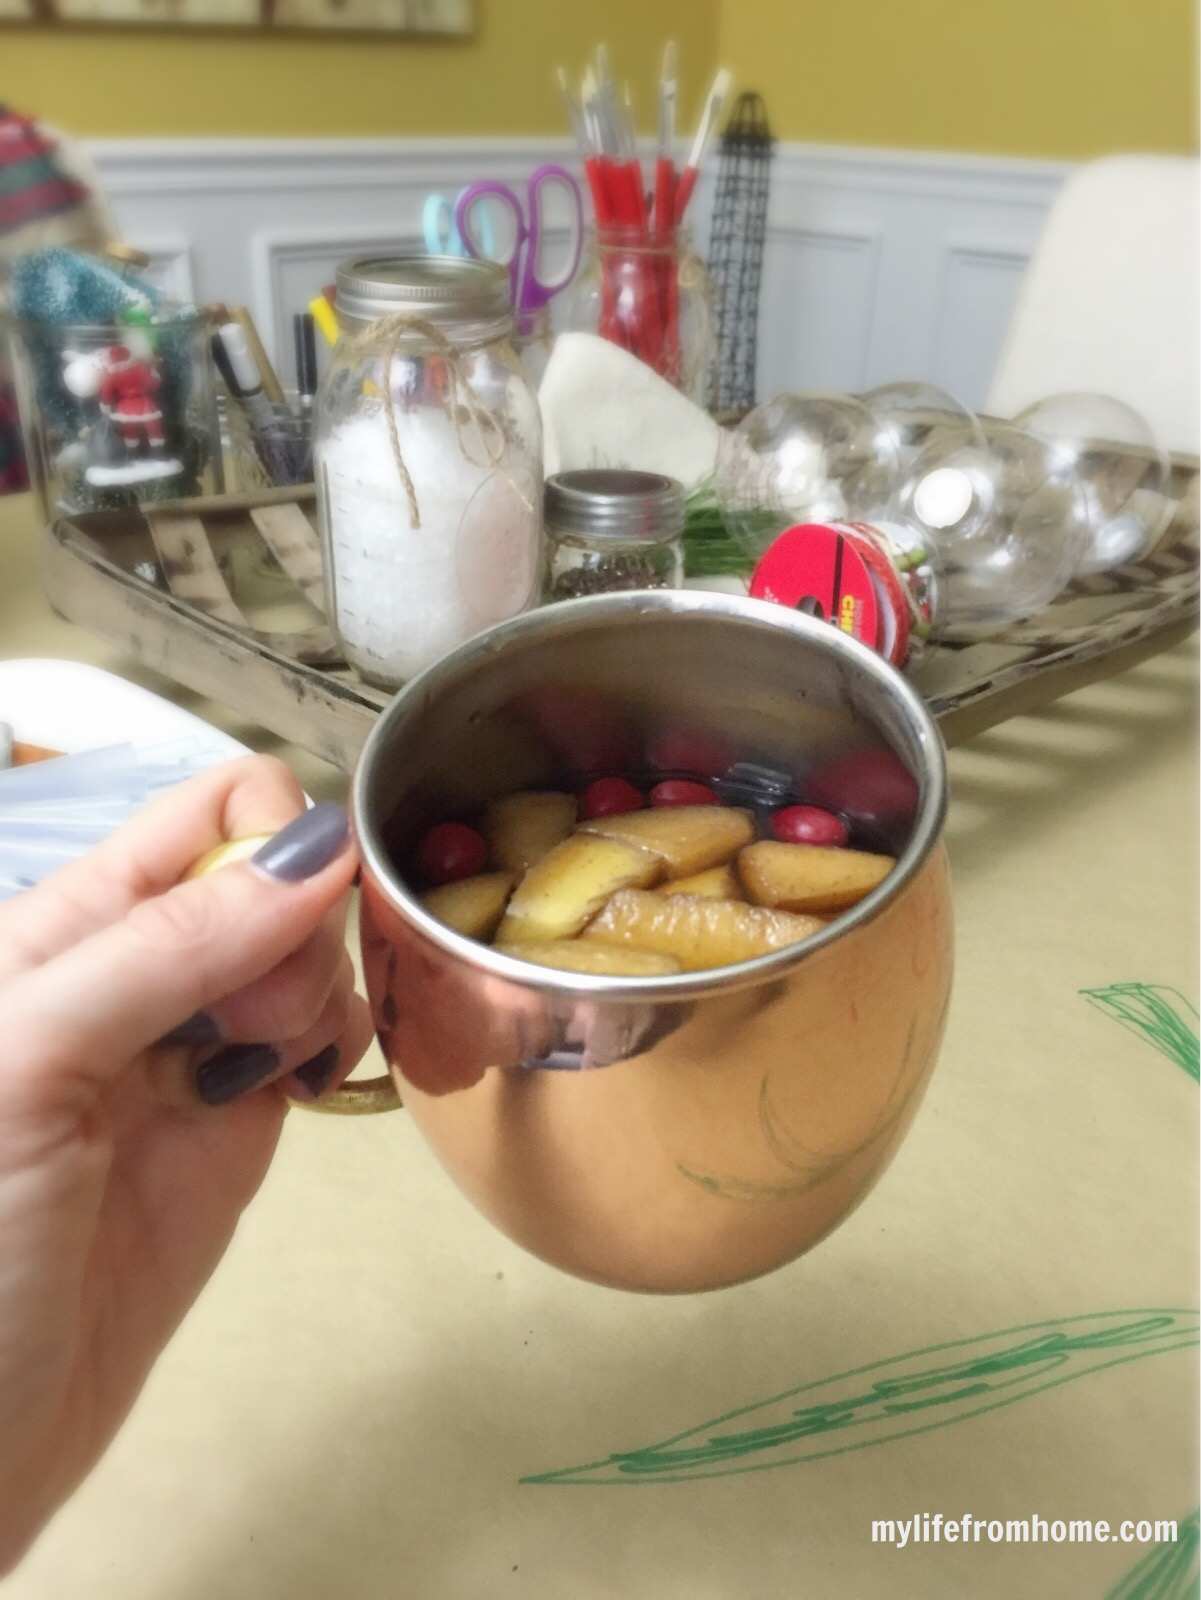
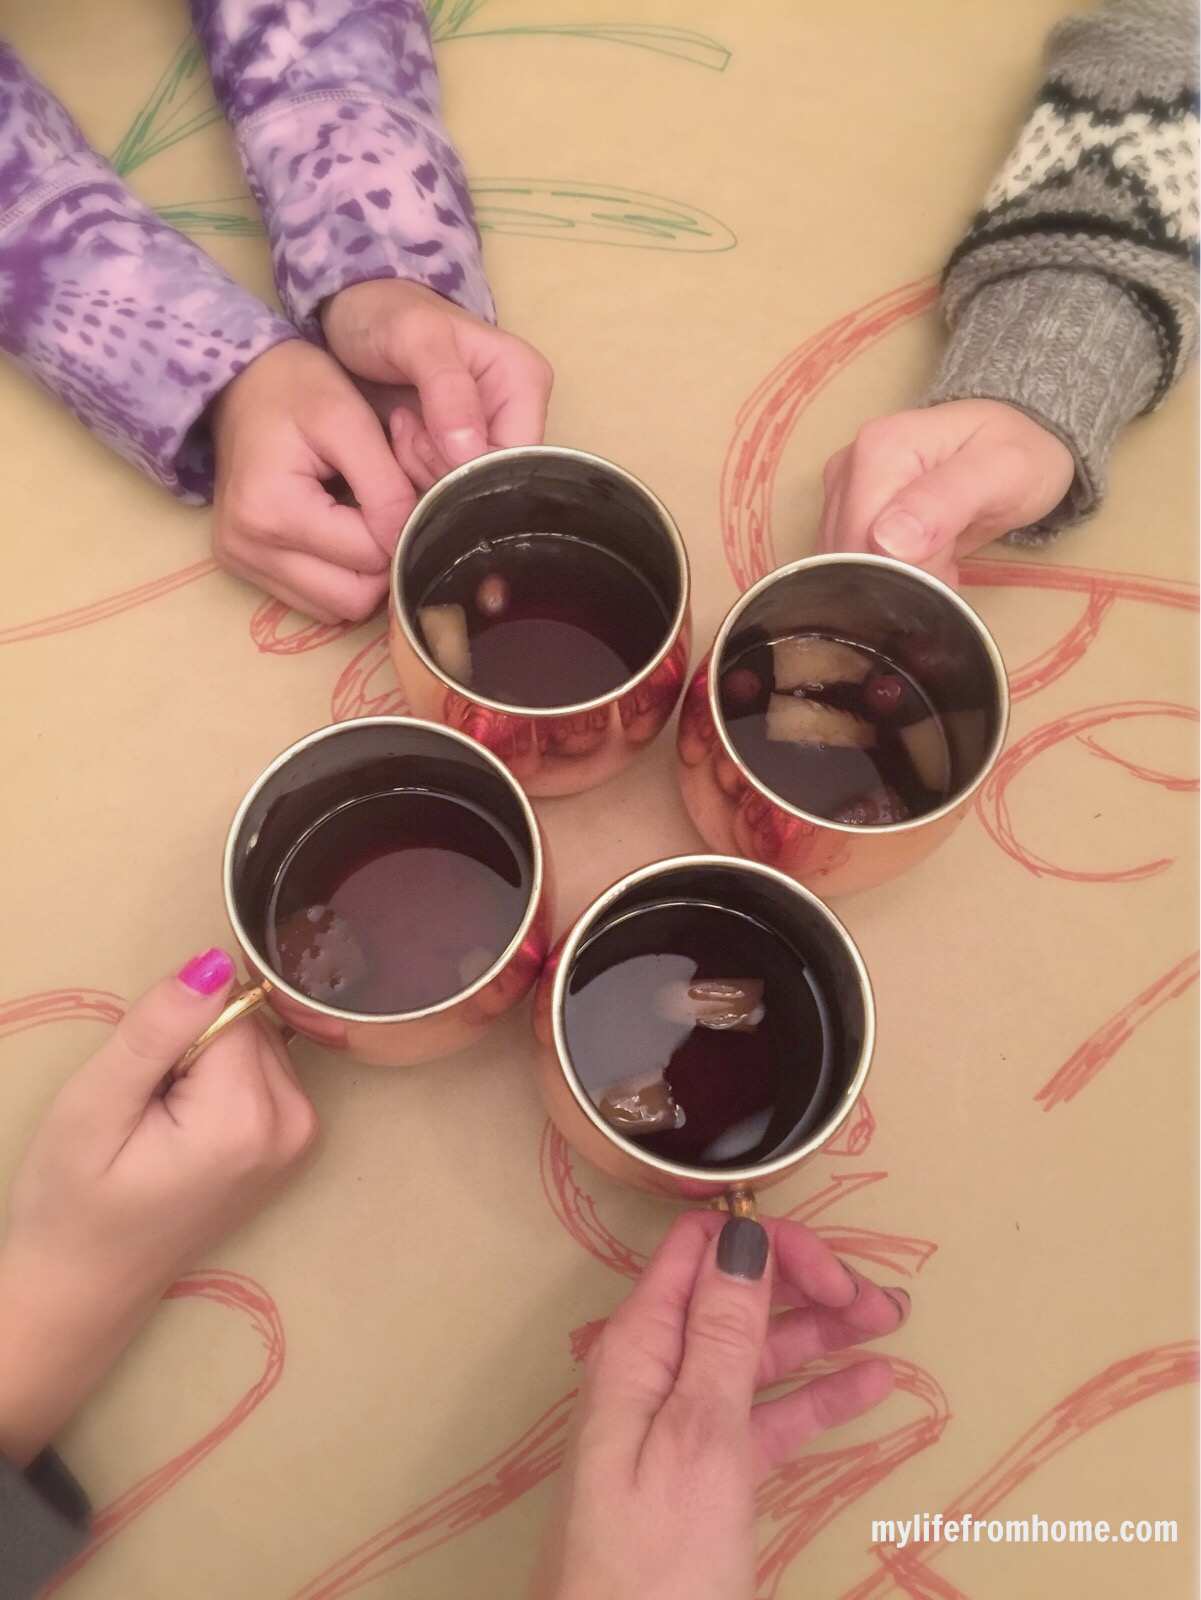
The original party drink was warm sweet tea infused with apple, orange, cranberries and cinnamon. It was served in copper mugs, which made a very simple drink feel properly seasonal. The same idea works with sweetened or unsweetened iced tea, strong black tea, cloudy apple juice or an alcohol-free punch.
Warm the drink gently with sliced fruit and a cinnamon stick in a slow cooker, following the appliance manufacturer’s instructions and keeping the lid on between servings. Do not allow fresh fruit to sit in a warm drink all day; prepare it shortly before guests arrive and discard any leftovers that have remained warm for an extended period.
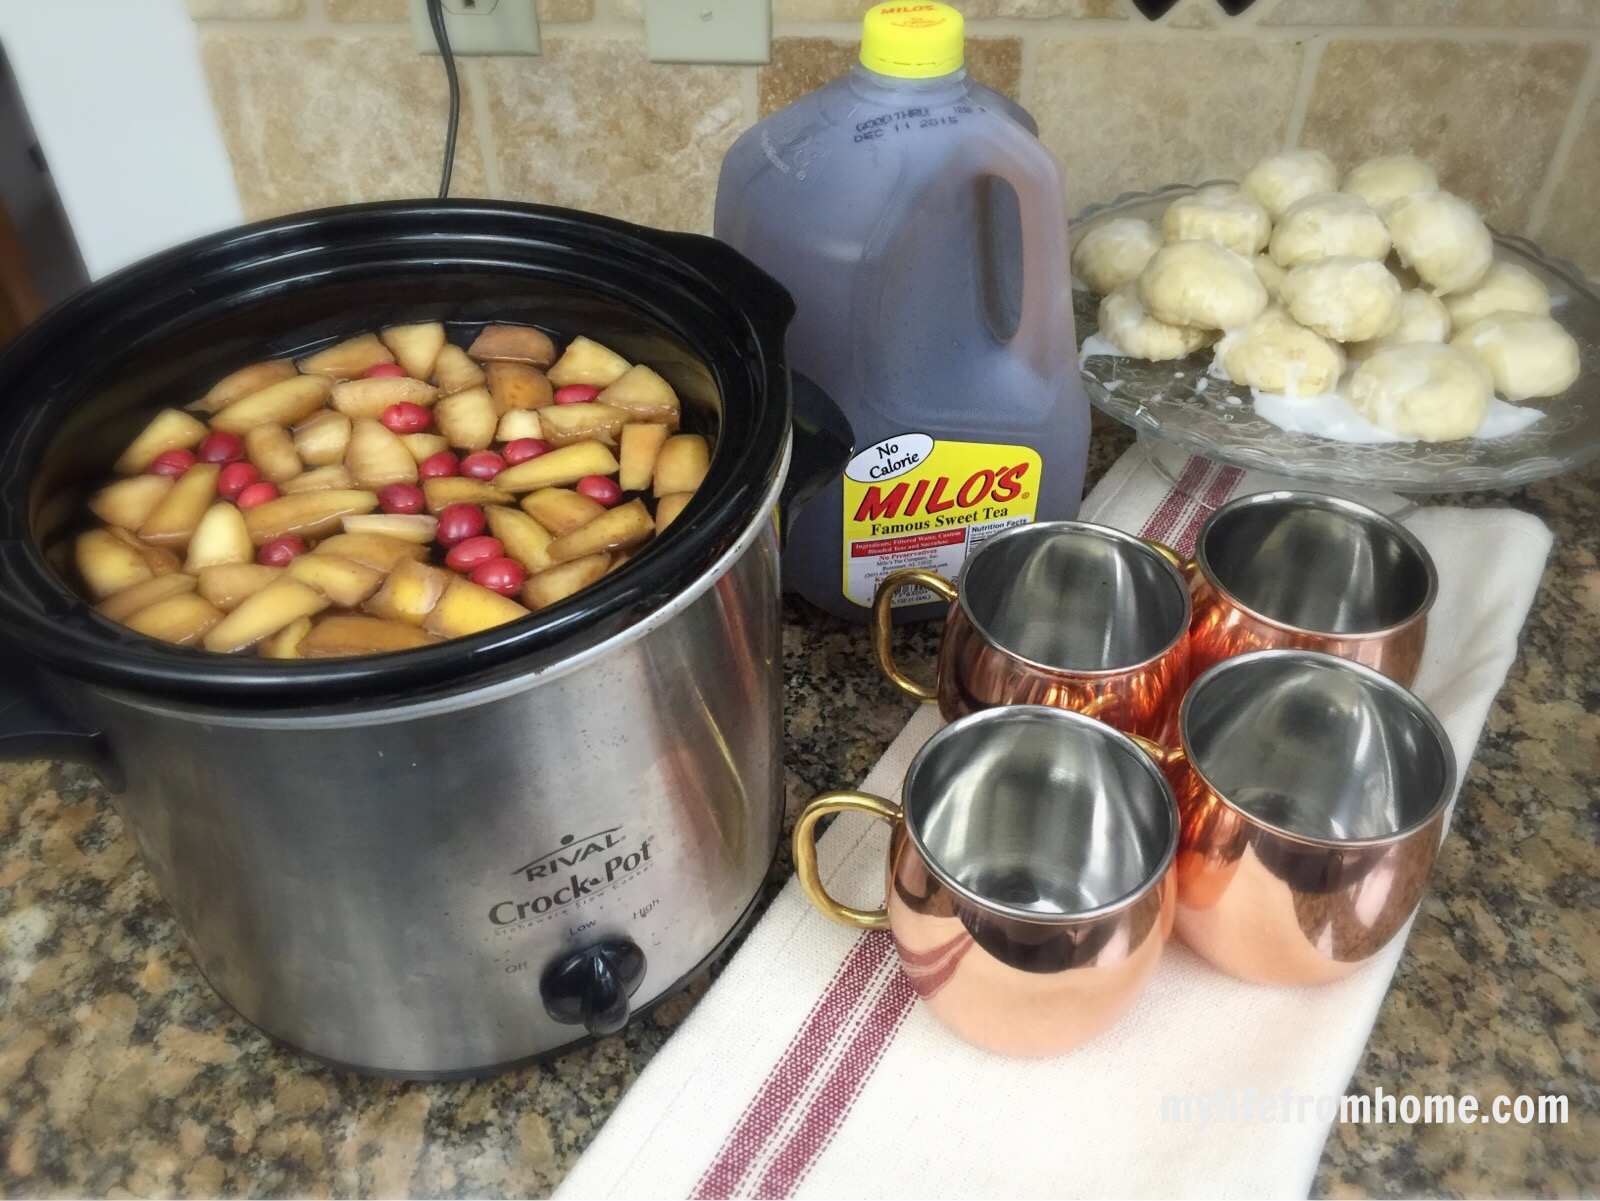
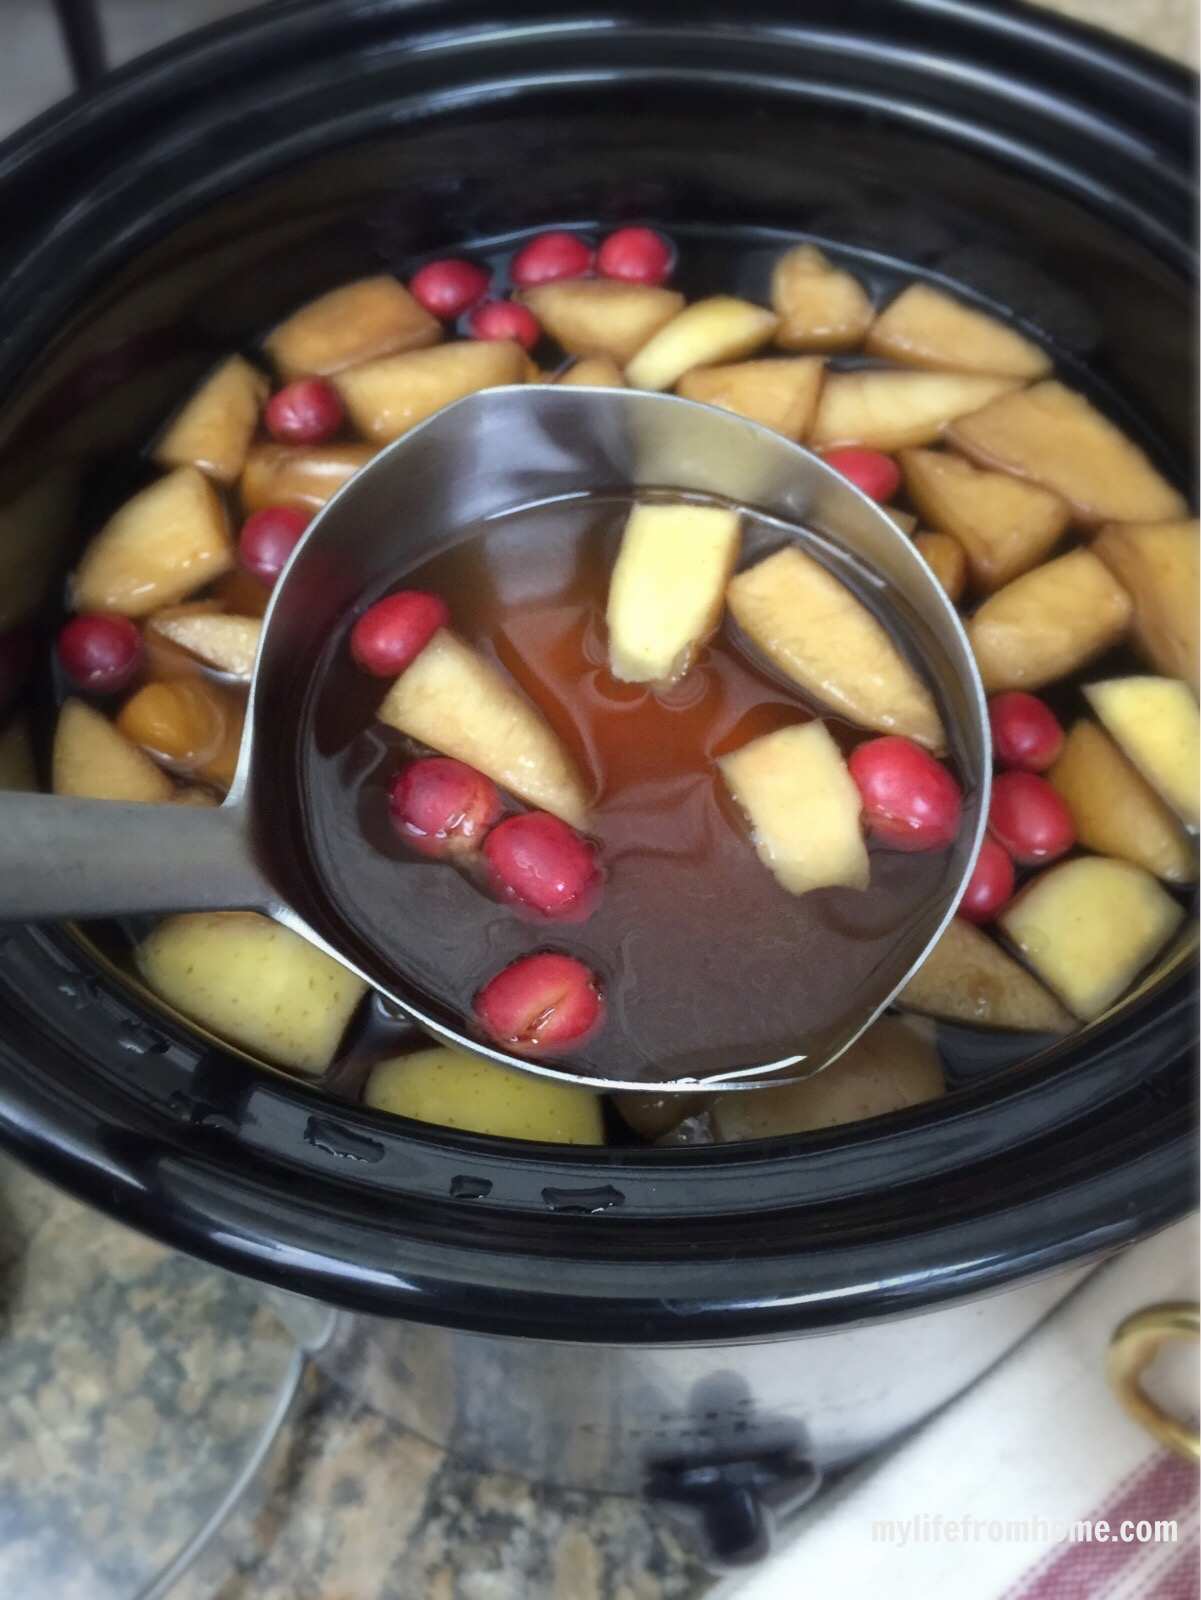
One prepared drink is enough. Add water and perhaps wine for adults, but avoid turning the kitchen into a full bar. Keep mugs on a tray away from the craft supplies and provide somewhere obvious to put used glasses.
A Relaxed Christmas Craft Party Timeline
- The day before: test the project, prepare food and group the supplies by activity.
- Two hours before: protect the table, arrange workspaces and prepare a drying area.
- Thirty minutes before: warm the festive drink, plate the food and check that glue guns and extension leads are safely positioned.
- When guests arrive: serve the savoury food and show everyone the sample project.
- After eating: clear plates, wash hands and begin the craft with a quick explanation.
- Halfway through: pause for sweet treats while paint or glue dries.
- To finish: label and package each creation, then take a photograph of the group’s finished pieces.
Tips for a Craft Night That Feels Effortless
Test every material together. Some paint pens do not cover glossy ornaments, and certain glues can cloud clear plastic. Discover that before guests arrive.
Create one tool station for anything risky. Hot glue guns, craft knives and wire cutters should have a fixed place rather than travelling around the table.
Allow more drying time than expected. Plan a second low-mess stage, such as choosing ribbon or writing gift labels, while paint settles.
Use lighting that is warm but practical. Candlelight creates atmosphere around the room, but the table itself needs enough light for detailed work.
Make the take-home packaging lovely. Tissue paper, a kraft bag and a handwritten name tag turn an imperfect ornament into a thoughtful keepsake.
Do not schedule too much. One finished project and plenty of conversation will feel more satisfying than three rushed crafts.
Make It Your Own
For a grown-up evening, choose velvet ribbon, glass baubles and a restrained palette, then serve wine and good cheese before the crafting begins.
For children, use wooden shapes, peel-and-stick embellishments and washable paint pens. Avoid glass, hot glue and small decorations for younger guests.
For a sustainable version, make fabric gift bags, dried-orange garlands or reusable gift tags from thick card and ribbon saved from previous years.
For a very small gathering, invite two friends, sit around the coffee table and decorate one ornament each. A party does not need a full dining room to feel worthwhile.
For a virtual craft night, send everyone a short supply list in advance and choose a project made from materials they can easily find. Keep the instructions simple enough that conversation remains the main event.
Frequently Asked Questions
Choose one main festive project that everyone can finish in an evening, such as decorating wooden ornaments, filling clear baubles or making gift tags. Allow time for drinks and conversation, then give guests a small bag or box to take their finished pieces home.
The exact supplies depend on the project, but most parties need blank ornaments or card, paint pens, brushes, ribbon, glue, scissors, table coverings and small containers for embellishments. Add drying racks, labels and take-home bags so finished crafts do not become damaged on the journey home.
Four to eight guests is usually comfortable around a dining table because every person needs room for supplies and an unfinished project. For a larger group, create duplicate supply stations or use two tables to stop everyone reaching across one another.
Two and a half to three hours gives guests enough time to arrive, eat something, complete a manageable craft and allow paint or glue to dry. Put an approximate finishing time on the invitation so the project can be planned around the evening rather than feeling rushed.
Serve make-ahead food that can be eaten before crafting or picked up cleanly during a break, such as sausage rolls, a grazing board, small sandwiches and traybakes. Keep all food on a separate surface so glue, glitter and paint never end up near the serving dishes.
Cover the entire table with wipe-clean cloths or kraft paper and tape the edges underneath so the covering cannot shift. Add heat-resistant mats beneath hot glue guns and small trays under paint, glitter or glue to contain spills at their source.
Pick one project, limit the colour palette and buy shared supplies rather than a separate kit for every person. Ask guests to bring their own scissors or a small packet of ribbon, and use jars, bowls and serving pieces already in the house to organise the table.
Yes, but adapt the project and supplies to their ages. Replace hot glue, glass ornaments and sharp tools with card, wooden shapes, washable pens and peel-and-stick decorations, and keep an adult responsible for any cutting or heat-based task.
A Festive Night People Will Remember
A Christmas craft party does not need perfect ornaments or a complicated menu. The pleasure is in sitting around a prepared table, making something with your hands and having the kind of conversation that becomes difficult at louder festive events. Choose one manageable project, organise the supplies properly and let the evening stay relaxed.
For another easy seasonal gathering, take inspiration from this cosy hot chocolate bar. You can also browse the recipe index for simple party food and Christmas treats.
Leave a Reply
If you like the sort of recommendation that still holds up six months later, leave your email below and I'll write to you on Sunday.
Most Sundays, once the house has gone quiet and it's edging towards nine, a letter goes out. It's the one I'd write to a friend with good taste and not nearly enough time: one thing worth reading, one thing worth buying, and one thing to skip. No noise, no pressure to spend, just the considered version of what I've actually been using, loving, or quietly sending back.


November 26th, 2015 at 3:01 am
Love the tea recipe Amy! So great to have a tasty hot tea while crafting beautiful holiday crafts! Pinned and shared!
November 26th, 2015 at 4:57 pm
Thanks Stephanie! Happy Thanksgiving! 🙂
December 1st, 2015 at 9:50 pm
Amy, I love how you took the sweet tea to the next level! That looks so yummy and cozy!!!! I’ve never had their tea but I just might have to try this! Thanks for sharing and for linking up with us at Your Home Decor and More!