How to Paint Furniture: A Beginner’s Guide to Transforming Second Hand Finds


Painting furniture is one of those skills that sounds far more intimidating than it actually is. The idea of taking a tired, dated piece and turning it into something that looks like it belongs in an interiors magazine feels like a stretch, right? But honestly, once you understand the basics, it becomes one of the most satisfying and cost-effective ways to make your home feel entirely your own.
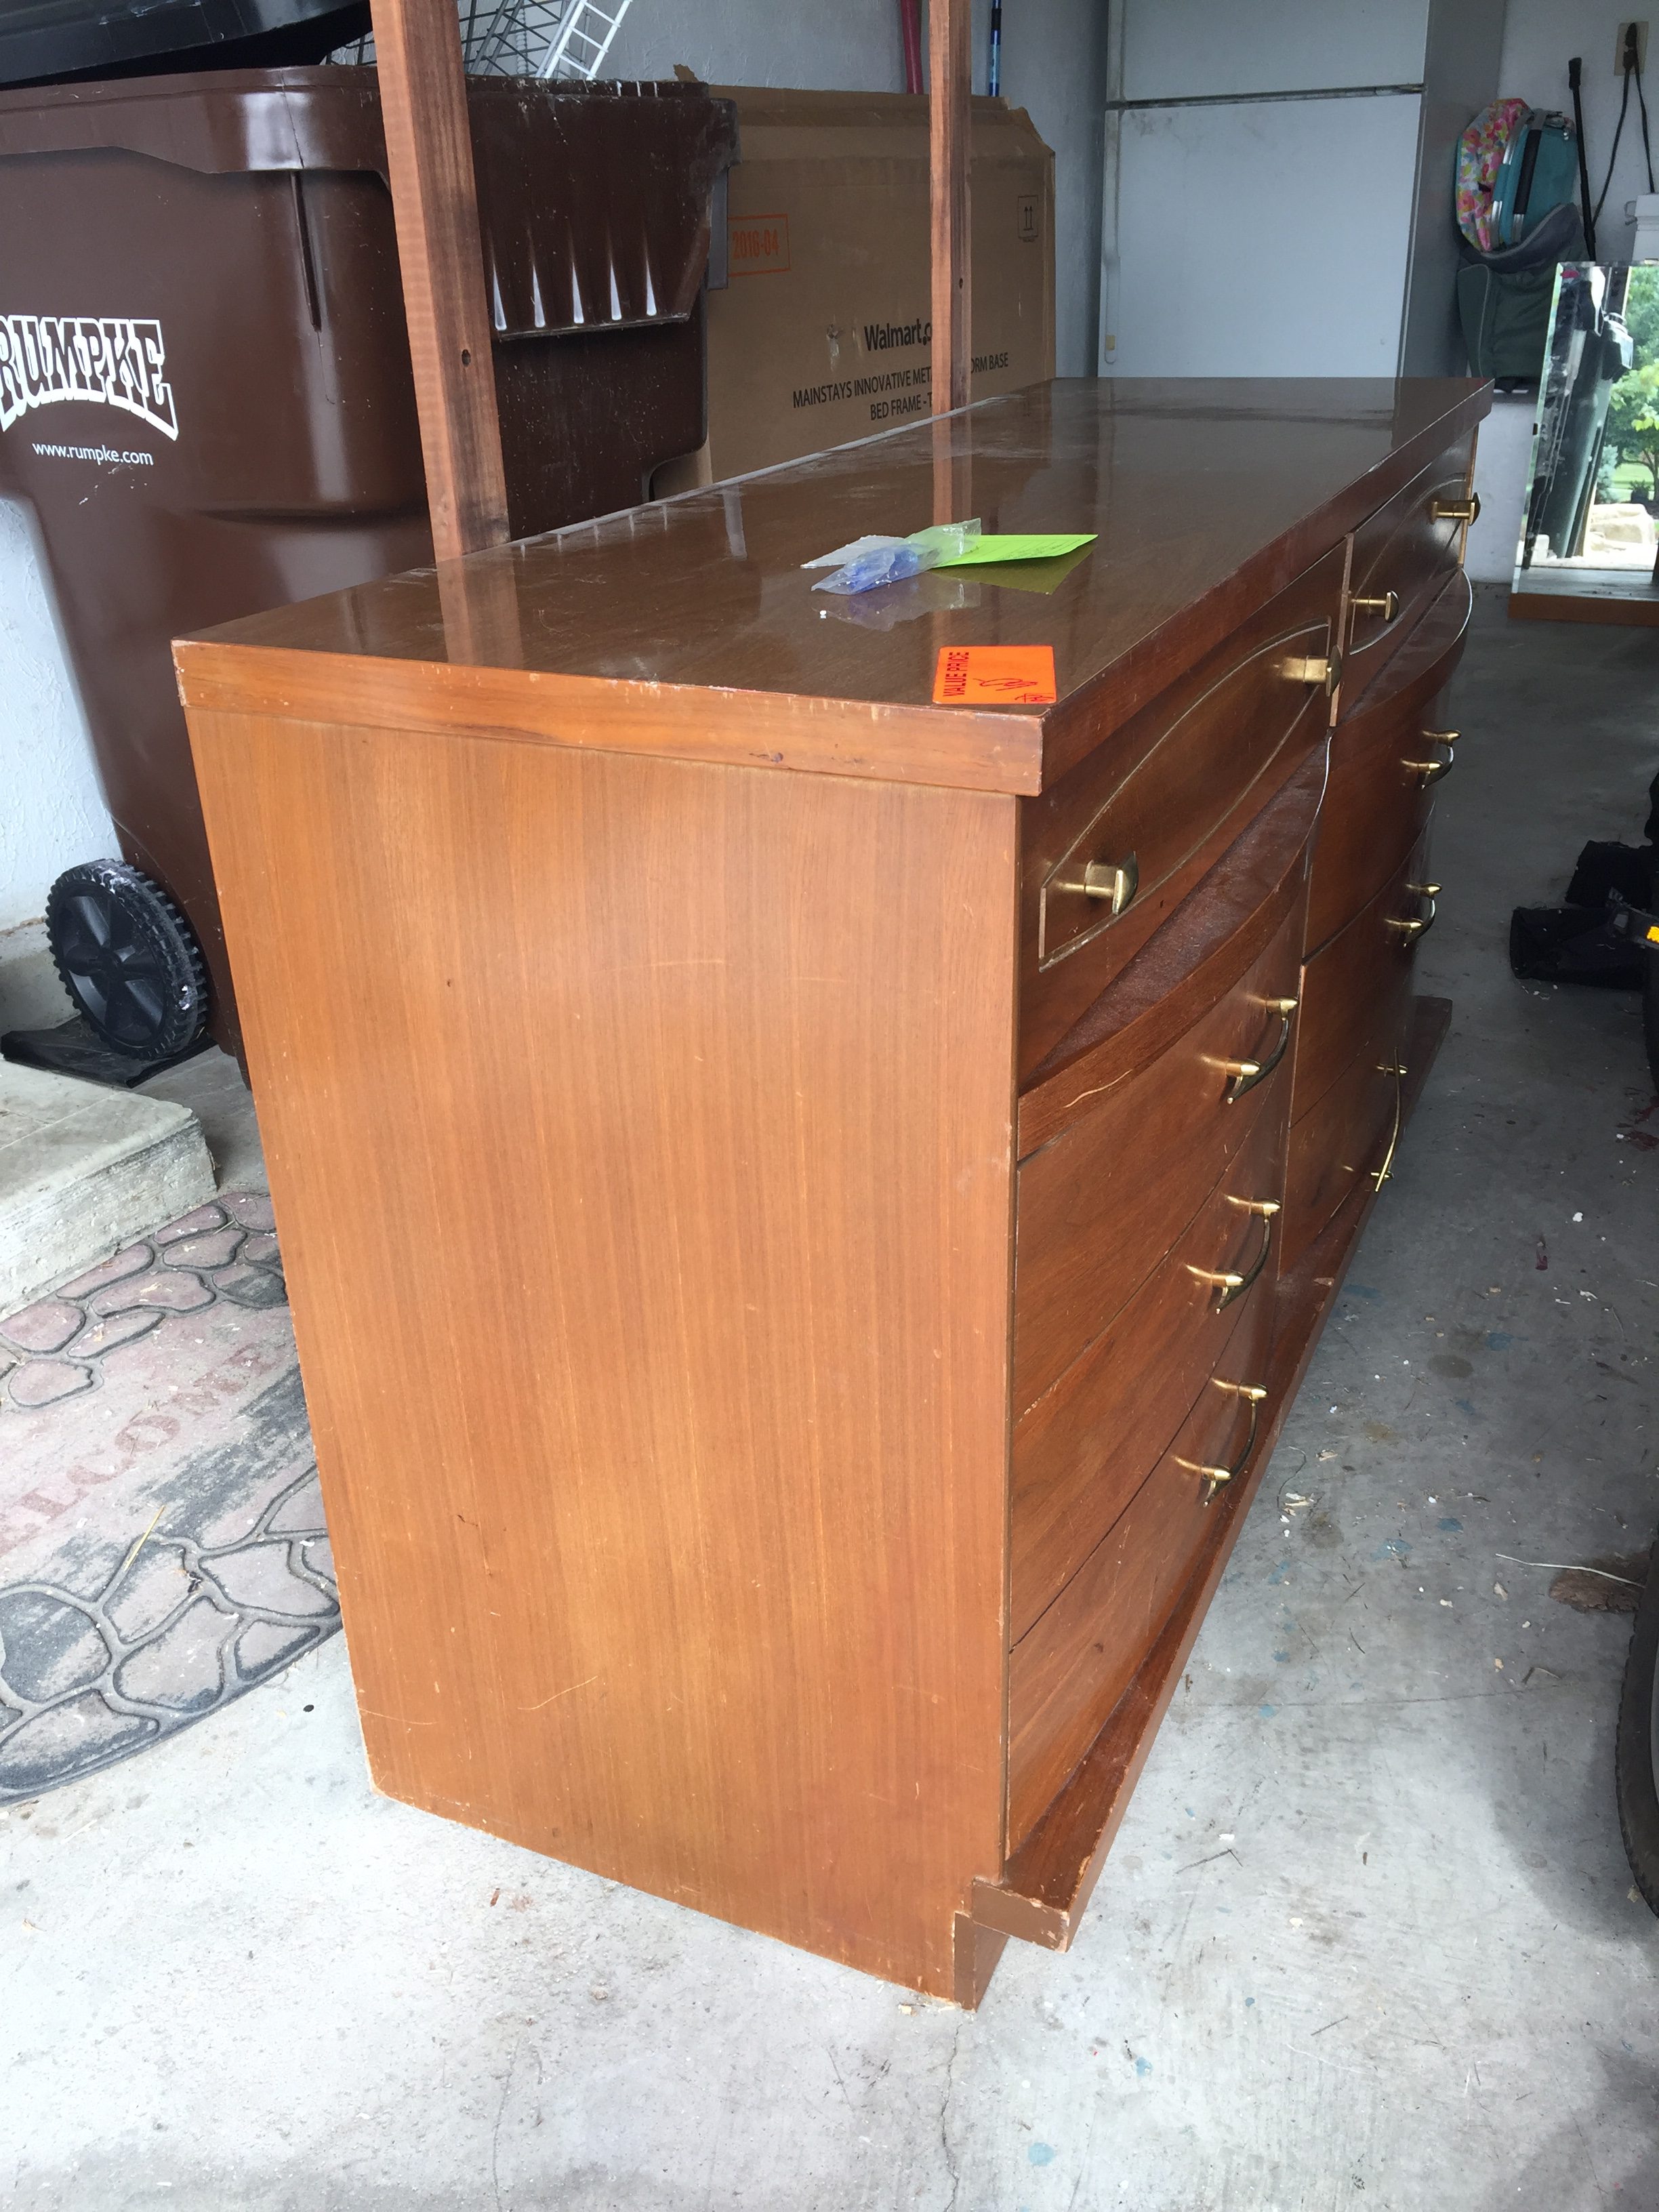
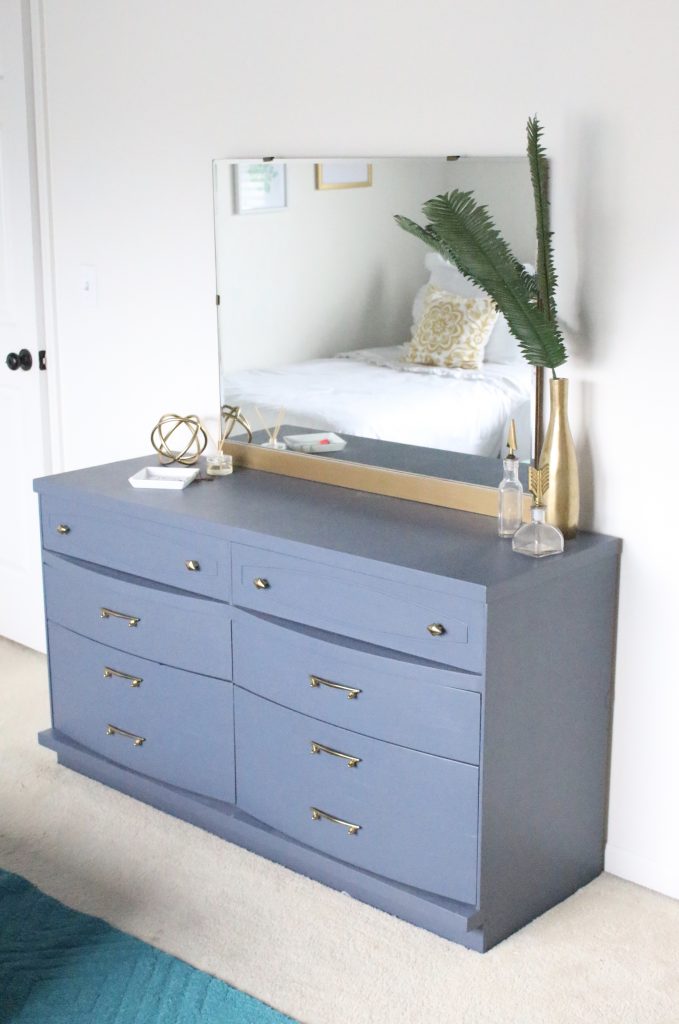
There is something genuinely thrilling about spotting a solid wood dresser in a charity shop, looking past the scratched finish and questionable colour, and seeing what it could become. That exact scenario is how one of my favourite furniture makeovers came about. A large eight-drawer dresser, picked up second hand for a fraction of what a new one would cost, with beautiful brass hardware hiding under years of tarnish. A couple of coats of paint later, it looked like a completely different piece. The kind of thing you would see in a boutique interiors shop and assume cost a small fortune.
If you have ever walked past a piece of furniture and thought “that has potential,” this post is for you. Whether it is your first time picking up a paintbrush or you have had a few attempts that did not quite go to plan, this guide will walk you through exactly how to paint furniture properly, from prep through to the finished result.
Why Paint Furniture in the First Place?
Before we get into the practical steps, it is worth talking about why painting furniture is such a brilliant option, particularly if you care about creating a home that feels considered and pulled together without spending thousands.
New furniture is expensive, and mass-produced pieces can look identical to everyone else's. Painting a second hand find means you end up with something unique, something with character and quality that you simply cannot replicate with flat-pack. Older furniture is often built from solid wood with proper joinery, which means it will outlast most things you could buy new today. All it needs is a cosmetic refresh.
There is also the sustainability angle. Giving a perfectly good piece of furniture a second life rather than sending it to landfill feels like a genuinely smart choice. And from a purely practical perspective, a tin of good quality paint costs a fraction of what you would spend on a new dresser, sideboard, or bedside table.
What You Will Need
Gathering everything before you start saves a lot of frustration mid-project. There is nothing worse than realising you have run out of sandpaper halfway through prep with paint-covered hands.
For a standard furniture painting project, you will need:
- cleaning solution (something like sugar soap works brilliantly for cutting through grime and grease)
- medium-grit sandpaper (around 120 to 150 grit for prep and 220 grit for sanding between coats)
- a good quality primer
- your chosen paint
- a 2-inch angled brush for cutting in around details
- a small foam roller for flat surfaces
- painter's tape
- a tack cloth or lint-free cloth for removing dust
- a protective topcoat or sealant.
If the piece has hardware like knobs, handles, or pulls, you will also want a screwdriver and a small container to keep all the screws together. Losing a tiny screw at this stage is an absolute pain.
Step One: Choose Your Piece
Not every piece of furniture is worth the effort, so being selective matters. The best candidates for painting are solid wood pieces with good bones. Look for sturdy construction, smooth drawer operation, and minimal structural damage. Cosmetic issues like scratches, outdated stain, or an unfashionable colour are exactly what paint is designed to fix.
Charity shops, car boot sales, Facebook Marketplace, and even skips can be goldmines. The key is to look past the current finish and assess the actual quality of the piece underneath. A heavy, well-made dresser from the 1970s with dated dark varnish is a far better investment of your time than a wobbly flat-pack shelf unit from five years ago.
One thing to watch for: if a piece has been coated in multiple layers of thick, cracking paint, stripping it back can be a significant job. For a first project, look for something with a relatively smooth existing finish that just needs updating rather than a full restoration.
Step Two: Prep the Piece Properly
This is the step that separates a professional-looking result from a finish that chips and peels within weeks. Prep is not glamorous and it is not fun, but it is genuinely the most important part of the entire process. Rushing through prep is the single biggest mistake people make when painting furniture.
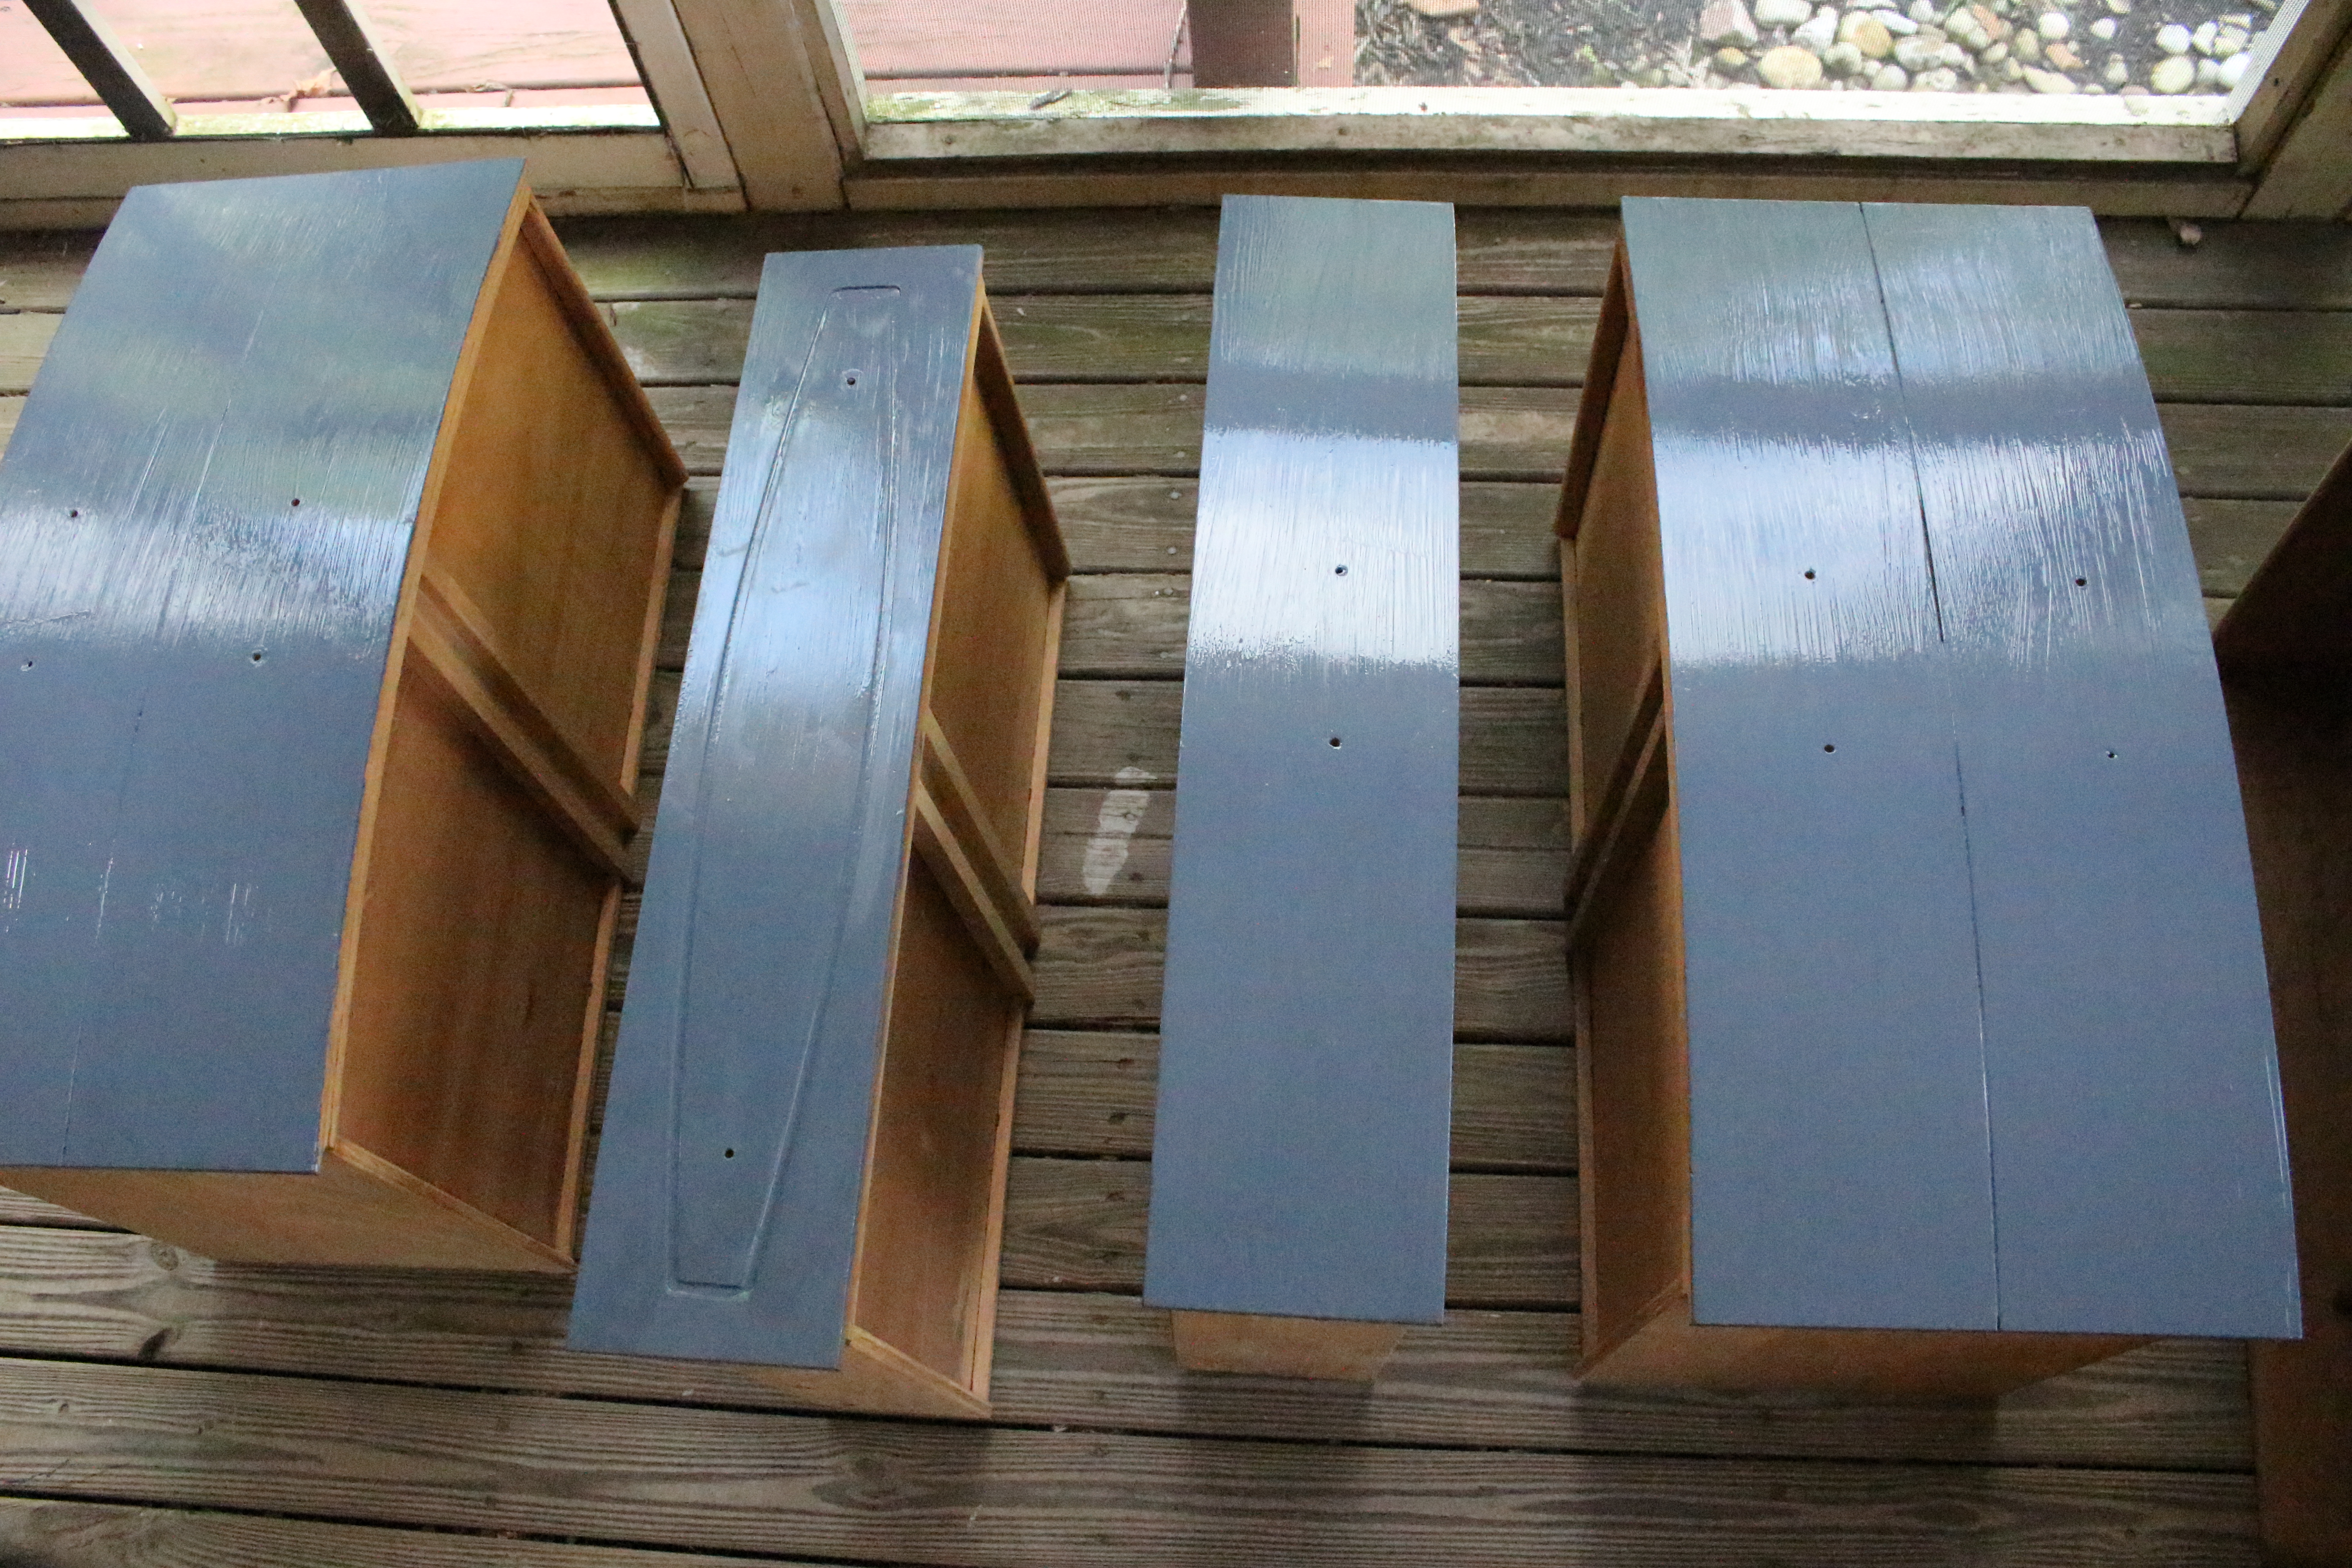
Start by removing all hardware. Take off every handle, knob, hinge, and pull. If you are planning to reuse the existing hardware, set it aside for cleaning. If the piece has drawers, remove them completely and work on the frame and drawers separately. This makes everything so much easier to paint and ensures you do not miss any awkward corners.
Next, give the entire piece a thorough clean. Years of dust, grease, and grime will prevent paint from adhering properly. Sugar soap is brilliant for this; mix it according to the packet instructions, wipe down every surface, and let it dry completely.
Once the piece is clean and dry, it is time to sand. You are not trying to strip the piece back to bare wood here. The goal is to scuff up the existing surface enough to give the primer something to grip onto. Use 120 to 150 grit sandpaper and go over every surface you plan to paint, working in the direction of the wood grain. Pay attention to any rough patches, drips from previous paint jobs, or areas where the old finish is flaking.
After sanding, wipe down the entire piece with a tack cloth or a barely damp lint-free cloth to remove every speck of dust. Any dust left on the surface will get trapped under your paint and create a rough, gritty finish.
Step Three: Prime
Primer might feel like an unnecessary extra step, but it makes an enormous difference to the final result. A good primer does three important things: it helps the paint adhere to the surface, it blocks stains and tannins in the wood from bleeding through your paint, and it creates a uniform base so your chosen colour looks true and even.
For most furniture projects, a shellac-based primer is the gold standard. It blocks stains better than anything else and dries quickly. If you are painting over dark wood or a dark existing finish, a grey-tinted primer will give you better coverage than white, meaning fewer coats of your topcoat colour.
Apply the primer in thin, even coats using a brush for detailed areas and a foam roller for flat surfaces. Let it dry according to the manufacturer's instructions, then lightly sand with 220 grit sandpaper to create a silky smooth surface for your paint. Wipe away the dust with a tack cloth before moving on.
Step Four: Paint
Now the satisfying part. Choosing the right type of paint matters more than you might think, so it is worth understanding the options.
Chalk paint has become enormously popular for furniture projects, and for good reason. It requires minimal prep, adheres to most surfaces without primer, and dries to a beautiful matte finish. The downside is that it requires a wax or sealant topcoat to protect it, and it can feel slightly chalky to the touch if not sealed properly.
Mineral paint is another excellent option. It bonds chemically to the surface, requires no topcoat, and is incredibly durable. It is a bit more expensive than other options but the convenience and longevity make it worth considering.
Satin or eggshell finish furniture paint (the kind specifically formulated for wood and furniture rather than walls) gives a beautifully smooth, slightly lustrous finish that looks incredibly polished. This is my personal preference for pieces where I want that elevated, almost lacquered look. It does require proper prep and primer, but the result is stunning.
Whichever paint you choose, the golden rule is the same: thin coats. Two or three thin coats will always look better than one thick coat. Thick paint drips, sags, shows brush marks, and takes forever to dry. Thin coats dry faster, self-level more smoothly, and build up to a beautiful, even finish.
Apply your paint with a good quality angled brush for edges, moulding, and detailed areas, and switch to a small foam roller for large flat surfaces like drawer fronts, tops, and sides. Always work in the direction of the wood grain. Between coats, wait for the paint to dry fully (check the tin for drying times) and lightly sand with 220 grit sandpaper to remove any tiny imperfections before applying the next coat.
Step Five: Seal and Protect
Unless you are using a self-sealing paint like mineral paint, applying a protective topcoat is an essential final step, especially on high-use surfaces like tabletops, dressers, and anything that will be touched, wiped, or bumped regularly.
A water-based polyurethane in a satin or matte finish is a brilliant all-rounder. It dries clear, does not yellow over time (unlike oil-based alternatives), and provides excellent protection against scratches, water rings, and general wear. Apply it in thin coats with a good brush or foam applicator, sanding lightly with 220 grit between coats.
Furniture wax is another option, particularly if you have used chalk paint. It gives a lovely soft sheen and enhances the depth of the colour. The trade-off is that it needs reapplying every six to twelve months to maintain its protective qualities.
Step Six: Reattach Hardware and Style
Once your final coat is fully dry (and ideally cured for at least a couple of days before heavy use), reattach your hardware. This is the moment where everything comes together and you realise the transformation was absolutely worth the effort.
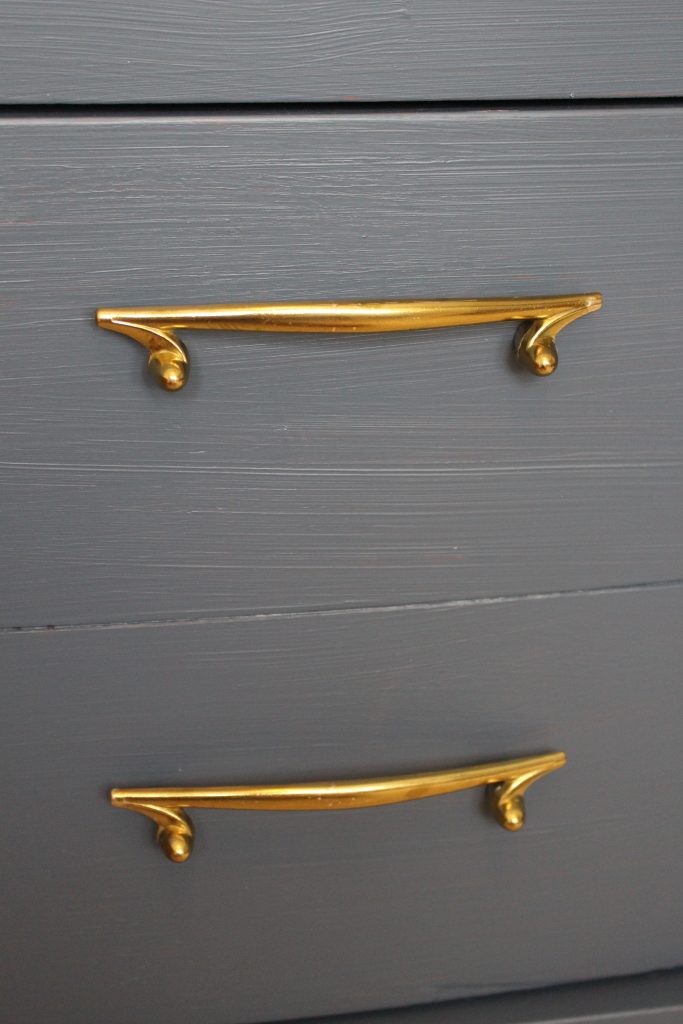
If the existing hardware is beautiful but tarnished, a good metal polish like Brasso can bring brass, copper, and chrome back to life. The combination of freshly painted furniture with cleaned vintage hardware is genuinely stunning and gives the piece a character that new furniture simply cannot match.
If the original hardware is not to your taste, swapping it out for new handles or knobs is an easy upgrade that makes a big difference. Brass or brushed gold hardware on a deep blue or sage green piece creates that elevated, everyday luxury feel. Black hardware on a warm white or soft grey is timeless and endlessly versatile.
Taking It Further: Metallic and Accent Paints
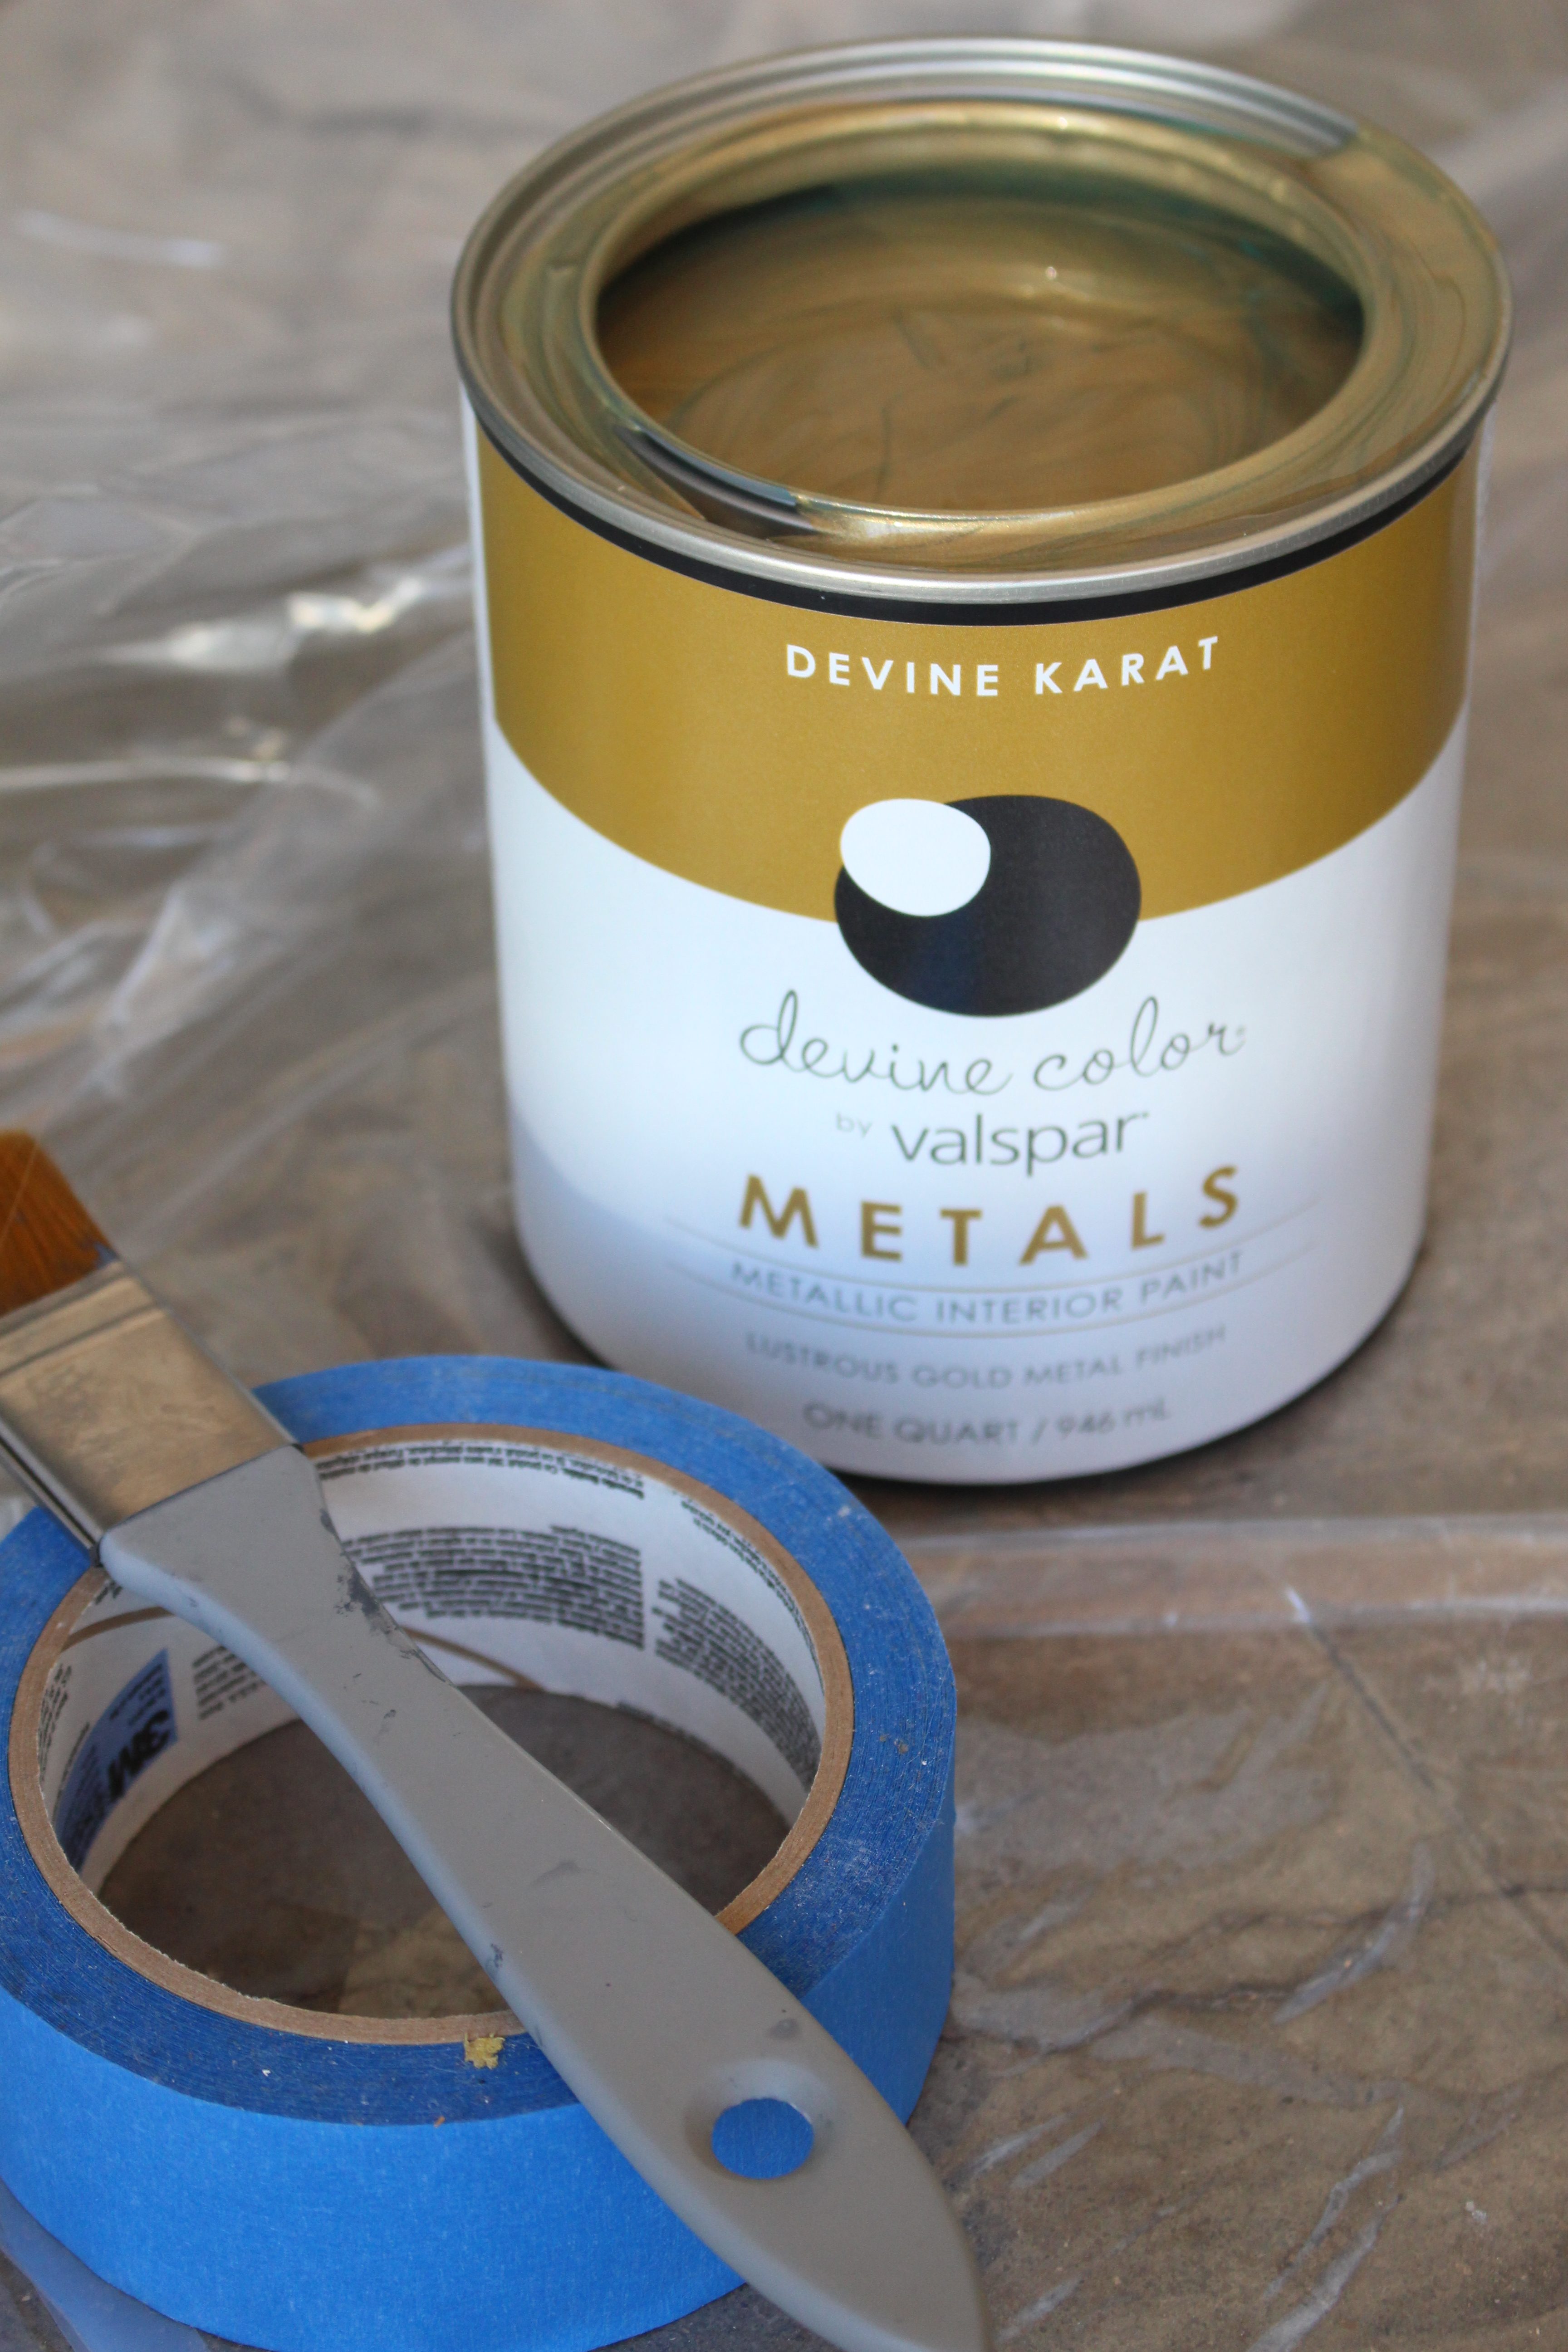
Once you have the basics down, metallic paint opens up a whole other level of possibility. On the same project as the dresser makeover, I painted the trim of a plain mirror in a gold metallic paint and the result was genuinely striking. So many gold paints dry with a yellowish, plasticky look, but a good quality metallic will dry to a true gold with a convincing sheen that looks far more expensive than it is.
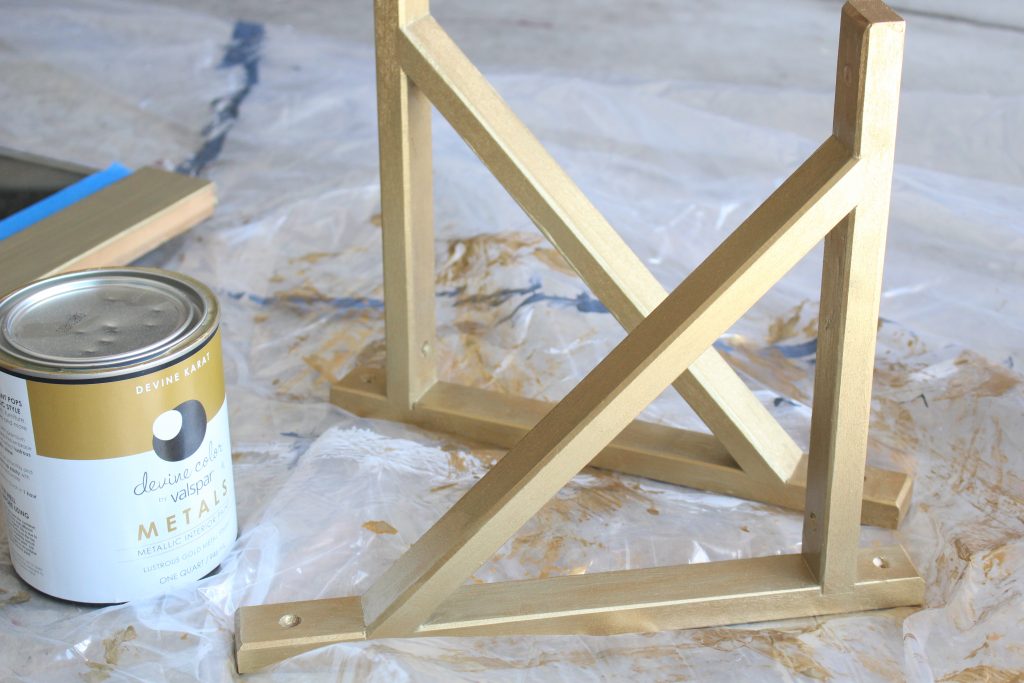
The same gold paint also transformed a pair of ordinary IKEA shelf brackets into something that looked deliberately chosen rather than purely functional. It is such a small detail, but painting basic brackets, hinges, or shelf supports in a metallic finish pulls a room together in a way that feels really intentional. A tin of metallic paint costs very little and can elevate half a dozen small accessories in an afternoon.
The technique for metallic paint is largely the same as for regular furniture paint: clean the surface, give it a light sand, apply in thin even coats, and let each coat dry fully before adding the next. Metallics do tend to show brush marks more readily than flat colours, so using a foam roller or a very soft brush and working in one direction helps enormously. Two thin coats will usually give you a beautifully opaque, lustrous finish.

Common Mistakes to Avoid
Having painted quite a few pieces over the years, there are a handful of mistakes that catch people out repeatedly. Skipping the cleaning step is probably the most common. Even if a piece looks clean, there is almost always a layer of invisible grease and residue that will prevent paint from bonding. Always clean first.
Applying paint too thickly is another classic error. It is tempting to try to get full coverage in one coat, but restraint pays off enormously here. Thin coats, patience, and light sanding between coats will give you a result that looks genuinely professional.
Not allowing adequate drying time between coats causes problems too. Paint that is not fully dry will lift and drag when you apply the next coat, creating a patchy, uneven mess. Follow the manufacturer's recommended drying times and resist the urge to rush.
Finally, neglecting to seal the finished piece means all your hard work is vulnerable to chips, scratches, and water damage. A protective topcoat takes twenty minutes to apply and will keep your painted furniture looking beautiful for years.
Is Painting Furniture Worth the Effort?
Absolutely. A weekend spent painting a second hand dresser or sideboard can give you a piece that looks and feels far more expensive than it was, perfectly suited to your home and your taste. There is a genuine satisfaction in knowing you created something beautiful from something overlooked, and once you have done it successfully once, you will start seeing potential in every charity shop find.
The dresser that started this whole post sat in a charity shop looking tired and completely unremarkable. After a thorough clean, a coat of primer, two coats of gorgeous grey-blue paint, and a good polish of the original brass hardware, it became one of the most complimented pieces in the room. Total cost, including the dresser itself and all the materials: well under what a comparable new piece would have cost. And it has a quality and character that flat-pack simply cannot deliver.
That is everyday luxury at its finest: something beautiful, something well-made, something you are genuinely proud of, achieved without spending a fortune.
For more home projects and interiors inspiration, have a look through the DIY section here on the blog.

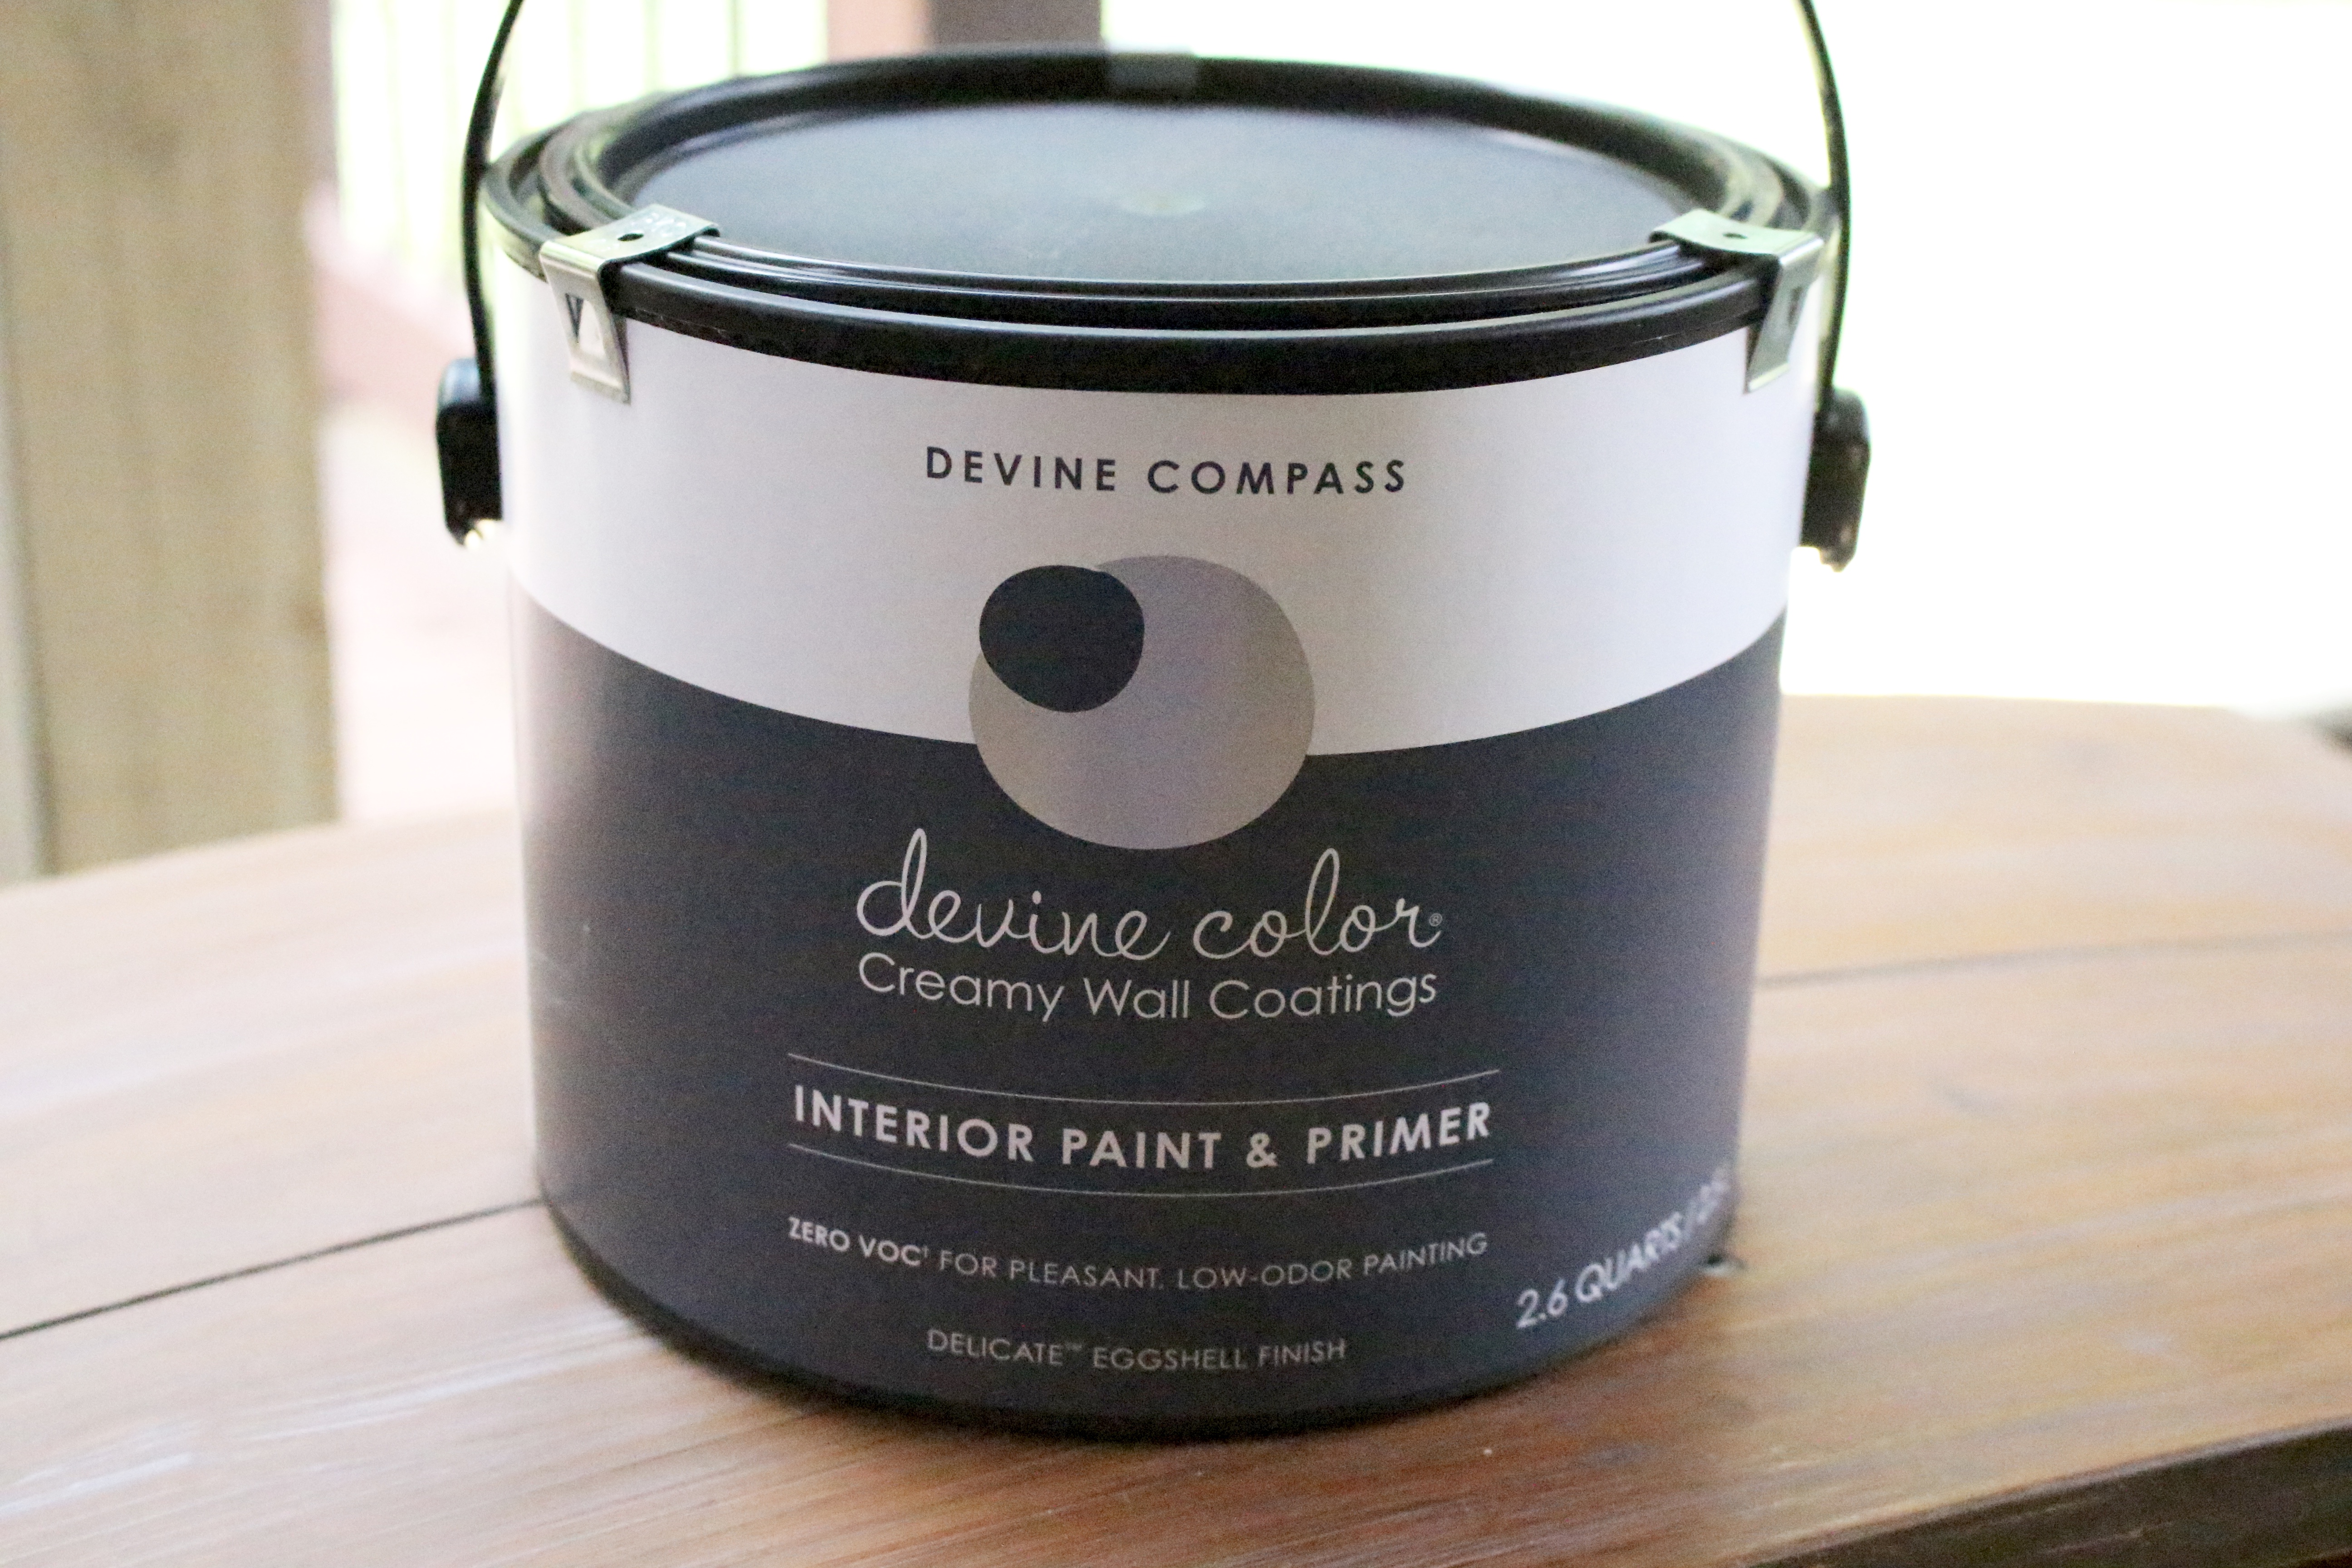
[…] Week 1– Inspiration Week 2– Clearing the room and wall paint Week 3– Dresser Makeover with Devine Paint Week 4– Accessories from At Home Week […]
[…] is what you’ve missed so far in this challenge. Week 1 | Week 2 | Week 3 | Week […]
I love those colors and I’ve always heard that paint is great! Can’t wait to see next week!
The pant color is stunning! It’s perfect with that hardware!!
Gotta love Goodwill! Love the color you chose, and it looks amazing with that hardware!
I know, Erin! I was so excited to find it. It’s huge and has the perfect look for the room.
[…] may have caught my inspiration board for my 2nd One Room Challenge space; a Modern Tween Hangout Space. I am super excited to show you some of the DIY projects I am doing in that space as the weeks go […]
I can’t believe it came with those knobs!!!! How exciting, they are stunning. Love the colors and how it’s all coming together! Pinning!
Thank you, April!
The colors planned for this room are stunning!
That paint color is amazing! I can’t wait to see it all in the room!
I love the color you painted the dresser. It looks amazing! I can’t wait to see it all finished.
Great teaser, Amy. Now I really want to see these beautiful pieces in the room!
Ha! I’m making you wait, lol!
I didn’t know Target even had paint?! Game changer! The dresser with stunning in the blue color with gold trim and accents. can’t wait to see it all together!
Amy ! This looks amazing! Can’t wait to see how it all turns out!
Thank you, Jen! I am anxious to get it finished!
Wow! The color and the combination with the gold is stunning! I am so excited to see this room and the finished dresser. You guys are knocking it out of the park!
Thank you, Rachel! I am super excited with the progress so far. I need to keep plugging along. 🙂
The dresser looks fantastic, but I am smitten with that gold paint! Wow is it gorgeous!
Thank you, Emily! I’m thrilled with how it turned out.
loving the color on the dresser! and love the plan!
Thank you so much, Cassie! Time is flying by, but I’m getting there. I am thrilled with how the dresser turned out!
That dresser is awesome and it looks so good blue! That gold paint is pretty awesome too! Can’t wait to see this space come together!
Thank you, Denise! I love the paint also! I’m really happy with how it turned out. I appreciate you stopping by!
That dresser color is so fab!
Thank you, Ashley! I am thrilled with the color also!
I love a good thrift store find! That gold hardware is fab. And I didn’t know Target carried a line of gold paint?! Sign me up!
Colette, you will love it! You definitely need to try it out.
You got me! I was hoping to see that dresser fully re-assembled after its paint job. Guess I’ll have to tune in next week for that.
Looking good though!
Ha! Have to save the good stuff for the end! Thanks, Ariel!
Love the colors going into this space. The new/old dresser looks great and everything is better in gold!
Thank you, Maggie! I am thrilled with the result. I agree~ everything is better with gold!
What a transformation! I am in love with the gold knob paint color, thats really amazing how it looks like real metal gold.My daughter wants to transform her kitchen cabinet knobs, I need to show her this.
Maria
That dresser is an awesome find! And I’m so impressed with the gold finish on the paint – beautiful!
Thank you, Amanda!
That dresser is a great find! My mom just found two beautiful nightstands for $45. I can’t wait to get my hands on them with some paint! I feel like I hardly ever find such bargains 🙂
It’s a thrill for sure when you find a great treasure!
Oh my word!!! You were so fortunate to find this large dresser…very hard to come by in our area. And those paint colors…swoon! Especially the gold. We can’t believe that it dries to a true gold color from a brush-on paint. Fantastic!
Yes, Vicki and Jennifer. I really scored with the dresser! You’ll need to try the paint. It’s fantastic.