Wood Bead Tassel Garland~ Swap it Like its Hot 6

Today is a fun day, y'all! I am excited to be participating for the first time in the Swap it Like its Hot Thrift Store Challenge! Thank you to Charlotte from Ciburbanity for organizing this event and inviting me to participate. The way it works is this, we each were assigned another blogger to mail a box full of thrift store goodies. We are then supposed to come up with unique and fun ways to upcycle those items into something new. If you are new around here, I'm Amy, and I love a good thrift store find. It's the thrill of the hunt that gets me excited! I have used many thrift items throughout my home to create an eclectic style.
My box came from my friend, Emily, at Two Purple Couches. I opened it live on Facebook. Here is the video if you missed it.
There were several amazing items in my box that I could definitely see myself using, but decided to concentrate on the bag of wooden beads for this challenge. I'll hang on to the other items for future upcycles!
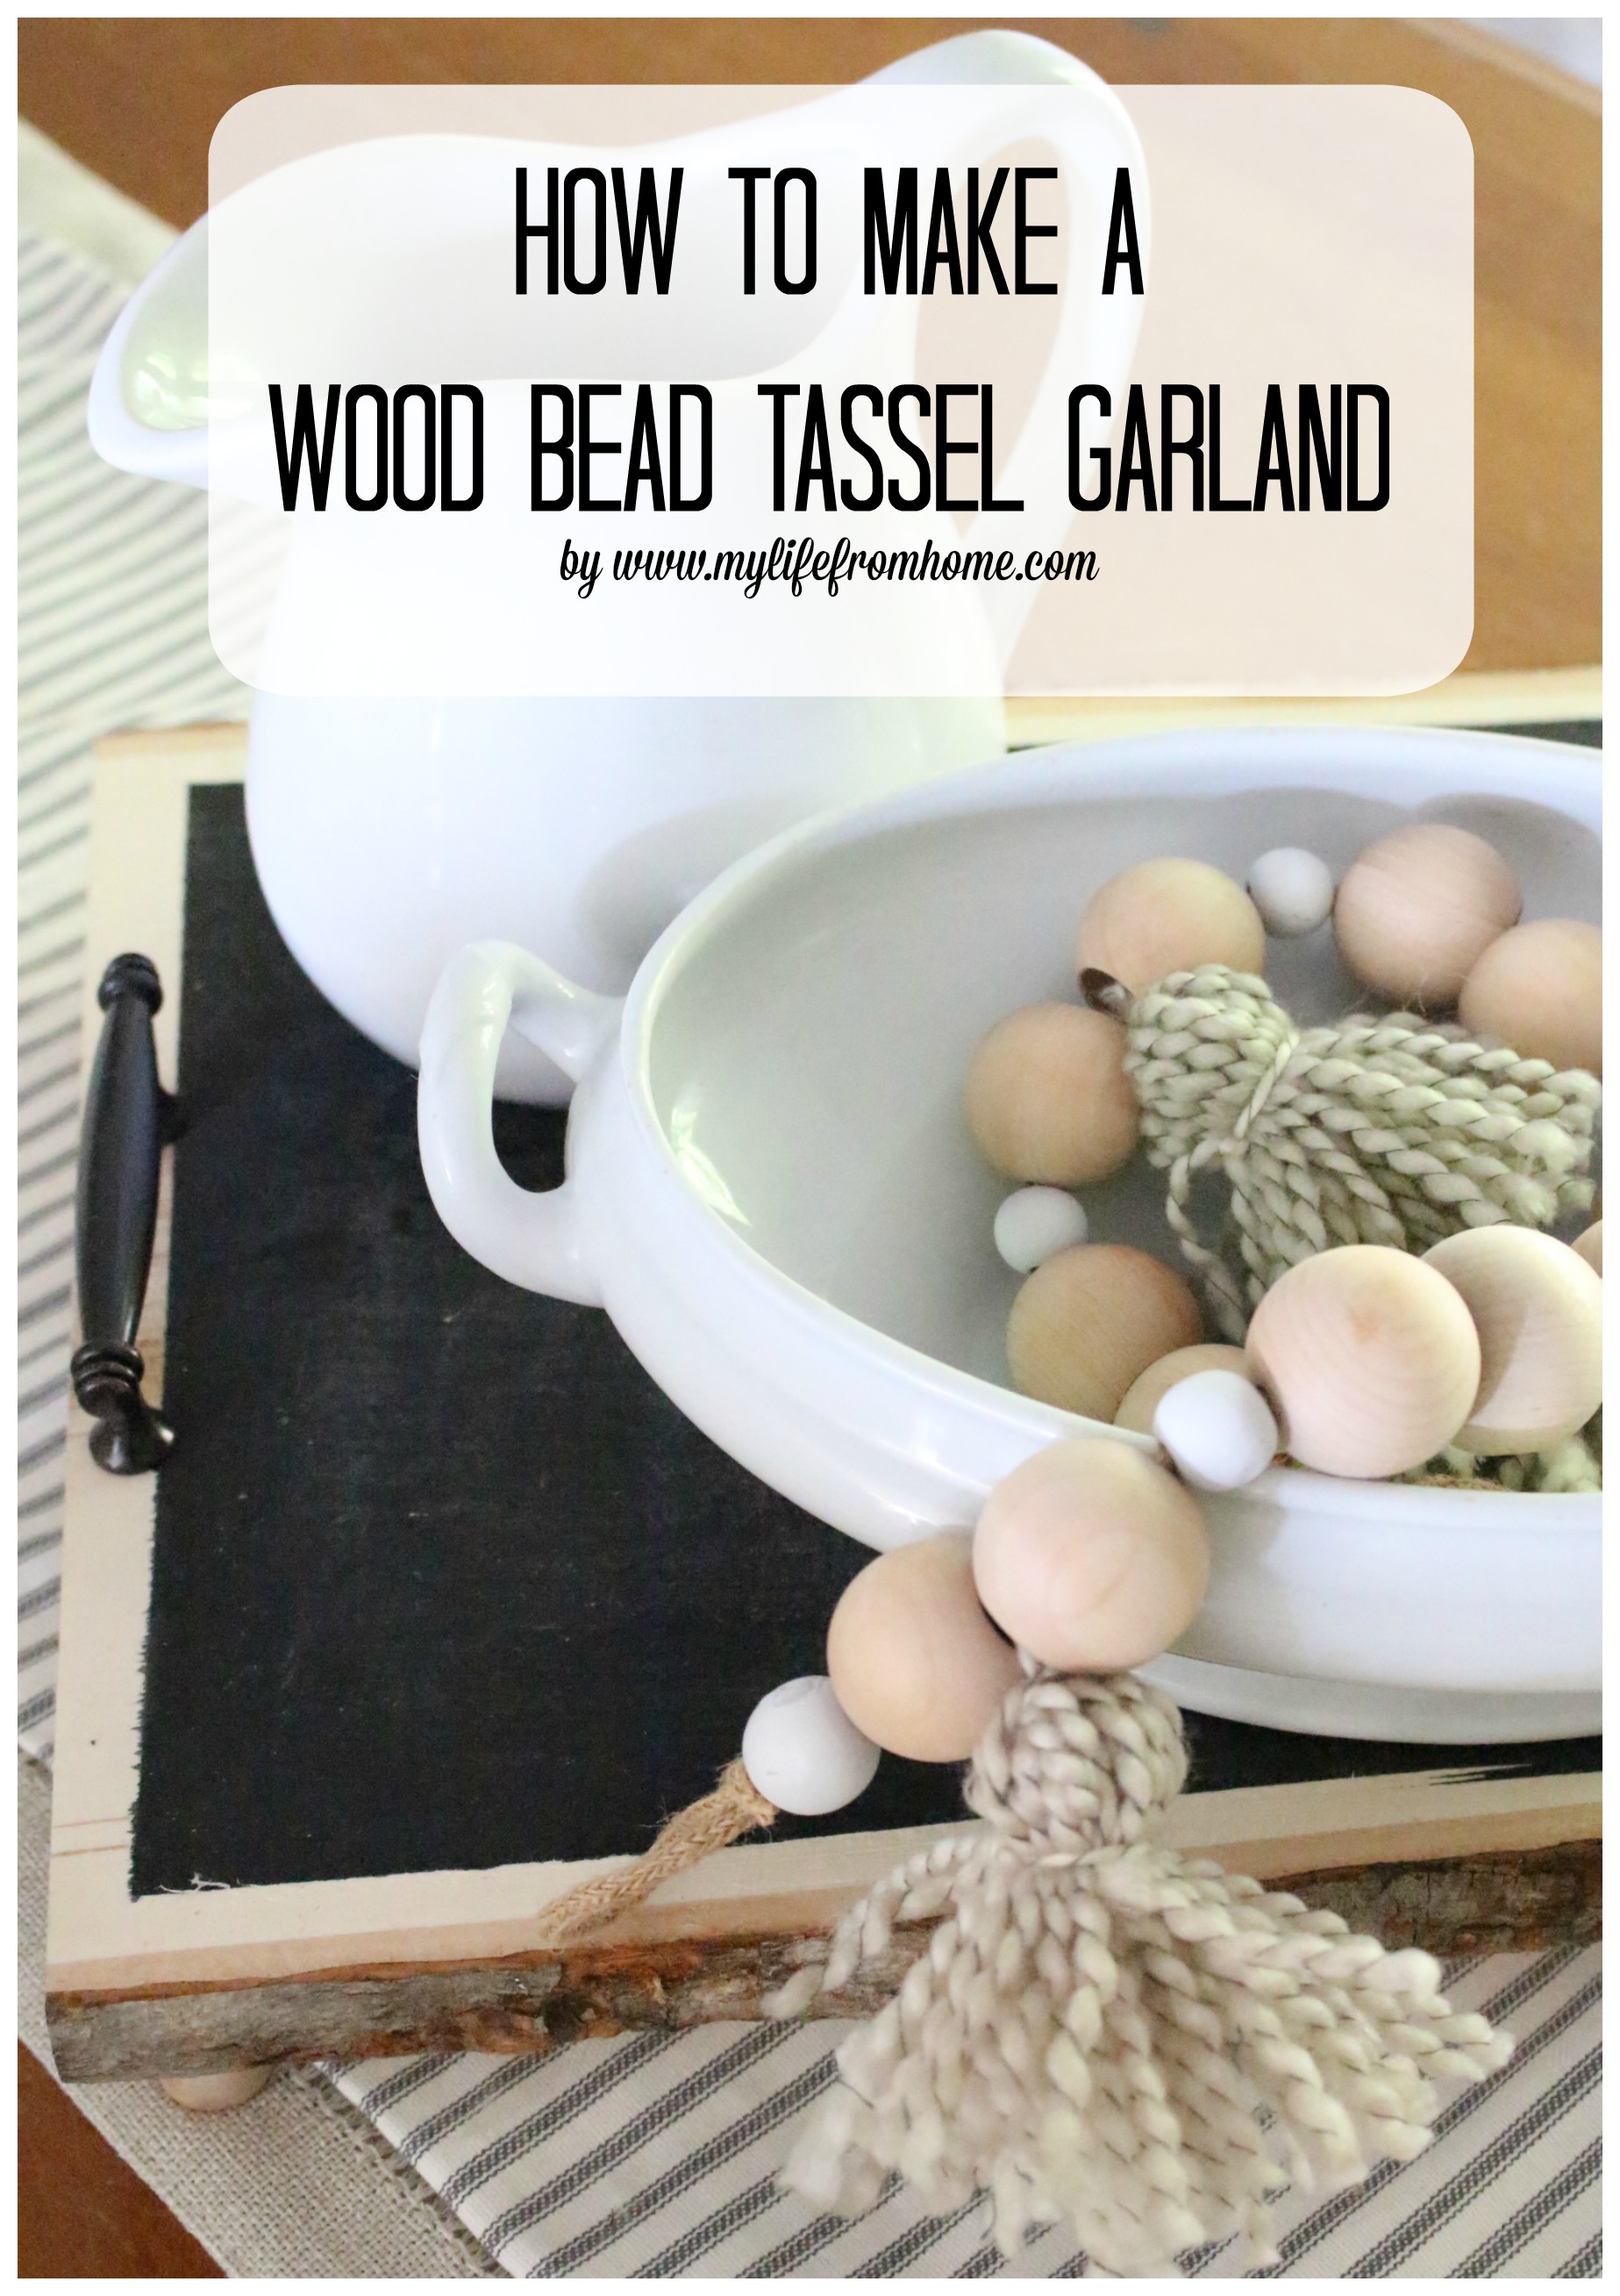
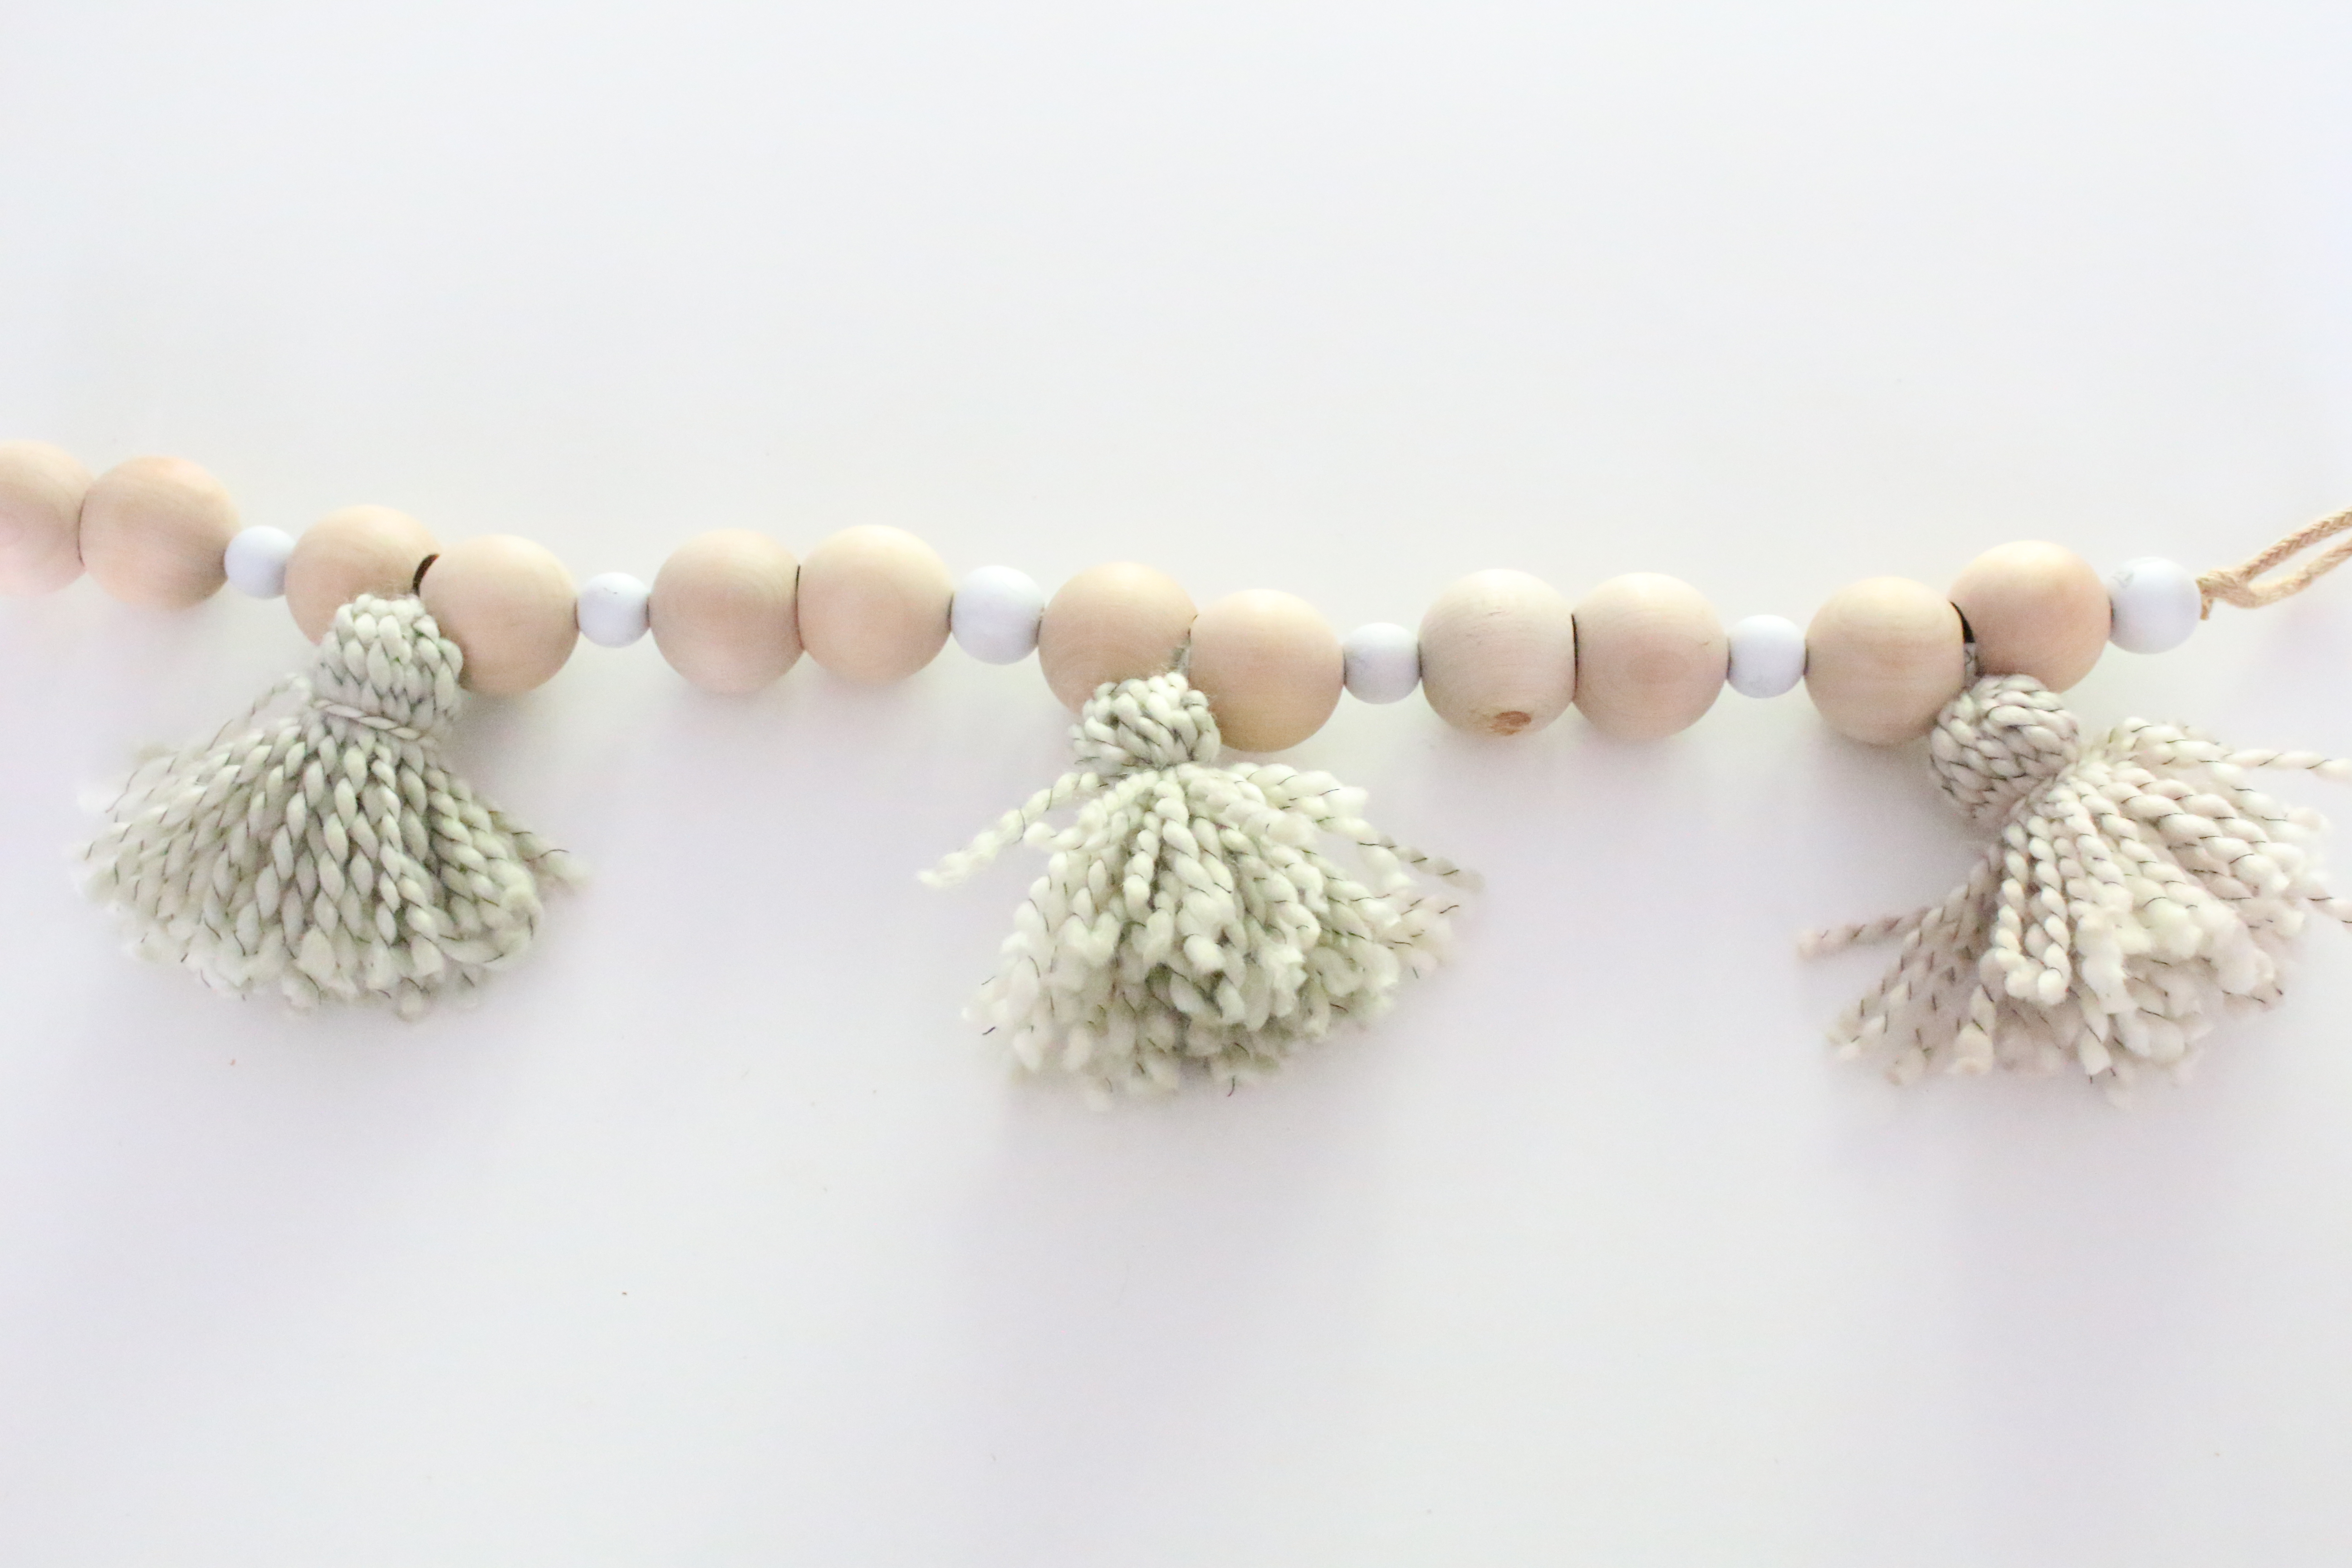
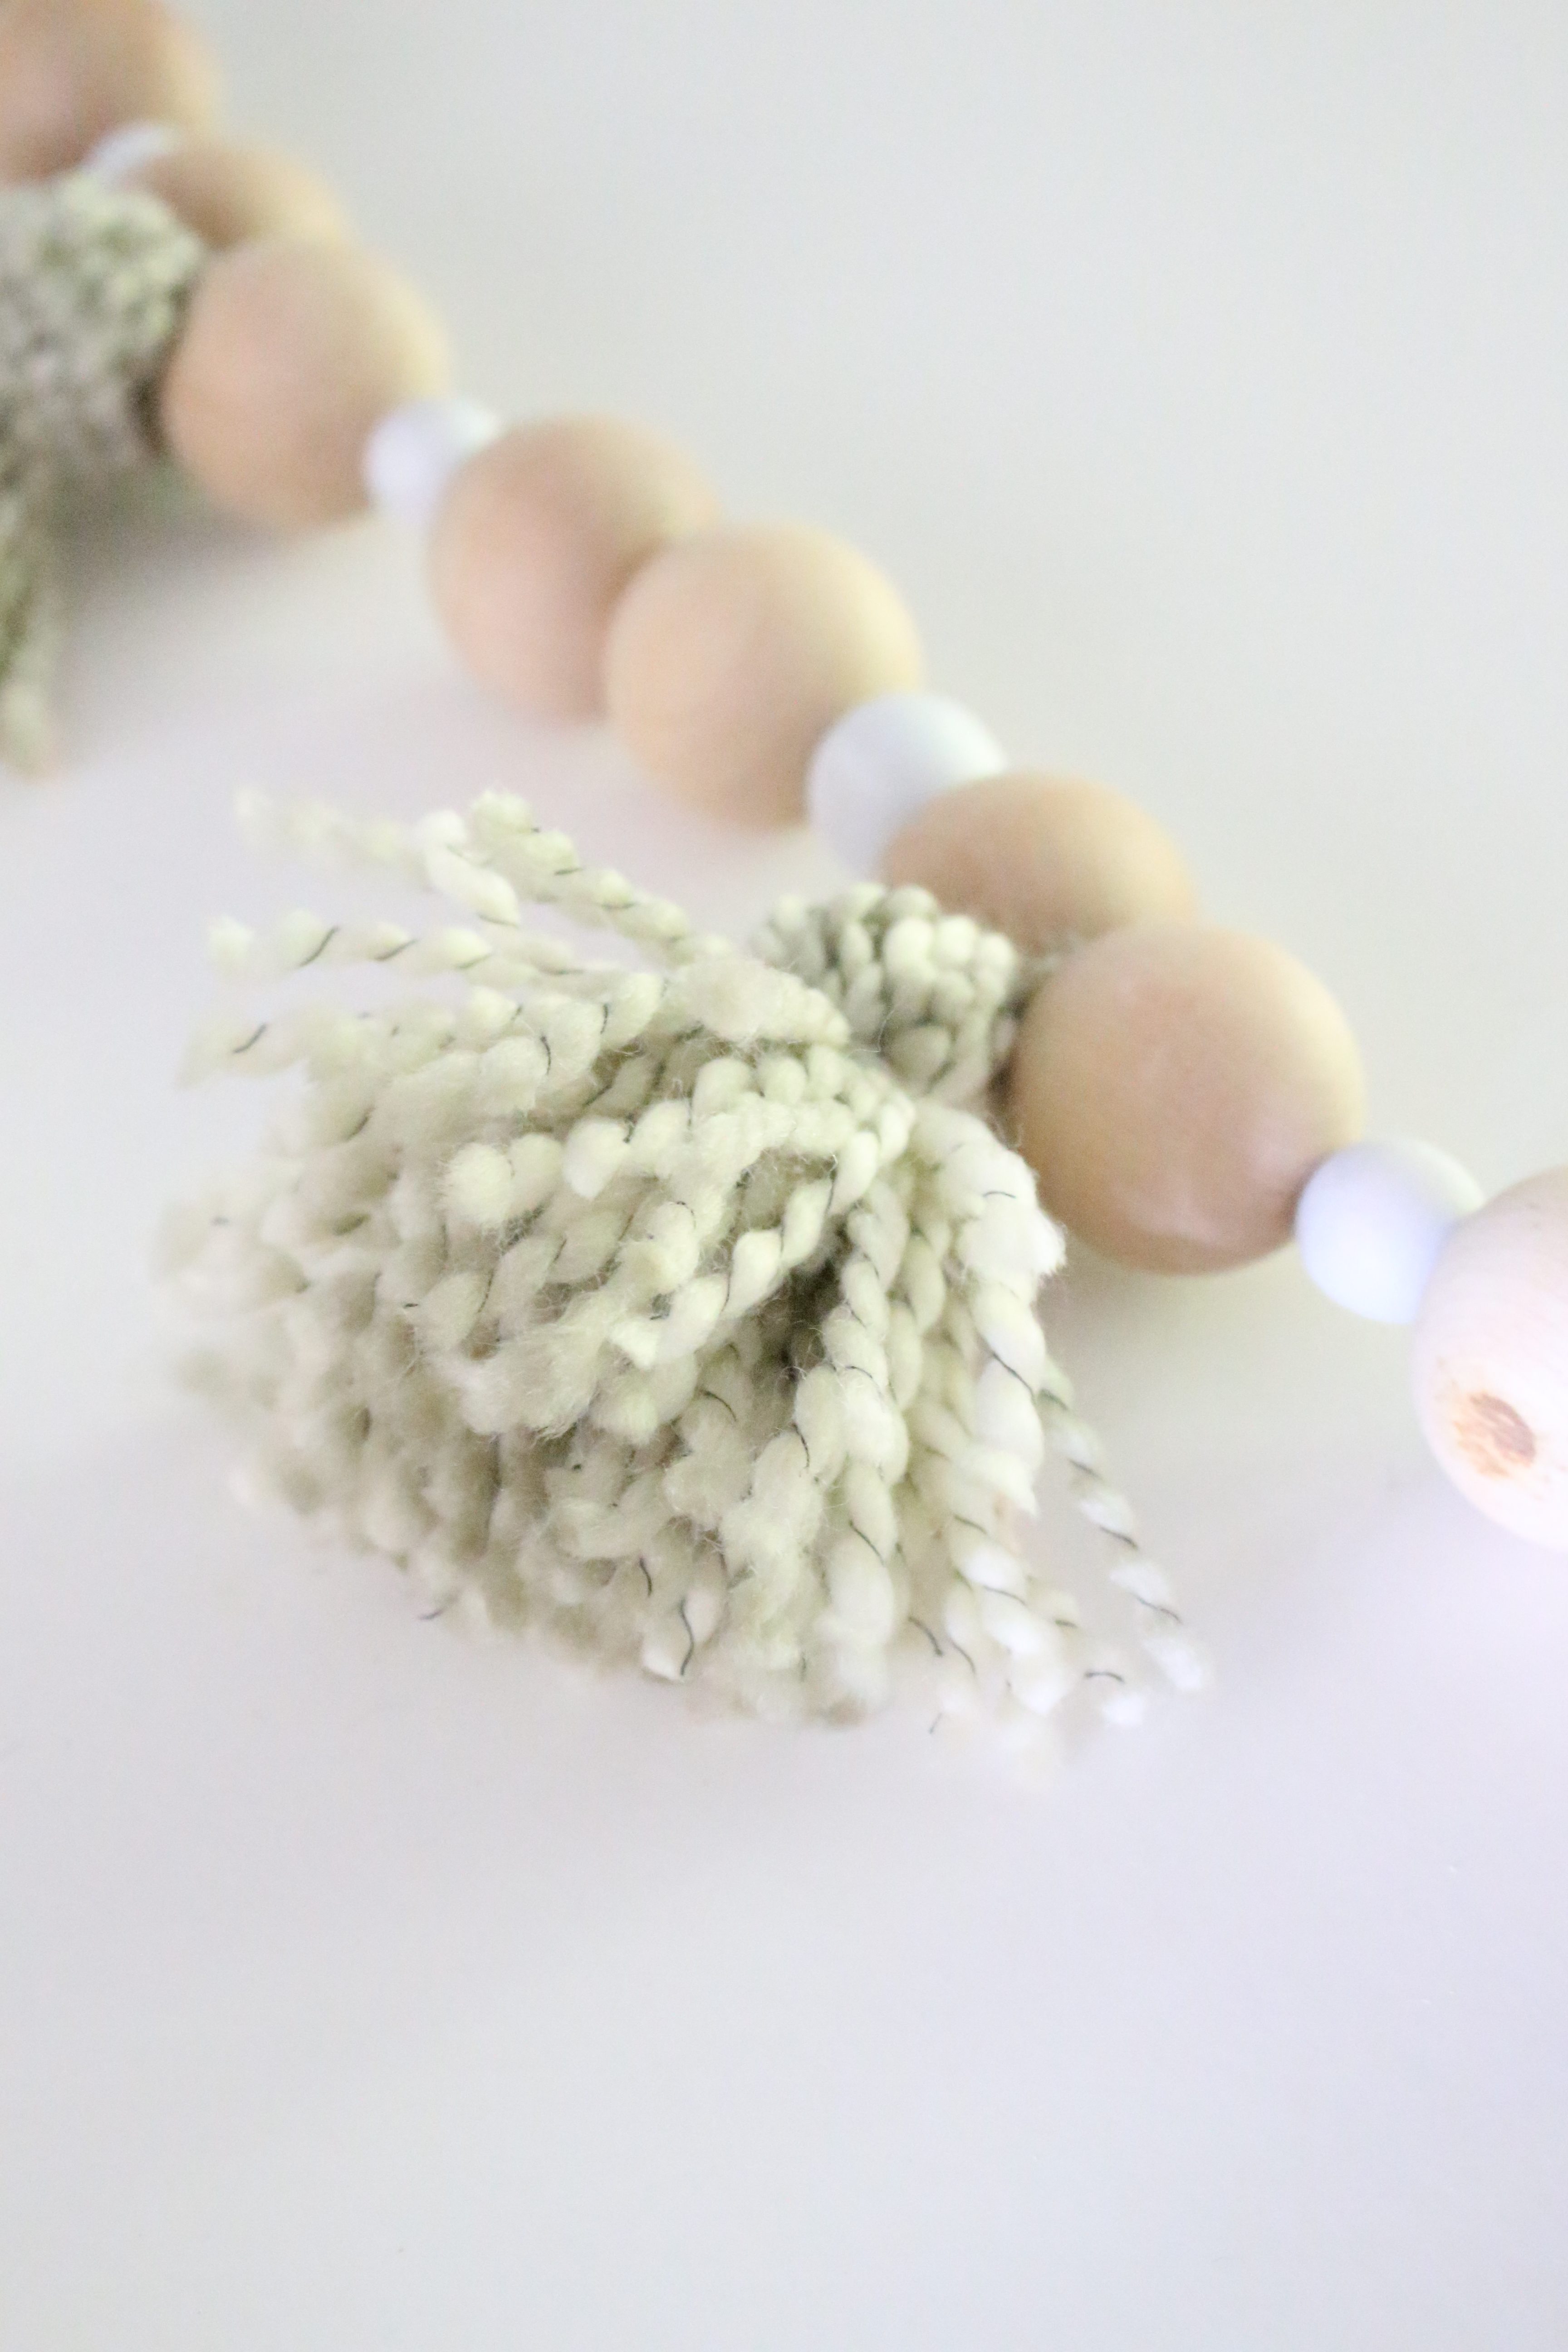
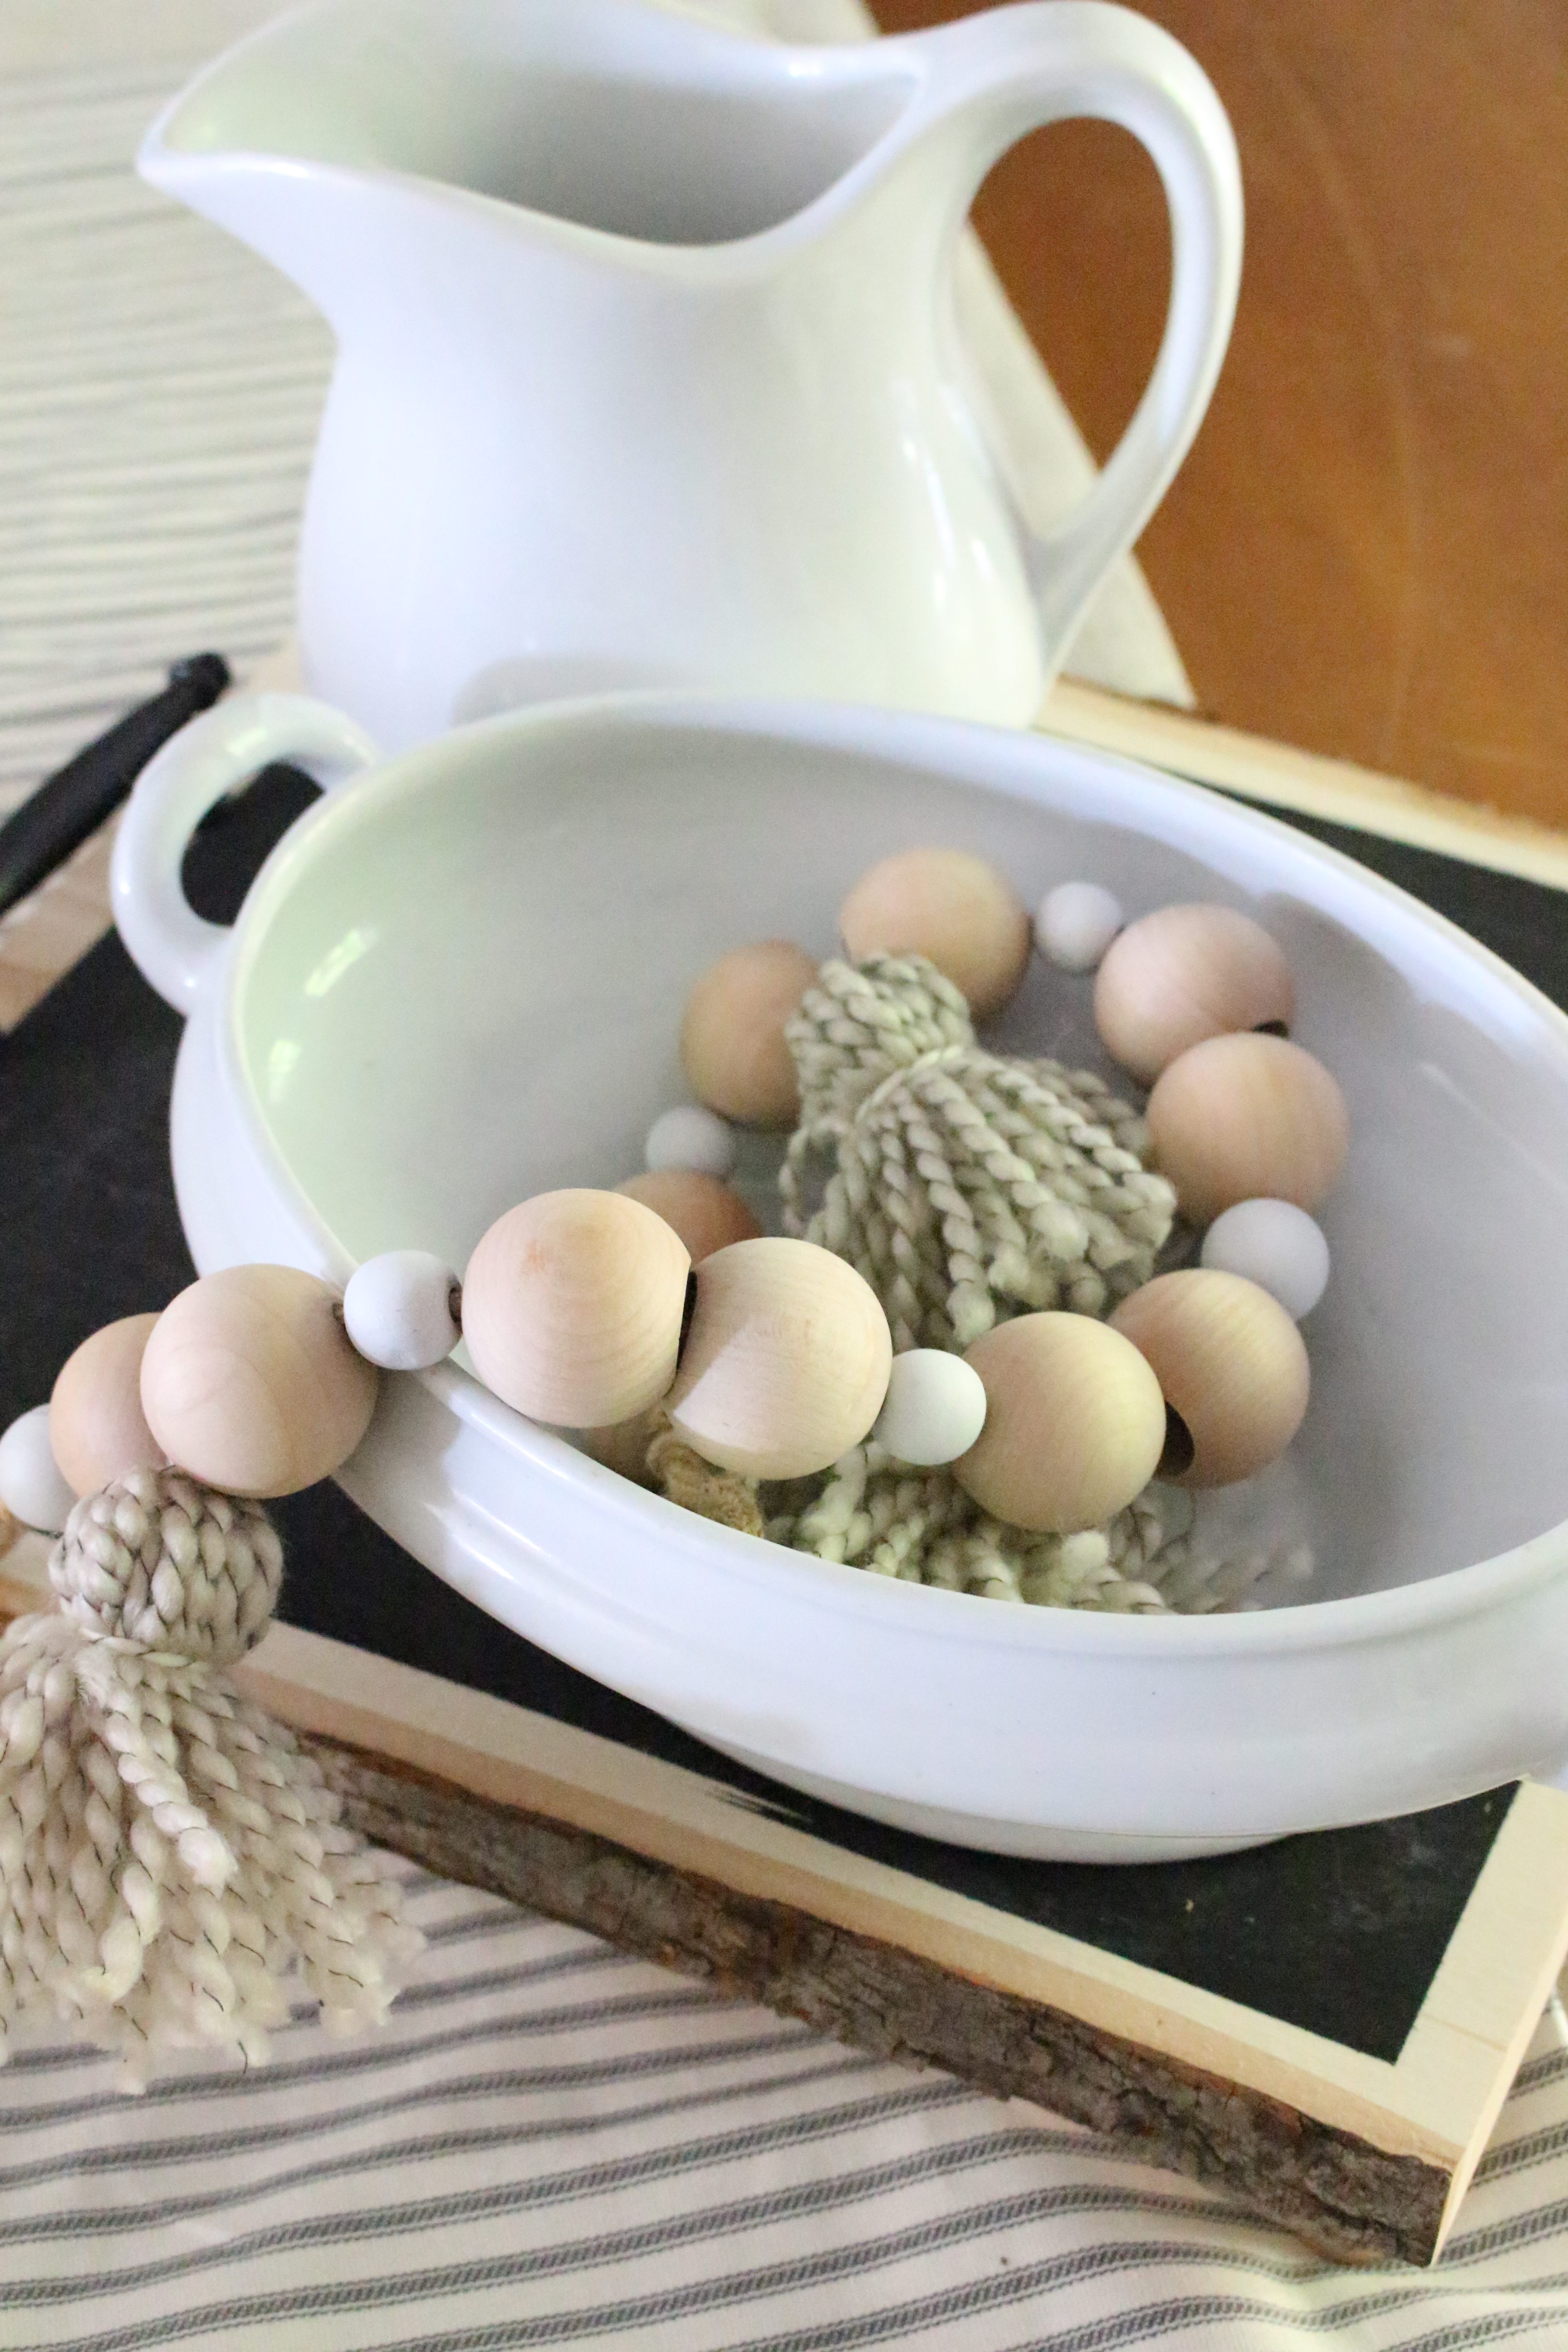
I have been loving the wooden bead garlands I have seen in home decor lately, so I decided to make my own bead garland and jazz it up with some tassels.
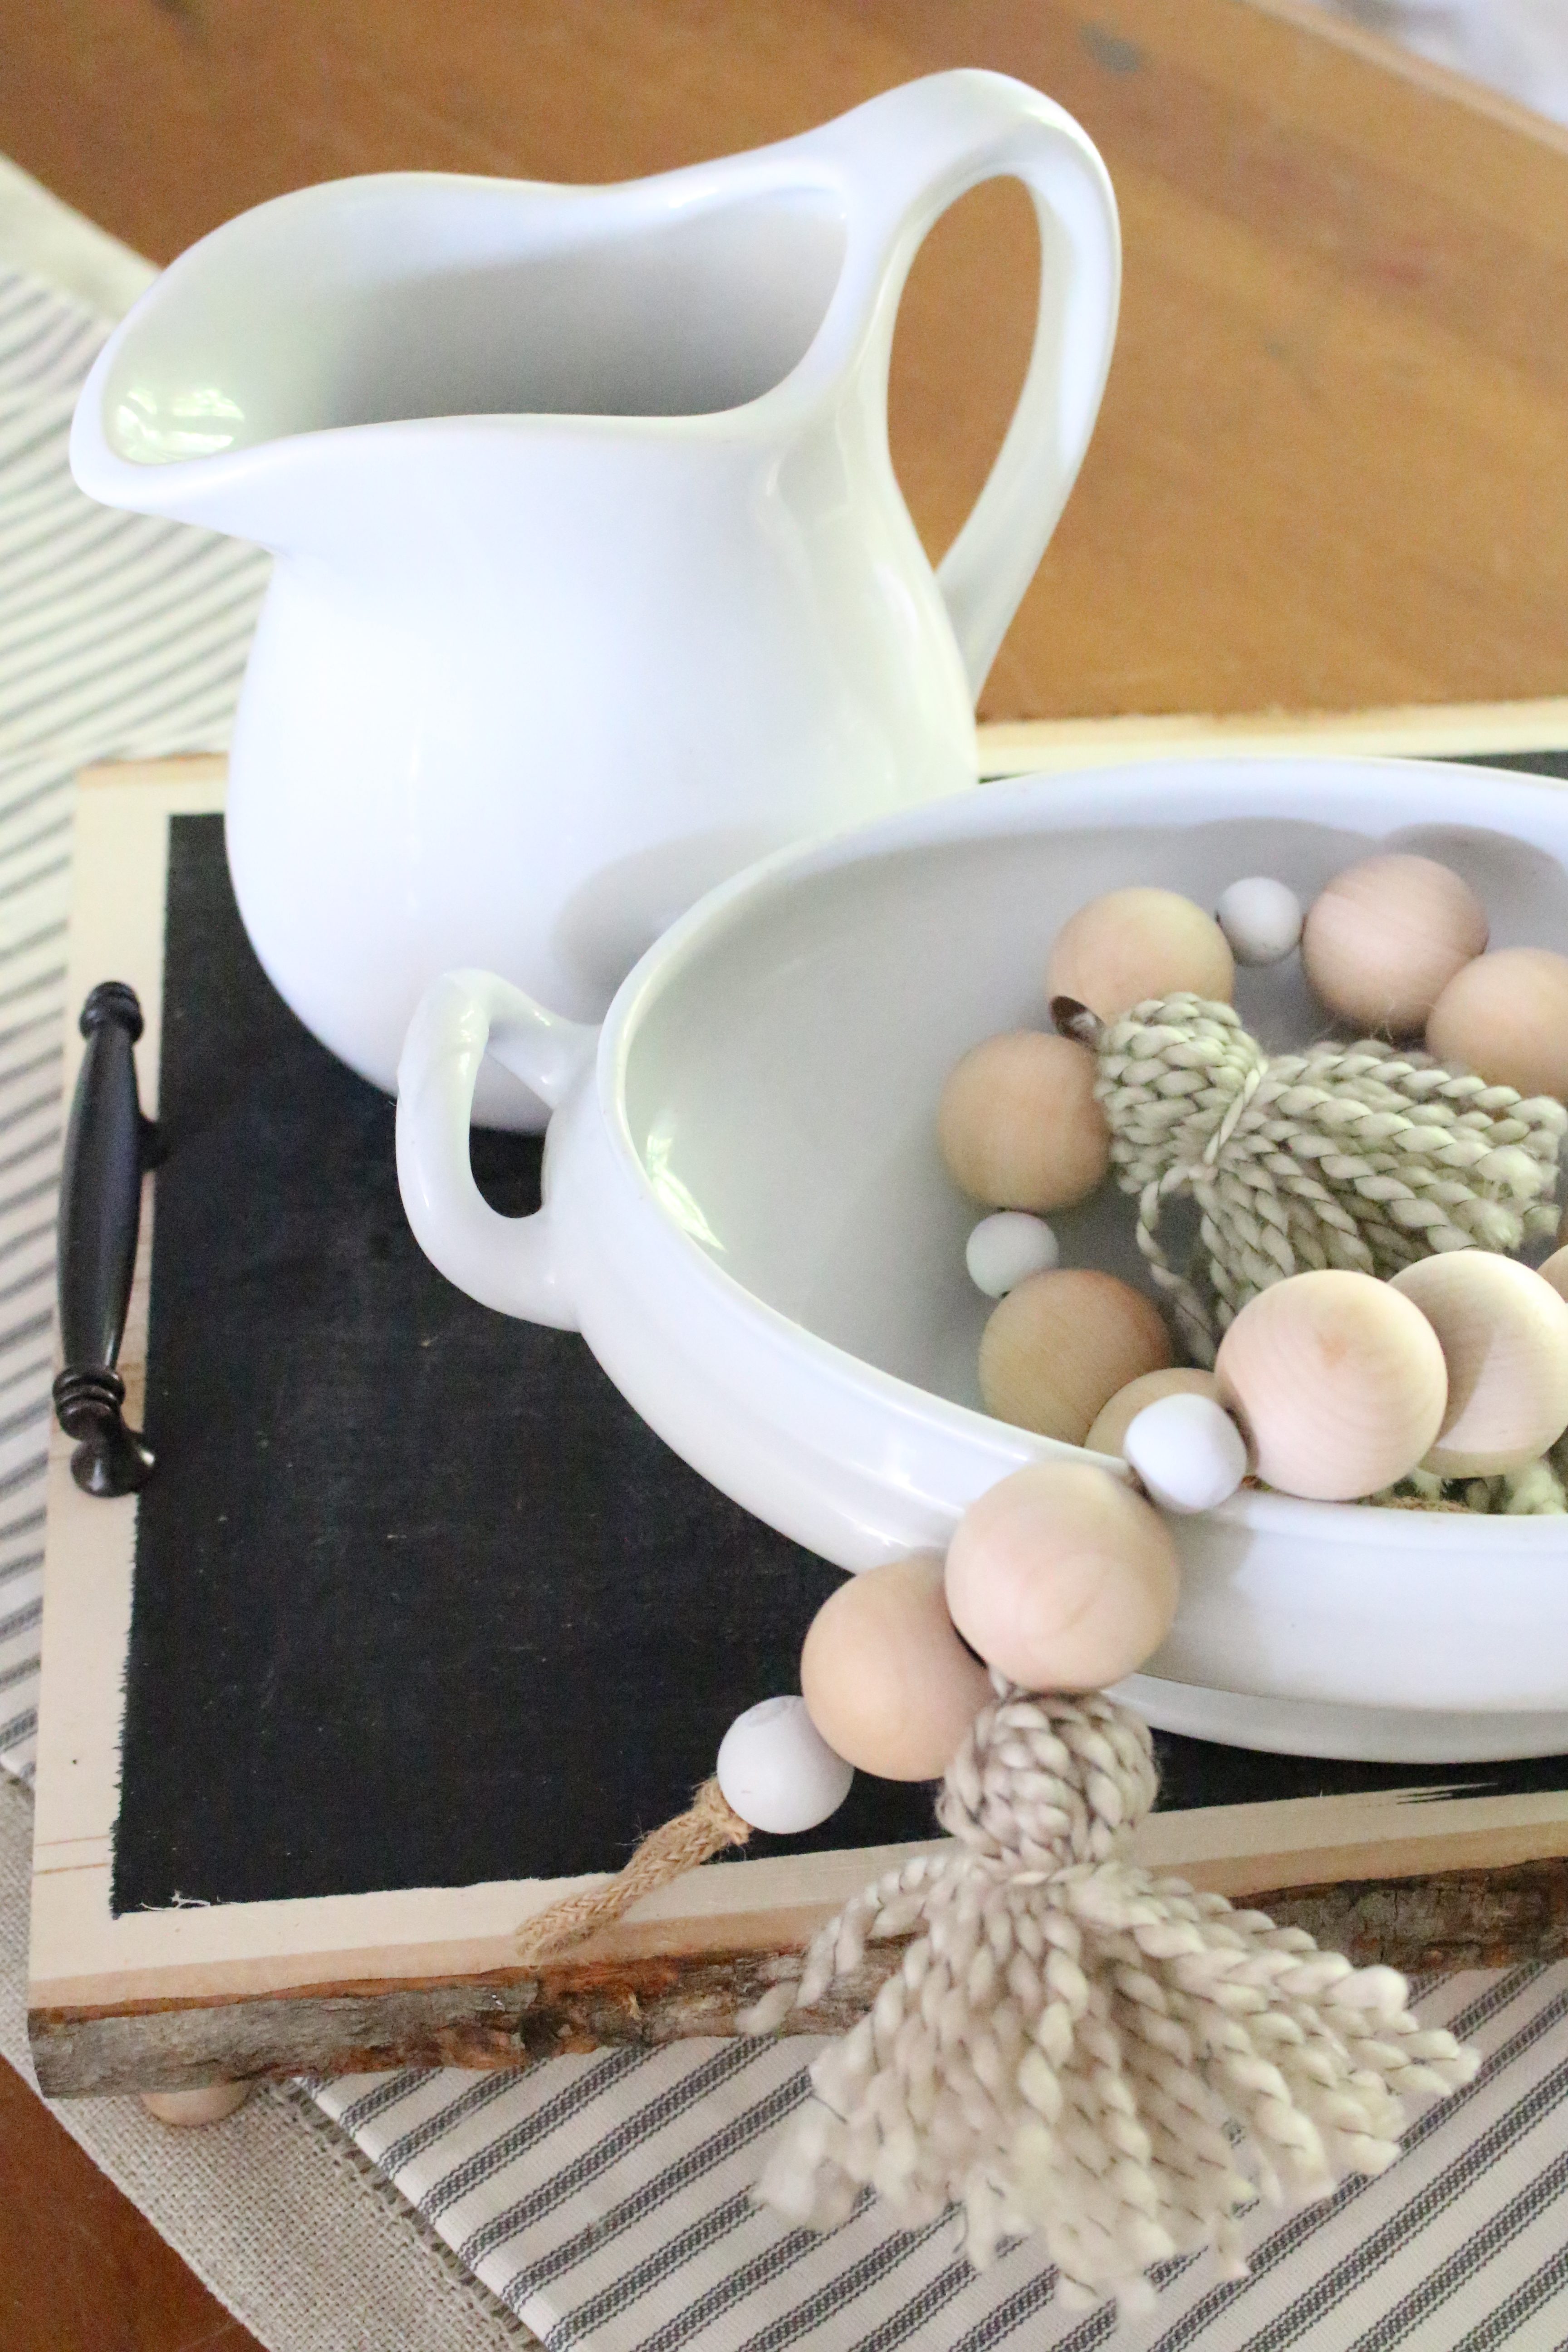
Wood Bead Tassel Garland
{This post contains affiliate links, see full disclosure here.}
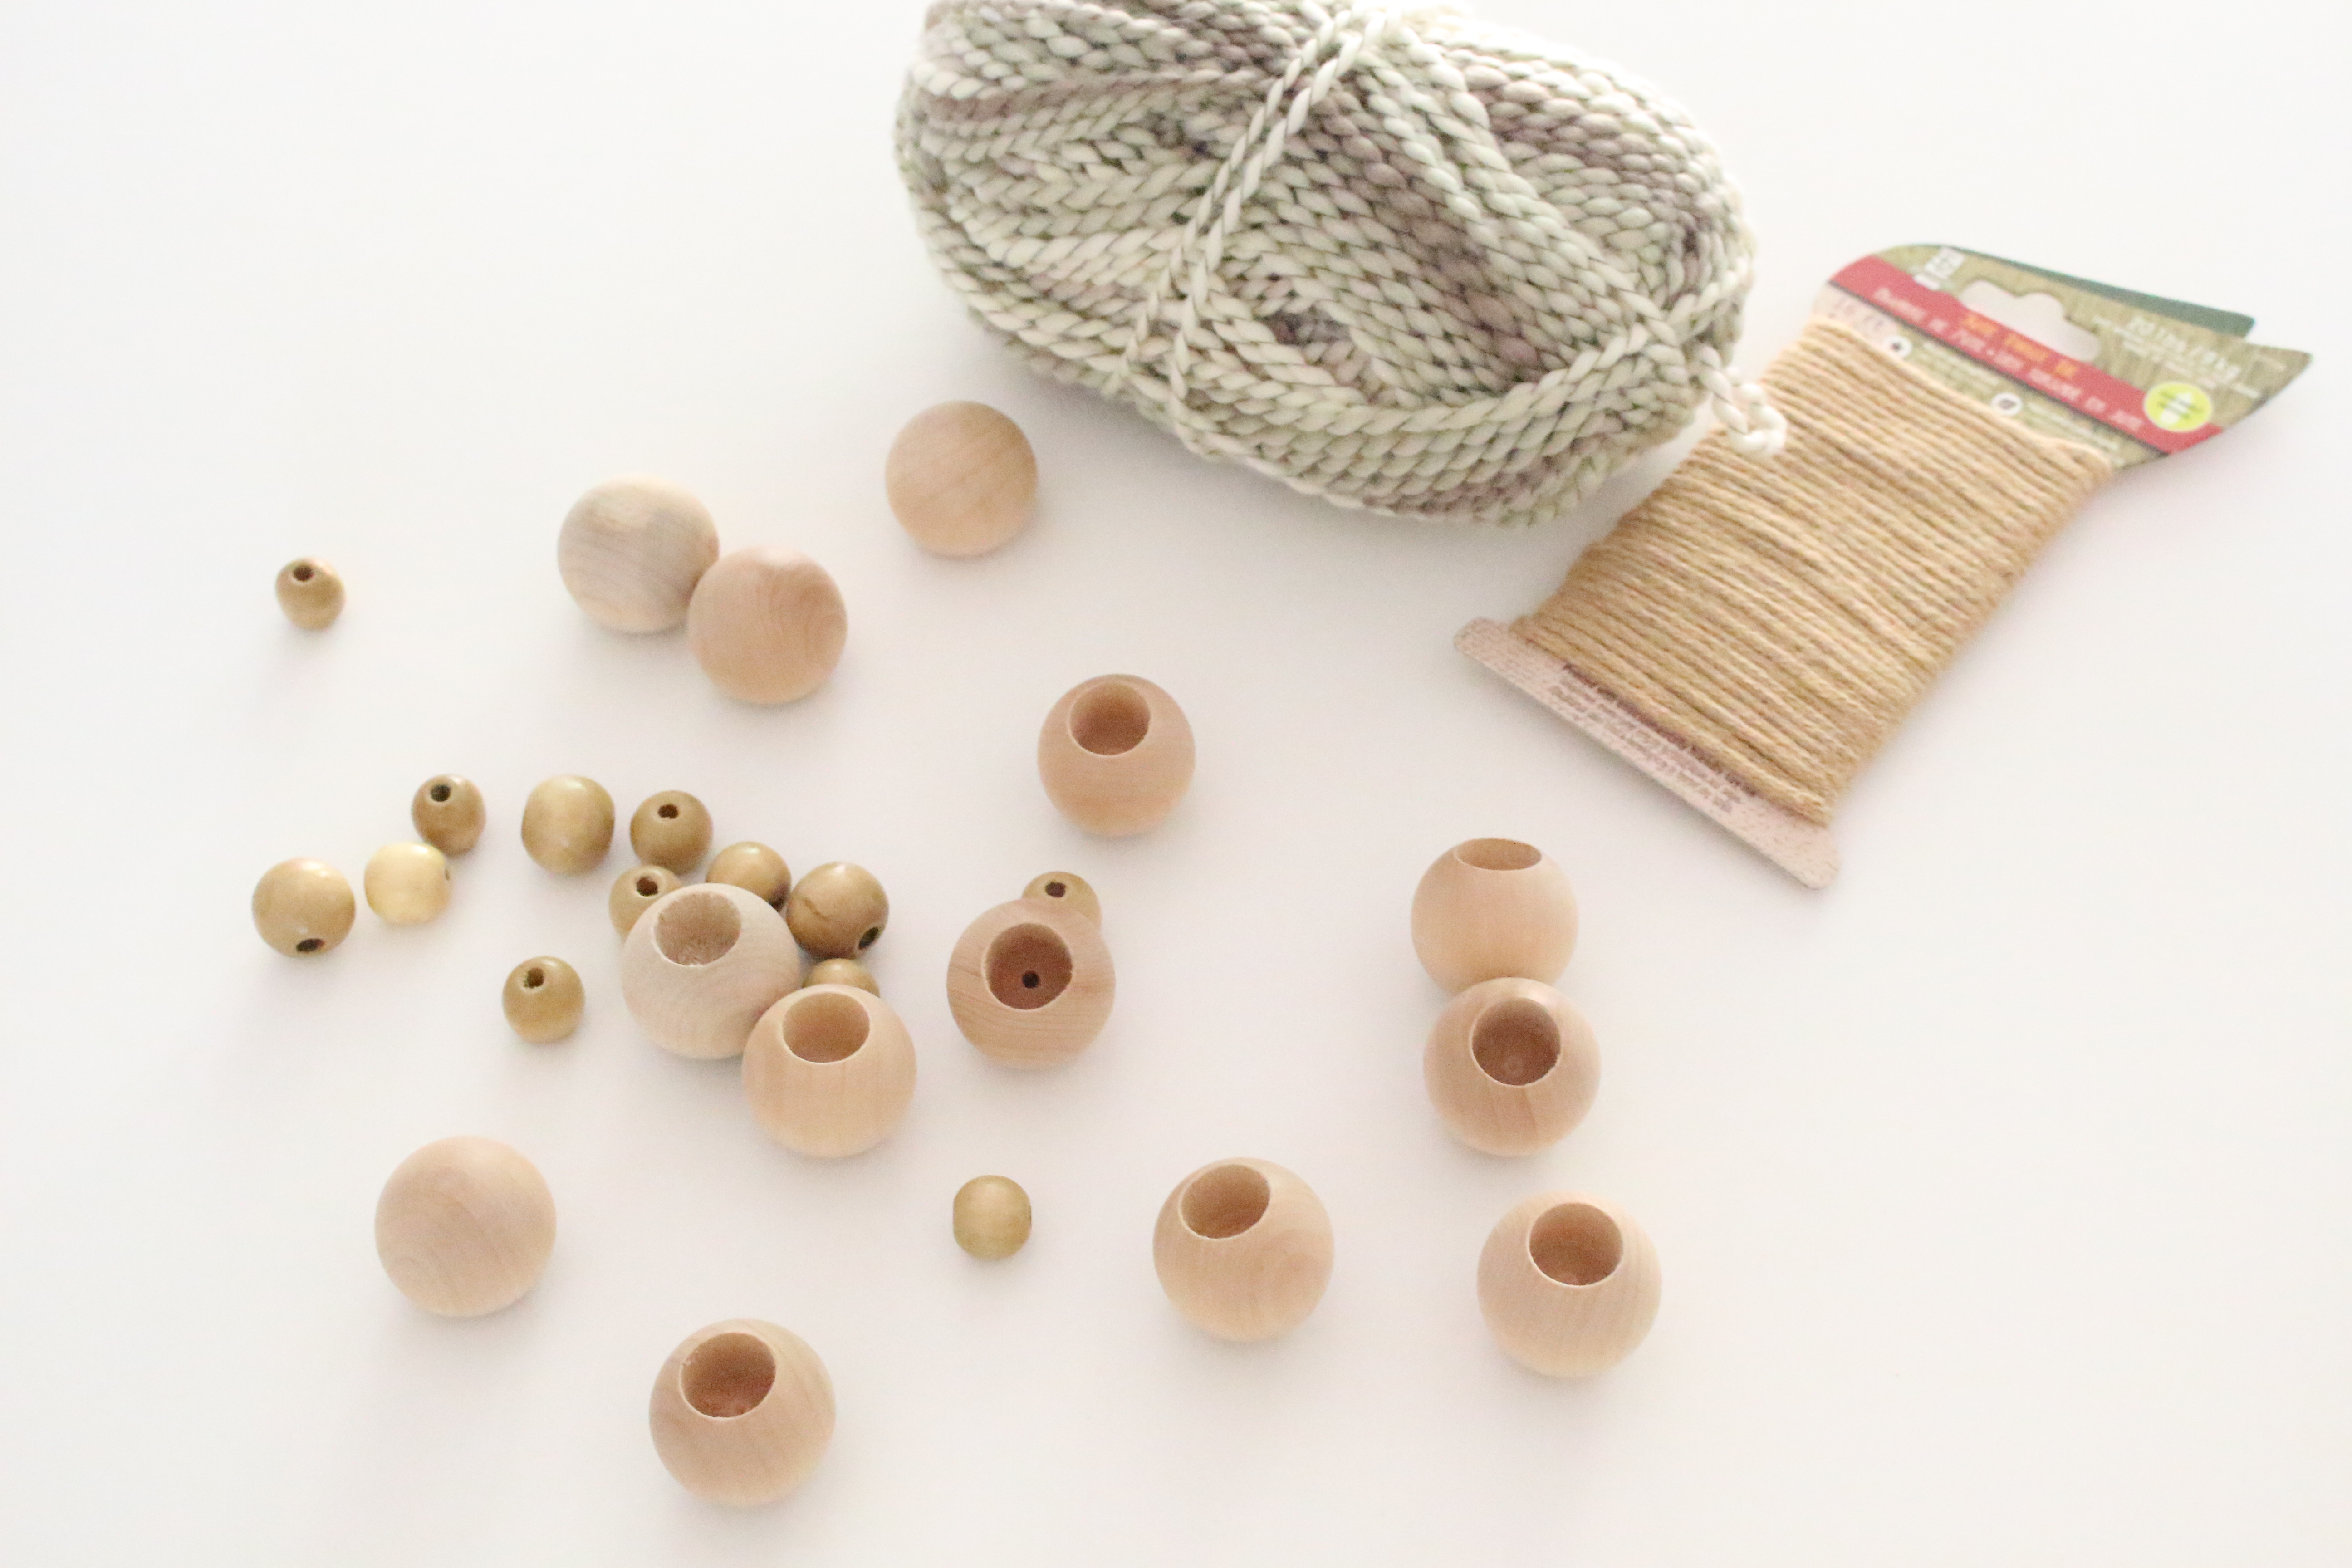
Supplies Needed:
Twine or wired twine (this is the one I used)
Instructions:
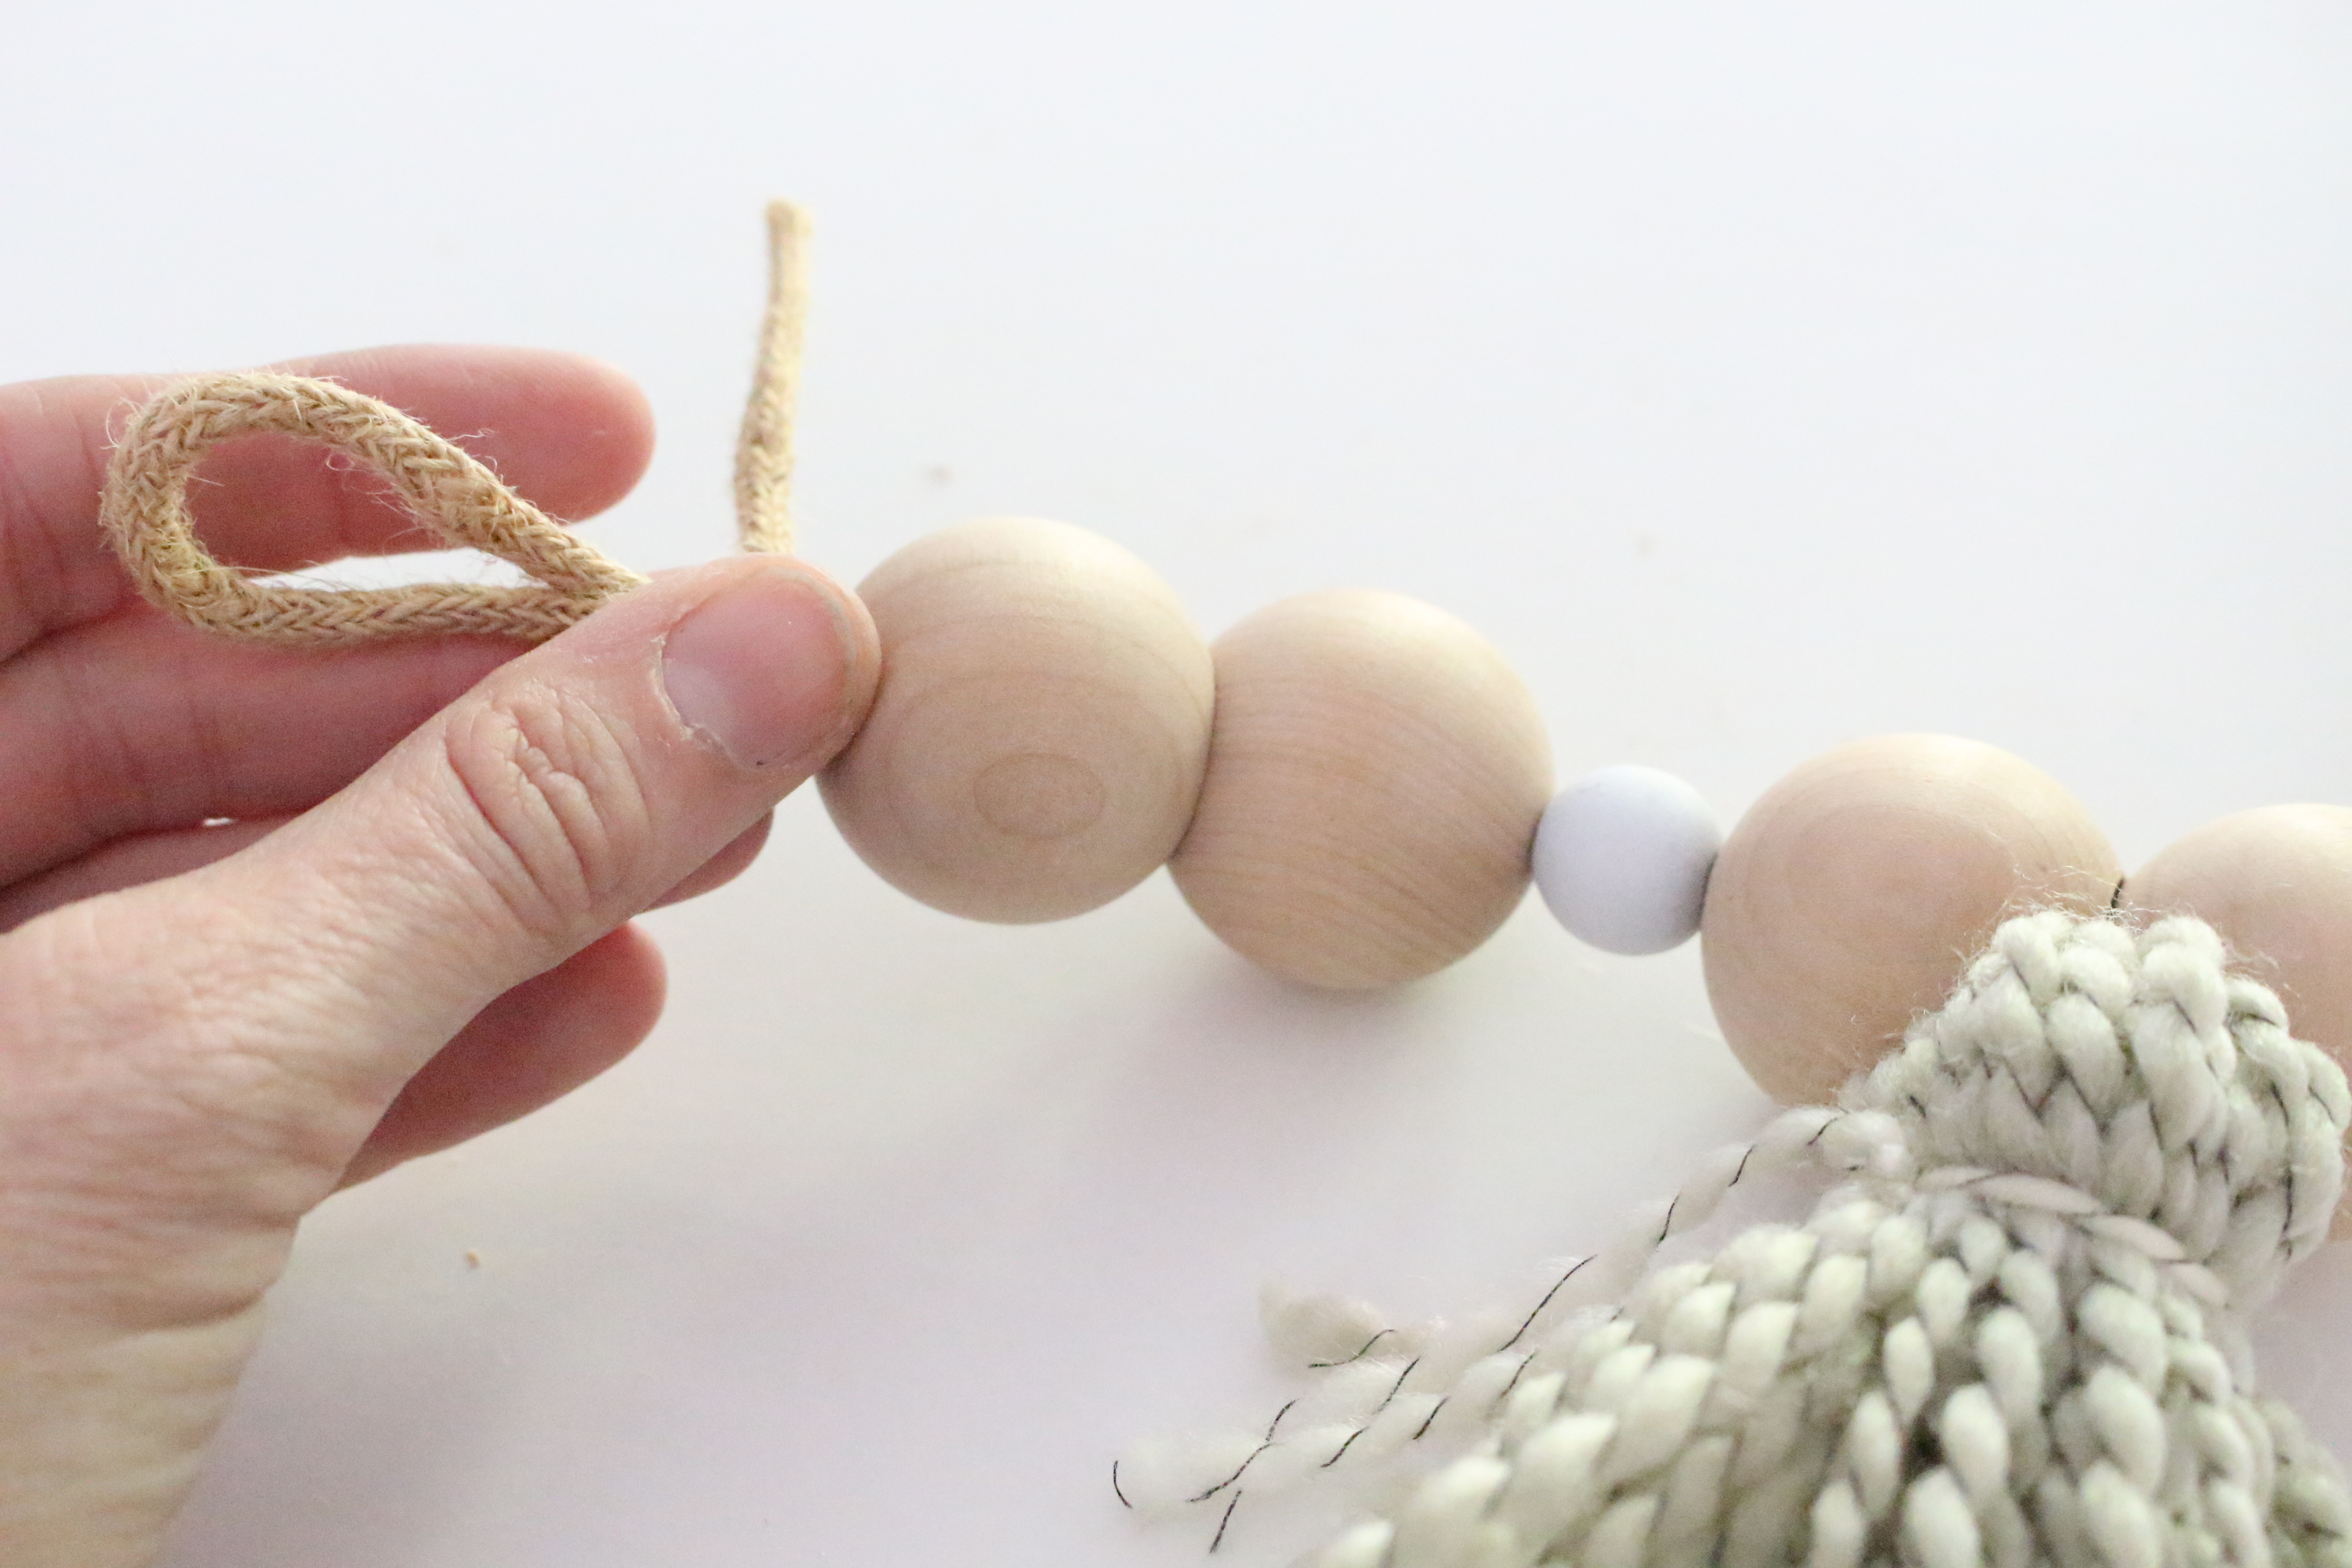
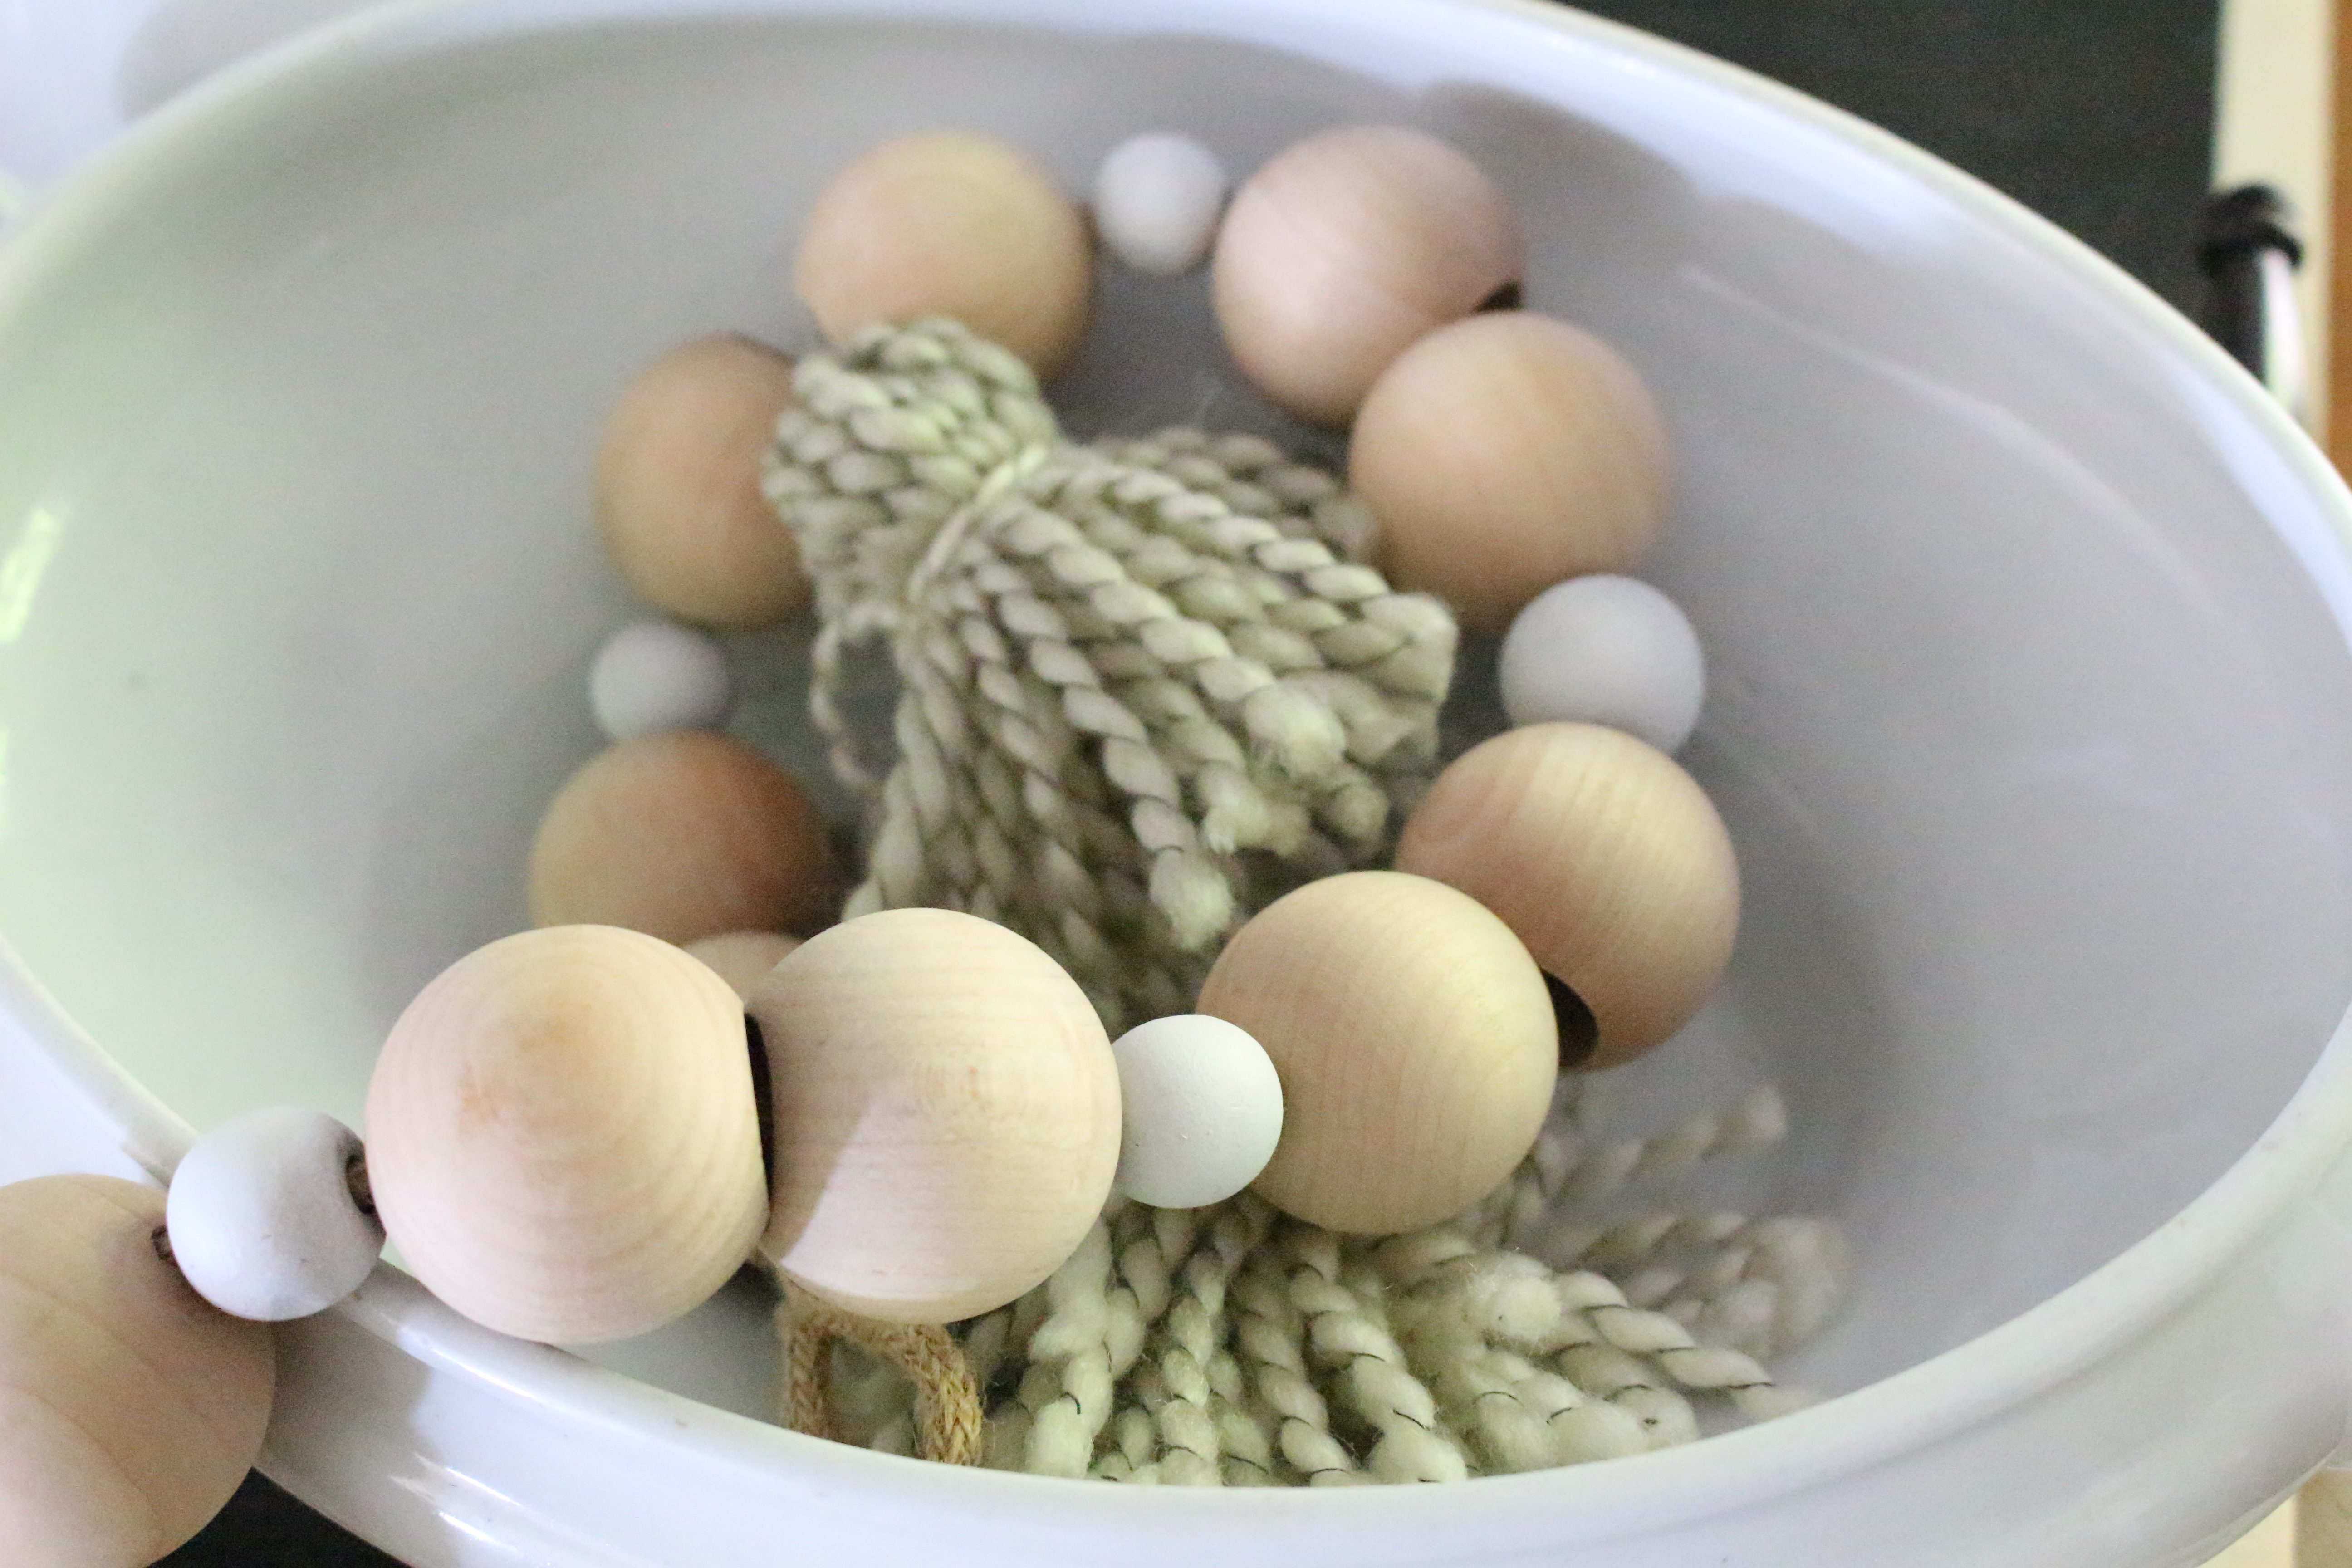
This is a super easy project that was made a lot more difficult for me because my large beads did not have predrilled holes. I used my drill to make holes in my beads. I would recommend buying your beads with the holes already drilled to make this project a snap.
Another tip, I loved this wired twine! It gives your garland a little more structure and weight.
Need help making tassels? I give you a full tutorial in this post.
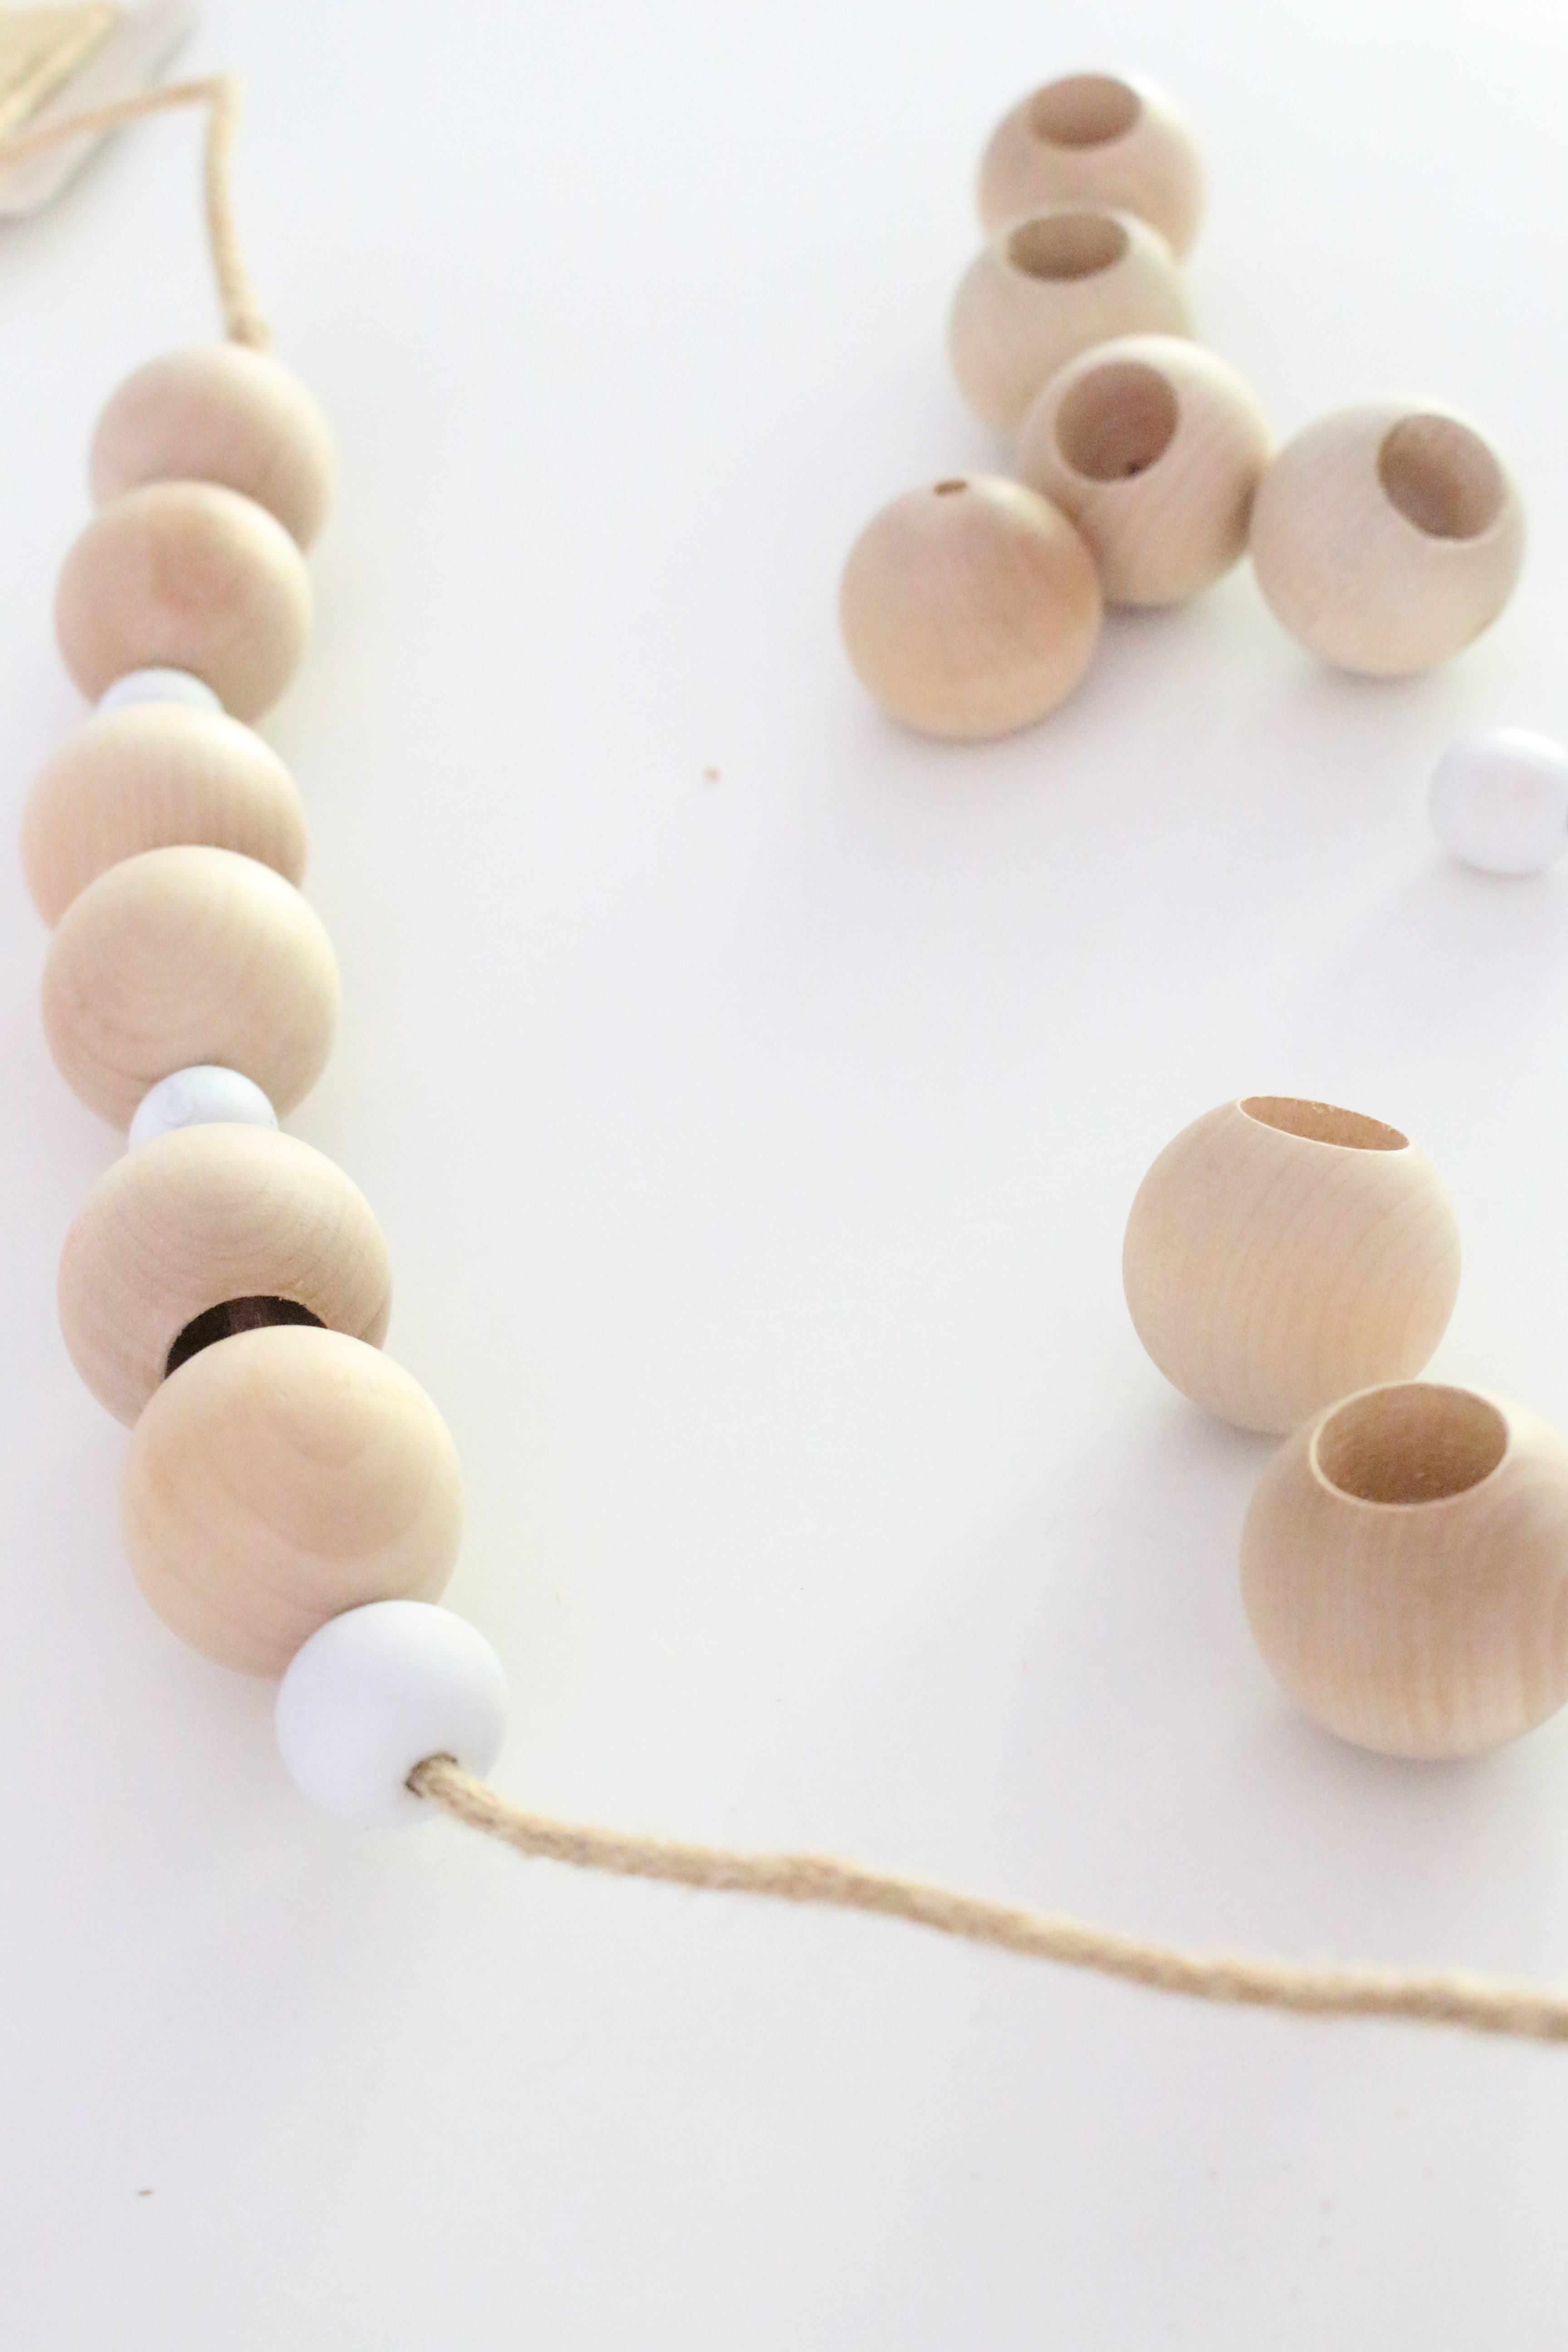
To put this together, I strung on the beads and tied on the tassels intermittently. For the end, I looped the wire around itself and secured the end.

Want to see what my friend, Rachel, from This is Our Bliss, did with the items I sent her? Head on over there for lots more inspiration. I can't wait to see either, so I'll join ya!
And tune in all week to see what everyone else did with their thrifty treasures!
MONDAY
TUESDAY
Confessions of a Serial Do-It-Yourselfer
WEDNESDAY
THURSDAY
FRIDAY
[mc4wp_form id=”7778″]
To life feeling like home!
XO,
Leave a Reply
The Sunday Letter
Most Sundays, once the house has gone quiet and it's edging towards nine, a letter goes out. It's the one I'd write to a friend with good taste and not nearly enough time: one thing worth reading, one thing worth buying, and one thing to skip. No noise, no pressure to spend, just the considered version of what I've actually been using, loving, or quietly sending back.
If you like the sort of recommendation that still holds up six months later, leave your email below and I'll write to you on Sunday.

Ooooh, I love the look of this! Very well done and such a great tutorial too!
Thanks so much for sharing (and for linking up to the last SHINE Blog Hop).
Wishing you a lovely day.
xoxo
Thank you Jennifer!
[…] Wood Bead Tassel Garland […]
[…] Wood Bead Tassel Garland […]
Love how your garland turned out! I never would have thought of that! XO
Thank you, Christy! I am thrilled with how it turned out!.
Thank you, Christy! I am thrilled with how it turned out!
So simple and so elegant and creative! Great idea for how to use your swap items!!
Thank you, Karen!
What a fun little challenge! The garland turned out perfect! Thanks for sharing, pinnning!
I love anything with tassels. Such a great idea!
love your garland! the little tassels are the perfect addition! the challenge sounds like such a fun idea.
Really cute idea, and I love how it turned out!
I LOVE this – turned out so cute, and it’s such a simple craft!
Amy that is super cute… Love it!
Thank you, Lynn!
Love what you did! The tassels are the icing on the cake!
Thank you, Bridget!
I love how you used the beads and tassels to make a simple garland!
Love it! Those beads are so nice
Thank you, Ariel!
Super cute Amy!!!!! I love the addition of the tassels!
Thank you, Stephanie! I’m eager to use it in my decor.
The garland is adorable! I love the varied sizes of the beads and of COURSE the tassels are a slam dunk! Love it!
Thank you, Charlotte! I am thrilled with how it turned out. Thank you for organizing and including me! It was a super fun event!
I’m smitten with wood bead decor these days and love your garland with the tassel accents. Definitely a quick and easy project I’m going to add to my project list.
Oh Amy, I absolutely LOVE what you did with those wooden beads, I have a bunch that have been nagging at me to do something fun with… I think I just found my inspiration!
Thank you, Laurie! It such an easy project and I’m thrilled with how it turned out. You definitely need to make one.
I love your garland!! The tassels add the perfect touch, too. I hadn’t thought about a garland, but it’s such a fun and easy DIY. Sorry about the hole-less beads. Can’t wait to see what your plans are for that crazy wine rack thing 😉
Thanks Emily! The hole-less beads just made it that much more interesting! 🙂
This is so simple and so pretty! I love the addition of the tassels to the bead garland, great idea!
Thank you, Stephanie! A simple project, but I love how it turned out.
What size are the largest beads?
Hi Bobbye, the largest bead has a diameter of 4 inches.