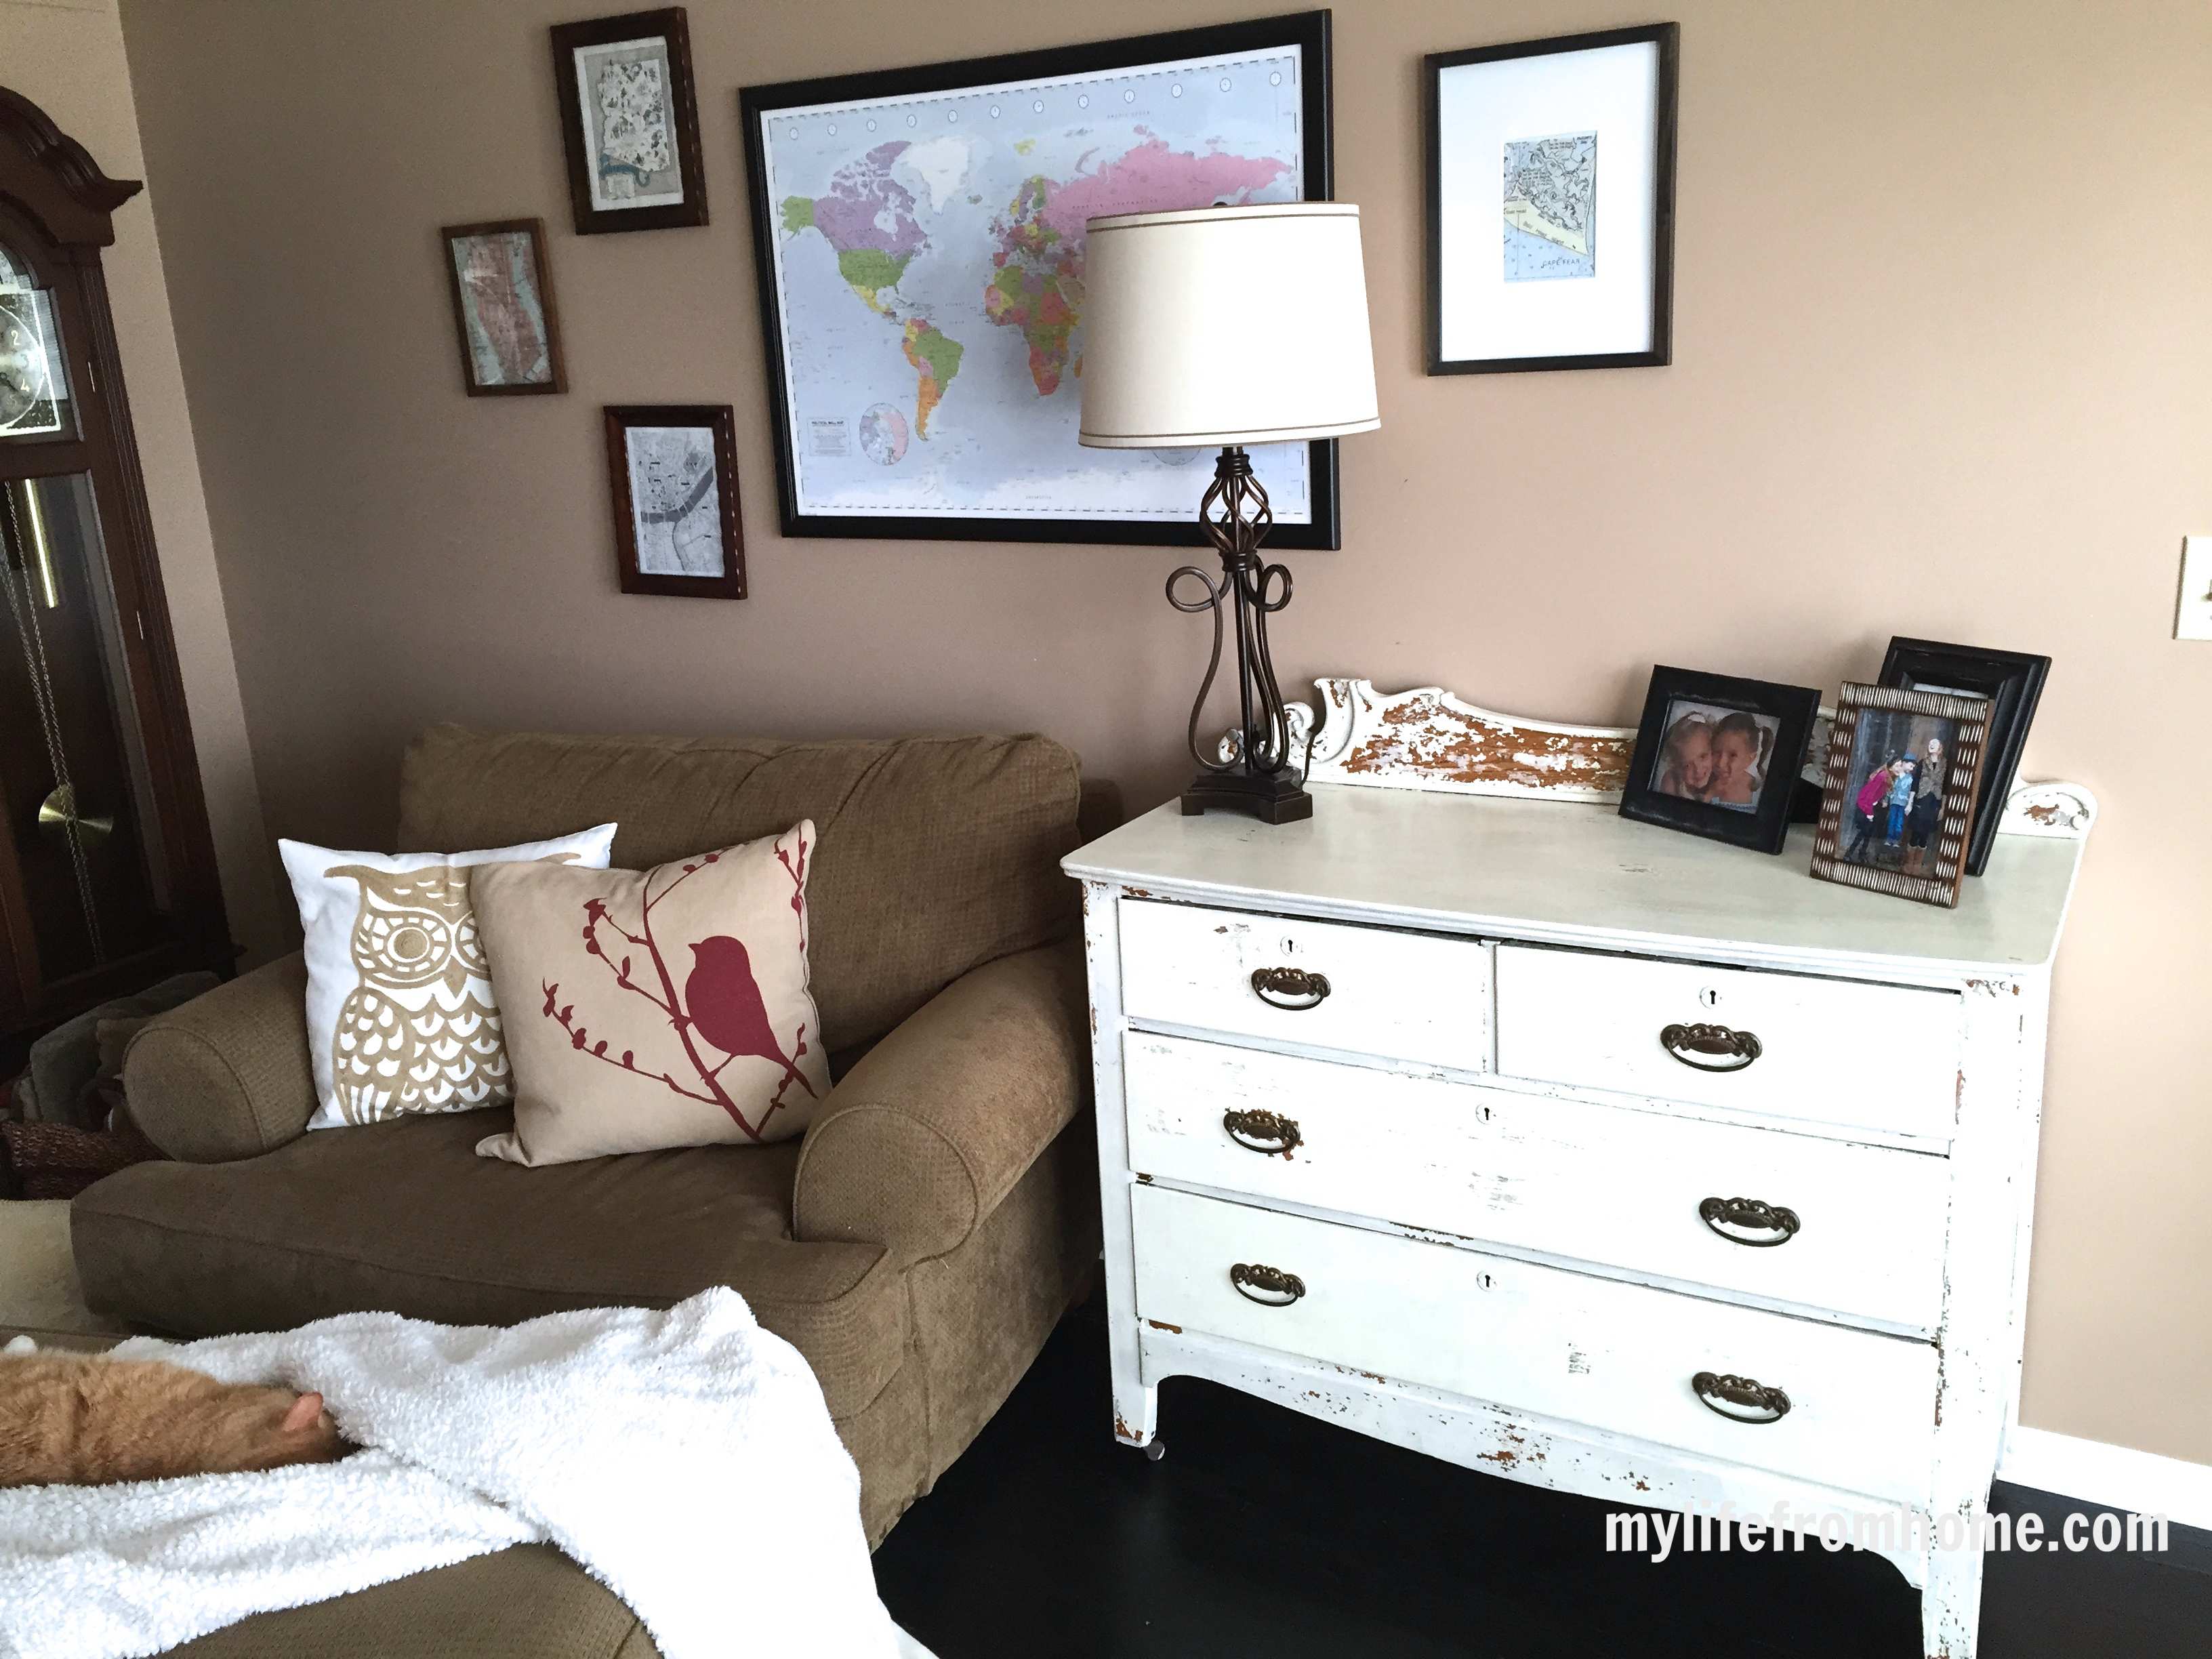
There’s a particular kind of satisfaction in taking something a bit tired, usually oak, usually orange-toned, and turning it into the piece you actually reach for. That’s what got me into milk paint furniture in the first place. Not a trend I was chasing, just a proper solution to a house that had a bit too much varnished pine in it for my liking.
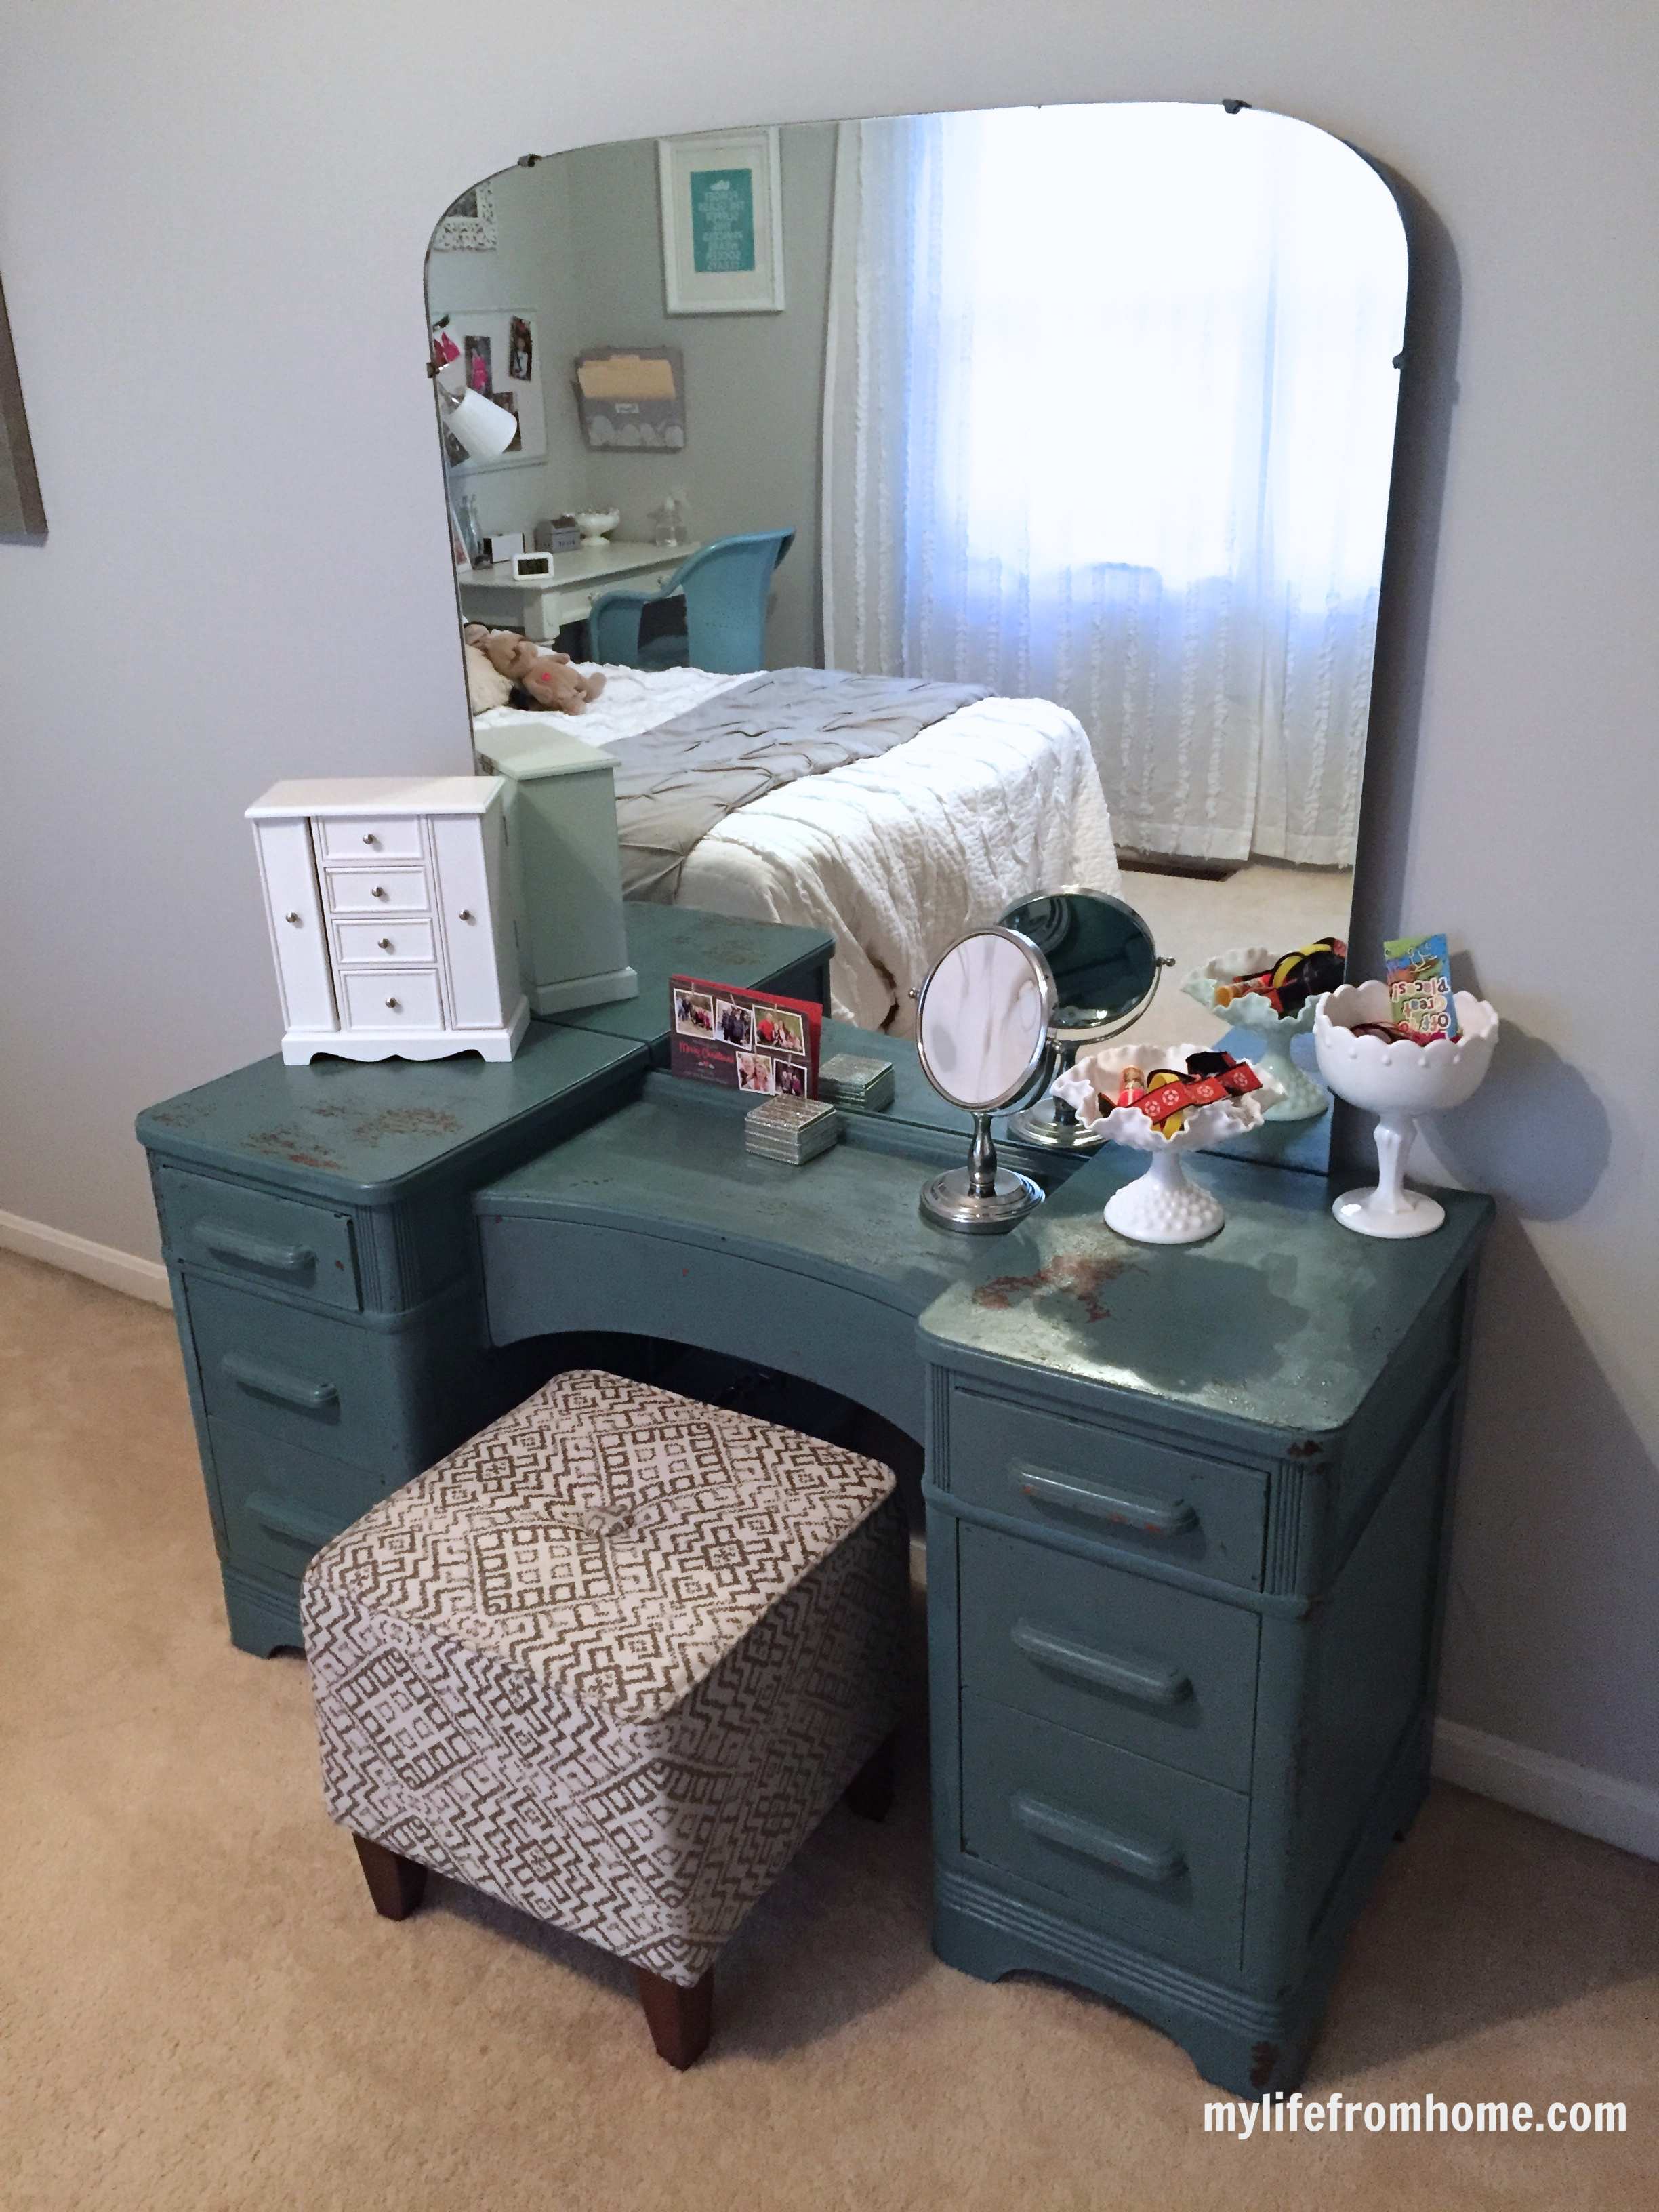
I’ve now used milk paint on two very different pieces: a dresser that ended up in our office, and a second-hand vanity that became my daughter’s dressing table. Both times I went in slightly wary of it, because it behaves nothing like a tin of ordinary furniture paint, and both times I came out the other side properly won over.
This is the guide I wish I’d had before I started. Not a sales pitch for one brand, just what milk paint actually does, how to use it well, and the bits that catch people out the first time.
Why Milk Paint Furniture Projects Are Worth the Faff
Milk paint isn’t difficult, but it is different, and that catches a lot of people off guard the first time they use it. Here’s why it’s still worth learning.
- It gives you a genuinely opaque, chalky finish that regular emulsion or furniture paint can’t replicate
- The chipping effect happens naturally, so you get an authentic worn look without distressing anything by hand
- It’s mixed from a powder, so you only make up what you need and there’s no half-used tin going hard in the shed
- It’s low odour and low VOC, which matters if you’re painting somewhere without brilliant ventilation
- It works beautifully over bare or lightly sanded wood, so prep is minimal compared to most furniture paint jobs
- You genuinely cannot ruin it. A patchy first coat just becomes part of the character
What You’ll Need
A quick shopping list before you start. None of it is specialist or expensive, which is half the appeal.
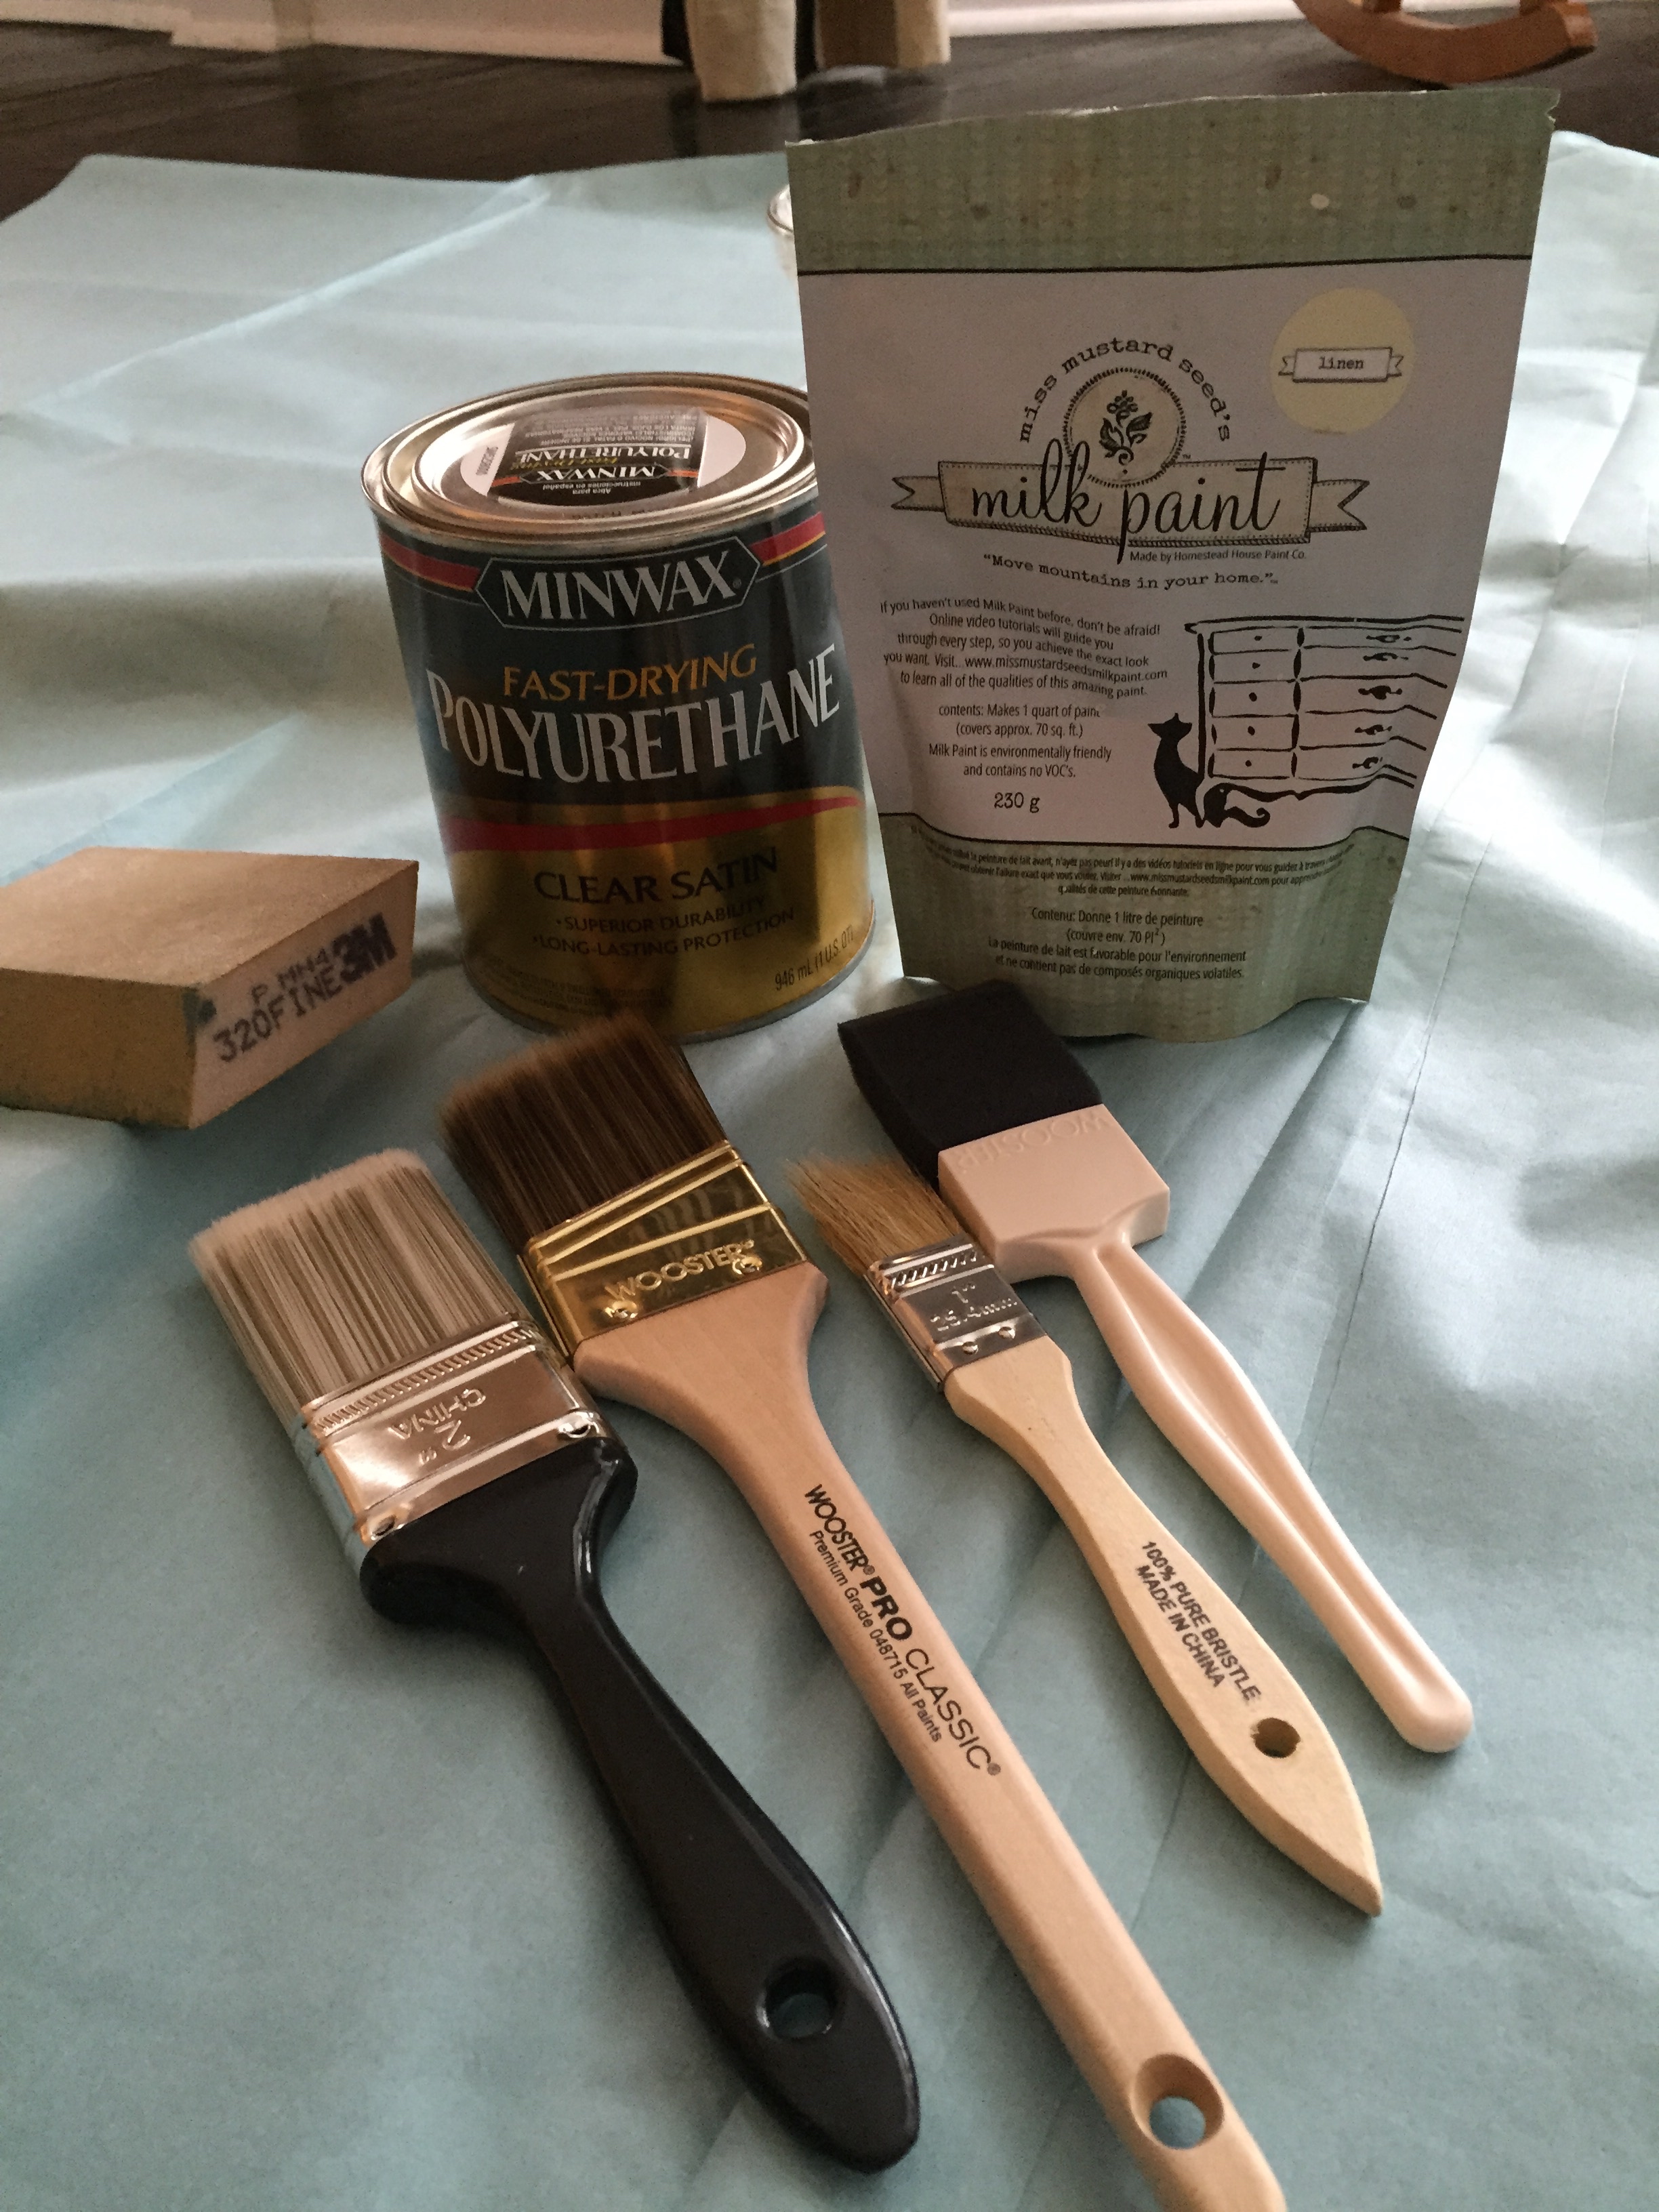
- Milk paint powder in your chosen colour (I used Miss Mustard Seed’s Milk Paint in both projects)
- A container and something to mix with. A stick blender or a jam jar with a tight lid and a good arm work equally well
- A decent synthetic bristle brush
- Fine to medium grit sandpaper for the chipped areas
- A tack cloth or slightly damp rag to remove dust
- A clear topcoat once you’re happy with the finish. I’ve used both a clear gloss polyurethane and a wax, and they behave quite differently
- A bonding agent, only if you want a smooth, non-chipping finish rather than the distressed look
Equipment You’ll Need
- Screwdriver for removing drawers, knobs and hinges
- A drop cloth or old sheet, because this gets messier than a standard paint job
- Rubber gloves if you’d rather not have paint under your nails for a week
- A well ventilated space, ideally outdoors or in a garage with the door up
How to Milk Paint a Dresser, Step by Step
Step 1: Strip It Back to the Basics
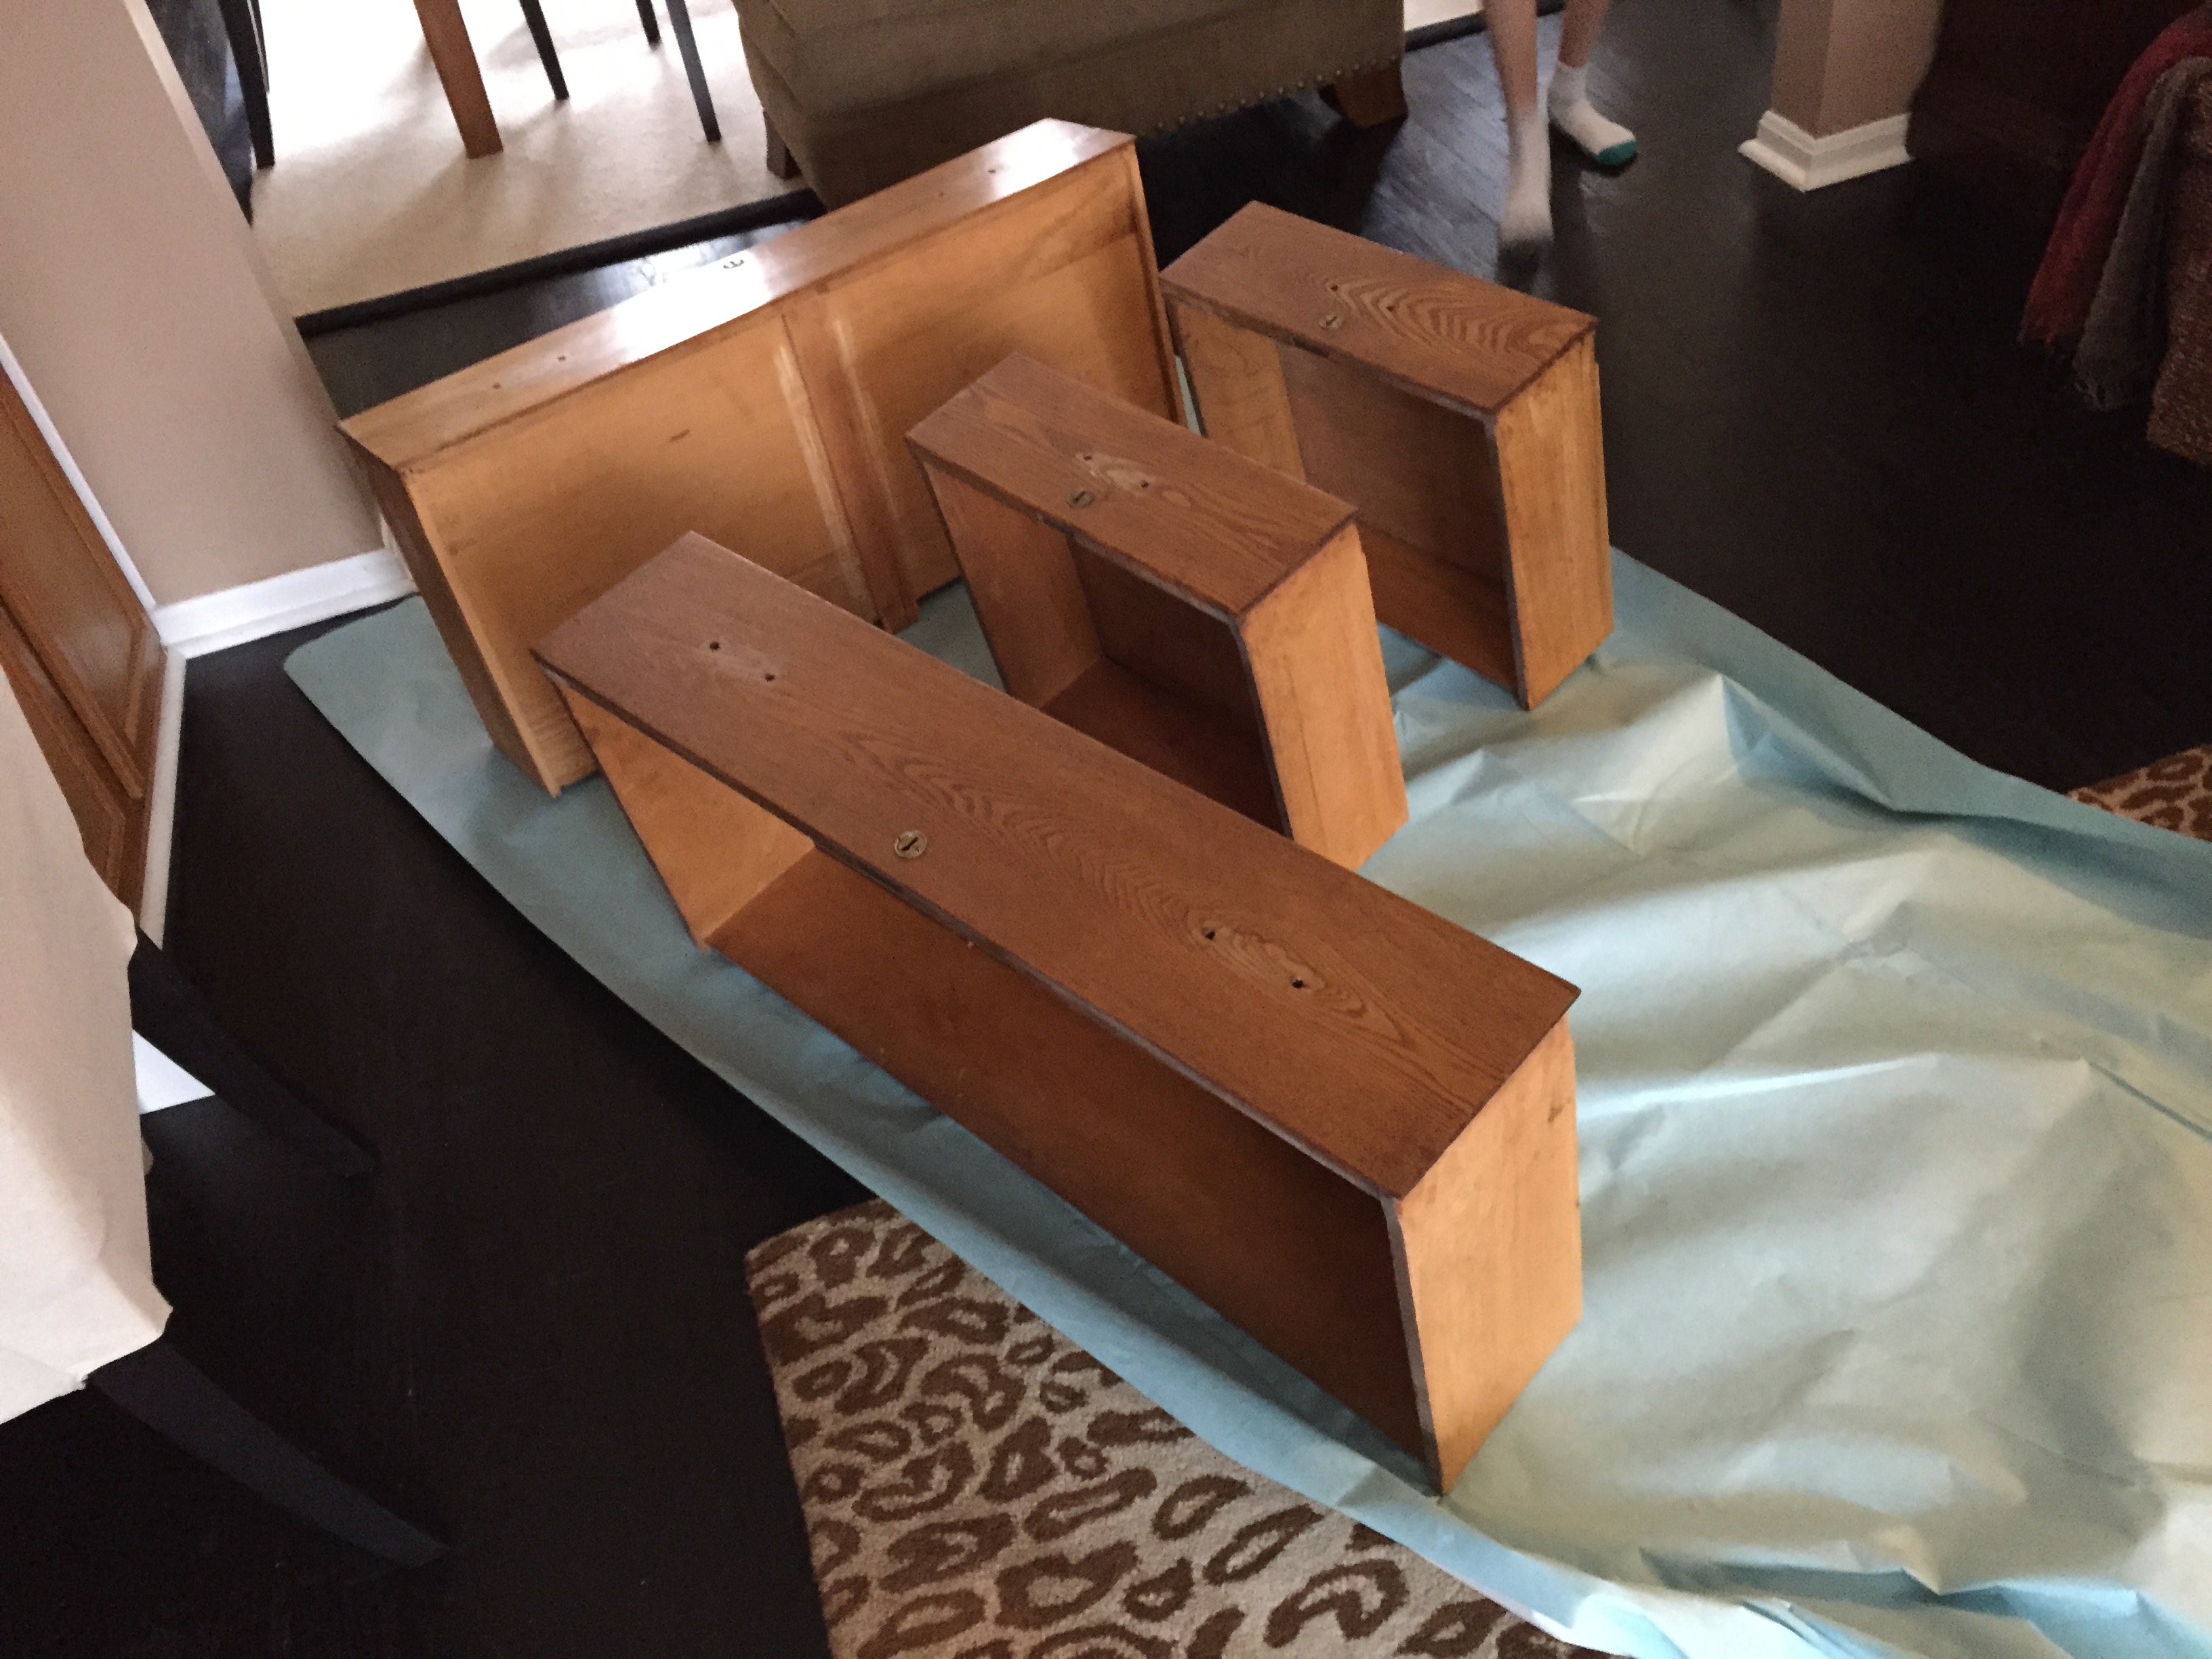
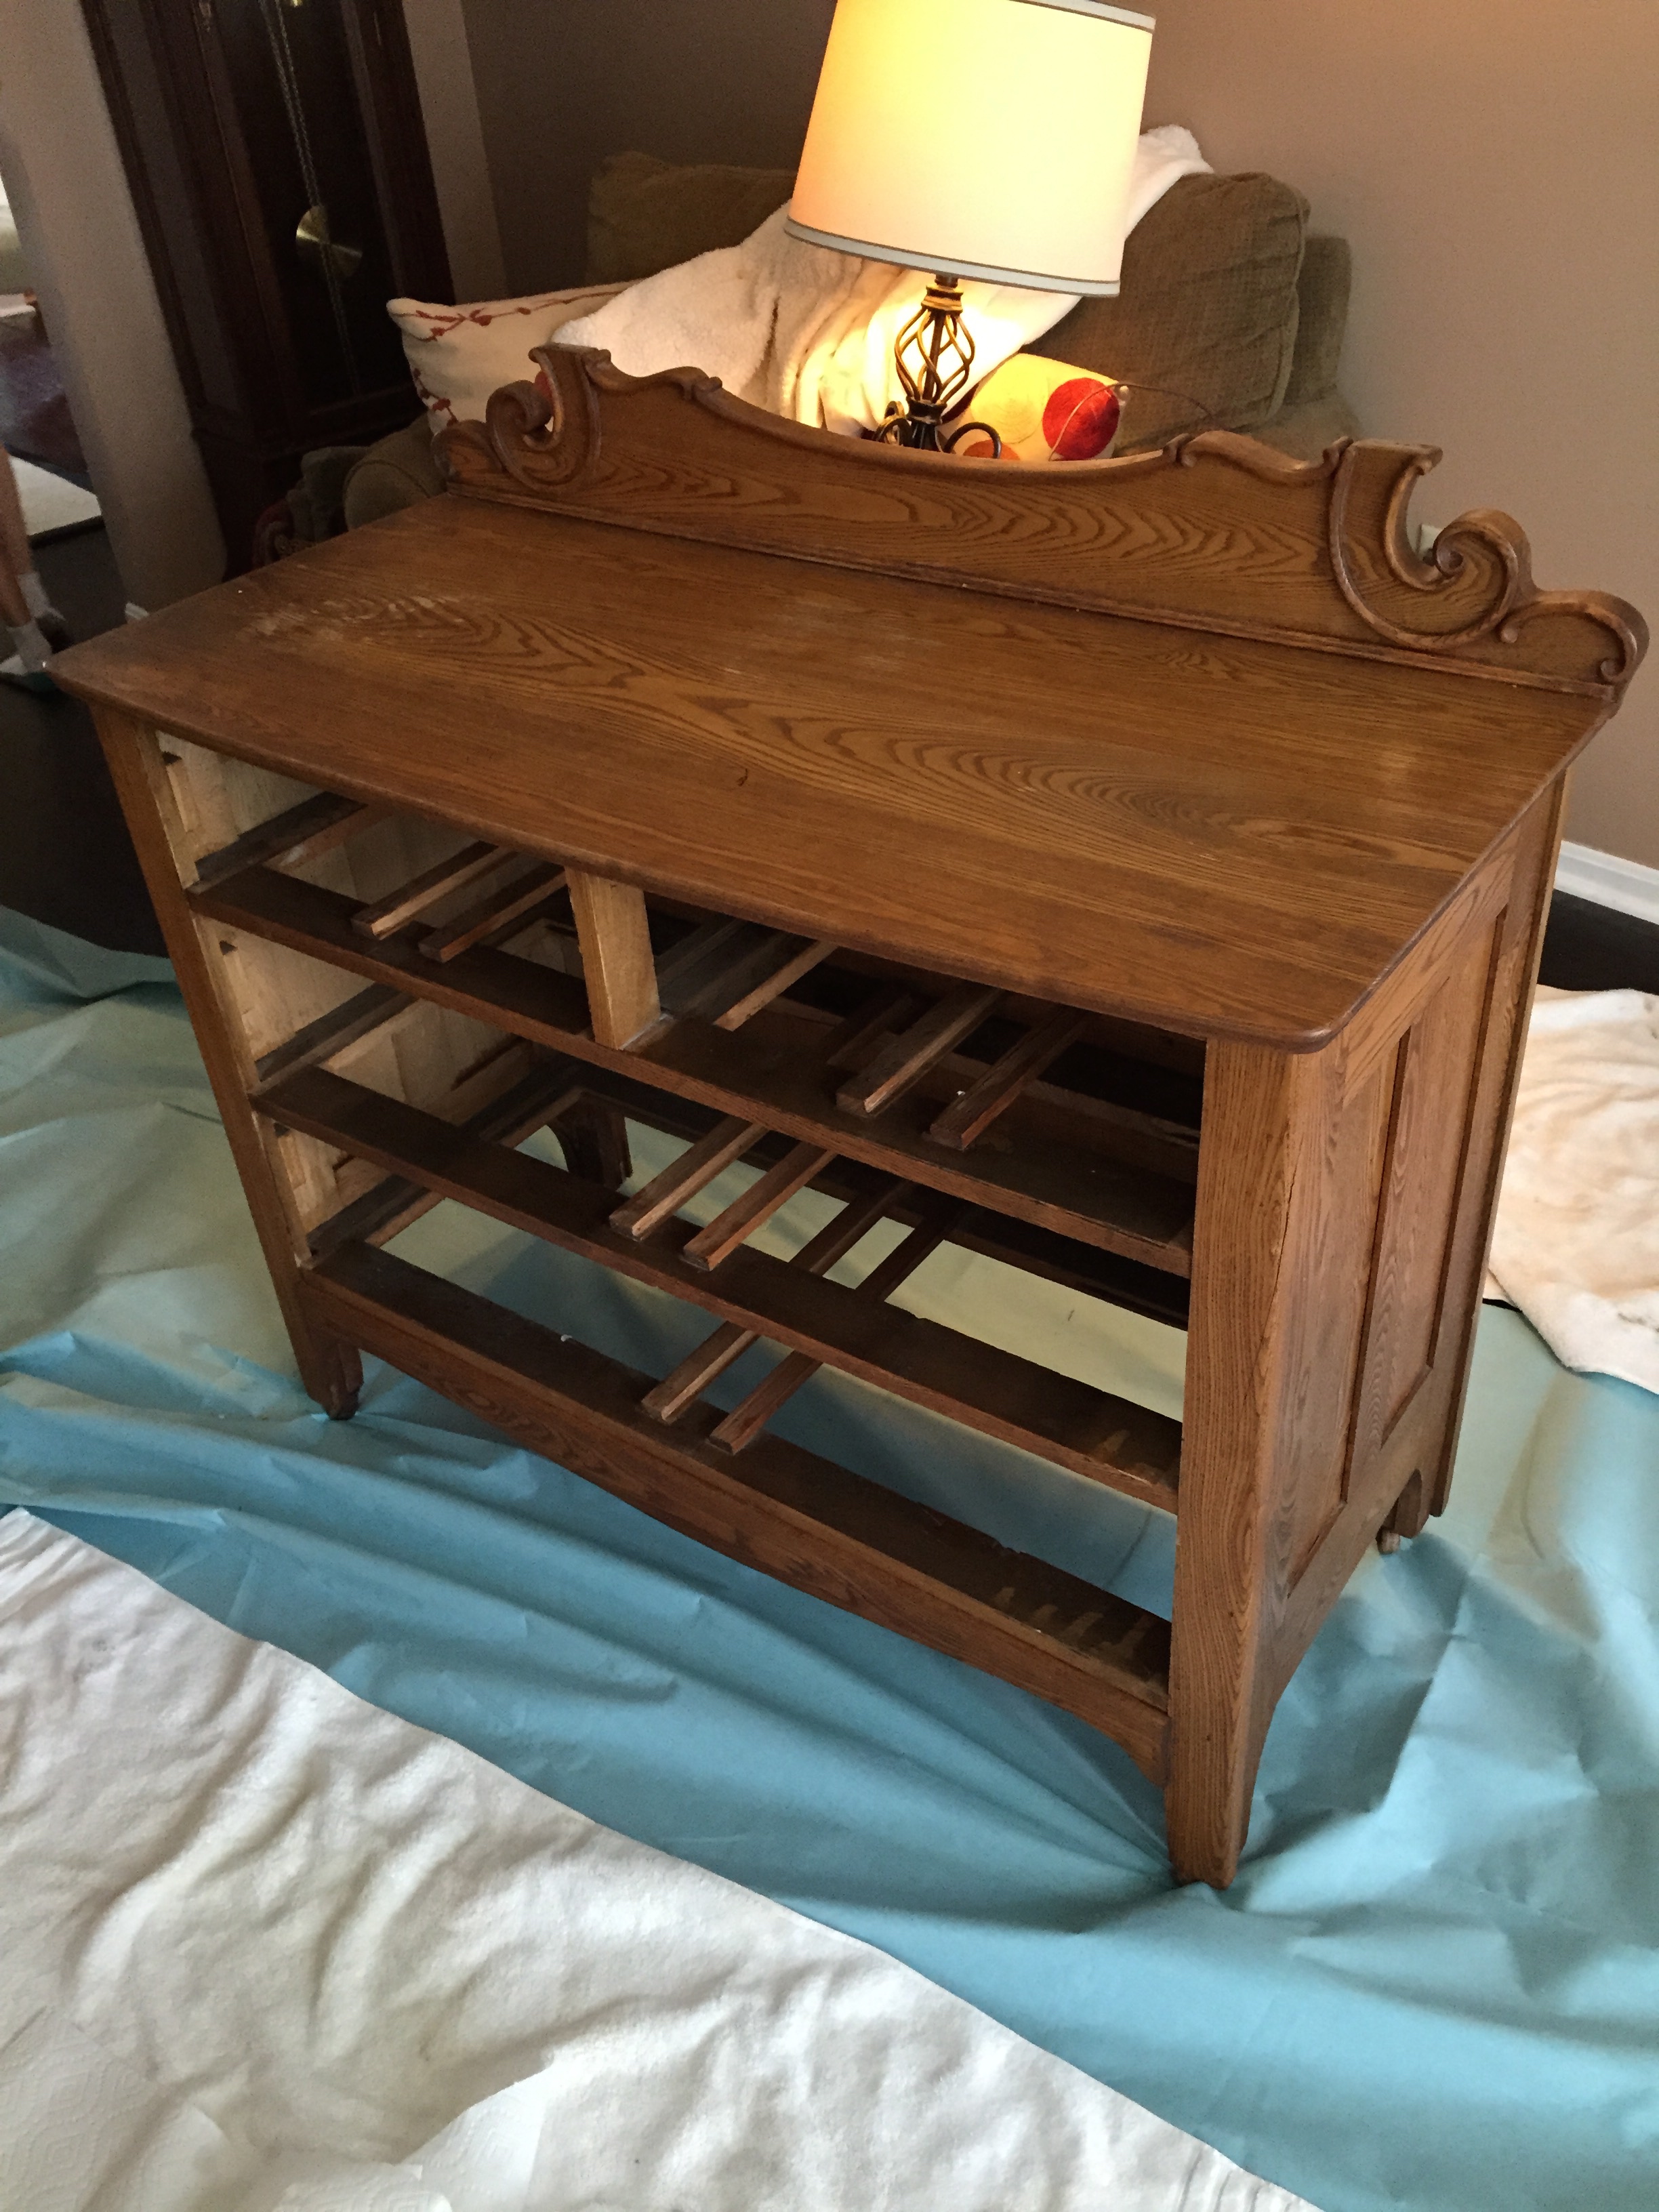
Take off any drawers, handles and hinges before you start. Give the whole piece a proper wipe down to get rid of dust, grease and general life. You don’t need to prime it. Milk paint is designed to bond to bare or lightly worn wood, and that’s actually part of what makes the chipping effect work, so resist the urge to reach for a primer out of habit.
Step 2: Mix Only What You Need
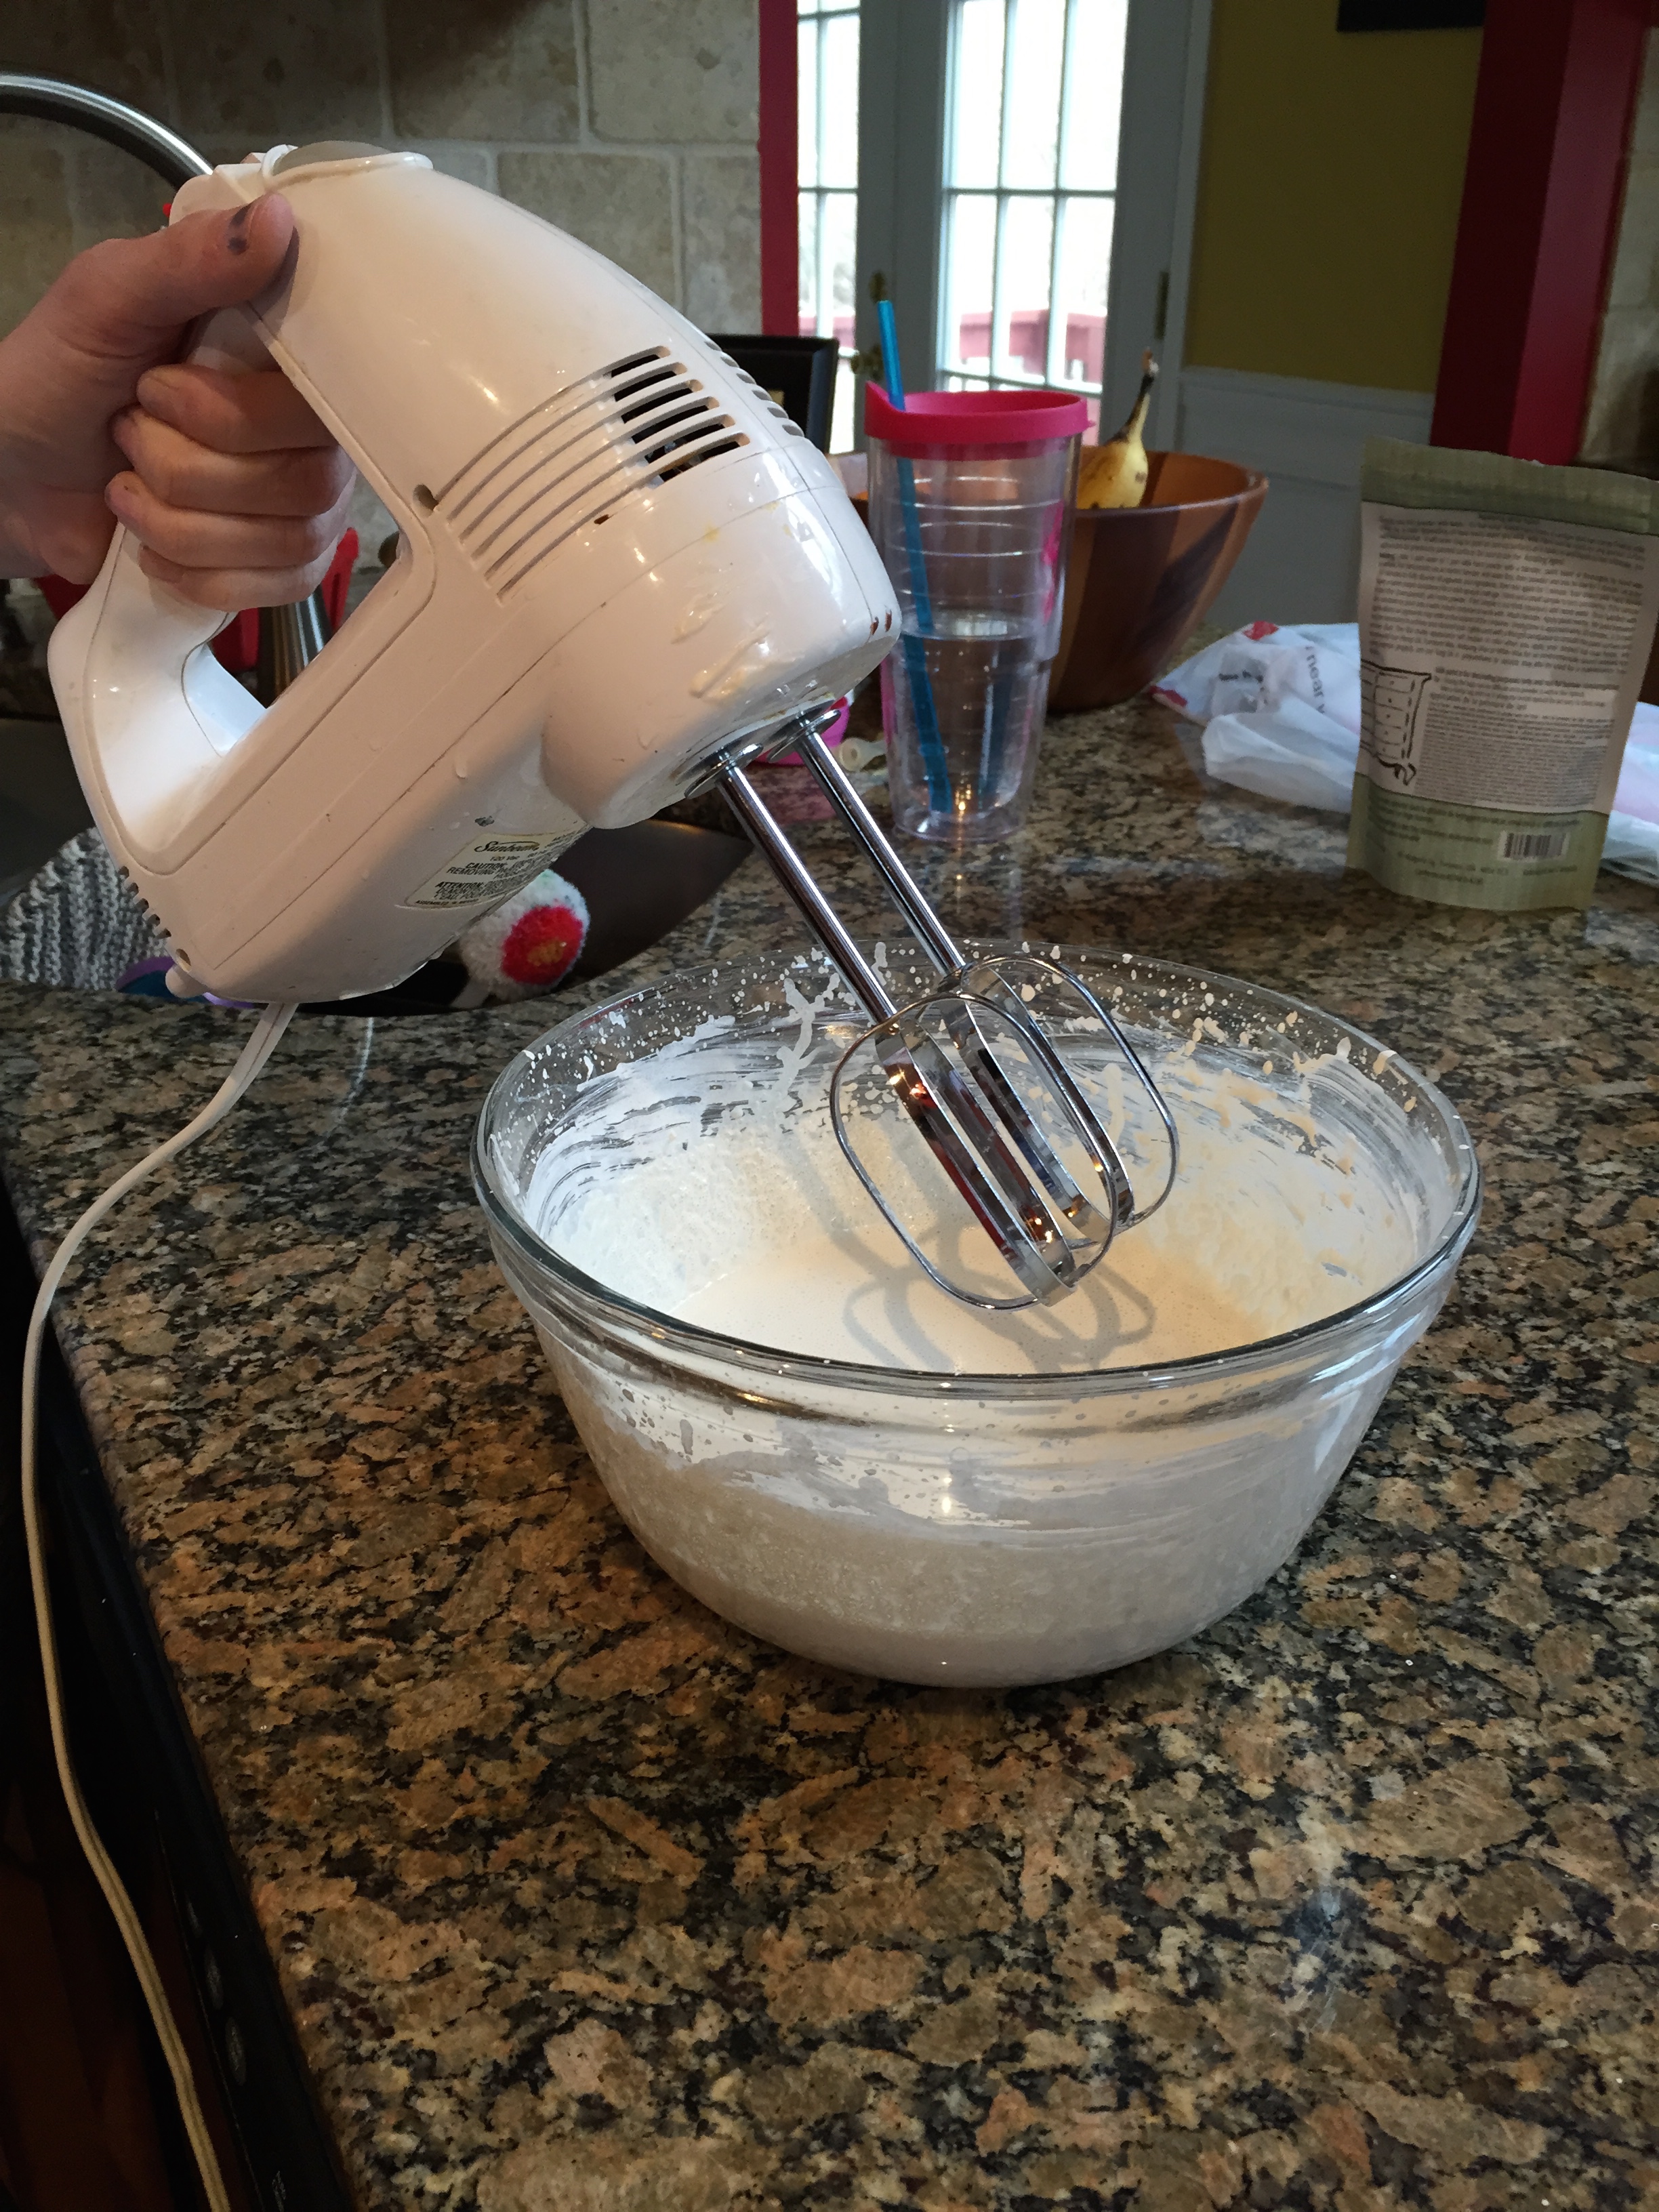
The paint comes as a powder, and you mix it with water in roughly equal parts, adjusting until it’s the consistency of a thin double cream. Only mix as much as you’ll use in one sitting. Once it’s mixed it starts to change quite quickly, and there’s no saving it for next weekend the way you can with a tin of Farrow and Ball.
Step 3: Apply Your First Coat and Don’t Overthink It
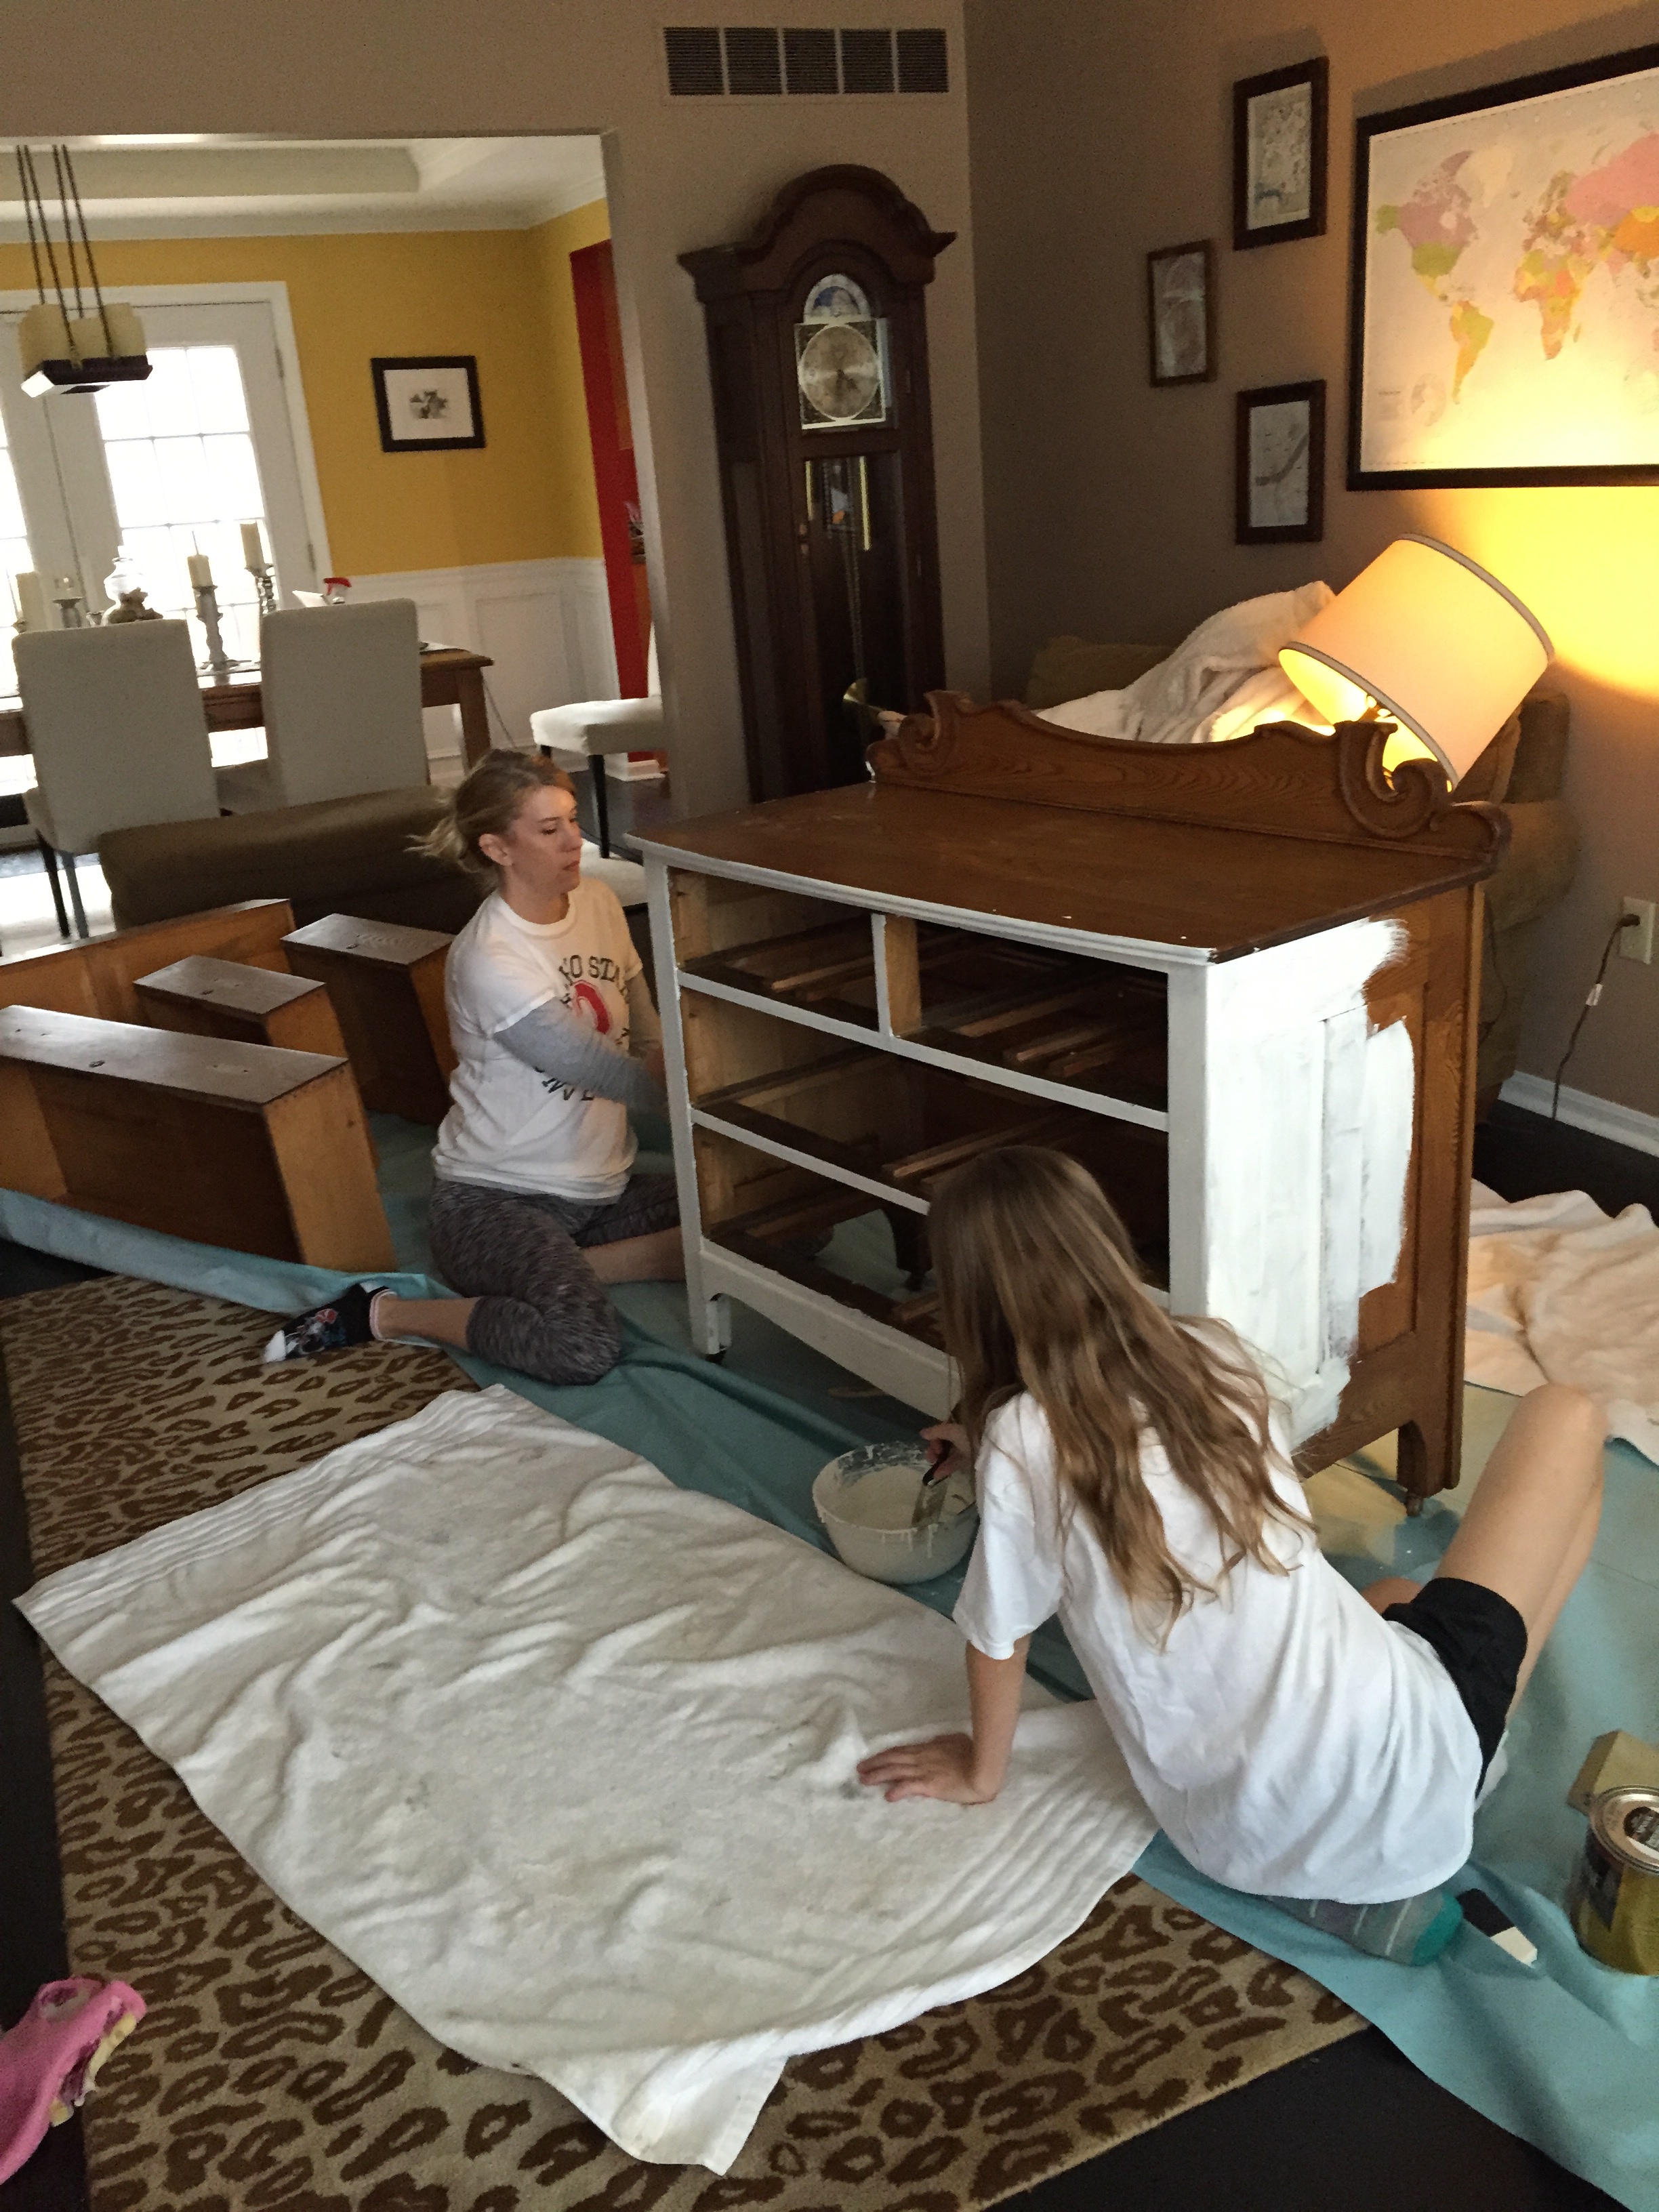
Brush it on in the direction of the wood grain. It goes on patchy and slightly translucent at this stage, which always unsettles people who’ve only ever used proper paint before. Trust the process. Let this coat dry for about thirty minutes before touching it again.
Step 4: Add a Second Coat, Then Stop If You’re Happy
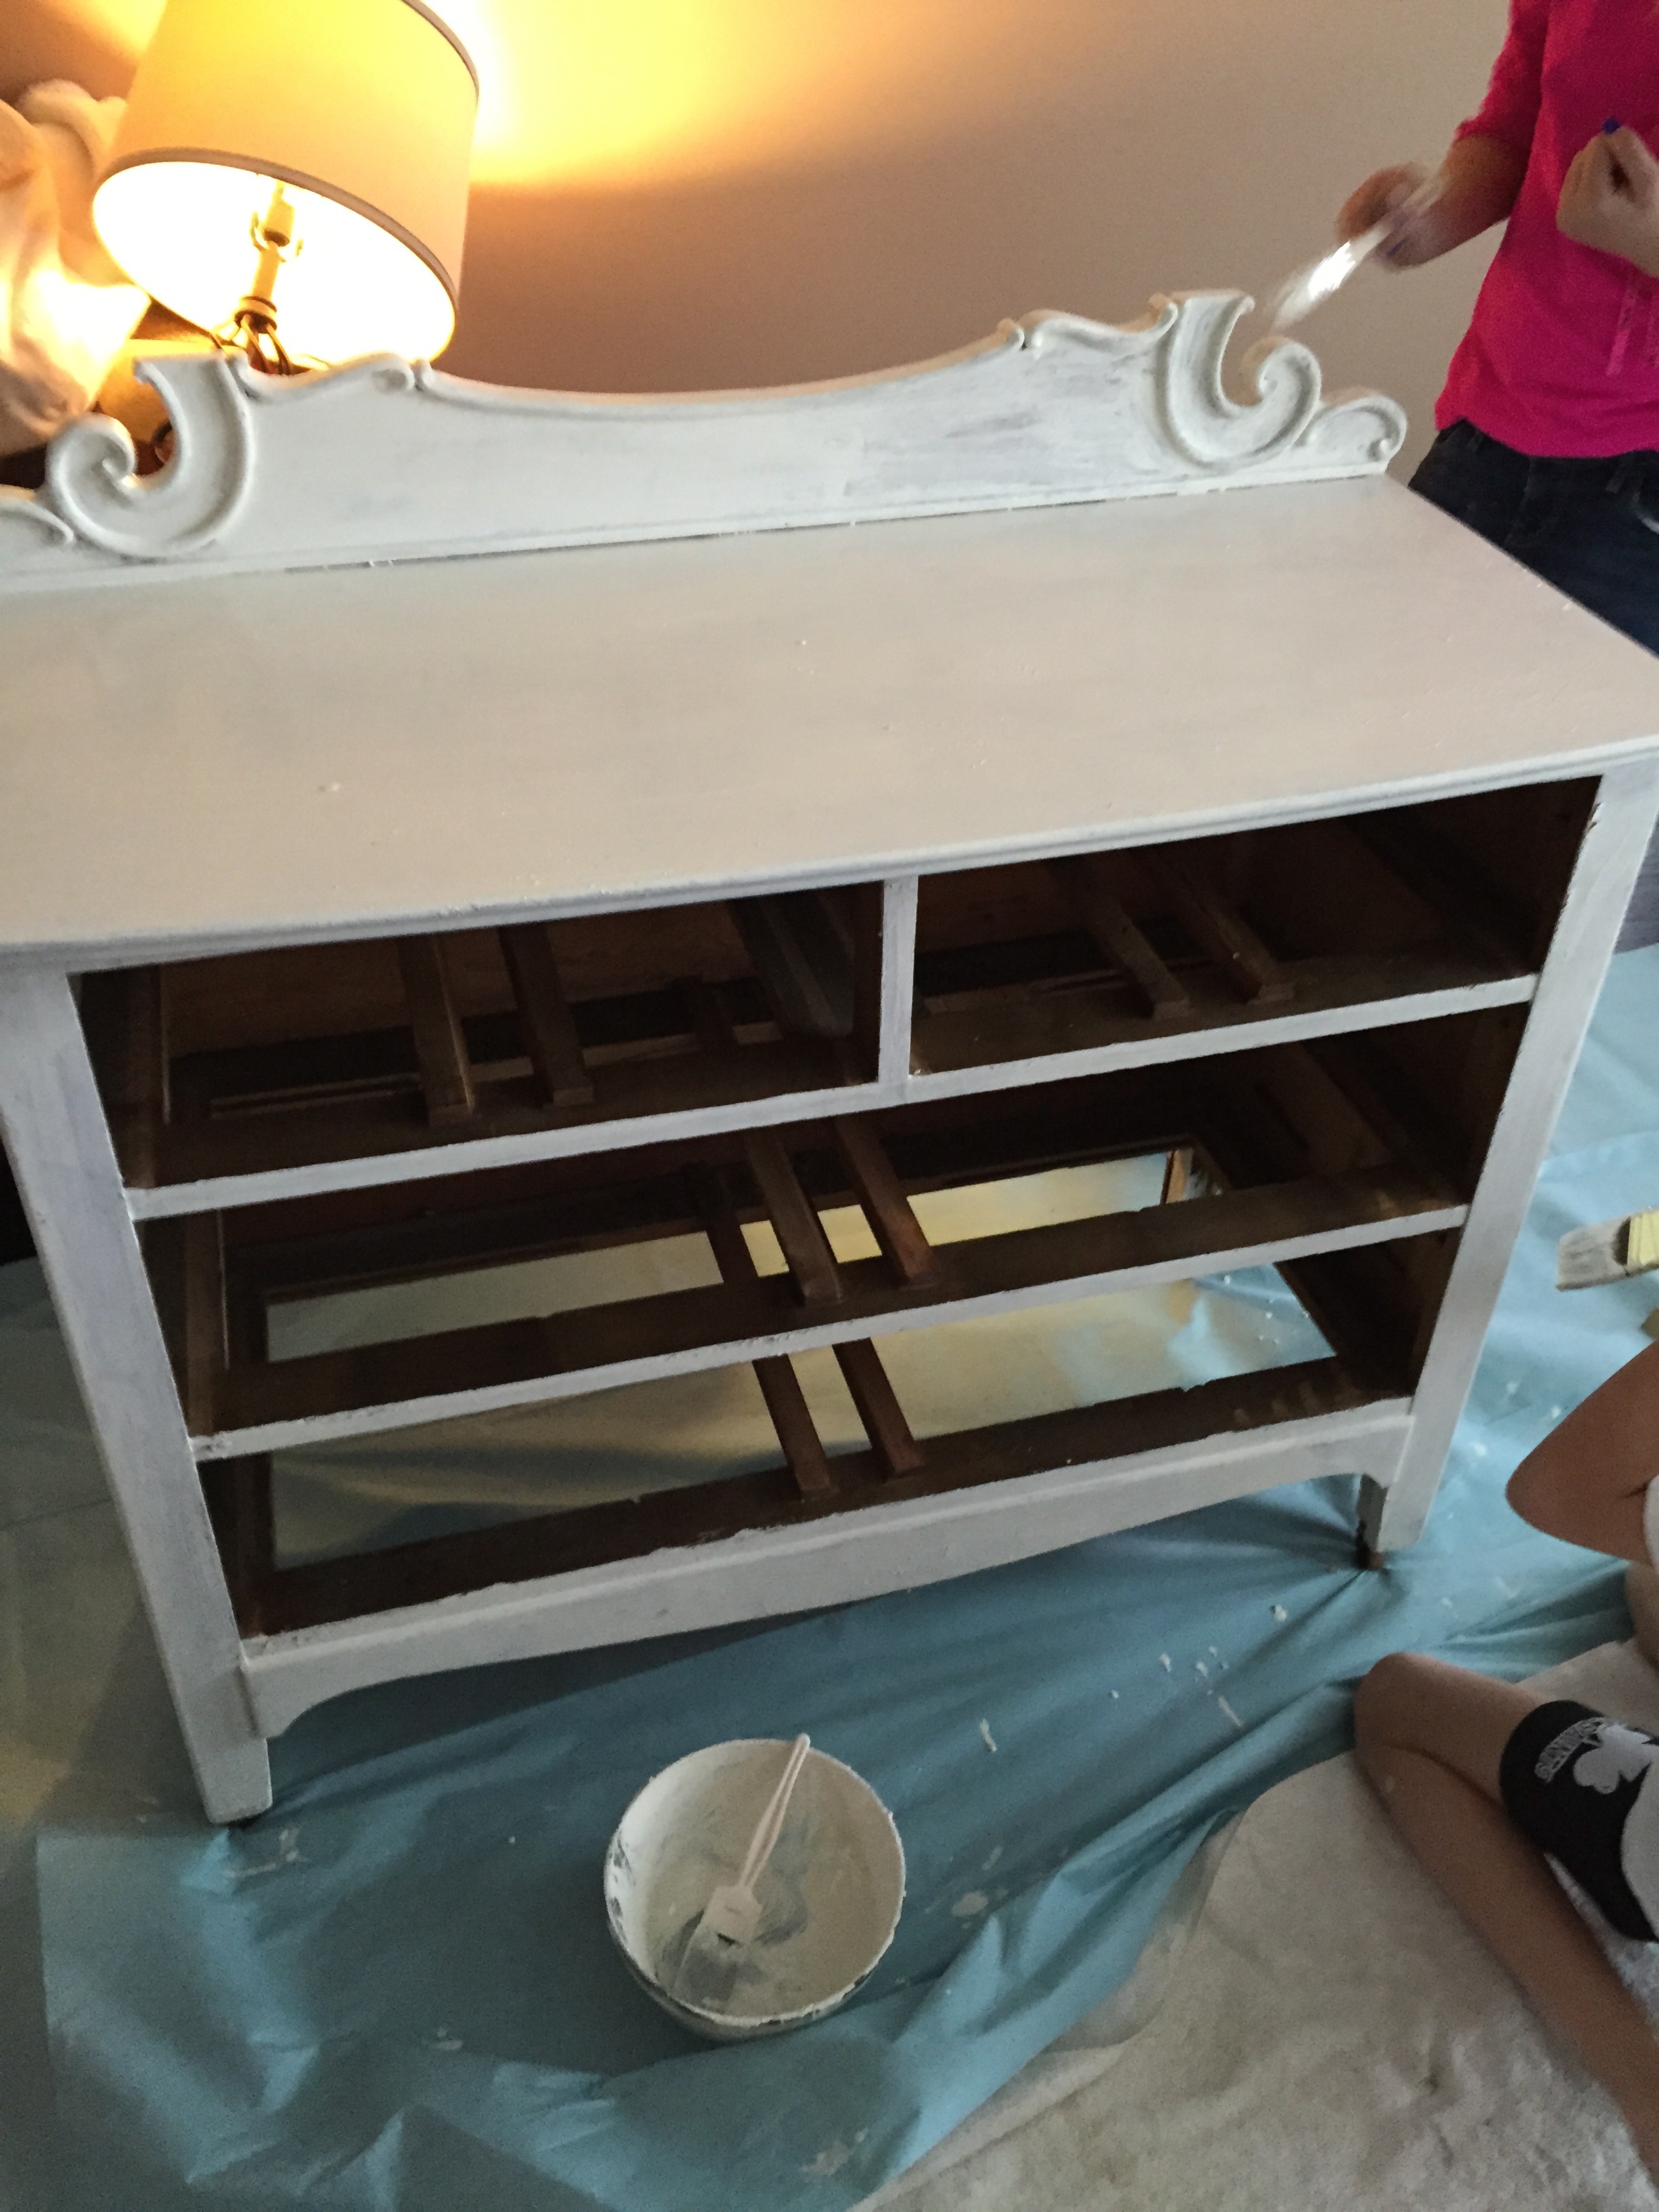
Apply your second coat the same way. This is usually where full, even coverage happens. Don’t be tempted to add a third coat straight away just because you can see brushstrokes. Milk paint self-levels a little as it cures, and a lot of texture that looks alarming at the two-coat stage settles down within the hour.
Step 5: Let the Chipping Happen
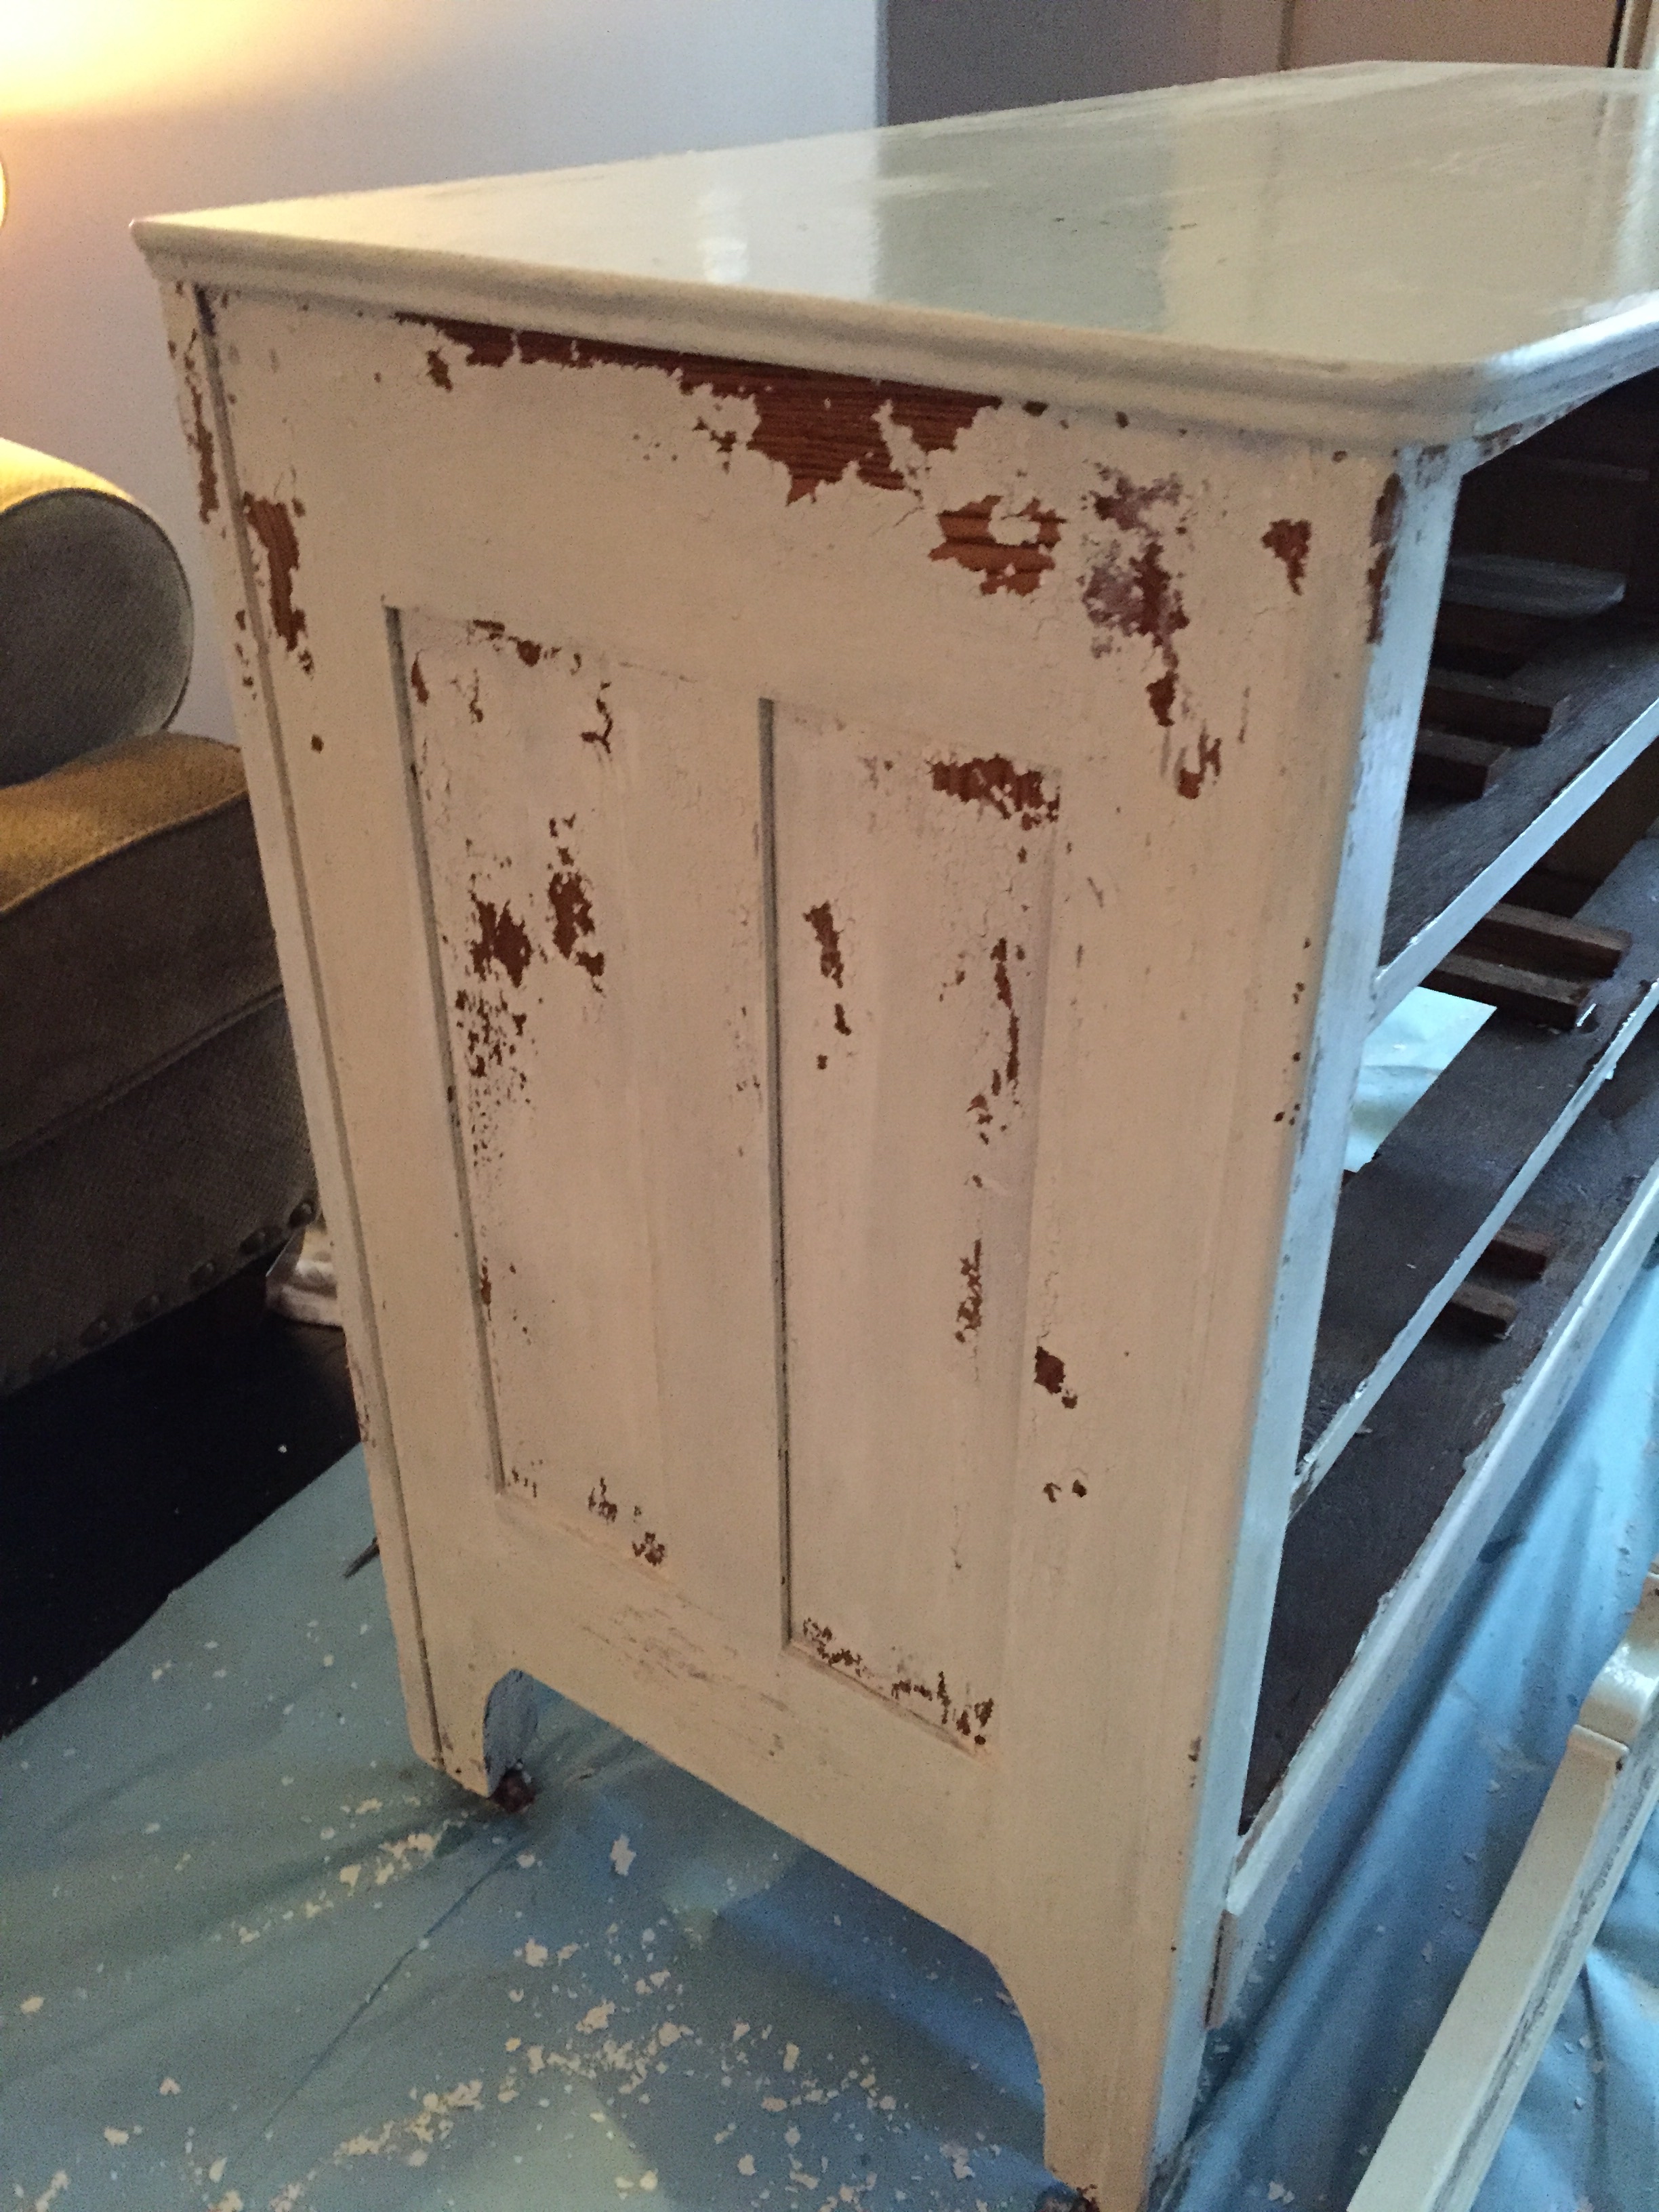
Within an hour or two, you’ll start to see the paint naturally lifting and chipping in places, usually along edges, corners and any spot where the wood grain runs differently underneath. This is the whole point of using milk paint rather than chalk paint if a distressed look is what you’re after. Leave it be and let it do its thing.
Step 6: Sand Back the Chipped Areas
Once it’s fully dry, use a low grit sandpaper to knock back the chipped sections and smooth any raised flakes. This part is genuinely messy, so do it somewhere you don’t mind sweeping afterwards. It’s also the step that turns a slightly chaotic looking piece into something that reads as intentional rather than accidental.
Step 7: Seal It Properly
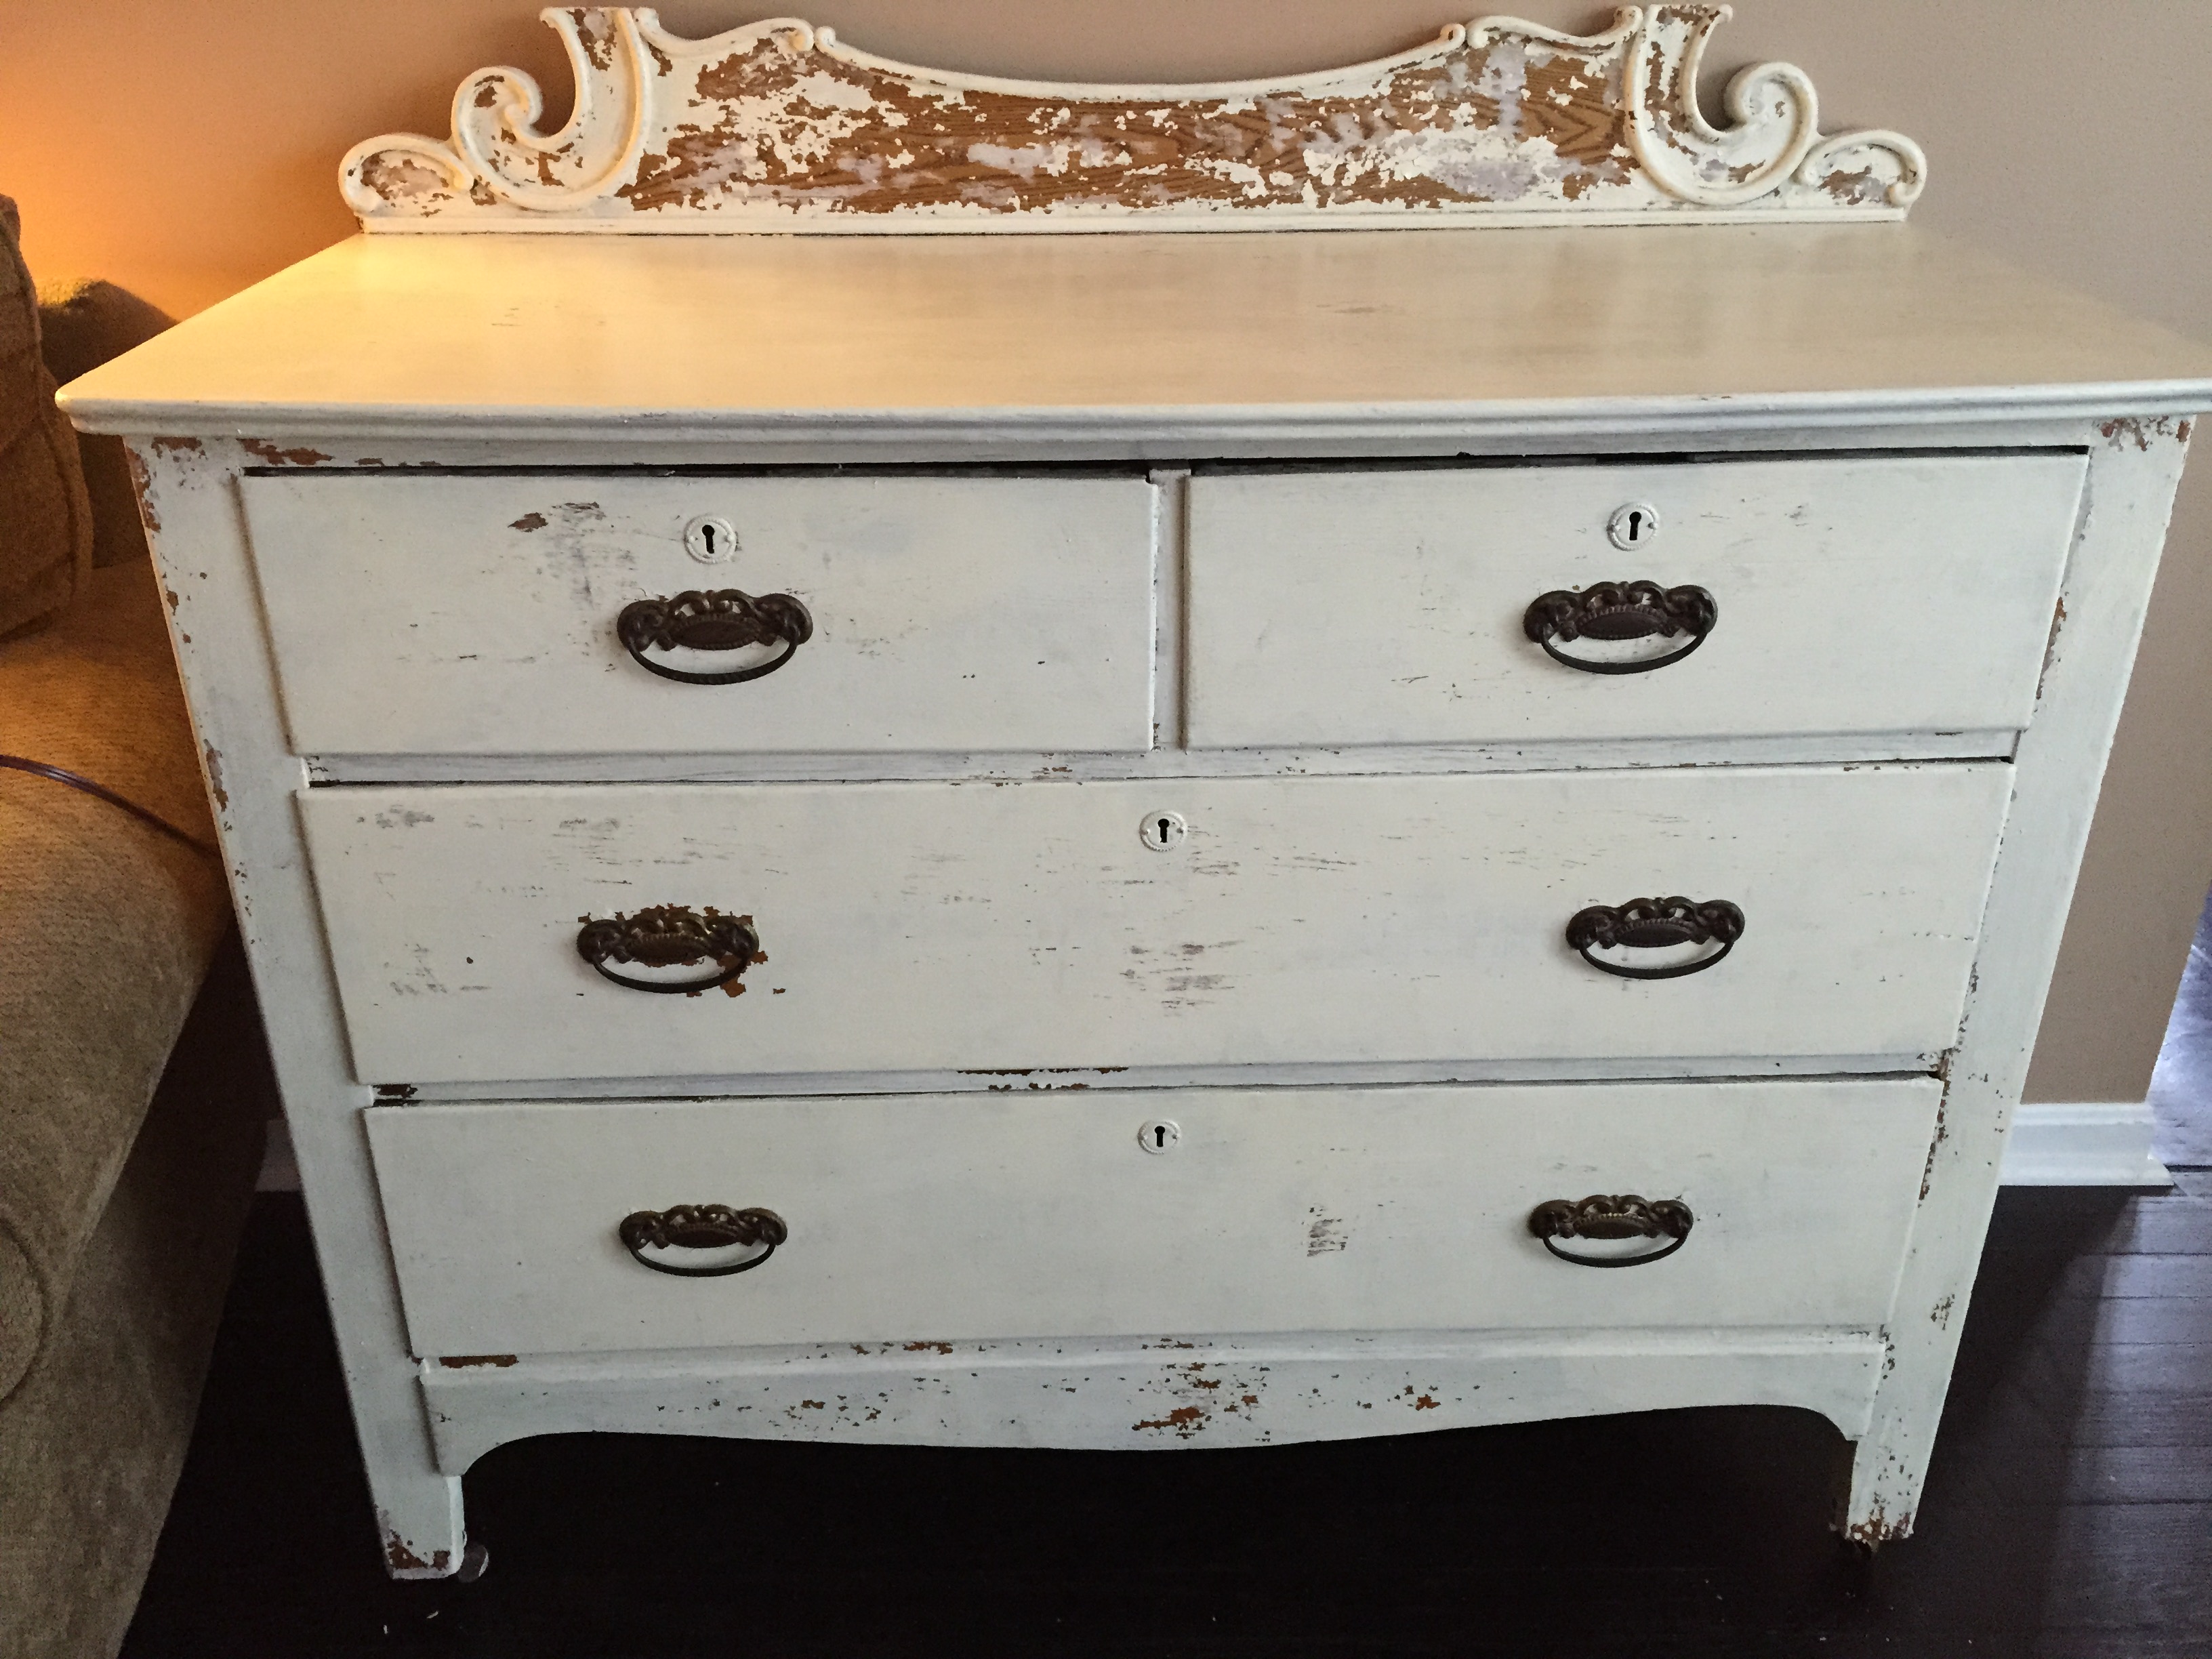
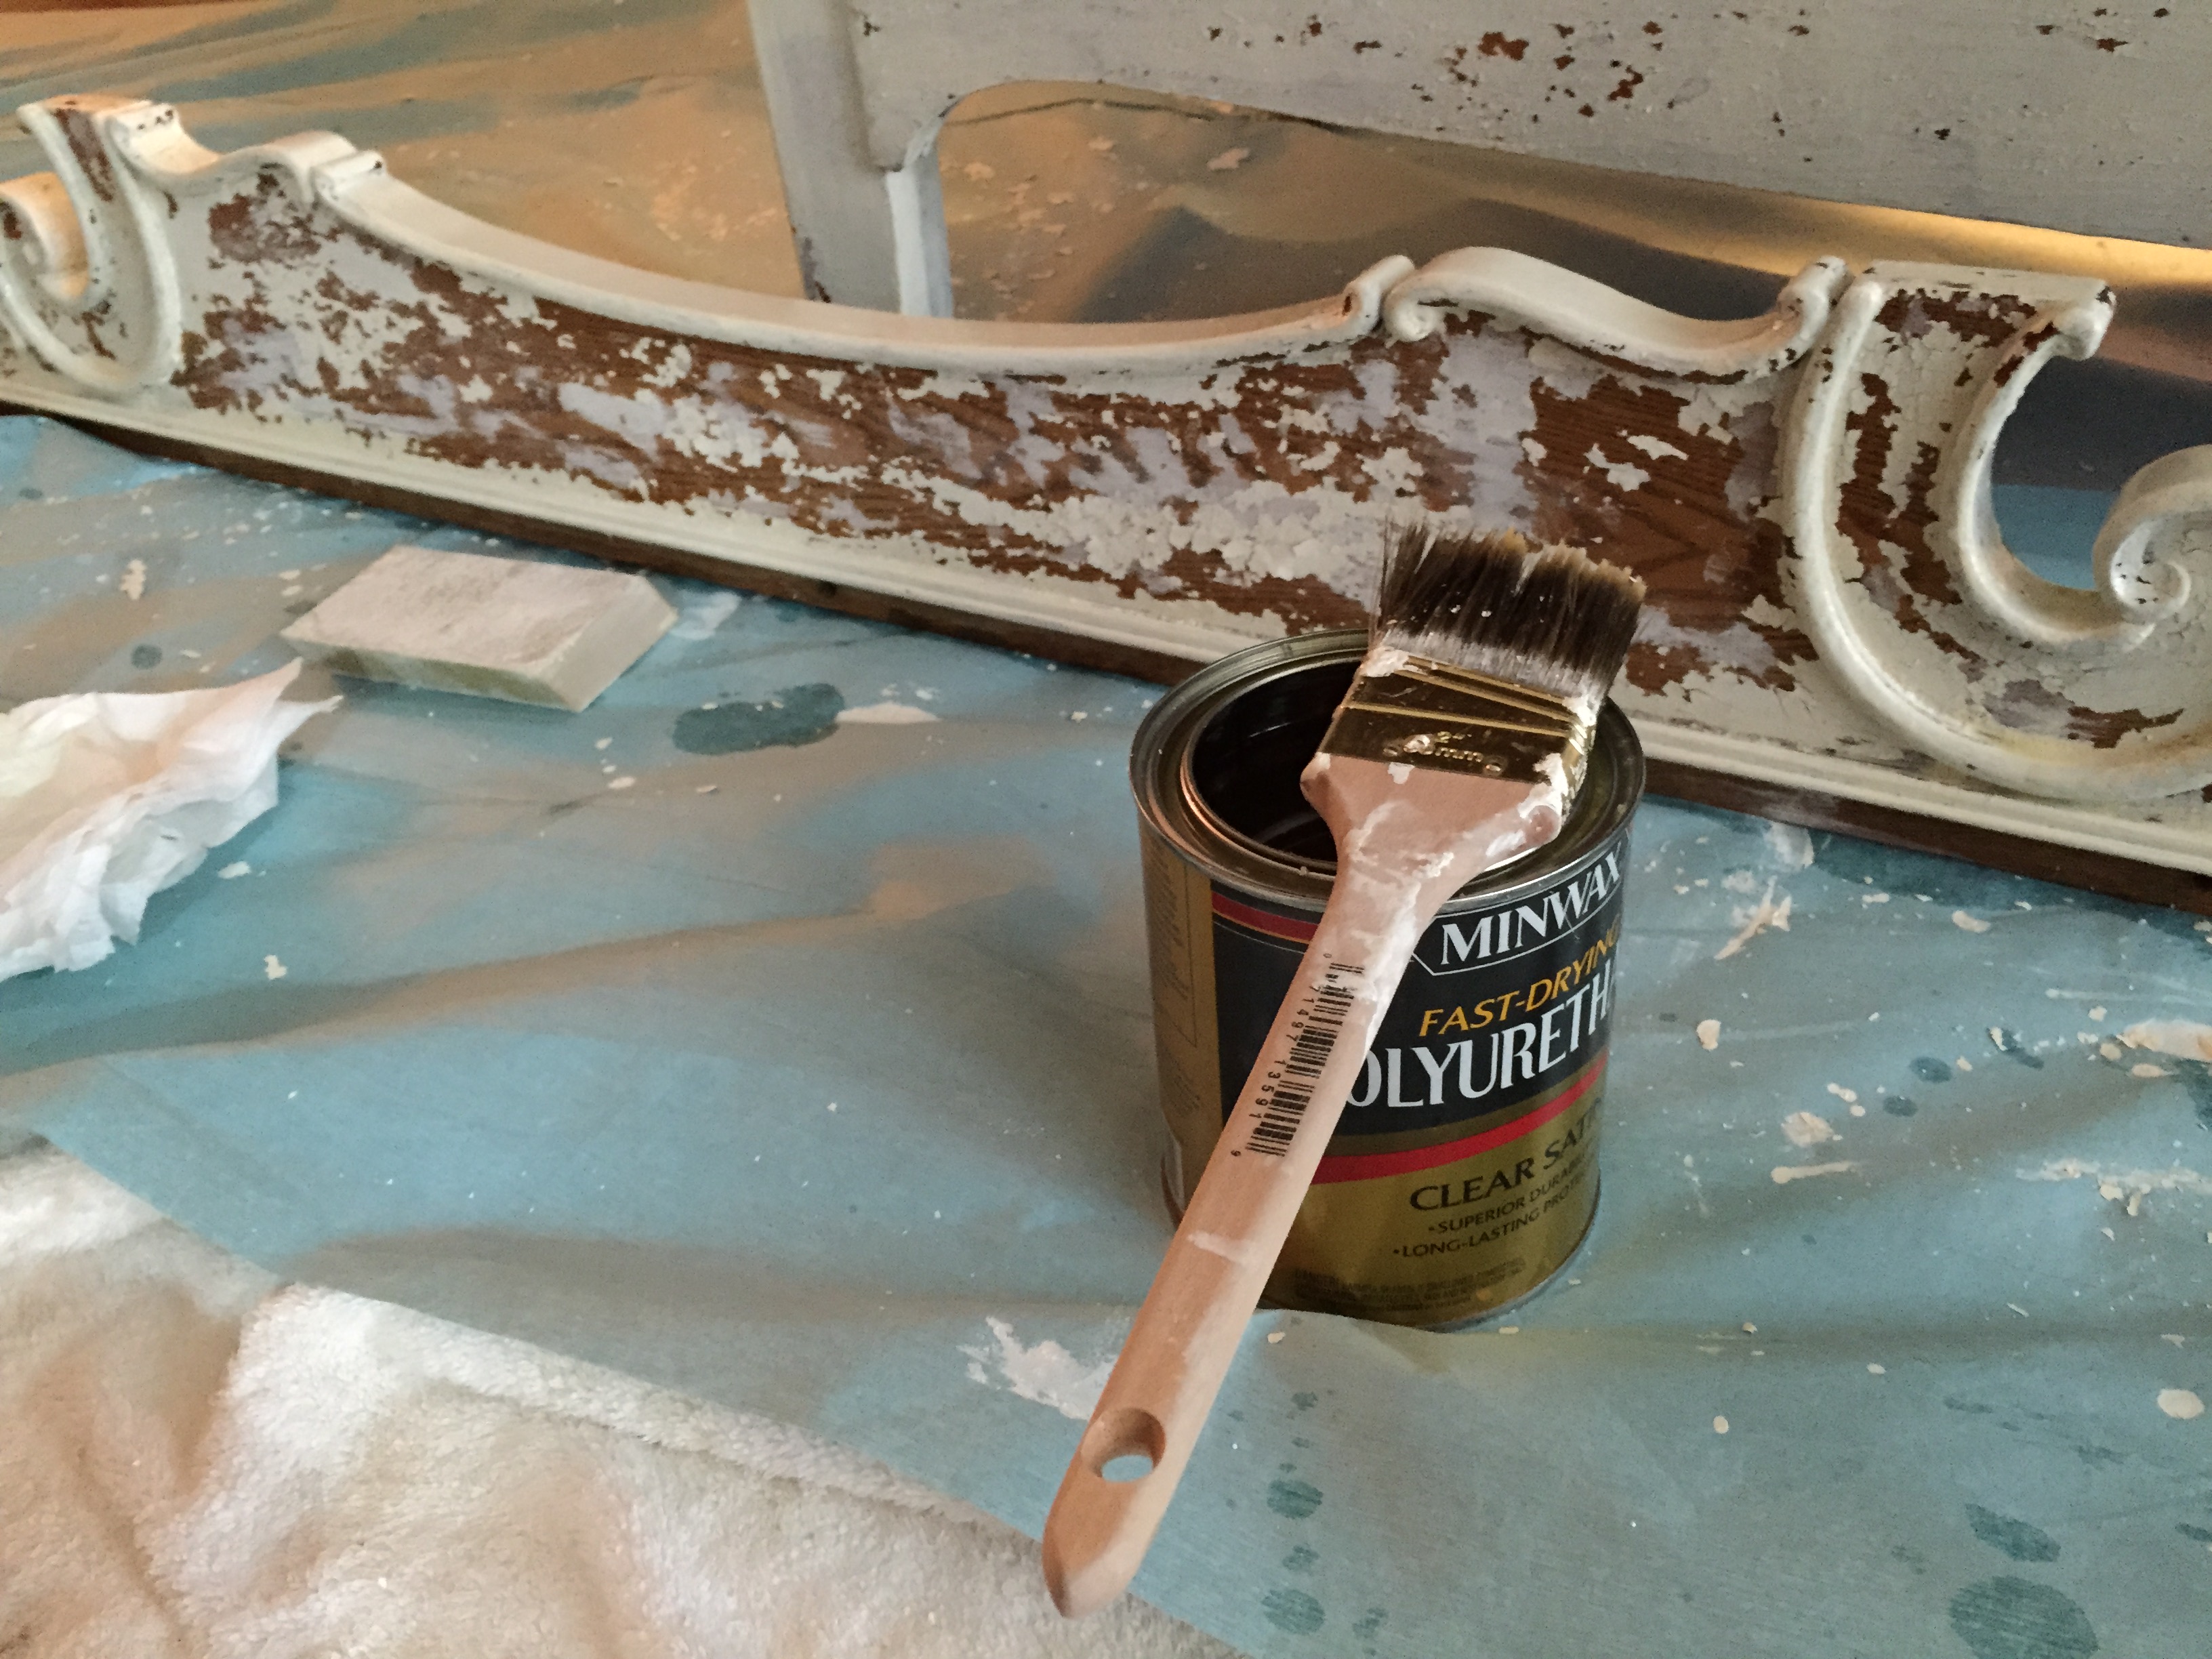
Finish with two coats of a clear topcoat to protect the paint and stop any further chipping happening once the piece is back in use. I went with a clear gloss polyurethane on the dresser, which gave it a bit more shine, but a wax finish is worth considering if you’d rather keep the matte, farmhouse feel. Leave it several hours to cure fully before reattaching hardware.
HONEST DOWNSIDES
Milk paint has a genuine fan base for good reason, but it’s not the right choice for every project, and I’d rather tell you that upfront than have you find out halfway through a Saturday.
It’s unpredictable by nature. If you want total control over exactly where and how much a piece chips, milk paint will frustrate you, because that’s not really how it works. Chalk paint with hand distressing gives you far more precision if that’s what you need.
It needs sealing. Skip the topcoat and you’ll find the finish marks, chips further than you want, and doesn’t hold up to daily use, especially on anything with drawers that get opened several times a day.
Colour matching across batches can vary slightly, so if you’re painting a large piece in stages, or think you might need to touch it up years later, buy a bit more powder than you think you’ll need in one go.
It’s genuinely messier than a standard paint job. Between the mixing and the sanding stage, you will find chalky flecks in places you didn’t expect for days afterwards.
Tips for the Best Milk Paint Finish
Test on the underside first. Every piece of wood takes milk paint slightly differently, so a quick test patch somewhere hidden tells you far more than reading about it.
Work in good light. The chipping happens gradually, and it’s easy to miss the exact moment to start sanding if you’re working somewhere dim.
Use the best brush you can. A cheap brush will shed bristles into the paint, which is far more visible in a chalky finish than in a glossy one.
Keep your ratios loose. Slightly thinner mixes tend to chip more, slightly thicker mixes chip less. Once you know which effect you prefer, adjust accordingly next time.
Don’t rush the drying between coats. Thirty minutes feels like a long time when you’re keen to see the finished piece, but it genuinely affects how the chipping develops.
Buy a bonding agent even if you don’t think you’ll need it. It’s far cheaper to have it sitting in the cupboard than to discover halfway through that you’ve changed your mind about the finish.
Make It Your Own
There’s a reason milk paint furniture projects are so popular for makeovers rather than new builds. It rewards a bit of individuality.
If you’d rather have a smooth, solid colour with no chipping at all, mix in a bonding agent from the start and treat it like a standard paint. It’s still a beautiful, chalky finish, just without the distressed element.
Mixing your own custom shade is easier than it sounds. Most milk paint brands will tell you which of their colours blend well together, and a little goes a long way.
For a softer, more lived-in look, try a wax topcoat instead of polyurethane. It keeps the matte quality that makes milk paint so appealing in the first place.
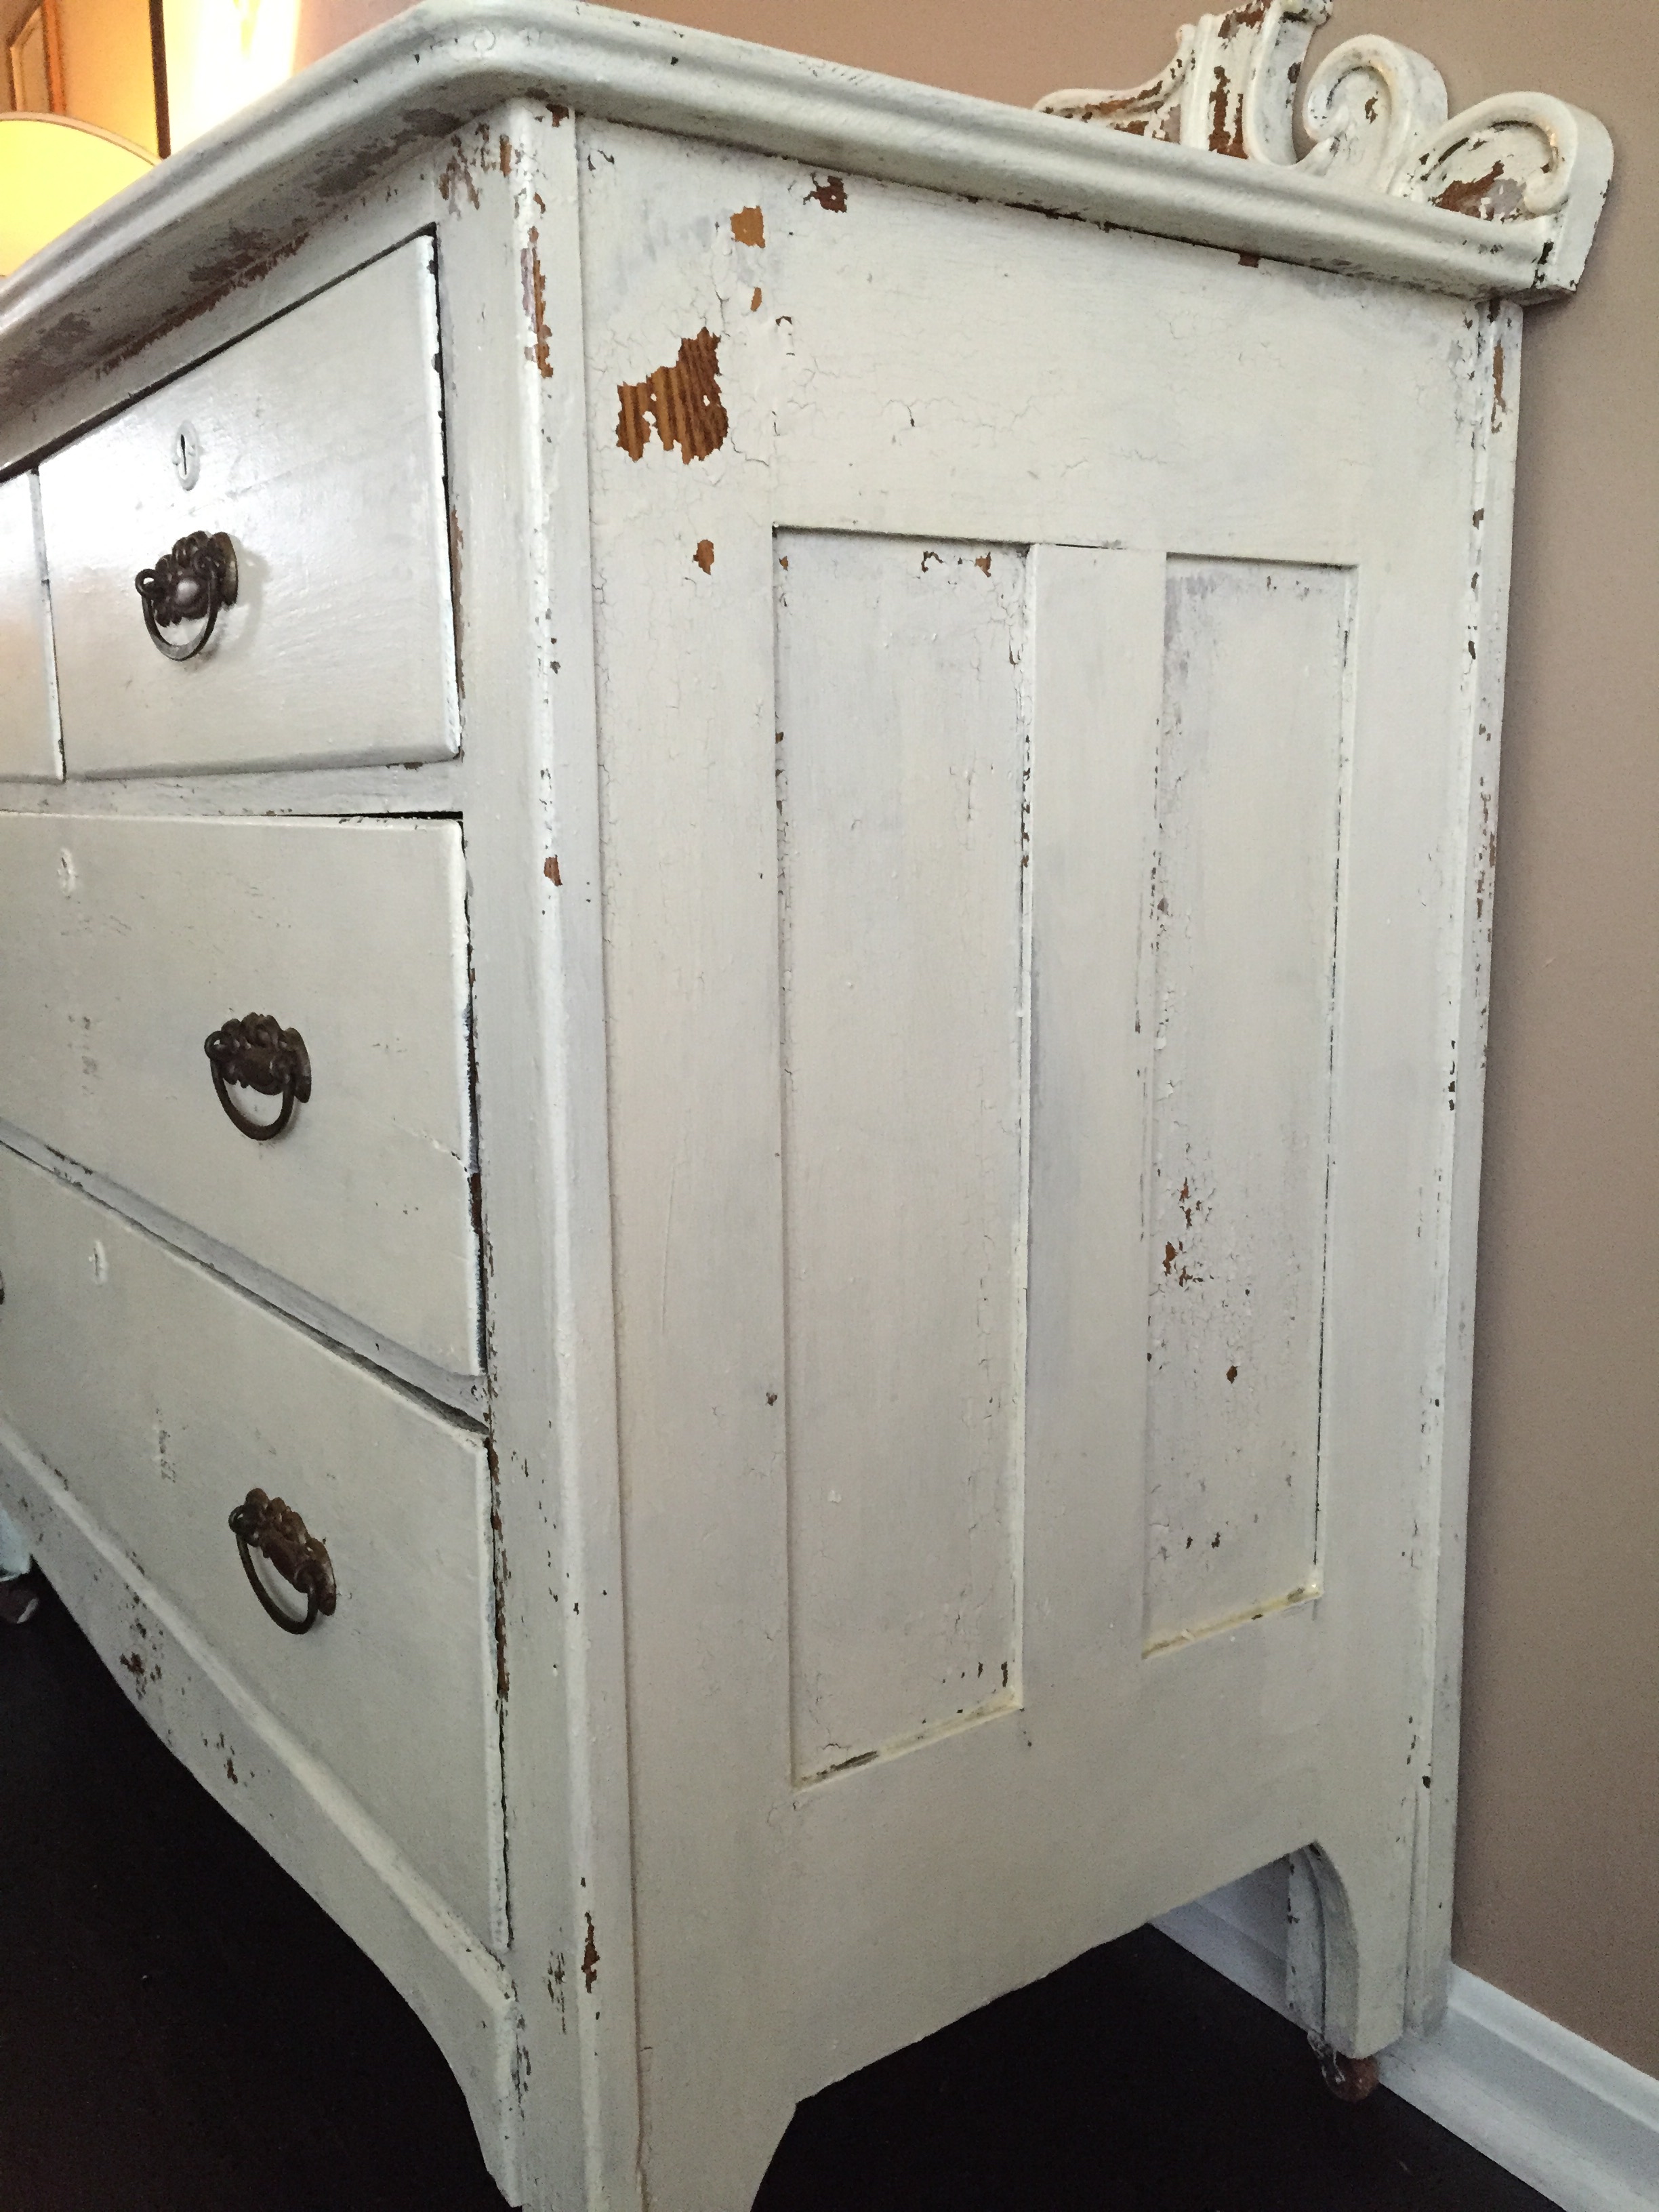
If you’re painting something with a lot of detail, like a piece with carved edges or panelling, milk paint pools naturally into the grooves as it dries, which highlights the detail beautifully without any extra work from you.
For smaller items like picture frames or side tables, you can experiment more freely since the stakes and the cost are lower.
Frequently Asked Questions
No, though they’re often confused. Chalk paint gives a smooth, matte finish and any distressing has to be done by hand with sandpaper. Milk paint chips naturally on its own once it’s dry, which is the whole appeal if that farmhouse look is what you’re after.
Not usually. Milk paint is designed to bond to bare or lightly worn wood, and priming can actually stop the natural chipping effect from happening properly.
Mix in a bonding agent from the manufacturer before you paint. This locks the paint to the surface and gives you an even, non-distressed finish instead.
Milk paint is low VOC and made from natural ingredients, which is one of the reasons it’s popular for nurseries and children’s rooms, though always check the specific product’s safety information and let it cure fully before use.
It can, but it won’t grip as well as it does on bare wood, so you’ll usually need a bonding agent for the paint to adhere properly on top of an existing finish.
It’s designed for wood and doesn’t perform well on non-porous surfaces like laminate or metal without significant prep work, so it’s best kept for genuine wood furniture.
With a proper topcoat sealing it in, a milk paint finish holds up for years of normal use. The topcoat is doing most of the protective work, so don’t skip it.
Before and After
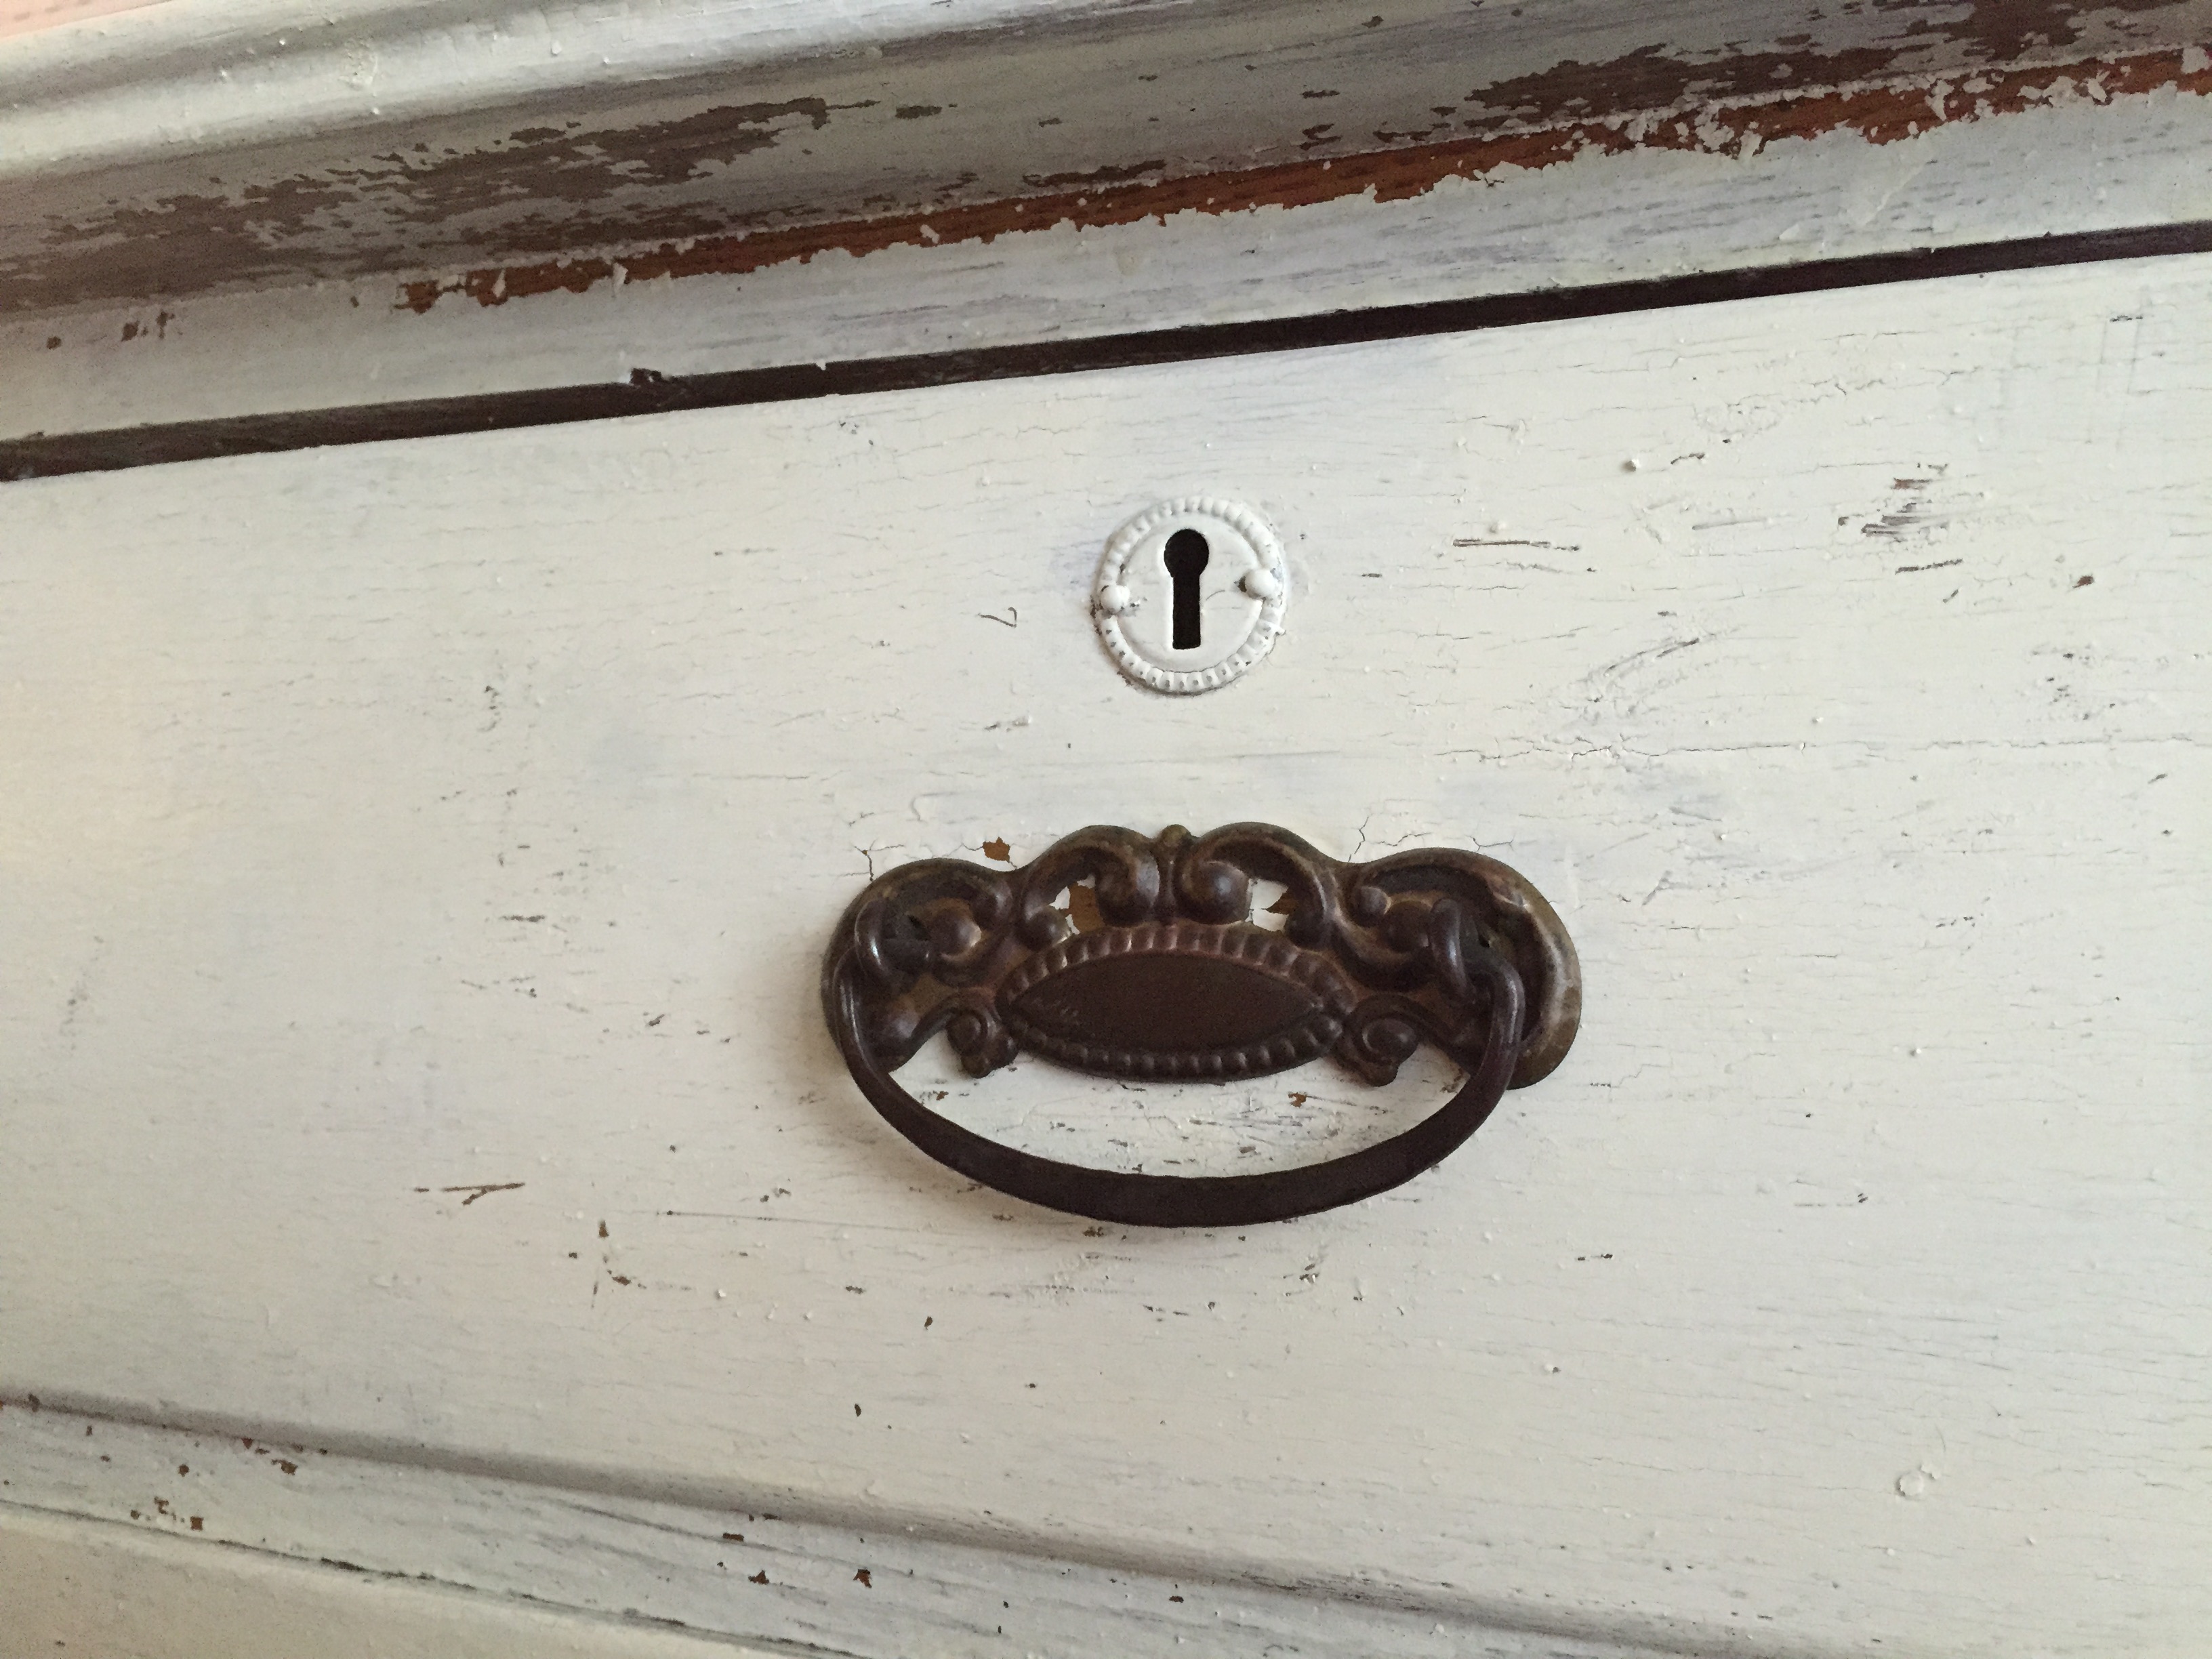
The dresser started life as an unremarkable oak piece I’d originally bought for a completely different project that never came together. In Linen, with the chippy finish sanded back and a gloss topcoat, it became the piece that anchors our office and hides an entirely undignified amount of paperwork inside its drawers.
The second project was a second-hand vanity that cost next to nothing and had seen far better days. In a soft turquoise, it became my daughter’s dressing table, and it’s the piece she still uses to get ready every morning. Neither of these projects were expensive, and neither took any real skill beyond patience and a willingness to let the paint do what it wanted to do.
If you’ve been eyeing up a tired piece of furniture and wondering whether it’s worth saving, this is usually the answer. Have a browse through the rest of the painted furniture projects on the blog for more inspiration before you start.
Leave a Reply
If you like the sort of recommendation that still holds up six months later, leave your email below and I'll write to you on Sunday.
Most Sundays, once the house has gone quiet and it's edging towards nine, a letter goes out. It's the one I'd write to a friend with good taste and not nearly enough time: one thing worth reading, one thing worth buying, and one thing to skip. No noise, no pressure to spend, just the considered version of what I've actually been using, loving, or quietly sending back.



December 7th, 2016 at 11:58 am
[…] dresser makeover from My Life at Home totally reminds me of Fixer Upper. Love that shabby farmhouse […]
July 23rd, 2022 at 6:22 am
[…] Painted Dresser Using Milk Paint […]