
There’s something magical about turning an outdoor space into your own personal sanctuary. For me, it was my deck that needed a little TLC to become the ultimate cozy fire pit spot. I wanted a space where I could unwind, relax, and enjoy the company of friends and family under the stars. The finishing touch to bring this vision to life? Solar-powered deck spotlights.
In this post, I’ll walk you through my process of installing these lights—trust me, it’s easier than you think—and why they’re the perfect addition to any outdoor space. Plus, I’ll share an affiliate link so you can grab these game-changing lights for yourself!
Why Solar-Powered Deck Spotlights?
Before diving into the “how,” let’s talk about the “why.” Solar-powered deck spotlights are not just functional; they’re also eco-friendly and cost-effective. Here are a few reasons why I chose them:
- Energy Efficiency: These lights harness the power of the sun, so no need to worry about running up your electricity bill. They’re perfect for anyone looking to reduce their carbon footprint.
- Easy Installation: Since they’re solar-powered, there’s no need to deal with complex wiring. Just attach them where you want, and you’re good to go!
- Versatile Lighting Options: The lights I chose come with three different color settings—warm white, cool white, and blue—so you can customize the ambiance to your liking.
- Durability: Designed to withstand the elements, these lights are perfect for any weather condition. Rain or shine, they’ll keep your deck beautifully illuminated.
Getting Started: Planning the Layout
When it comes to lighting, placement is key. I decided to install the spotlights on my deck to create a warm and inviting atmosphere around the fire pit. Here’s how I did it:
Using “Girl Math” for Beam Spacing
First up, the vertical beams. I kept things simple by using what I like to call “girl math.” All I did was count out the beams to space the lights evenly. No need to break out a calculator for this part—it’s as easy as 1-2-3!
I attached one spotlight to every 8th beam, ensuring they were spaced evenly for a balanced look. This method worked perfectly for this section of the deck.
When Actual Math Came into Play
For the longer stretch of the deck, I couldn’t just eyeball it as there were no marker points. This is where I had to rely on some basic math—my not-so-strong suit. I measured the entire length of the section, then divided it by the number of sections I needed. Here’s a quick breakdown of what I did:
- Measure the Total Length: I took the tape measure and carefully measured the length of the deck section where the lights would go.
- Divide by the Number of Sections: Since I had five lights, I divided the total length by four to create four equal sections between the lights.
- Mark the Spots: With the measurements in hand, I placed the exact spots where each light would go, ensuring they were perfectly spaced.
Installation: The Fun Part!
With the layout all set, it was time to install the lights. As I mentioned, these solar-powered spotlights are a breeze to install. Here’s how I did it:
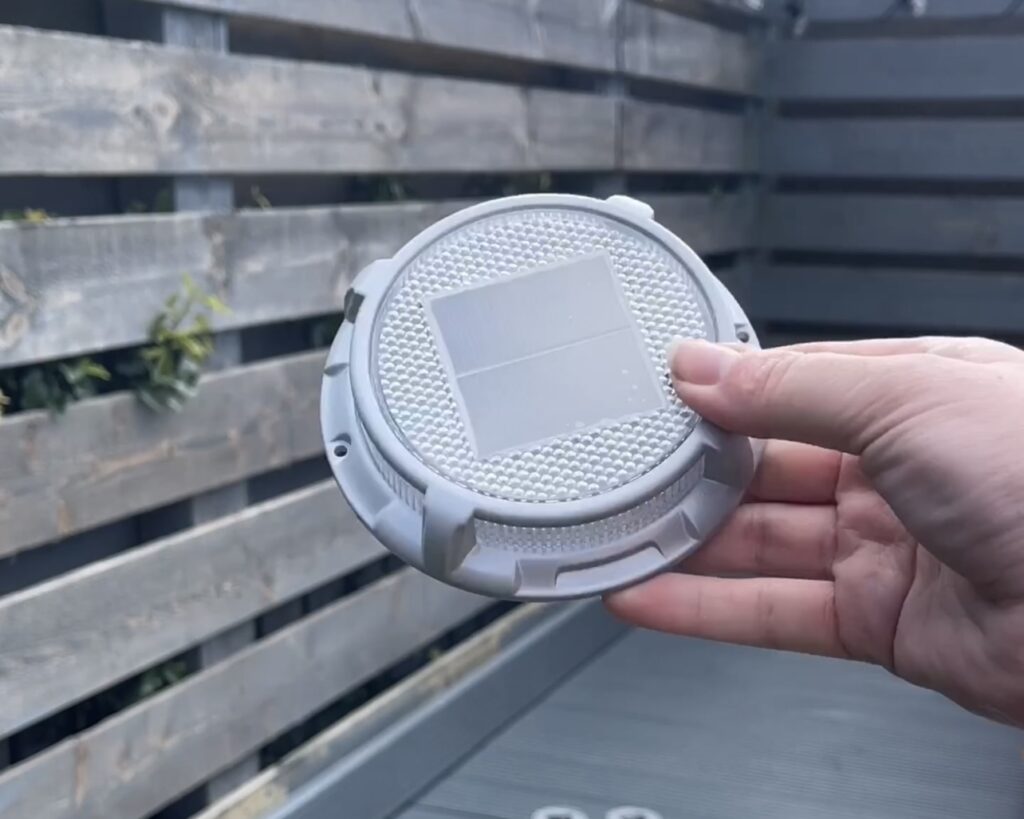
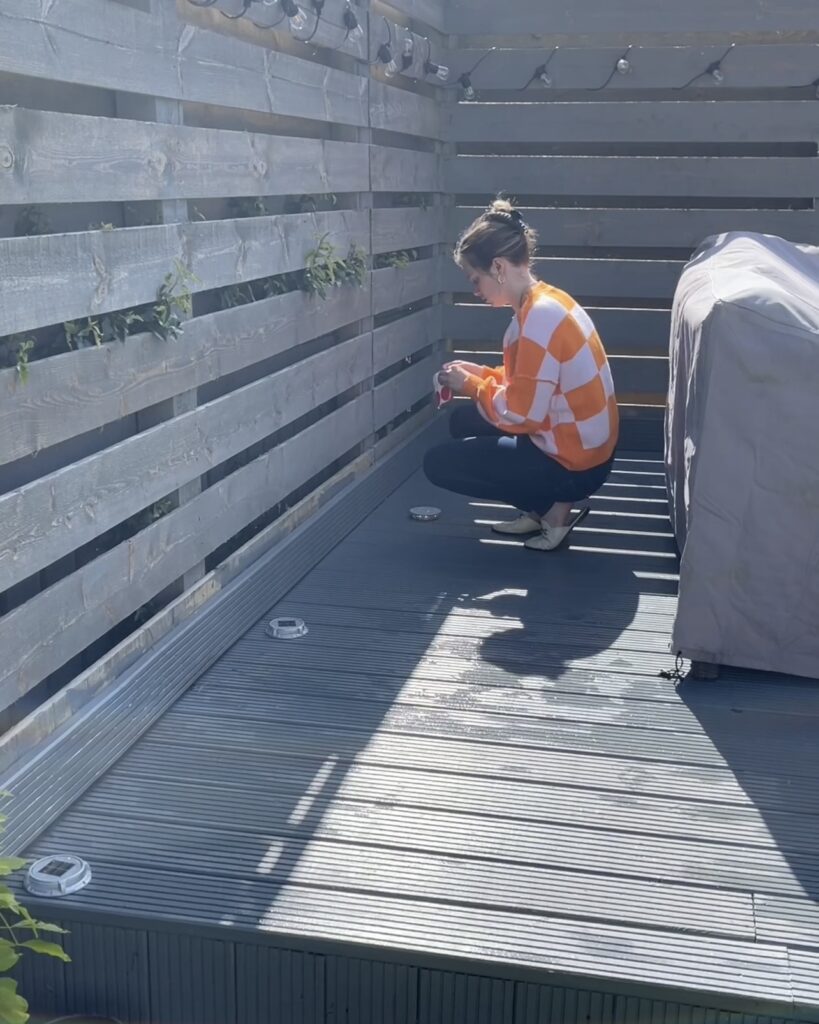
Step 1: Choose the Right Light Setting
These spotlights come with three different color settings: warm white, cool white, and blue. Since my string lights are a warm white, I decided to match the deck lights to create a cohesive and cozy vibe.
Switching between the settings is simple—just use the button on the back of the light to toggle through until you find the perfect hue. I tested each light to make sure they were all set to warm white before moving on to the next step.
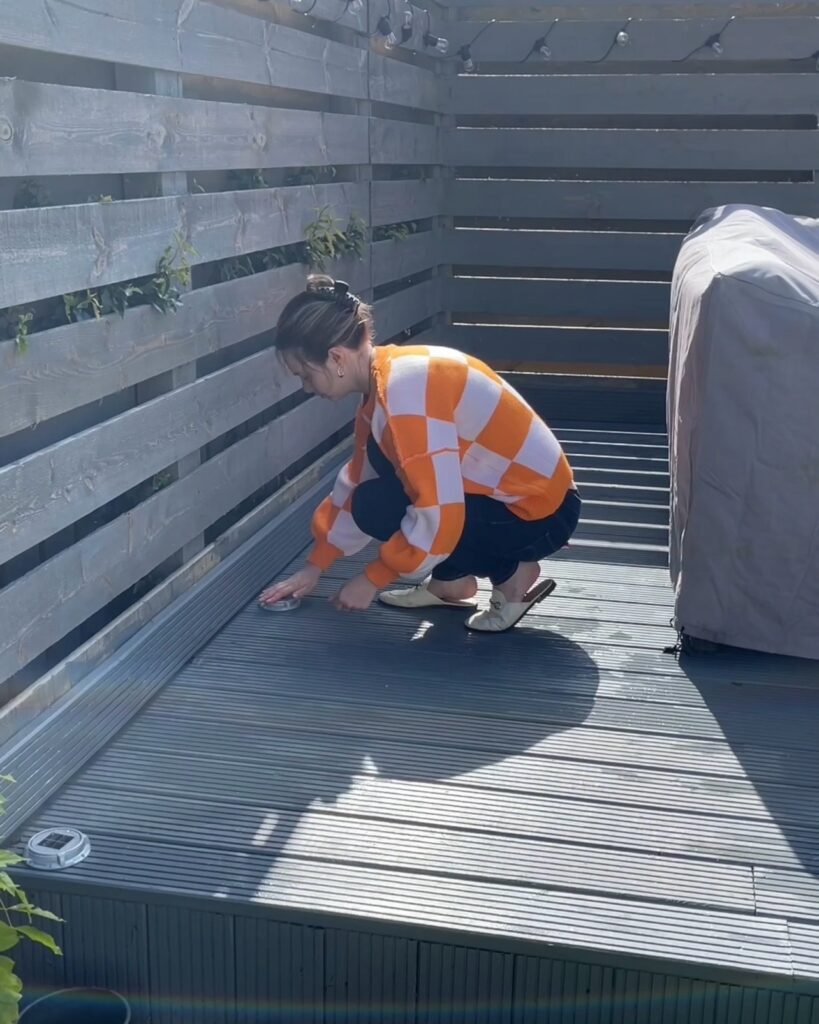
Step 2: Attach the Lights
The lights I used did have the option to screw in, but they also came with adhesive stickers, and I figured that was the easier way to go. Simply peel one side off the sticker and attach it to the light. Then peel the other side off and press it down on the deck. Easy! I securely attached them to the marked spots on the deck boards. I made sure they wouldn’t budge in the wind.
A Windy Day Challenge
Of course, no project is without its challenges. On the day I installed the lights, the wind was relentless. Leaves were blowing everywhere, and at one point, my poor plant decided it had had enough and toppled over. I guess repotting is now officially my next outdoor project!
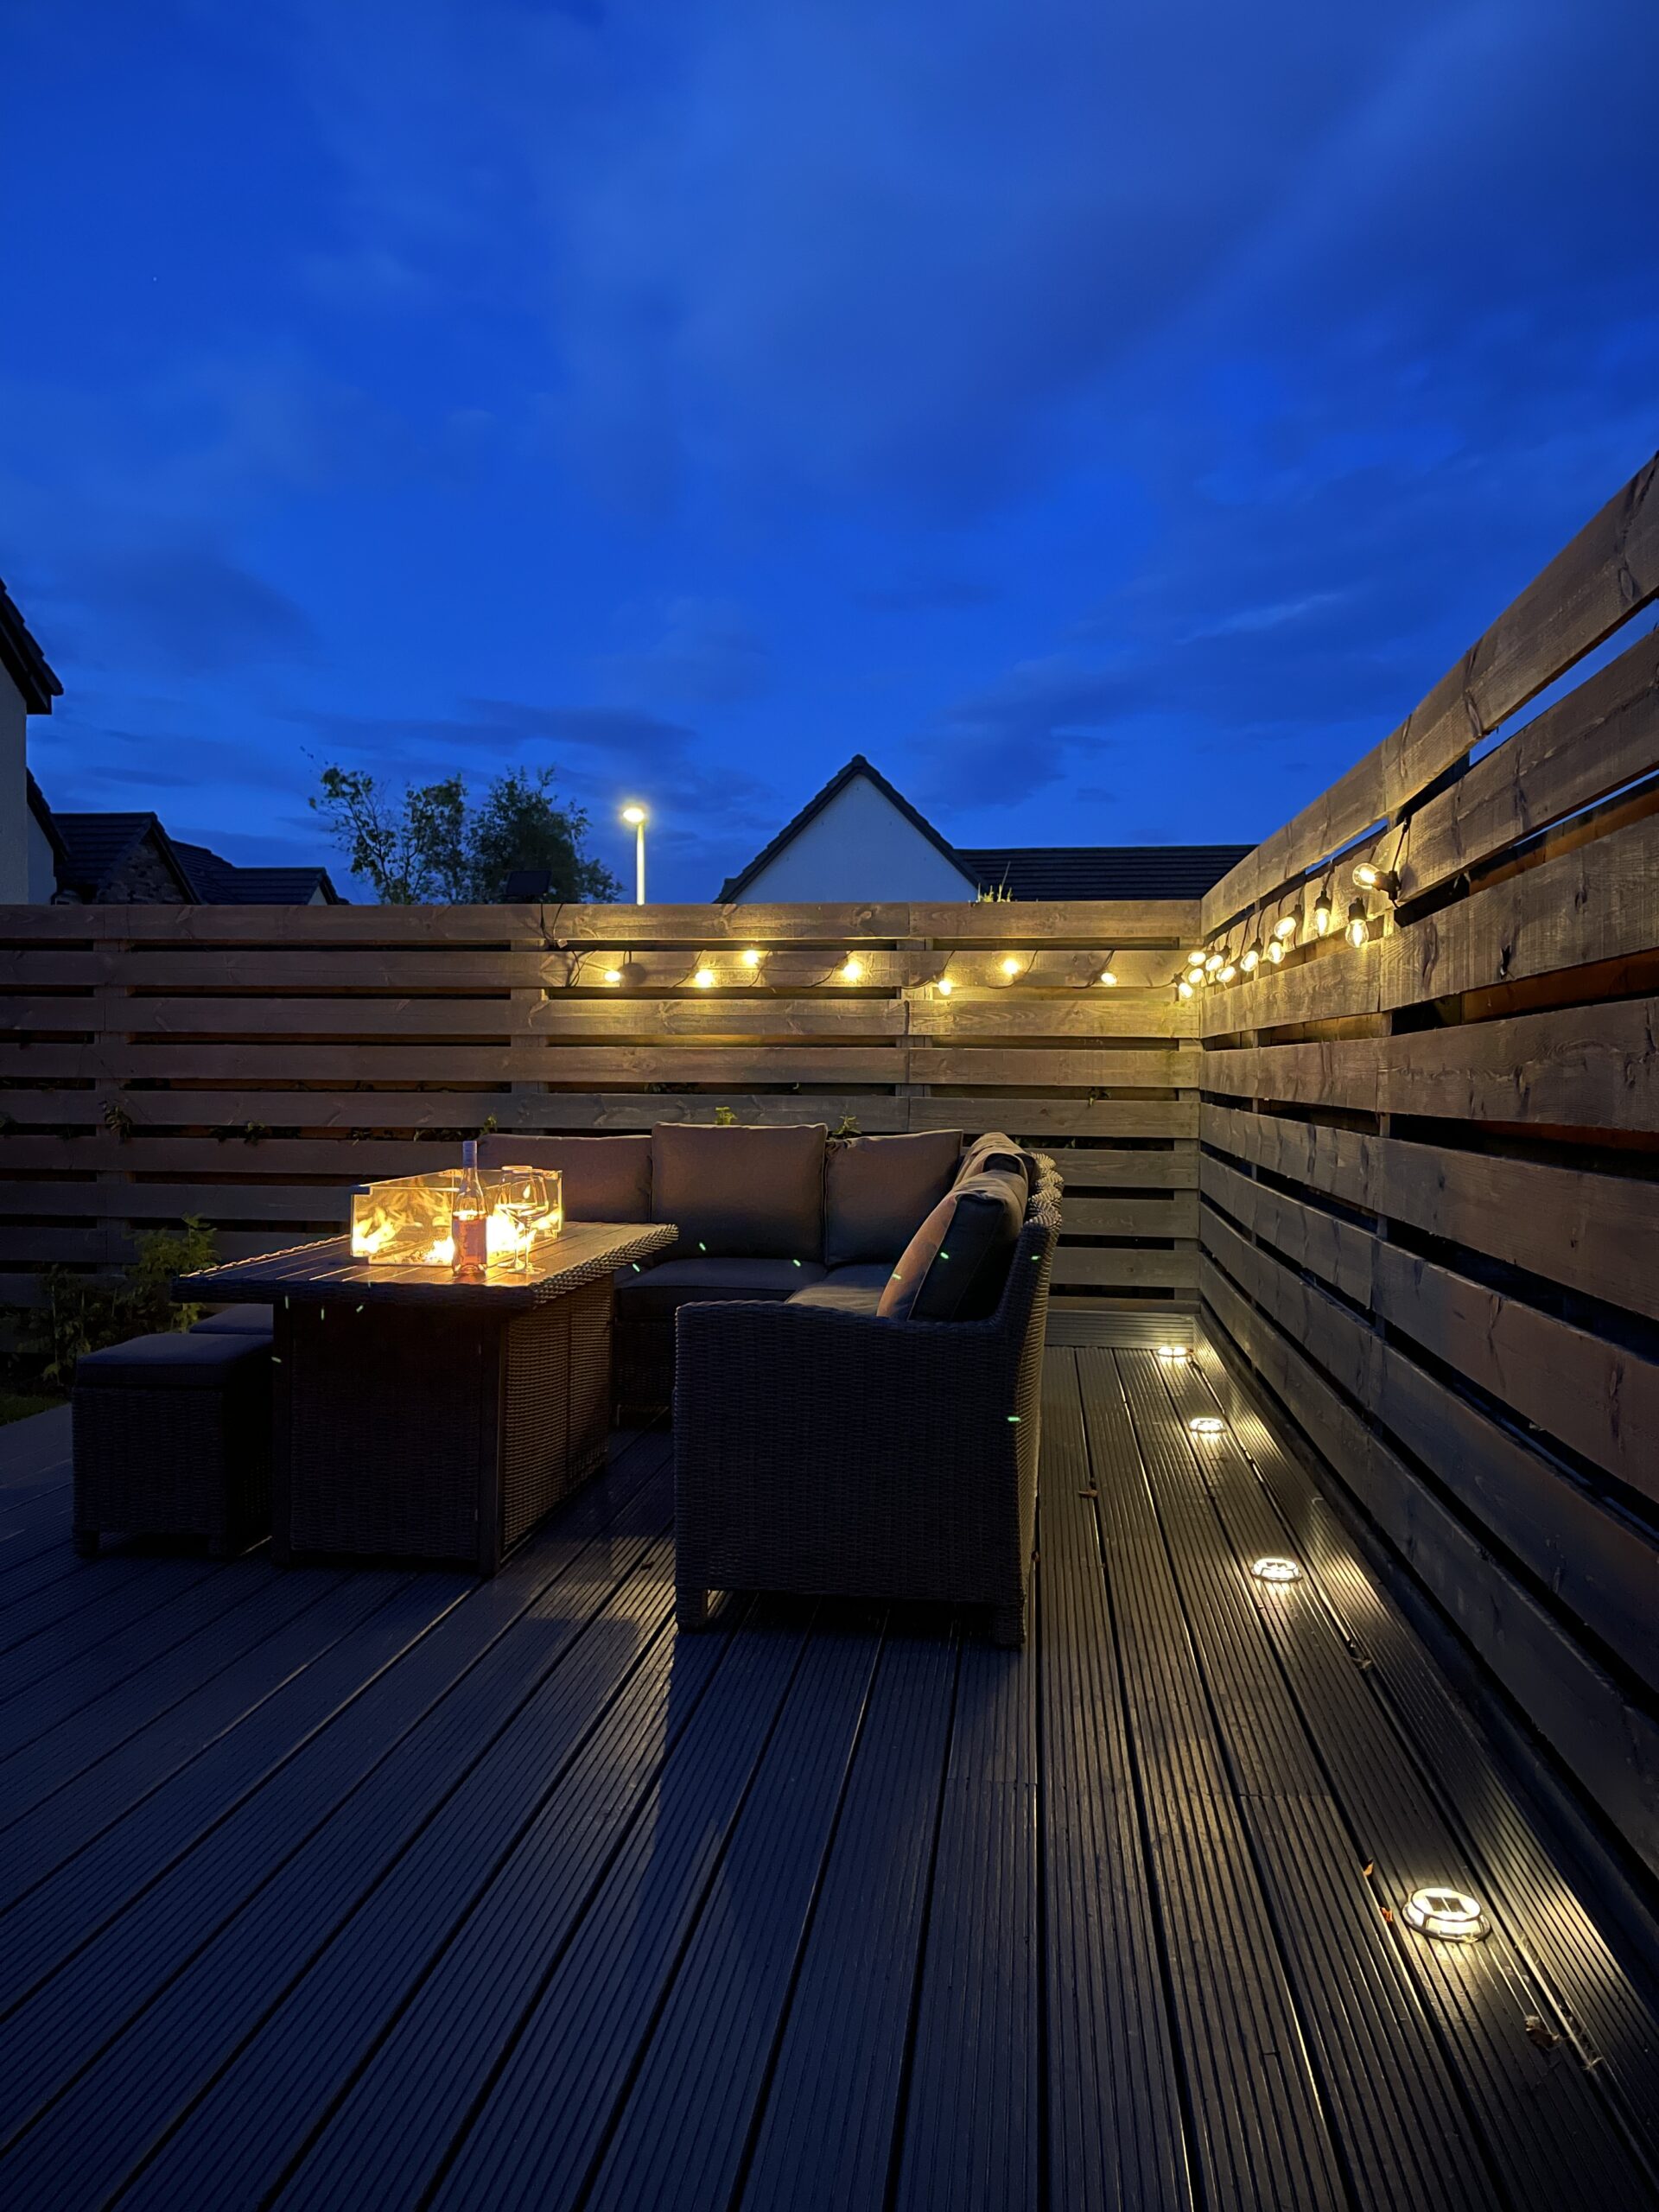
Despite the windy conditions, the lights stayed securely in place, proving their durability. Once everything was set up, I took a step back to admire my work. The result? A beautifully lit deck that’s ready for cozy (not so windy) nights by the fire pit.
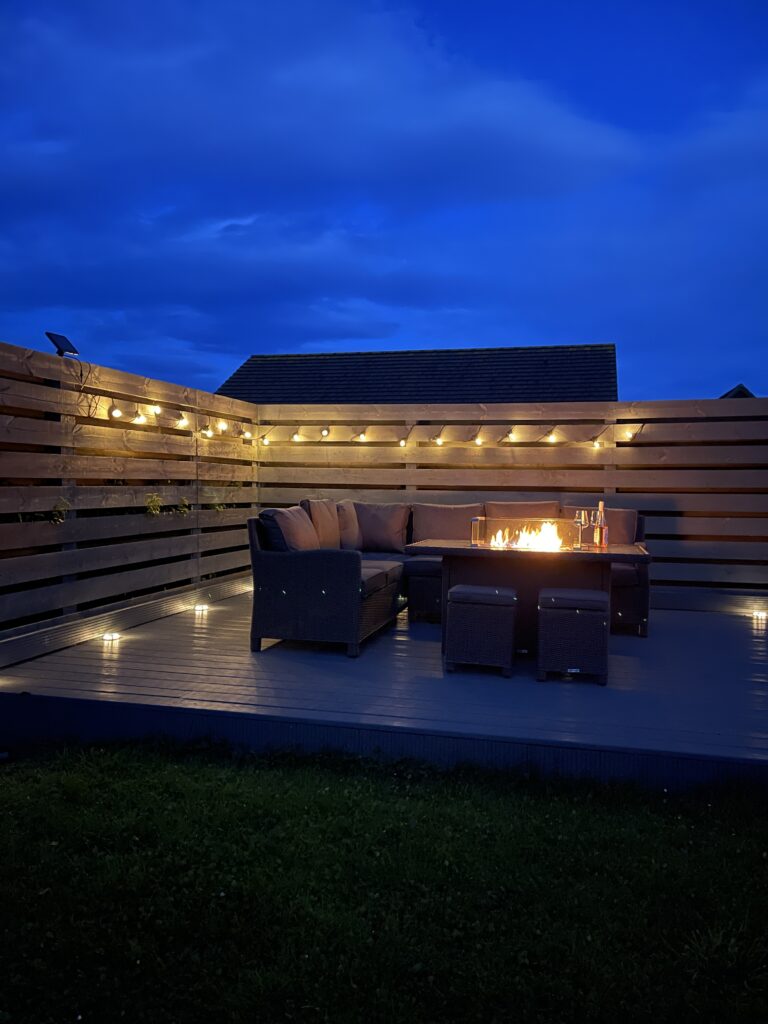
The Final Reveal: A Cozy Deck Oasis
Now that the lights are up, my deck has been completely transformed. The warm white glow of the spotlights complements the string lights perfectly, creating a soothing and inviting atmosphere. The fire pit is now the focal point of the space, and the added lighting makes it even more enchanting as the sun goes down.
I have to say, I’m absolutely in love with how everything turned out. The deck is now my go-to spot for relaxing after a long day, and I can’t wait to host friends and family here for some fireside chats.
Why You Need These Solar-Powered Deck Spotlights
If you’re looking to elevate your outdoor space, these solar-powered deck spotlights are a must-have. Here’s why you should consider adding them to your own deck:
- Easy to Install: No need for an electrician. You can do it yourself in an afternoon!
- Environmentally Friendly: Solar power means no extra energy consumption.
- Customizable Ambiance: With multiple color settings, you can create the perfect mood for any occasion.
- Weather Resistant: Built to withstand the elements, these lights will last you season after season.
- Affordable Luxury: These lights offer a high-end look without the high-end price tag.
Pro Tips for Installing Your Deck Spotlights
Before you start your own installation, here are a few tips to ensure everything goes smoothly:
- Plan Your Layout: Take the time to measure and mark where each light will go. This will save you time and hassle during installation.
- Check the Light Settings: Make sure all your lights are set to the same color setting before you install them. It’s easier to do this before they’re attached to the deck.
- Secure the Lights Well: Don’t skimp on tightening the screws, or making sure the adhesive is really stuck on there. You want these lights to stay put, even in windy conditions.
- Consider the Weather: If possible, pick a calm day for installation. High winds can make the process more difficult than it needs to be. And if you are using the stickers, make sure it's a dry day.

How to Purchase Your Own Solar-Powered Deck Spotlights
Ready to transform your outdoor space? I’ve included an affiliate link below so you can purchase these exact lights and start your own deck makeover. Trust me, they’re worth every penny!
Buy Solar-Powered Deck Spotlights Here
Conclusion: Enjoy Your Outdoor Oasis
There’s nothing quite like having a cozy outdoor space to call your own. With just a few simple additions—like these solar-powered deck spotlights—you can completely transform your deck into a warm, inviting oasis. Whether you’re hosting a gathering or just unwinding after a long day, your beautifully lit deck will be the perfect backdrop for creating memories.
So go ahead, give your deck the upgrade it deserves. You’ll be spending a lot more time outdoors once you see how much of a difference these lights make. Happy decorating!
By adding these solar-powered deck spotlights, I’ve turned my deck into a space I can enjoy day or night. It’s amazing what a little bit of lighting can do to change the atmosphere of a space. I hope this guide inspires you to tackle your own outdoor projects and create a space that you love.