How to Make a Wood Slice Gift Tag or Ornament
On Tuesday, I sent out my first gift guide of the season. Did you find anything on that guide that you want for yourself? It's hard to restrain myself during “research” time and not click BUY when I see so many CUTE things!
To help lower Christmas costs, I also enjoy making homemade gifts. Soaps, tea towels, home decor, Mason Jar candles, and baking kits are some of my favorites. To make a gift truly stand out, it's all about the packaging! I love to add a little ornament or tag to the top to give your present the interest it deserves.
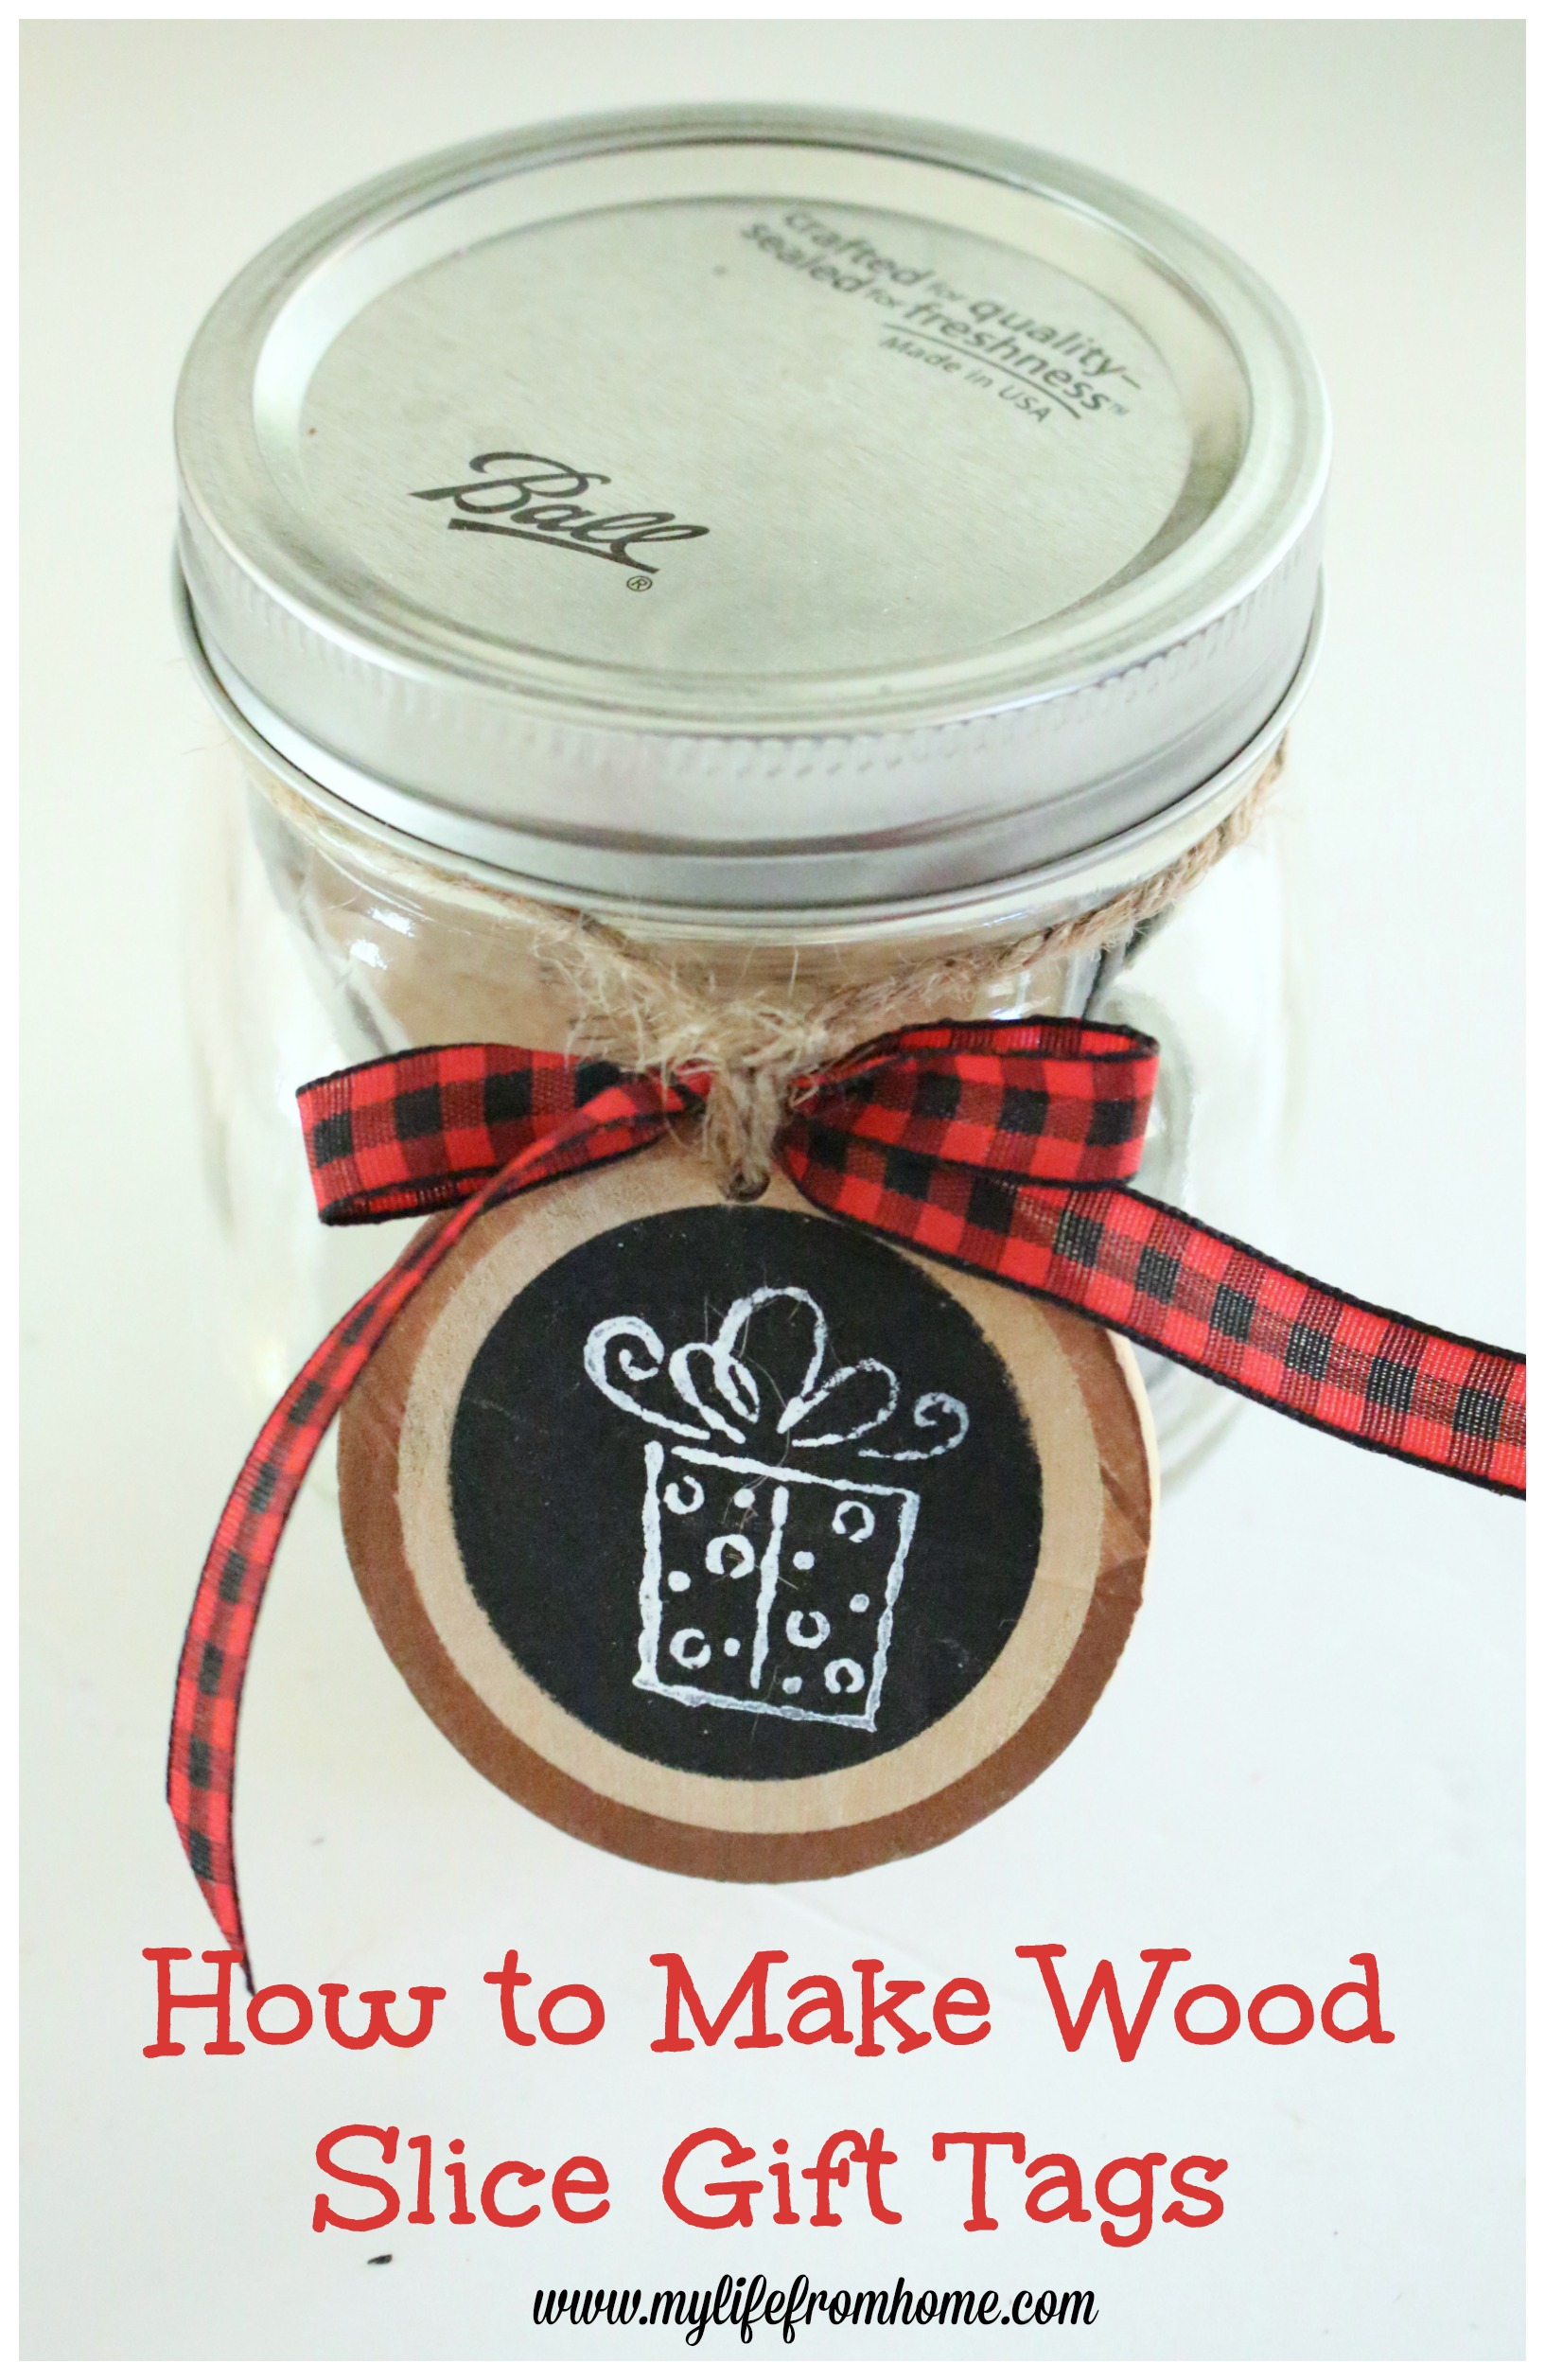
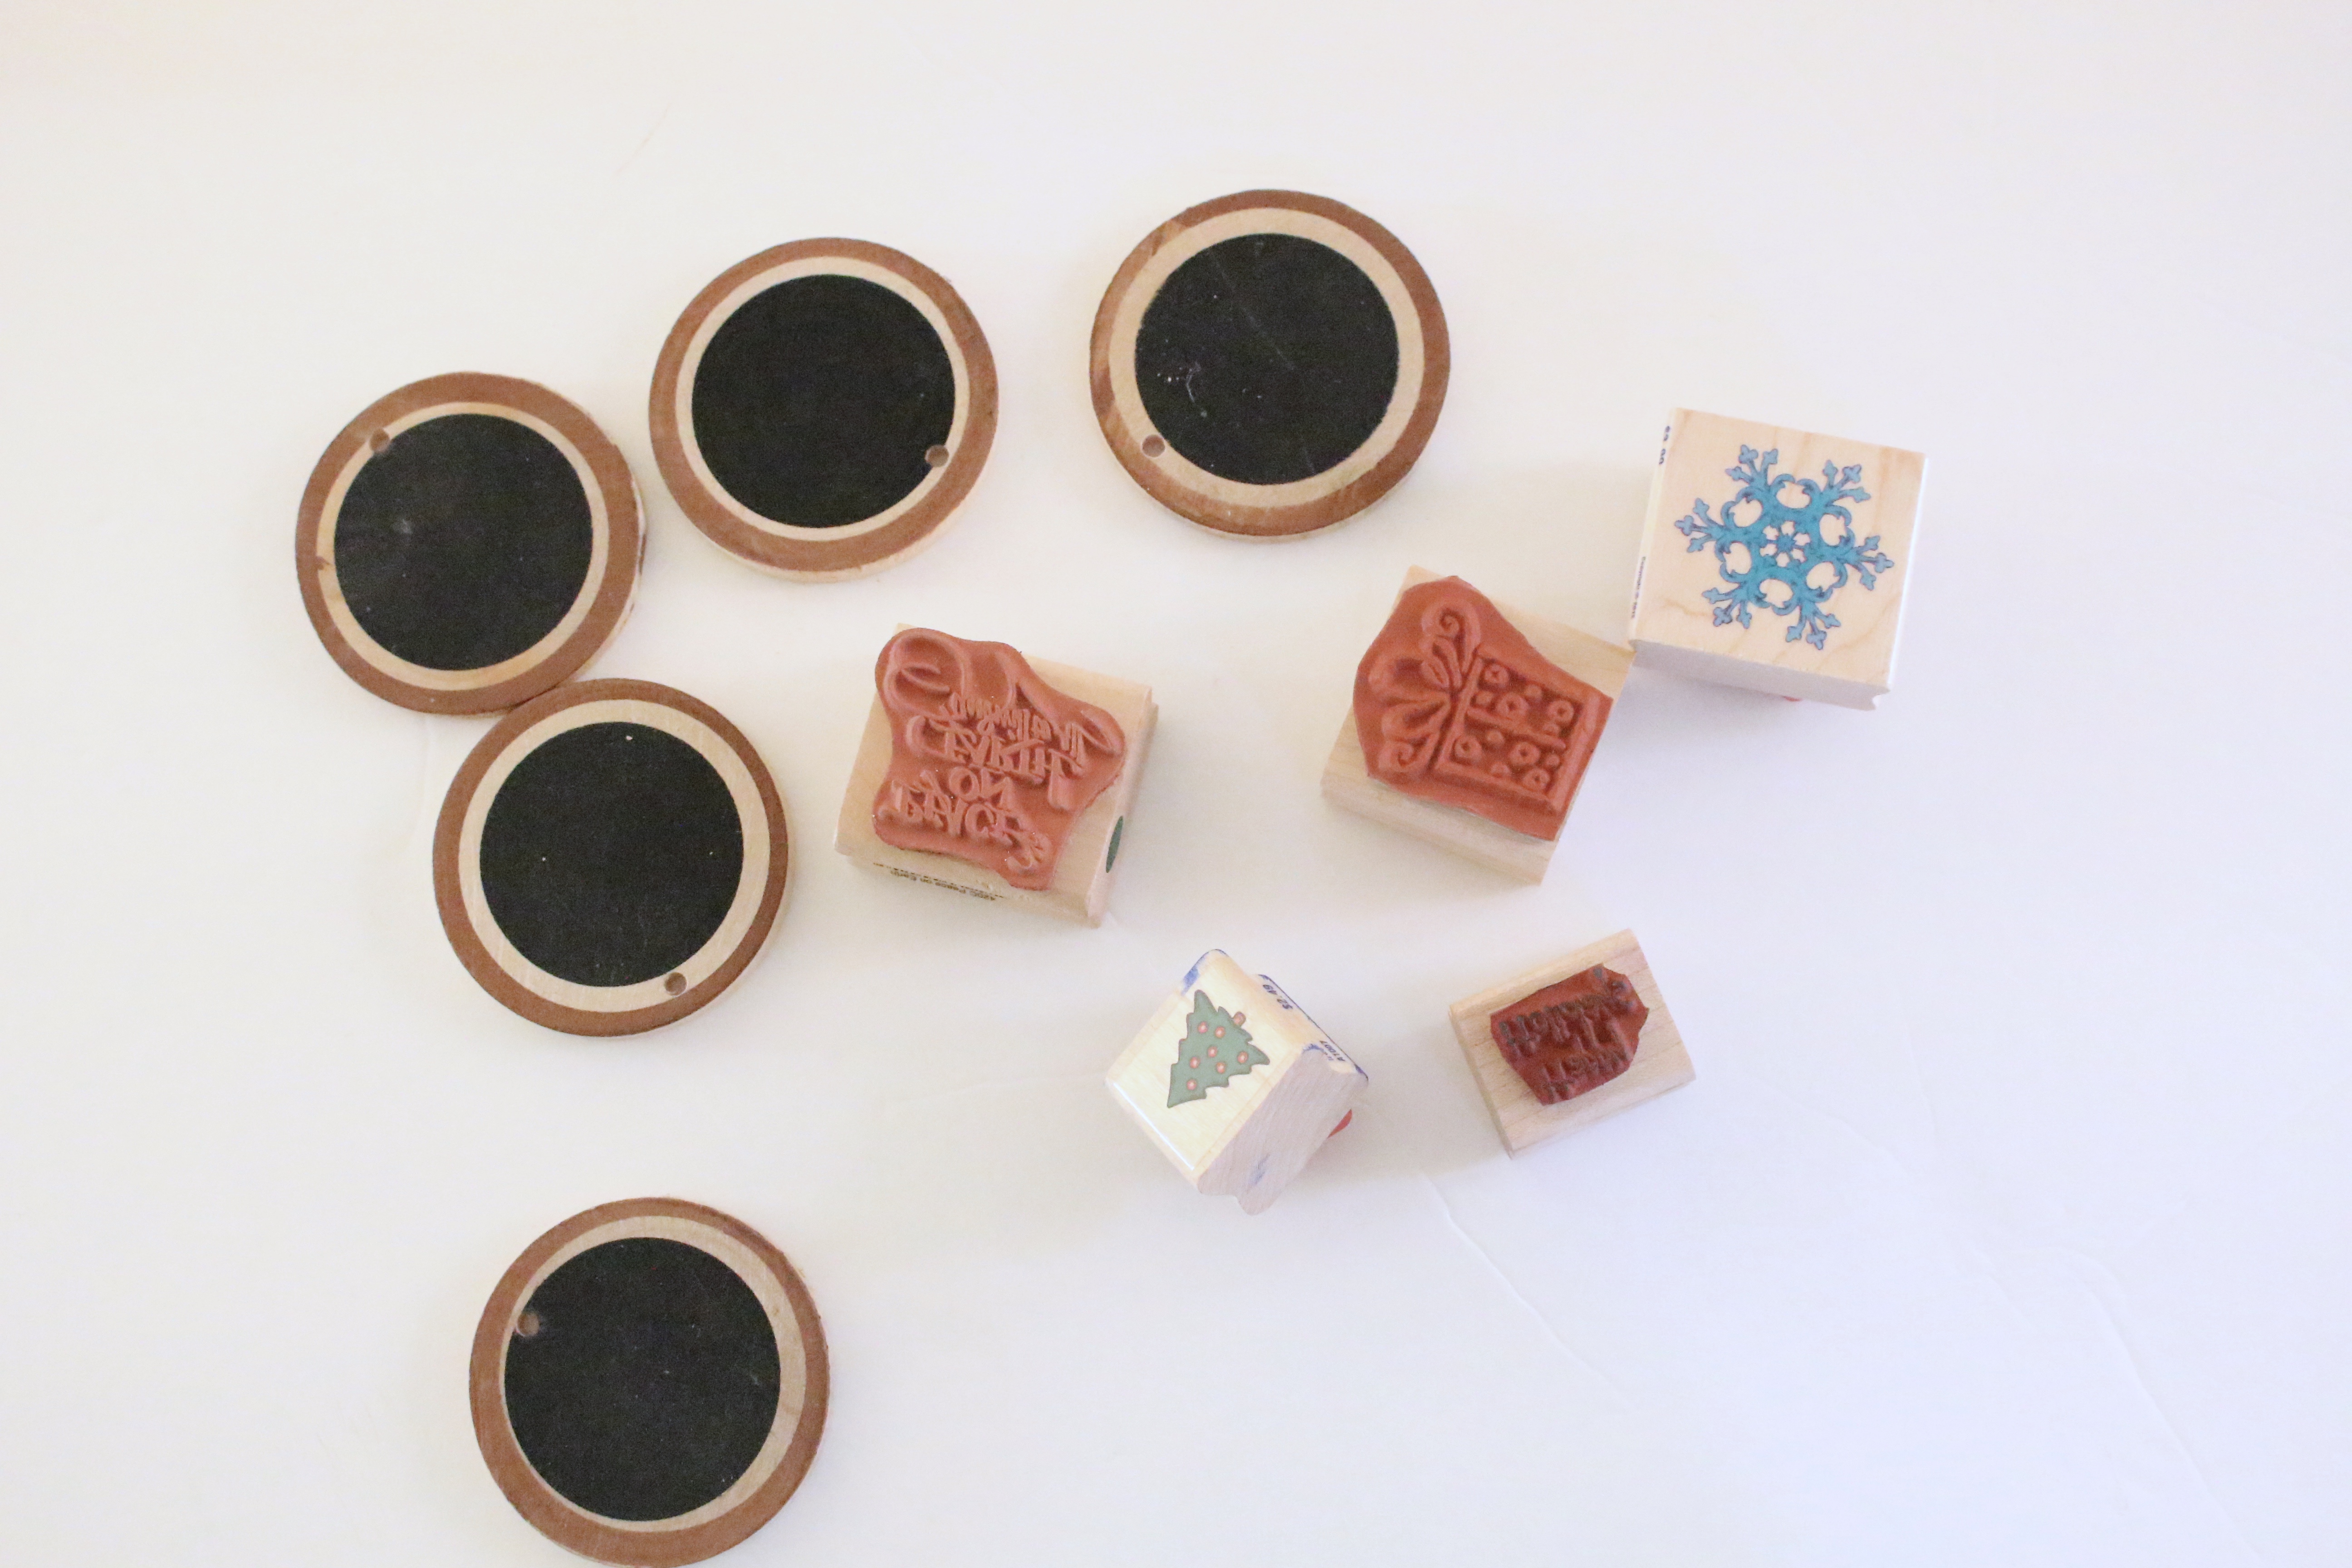
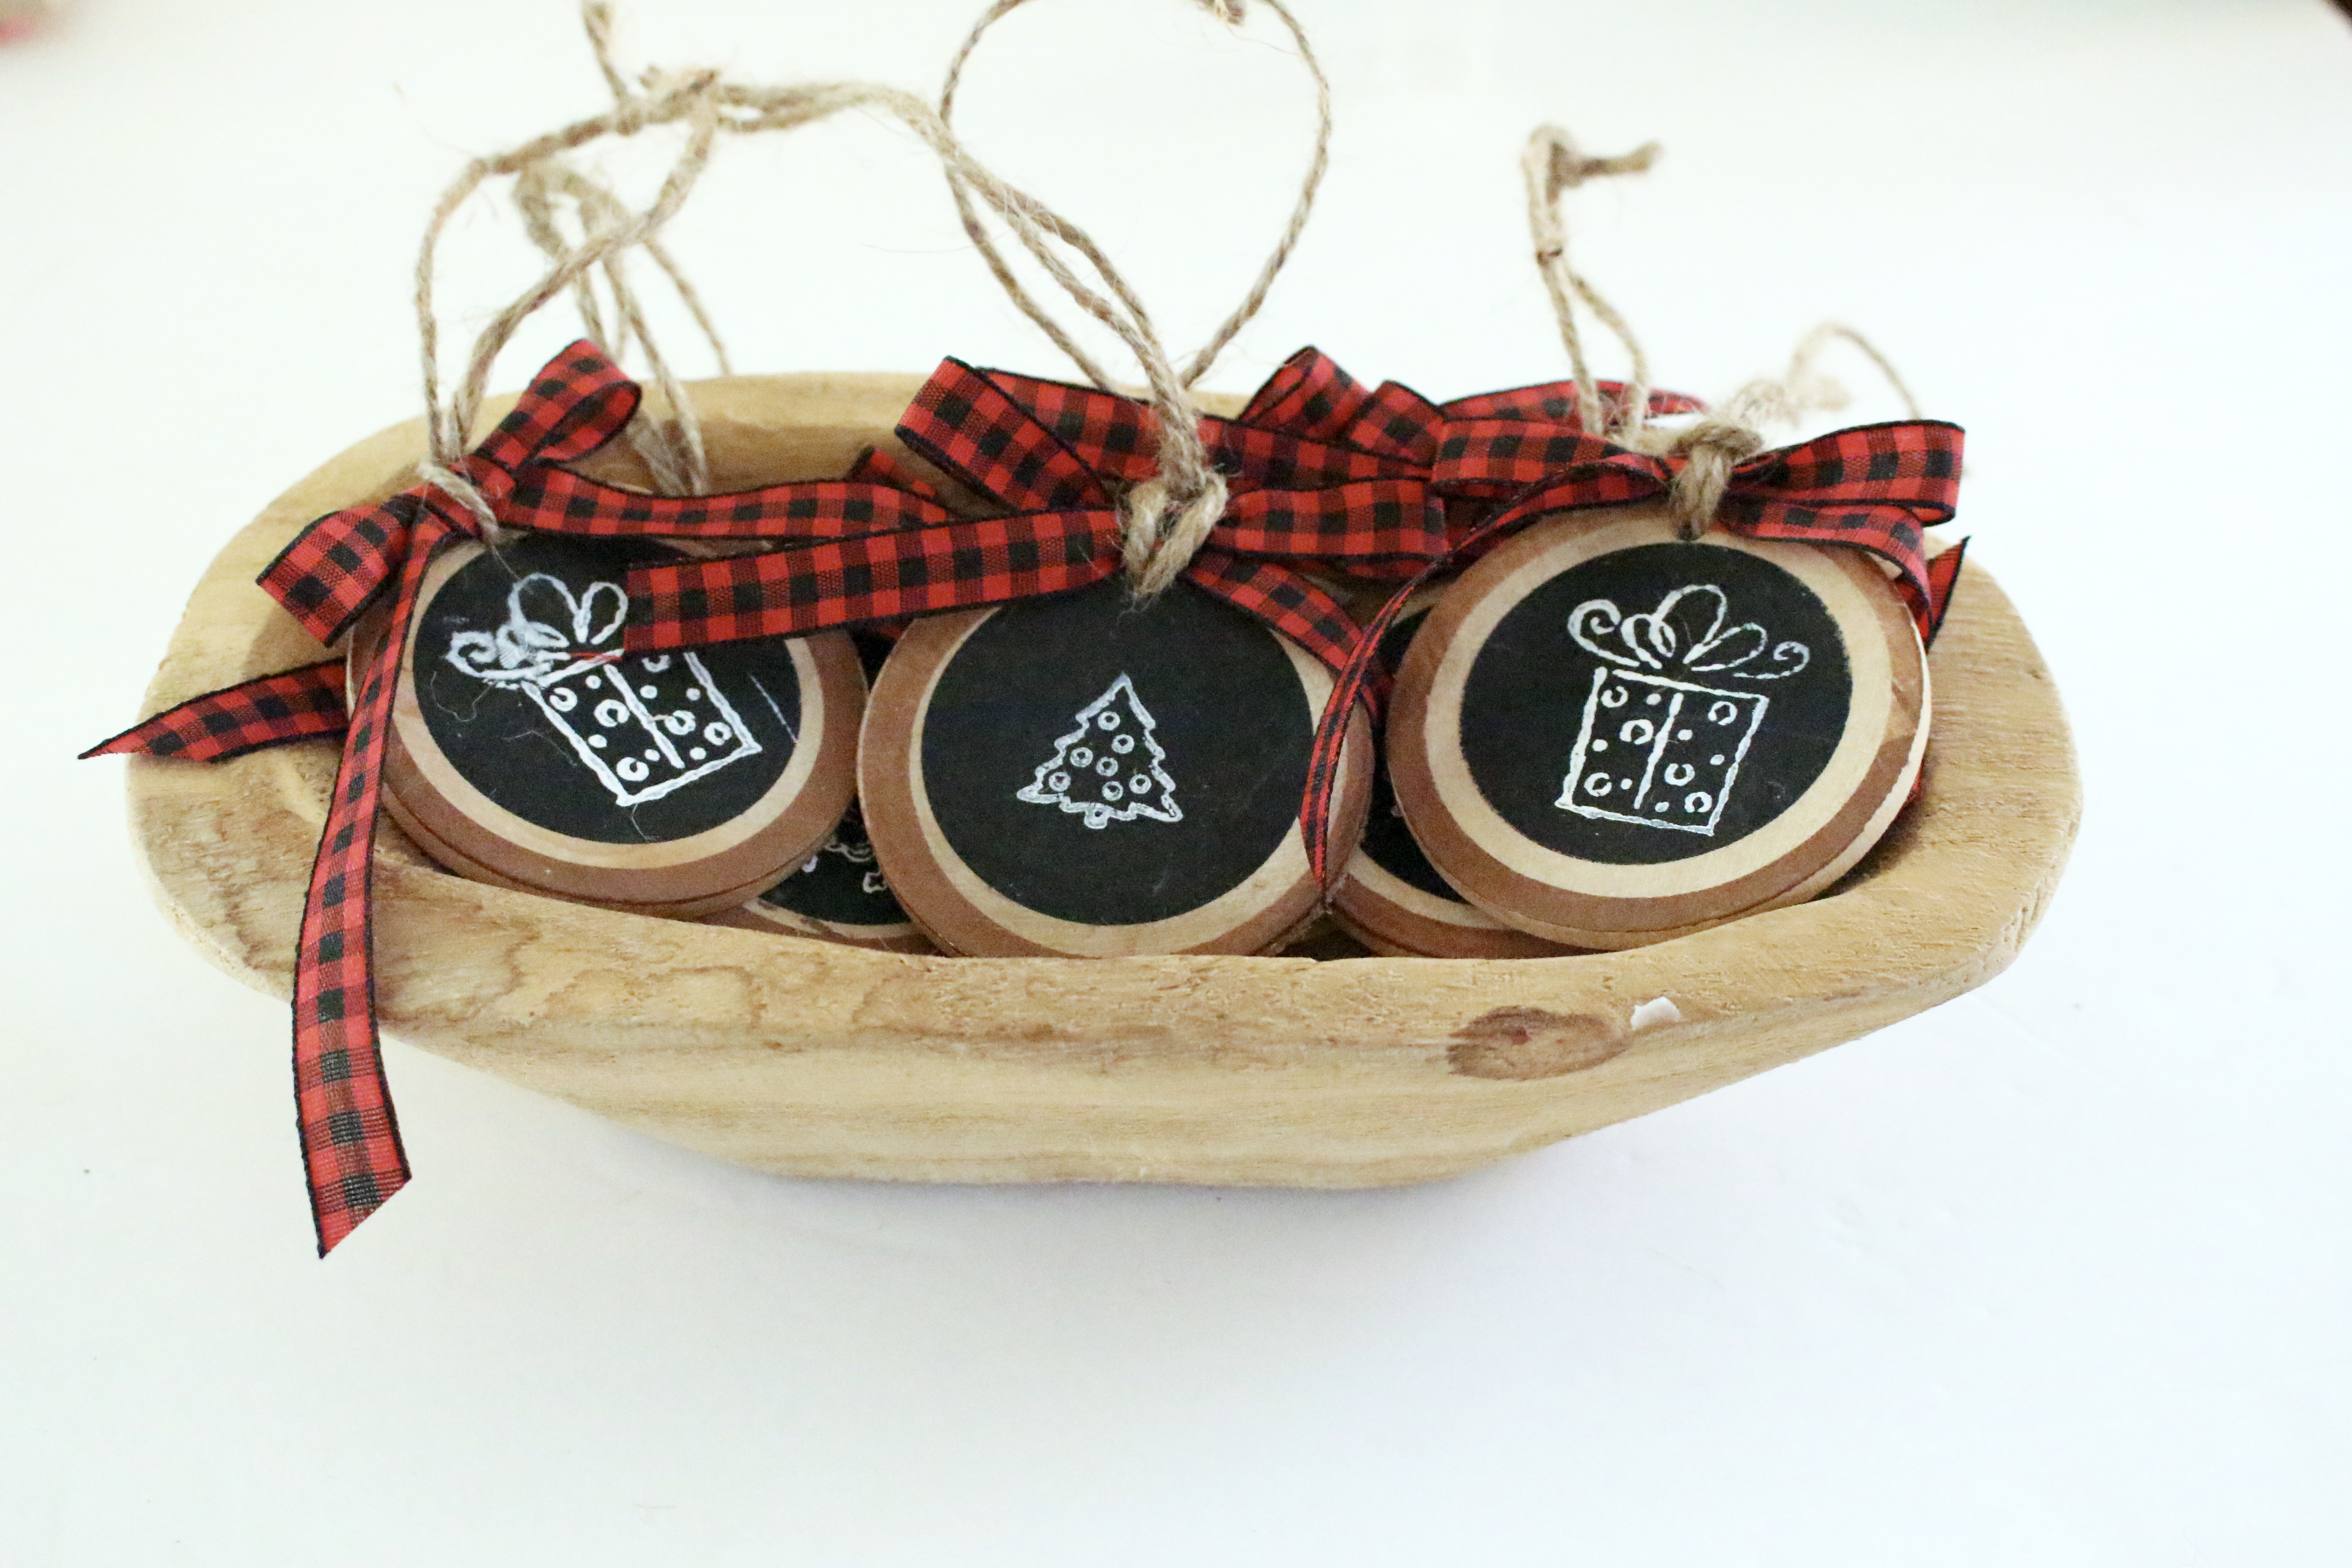
Today I'm going to show you a really simple DIY gift tag you can make yourself at home with just a little effort. I found these pre drilled chalkboard wood slices at Target in the Dollar Spot last year. I'm not sure if they still have them available, but I will send you to a link for pre drilled ones that can be used just as easily in this project. Using rubber stamps and buffalo check ribbon, I created one-of-a-kind tags that will look great on a gift wrapped present or tied on a Mason Jar.
I may also use these on my tree as ornaments as well.
{This post contains affiliate links, see full disclosure here.}
Supplies:
Twine
Instructions:
1. First start by painting on a black paint if you want your slices to have a black background.
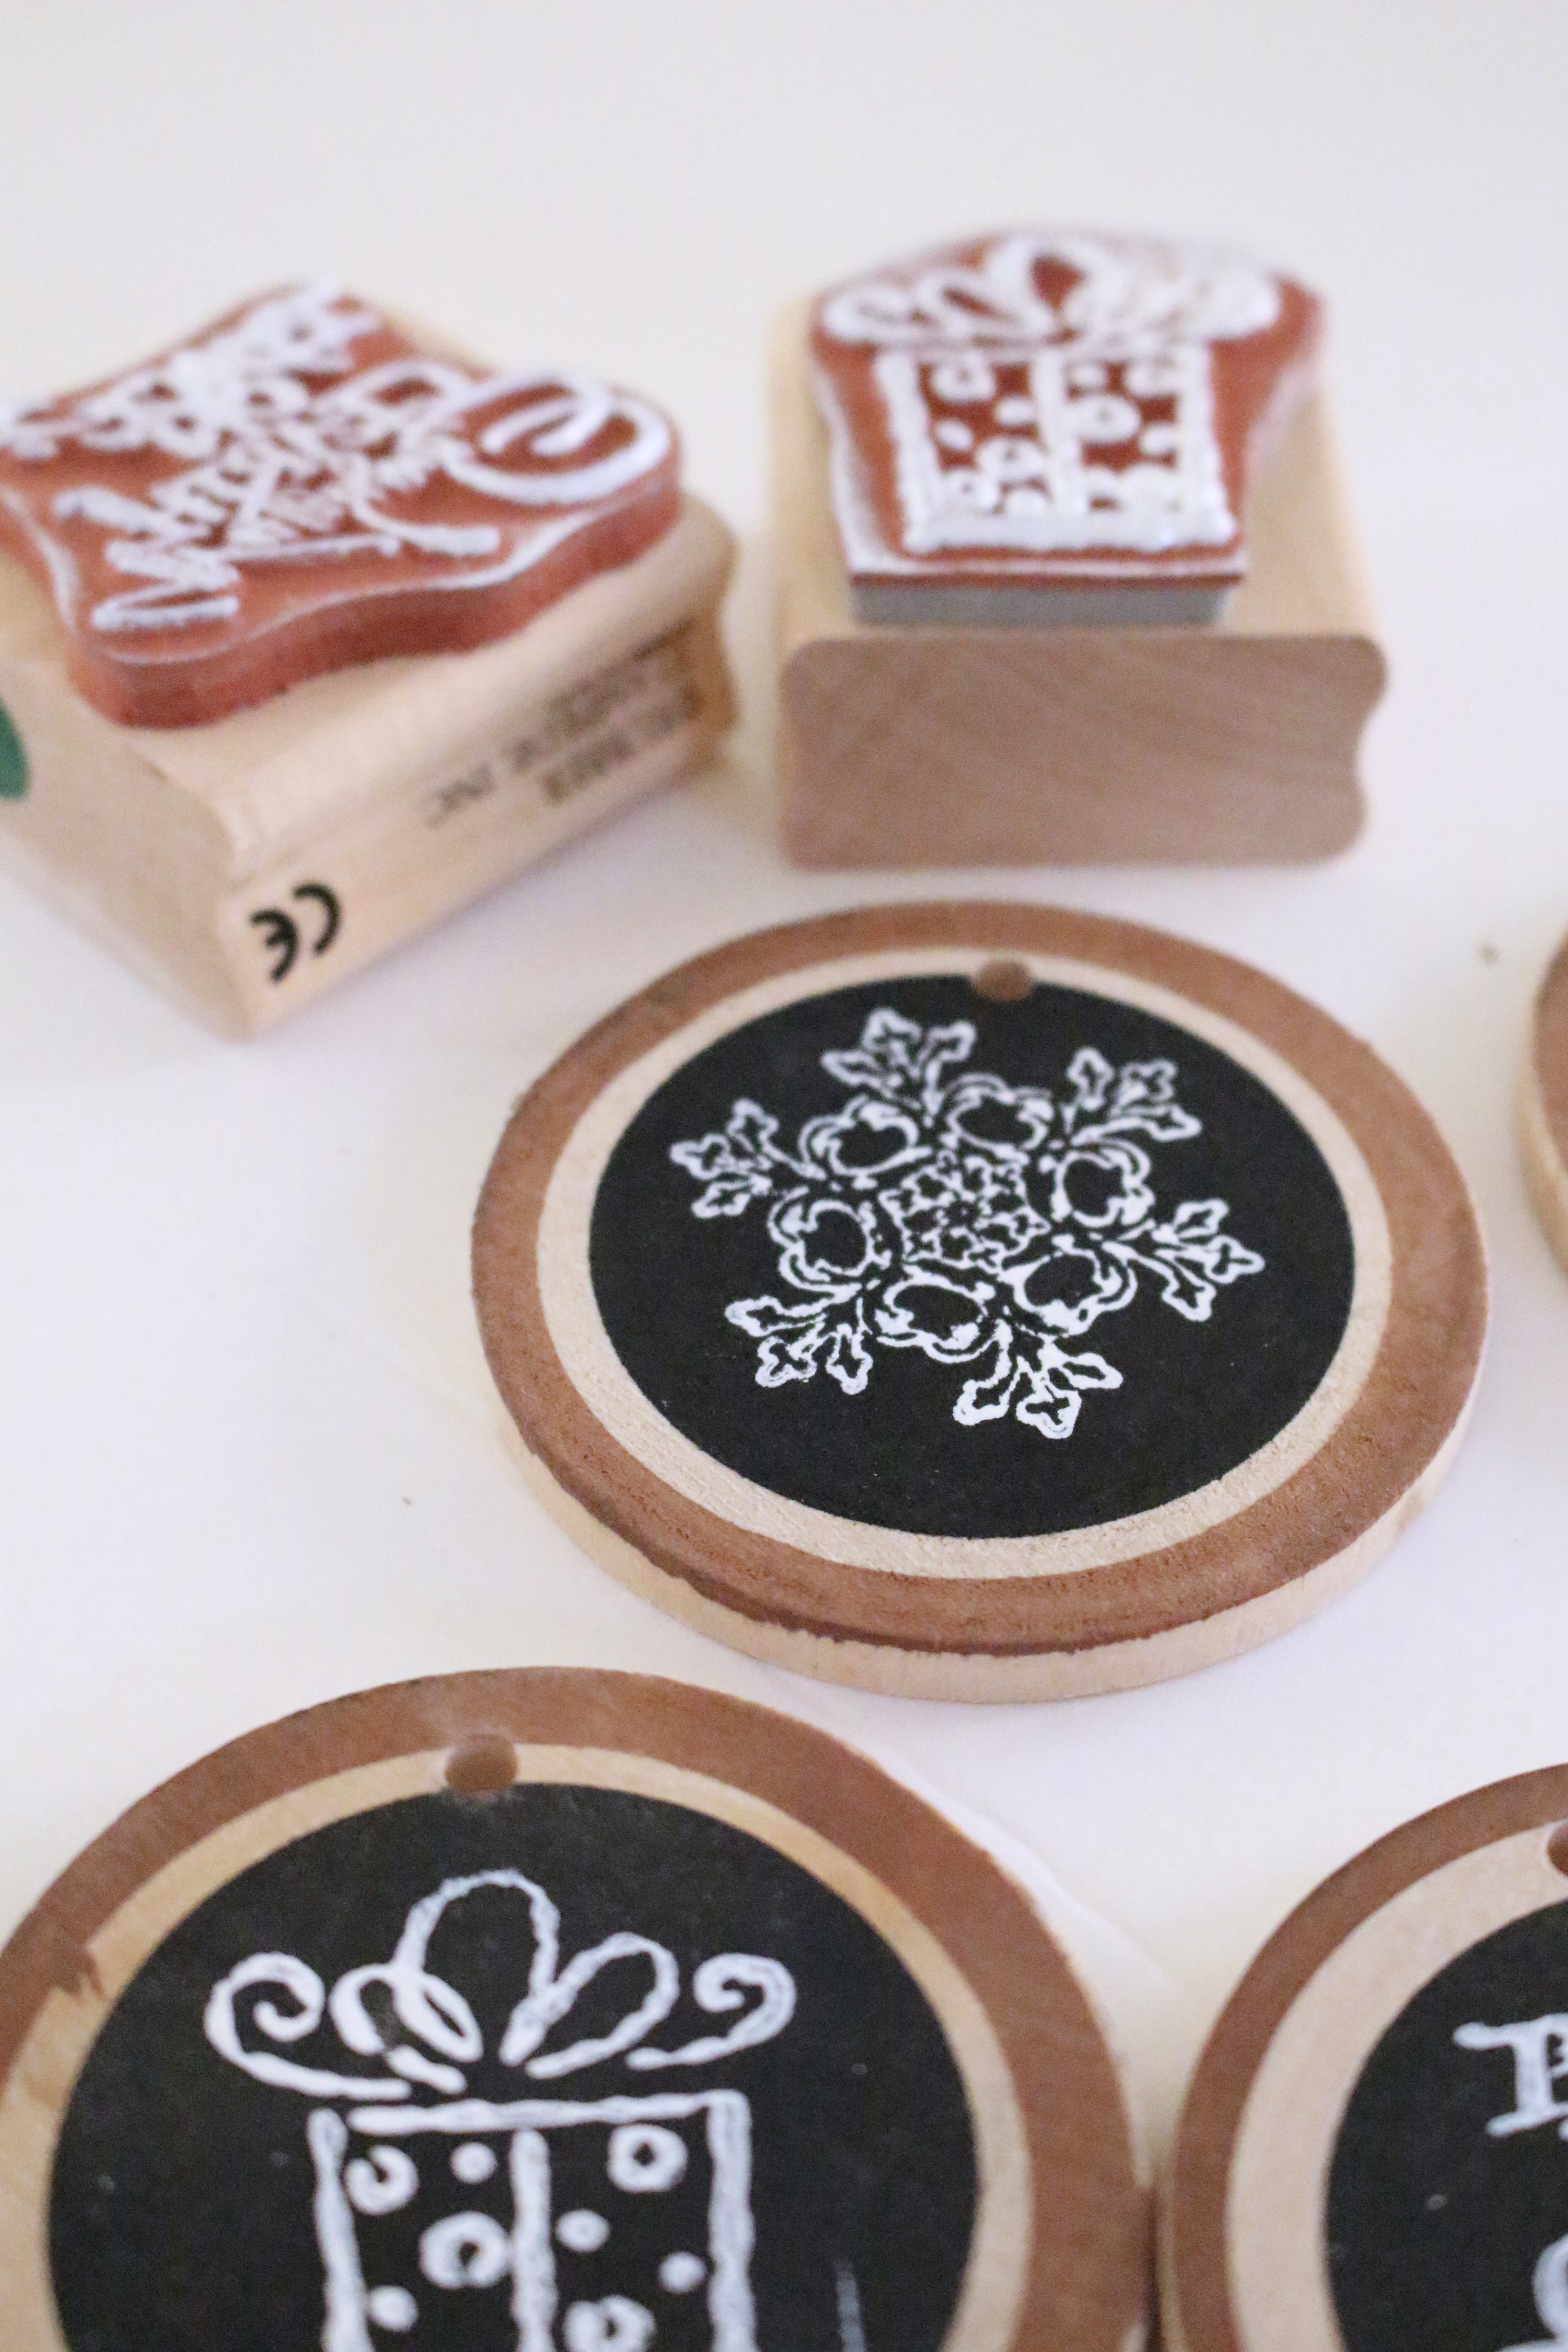
2. After drying, choose your stamp and pad and apply your stamp to the center.
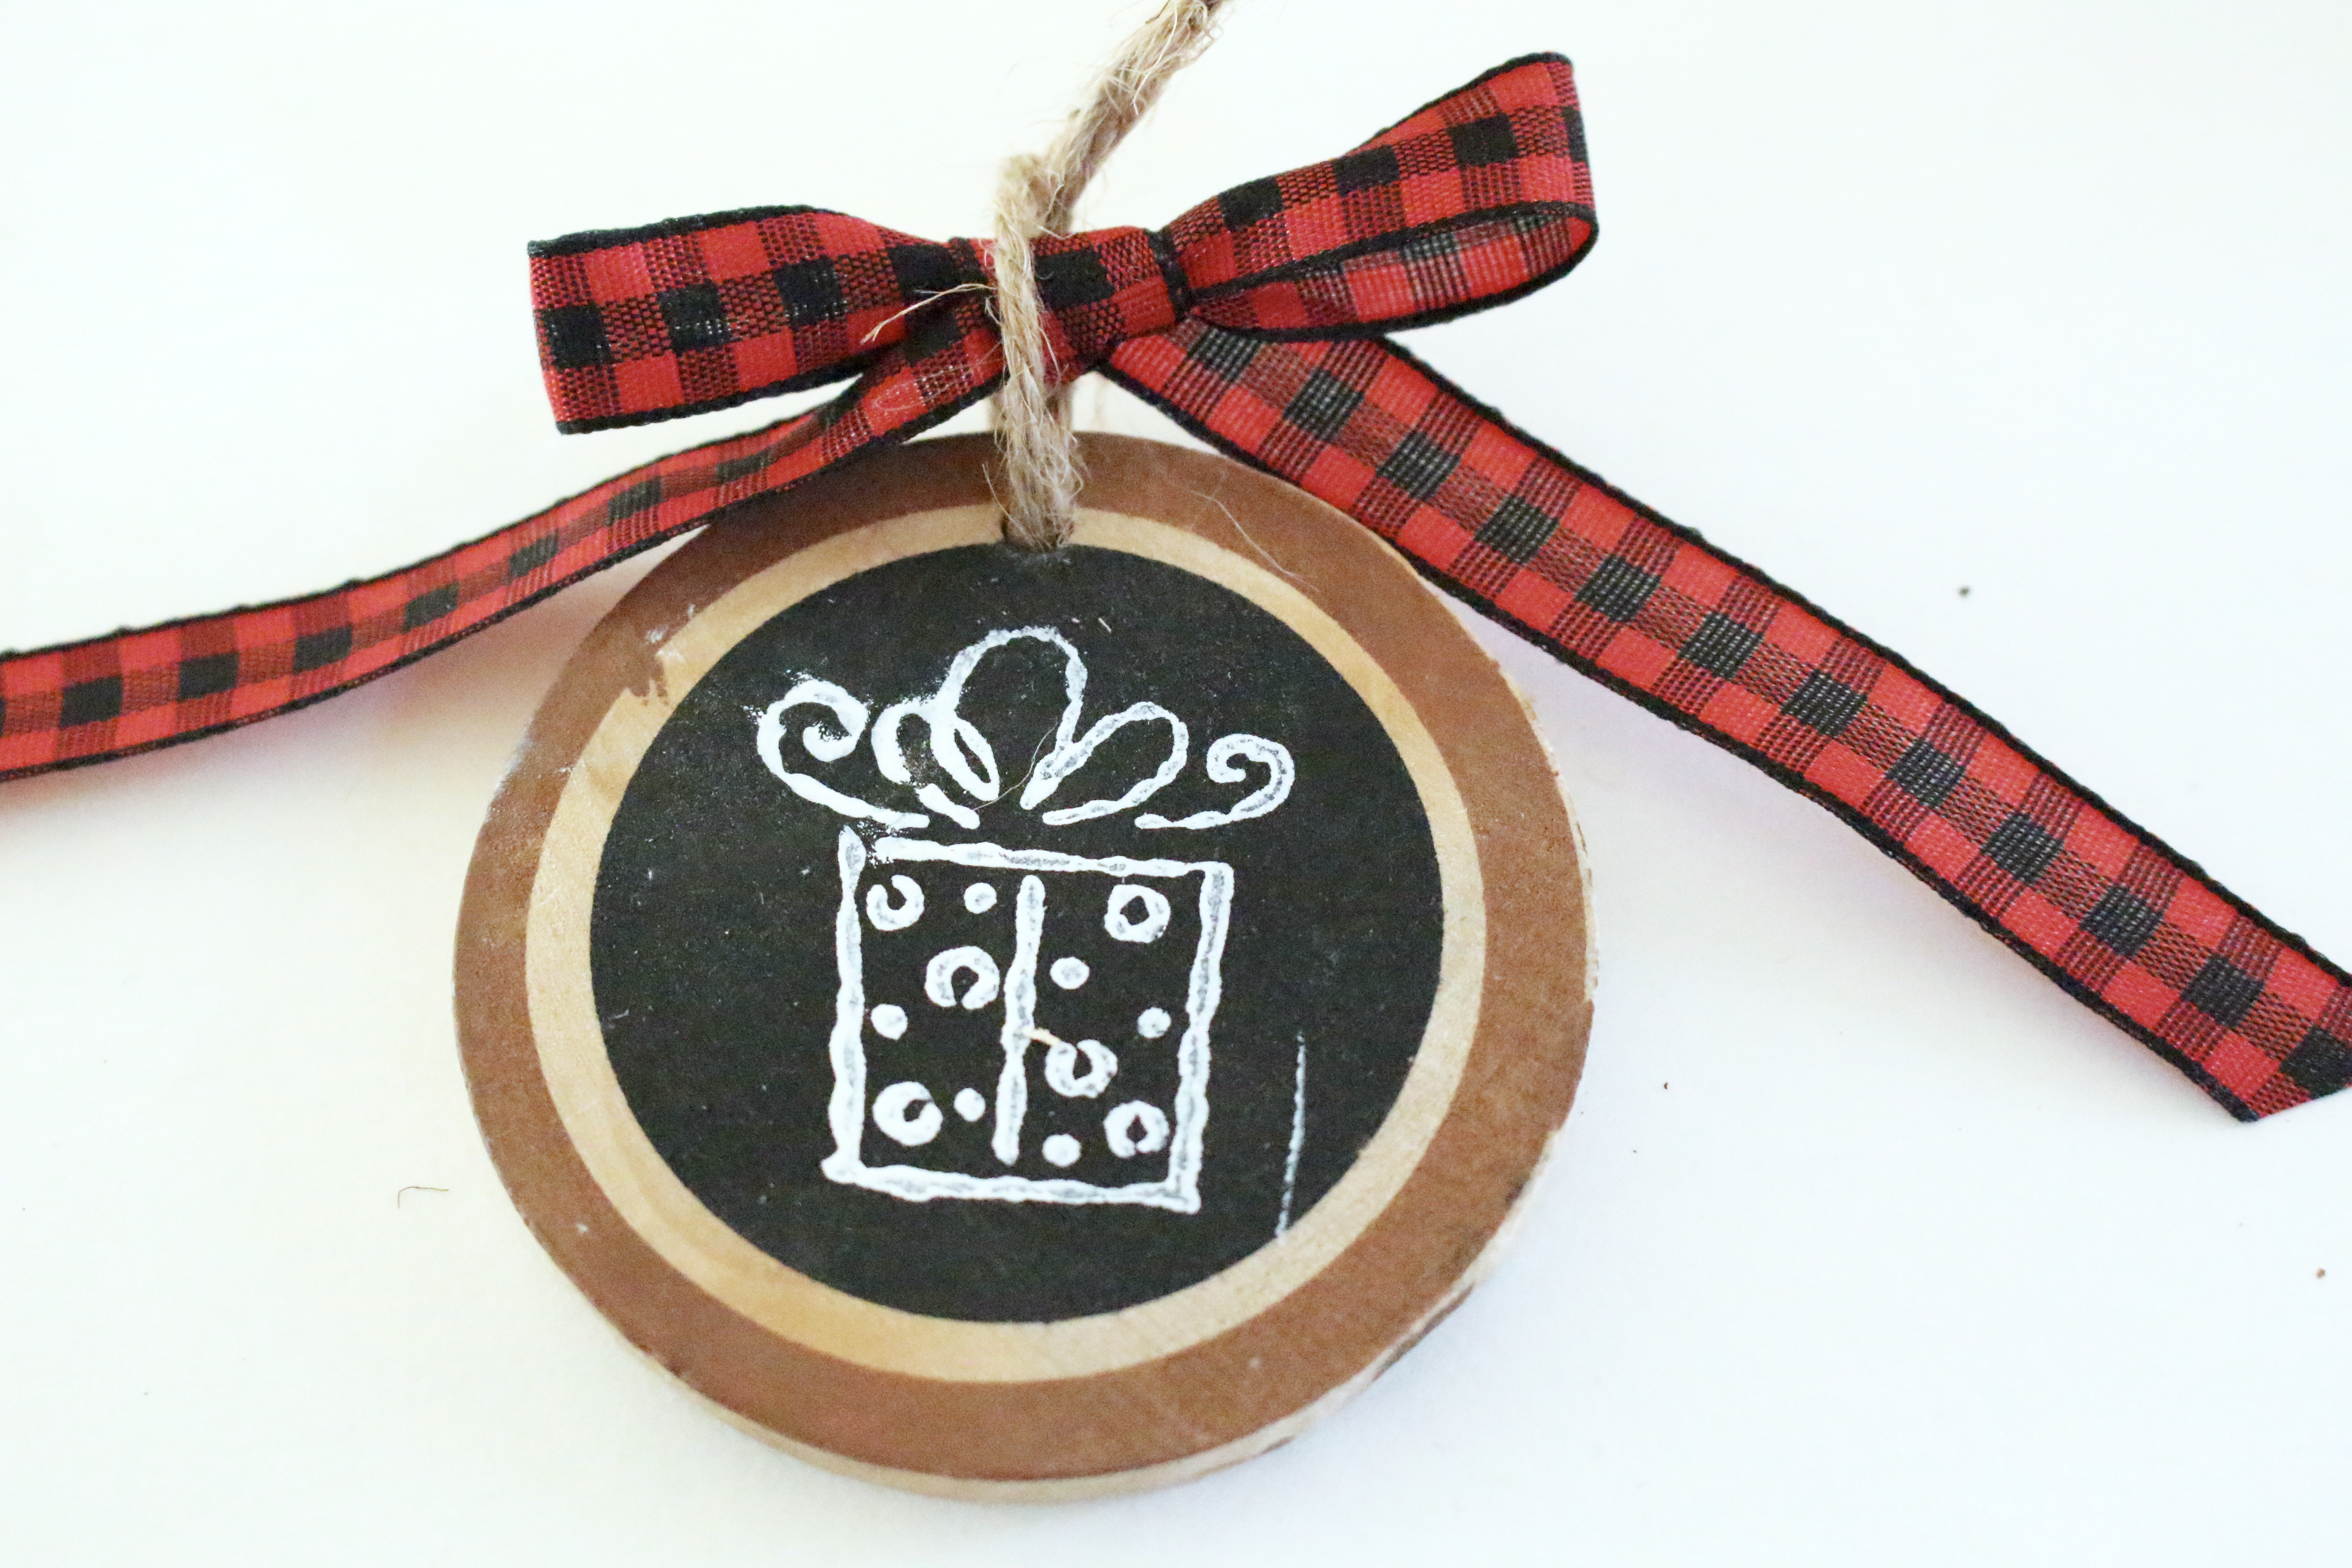
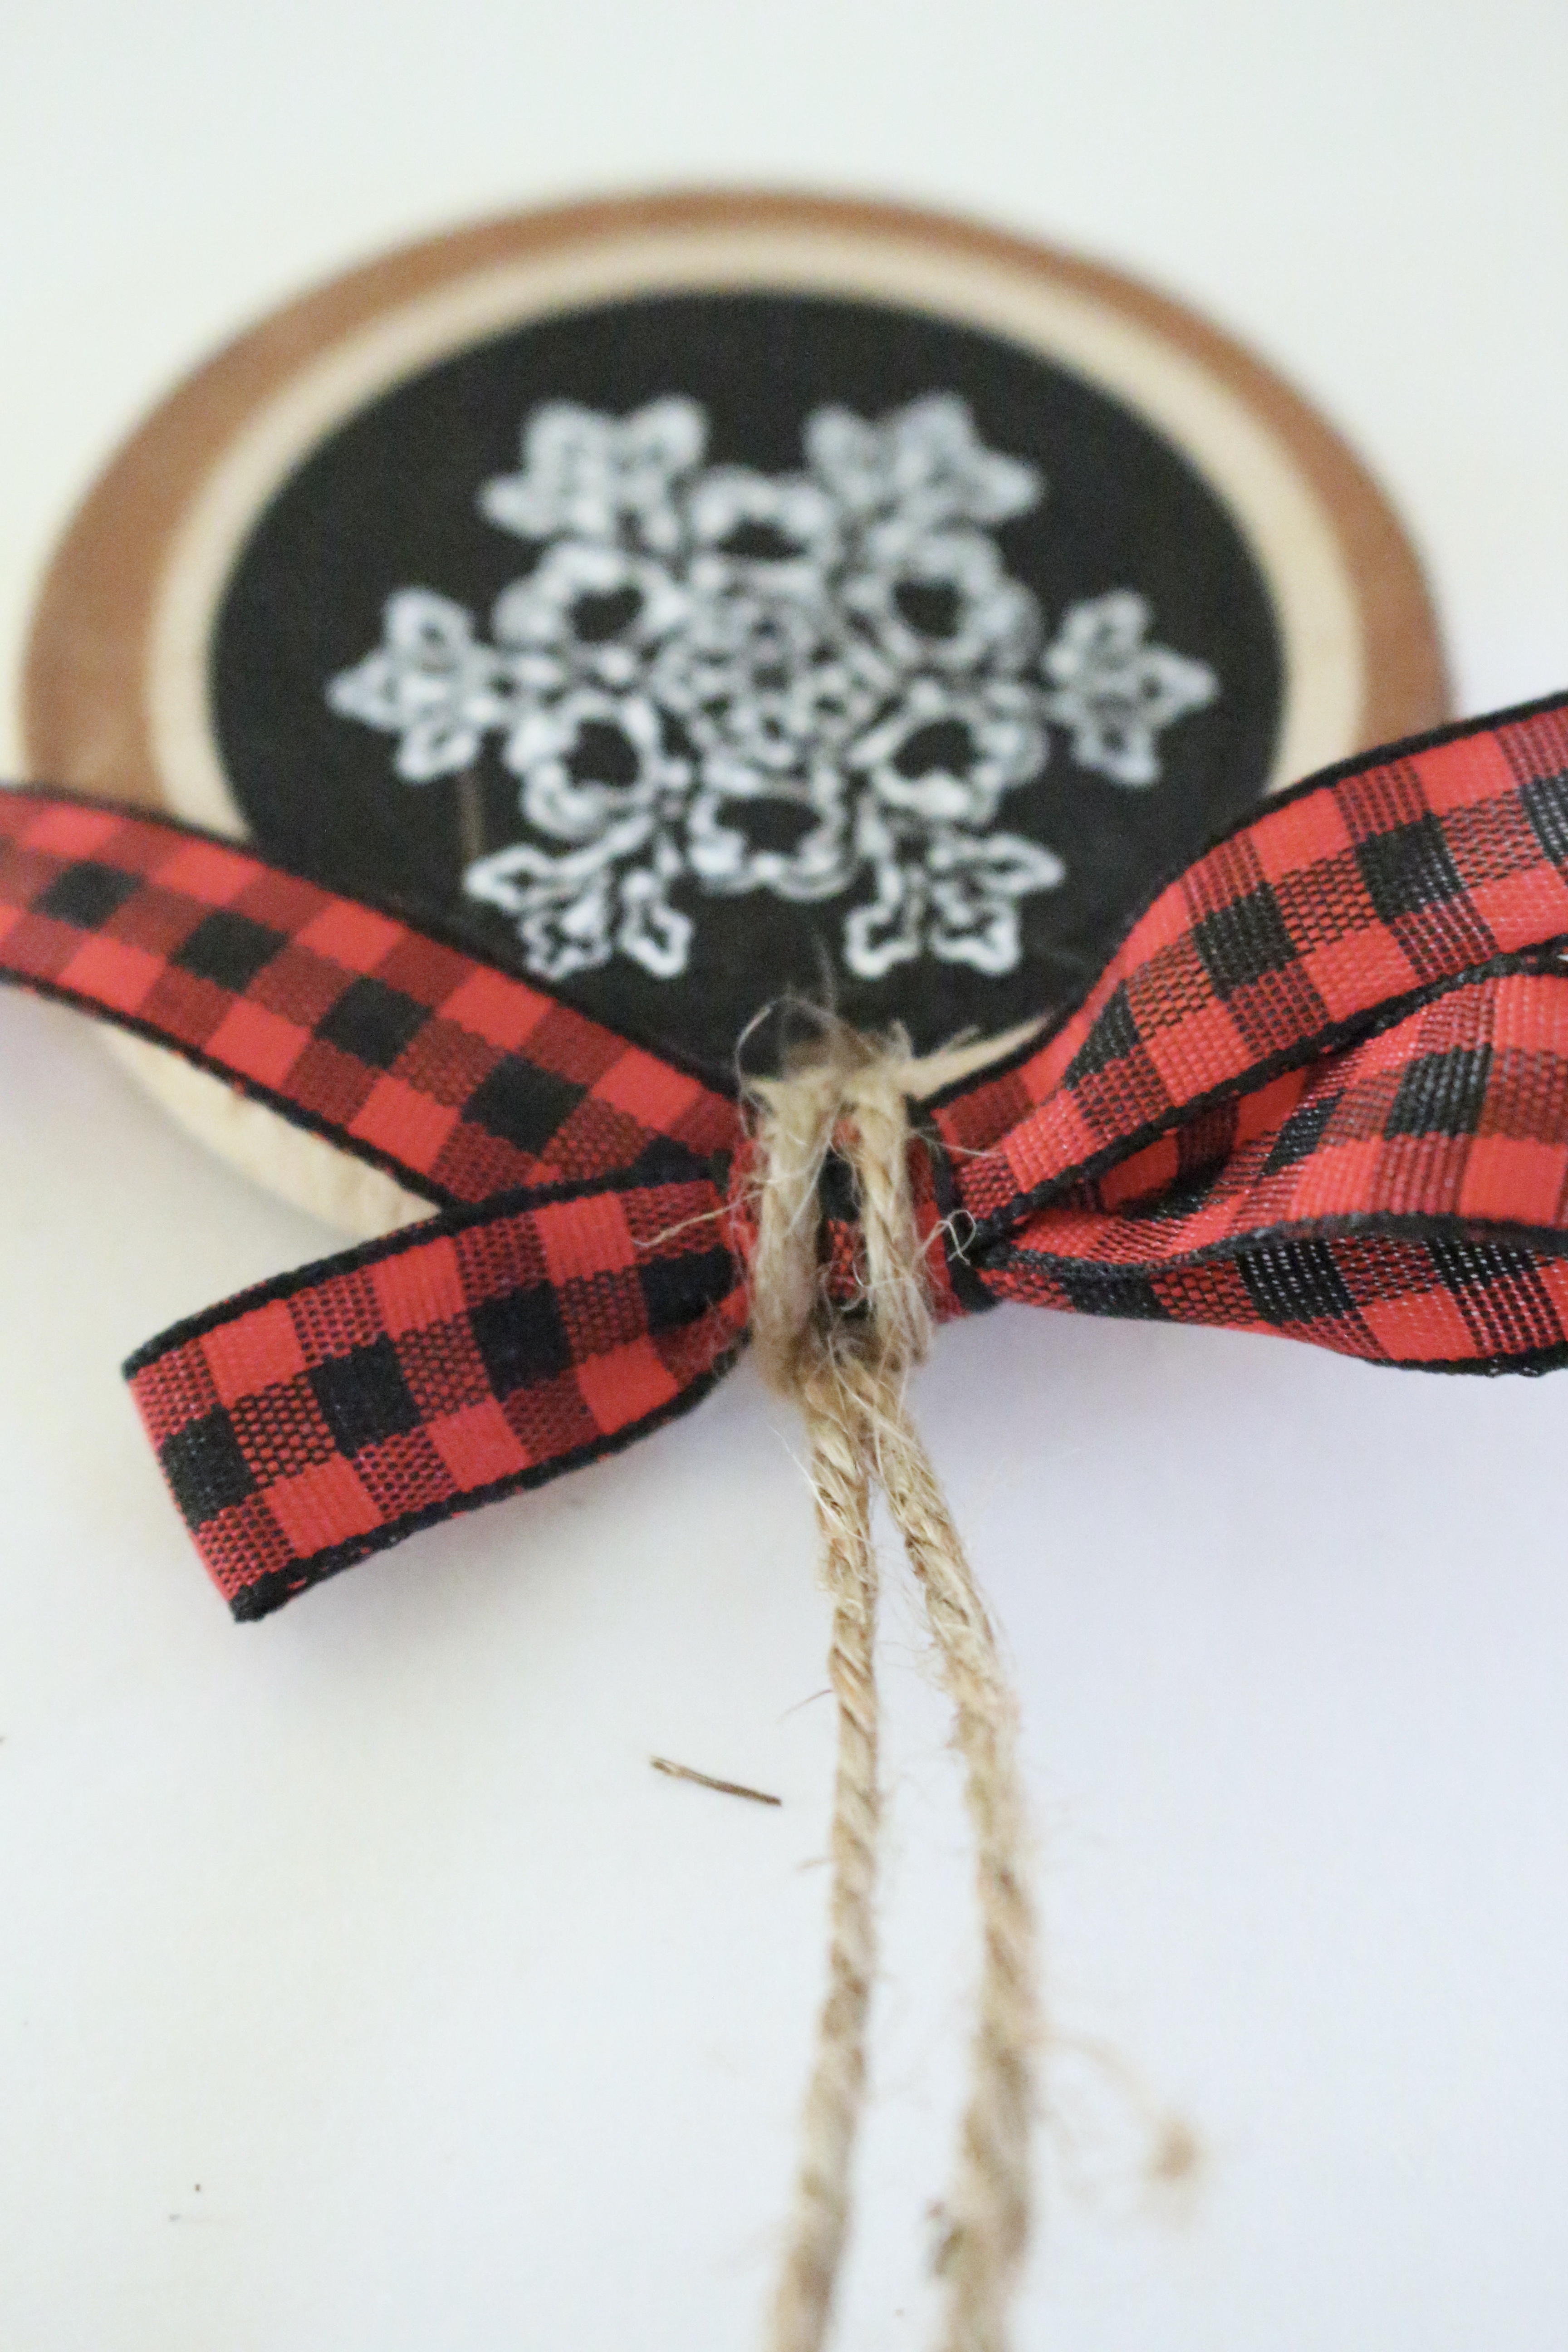
3.I made a small bow with my ribbon and then tucked it inside the twine before tightening the loop.
4. Tie your tag onto a present, Mason Jar, or use as an Ornament.
They can be personalized and used for any occasion.
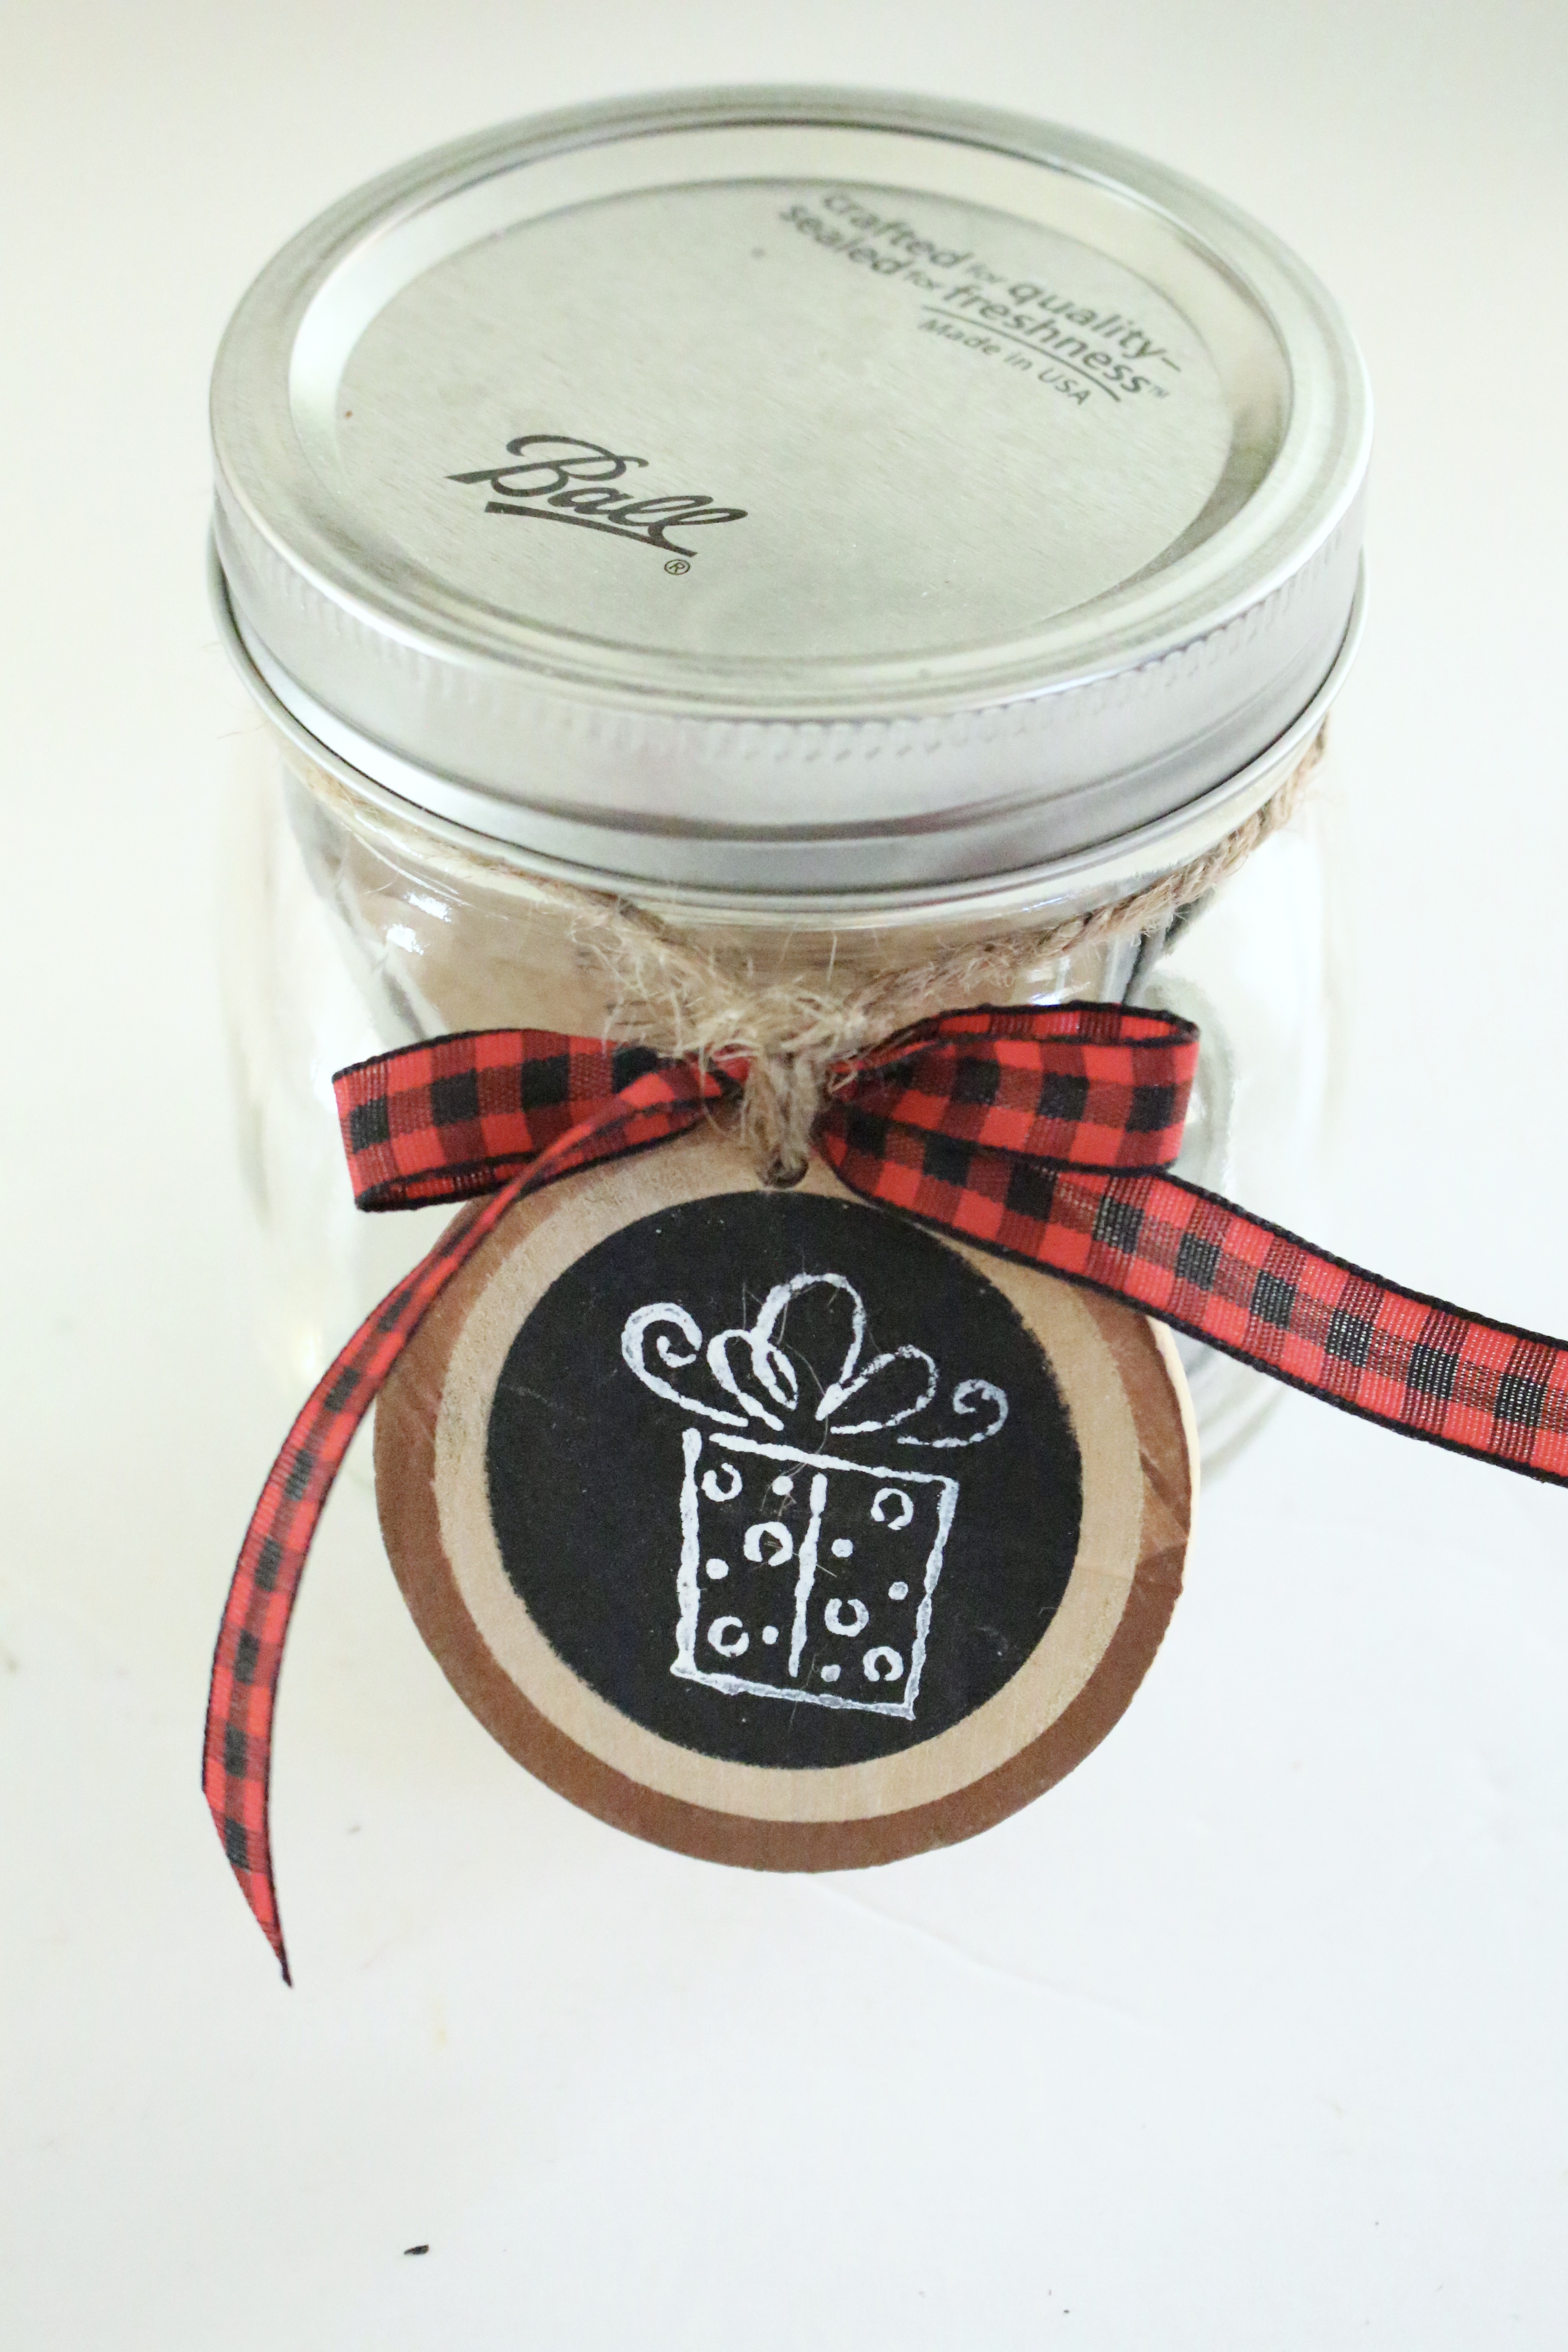
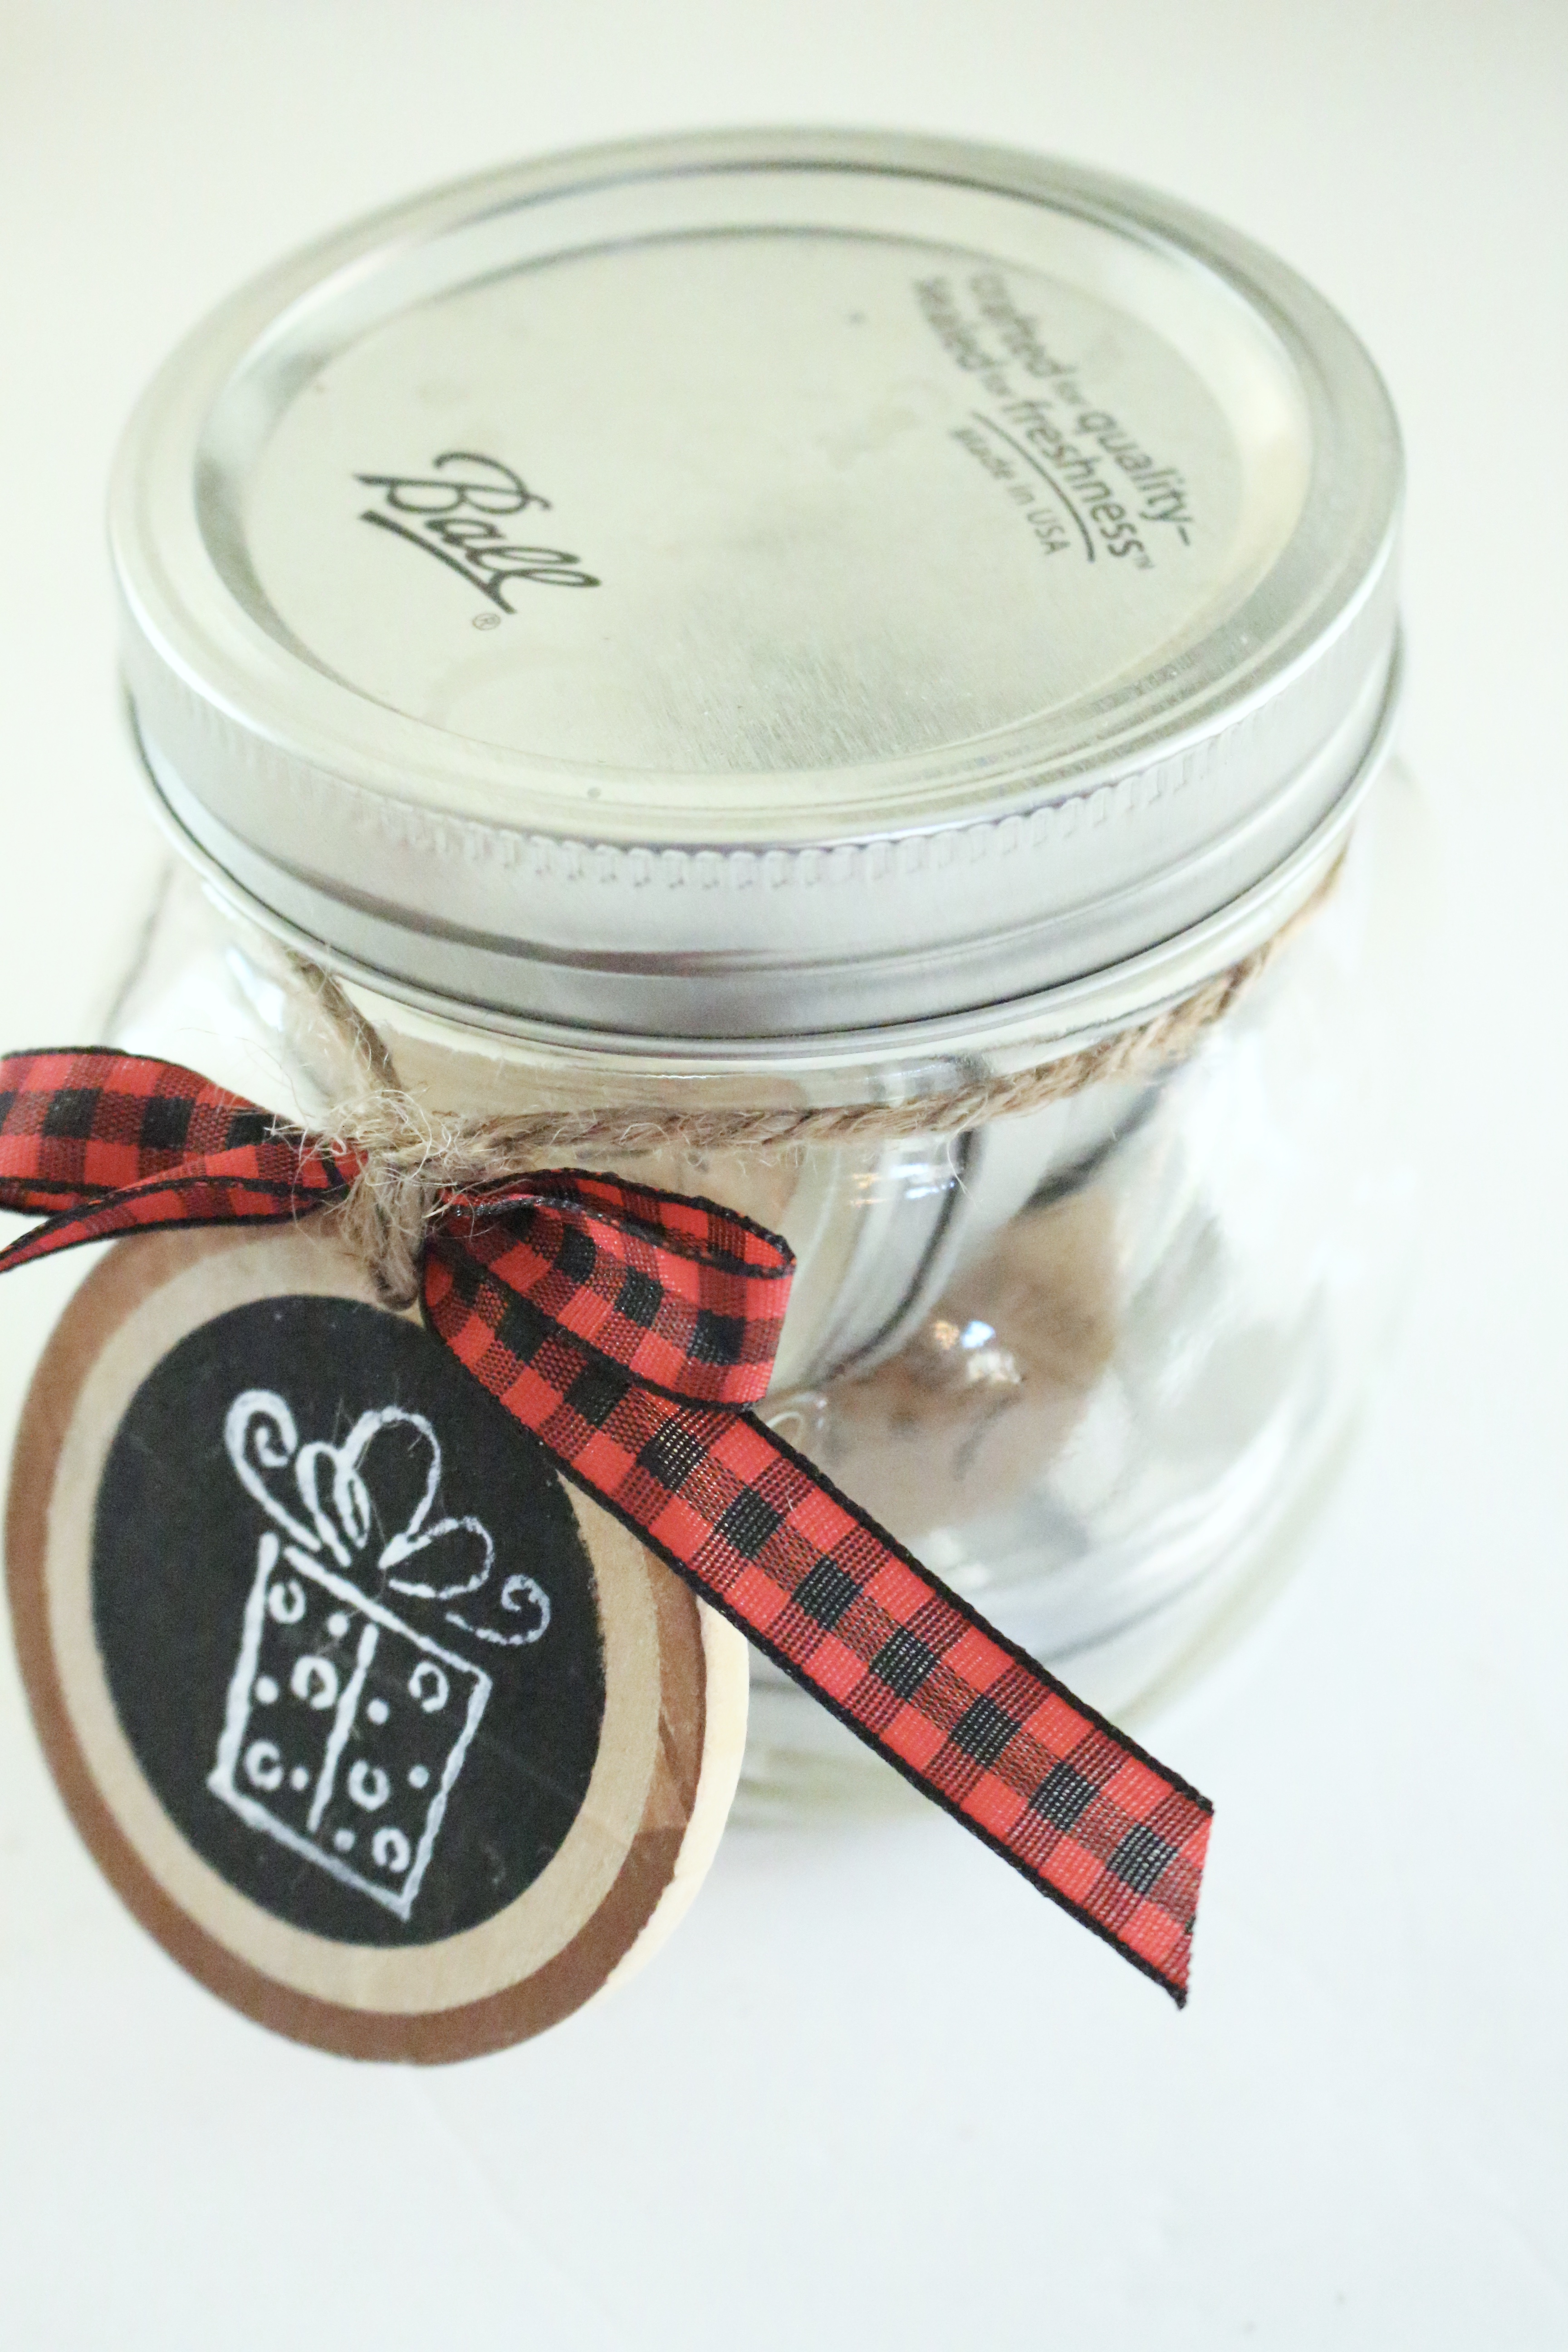
For this little Mason Jar present, I tucked in a couple of canisters of homemade bath salts, body scrub, and lotions to create a little spa gift for a neighbor. Just a few minutes of work and you've created a unique little gift for someone special!

Thanks for this very interesting post! I love your blog!
I am working on mine right now! Waiting for the glitter to dry before I seal it. For those that are asking, I found the keys at Hobby Lobby. A couple is different, and a couple is the same as the ones shown. They are with all the metal stuff. Love this idea! Santa is visiting us tomorrow and is going to give the kids a magic key to hang on the front door. I know this is a year late, but I just found your site. I am going to try to make a Santa Key for our home.
“
[…] How to Make a Wood Slice Gift Tag or Ornament | My Life From Home […]
[…] Nest Ugly Christmas Sweater Ornaments via C.R.A.F.T Red Front Door Ornament via Atta Girl Says Wood Slice Ornament via My Life from Home Mason Jar Lid Ornaments via Simply Darrling Popsicle Stick Ski Ornament via […]
[…] Wood Slice Ornament Tag from My Life from Home […]
[…] Wood Slice Ornament Tag from My Life from Home […]
[…] Wood Slice Ornament Tag from My Life from Home […]
[…] Vintage Style Ornaments // Wood Slice Ornaments […]
[…] My Life From Home : How To Make a Wood Slice Gift Tag or Ornament […]
These gift tags are adorable! Thanks for sharing them at Motivation Monday on Mom Home Guide!
Your welcome! Thanks for hosting!
[…] How to Make a Wood Slice Gift Tag or Ornament | My Life From Home […]
[…] How to Make a Wood Slice Gift Tag or Ornament | My Life From Home […]
[…] My Life From Home : How To Make a Wood Slice Gift Tag or Ornament […]
[…] My Life From Home : How To Make a Wood Slice Gift Tag or Ornament […]
[…] Kids Can Make by Crystal and Co. How to Make Salt Dough Ornaments by Life, Love, and Thyme Wood Slice Gift Tag or Ornament by My Life From […]
Those are just darling! I love them. Pinned.
Nice craft ideas — might try these for resell….
Thanks
These are so cute! I love wood slice projects 🙂
These are so so cute! I love a nice gift tag – so much better than the traditional sticker kind!
Thank you, Sarah! I agree. It adds such a nice touch to a gift.
Love these! they look like little chalkboards. And I love that they are so easy!!
Yes, they are super easy! Thanks!
Amy, these are beyond adorable! Pinning!
Thank you, Roxanne! Super easy also.
What a cute idea! Seems like it wouldn’t be too hard or complicated either. Thanks for sharing at Family Joy Blog linkup!
Thank you, Charlotte! It’s an easy DIY.
Really adorable, thanks for sharing on craft schooling Sunday!
Thank you for hosting!!
Best part is that they could be re-used. I hate how much Christmas stuff ends up in our landfills!
Great idea with the stamps! Now you can make matching wrapping paper!
These are adorable! I’m all about cute gift tags – I think it makes such a big difference!
Thank you, Amanda! I do too!