DIY: How I Painted My Kitchen Cabinets
{This post contains affiliate links, see full disclosure here.}
Join me as I show you how to paint kitchen cabinets with my own kitchen cabinet project.
Ok friends! This post probably represents one of my proudest moments in a long time! EEK!! I am totally pumped about what's going on in my kitchen now! I hinted around that I was undergoing a big painting project, but today I'll give you all the 411. First off, some background…..I had a vision in my head of a white(ish) kitchen for probably 10 years, but never had the nerve or know how to pull it off. When we moved into our home, the kitchen was the first room we dealt with. It was a huge mess with laminate counters a weird stove in the wall and absolutely no counter space or storage space. We immediately began dealing with those and in an effort to save money, did not touch the cabinets. We added granite and a counter for stools, a new sink, and appliances, removed the weird stove and wall. With all those upgrades, it was a better working kitchen, but I never really loved the original oak cabinets.
As much as I wanted to just rip them all out now, they were still in great condition, so a better alternative seemed to be to paint them. I had set my mind to painting them myself about 6 months ago but decided to research and make sure I was ready for this project before I dug in. It's kind of one of those scary things like what happens if it looks awful, then what? I really didn't want to have to account for that with my still on the fence about the project husband.
So, with that said, I decided to learn all I could and prepare for the project on how to paint kitchen cabinets.
Today, I am going to give you all the tips and tricks I was told and what I learned in painting my cabinets.
1. Know your products and buy the best you can afford.
How to Paint Kitchen Cabinets
I used Purdy brushes (recommended) (recommended), a mini roller, white dove rollers, and Sherwin Williams bonding primer. I also purchased a paint brush cover which kept my brush moist throughout the project and I didn't have to keep washing it.
2. Take your time
I decided to tackle one set of cabinets at a time. This may not be how others would approach the project, but for me, it helped me to have rewards along the way as I saw it coming together and my entire kitchen was not torn up all at once. Since I only did one cabinet set every few days start to finish, it took me almost a month to complete the project. However, we were not disrupted and we could still use our kitchen throughout. I actually didn't even remove anything from the cabinets unless I needed too.
3. Clean up as you go along.
I was methodical about cleaning up and doing my touch up paint before I moved on. When I was done with the project, I wanted to be done and not have to go back and try to remember where I needed to do a little extra something.
Ok friends, so hang with me, this is where I am going to give you the blow-by-blow on how exactly I tackled how to paint kitchen cabinets.
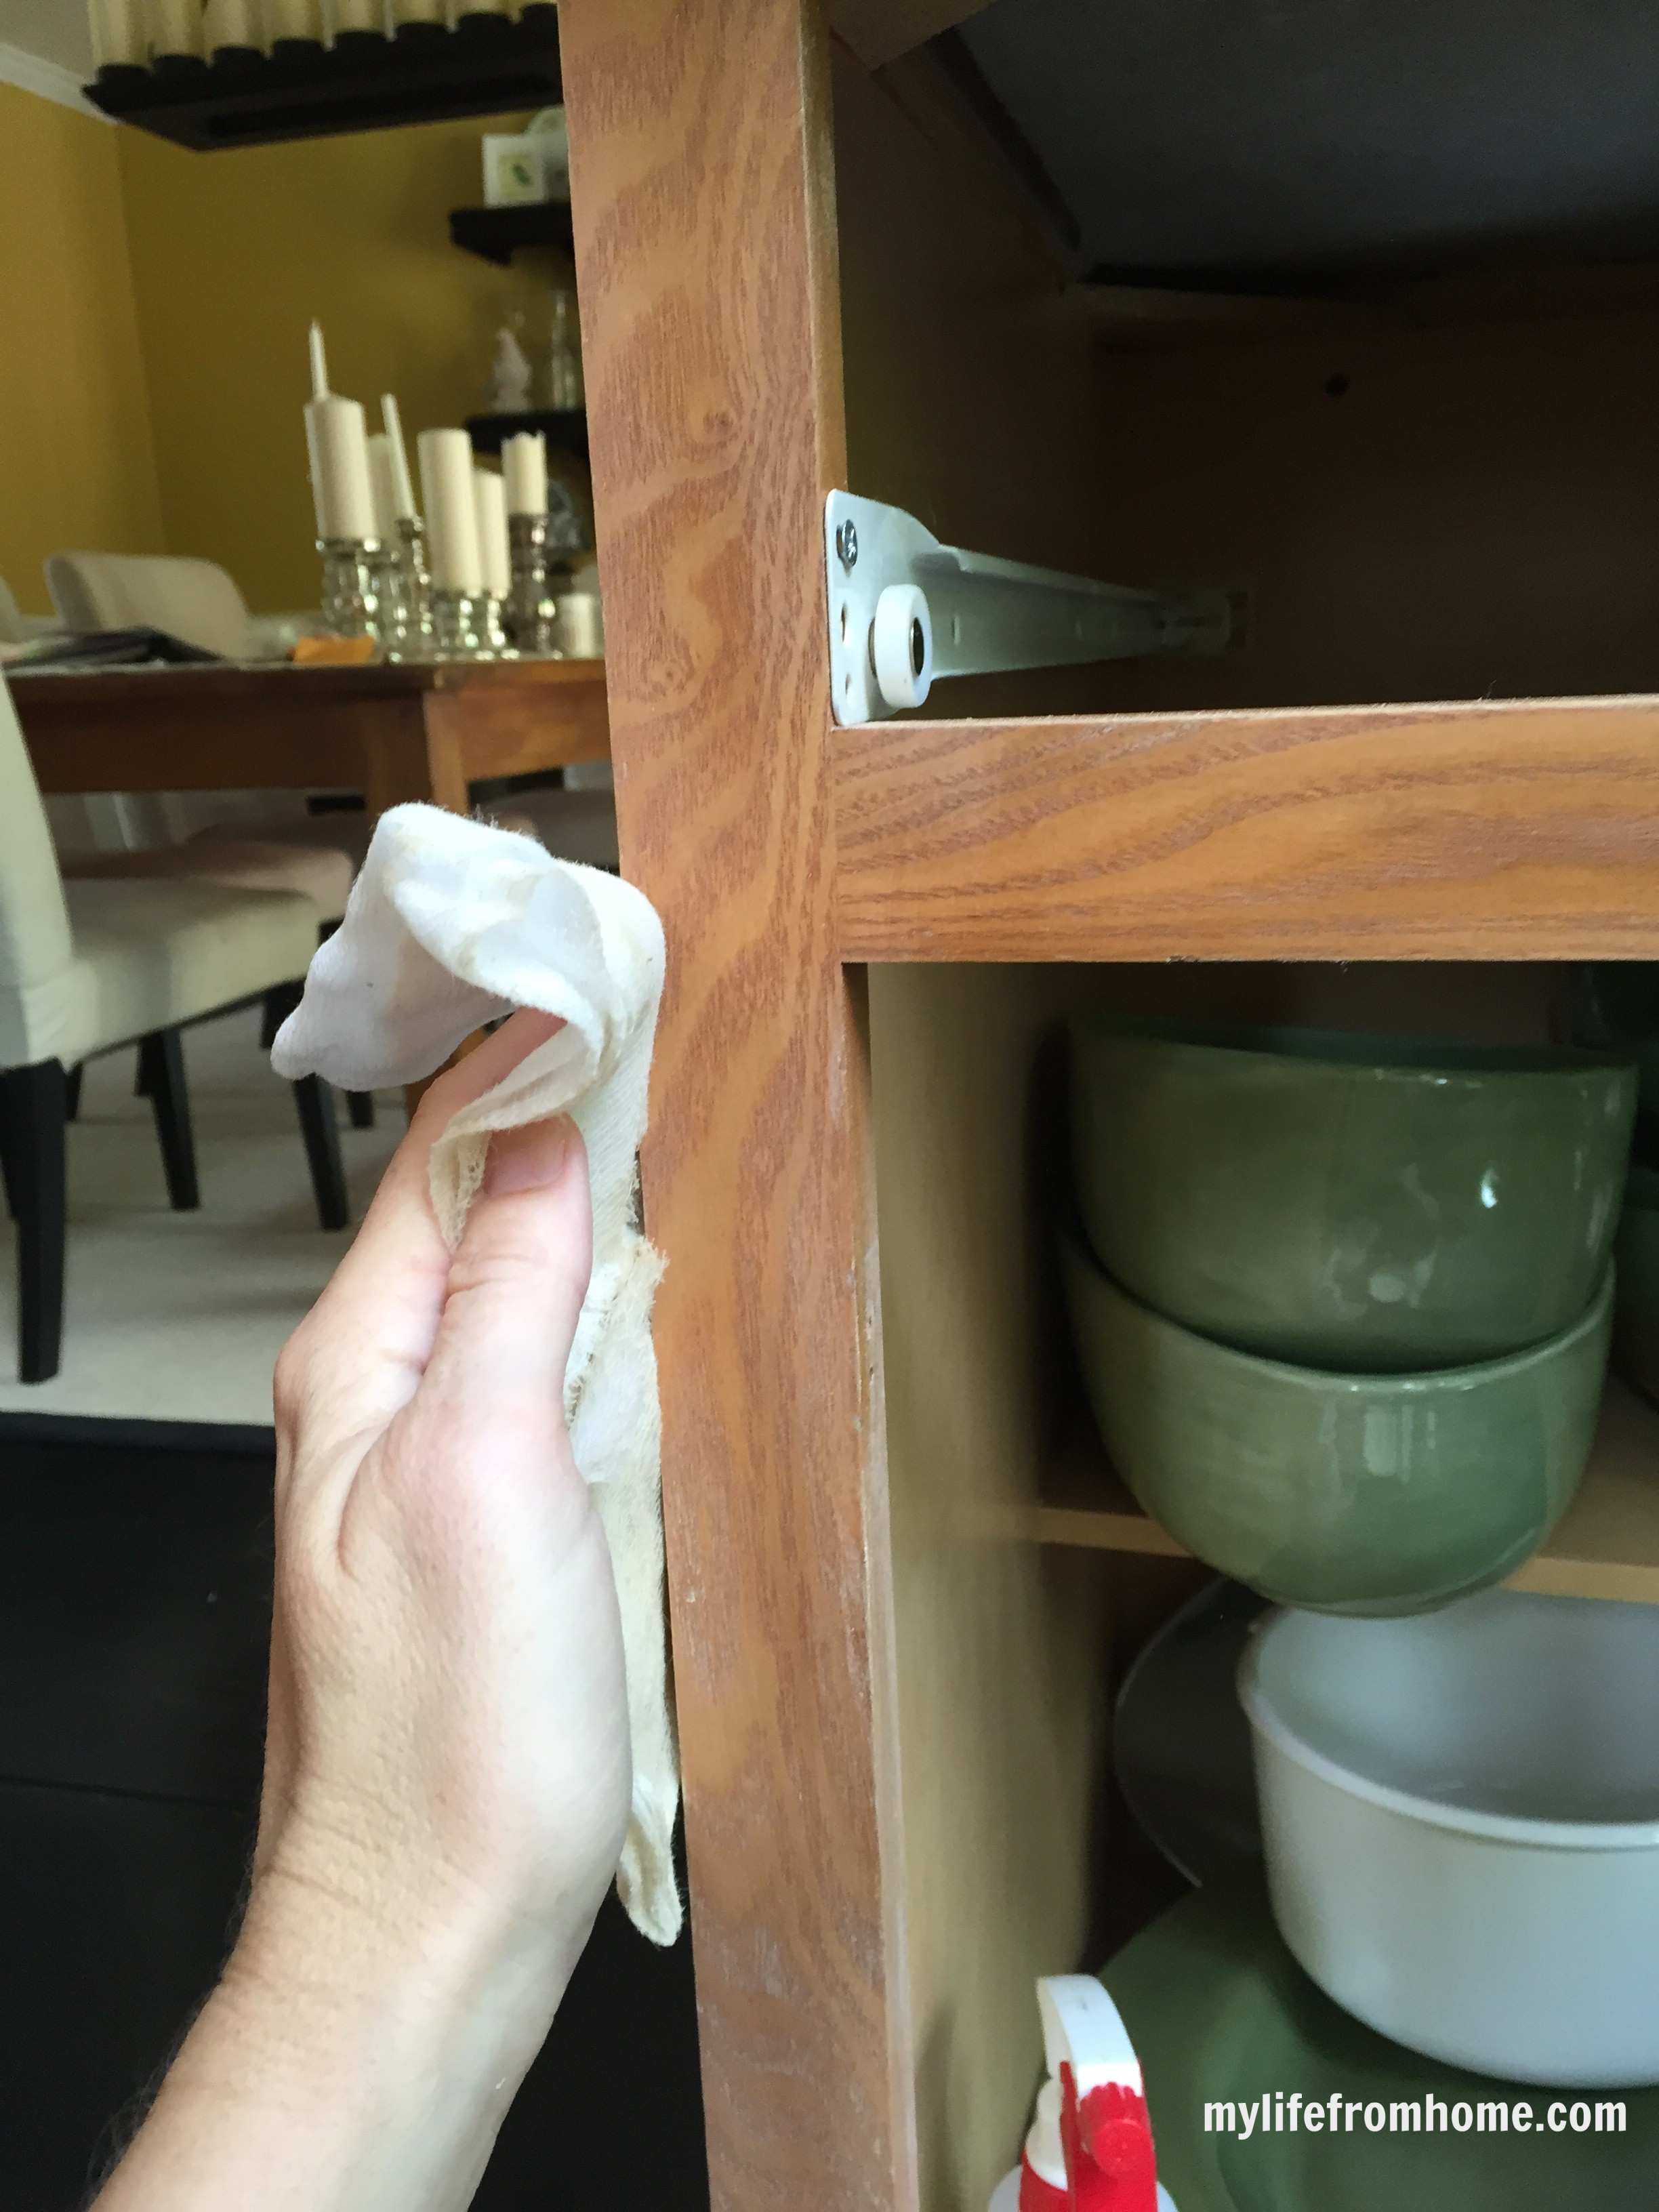
1. I washed everything down with TSP. You mix the powder with water, use a sponge to wipe down surfaces and then remove with fresh clean water. Let dry.
2. I sanded the cabinet surfaces with a fine grade sandpaper block. I didn't sand a ton, but just enough to take the finish off. Follow with a tack cloth.
3. I used Scotch blue tape to tape everything off.
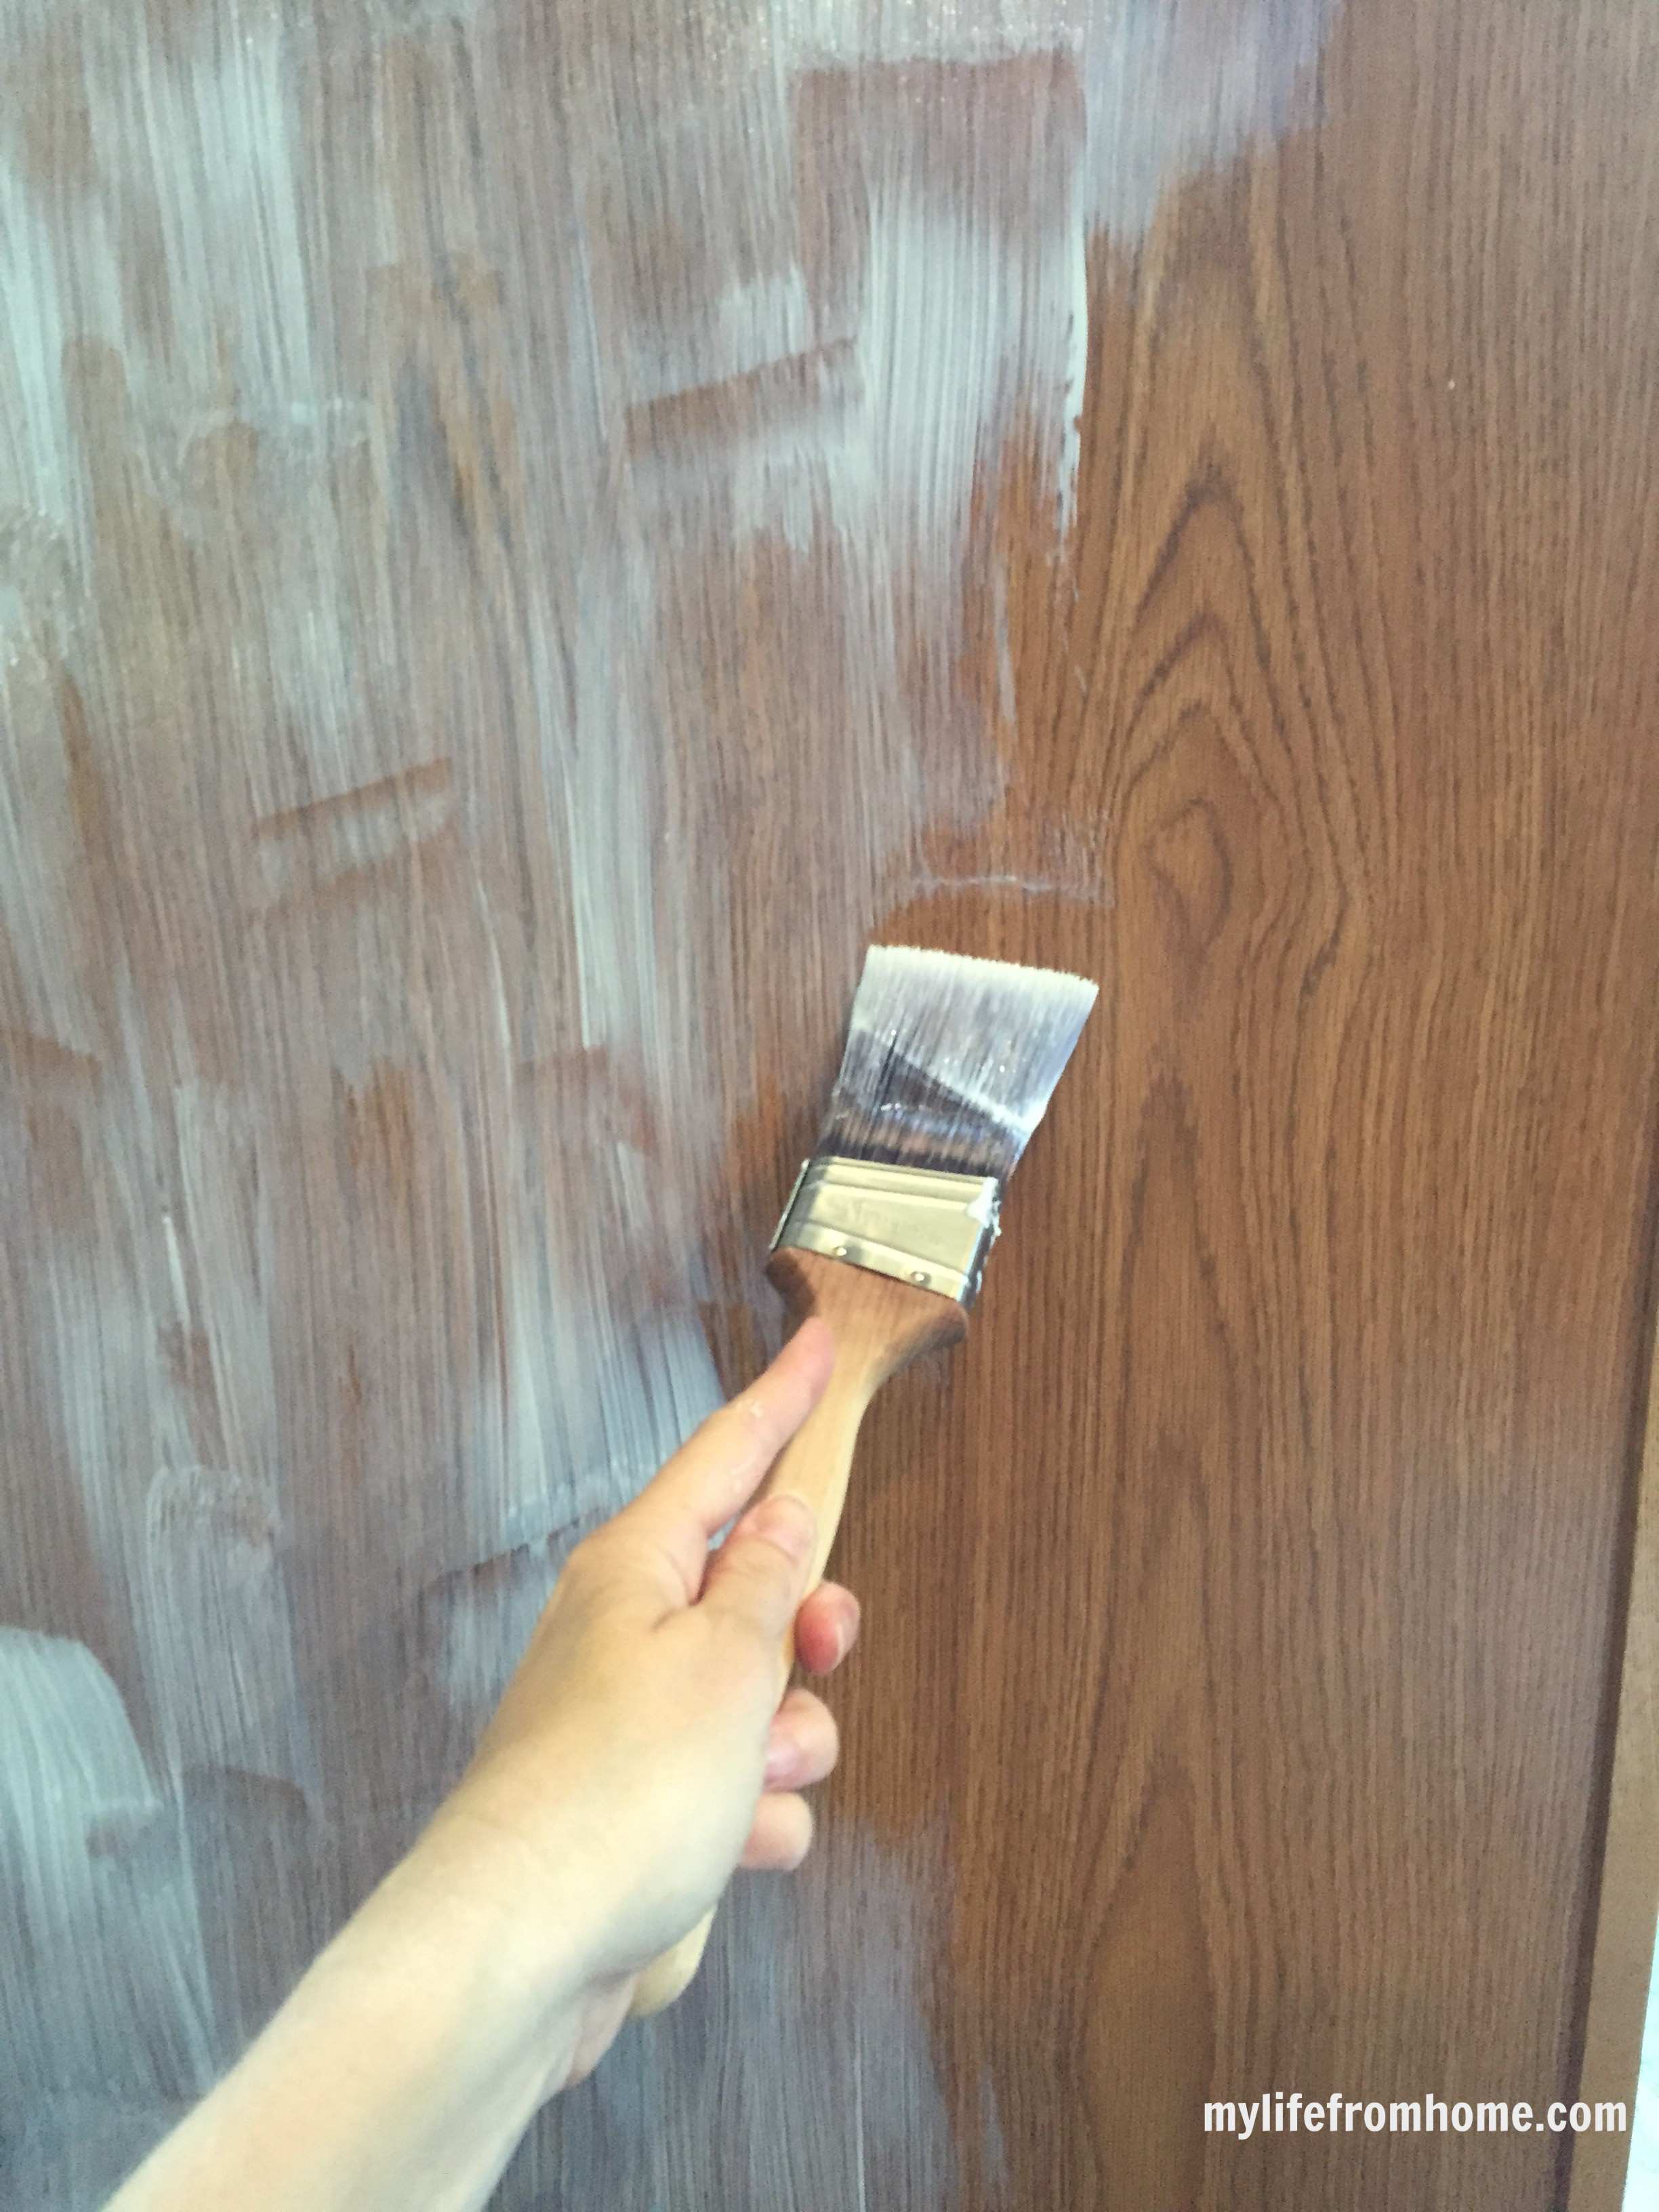
4. Next, I used a clear bonding primer from Sherwin Williams. I liked the clear because literally I just slapped it on and didn't have to worry about being too careful. It dries clear and acts like glue to make the paint adhere to the wood surface.
5. I used 2 coats of my paint. The paint color I used was Popular Gray by Sherwin Williams. I opted for a semi gloss in their pro classic line of paints. I used a Purdy brush for the grooves and cutting in and a mini roller for the doors and larger surfaces. I was told a roller will give you the smoothest professional surface. I painted the inside and outside of the doors, around the trim, but not inside the cabinets except for the ones I was planning on having on display.
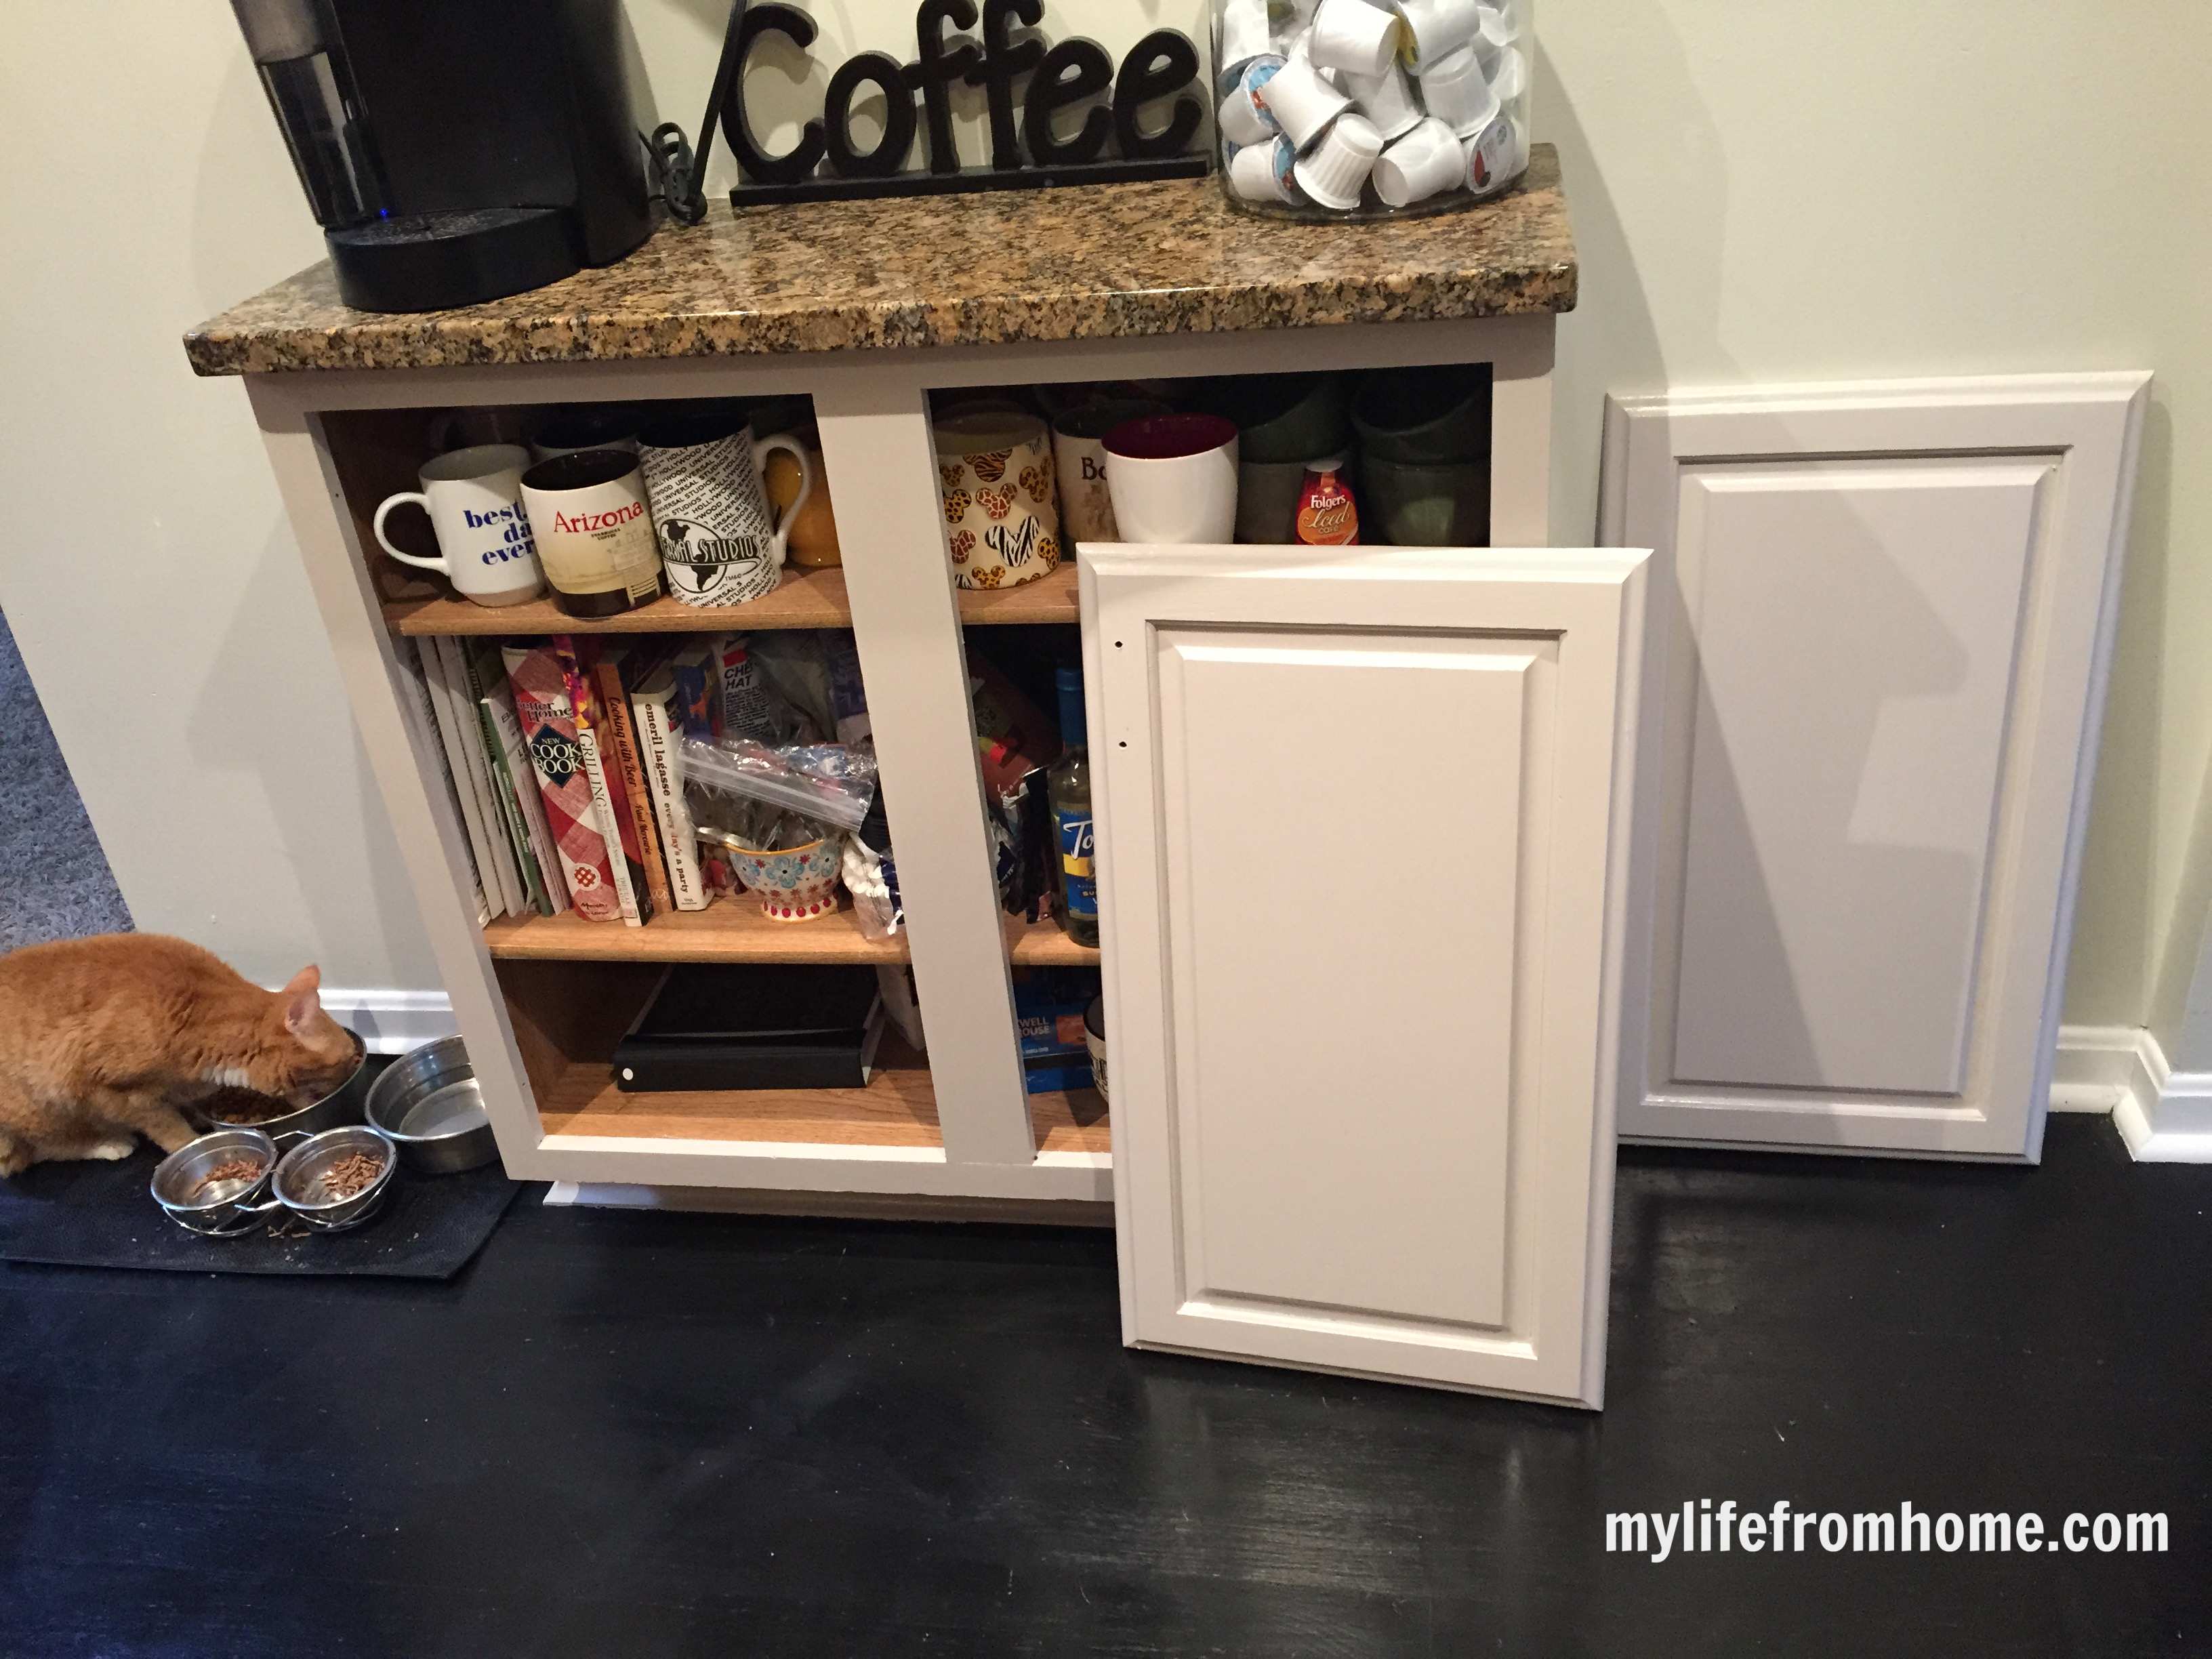
Here is a picture after one coat. {Don't you love that groovy drop cloth? I think that was a bed sheet from when I was 5 years old. Ha!}

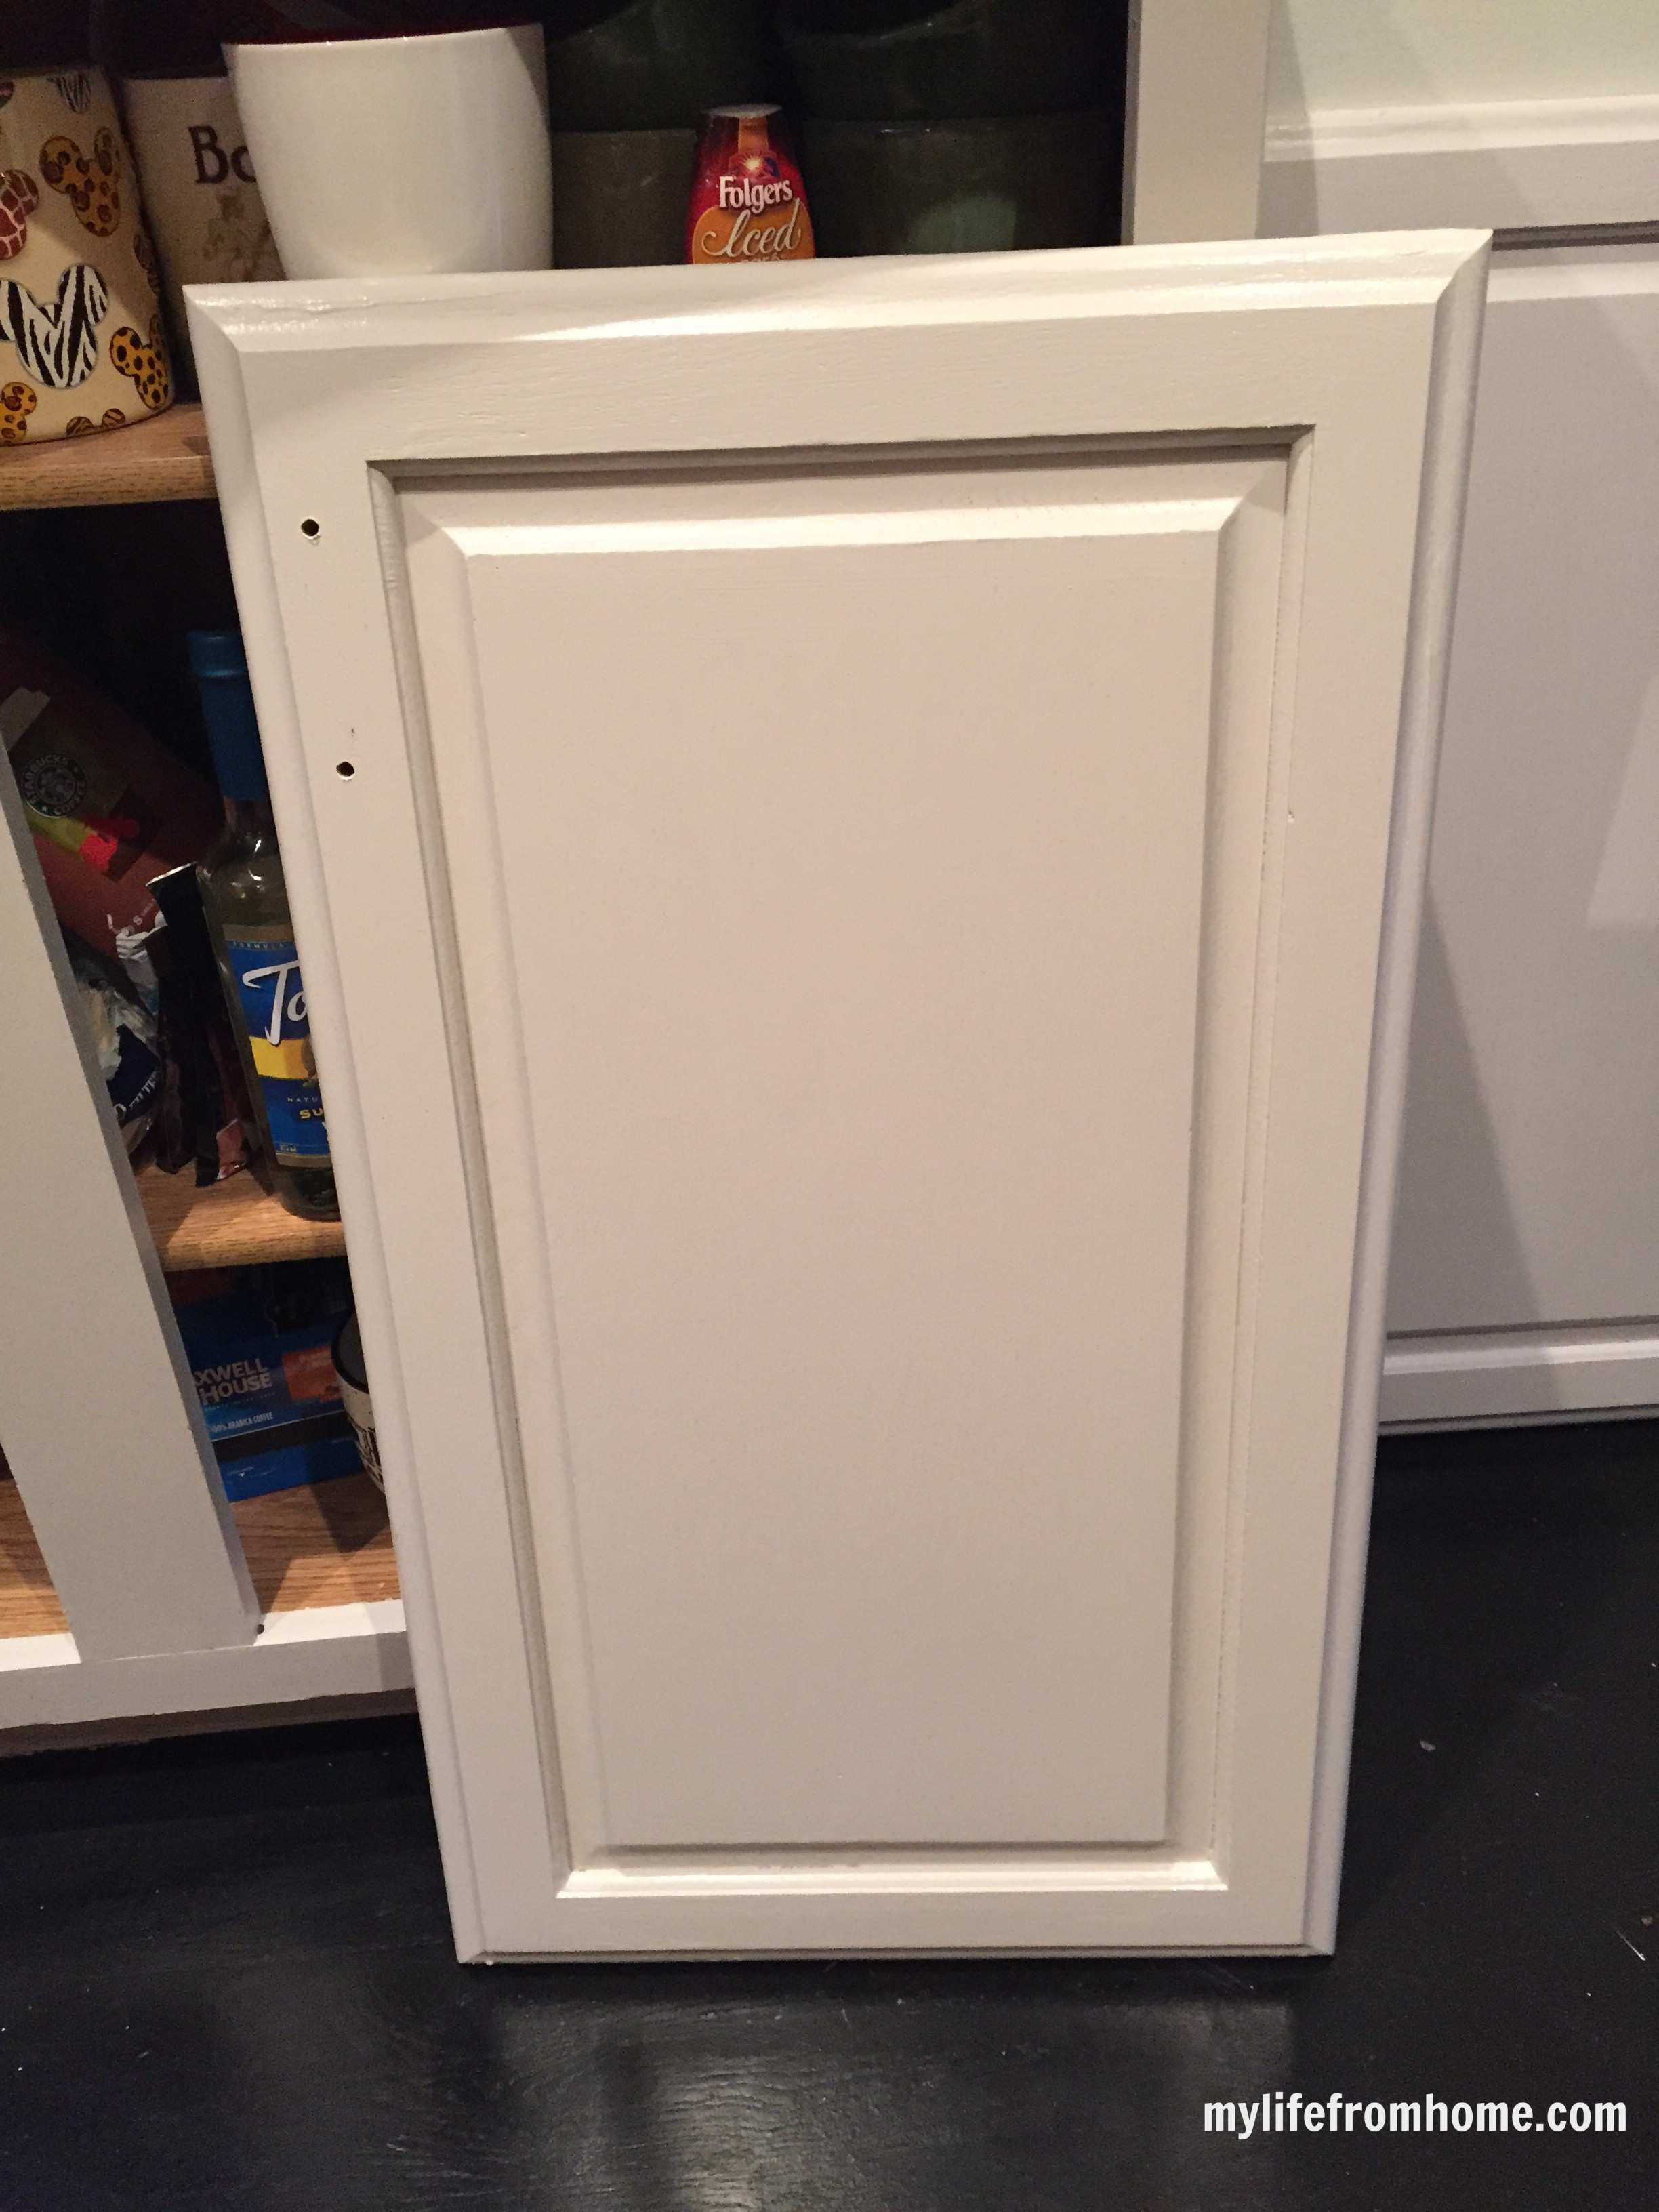
And here it is after two coats of paint. {Say “Hi!” to Pokey. He snuck in there to get something to eat.}
6. Another tip I got from my contractor was to use silicone caulking around the bevel of the middle of the door insert. A thin line which you then can wipe with your finger. Let it dry overnight. This will then fill the gap and make the door look like all one piece. It will look more professional and not show a shadow.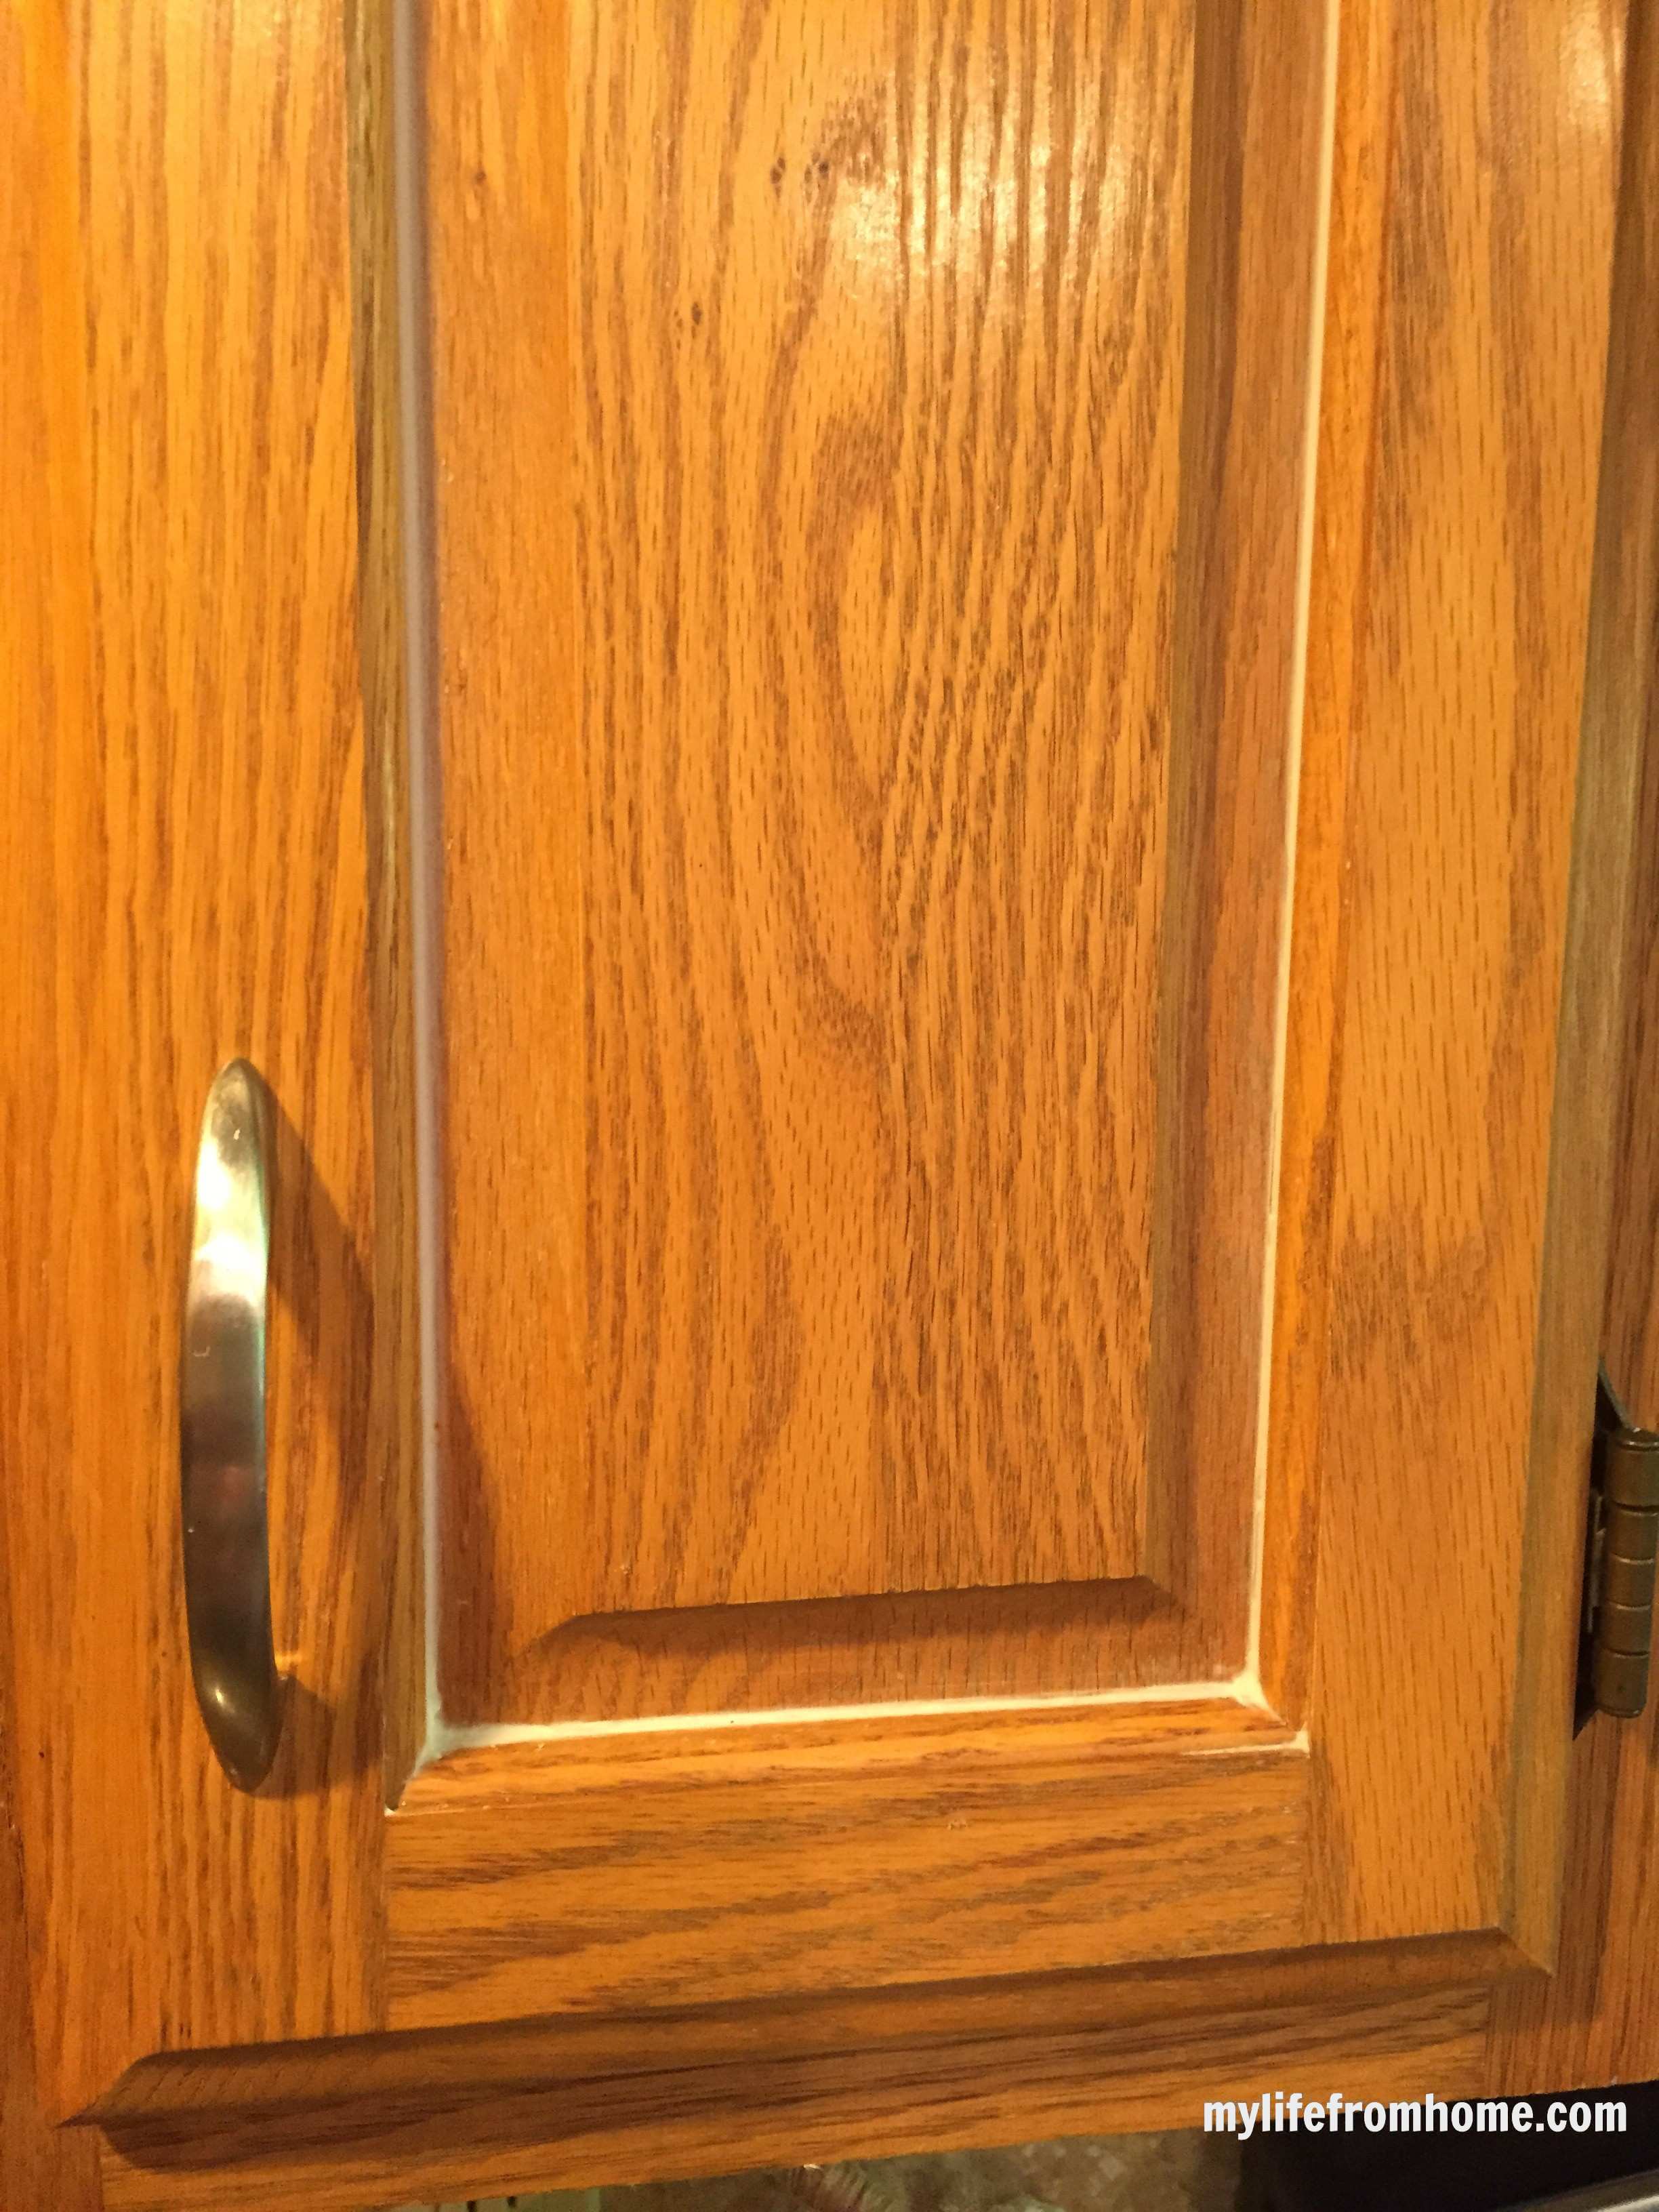
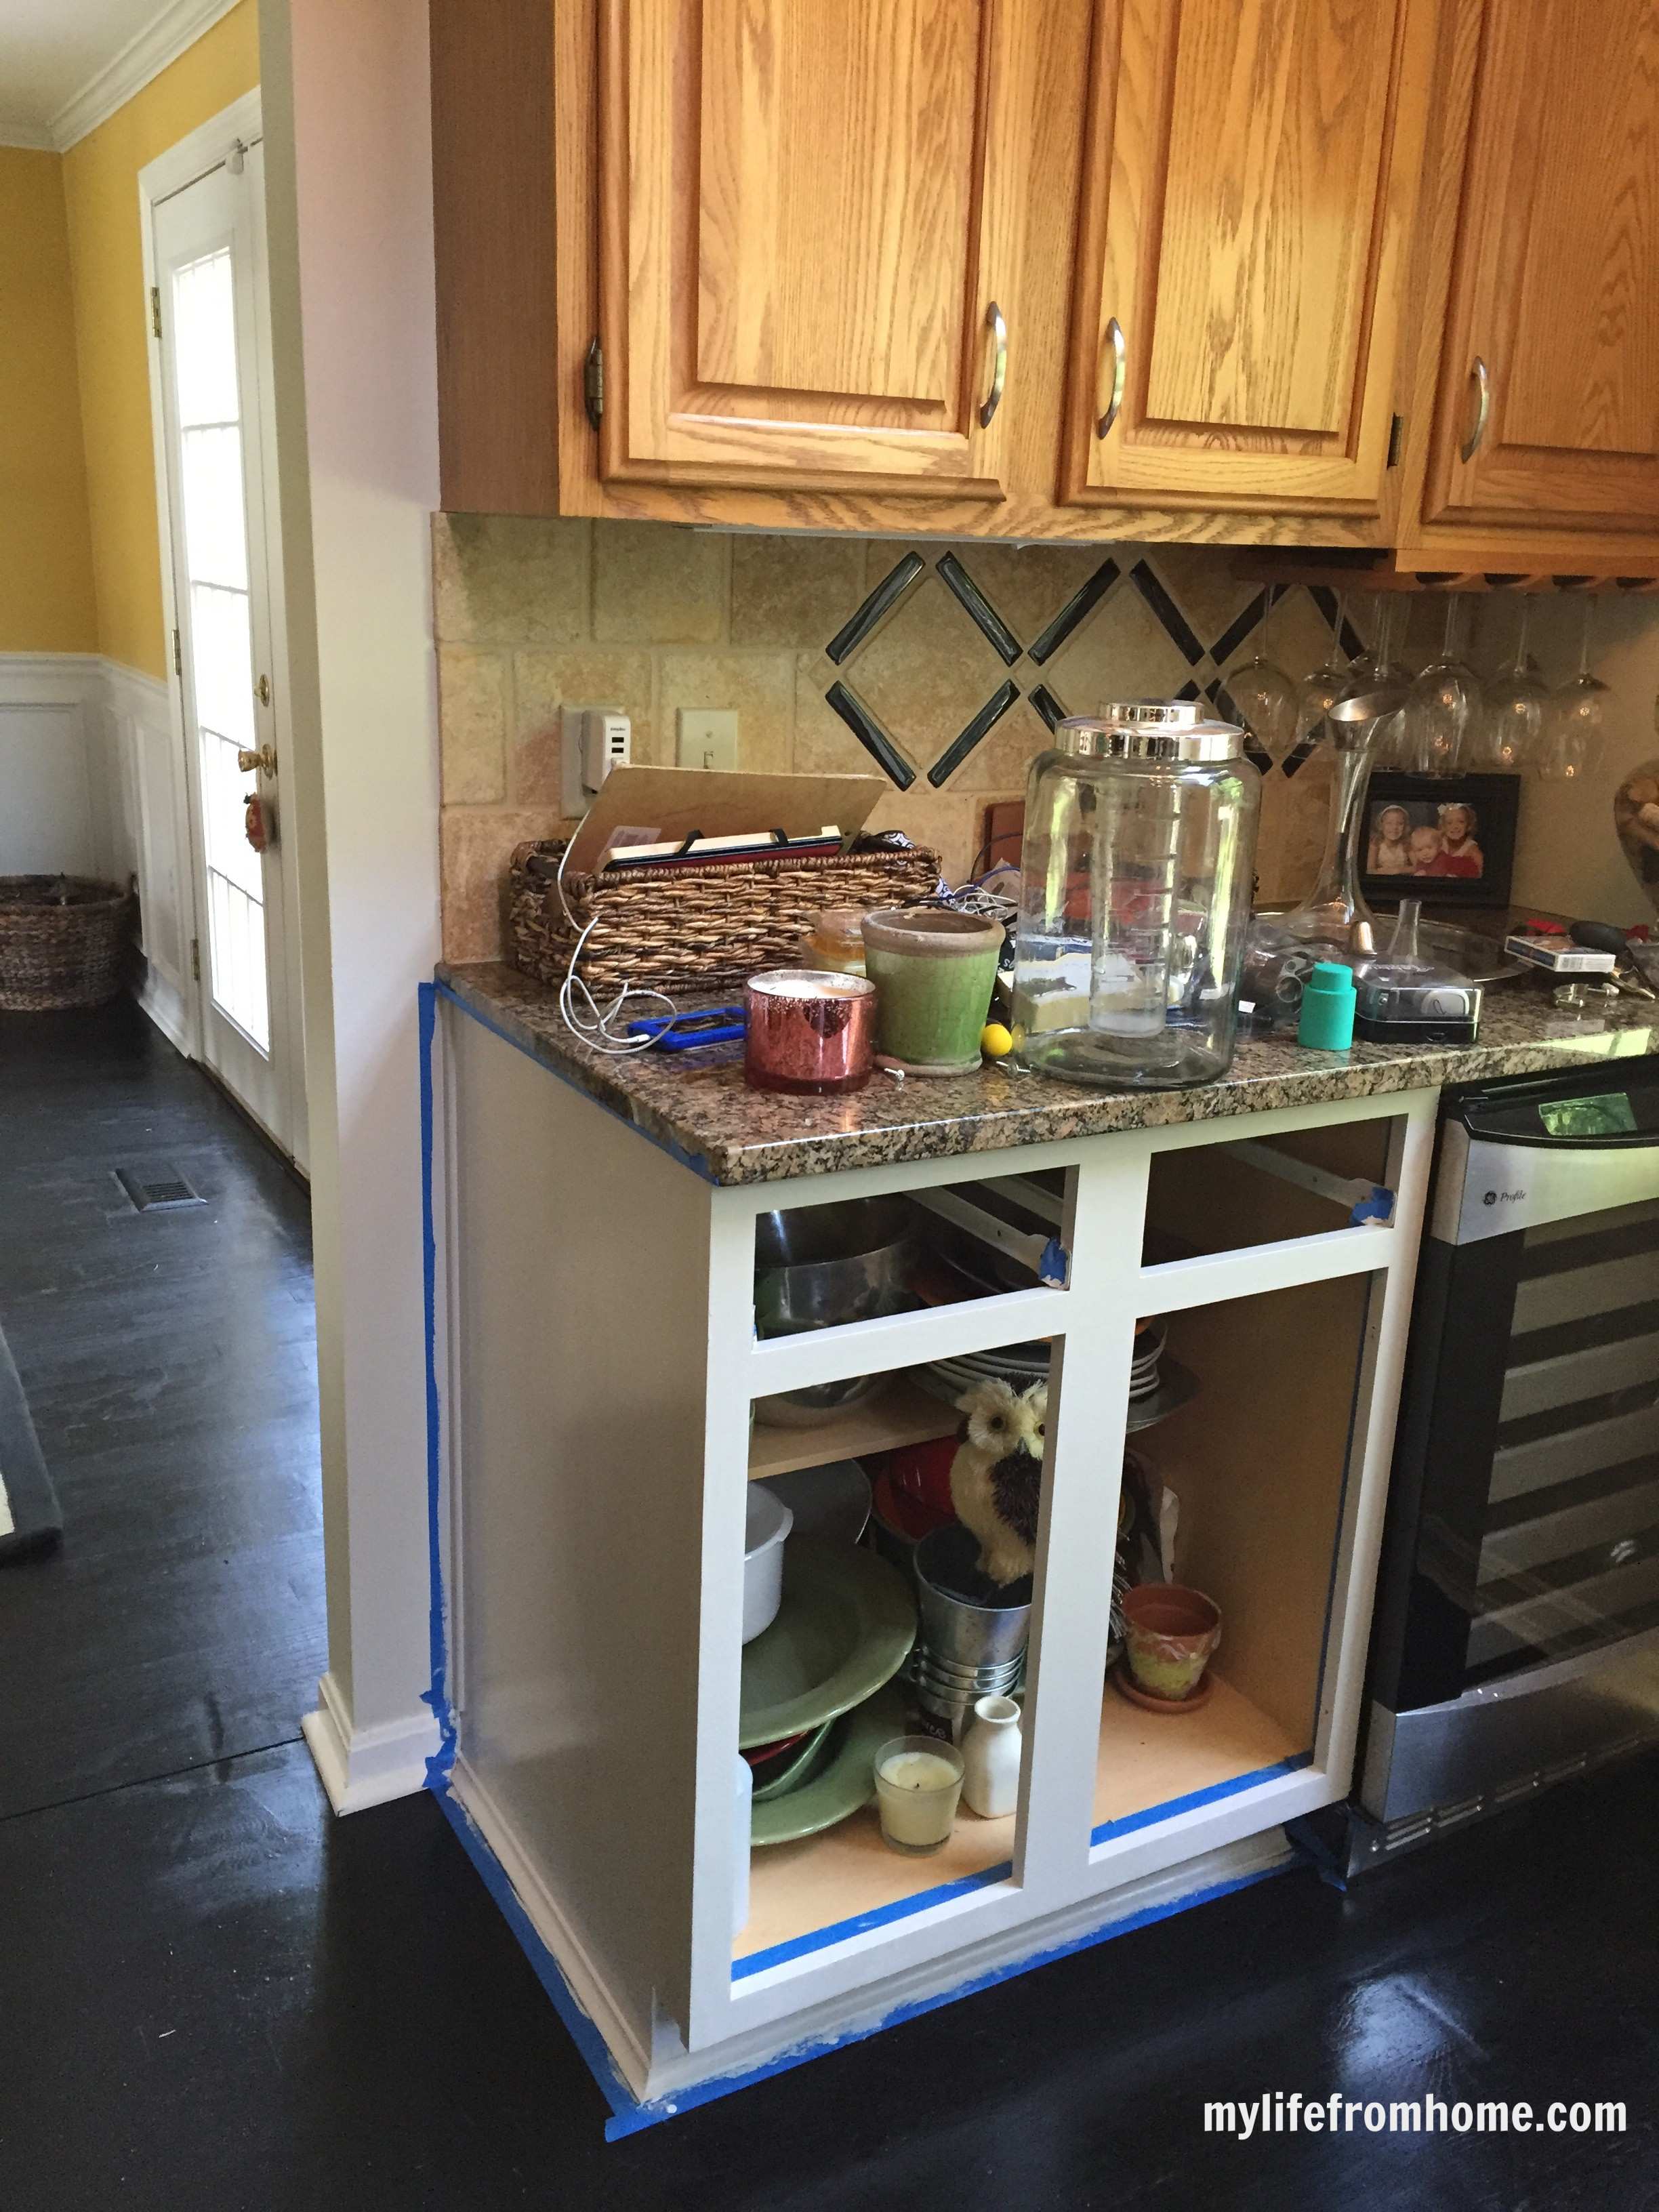
Here you can see the top cabinet as before and the bottom with the paint. What a difference, don't you think?
I am going to give you a full reveal in a few days, but here are a couple of finished parts. What do you think? 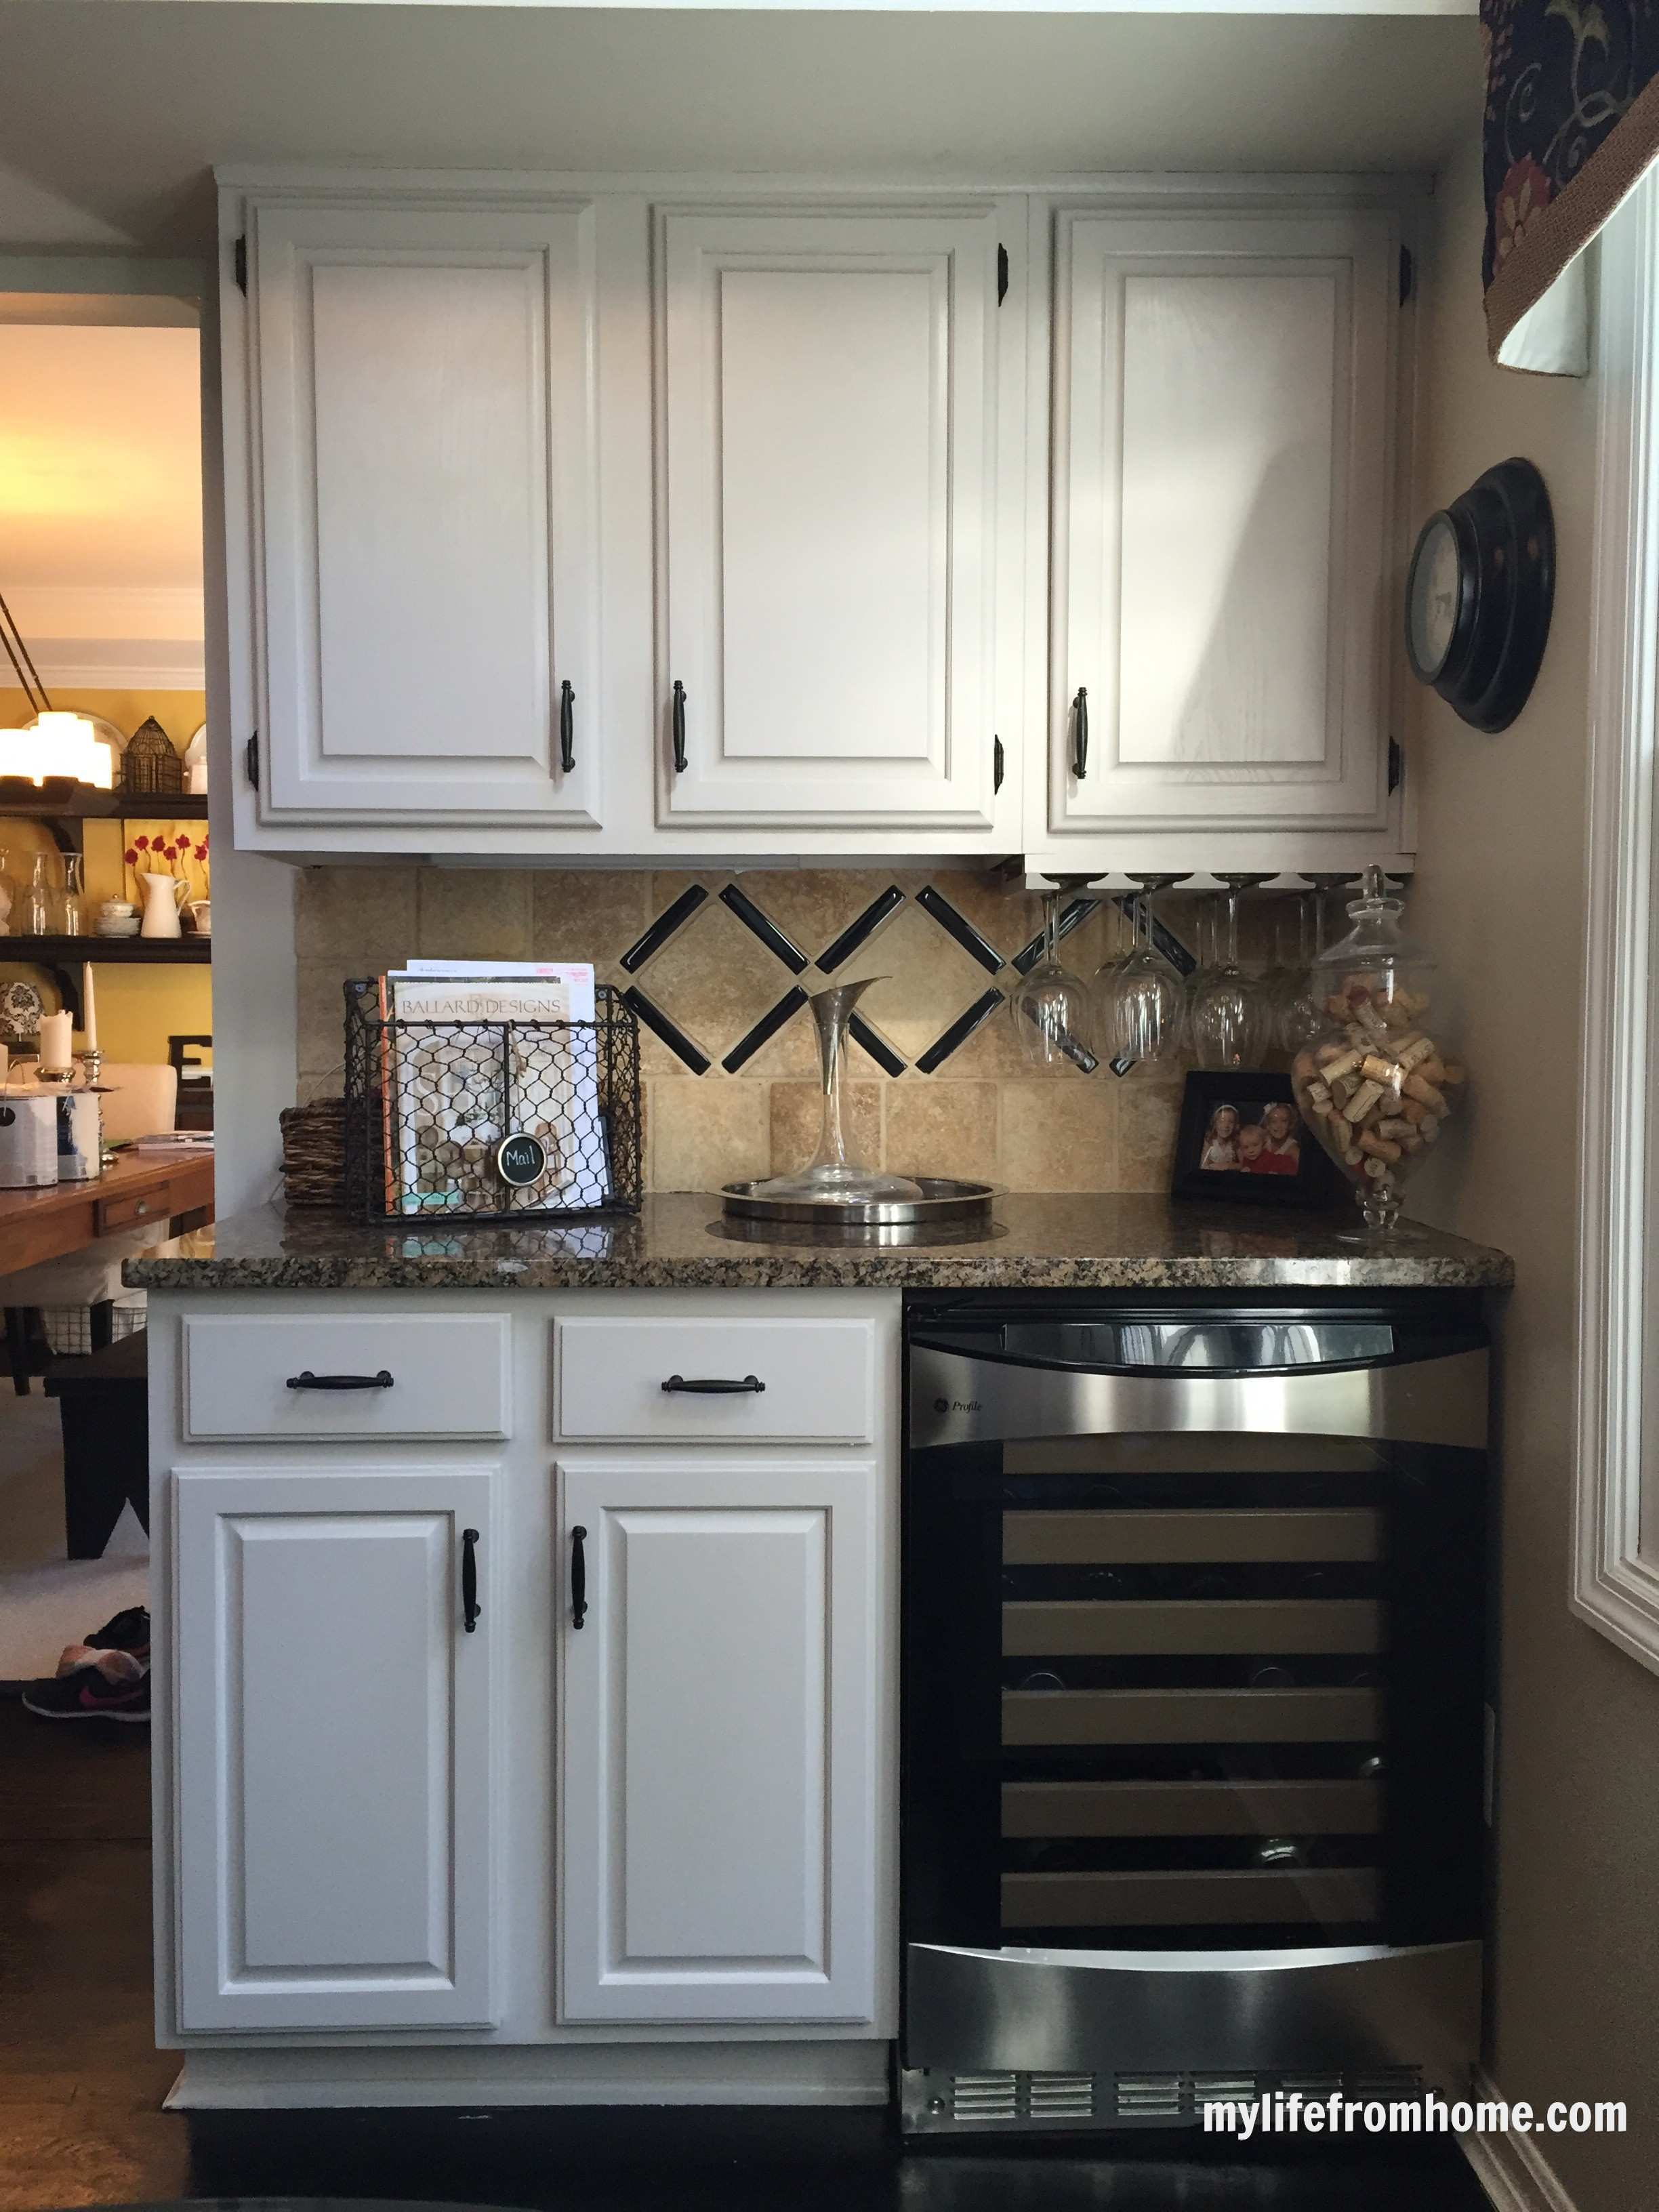

I feel like I've birthed a baby, I'm so excited about the outcome!
I hope this post will help if you are thinking about taking on how to paint kitchen cabinets. You can definitely do it. Take your time and don't be afraid!
If you have any questions at all, please ask away!
See the full reveal with a lot more pictures, here.
I need to paint my oak colored cabinets white after seeing this gorgeous transformation, thanks for sharing!
do you recommend semi gloss paint over Satin?
Your kitchen looks beautiful!! Did you paint the hinges? Primer? How many coats? Do they still open and close well?
Thanks,
Kris
Thank you! I actually didn’t paint the hinges at all. I removed them and purchased new hardware to install.
Wow!
Your kitchen is beautiful!!! How did you paint the hinges? Primer? Do they open and close fine since they were painted?
How do you paint the corners so they look smooth like a newly purchased cabinet door?
I want to know if it would work on melamine cabinets.
Buy the way your finished project is so beautiful.
Anxious in starting mine this summer, but not sure about melamine.
Hi Amy,
I’m about to paint my bathroom cabinets and wondered how many coats of primer did you use? Also, how many coats of paint did you use and how long do you allow before the next coat of paint?
We did one coat of primer and two coats of paint. I waited a day in between each coat. Hope this helps!
Looks great! Did you paint under the top cabinets??
Yes! Be prepared for some acrobatics but it can be done, lol!
They look great! Did you paint under the top cabinets?
Hi Amy,
I remember how I was so excited to repaint our kitchen cabinets, with too much excitement, I failed and it was a waste of money. This post will be very helpful for my next project 🙂
Thank you for sharing!
Cheers,
Jessica
Amy, can you share the exact shade and gloss of your paint color?
Fabulous job!!!! Thanks to sharing
I’m curious if you have any tips for painting the lazy susan door?! I’m starting my kitchen DIY tomorrow!! ????
Did you use a roller on the door fronts? I am seeing some brush marks and wonder if I should use a roller with the last coat.
Hi, Georganna. I used a roller on the door fronts, but not on the cabinet trim. I would definitely recommend it for a smooth finish!
I love your results! Curious how you approached the drawers. Did you just paint the fronts or the inside too?
Hi Julie, I did not paint the insides, just the fronts! It will save you a whole lot of time and still looks great.
Did you have to use special silicone caulk to be able to paint it? I’m about to tackle my lower cabinets!
Nothing special used! Good luck with your project, Dianna! It will be worth your hard work. 🙂
[…] a look back and peek at how the painted cabinet project began, you can see the full post projects HERE and […]
[…] If you are new around here and never got to see the before and after along with the step by step instructions on how I completed this project, you can visit this post here. […]
Hi Amy – just found your post on painting the oak kitchen cabinets. Question – after completed, were you able to see any of the oak wood grain?
Hi Donna, no the wood grain is gone. If that is what you were hoping for, then you will be pleased!
Your cabinets look flawless! Absolutely beautiful! I will be painting my oak cabinets soon and do not want the wood grain to show through. The grain on my cabinets is pretty deep–it has a texture to it, is that how your cabinets were before you painted them? Or did they feel smooth to the touch? I’m thinking of using wood filler but am floored with how amazing yours look without that step. If you could give me an idea of what the grain was like on your cabinets before painting, I would greatly appreciate it.
Hi, Dianne! Sorry for the delay in responding. We’ve been traveling a ton this summer. My cabinets were smooth and the paint covered the woodgrain completely. I would definitely recommend a wood filler if you have a deep texture to yours. Good luck! It’s definitely worth the trouble. It made a ton of difference in our home.
[…] you missed the prior post where I explained how I DIY’d the cabinets myself, you can catch up HERE. It’s not to be missed if you are thinking of painting your cabinets. I explain step by […]
I know how you feel. I decided to paint my bedroom furniture.
I used Annie Sloan paint “Old White” which was a lot easier then what you did ~ or was it??
I wanted to see immediate gratification so I went real fast. I called the store where I purchased the paint from and they were so good at helping me through it.
The finished product came out so nice.
https://muchloverose.wordpress.com/2015/11/21/our-new-master-bedroom/
Your kitchen is beautiful.
Rose
Thank you Rose!! I love Annie Sloan. I will have to check our kitchen out. Thanks for linking. 🙂
Can you share where you got that chicken wire basket you have mounted to your cabinet? Thanks!
Hi! Pam, I got it at World Market. ?
Thanks Amy, I found it. I wish I could be so brave to tackle painting my kitchen someday. Yours turned out beautiful!
Did you have to seal the cabinets after painting do make sure that grease and dirt can be easily washed off? My husband started my kitchen cabinets now 4 times and it all looks terrible since none of it is completed and has four different colors.
No I didn’t the Sherwin Williams paint adhered nicely and things wipe right off! Good luck! 🙂
Great step by step tutorial on how you painted your cabinets. I like your choice of paint color and how your kitchen is bright. Your final results speaks for itself, your kitchen looks amazing. I like your flooring as well. Pokey sure is cute!
Thank you for your kind comments!! Pokey is the cutest if I do say so myself!! 🙂
i love it! Been wanting to do this to my sad oak cabinets for sometime. The cabinets look pretty white in the pic. Are they more white then grey? I love the look on the pics but would like mine more on the white side before I decide to copy your color ? Thanks!
Thank you! 🙂
Good Evening Amy!! Just popping in to let you know your post has been picked as a feature at the Welcome Home Wednesday Link Party! Stop by tomorrow morning to see your feature and link up! Don’t forget to grab your “Featured Button” too!
Your makeover looks FANTASTIC! I love the colors and how clean it looks now. Thank you for sharing with us on Welcome Home Wednesday. i hope you’ll stop by again next week.
I’ve been thinking of painting our cabinets but was afraid of how they’d turn out! You make it look very doable… plus I love that soft gray color! Thanks for linking up at the Welcome Home Wednesday Link Party… can’t wait to see what you link up next week! I’m also featuring you on this weeks Fantastic Finds Saturday!
Thank you Betsy! I can’t even express enough you how glad I am to be finished! phew. Thanks for the feature! Yeah!
They look so great! Thanks for the tutorial! I’m hoping to get up the guts and motivation to do mine in the next few years. Thanks for sharing on #SmallVictoriesSundayLinkup
You can do it! I am by no means an expert. If I can do it, then you can. Just go for it! 🙂
These cabinets look fantastic. My white cabinets need a fresh coat of paint but I don’t know that they are real wood or some kind of laminate. Thanks for sharing with Small Victories Sunday linkup. Pinned to our linkup board and hope you join us again this weekend.
Thank you Tanya! It feels great to have this major project finished! 🙂
This is great. I think they look so good. Thanks for linking up with us this week. You really need to be proud of your accomplishment.
Thank you Leigh! It feels good to have that major project done!
It’s beautiful, Amy! I have been wanting to do that for years! Thanks for doing the research – I think that I can talk my husband into this now too. 🙂
Thanks Kristen!! Definitely worth doing!!
Thank you Kristen! I’m almost done and utterly exhausted, but it makes a huge difference! You can definitely do this DIY project. It just takes time. patience and lots of wine 🙂
You are my hero…it took me a year and a half to do my cupboards but I had to strip first…never again! You make it look so easy and you are so neat!!
Lynne, you are my hero that you were committed enough to strip all that wood! I never would have had the patience. I do remember that they looked amazing, so it was worth the time!