DIY Embroidery Hoop Wreath~ Create With Me!
DIY Embroidery Hoop Wreath
Embroidery hoops are actually extremely versatile and not just for needlework!
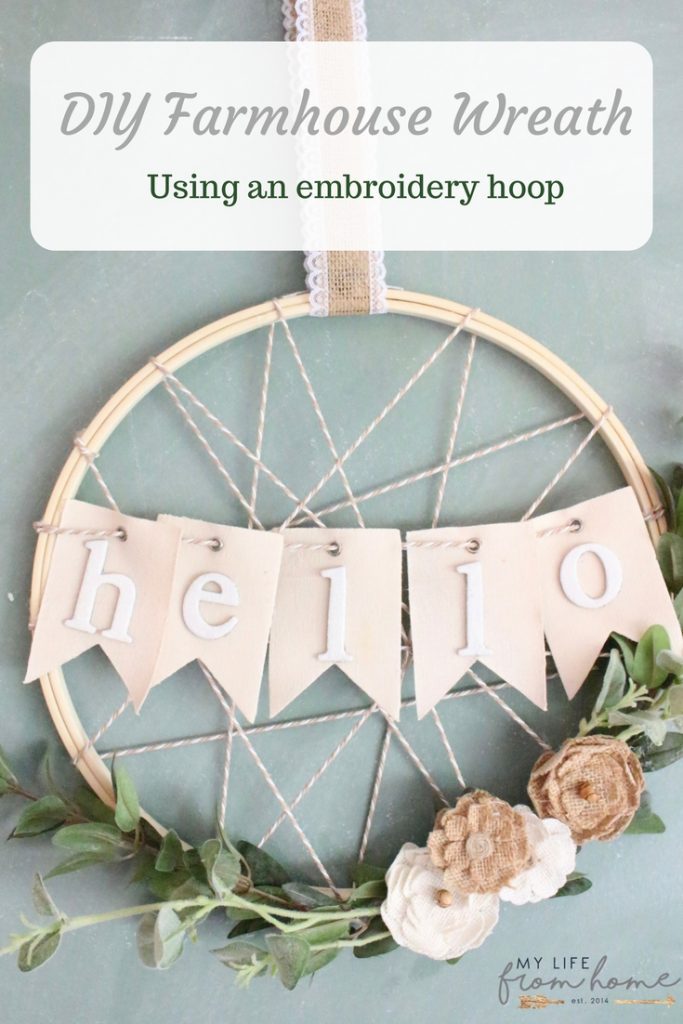
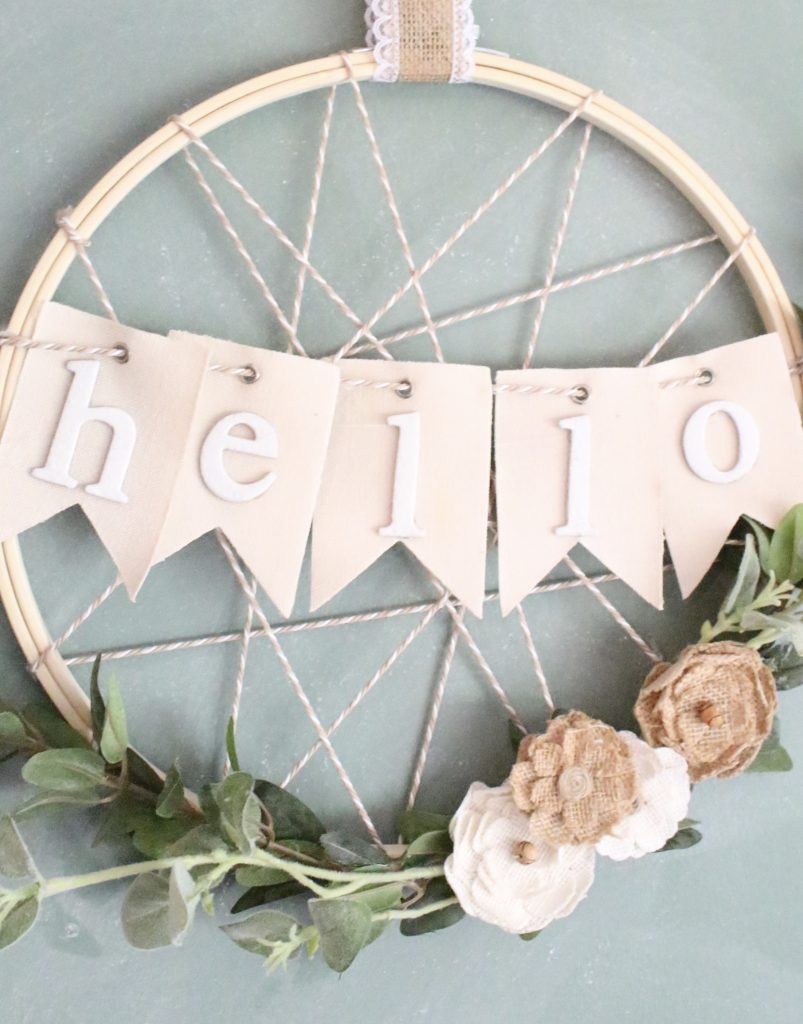
Today we have another Create With Me challenge! Last month, you saw how we took Dollar Store items and transformed them into unique and creative items including these DIY Etched Beer Mugs I made, perfect for summer! We asked you last month what you wanted to see our blogger team work with this month and you chose embroidery hoops! I'm not talented enough to do needlework, so you aren't going to see that from me today! My mom was great at it and I remember watching her embroider when I was young. It is such a beautiful art form that I may just need to learn it someday, but, today is not that day! Instead, I'm going to show you how you can use an embroidery hoop to create the perfect farmhouse wreath!
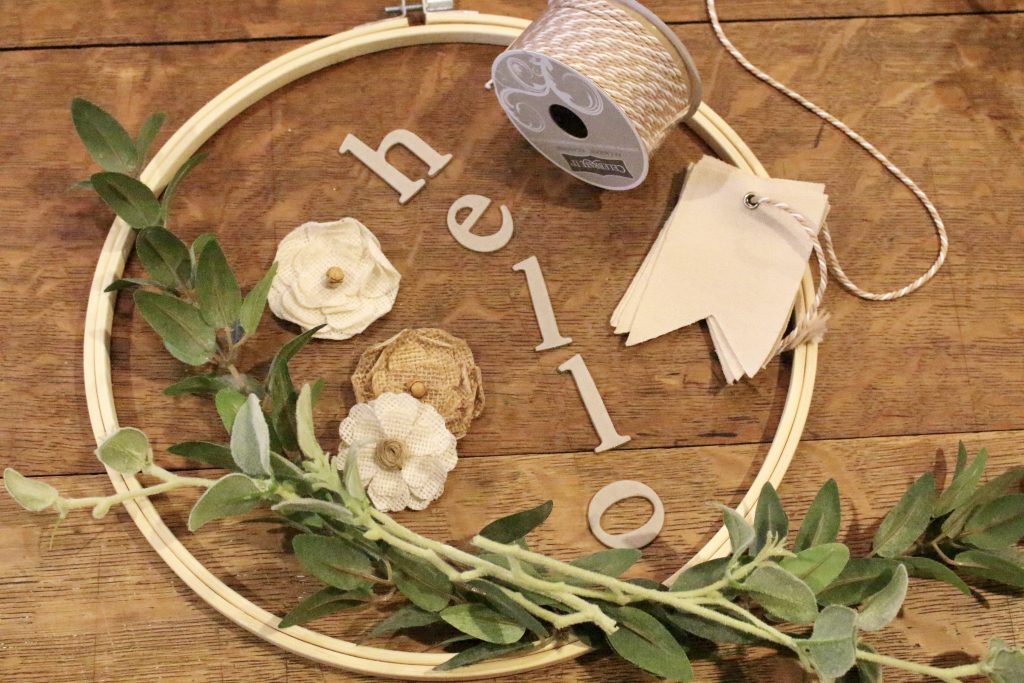
To do this project, I gathered the following supplies:
{This post contains affiliate links, see full disclosure here.}
Floral spray picks
Small pennant flags (I got mine in the dollar spot)
Instructions:
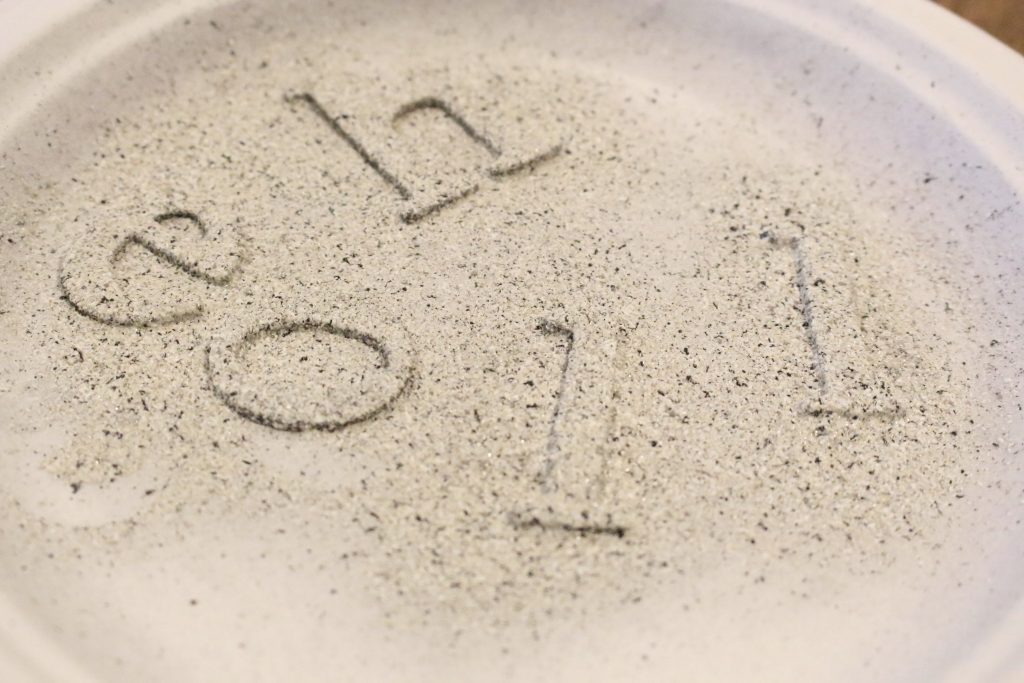
- Spray paint your letters and put aside.
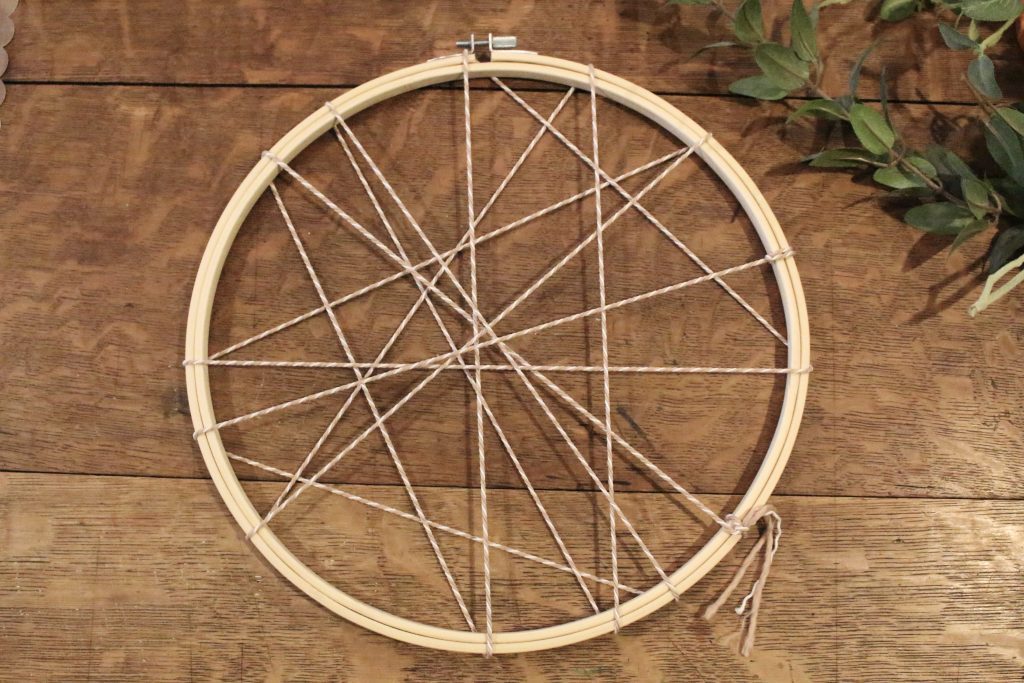
- Using twine, I began to wrap my hoop, putting a bead of hot glue to secure each strand around the edge. The glue helps from the strands slipping. I did not have a plan but instead eyeballed the combination of strands. Tie the end and cut the last strand. I then glued it to secure the loose end.
- Using your floral picks, glue them securely to the hoop first and then add your burlap flowers and glue them in place.
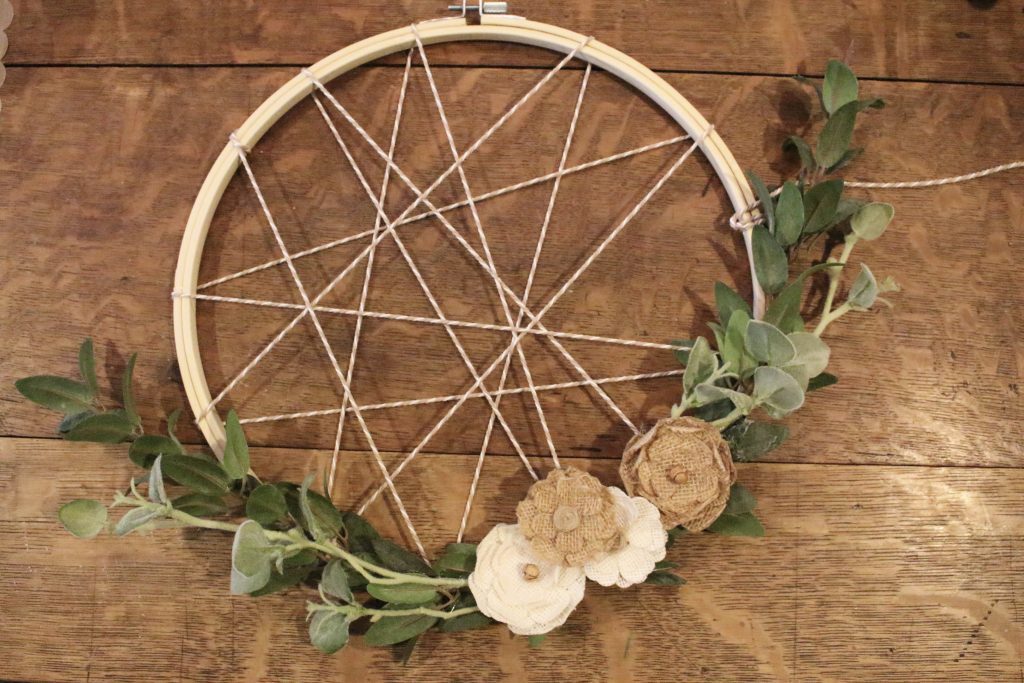
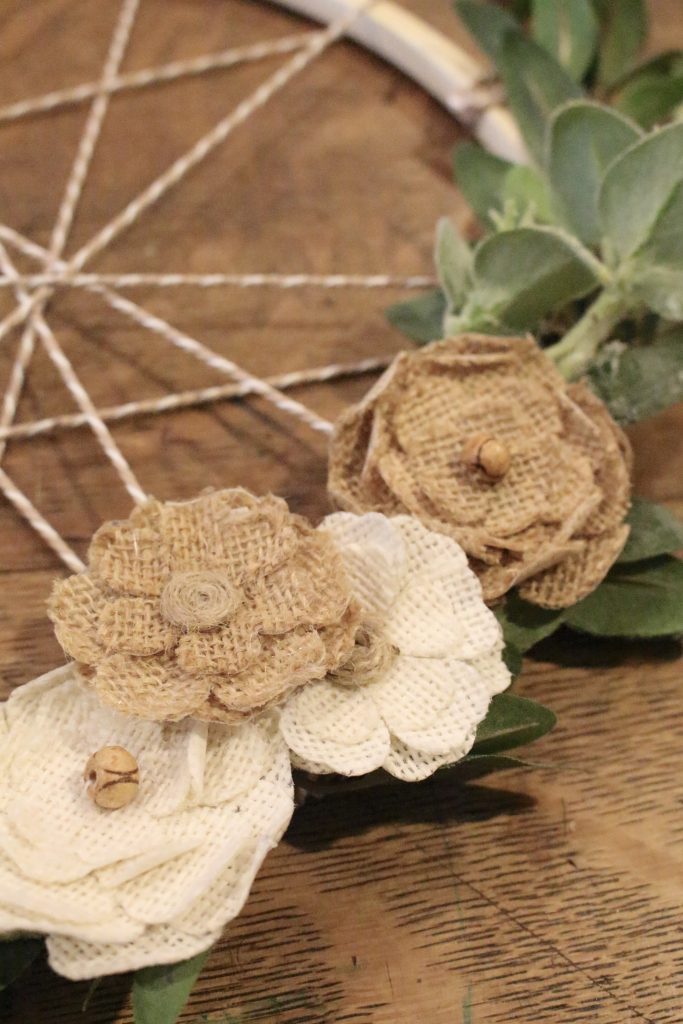
- Hot glue your dry letters to the pennant. Feed each one on to a piece of twine and tie each end to the hoop. Cut loose ends and glue to secure. I also put a small bead of glue on the pennants to secure them to one another and force them to lay flat when hanging.
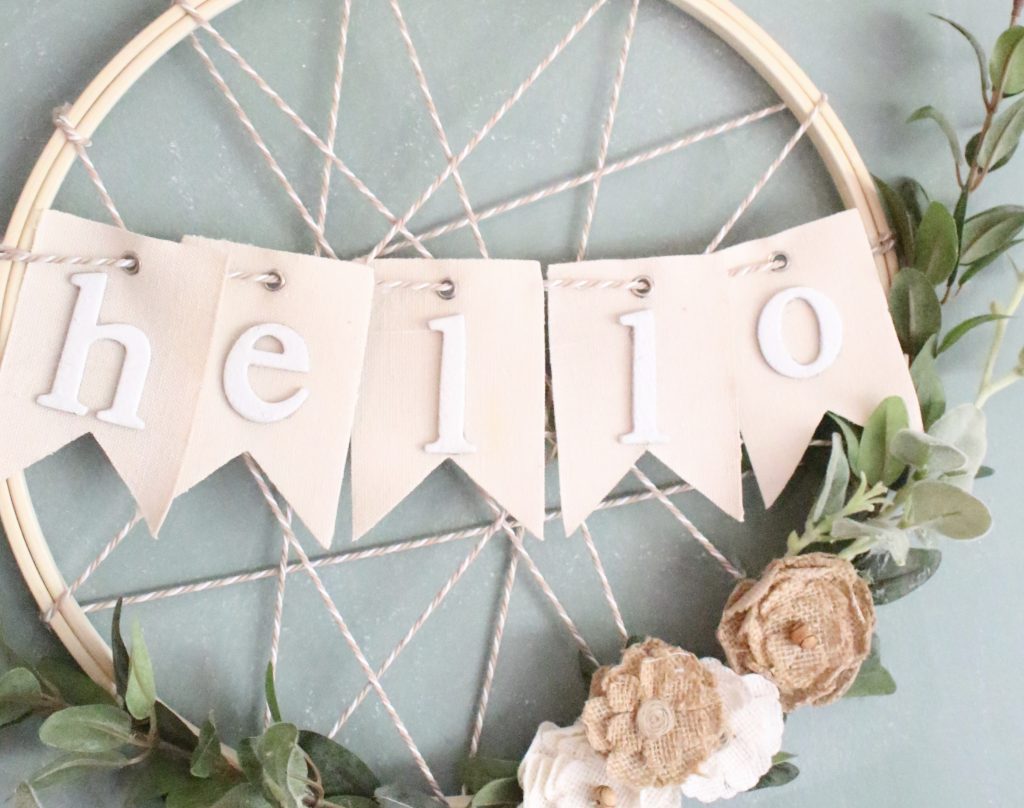
- Lastly, I cut a piece of ribbon, secured it together with glue and prepared to hang!
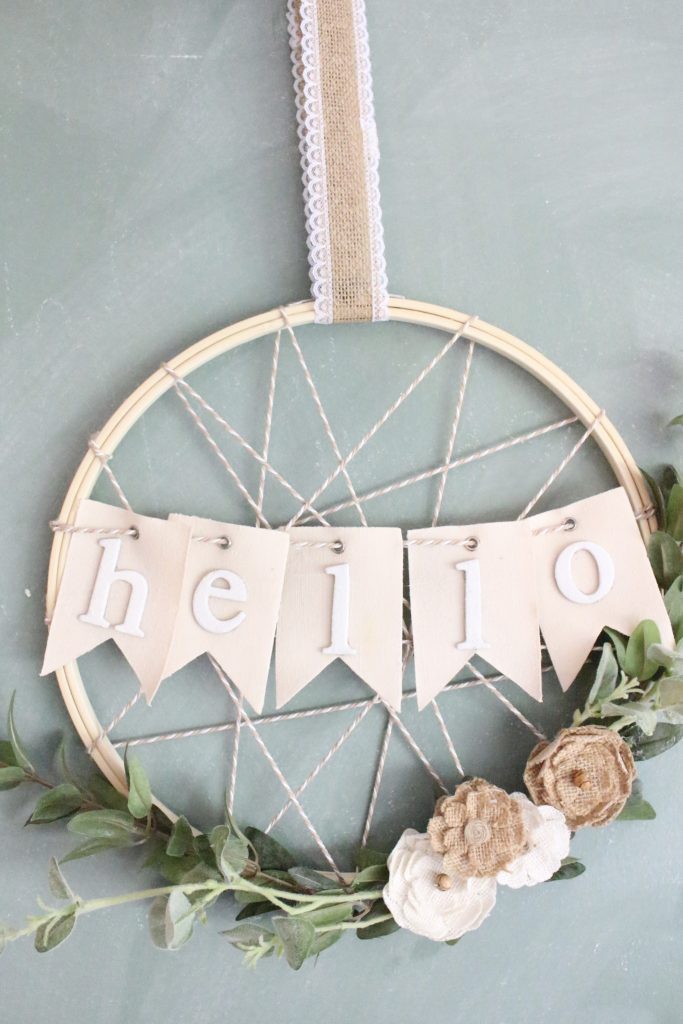
I think this little wreath has the perfect farmhouse charm; flowers, burlap, and twine all in one!
Remember to join us this month in creating your own Create With Me projects. Share your embroidery hoop projects on Instagram with the hashtag #createwithmeprojects. We will be choosing a winner to feature across our accounts!

If you can't see the survey, CLICK HERE!
To life feeling like home!
XO,


[…] DIY EMBROIDERY HOOP FARMHOUSE WREATH From My Life From Home […]
[…] a través de mi vida desde casa […]
[…] Guirlanda de aro de bordar faça você mesmo de Minha Vida em Casa […]
[…] Tutorial […]
[…] DIY Embroidery Hoop Wreath by whitecottagehomeandliving.com […]
[…] My Life From Home […]
[…] Source: mylifefromhome.com […]
[…] month of Create With Me! Last month, I used an embroidery hoop to make this cute and stylish DIY Embroidery Hoop Wreath. You can see the full post, HERE. This month you chose picture frames for our blogger team to create with. The […]
Such a lovely work! Would really give this a try. I was planning to design my bedroom and hopefully this will fit in my bedroom, planning to put some glitters too. Anyways, good read!
Yay! Esther, I am so glad you like this and I’d love to see a picture of it all designed in your space! Hugs, Amy
I adore this wreath, Amy, from the letters to the greenery to the twine! It’s farmhouse hoop art perfection!
Super cute, Amy! I love the design of this wreath!
Thank you, Randi!