Create & Share Same Item Challenge: DIY Bird Feeder

I am excited to share with you that I am a new member of a monthly DIY blogger challenge called CREATE and SHARE. I'm super excited to be included in such a fabulous group of women! Thank you, Stephanie, from Casa Watkins for organizing such a fun challenge.
This month our challenge was to makeover this mini pot stand. We all purchased the same item and then used our own ideas to make it into something new.
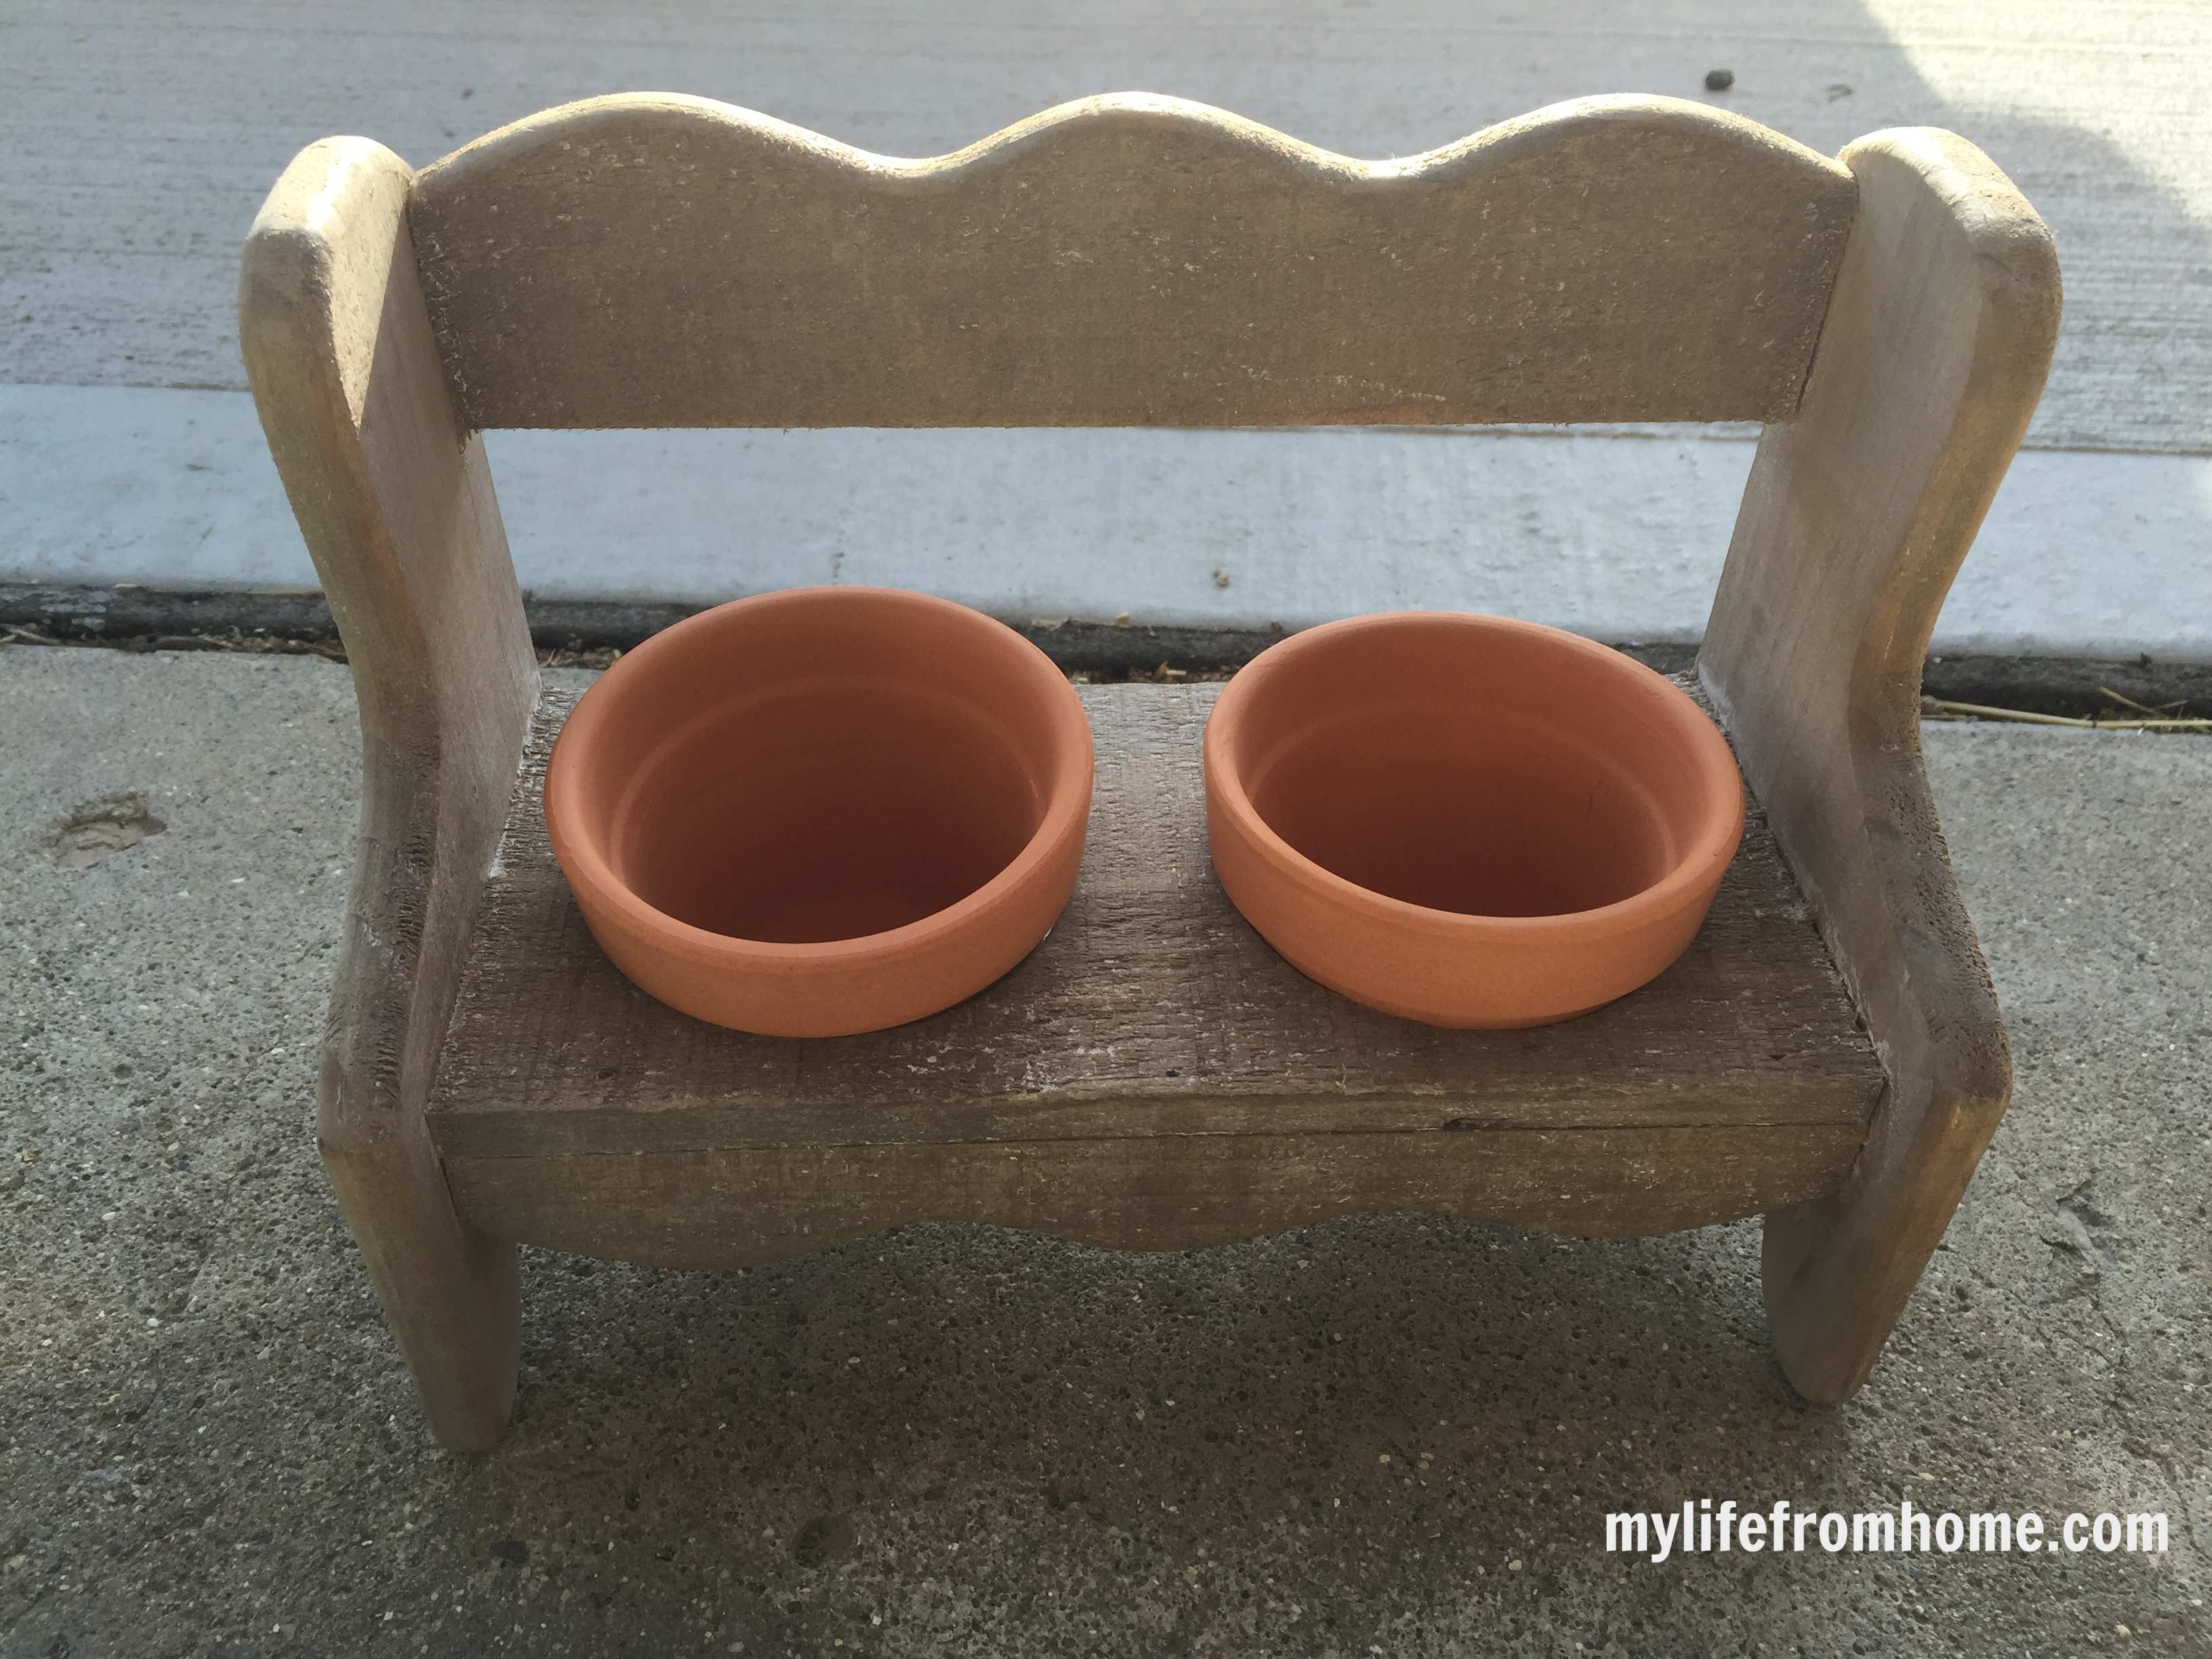
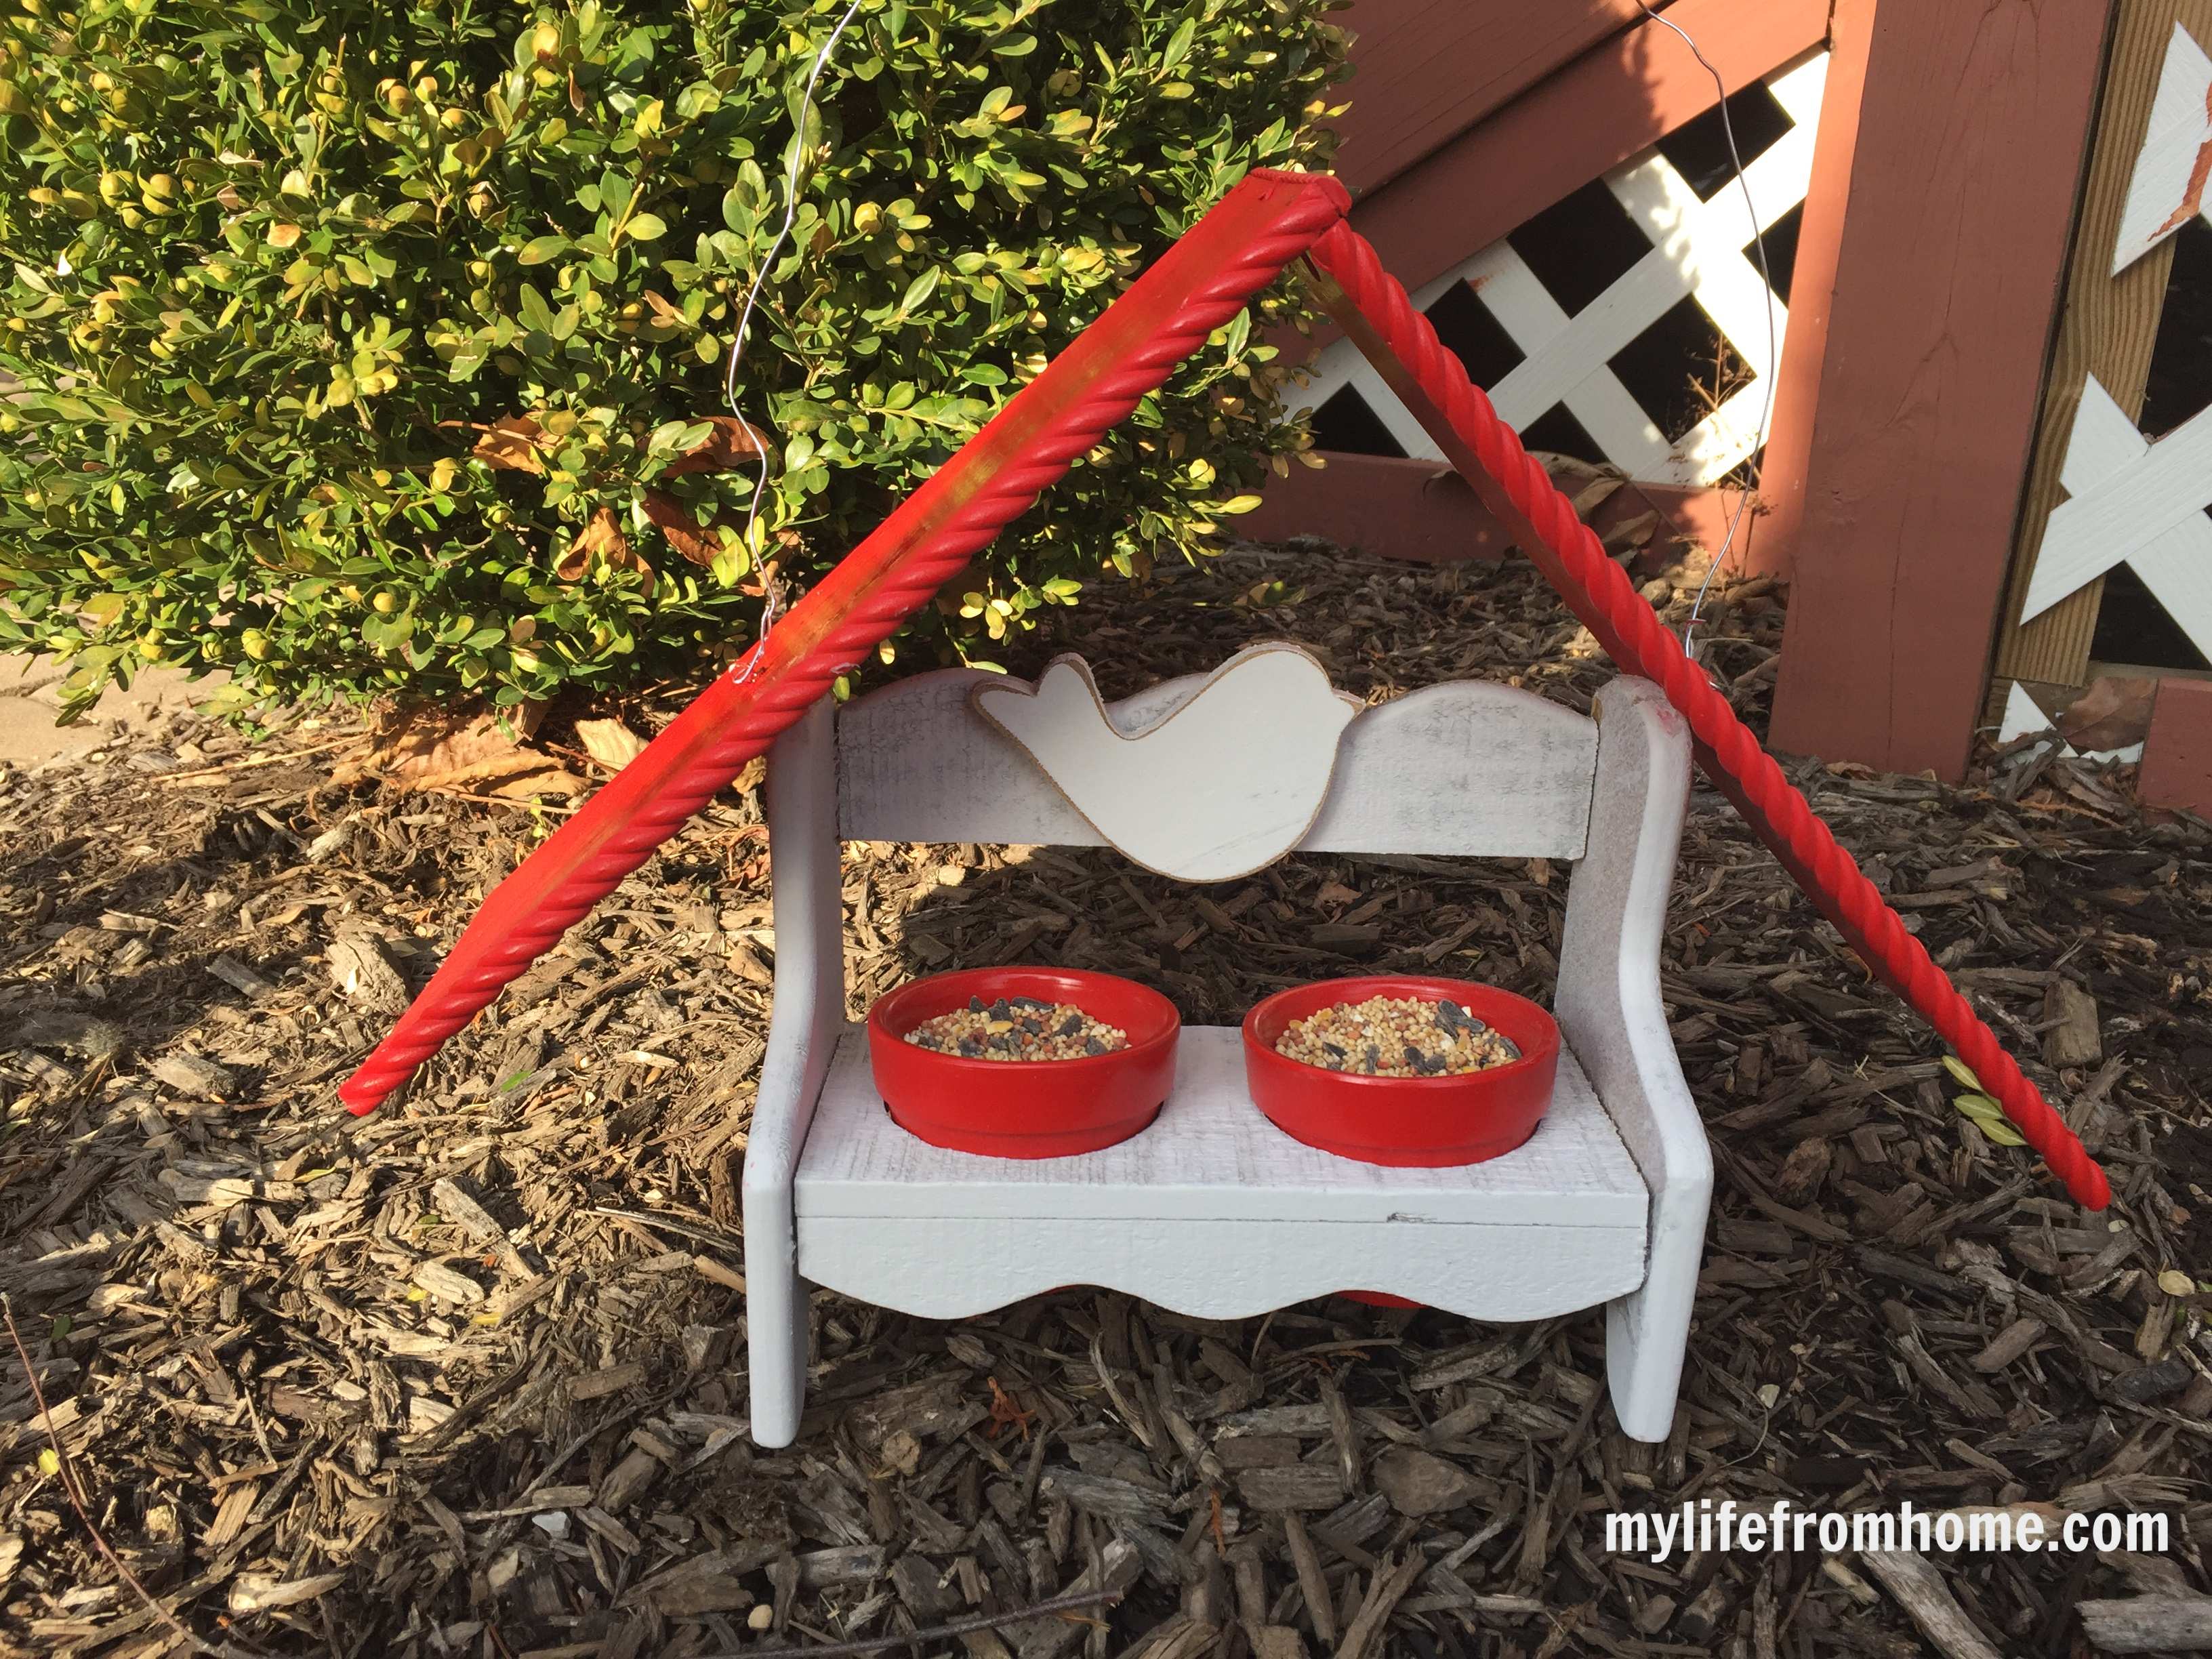
I have to admit that this little potting bench stumped me originally until actually my daughter came up with the idea to make it into a bird feeder! Sometimes it takes someone else to step in to give you the inspiration you needed!
So as soon as I decided on a bird feeder, I got right to work.
Here is how I put together my DIY Bird Feeder.
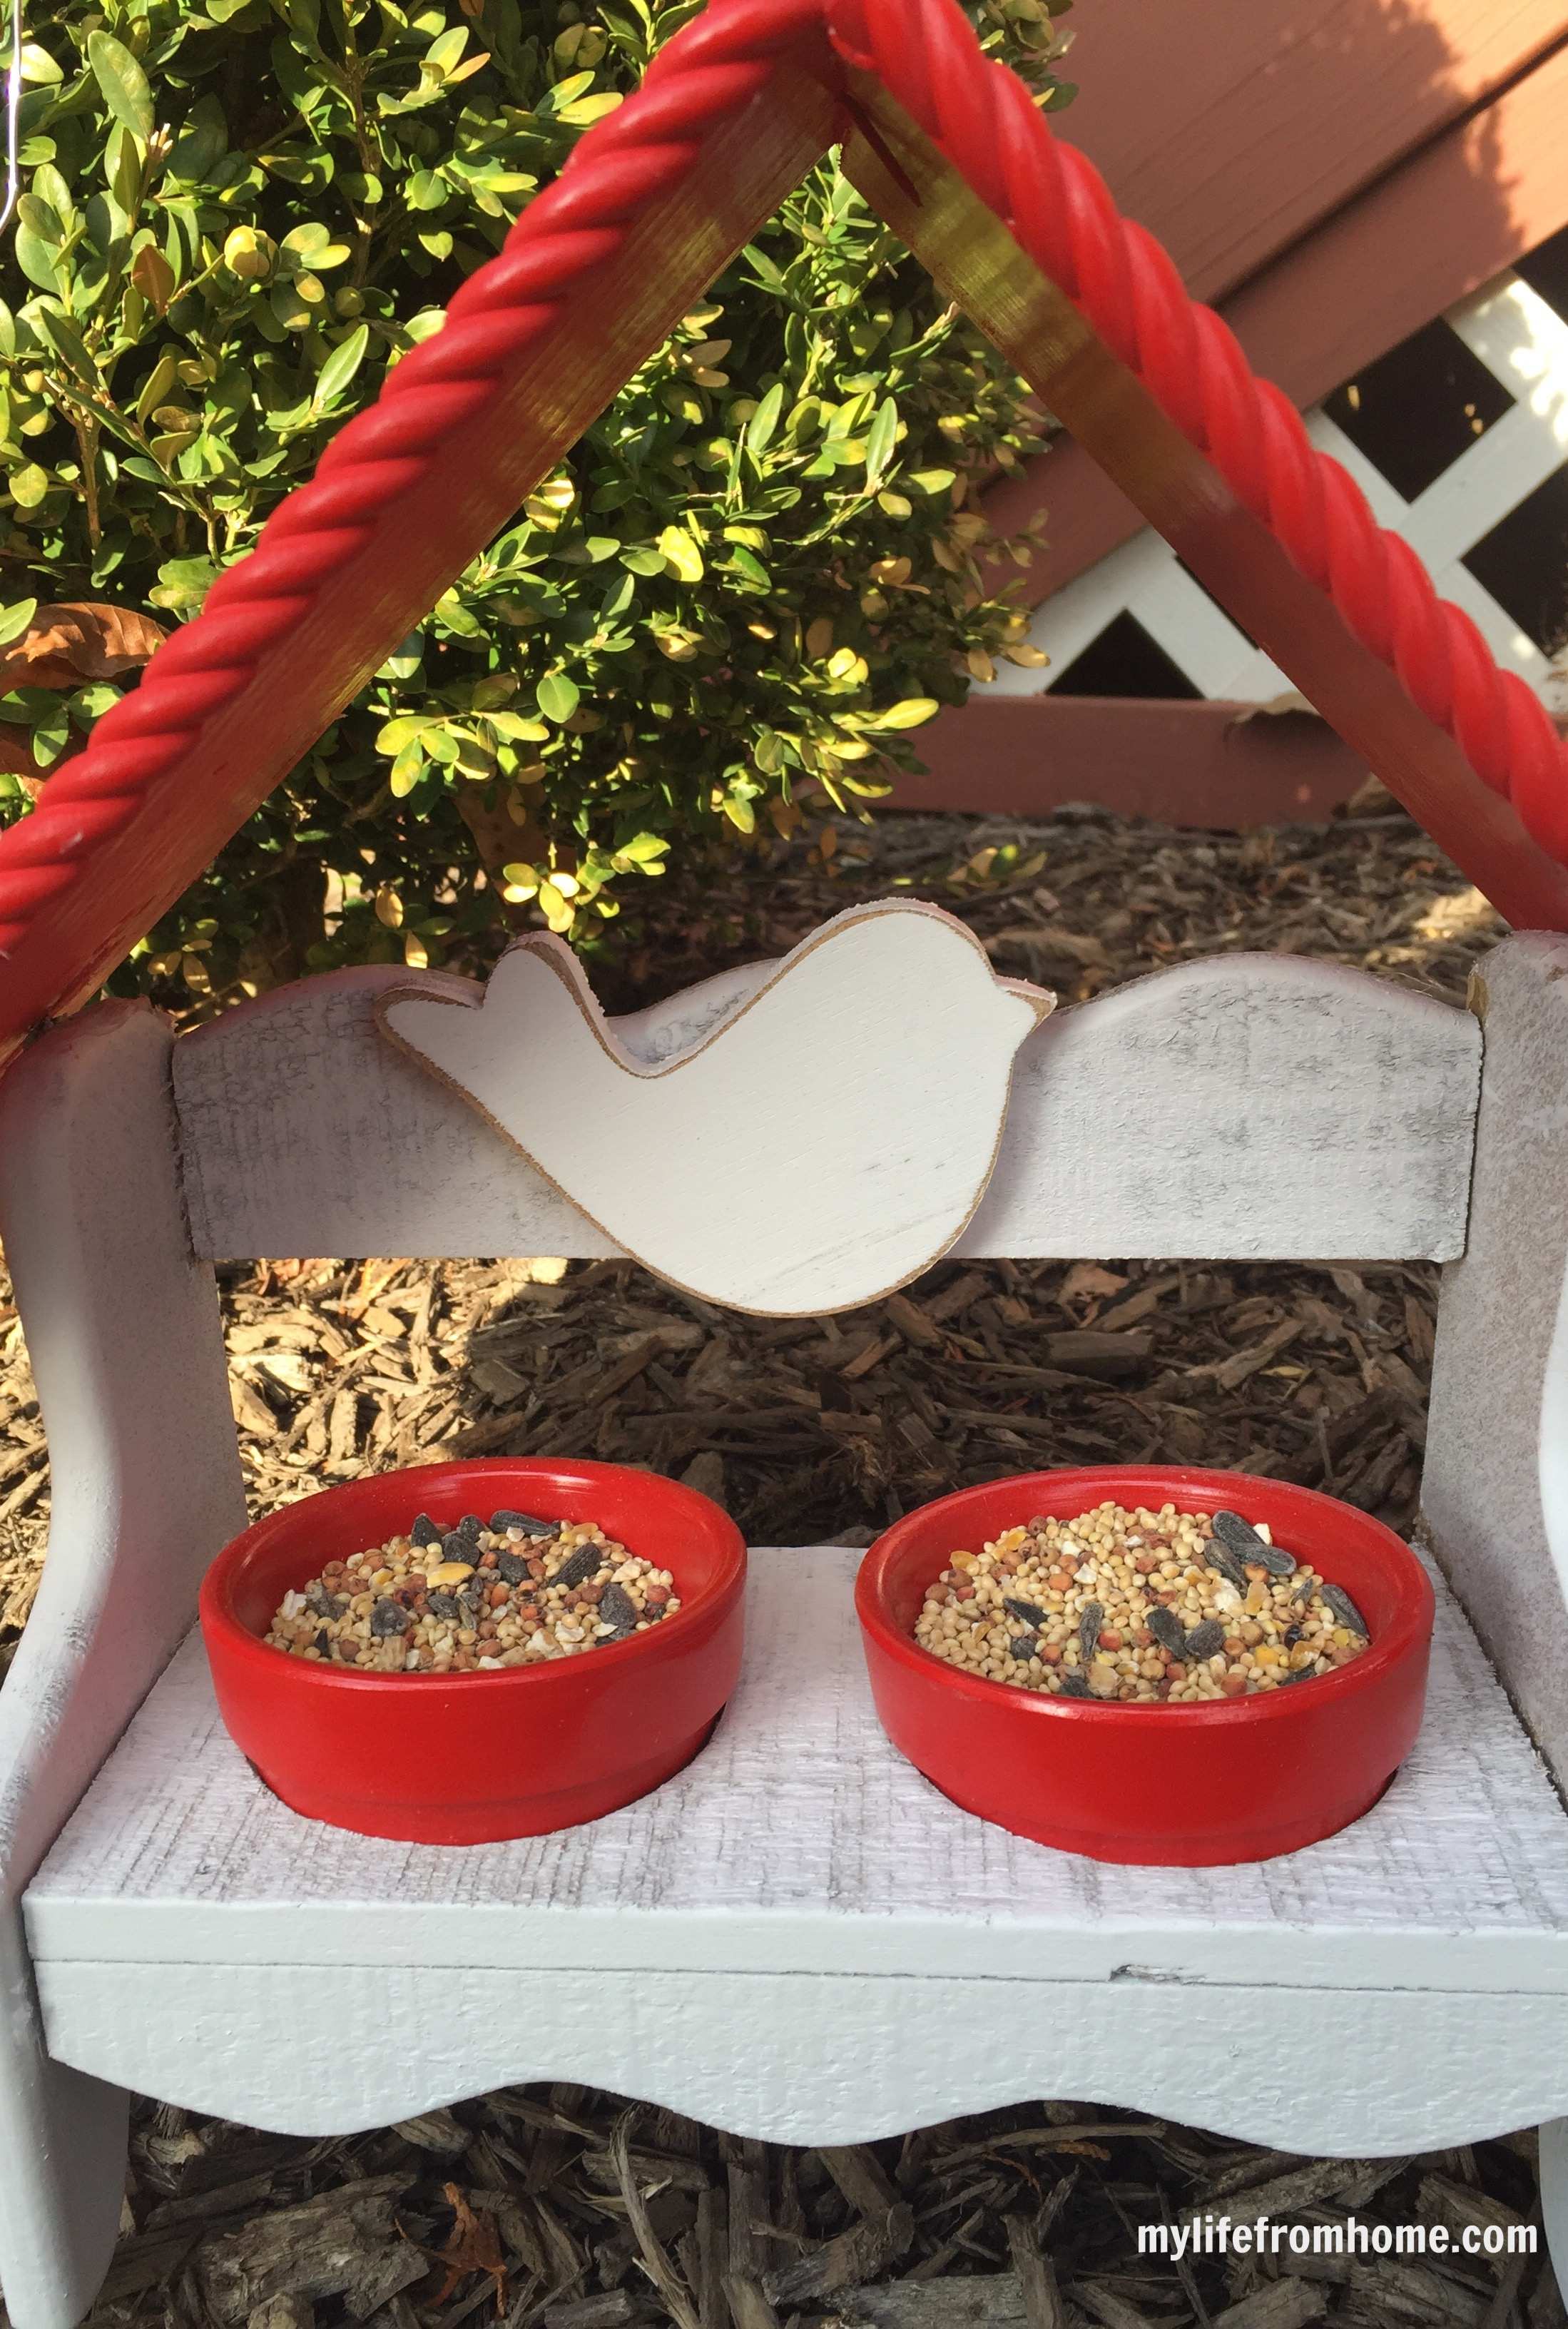
I bought two plywood planks and some decorative trim from Michaels to build the roof. I did not have to cut the planks. They were a perfect size. I nailed them together at an angle, cut some trim and hot glued it on the top and front edges to make it pretty.

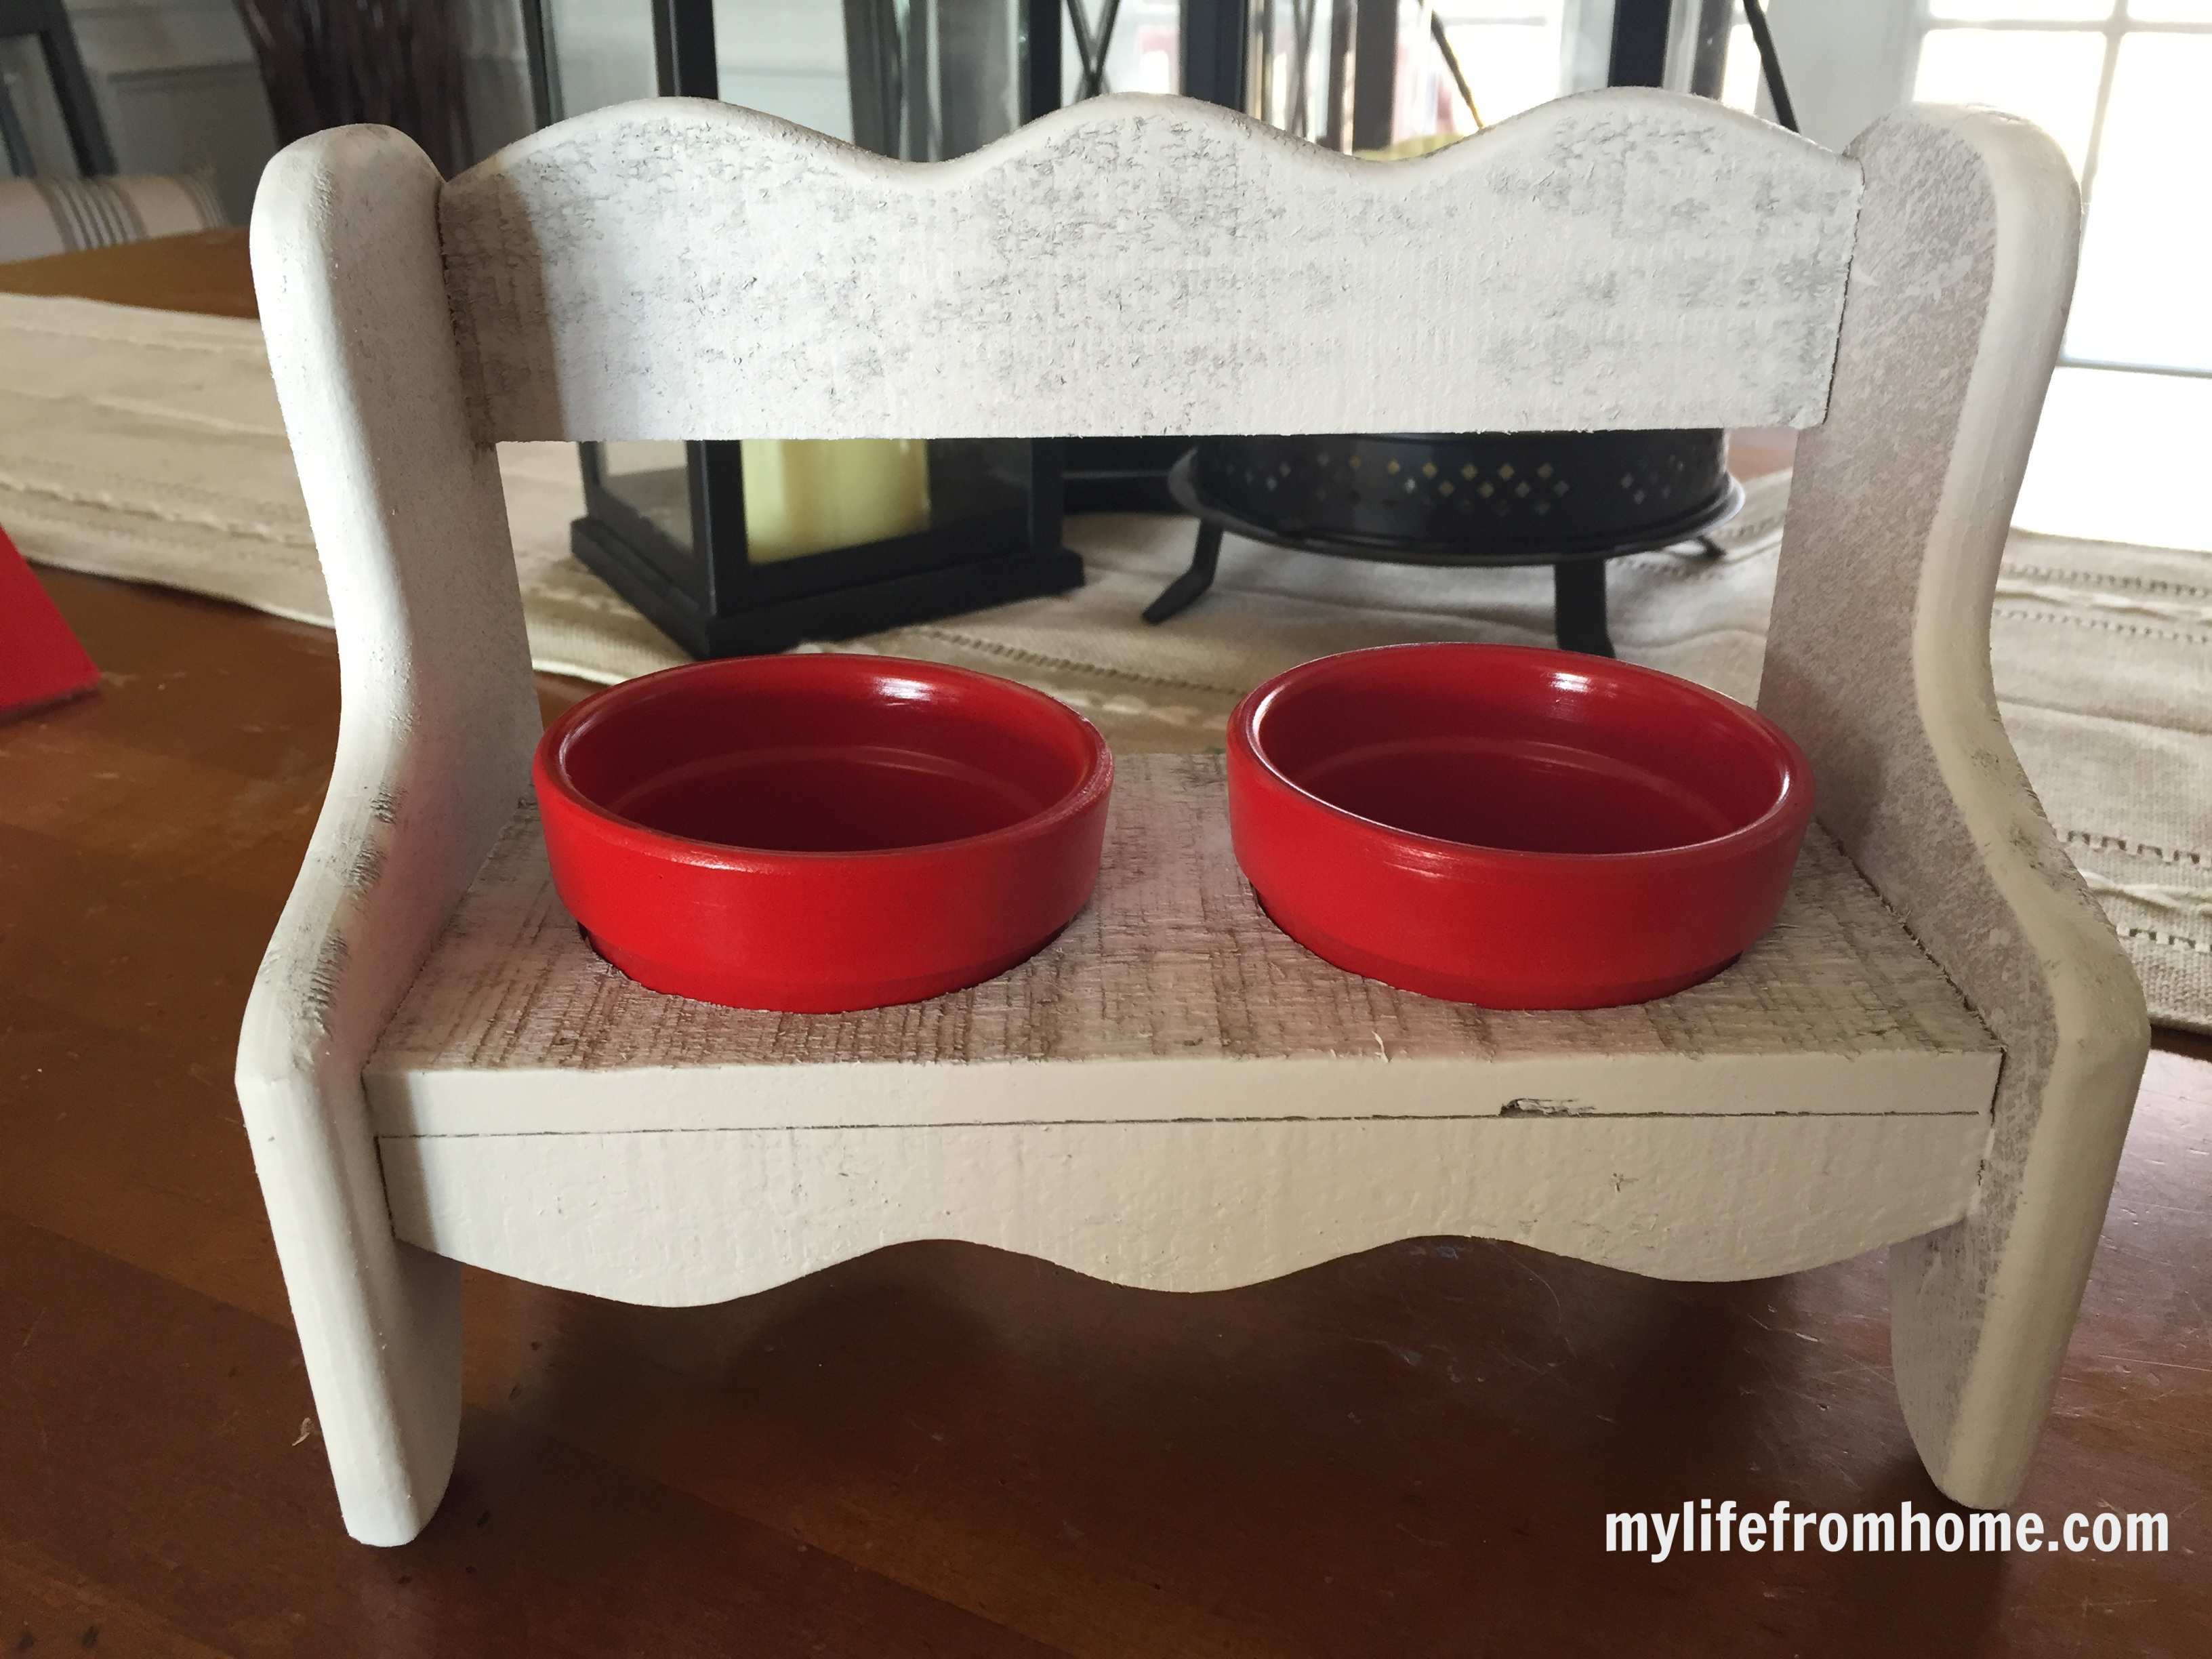
The next step was spray painting everything. I used an exterior spray paint since I knew it was going to be outside in the elements. the roof and pots got a vibrant red and the bench I spray painted white.

Getting the roof to attach was probably the hardest part of this project. I would recommend predrilling holes into the bench at an angle to make it easier. I used screws to attach it since I knew it would need to hold together well enough to hang. I then just touched up the screws with spray paint.
Next, I attached eye hooks and wire to hang it. One tip is to check the gauge of your wire to be sure that it can hold enough weight. I went with wire that will hold 20 lbs. So as long as I don't get a couple of Bald Eagles landing, I should be ok.
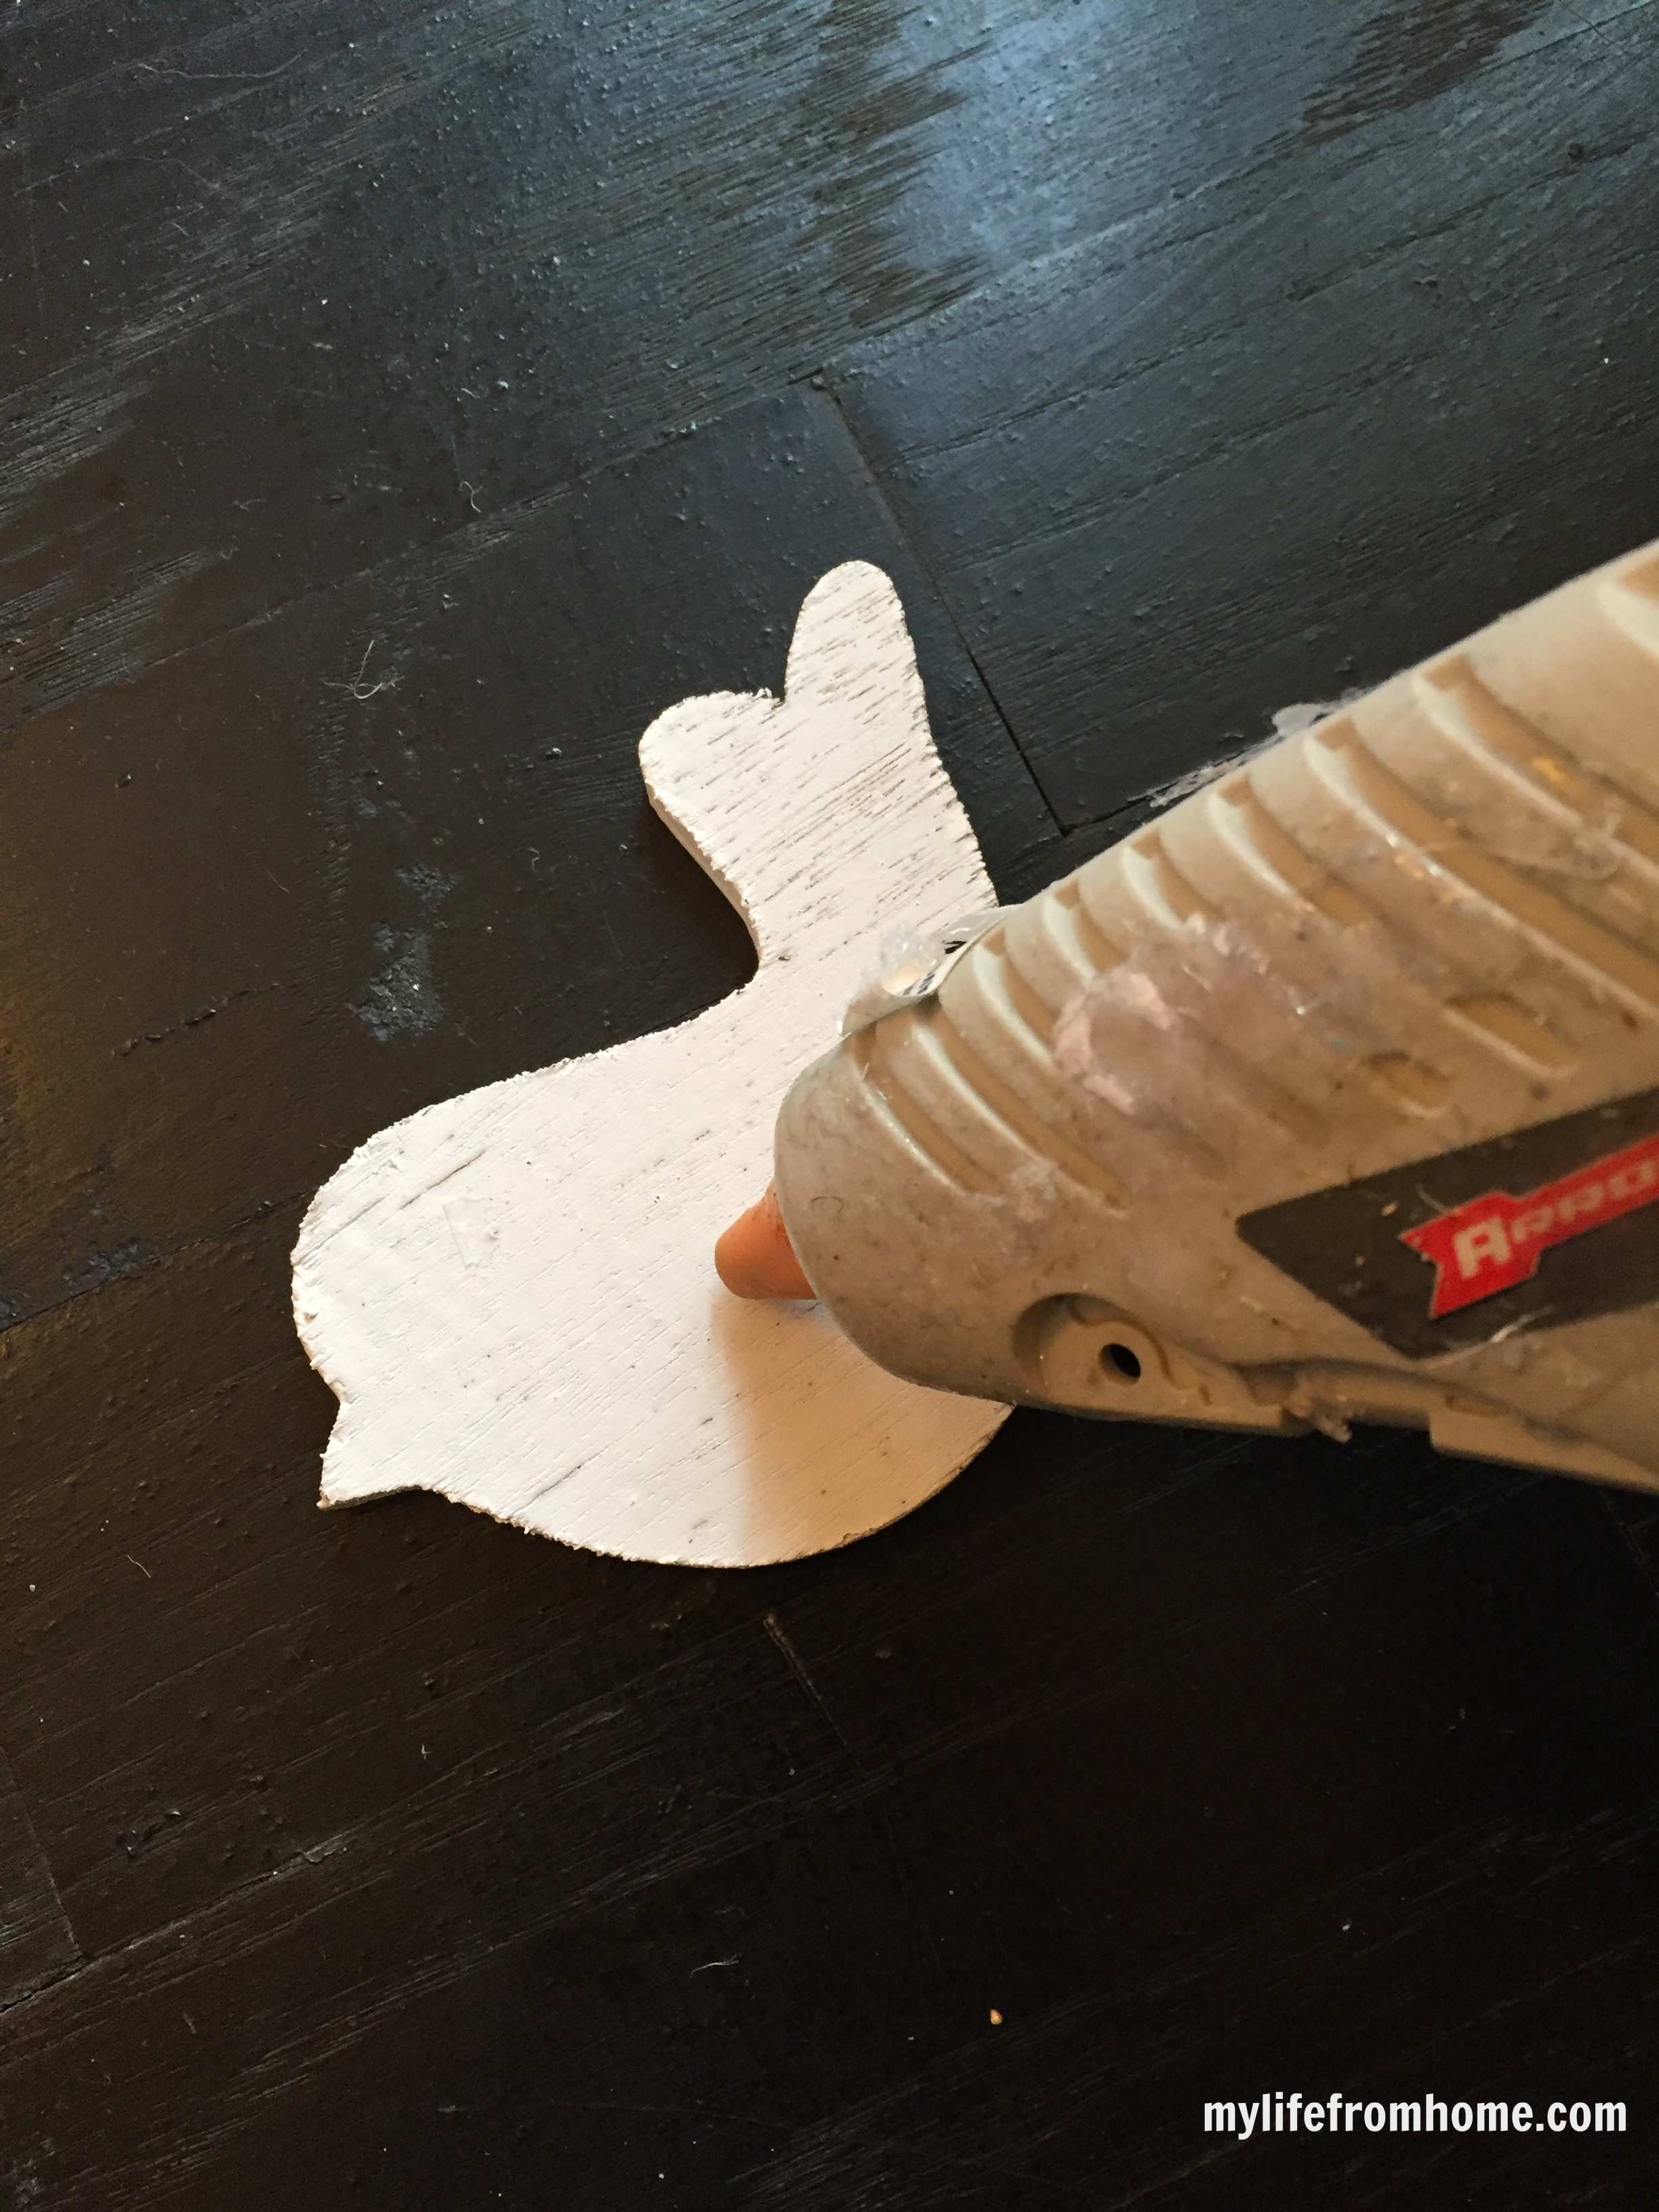
The Last step was to add a decorative bird embellishment which I bought at Michaels and hot glued on.
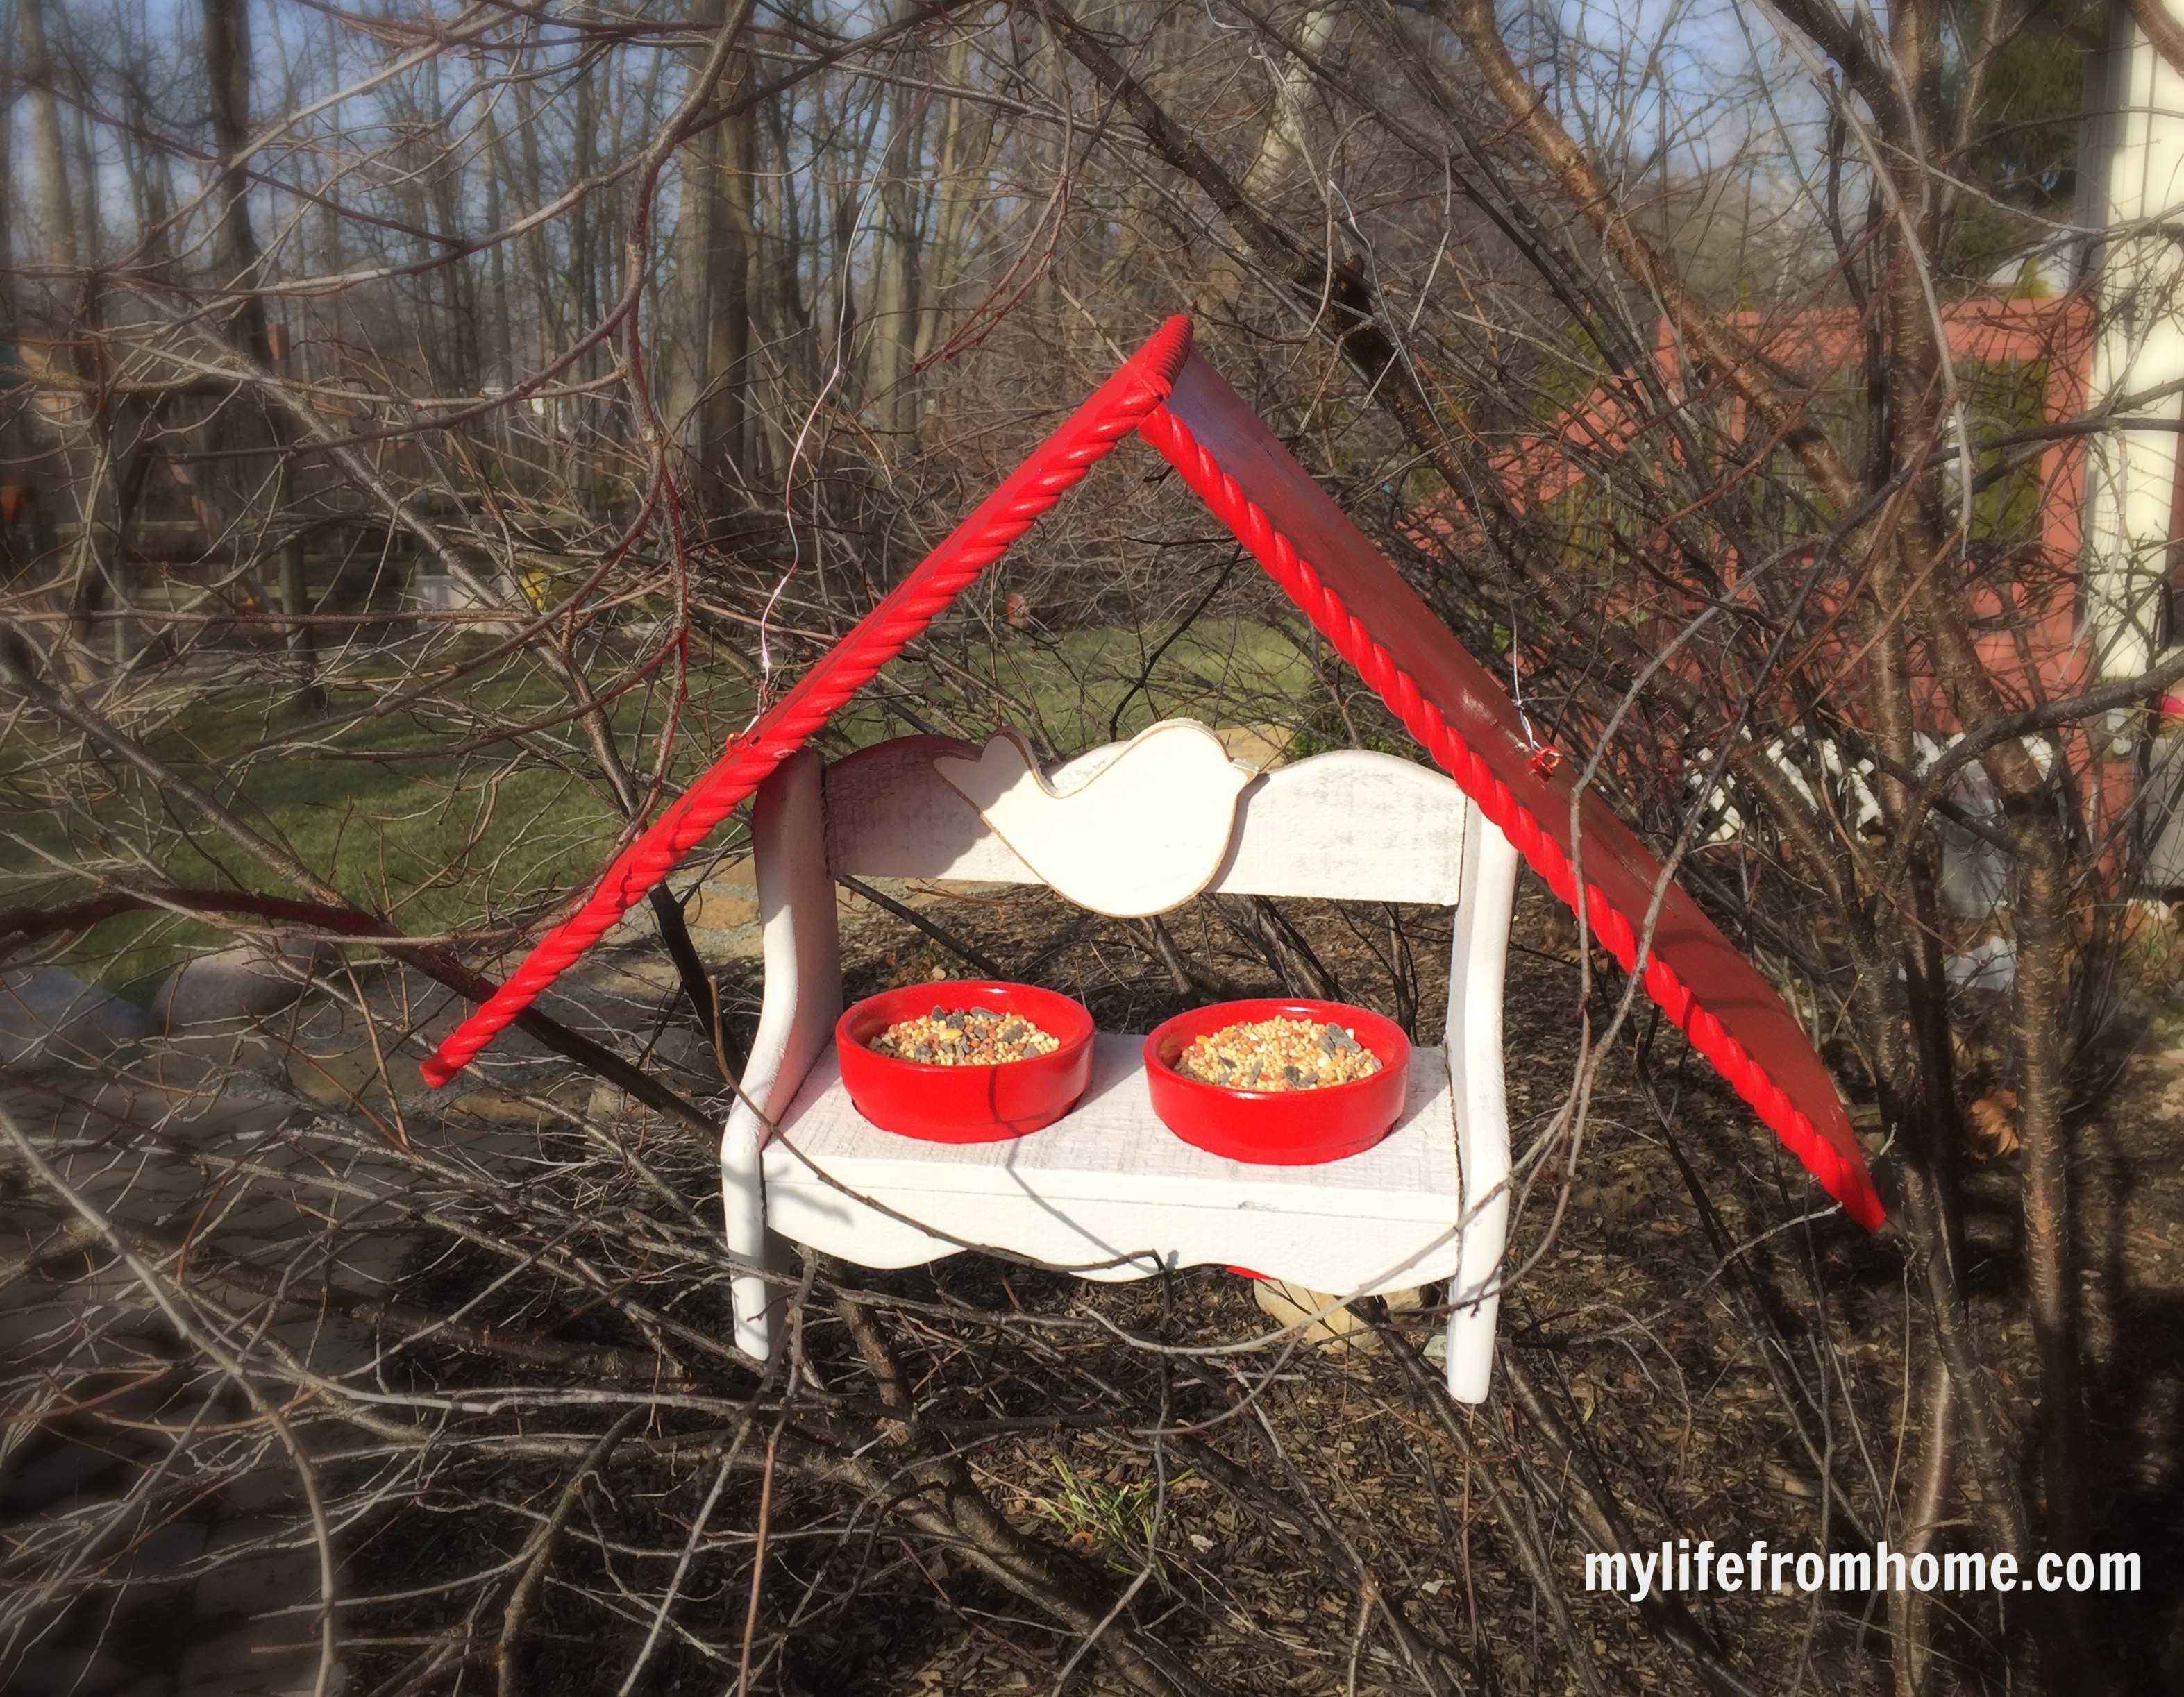
That's it! Fill it up and hang.
I was so pleased with how it turned out!
{This post contains affiliate links, see full disclosure here.}
I enjoyed the challenge of repurposing this cutie into something unique!
Now we will wait for the birds to arrive!
Want to see some other great makeovers?

To life feeling like home!
XO,
Leave a Reply
The Sunday Letter
Most Sundays, once the house has gone quiet and it's edging towards nine, a letter goes out. It's the one I'd write to a friend with good taste and not nearly enough time: one thing worth reading, one thing worth buying, and one thing to skip. No noise, no pressure to spend, just the considered version of what I've actually been using, loving, or quietly sending back.
If you like the sort of recommendation that still holds up six months later, leave your email below and I'll write to you on Sunday.


[…] Post 1 // See Post 2 // See Post […]
[…] Post 1 // See Post 2 // See Post […]
Tooo cute Amy!!! I love it and it’s such a great Spring craft too! The bird was the perfect touch, but I can’t get over the awesome roof. 🙂
Thank you Stephanie! 🙂
What a clever little girl you have! I absolutely adore this project and the birdie embellishment is perfect. Had so much participating in this challenge with you 🙂
What a fun idea! I love how it turned out!
Thank you Stephanie! 🙂
How beautiful!!! i love this idea. It’ll be so fun to watch the birds enjoy it! 🙂
Amy, just adorable! What a unique and creative idea. I see we’re both thinking Spring – It can’t come soon enough and this will be so fun for the warmer months! As always so fun to see what everyone else came up with and so proud to be working with such talented women. Cheers!
What a clever idea and so well done! I love this!!
Good Morning ~
This is the first time I have been on your blog.
This is the sweetest little bird house I’ve seen. So sweet you thought of the birds for your challenge.
Well done.
Rose
Thank you Rose! We have several bird feeders. I can’t wait to see them on my little house. My kids love it! 🙂 I appreciate you stopping by!