I'm Gillian, a Scotland based home & lifestyle blogger. Follow along as I navigate this new journey sharing my life from home.


Most homemade candles are a bit of a let-down. They look lovely on the shelf, you light one expecting the room to fill with something warm and spiced, and forty minutes later you’re still only smelling it if you put your nose directly over the jar.
That’s almost always down to three things, and none of them are the fragrance oil.
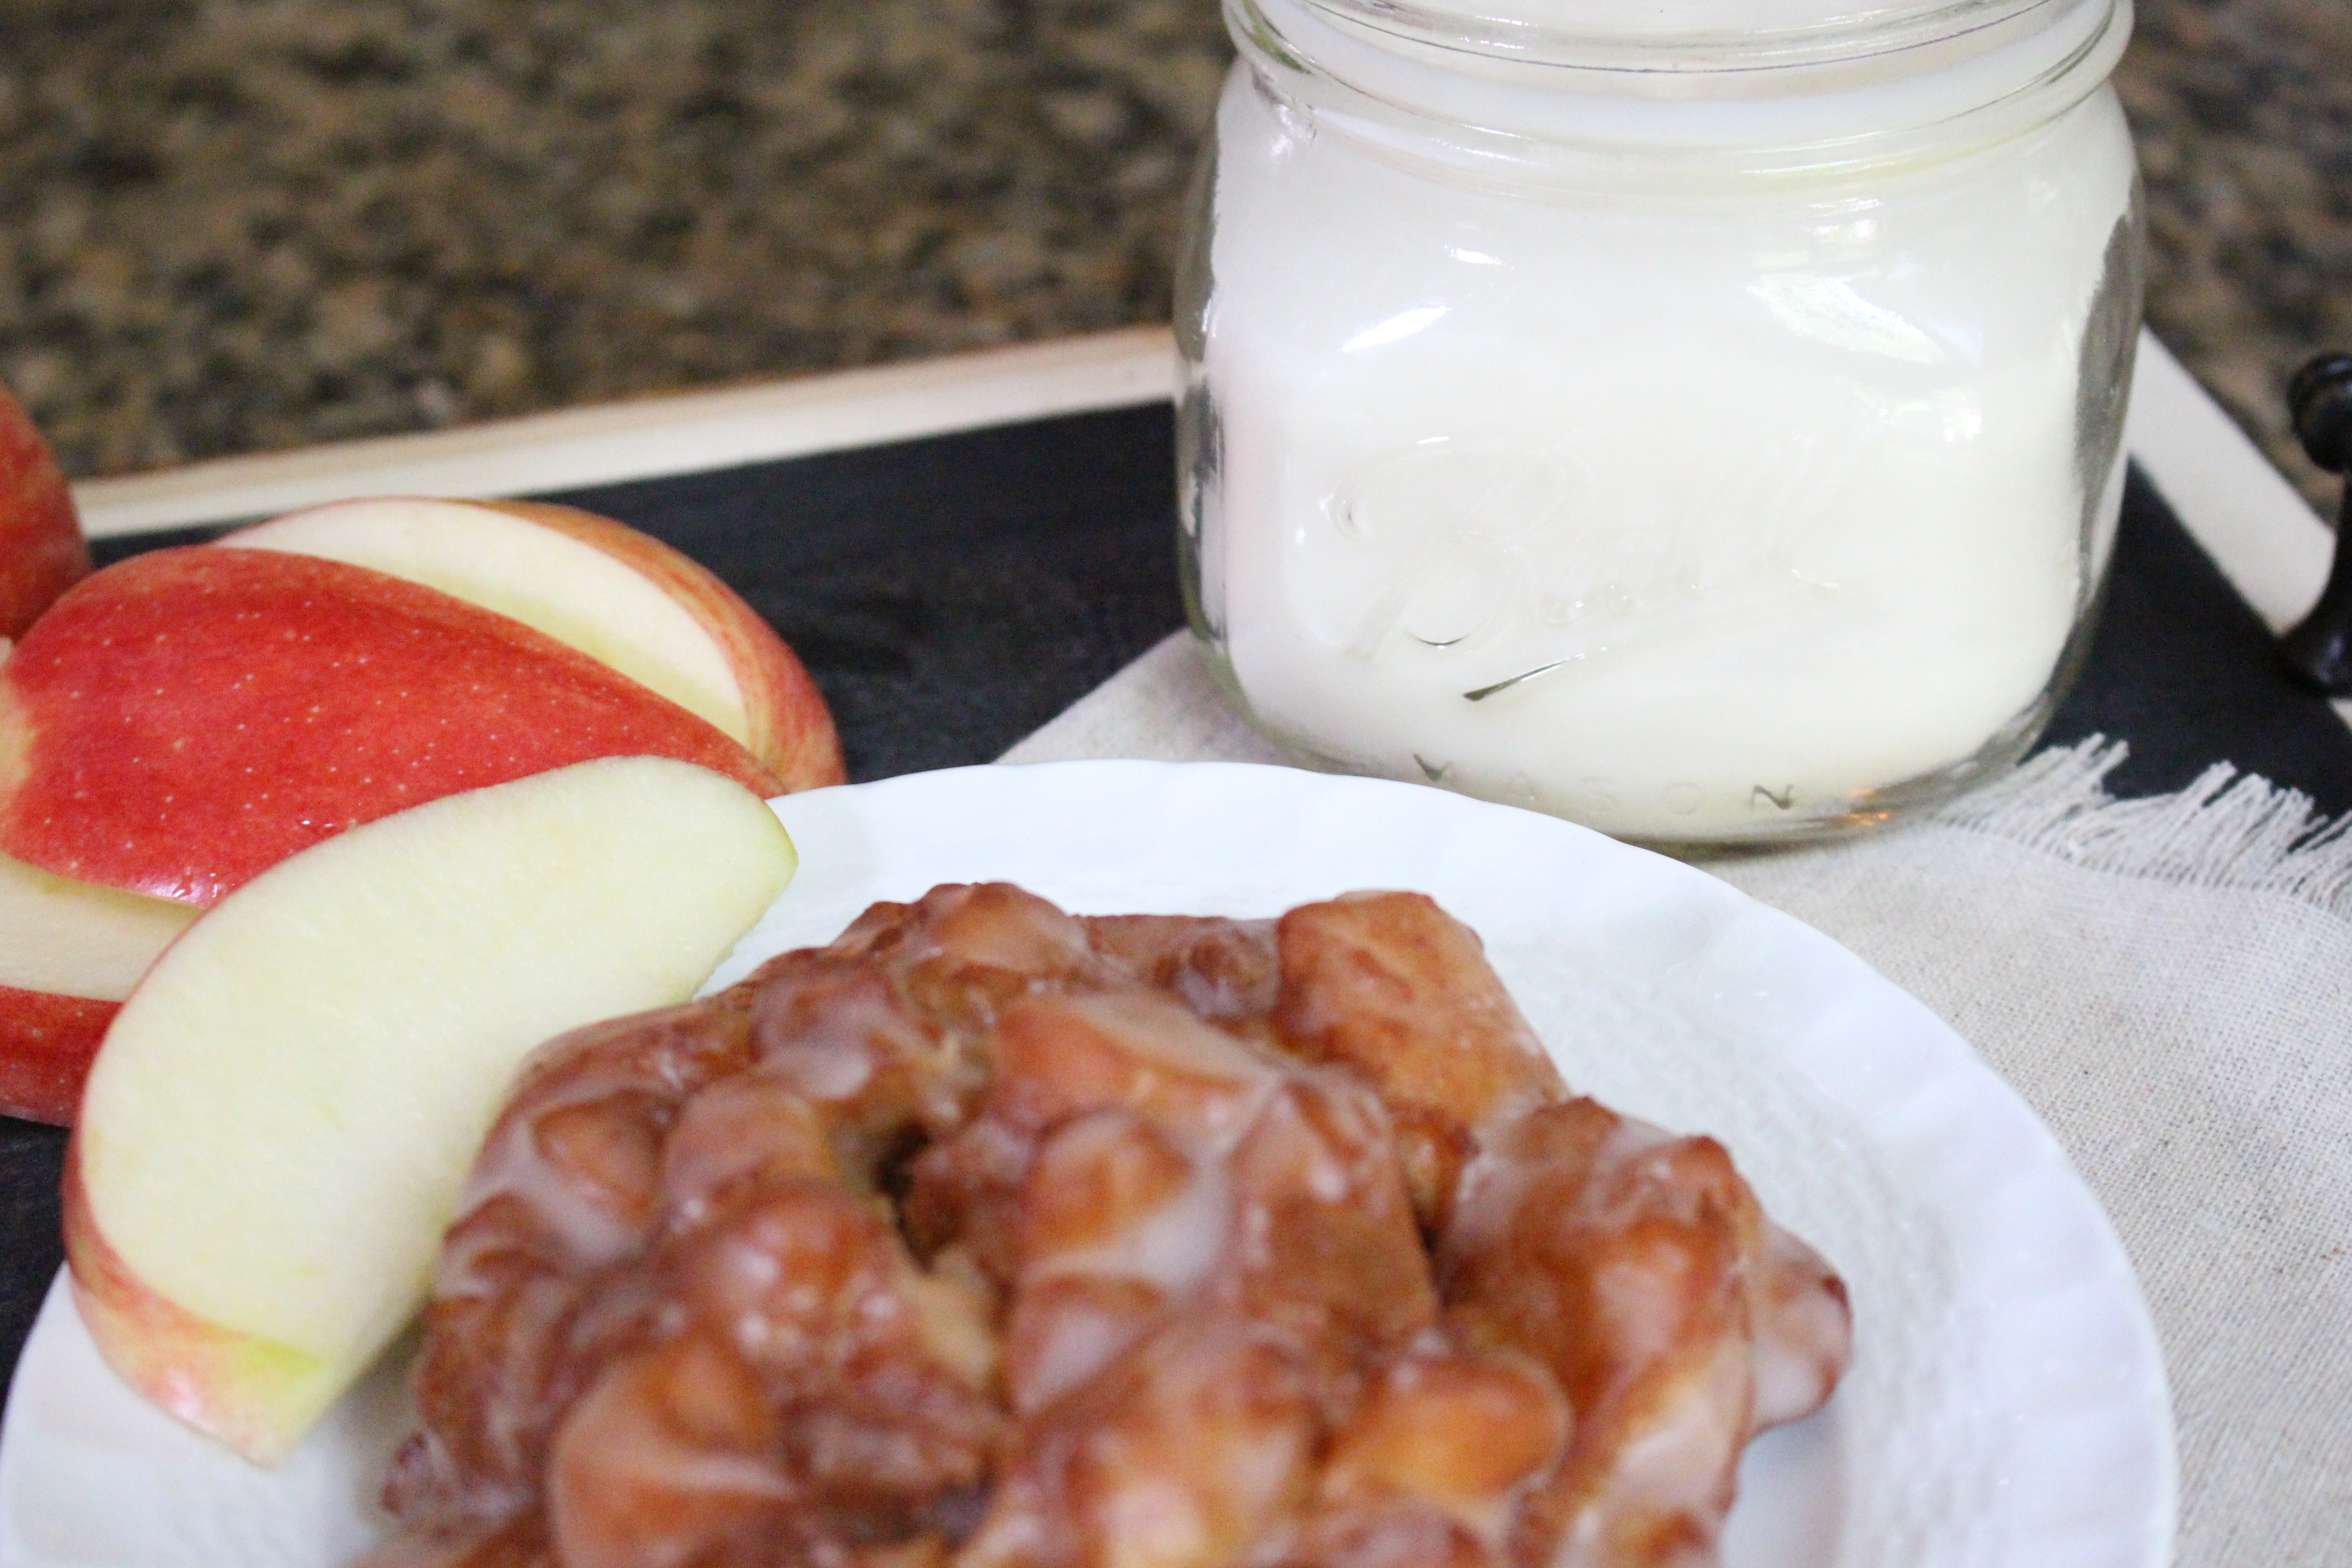
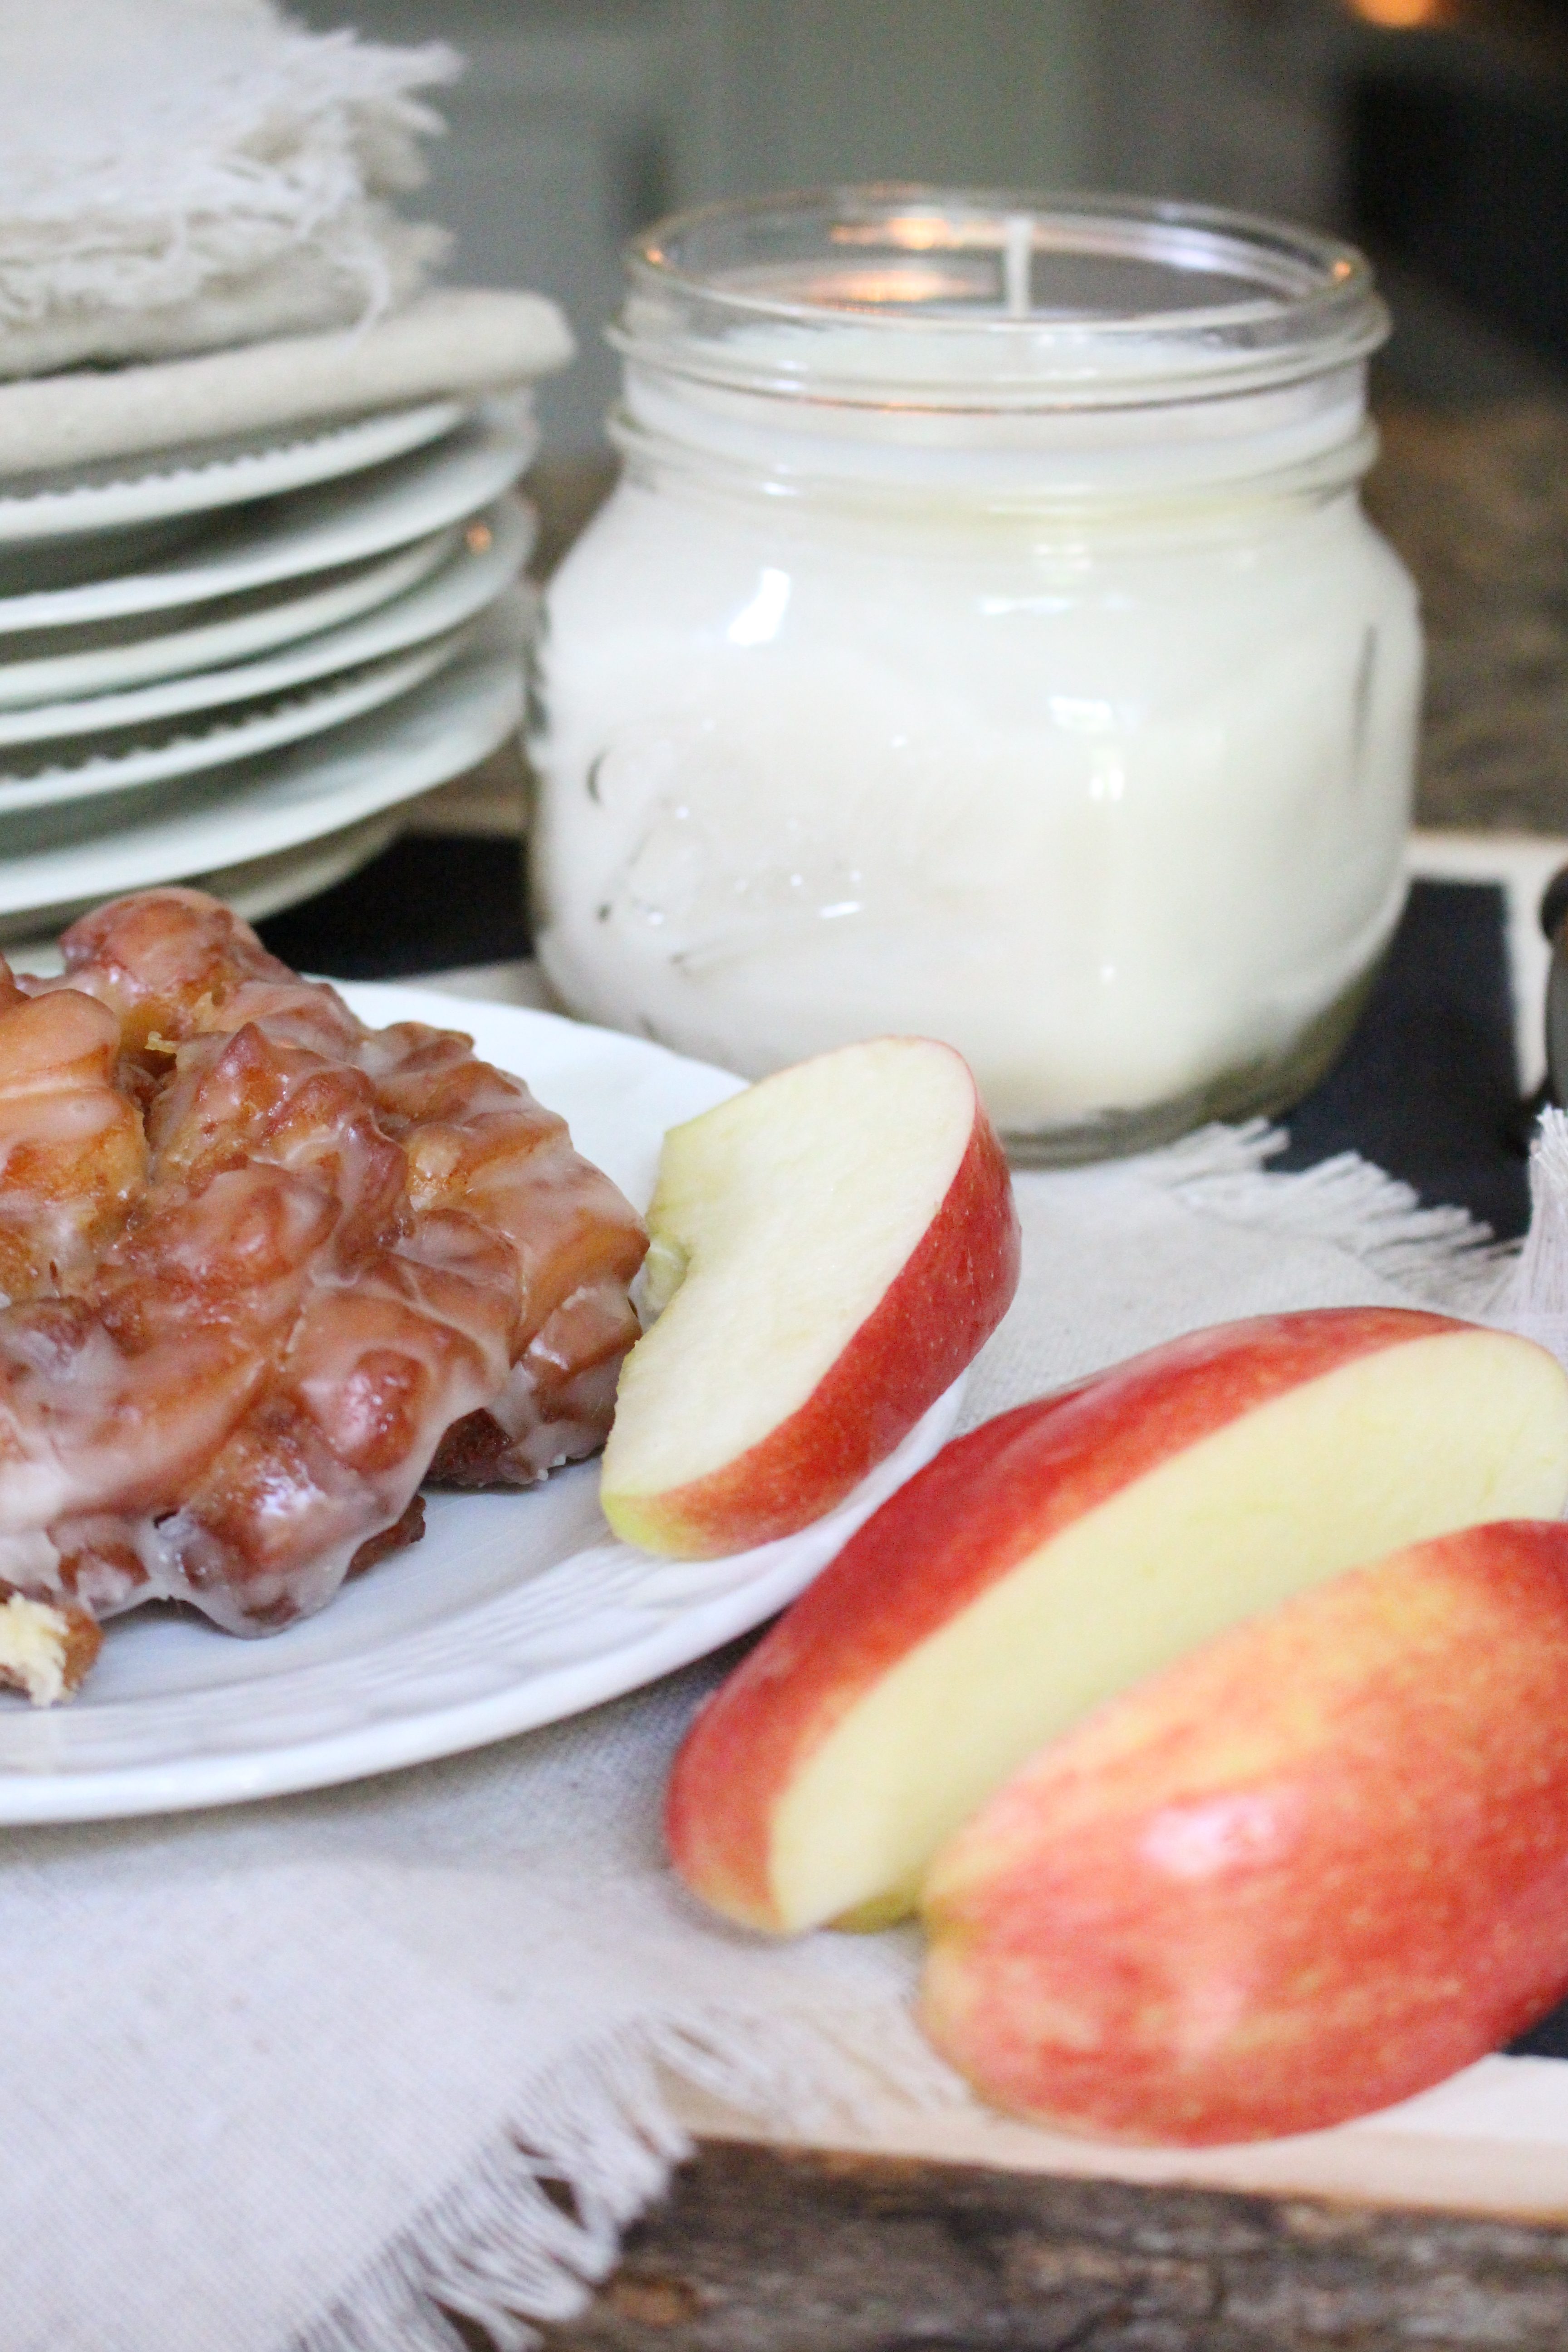
I’ll come to all three. But the short version is that a DIY apple pie candle is genuinely easy to make and genuinely difficult to make well, and the difference between the two comes down to temperature, wick size, and patience. Get those right and you end up with something that fills a kitchen properly, costs a fraction of a shop-bought equivalent, and doesn’t look homemade in the slightly sad, primary-school-craft-table way.
This is the kind of project I like. Low outlay, high return, and you get to keep making them once the kit is bought.
This post contains affiliate links. Full disclosure here.
Why most homemade candles smell of nothing
Three culprits.
The first is adding fragrance oil at the wrong temperature. Pour it into wax that’s too hot and a good chunk of it evaporates before the candle has even set. Pour it into wax that’s too cool and it doesn’t bind properly, which is why some homemade candles sweat little beads of oil on the surface afterwards.
The second is the wick. A jar with a 7cm opening needs a much bigger wick than most beginner kits supply. If the wick is too small the melt pool never reaches the glass, the candle tunnels down the middle, and you get a fraction of the scent throw you should.
The third is not waiting. Soy wax needs to cure, which means sitting untouched for a week or two while the fragrance binds into the wax. Almost every tutorial online tells you to light it the next day. Do that and you’ll be disappointed, then blame the recipe.
What you’ll need
The upfront cost is the only real barrier here, and it’s a one-off. After the first candle you’re looking at somewhere around £4 to £5 a go, which is a decent saving against the £30 to £50 you’d spend on a nice bought one.
- Soy container wax flakes. Look for a container blend rather than a pillar blend. Golden Wax 464 is the reliable workhorse if you can find it.
- A candle pouring pot. A metal jug with a lip that sits inside a pan of water. You can improvise with a Pyrex jug, but the pouring lip is worth it.
- Cotton wicks with tabs, in a few sizes. Buy a mixed pack. You will need to test.
- A wick centring tool, or two chopsticks and an elastic band.
- Apple pie fragrance oil. Buy candle-specific fragrance oil, not essential oil and not food flavouring. Neither behaves properly in wax.
- A digital thermometer. A cheap cooking probe is fine.
- Digital kitchen scales.
- Jars. Mason or Kilner style jars are the classic choice and hold up well to heat. Old candle jars work beautifully once cleaned out, as do sturdy jam jars.
Everything on this list is on the favourites page if you’d rather not go hunting.
A note on the jars: thin decorative glass is not your friend. Anything with a chip or a hairline crack goes in the recycling, not on the worktop with a flame in it.
The bit everyone gets wrong
Soy wax has three temperatures that matter, and a thermometer costs about six pounds. This is the whole game.
Melt to 80°C. Fully liquid, no cloudy patches.
Cool to 65°C, then add fragrance. Stir slowly for a full two minutes. Properly two minutes, not a quick swirl. You’re binding the oil into the wax and undermixing is a real cause of weak scent throw.
Pour at 55°C to 60°C. Pouring hotter than this is what causes the sinkholes and the rough, cratered tops you see on homemade candles.
How to make an apple pie candle
Work out your wax quantity first. Fill your empty jar with water, weigh it, and multiply by 0.8. That gives you roughly the weight of wax you need. A standard mason jar usually lands somewhere around 200g.
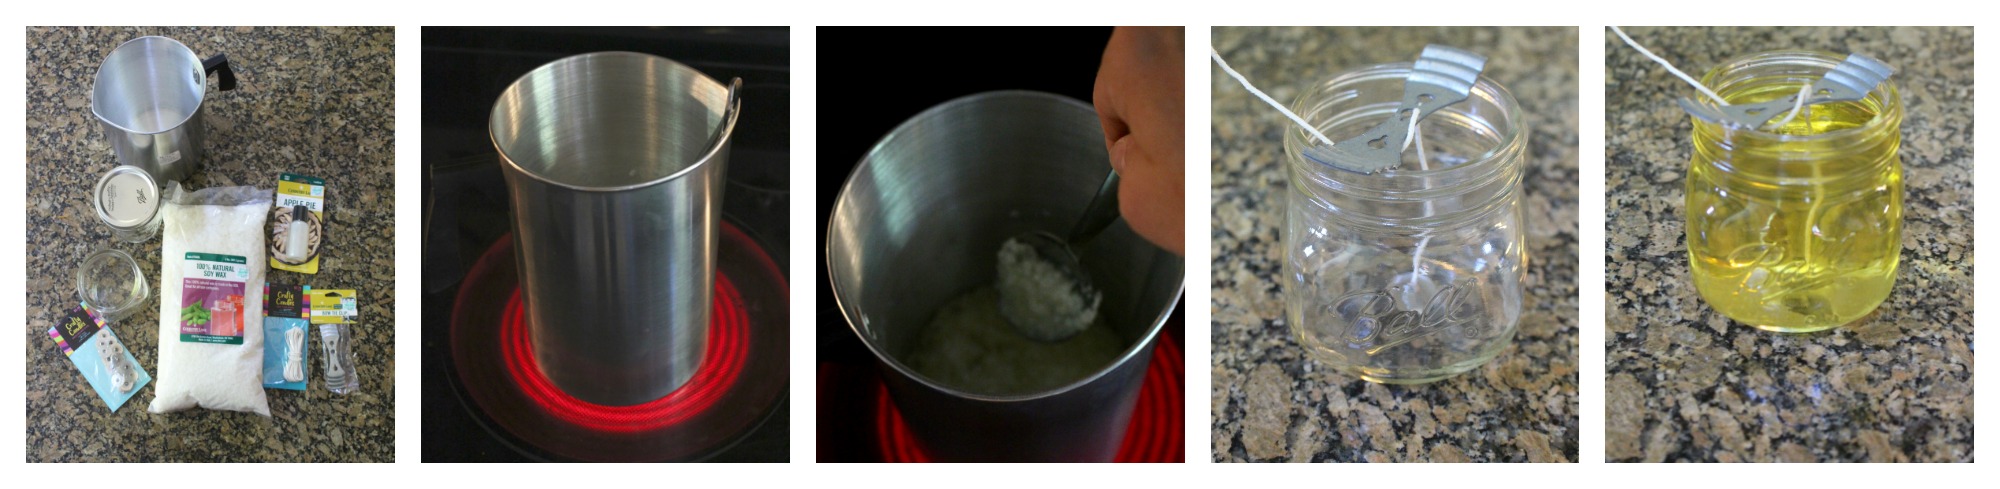
- Fix the wick. Dab a little glue or a wick sticker on the metal tab and press it firmly into the centre of the base. Hold for ten seconds. Thread the wick up through your centring tool and rest it across the rim.
- Melt the wax. Weigh your flakes into the pouring pot and sit it in a pan of gently simmering water. Bring it to 80°C. Don’t rush it with direct heat.
- Weigh the fragrance. Aim for 8% of your wax weight. For 200g of wax, that’s 16g of oil. Most soy container waxes will hold between 6% and 10%, and going above that doesn’t make it smell stronger, it just leaves unbound oil sitting on top.
- Cool, then scent. Take the pot off the heat and let it drop to 65°C. Add the fragrance oil and stir slowly for two minutes.
- Pour at 55°C to 60°C. Steady and slow, in one go, leaving about 1.5cm of space at the top.
- Leave it alone. Somewhere flat, out of a draught, away from a radiator. Twenty-four hours to set.
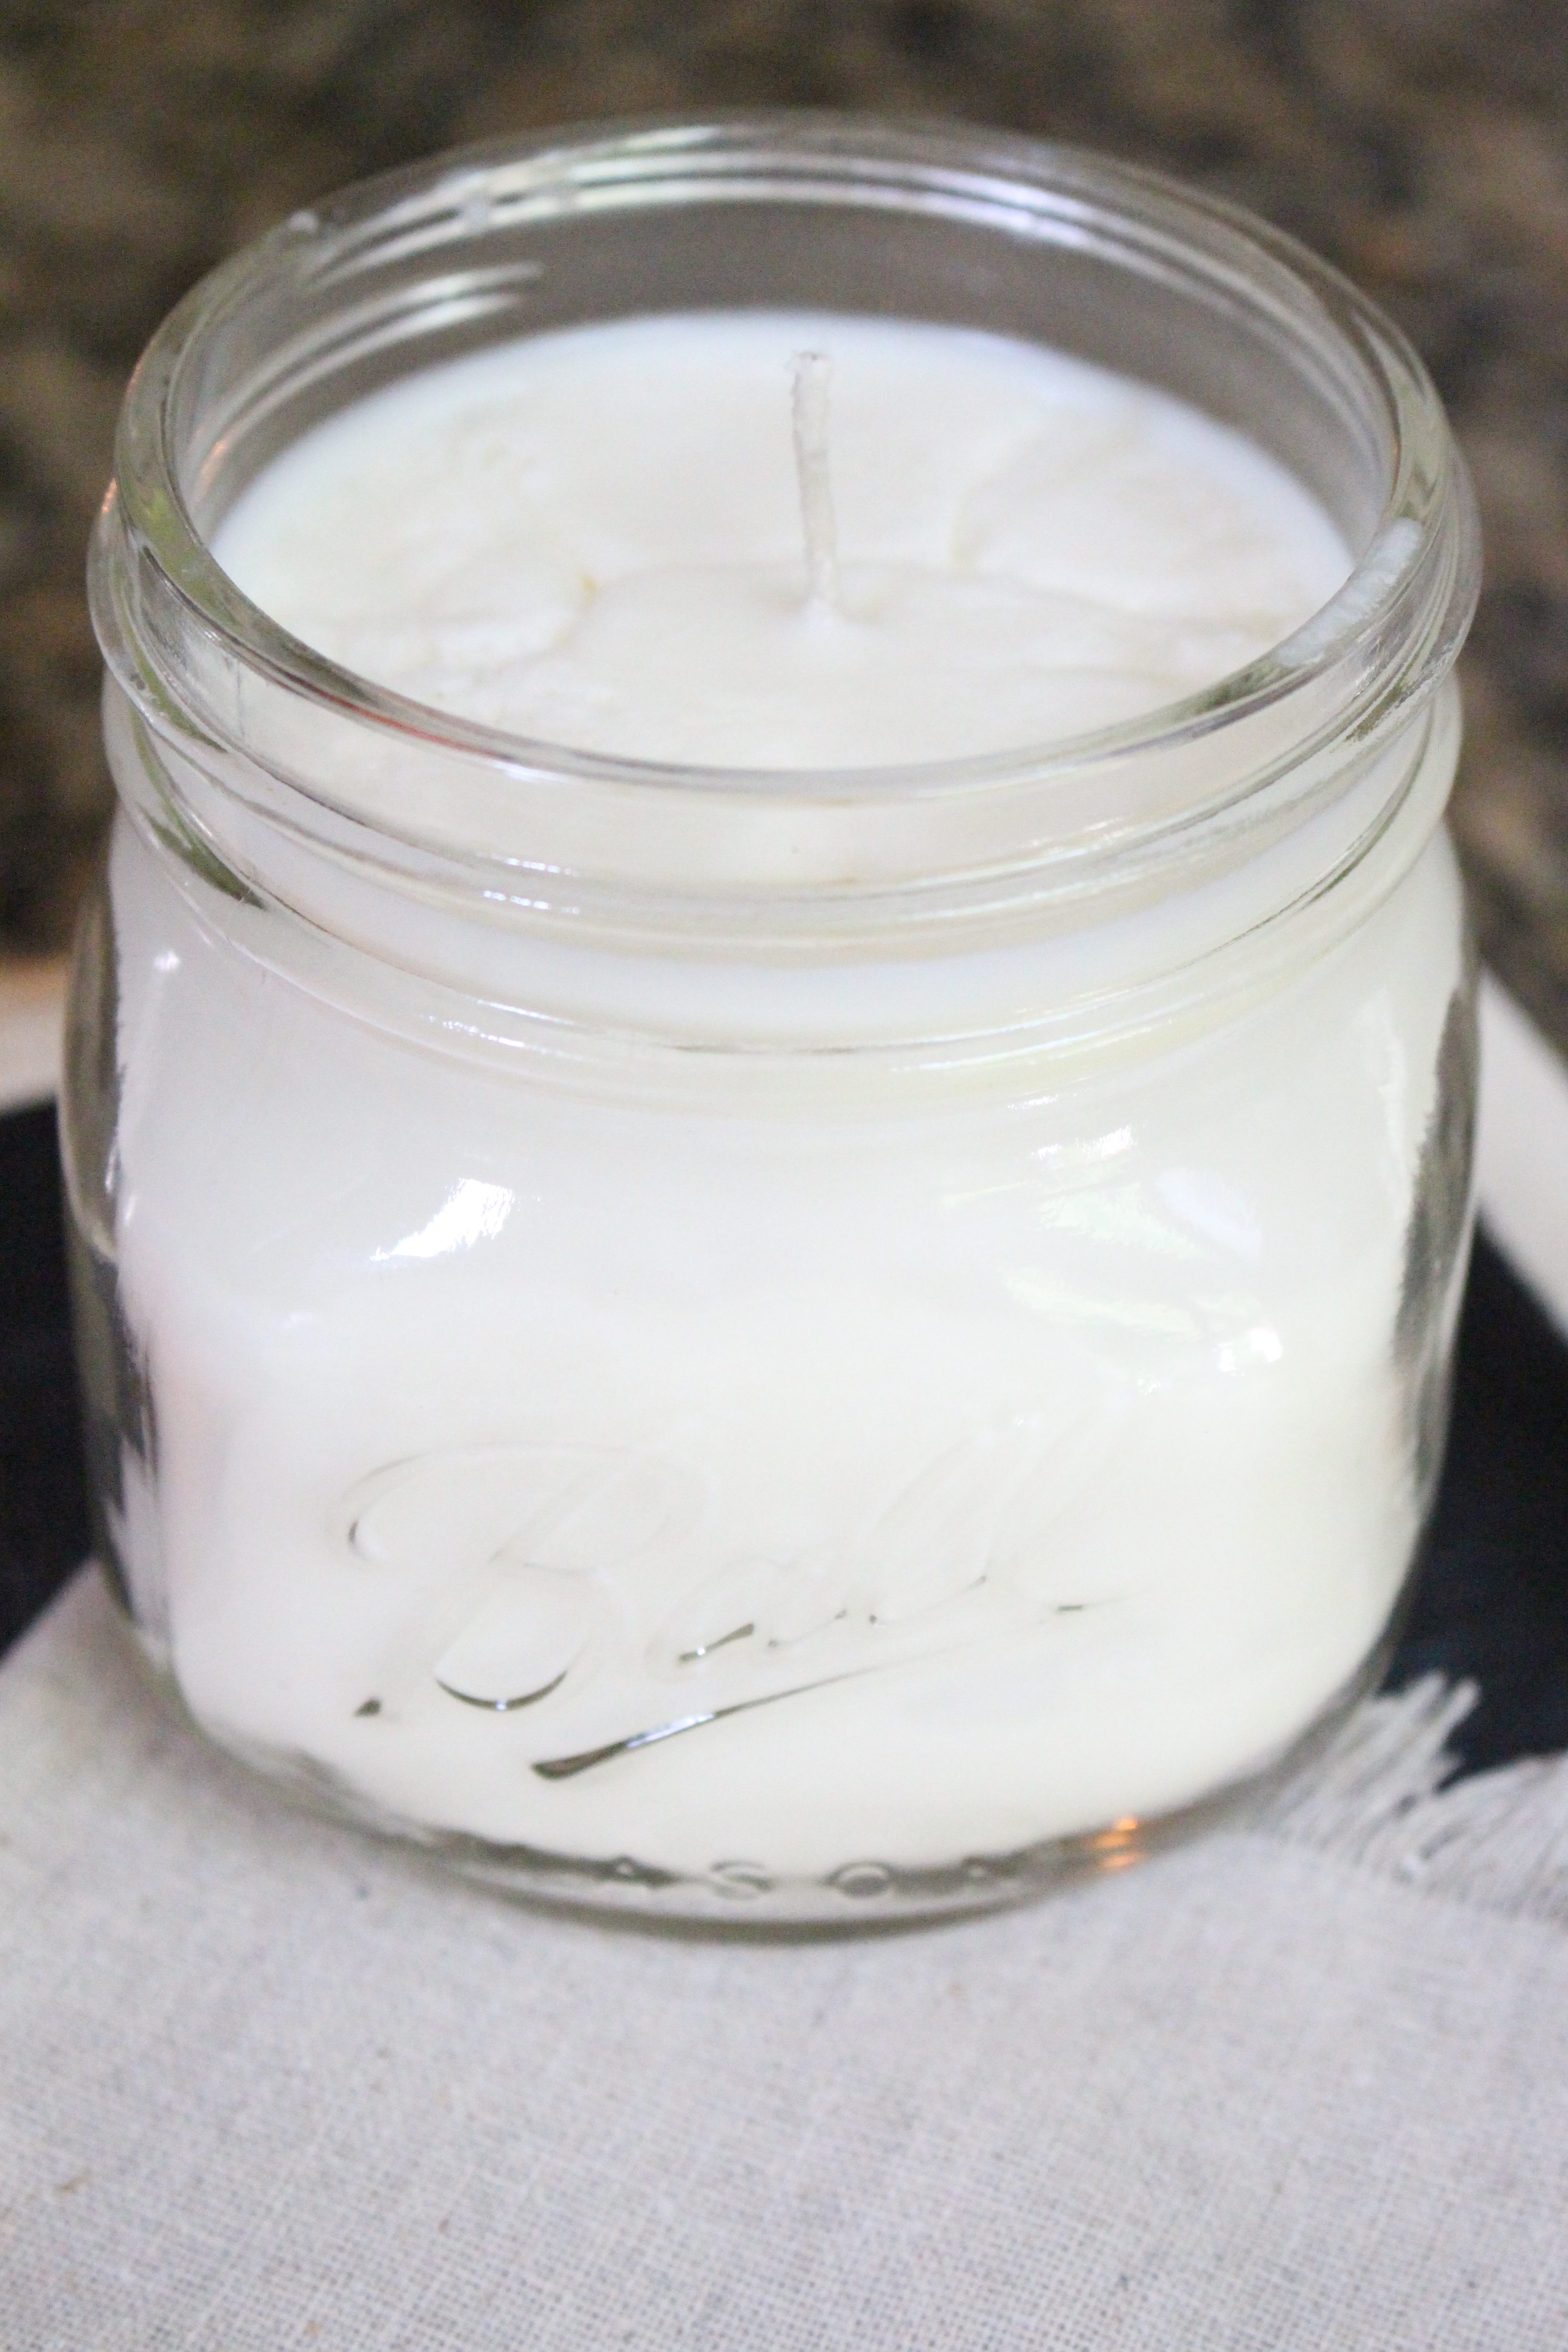
- Trim the wick to 5mm. Then put it away and forget about it for two weeks.
That last step is the one that separates a candle you’re pleased with from one you quietly stop lighting.
Getting the wick right
This is where most first attempts go wrong, and it’s worth accepting that you might need two goes.
A regular-mouth mason jar has an internal diameter of around 6.8cm to 7cm. That’s a wide candle. You’re looking at something in the CD-12 to CD-16 range, or an ECO-10 upwards, depending on the brand. Some people run two smaller wicks side by side instead, which gives a better melt pool in a wide vessel and looks rather smart.
The test is simple. On the first burn, the melted wax should reach the edge of the glass within two to three hours. If it doesn’t, your wick is too small and the candle will tunnel for the rest of its life. If the flame is tall, flickering and giving off soot, it’s too big.
The honest downsides of soy
Soy is lovely to work with and it’s what I’d recommend for a first attempt, but it isn’t flawless and you should know what you’re getting.
It frosts. Those white crystalline patches that appear on the surface and up the sides after a few days are entirely normal and entirely cosmetic, but they do look a bit like the candle has gone off. Pouring cooler and warming your jars slightly beforehand reduces it.
It gets wet spots. Little patches where the wax pulls away from the glass. Again, cosmetic, and again worse if your room is cold when you pour.
And soy holds less fragrance than paraffin, which is the trade-off for it being a cleaner burn. An 8% load in soy will not smell as aggressive as a cheap supermarket candle. It’ll smell better, but it won’t punch you in the face from the hallway.
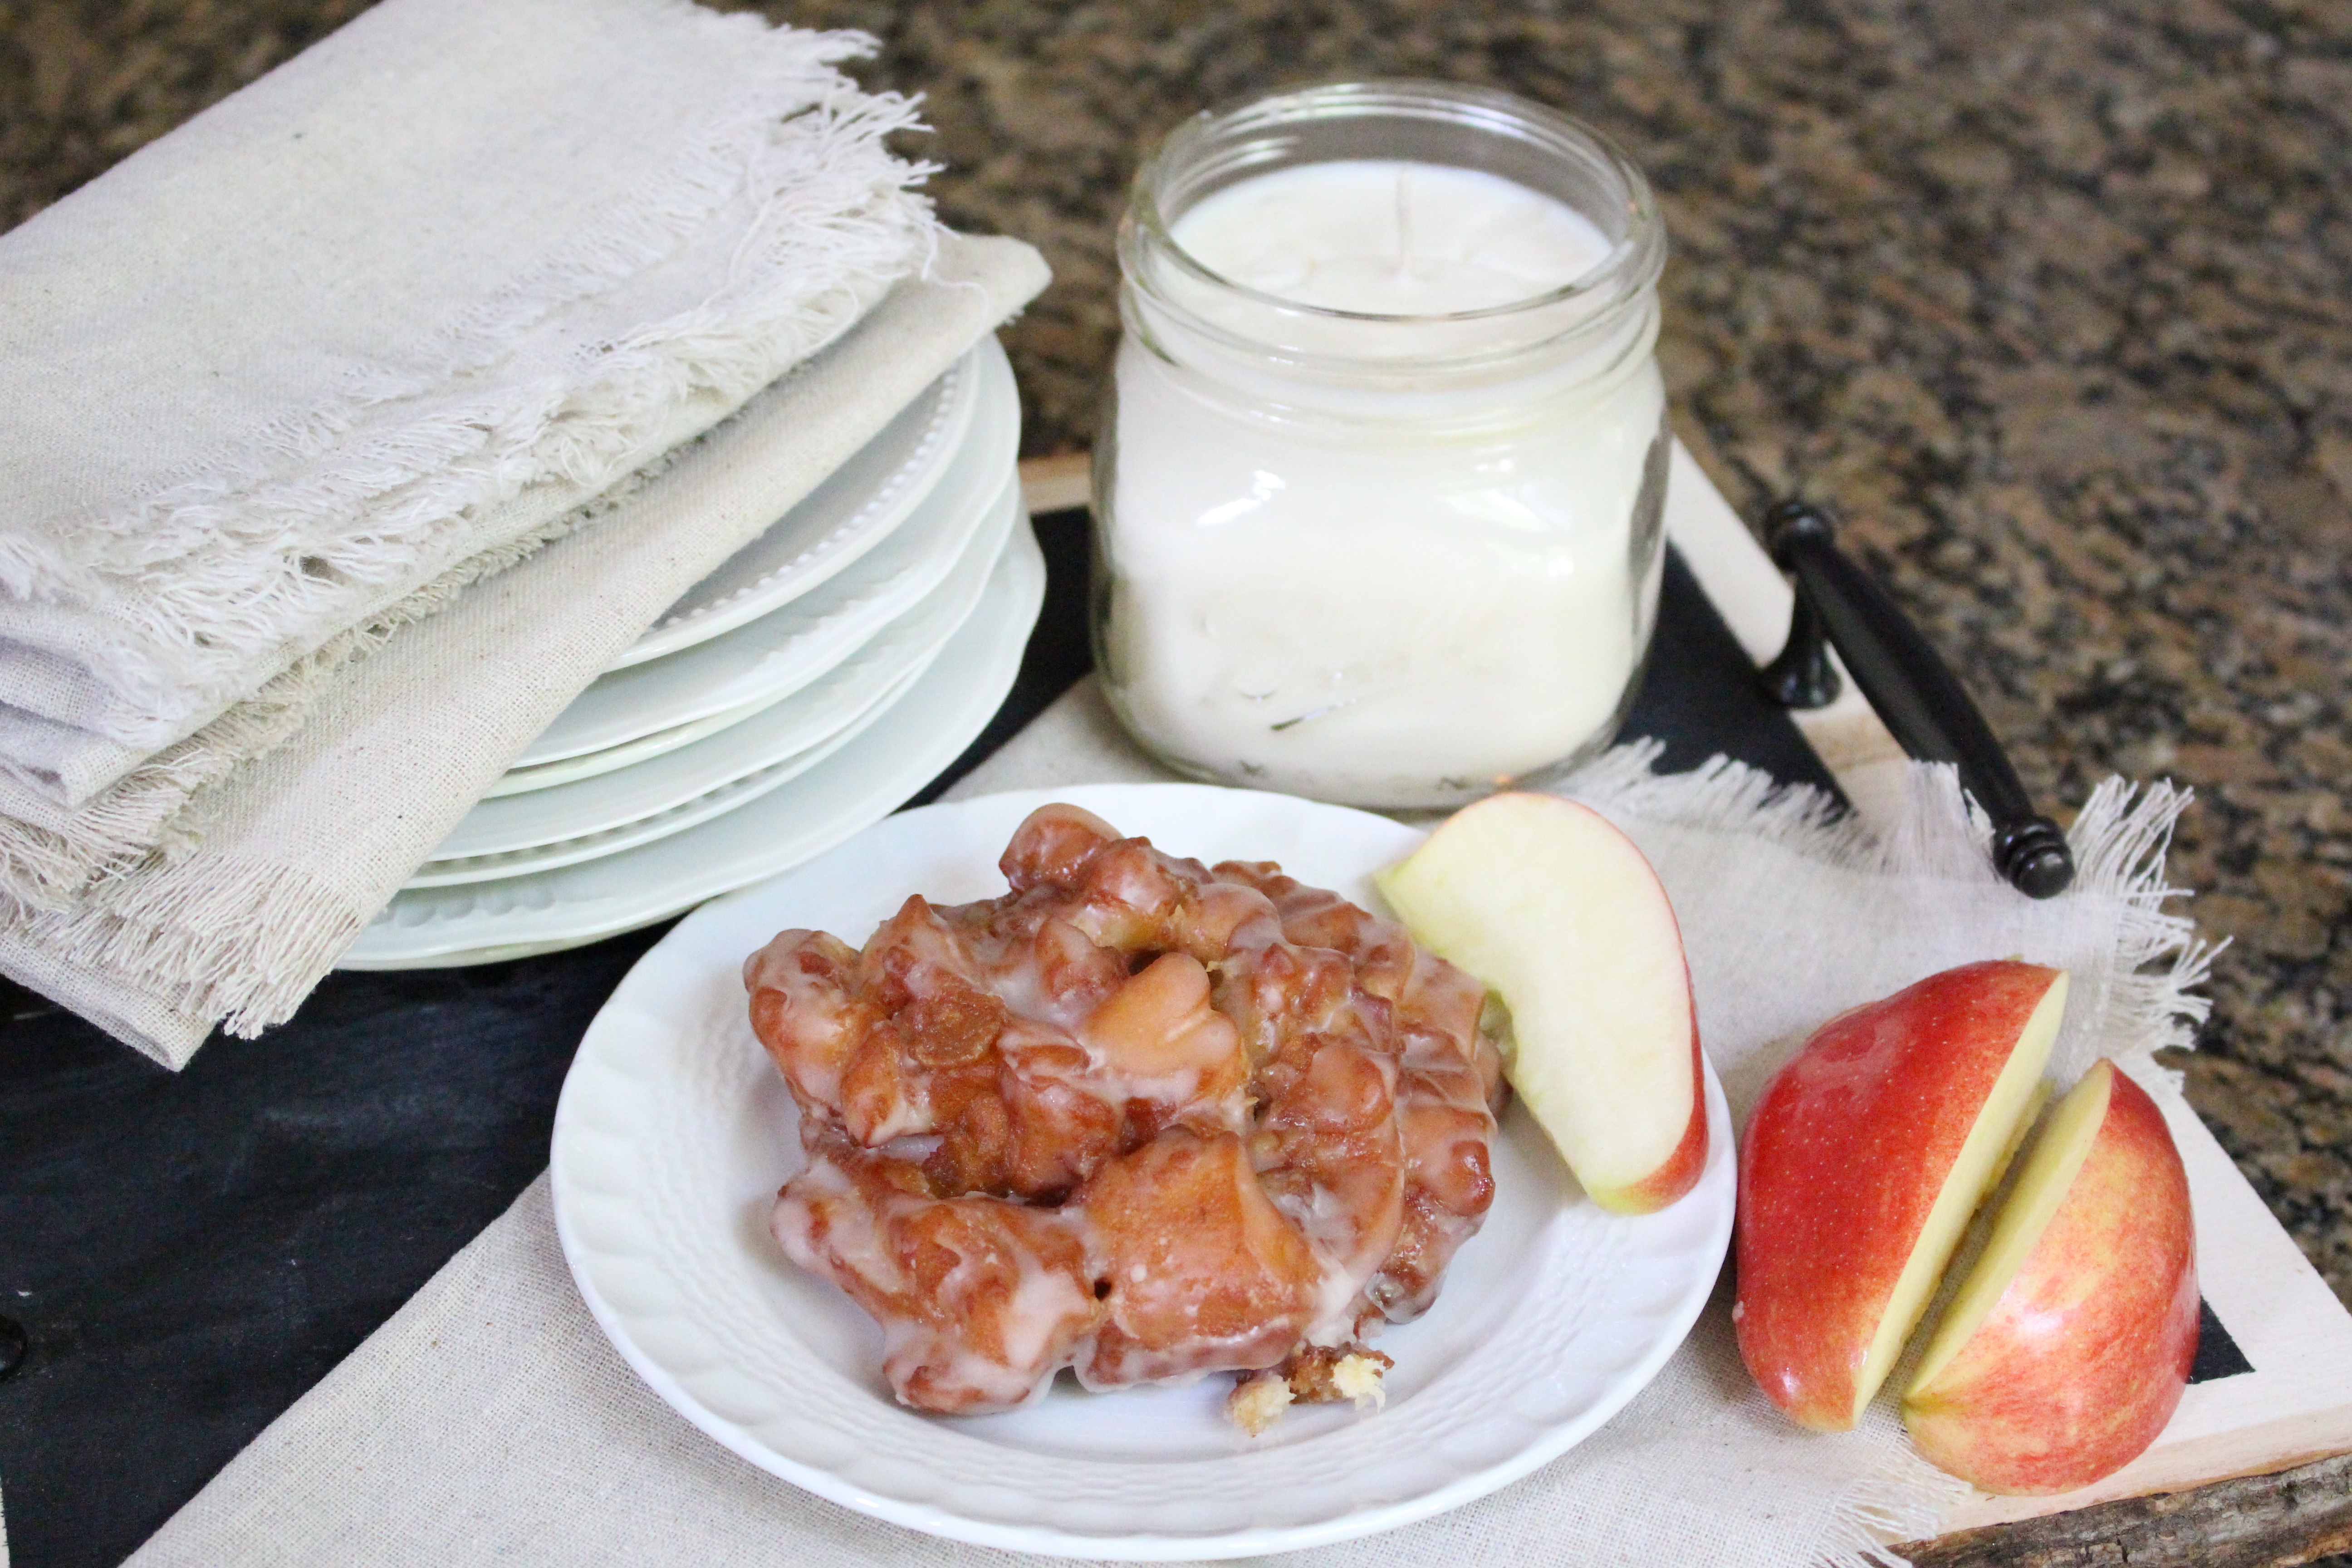
Making it look worth more than it cost
A candle in a plain jar looks like a candle in a plain jar. Two small things fix that.
Wipe the outside of the glass with a little methylated spirit before you pour, which removes the fingerprints and grease that make homemade candles look cloudy. And keep the top surface flat by pouring at the right temperature, because a smooth, even surface reads as expensive in a way that’s hard to explain but immediately obvious.
If you’re gifting them, a plain kraft label with the scent and the date handwritten on it does more than any amount of ribbon. Or you can get a little more creative and paint the jar in chalk paint.
Burning it properly
First burn is the important one. Give it two to three hours, or however long it takes for the melt pool to reach the glass all the way round. Whatever the candle does on the first burn is roughly what it’ll do every time after.
Trim the wick to 5mm before every single burn. Stop when there’s about 1cm of wax left, because below that the flame gets too close to the base of the glass.
And if you’ve made one for a bathroom or a small bedroom, halve the fragrance load. Apple pie in a confined space at 8% is a lot.
If you like this sort of thing, the same principles apply to any scent you fancy. Fig, woodsmoke, and black tea are all worth trying once you’ve got the kit in.
Leave a Reply
If you like the sort of recommendation that still holds up six months later, leave your email below and I'll write to you on Sunday.
Most Sundays, once the house has gone quiet and it's edging towards nine, a letter goes out. It's the one I'd write to a friend with good taste and not nearly enough time: one thing worth reading, one thing worth buying, and one thing to skip. No noise, no pressure to spend, just the considered version of what I've actually been using, loving, or quietly sending back.


October 3rd, 2016 at 12:45 pm
What a fun and easy DIY project and I bet it smells amazing!
October 3rd, 2016 at 5:11 pm
Yes. It sure does, Mary! I may start just cranking them out!
October 3rd, 2016 at 3:01 pm
Yum! This is so cute.
October 3rd, 2016 at 5:10 pm
Thank you, Caroline!
October 3rd, 2016 at 5:32 pm
This is so awesome, I wish I could smell it! Great gift idea for the upcoming holidays!
October 4th, 2016 at 8:09 am
Thank you, Roxanne! It would be a perfect gift.
October 3rd, 2016 at 8:53 pm
I want to smell that candle right now!! Never knew the candle making process wasn’t all that hard. Pinning!
October 4th, 2016 at 8:08 am
Thank you Sarah! You will have to try it out.
October 3rd, 2016 at 11:43 pm
What a great idea for a fall gift! I bet it smells delicious.
October 4th, 2016 at 8:07 am
Thank you, Sarah! It is super yummy smelling!
October 4th, 2016 at 8:17 am
Love your candle in these adorable mason jars. We think we are addicted to candle making too!
October 4th, 2016 at 8:19 am
Yes! I couldn’t believe how easy it was. I will definitely be making more.
October 4th, 2016 at 8:40 am
I bet that smells amazing! And I love how easy it is!
October 4th, 2016 at 10:11 am
Yep! So good that it makes me hungry! lol
October 5th, 2016 at 8:04 am
I bet the candles smells amazing. I love candles too but never made one and, yes, they do cost a ton so I may give this a try.
October 5th, 2016 at 8:30 am
It’s fun. You definitely should!
October 7th, 2016 at 10:18 am
I am all about DIY but I never thought to mak my own candles! Thanks for the idea! Also, this scent sounds amazing!
October 7th, 2016 at 10:30 am
Thank you, Emily! Super easy project. You definitely need to give it a try!
October 7th, 2016 at 12:43 pm
I can almost smell it from here! What a fun little project! Pinning!
October 7th, 2016 at 10:31 pm
I need to make me a whole bunch of these candles! I love burning desert flavored candles in the fall and winter. So comforting. Pinned!
October 10th, 2016 at 11:51 am
This is something I definitely want to try. Was just looking at the candle making supplies again. Thanks for sharing on Family Joy Blog Link-up. Please come back and join us again! Remember to leave your host a comment to increase the chance of being featured.
October 10th, 2016 at 12:58 pm
Thank you, Charlotte!
October 15th, 2016 at 6:48 pm
I want to make candles! Thanks for joining us at the Inspiration Spotlight party & sharing how & your resources. Love it. Shared.
October 18th, 2016 at 12:31 pm
What a great DIY project. Thanks for sharing with us this week at Throwback Thursday. Pinned and shared!
October 18th, 2016 at 12:36 pm
Thank you, Quinn!
October 1st, 2018 at 10:44 pm
[…] can be home decor DIY projects such as wreaths, signs, and centerpieces… Or scent themed like candles, bath salts, and oil blends… Or just fun with kiddos like painting pumpkins, leaf modge-podge, […]
October 1st, 2018 at 10:45 pm
[…] can be home decor DIY projects such as wreaths, signs, and centerpieces… Or scent themed like candles, bath salts, and oil blends… Or just fun with kiddos like painting pumpkins, leaf modge-podge, […]
October 7th, 2018 at 5:31 pm
[…] From: MyLifeFromHome […]
October 28th, 2018 at 8:51 am
[…] MyLifeFromHome […]
October 28th, 2018 at 12:21 pm
[…] MyLifeFromHome […]
May 23rd, 2020 at 10:10 pm
This candle is creative! Can’t wait to buy all the material and try this out with next weekend. Thanks for sharing.
September 25th, 2020 at 7:23 am
[…] Via Whitecottagehomeandliving […]
December 23rd, 2020 at 6:30 am
What a great and beautiful DIY idea of pie candle. I really like this idea. SO easy to make the DIY design. Thank you for sharing this wonderful article.
March 8th, 2021 at 5:59 am
Hi Amy, This is a great and beautiful DIY project.
March 30th, 2021 at 7:08 am
I always love candles as I am a lover of candles. I have found really amazing and informative content for making DIY apple pie candles. Thanks for sharing.
June 1st, 2022 at 1:01 pm
[…] DIY Mason Jar Apple Pie Candle | My Life From Home […]
October 1st, 2022 at 1:00 pm
[…] DIY Mason Jar Apple Pie Candle | My Life From Home […]
October 1st, 2022 at 3:51 pm
[…] DIY Mason Jar Apple Pie Candle | My Life From Home […]
October 2nd, 2022 at 5:34 am
[…] DIY Mason Jar Apple Pie Candle | My Life From Home […]
October 5th, 2022 at 10:32 am
[…] DIY Mason Jar Apple Pie Candle | My Life From Home […]
October 5th, 2022 at 10:37 am
[…] DIY Mason Jar Apple Pie Candle | My Life From Home […]
October 24th, 2022 at 4:40 pm
[…] jars are another beautiful vessel to hold your DIY candles. Here's a DIY Apple Pie Mason Jar Candle (LINK), I made awhile ago. If you aren't interested in making your own, I have several candles in vintage […]
November 26th, 2022 at 11:42 am
[…] make a DIY apple pie candle […]