
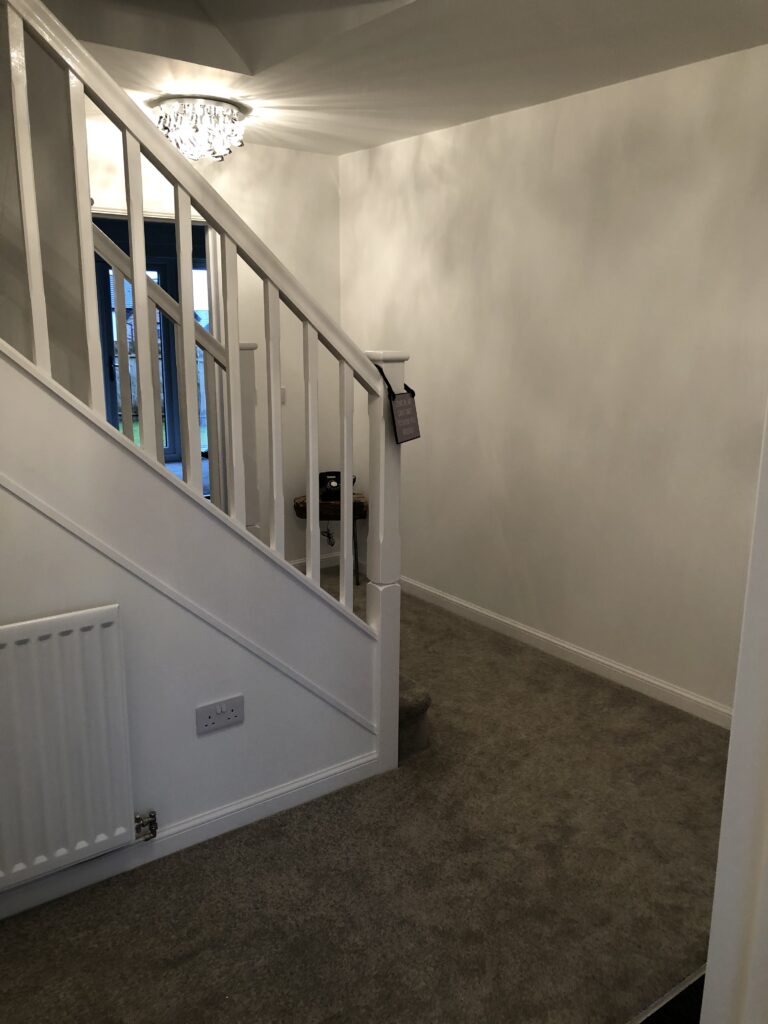
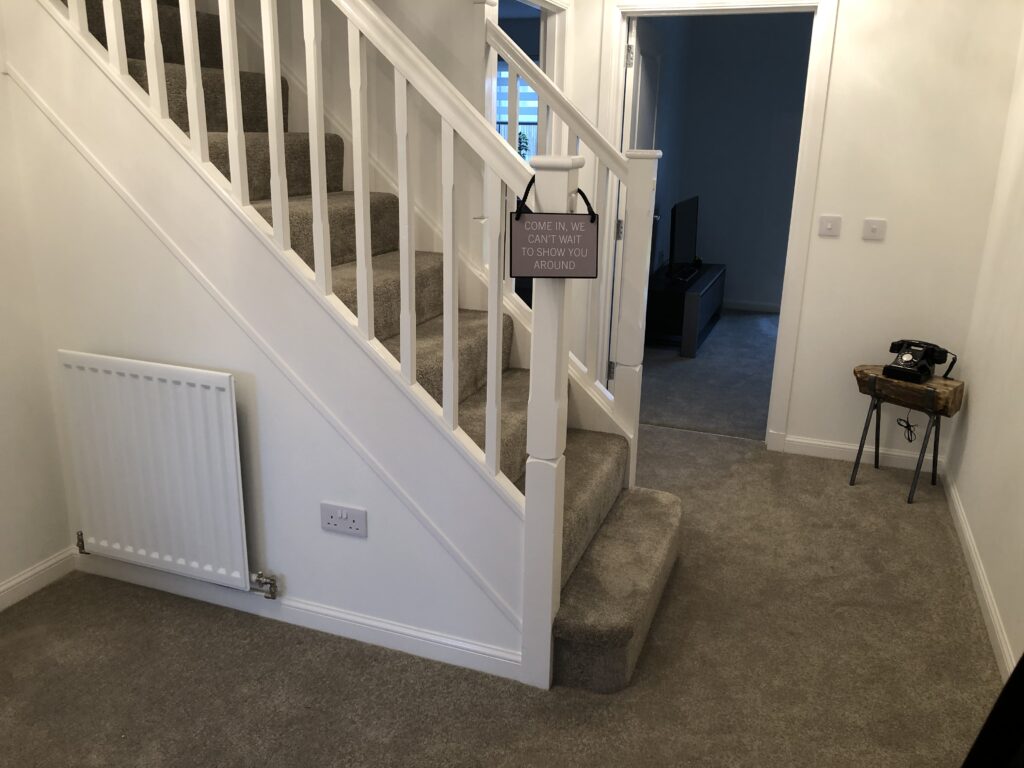
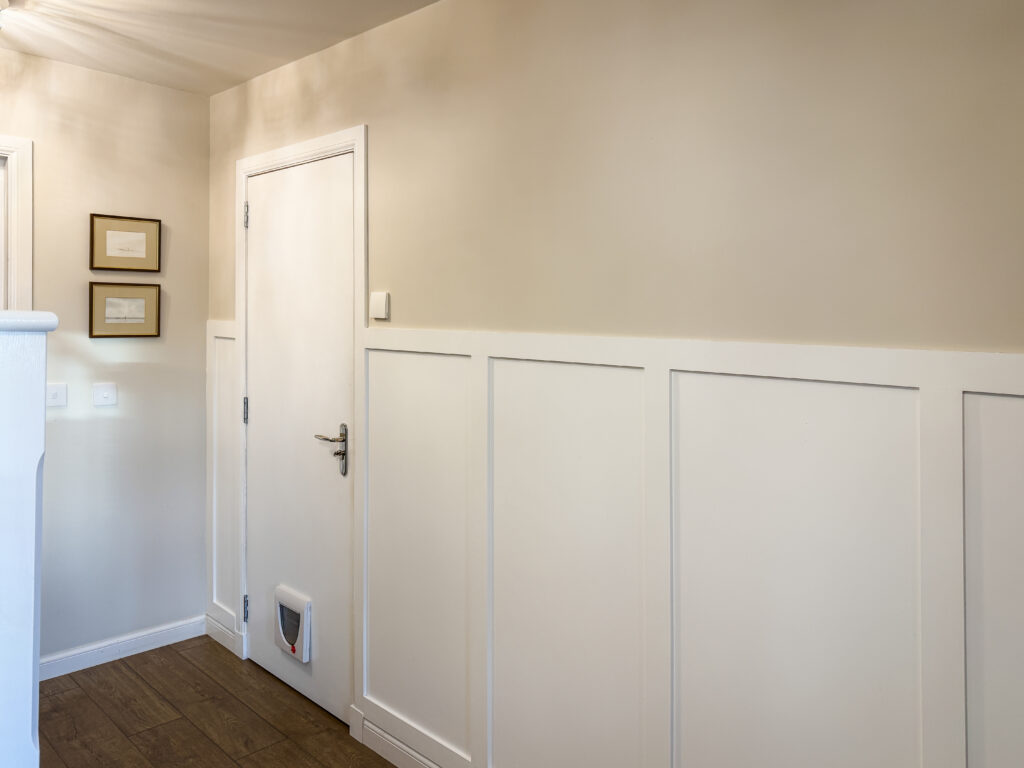
Sometimes a hallway just needs more than a fresh coat of paint. Ours had been bugging me for a while. White walls, white woodwork, grey carpet, and absolutely zero personality. It was the kind of space you walked through without ever really noticing, and for a room that connects every other room in the house, that felt like a missed opportunity. So when we finally committed to a full DIY hallway makeover, the plan was to give it the same considered, finished feel as the rooms it leads to. Wall panelling, new flooring, proper paintwork, and a few clever details that would make the whole space feel intentional rather than overlooked.
This was not a quick weekend project. It involved installing MDF wainscotting panels, fitting a new internal door to the garage (complete with cat flap, because real life), ripping up the old carpet in favour of wooden flooring, and choosing the right paint to tie everything together. But the result is a hallway that finally feels like it belongs to the rest of the house, and the whole thing was done on a realistic budget with no tradespeople involved for the decorating.
Why Wall Panelling Makes Such a Difference in a Hallway
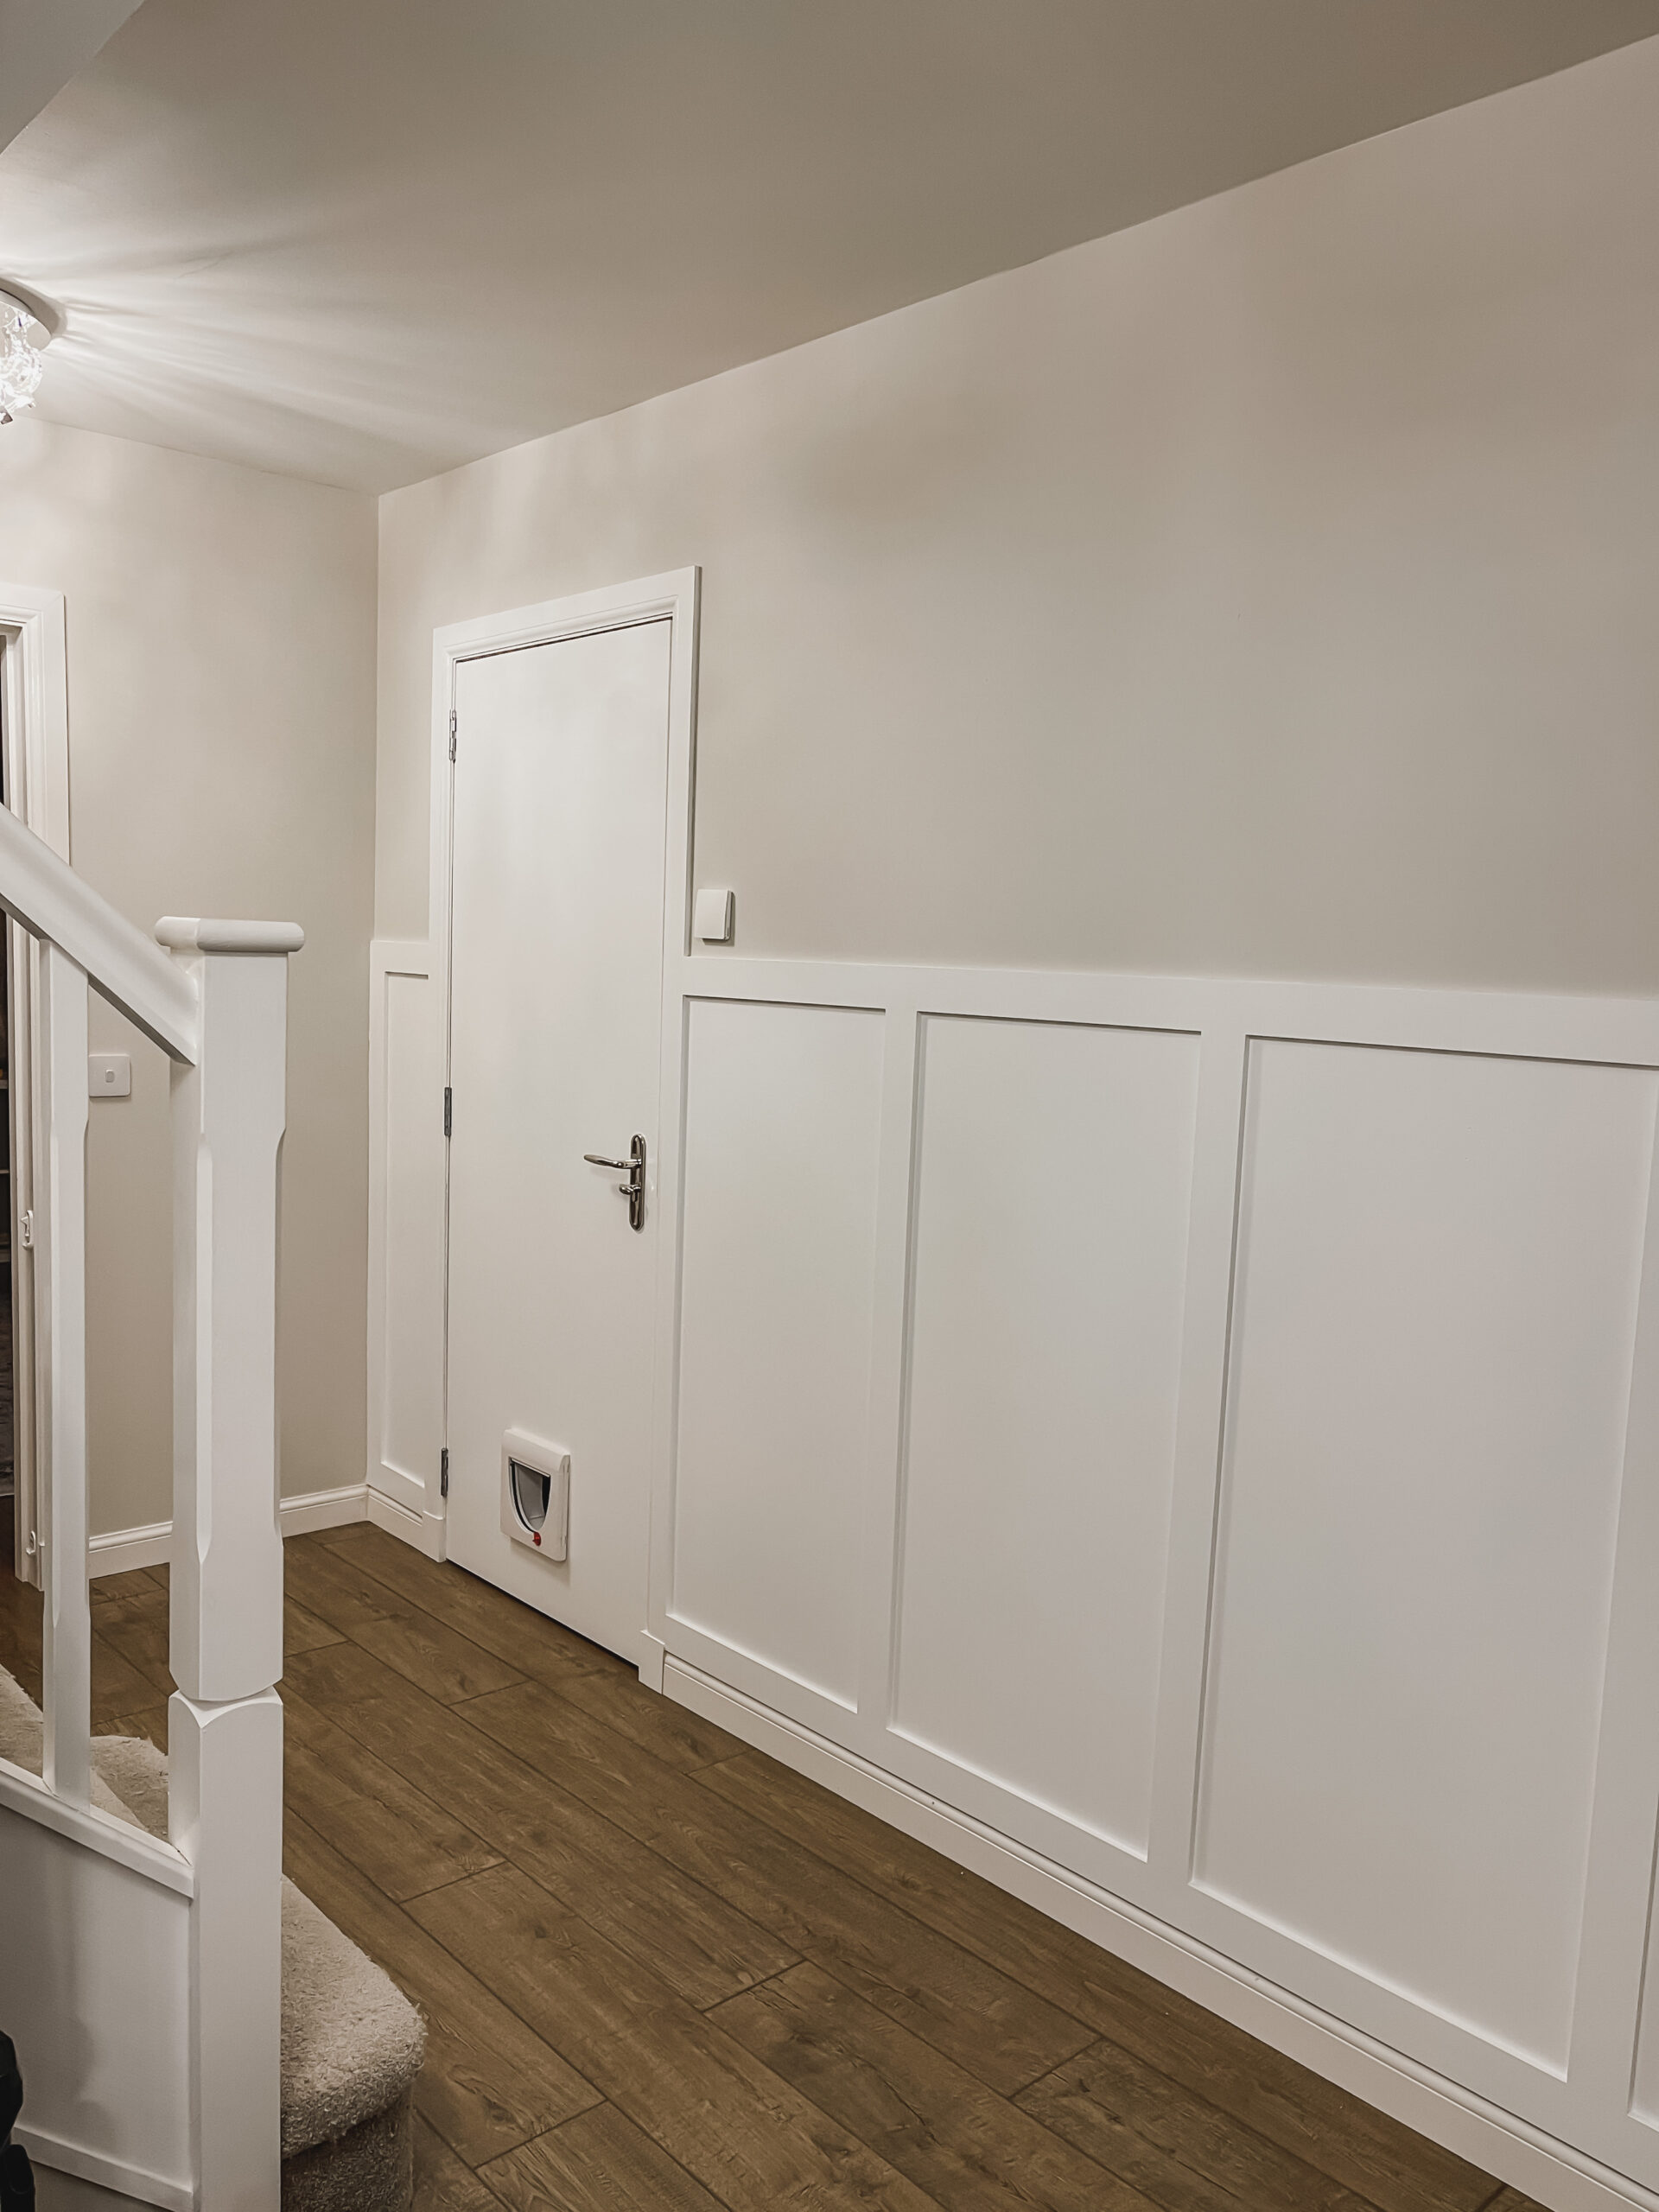
Wall panelling is one of those upgrades that punches well above its weight in terms of impact. A hallway, especially a narrow one with multiple doors leading off it, can feel flat and featureless when every surface is the same plain plasterwork. Adding panelling to the lower half of the walls immediately creates depth, texture, and a sense of architectural detail that the space simply did not have before.
The style we went for is sometimes called wainscotting, sometimes wall panelling, and occasionally dado panelling. Whatever you call it, the principle is the same: MDF strips fixed to the lower portion of the wall to create a panelled effect, finished with a top rail, and painted to match the existing woodwork. The effect is surprisingly high end for what is, in reality, some MDF, screws, wood filler, and caulk.
What makes it particularly effective in a hallway is the way it breaks up the wall visually. Instead of one long expanse of painted plaster from floor to ceiling, you have a crisp lower section of panelling in one finish and a coloured wall above it. It gives the eye somewhere to rest, and it makes even a narrow corridor feel more considered and designed.
Planning the Project
Before anything went on the walls, we needed to sort out a few bigger changes. The hallway originally had grey carpet throughout, which was fine when we first moved in but had started to look tired and was not the easiest to keep clean in the highest traffic area of the house. That needed to go.
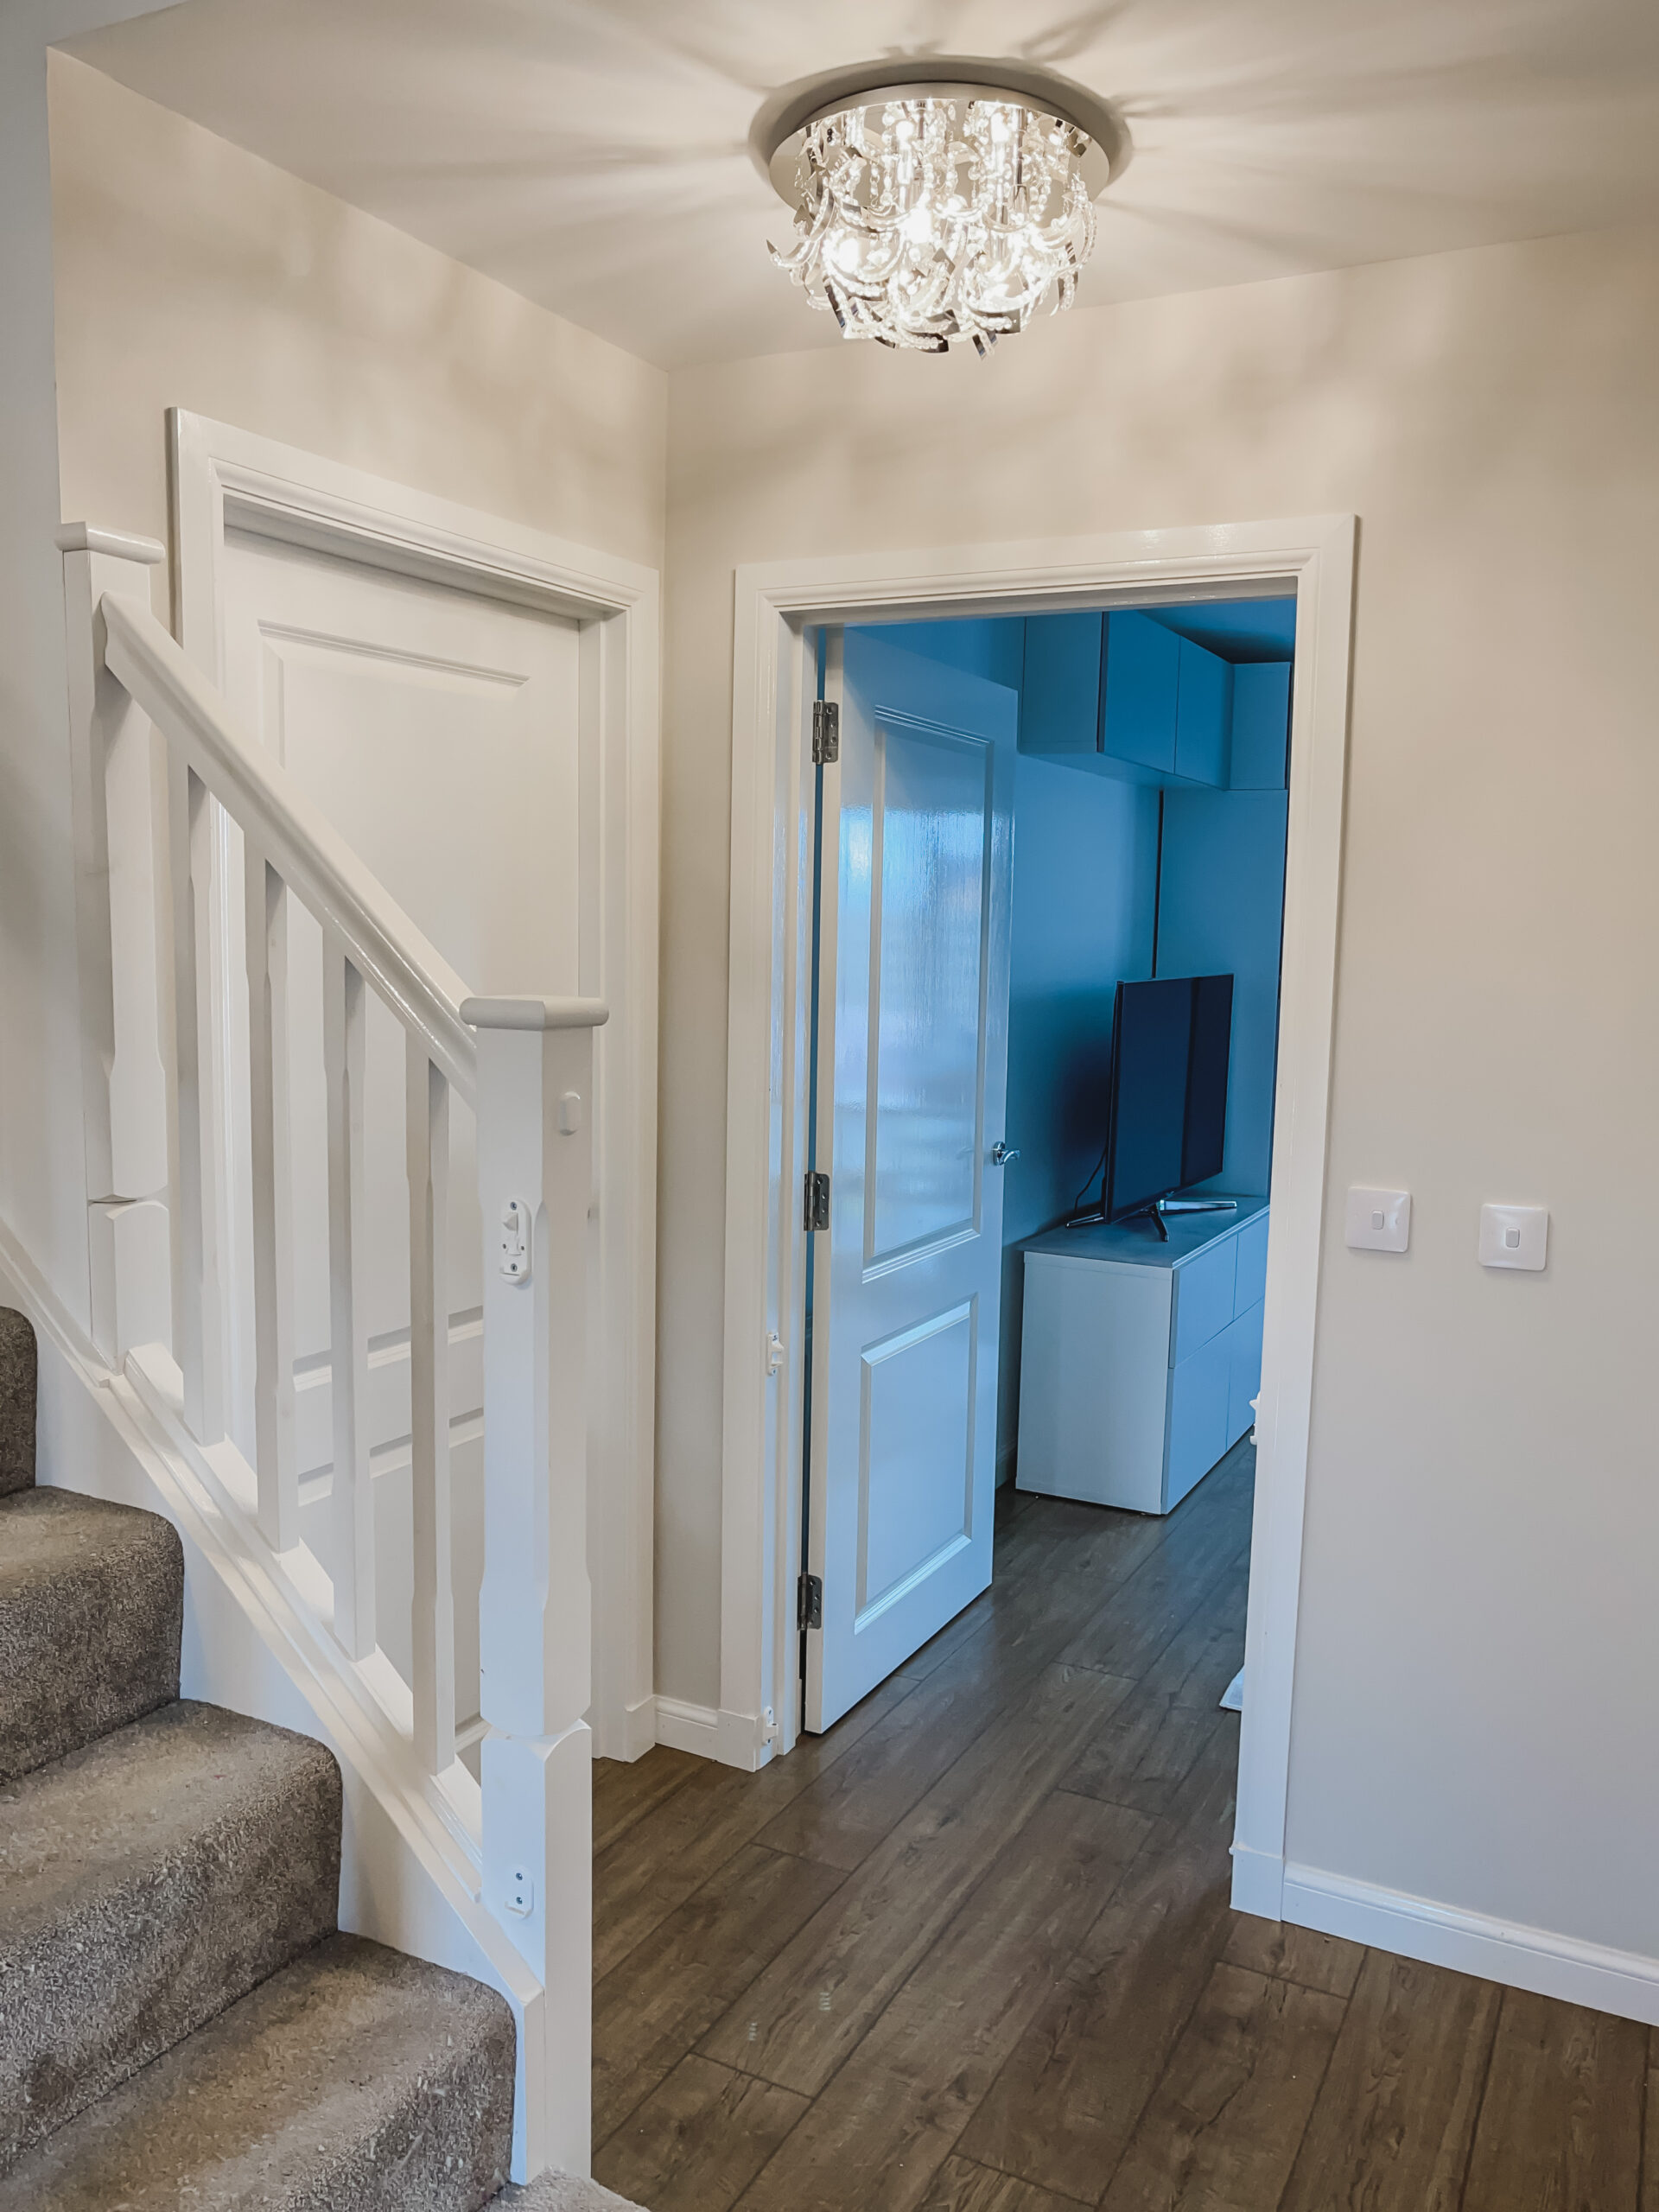
We also wanted to add an internal door through to the garage, partly for practicality and partly so we could relocate the cat's litter tray to somewhere that was not directly inside the house. Getting the door fitted first was essential because the last thing I wanted was someone taking a sledgehammer to freshly decorated walls.
The garage door installation threw up a small challenge with the position of the gas pipe on the other side of the wall, but the fitter worked around it and the door went in without any major drama. We had a cat flap fitted into the door at the same time, which is not the most glamorous detail in the world, but it has made a genuine difference to daily life.
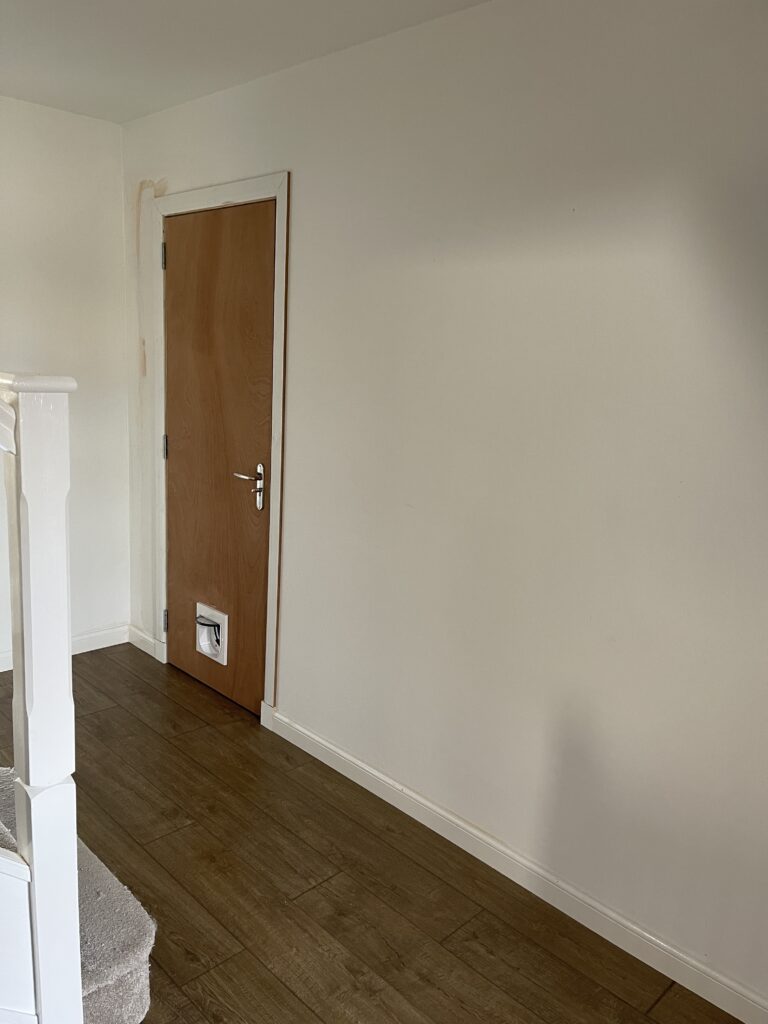
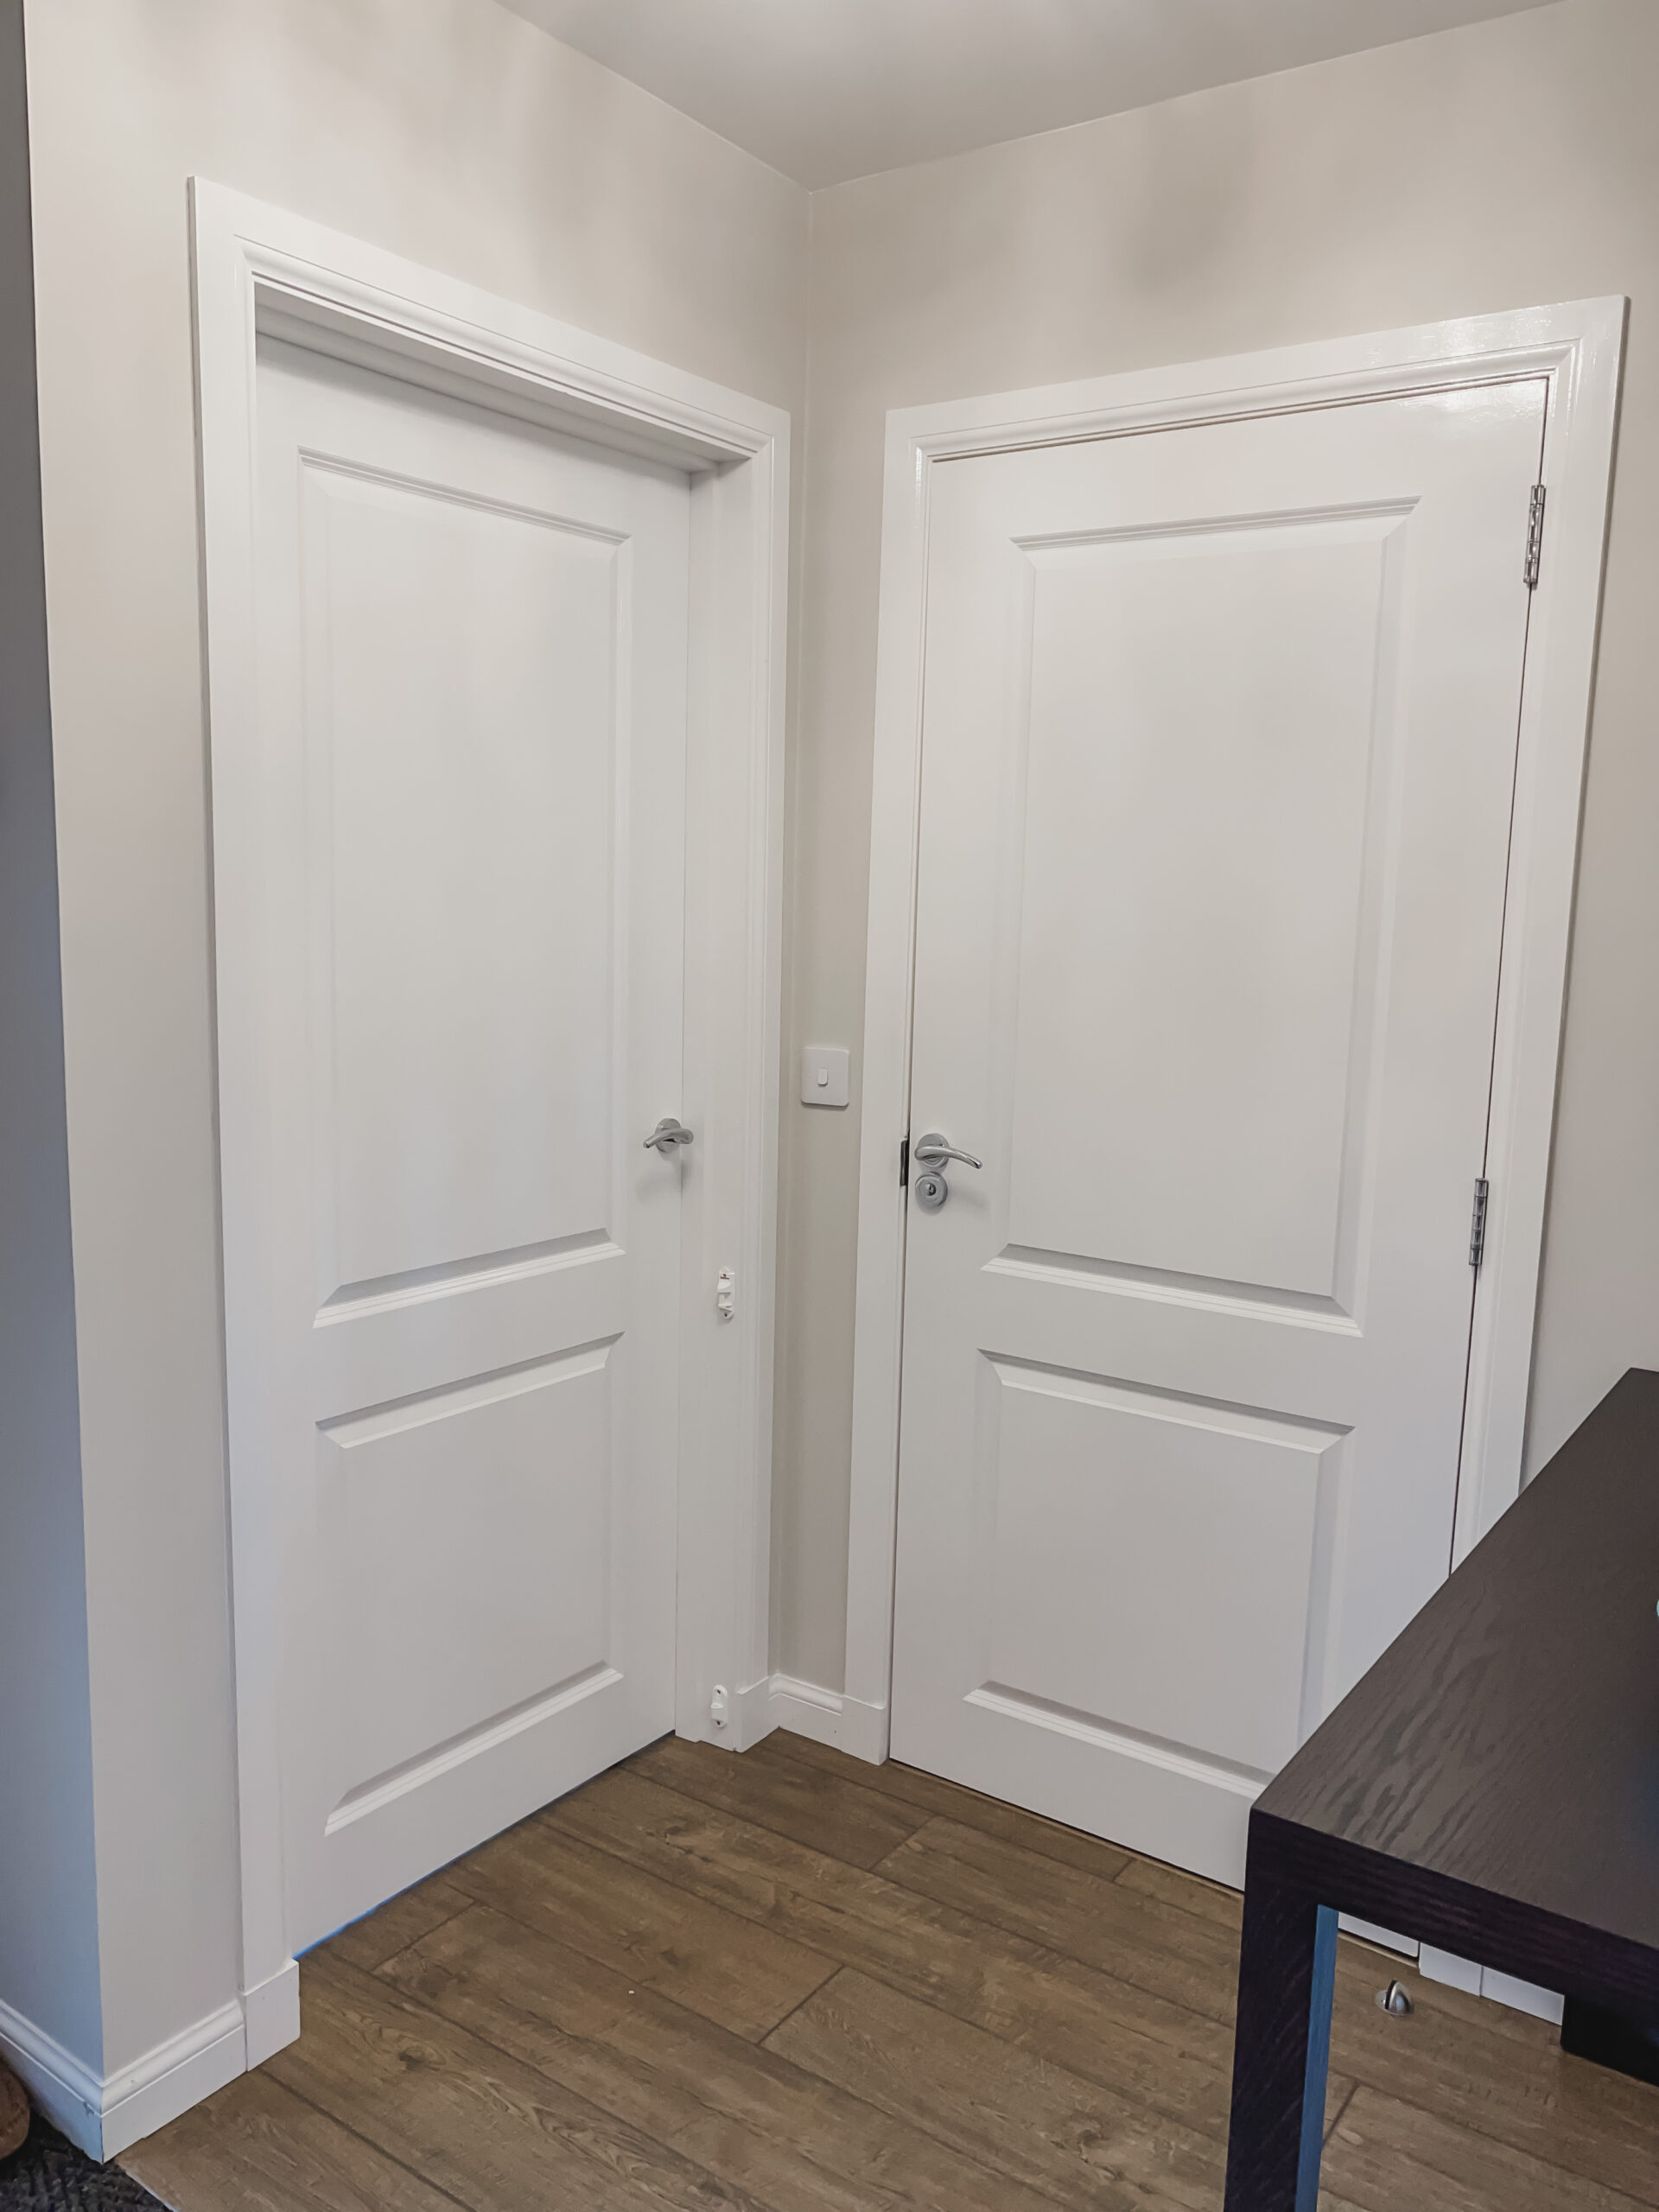
With the new wooden floors laid and the garage door in, we could plan the panelling layout properly. Our hallway has six doors leading off it, which sounds like a lot until you realise it means there is very little uninterrupted wall space. The panelling needed to work around door frames, light switches, and the radiator under the stairs. Measuring everything twice (and then once more for luck) was the only way to avoid wasting MDF.
How We Installed the Wall Panelling
The panelling was created using MDF strips screwed directly into the wall to form a board and batten style grid on the lower half. The vertical battens were spaced evenly between the skirting board and a horizontal top rail, creating neat rectangular panels. The process was not complicated, but it was time consuming. Getting each batten level, making sure the spacing was consistent, and working around the door frames all took patience. A spirit level and a good measuring tape were the two most important tools for this stage.
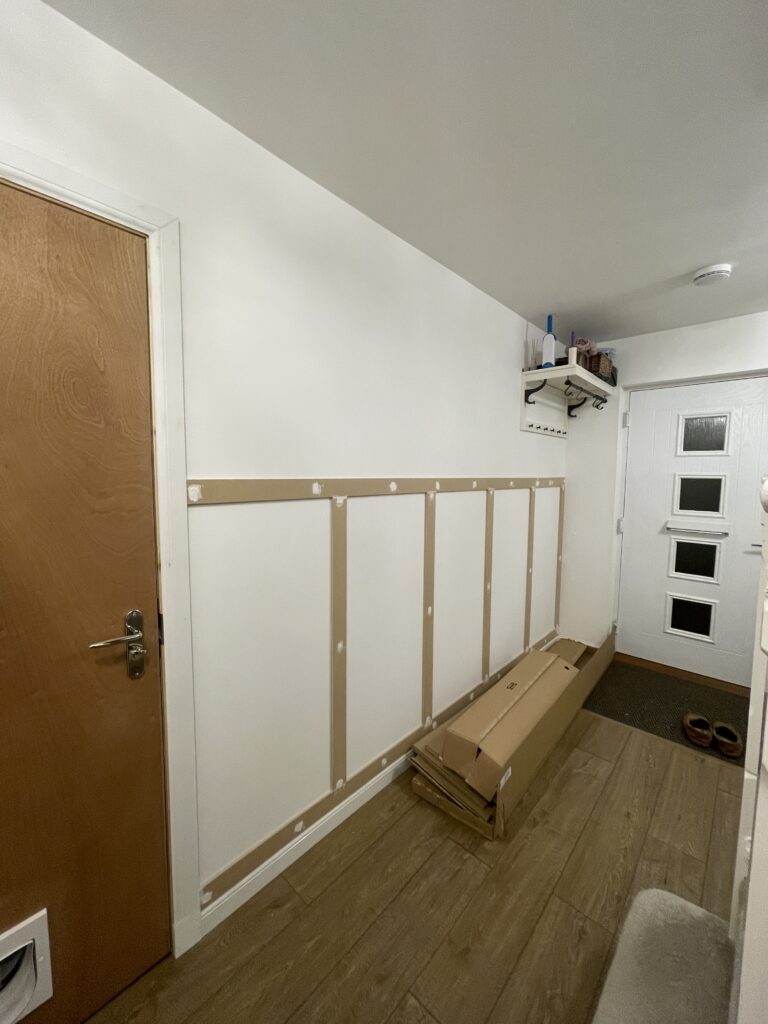
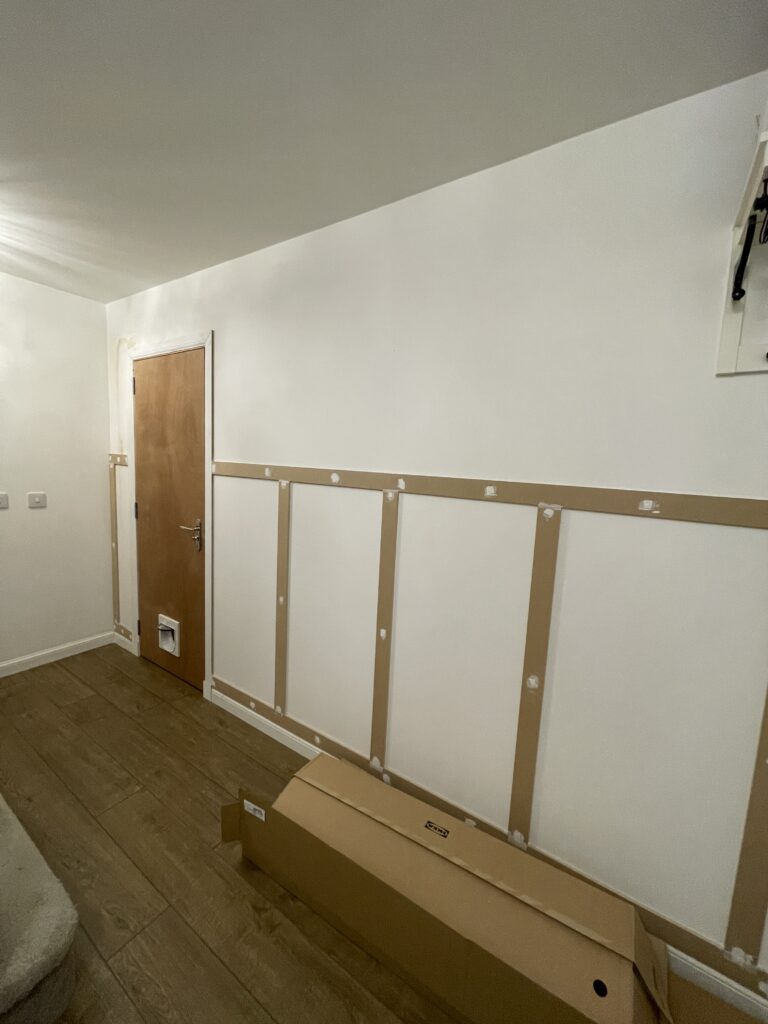
You can see in the photos above what the panelling looked like at this stage: MDF strips screwed in place, screw holes filled with wood filler (the white dots), and everything waiting to be sanded, caulked, and painted. It looks rough at this point, but this is where the magic happens. The finishing is what transforms a few bits of MDF into something that looks like it was built with the house.
Every screw hole needed filling with wood filler, every join between battens and the wall needed caulking, and the top rail needed to sit perfectly level all the way along. This is the stage that separates panelling that looks DIY from panelling that looks professional, and it is worth taking your time over it. Caulking in particular makes an enormous difference. A clean, smooth line of caulk where the batten meets the wall (and where the top rail meets the panels) hides any small gaps and creates that seamless, built-in look.
After filling and caulking, everything needed priming. The MDF took standard MDF primer beautifully. It went on easily, dried quickly, and created a smooth base for the topcoat. The new garage door, however, required wood primer, and this was honestly one of the worst DIY experiences of the entire project. Wood primer is incredibly thick and gloopy, almost impossible to get a smooth finish with, and even harder to clean off skin. Pure dish soap turned out to be the only thing that would shift it, and even then it took several rounds of scrubbing. If you are planning a similar project, budget extra time for priming any bare wood, and wear gloves. I cannot stress the gloves part enough.
From Carpet to Laminate: The New Flooring
Ripping up the grey carpet was one of the most satisfying parts of the whole project. When we bought the house as a new build, we did not get to choose the spec, so the carpet was not our choice. It was fine initially, but after a couple of years of living with two very lively cats, it was torn, bobbled, and looked permanently grubby no matter how often it was cleaned. Even freshly vacuumed, it still looked tired. The carpet had to go.
Rather than just doing the hallway, we decided to replace the carpet across the entire downstairs in one go. We sent the baby to my parents for the week, found a tradesman (after two years of trying, because every floorer in Scotland seemed to be booked solid during Covid), and had all of the downstairs carpeting ripped out and replaced with laminate. Doing it all at once meant a consistent floor running from the hallway through to the living room, which makes the whole ground floor feel more open and connected.
The difference was immediate. The warm oak tones bounce light around the hallway in a way the carpet never did, and the whole space feels brighter, bigger, and more polished. Against the white panelling and greige walls, the laminate adds exactly the right amount of warmth and texture. It is also infinitely easier to keep clean, which with cats and a toddler in the house is not a small thing.
When choosing hallway flooring, durability matters as much as appearance. This is the highest traffic area of the house, and it needs to withstand everything from muddy boots to dropped bags to the general chaos of daily life. A good quality laminate in a warm oak tone is a solid choice for a hallway like this. It looks beautiful, cleans easily, and has held up really well over the years since we had it laid.
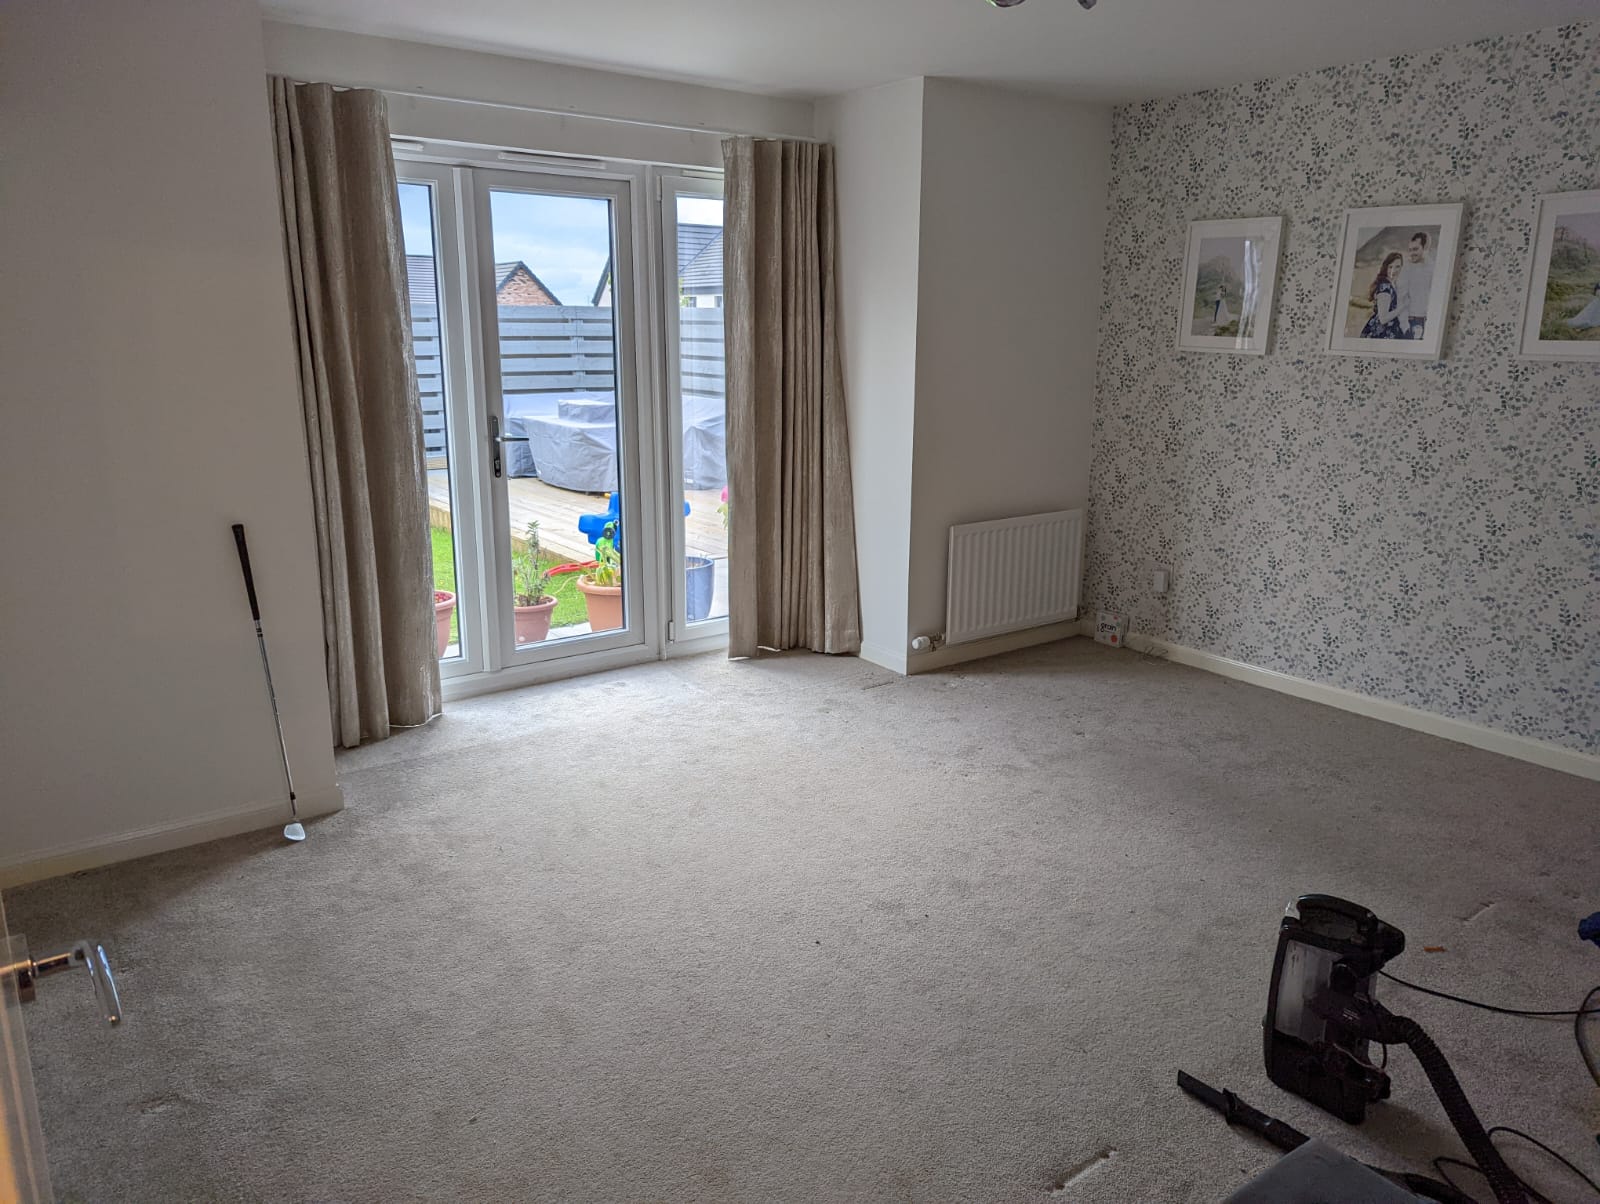
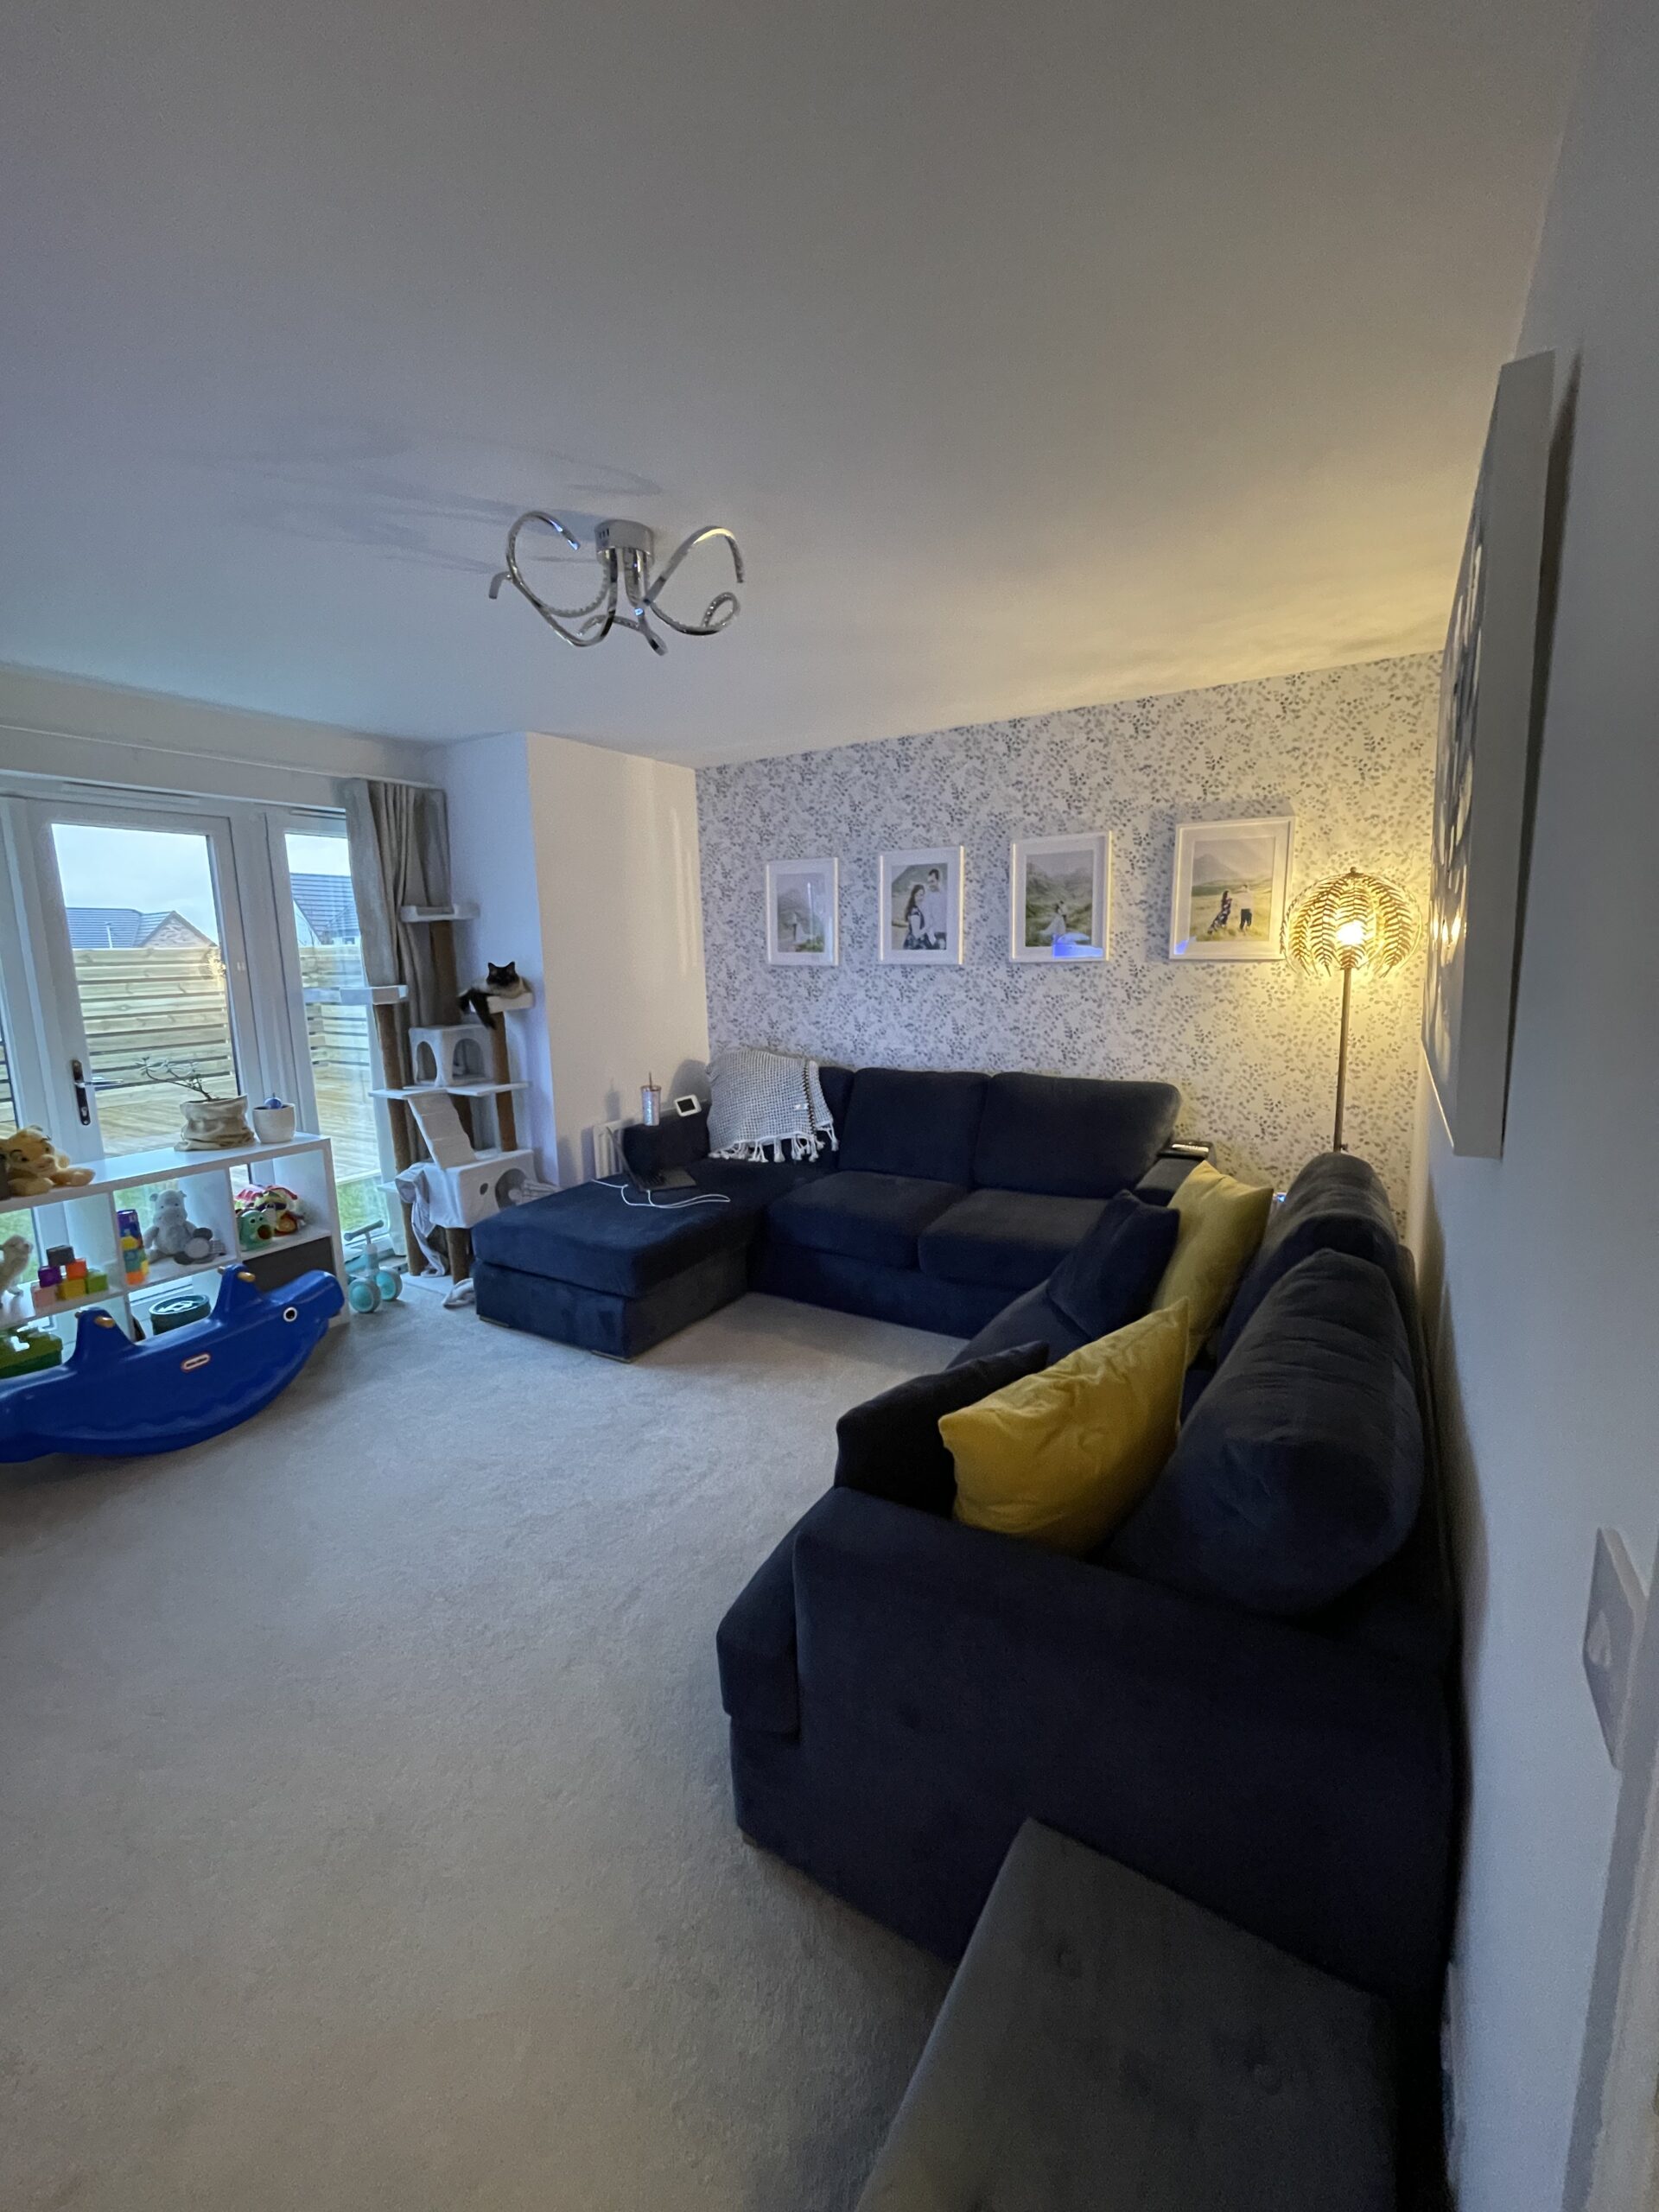
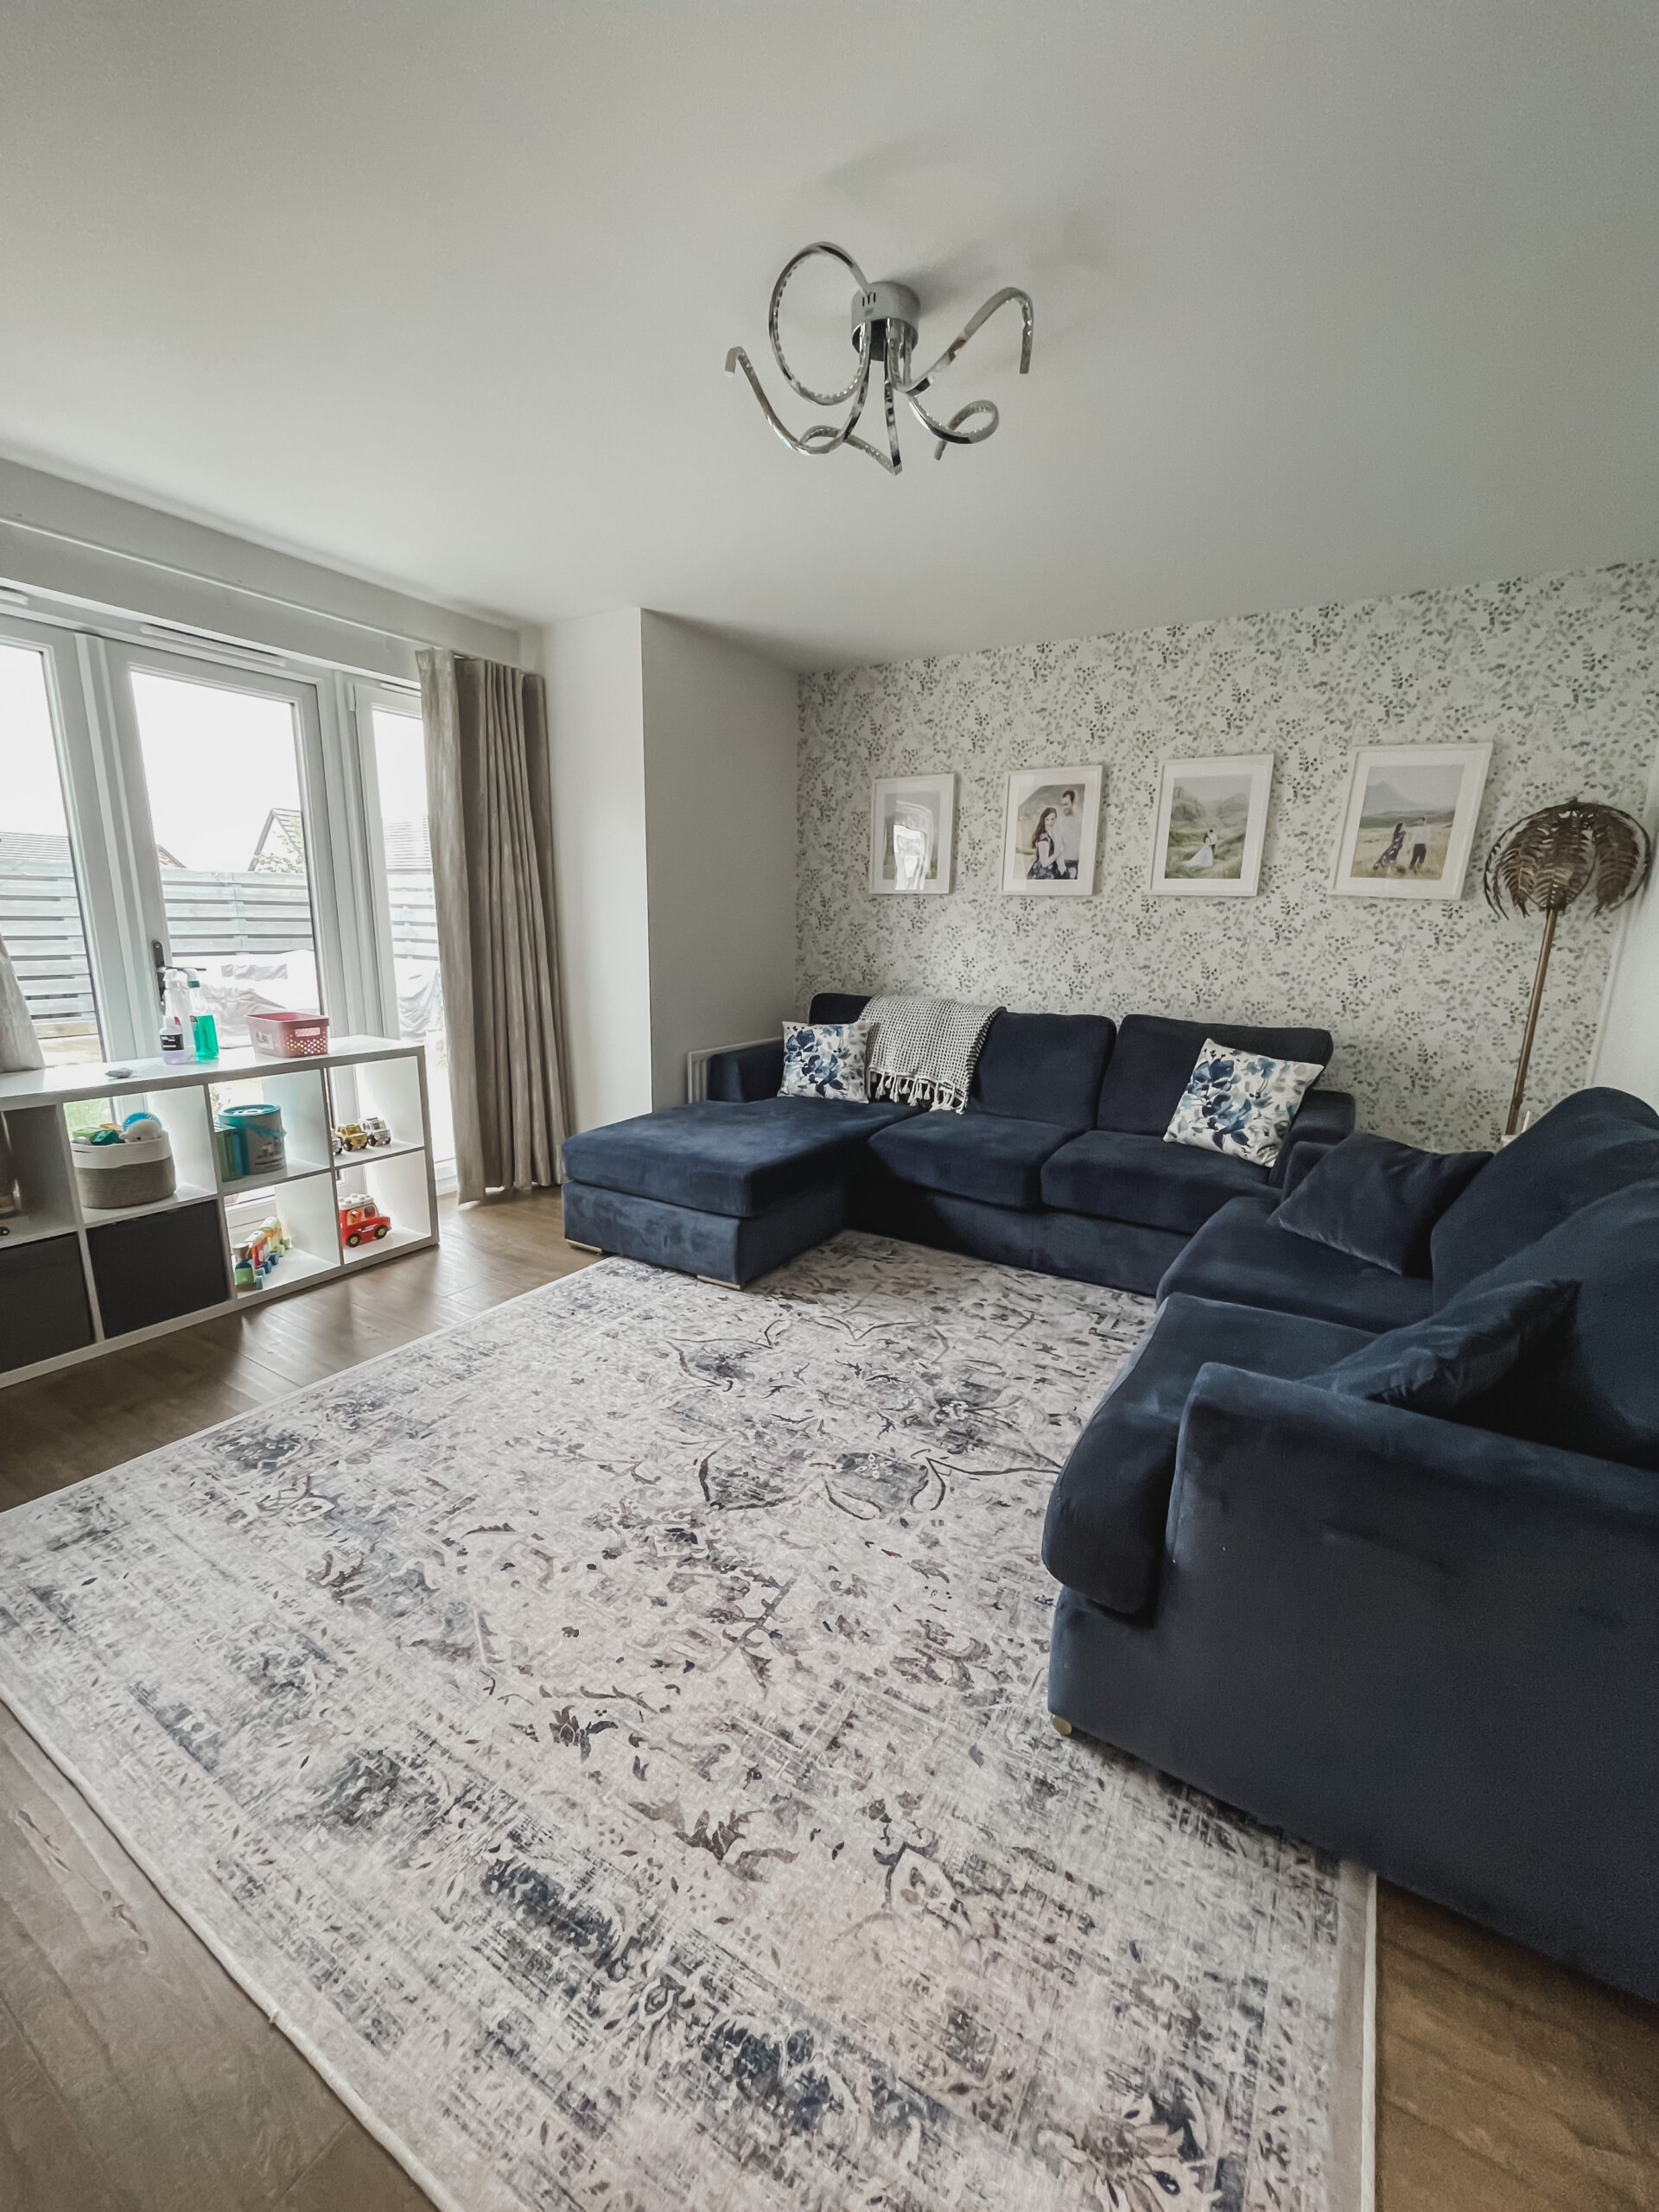
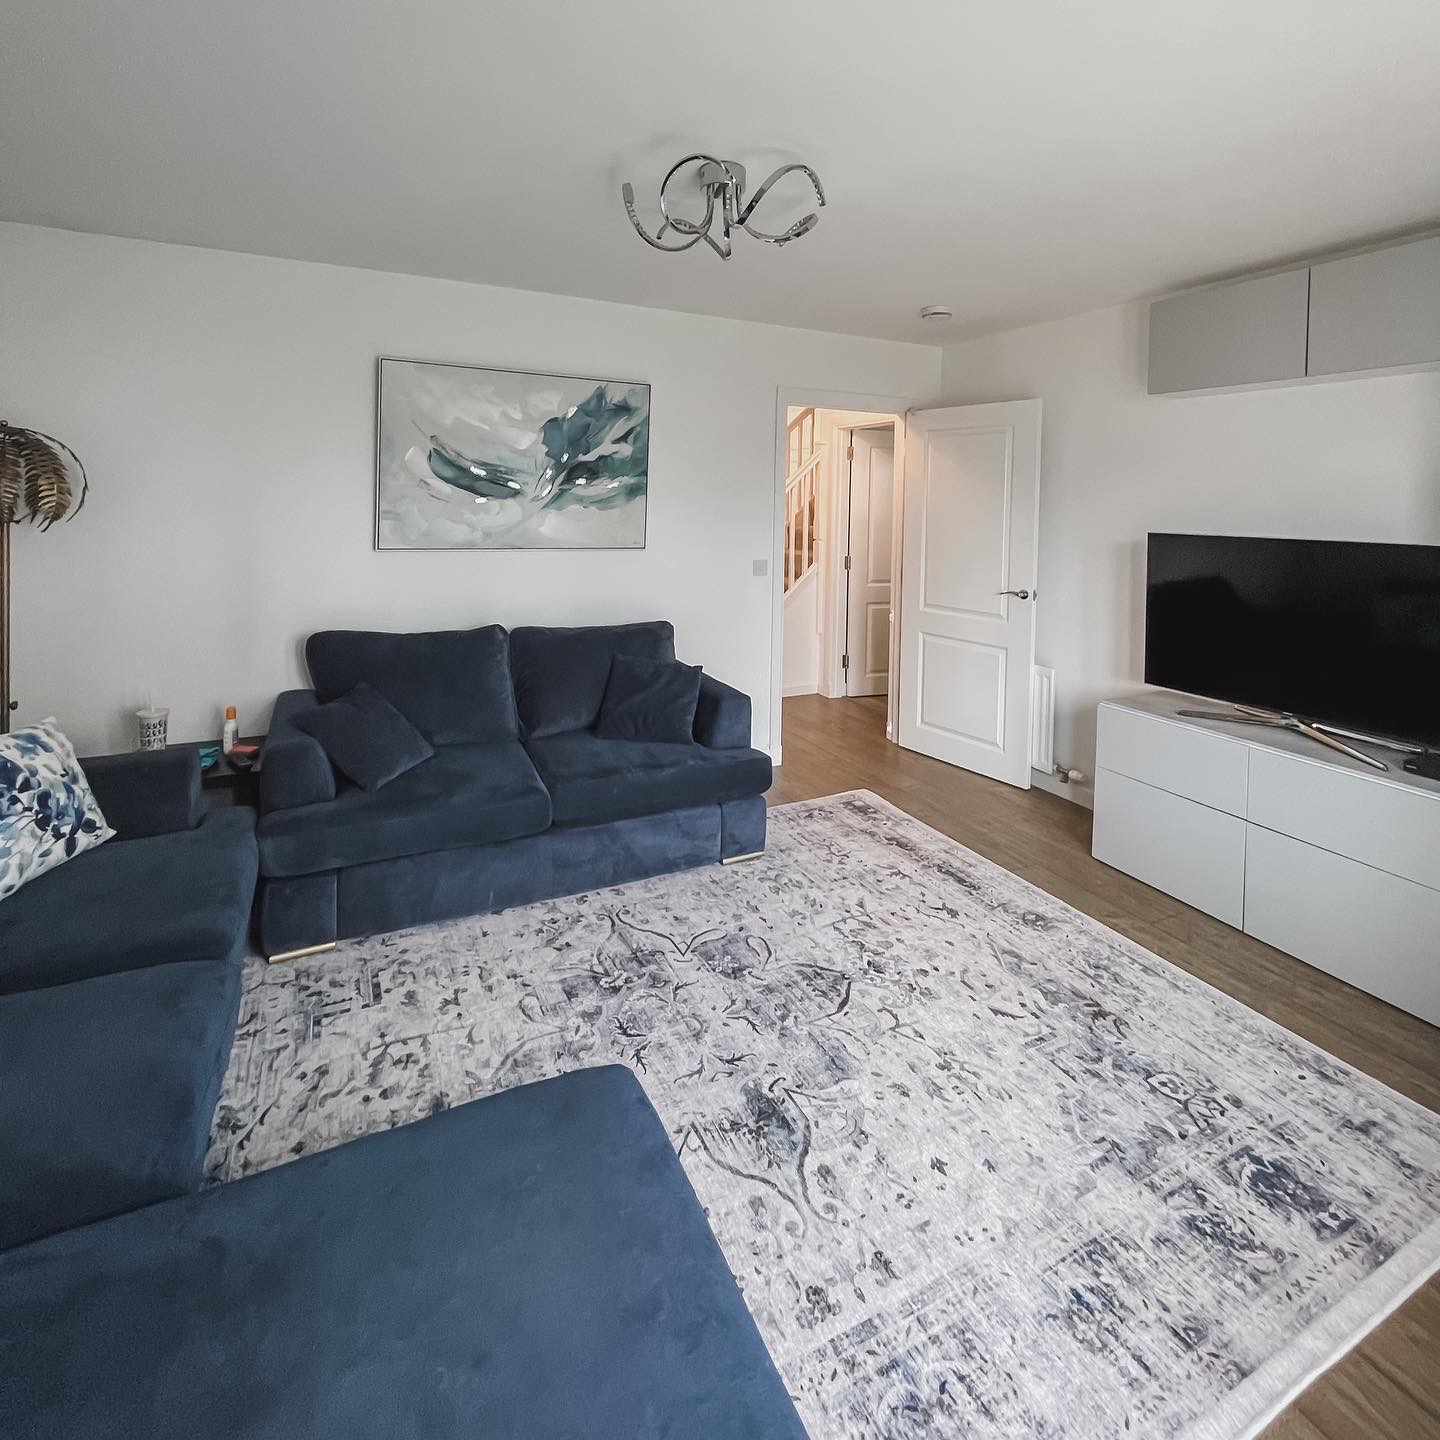
The living room benefited just as much from the new floors. It went from feeling like a carpeted box to a proper room with character and a lovely rug, especially once we painted it. If you want to see how it looks now, I have written about the full living room reveal with Farrow & Ball Card Room Green, which is one of my favourite rooms in the house.
We also installed magnetic door stops to replace the old rubber ones, which is a tiny detail that makes a surprising difference. They sit flush against the skirting board, look neat and discreet, and actually hold the doors open properly. It is the kind of small upgrade that costs very little but makes the space feel more polished.
Choosing the Right Paint
With the panelling and priming done, it was time to paint. The wainscotting and all the woodwork (including the new garage door) were painted in white gloss skirting paint to match the existing trim throughout the house. Keeping the woodwork consistent creates a clean, cohesive look that ties the hallway to the rooms leading off it.
For the walls above the panelling, we used Valspar Goose Feathers, which is a beautiful warm greige that completely transformed the feel of the space. If you are curious about this colour, how it looks in different lights, and its undertones, I have written a full review of Valspar Goose Feathers that goes into much more detail.
The combination of white panelling below and Goose Feathers above is what gives the hallway its finished, elevated feel. The contrast is subtle but effective. The white keeps the lower half of the space bright and fresh (and hides scuffs from shoes and bags), while the greige adds warmth and interest to the upper walls. It feels like the kind of colour scheme you would see in a boutique hotel or a styled show home, but it was all done with B&Q paint and a lot of Frog Tape.
Painting around six door frames in a single hallway is essentially one long exercise in careful edging. There is very little open wall space, so almost every brush stroke was within a few inches of woodwork. Frog Tape was absolutely essential, and I would not attempt a project like this without it.
The Finishing Touches
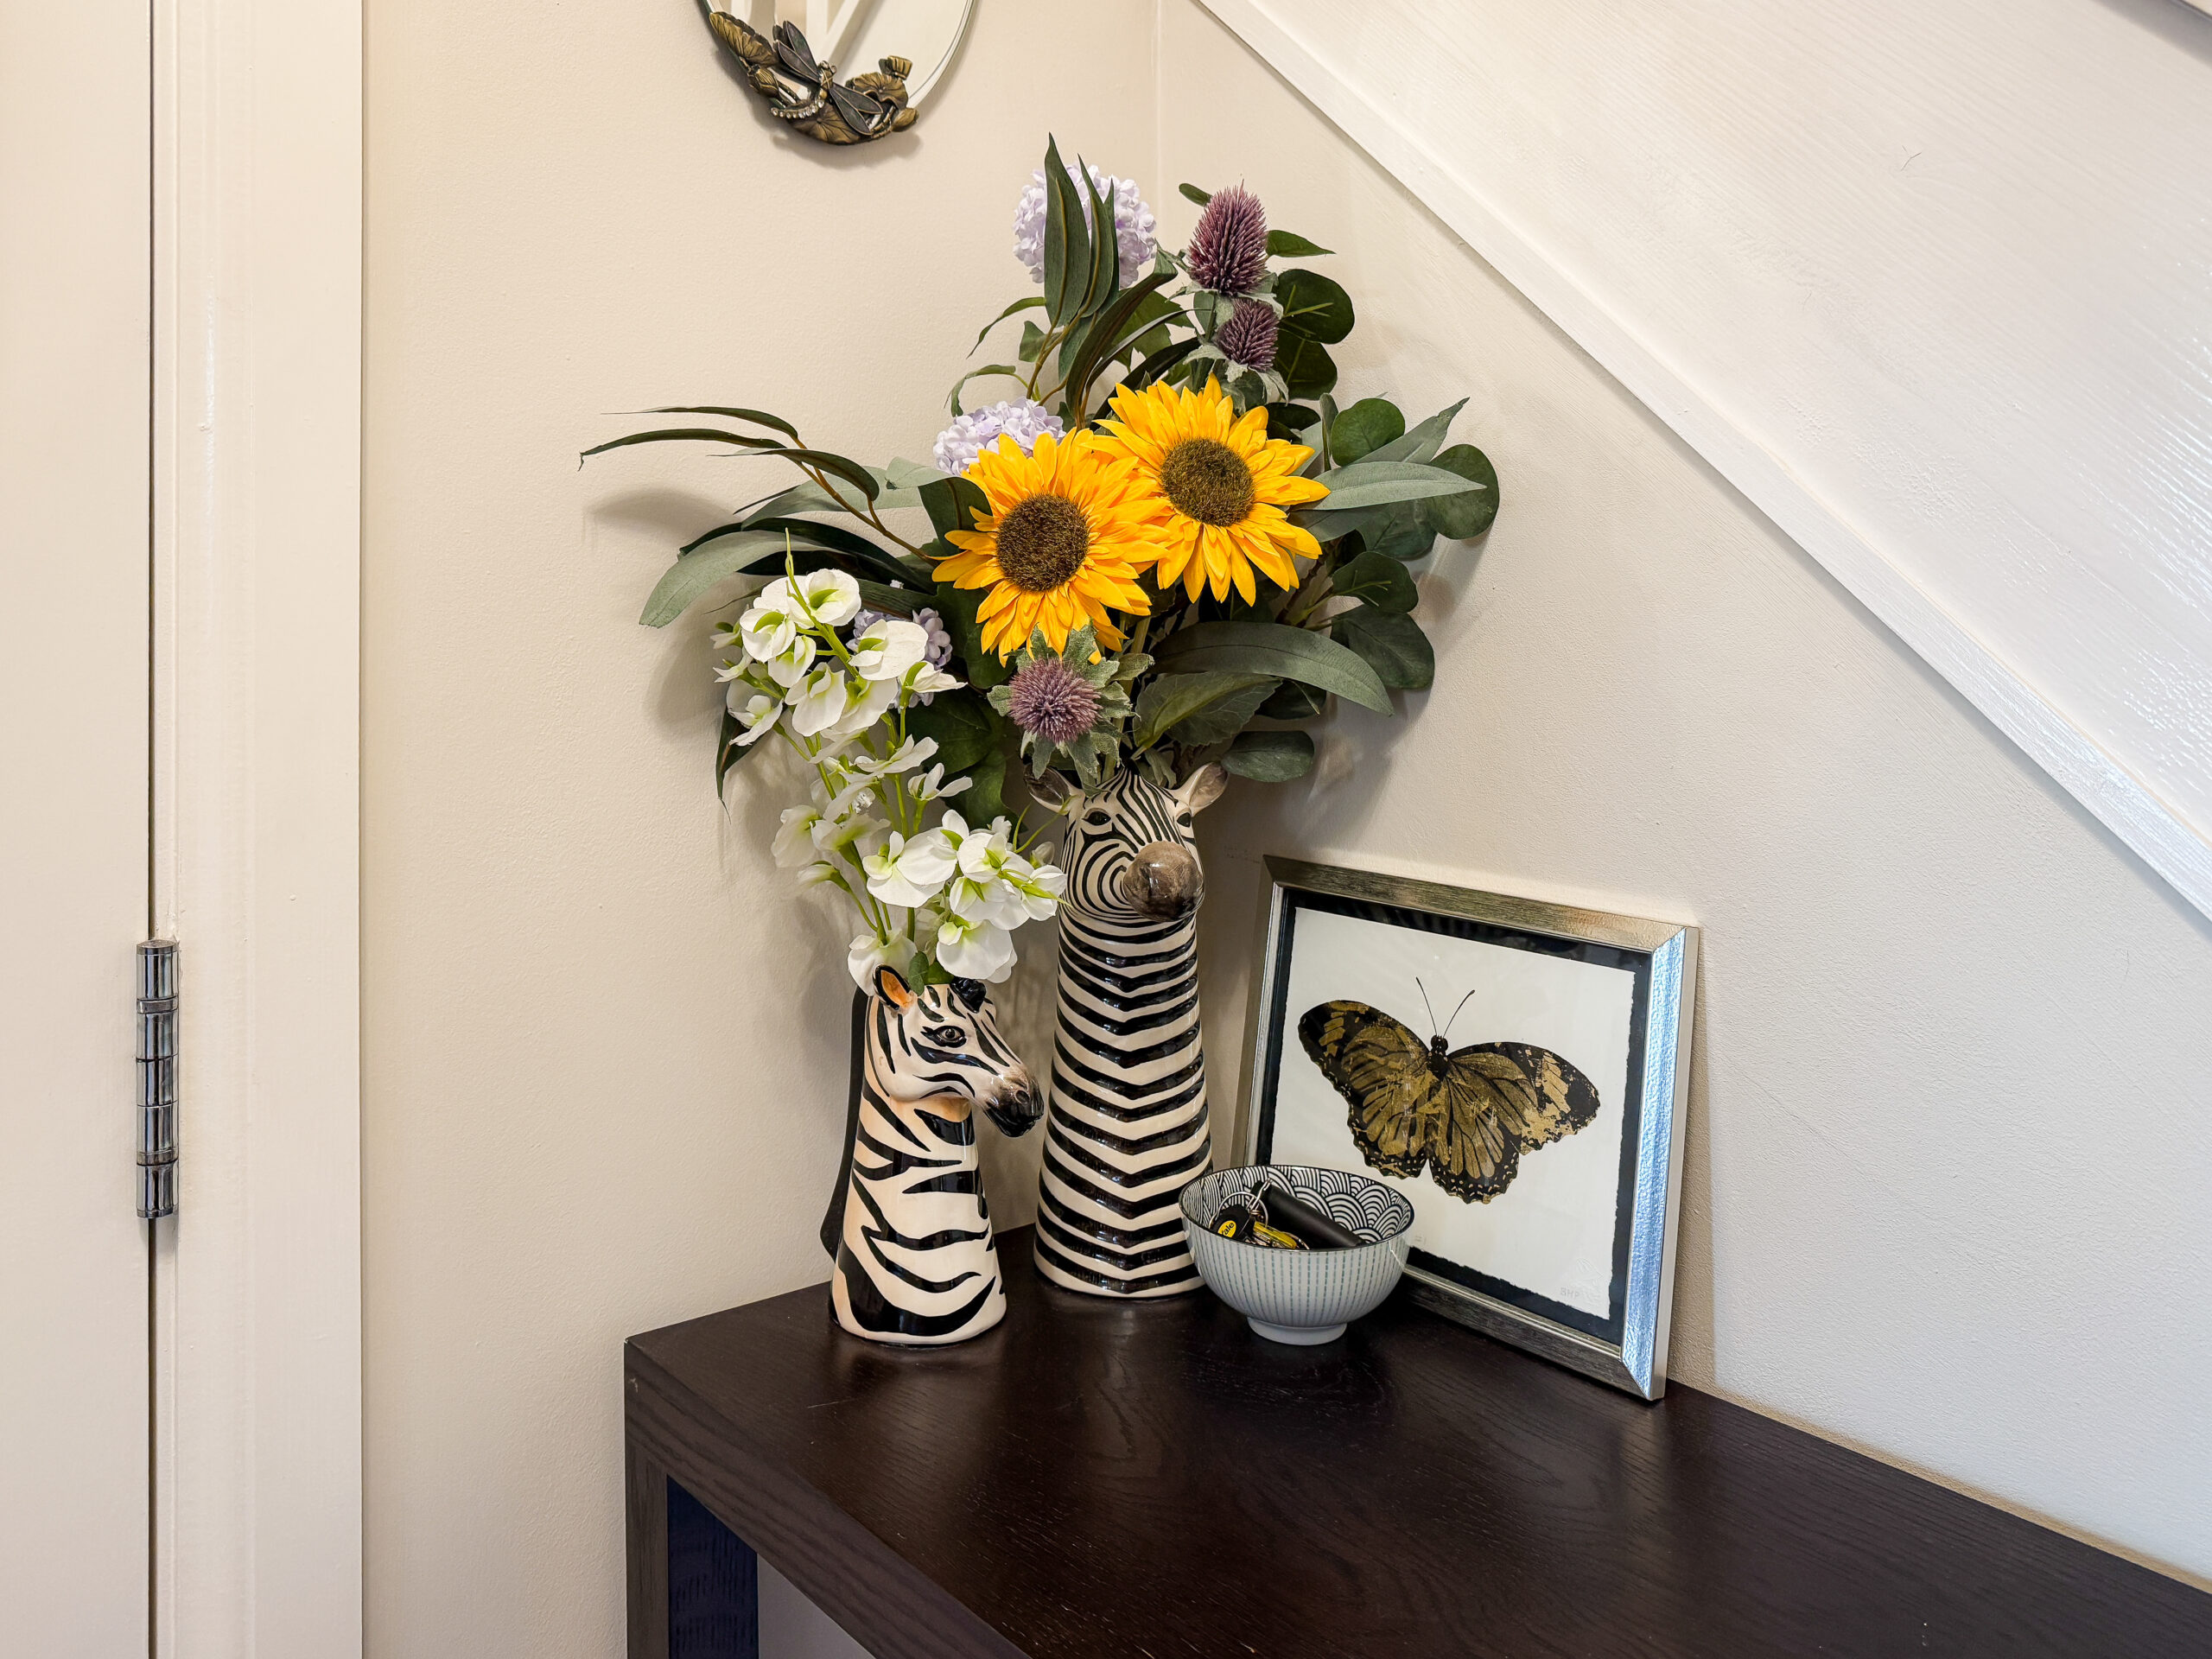
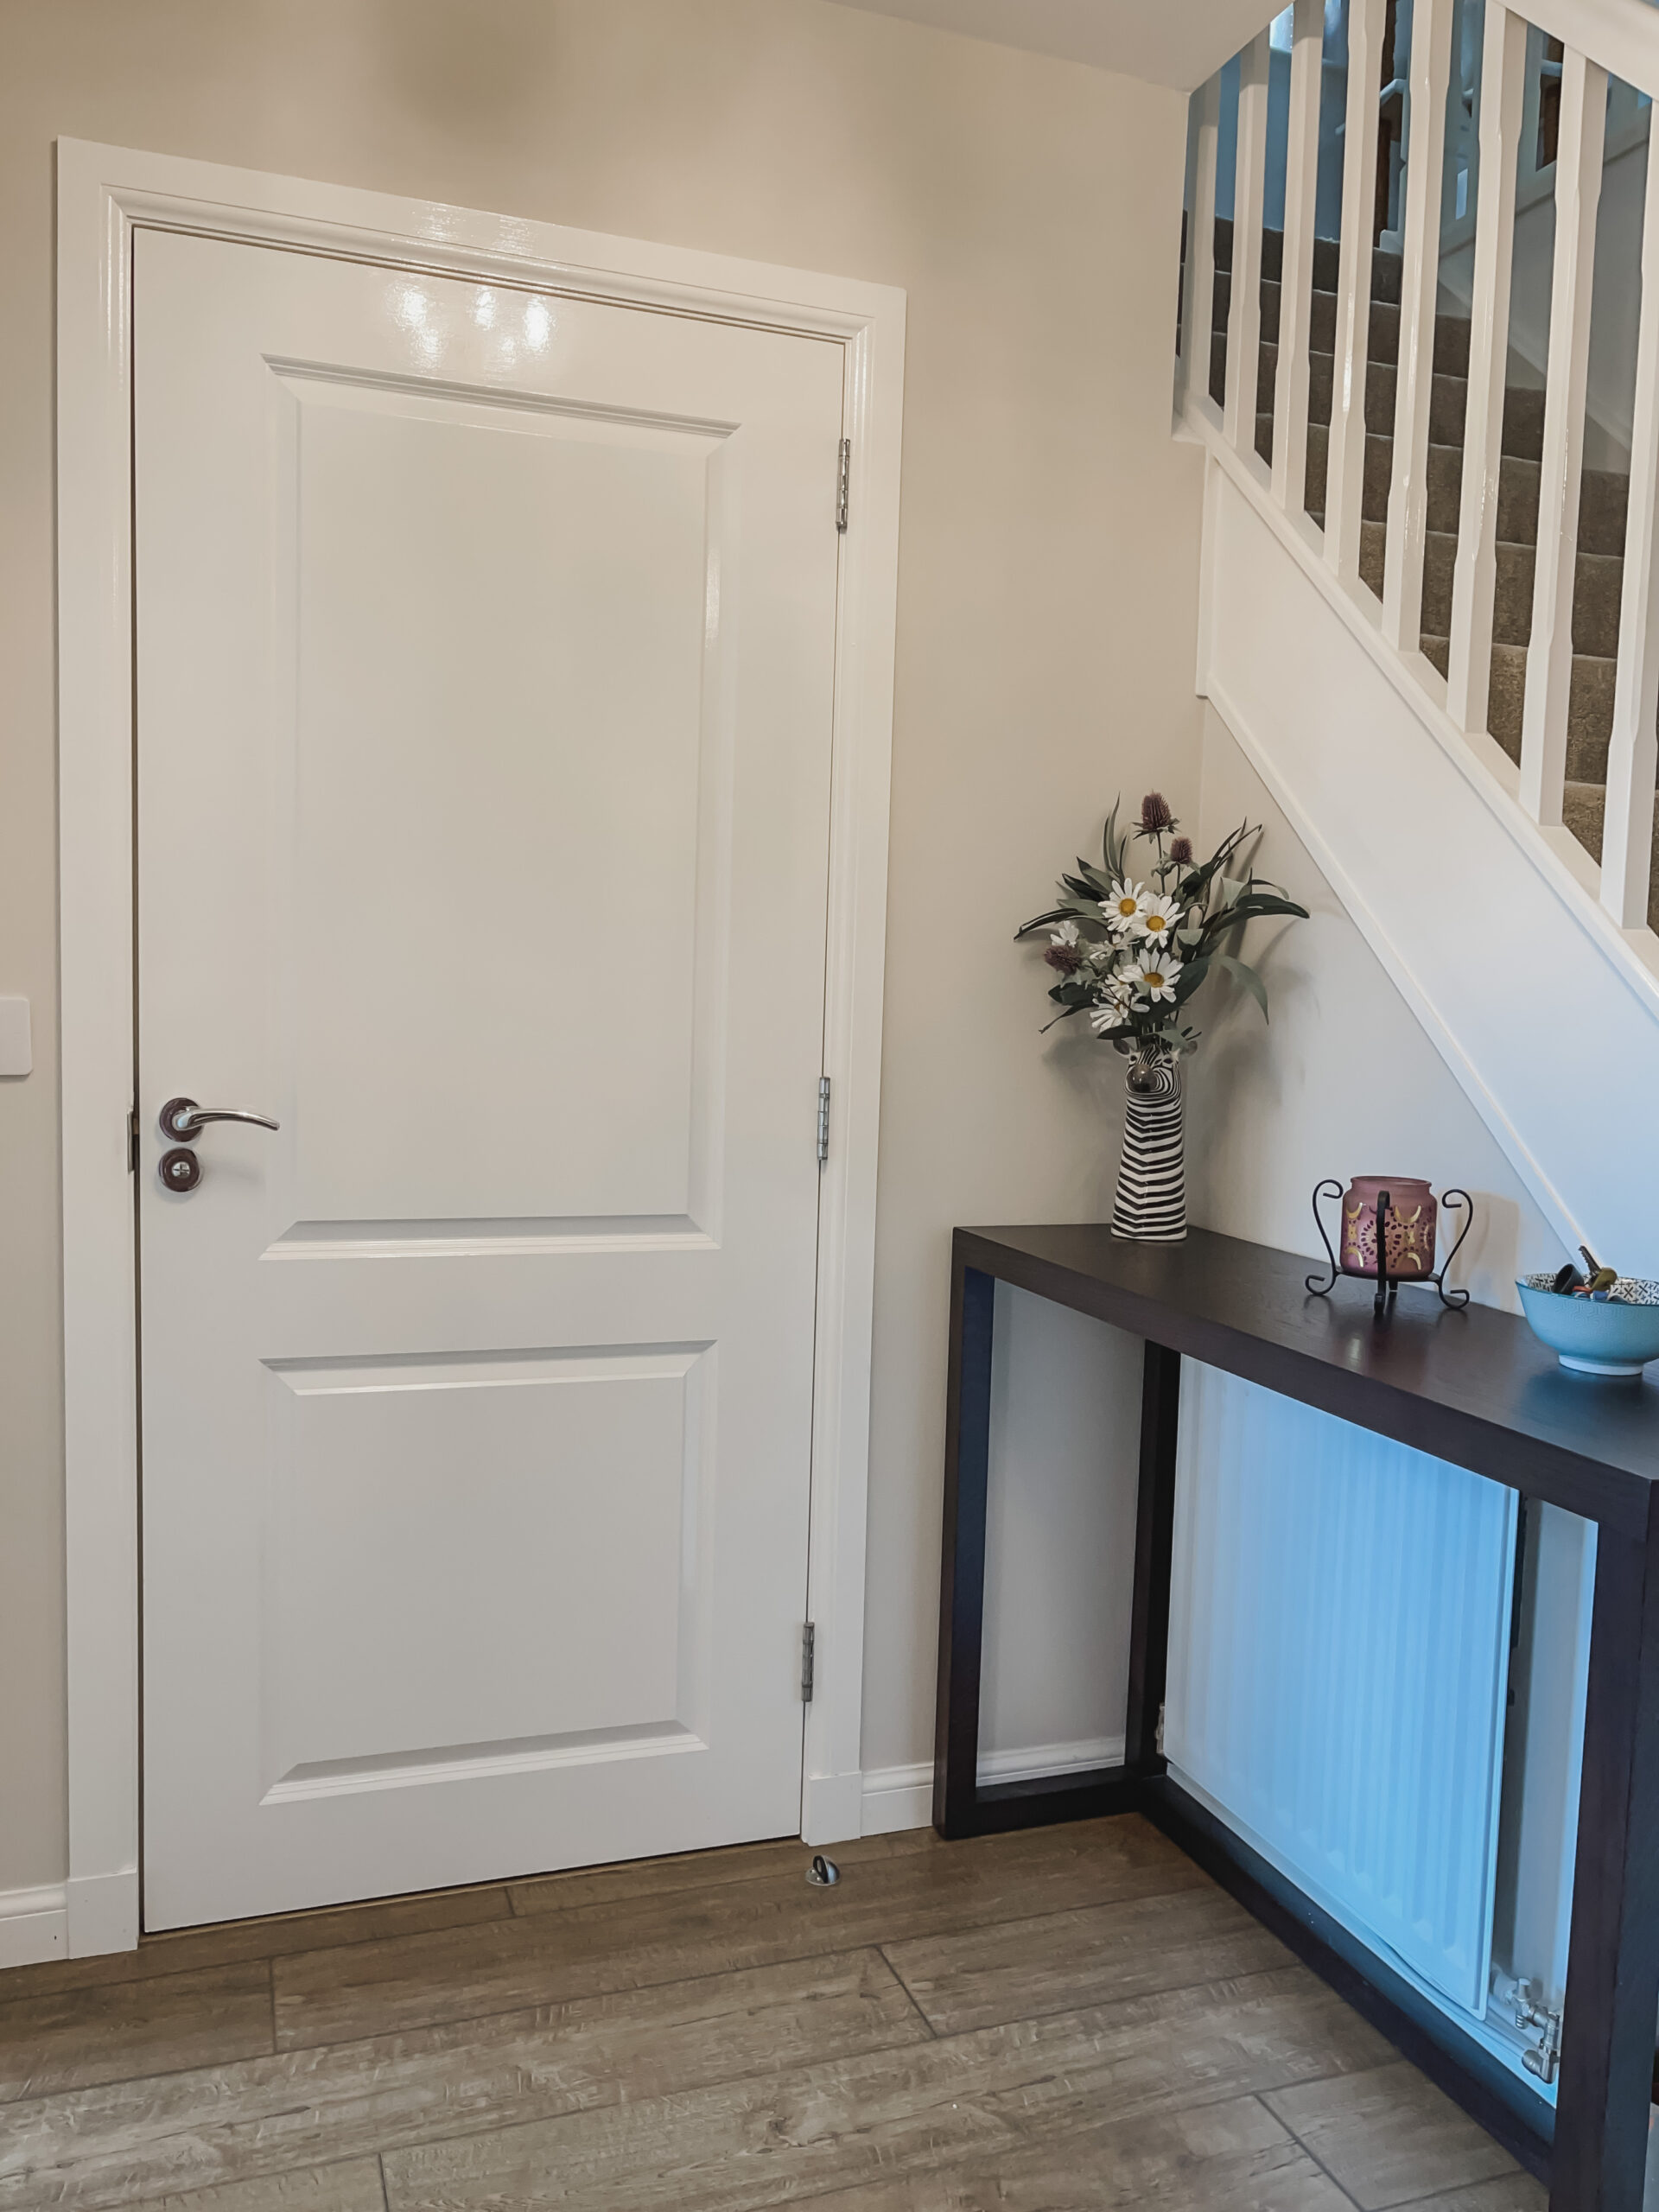
Once the painting was done and the floors were in, the hallway was ready to style. We added a dark wood console table in the nook under the stairs, which gives us a spot for keys, flowers, and a few decorative pieces without cluttering the walkway. A pair of zebra print ceramic vases filled with faux sunflowers and greenery brings personality and colour to the space, and a framed butterfly print and small patterned bowl finish the vignette. An oval mirror with a dragonfly detail above the console reflects light from the front door and makes the nook feel larger than it is.
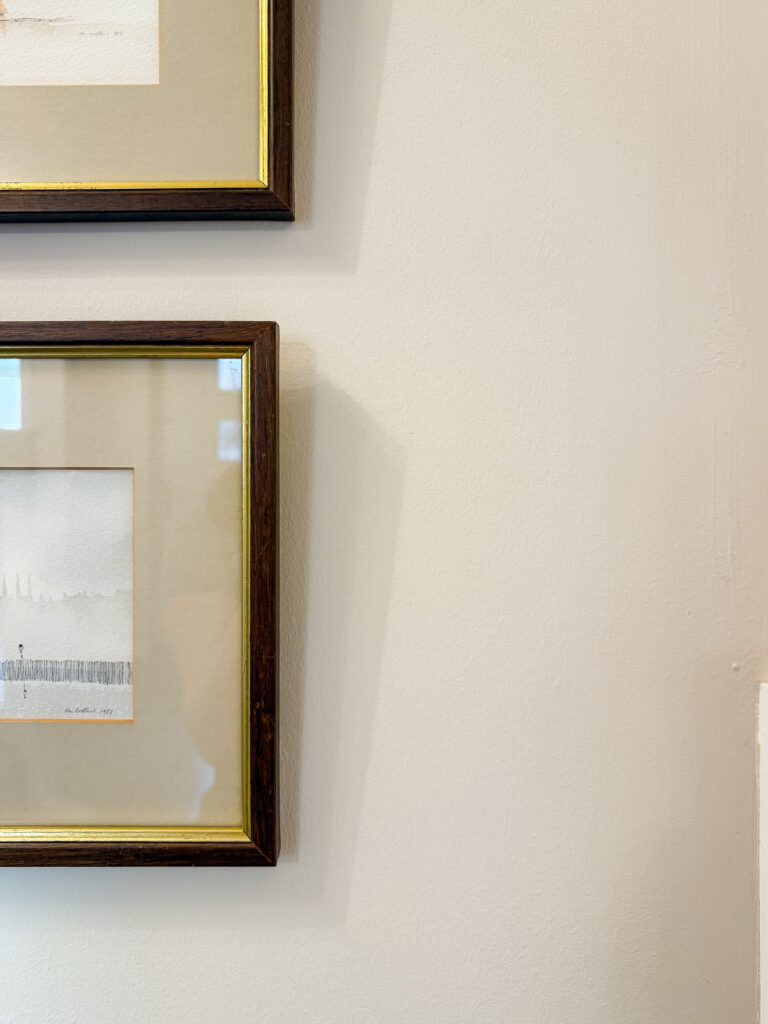
On the opposite wall, a pair of framed Ken Lochhead watercolours add a quiet, sophisticated touch. Their muted tones sit beautifully against the Goose Feathers paint, and the dark wood and gilt frames pick up on the warm tones of the flooring. Original artwork does not have to cost a fortune, and a couple of well chosen pieces can elevate a hallway from “decorated” to “designed.”

What It Cost
One of the things I am always honest about is budget, because knowing whether a project is achievable matters more than knowing whether it is pretty. The wall panelling itself was surprisingly affordable. MDF strips, a top rail, screws, wood filler, caulk, primer, and paint came to well under £200 for the entire hallway. The most expensive element was the paint, simply because you need both primer and topcoat for the MDF, plus the wall colour.
The flooring and door installation were additional costs that pushed the overall project higher, but the decorative transformation (panelling, painting, and finishing) could absolutely be done as a standalone weekend project without a huge budget. If you already have decent flooring and do not need a new door, you could achieve a similar look for a fraction of what we spent overall.
Tips for a Professional Finish
The difference between wall panelling that looks like a DIY project and panelling that looks like it has always been there comes down to the finishing details. Caulking every join properly is the single most important step. Take your time, use a good quality decorator's caulk, and run a wet finger along each line for a smooth finish. It is tedious work, but it is what makes everything look seamless.
Sanding between coats of paint also makes a noticeable difference, especially on MDF, which can raise slightly after the first coat of primer. A quick pass with fine sandpaper (220 grit) between coats gives you a much smoother, more professional final surface.
Finally, do not rush the edging between the white panelling and the coloured wall above. This line is the most visible part of the whole project, and a wobbly edge will be the first thing you notice every time you walk past. Frog Tape, applied carefully and removed while the paint is still slightly tacky, gives the cleanest results.
Was It Worth It?
Without question. Looking at the before photos now, with the grey carpet and plain white walls, it is hard to believe it is the same space. The hallway has gone from a functional corridor that I never gave a second thought to, into a room that genuinely makes me happy every time I walk through it. The panelling adds character, the paint adds warmth, the new floors add texture, and together they create something that feels cohesive and intentional.
More importantly, it proved that you do not need a huge budget or professional help to create a hallway that looks expensive. Some MDF, good paint, and a willingness to spend time on the details is really all it takes. If your hallway is feeling a bit tired or unloved, wall panelling is one of the most impactful upgrades you can make, and I could not recommend it more.
If you are looking for more home and interiors projects, have a browse through the home interiors section for DIY ideas, room makeovers, and paint inspiration.
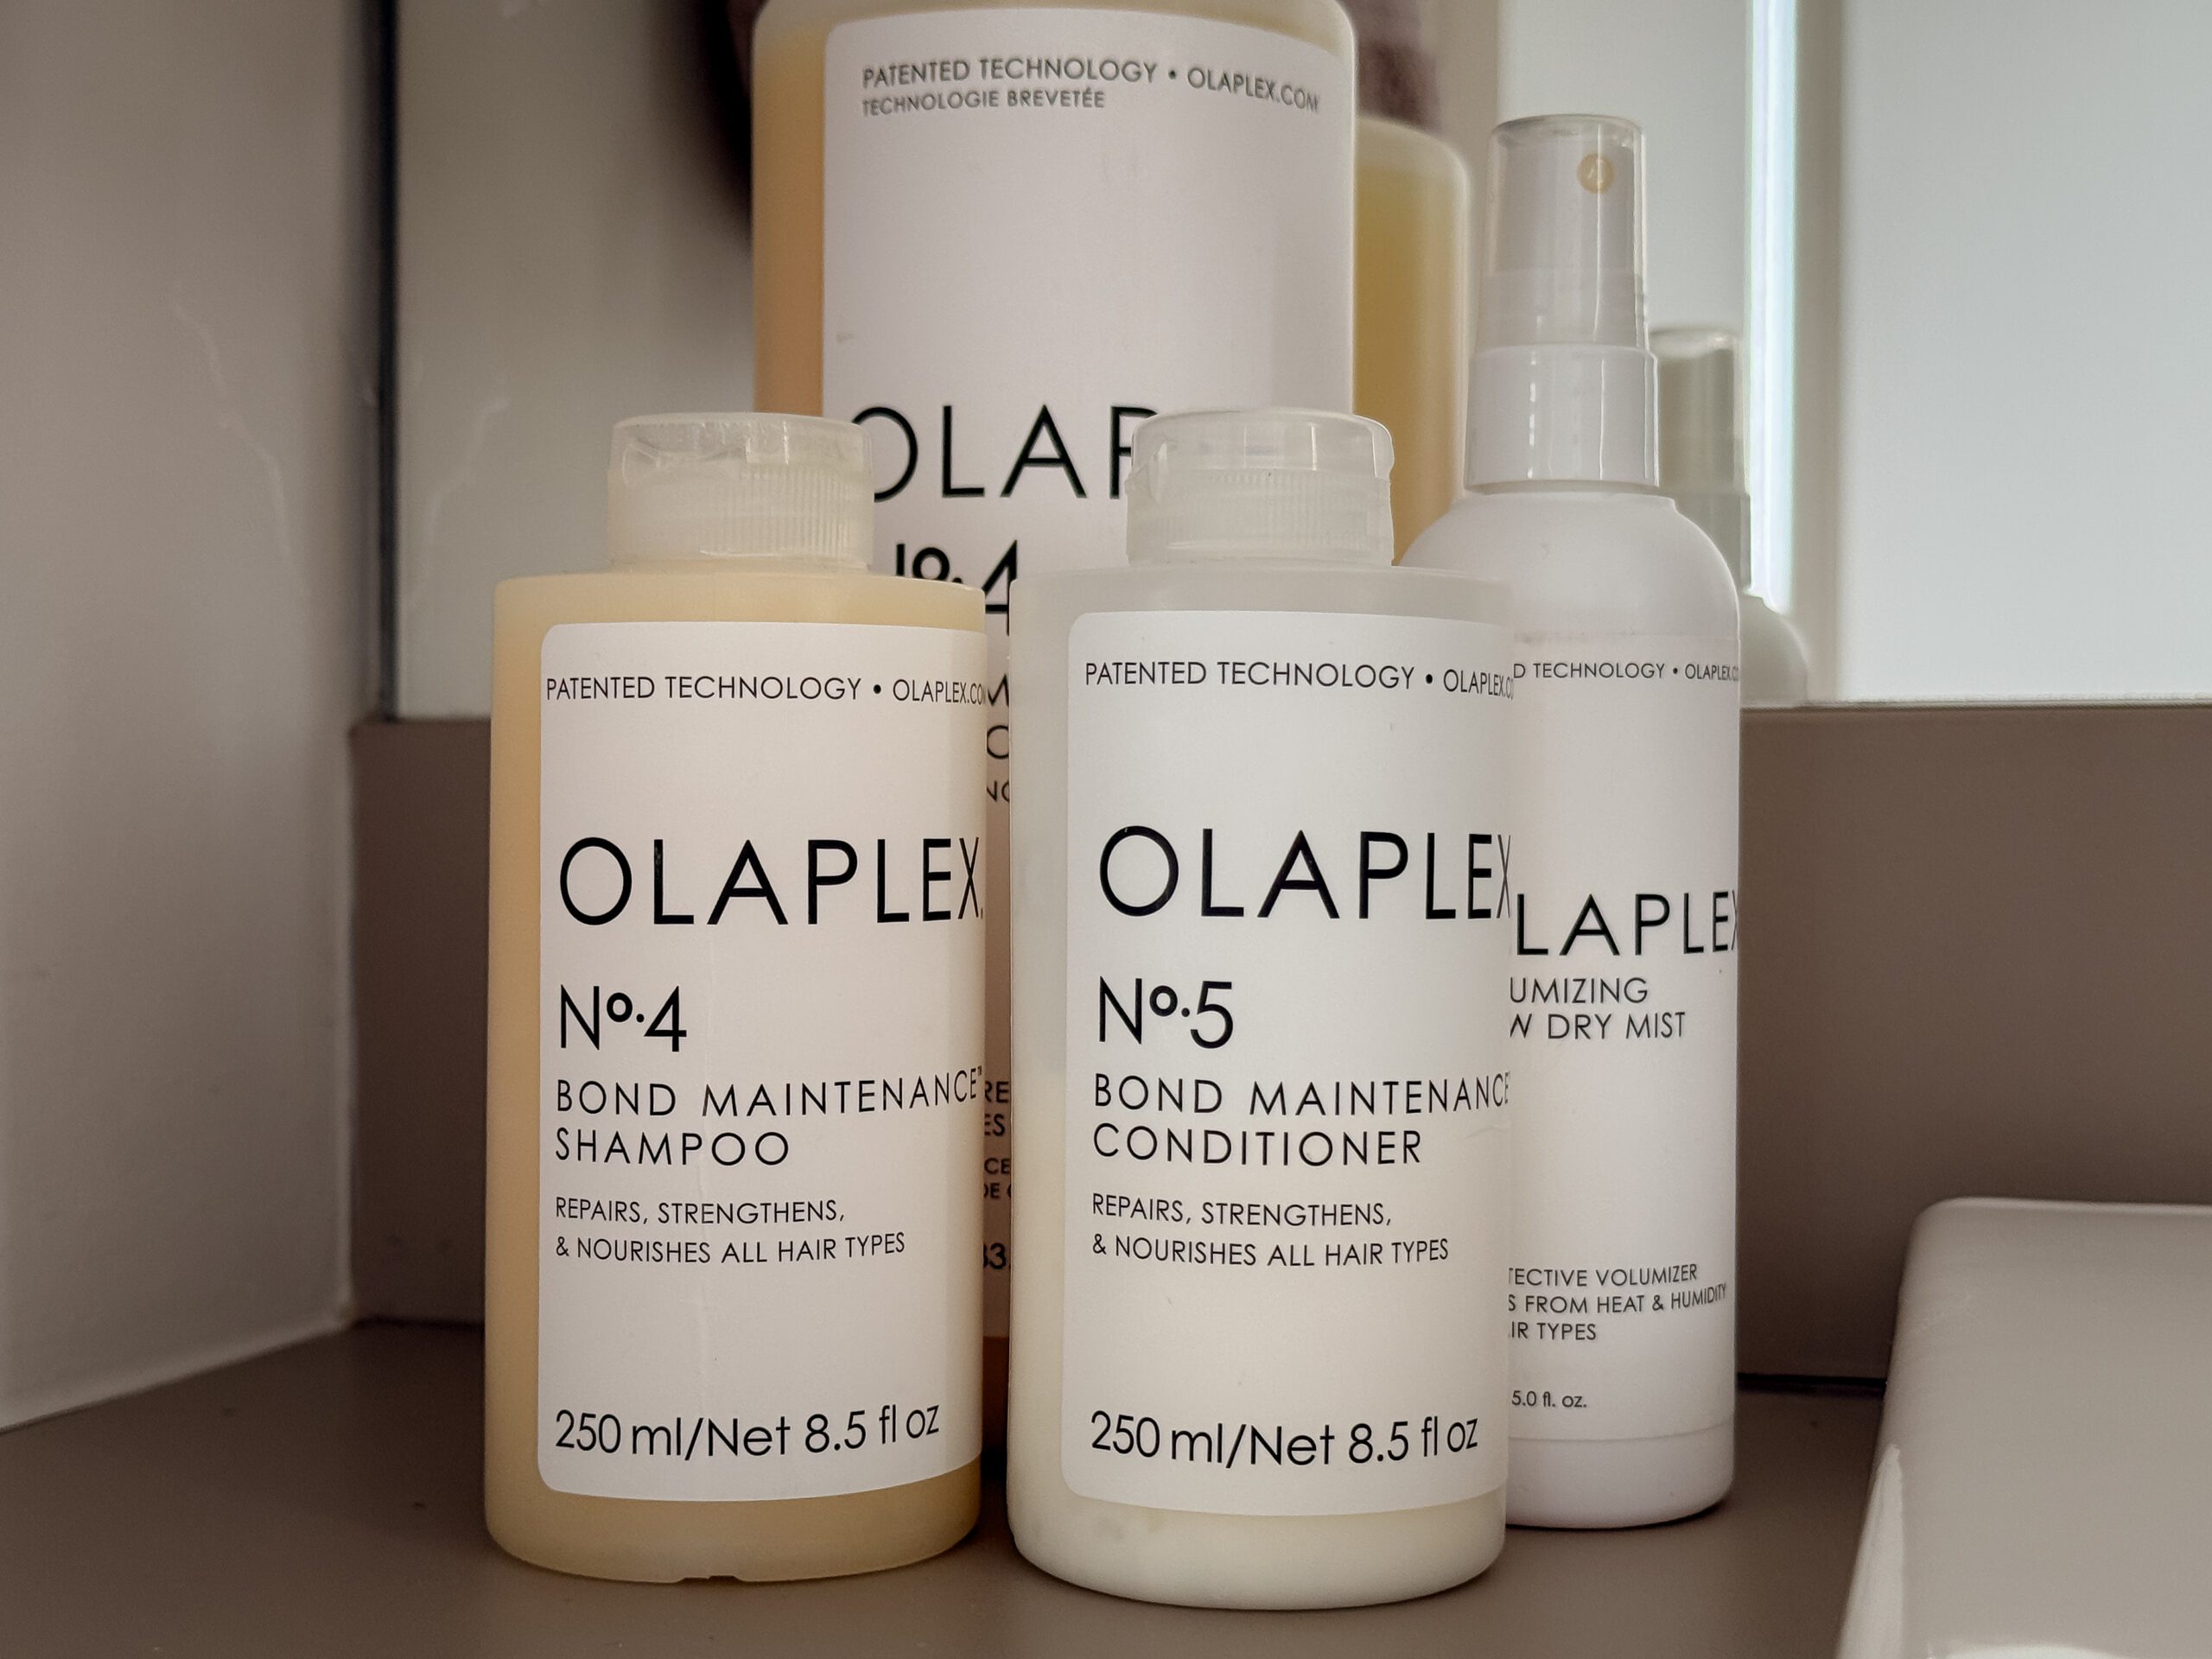
Shop the totally awesome Zebra vase:

Leave a Reply
The Sunday Letter
Most Sundays, once the house has gone quiet and it's edging towards nine, a letter goes out. It's the one I'd write to a friend with good taste and not nearly enough time: one thing worth reading, one thing worth buying, and one thing to skip. No noise, no pressure to spend, just the considered version of what I've actually been using, loving, or quietly sending back.
If you like the sort of recommendation that still holds up six months later, leave your email below and I'll write to you on Sunday.