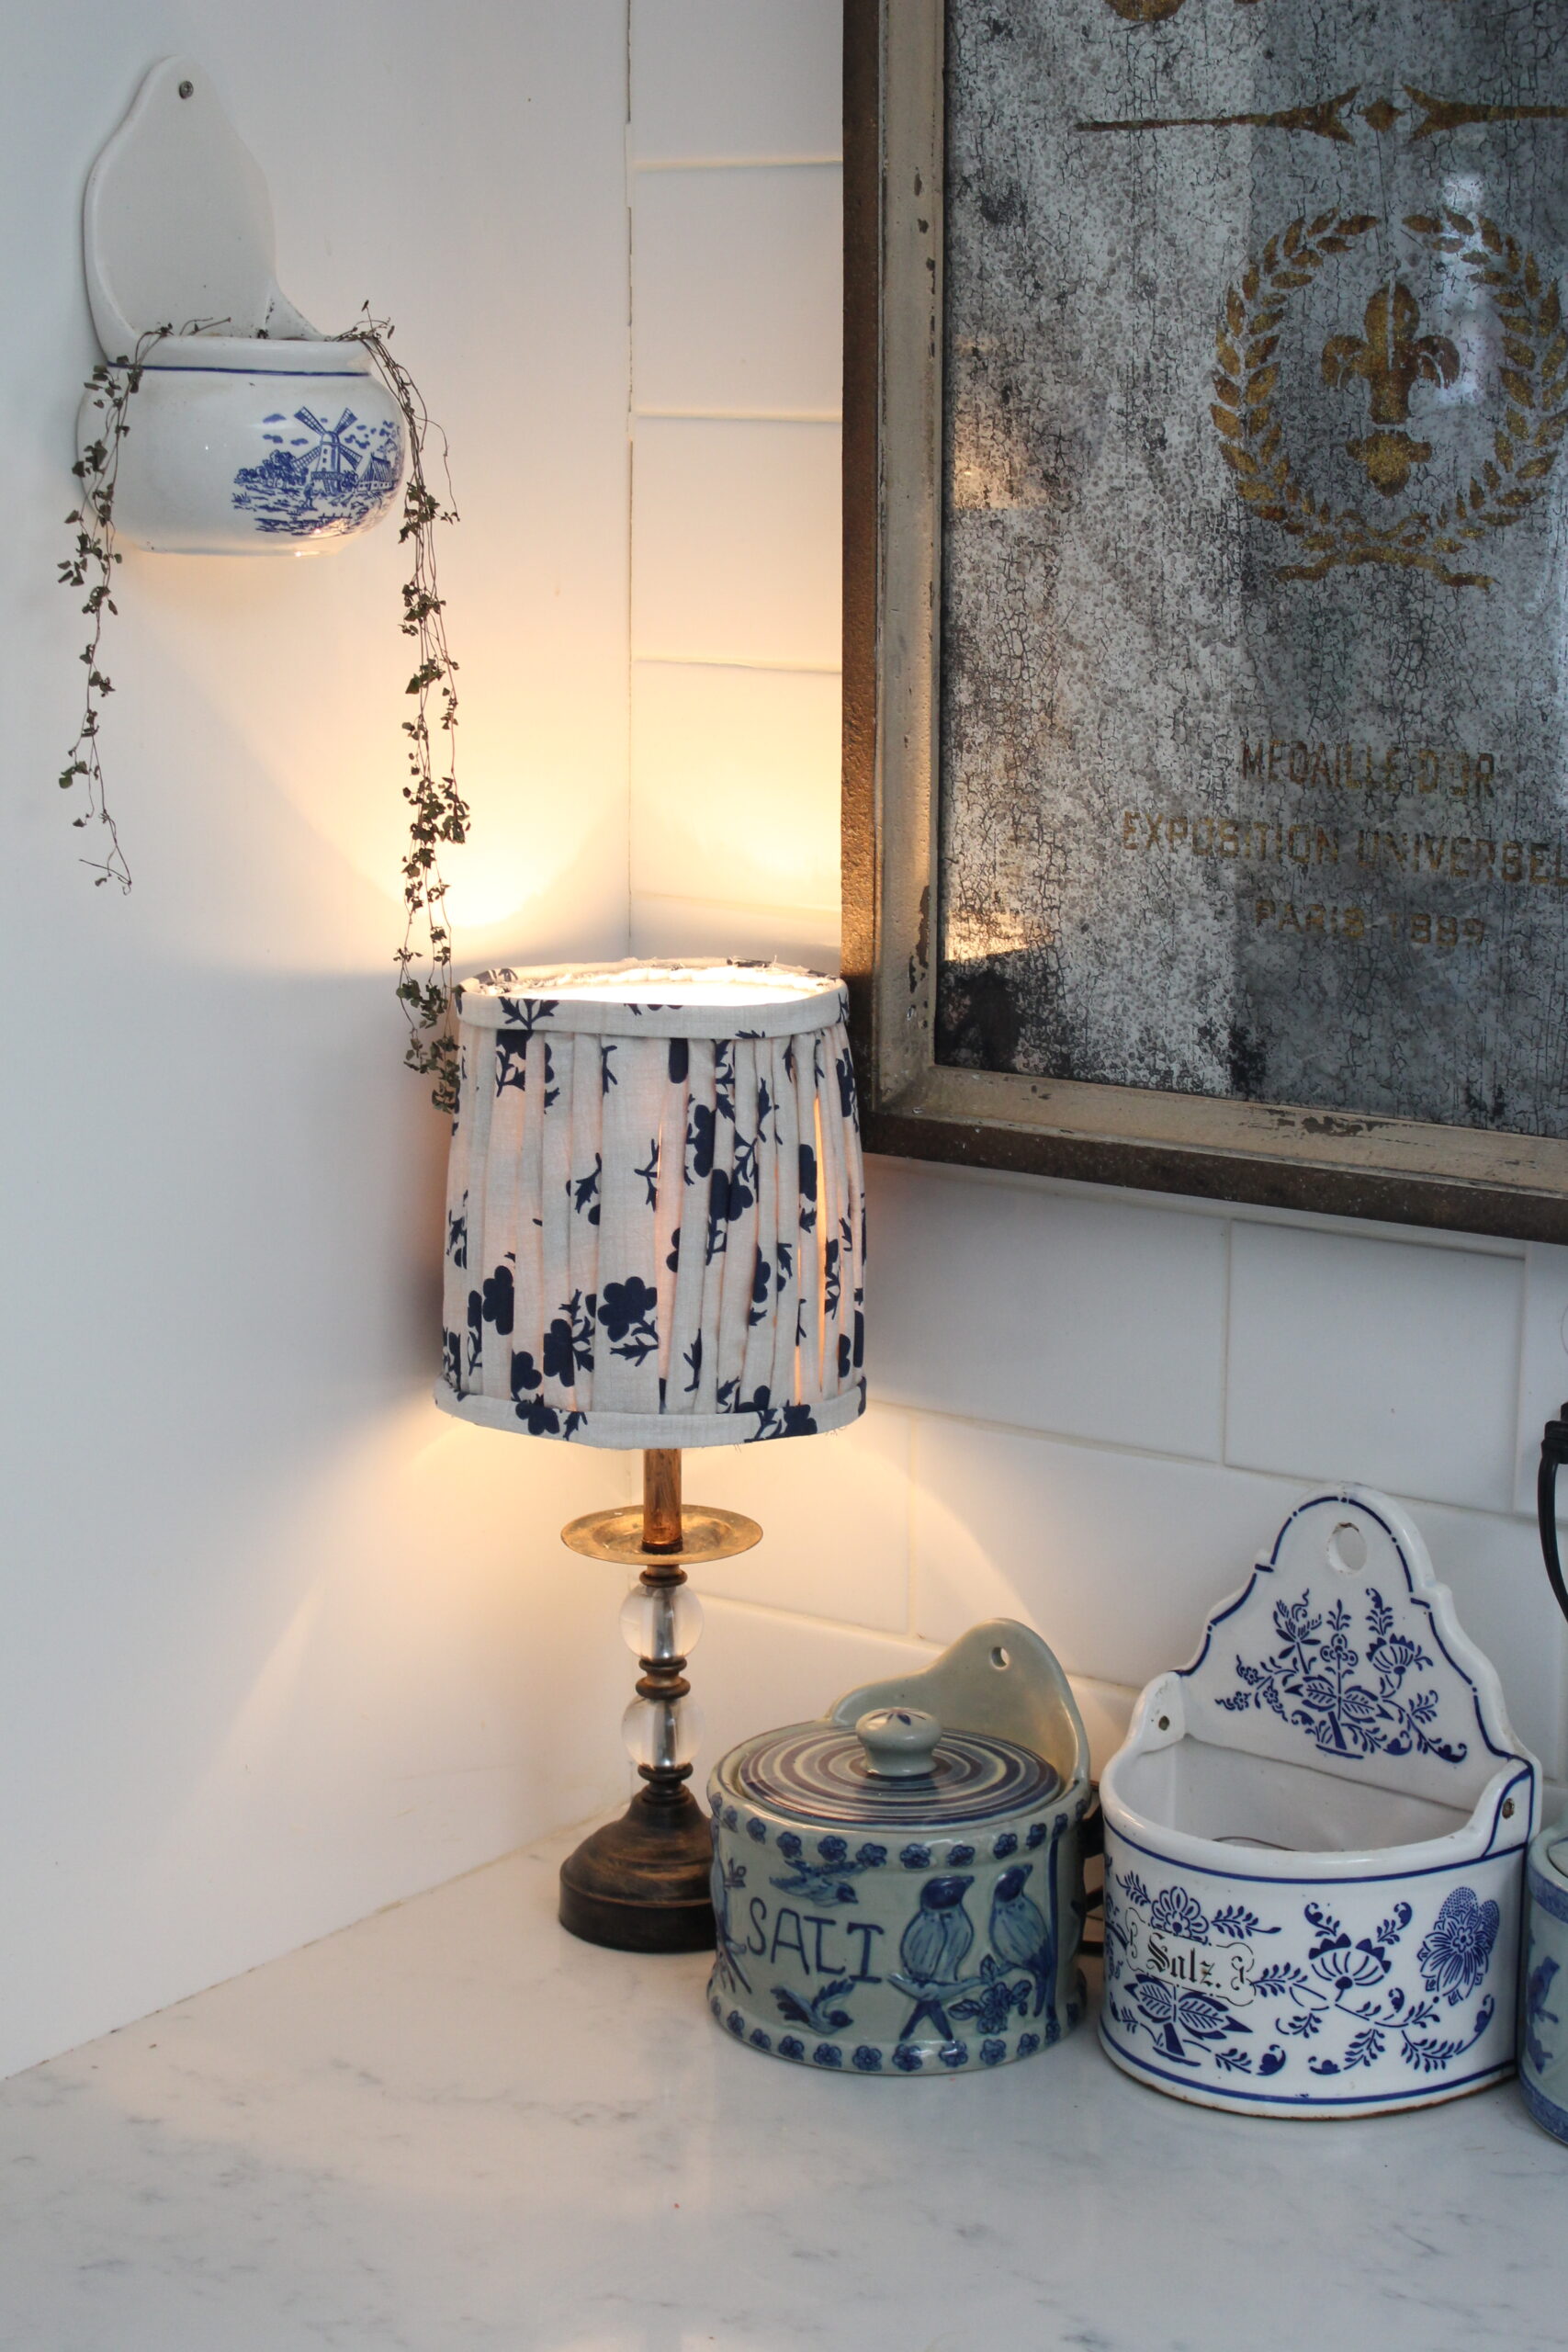
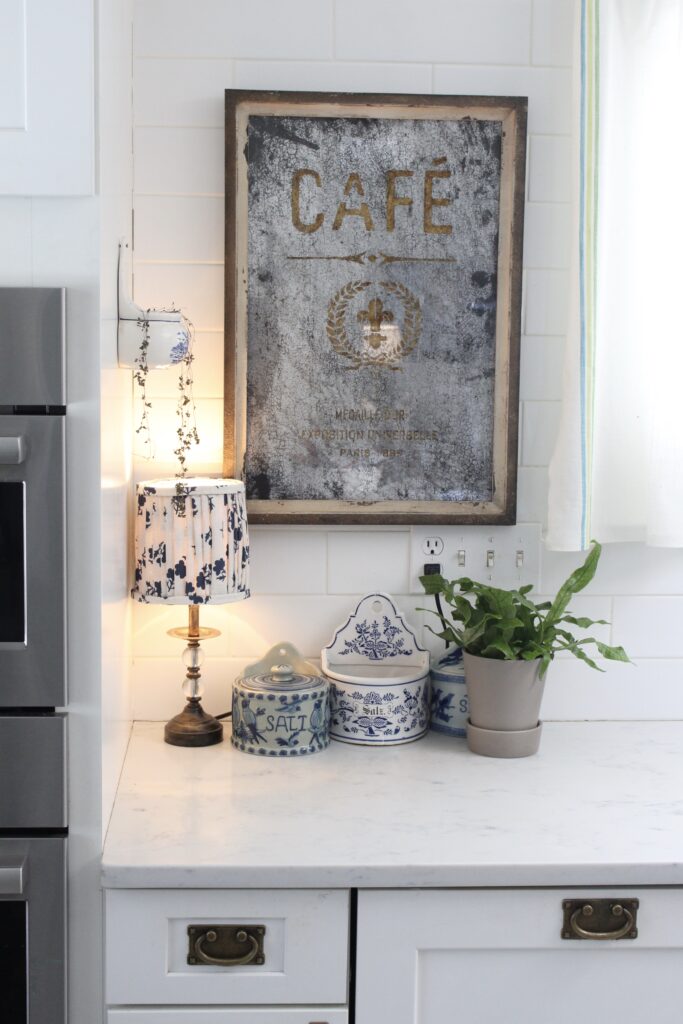
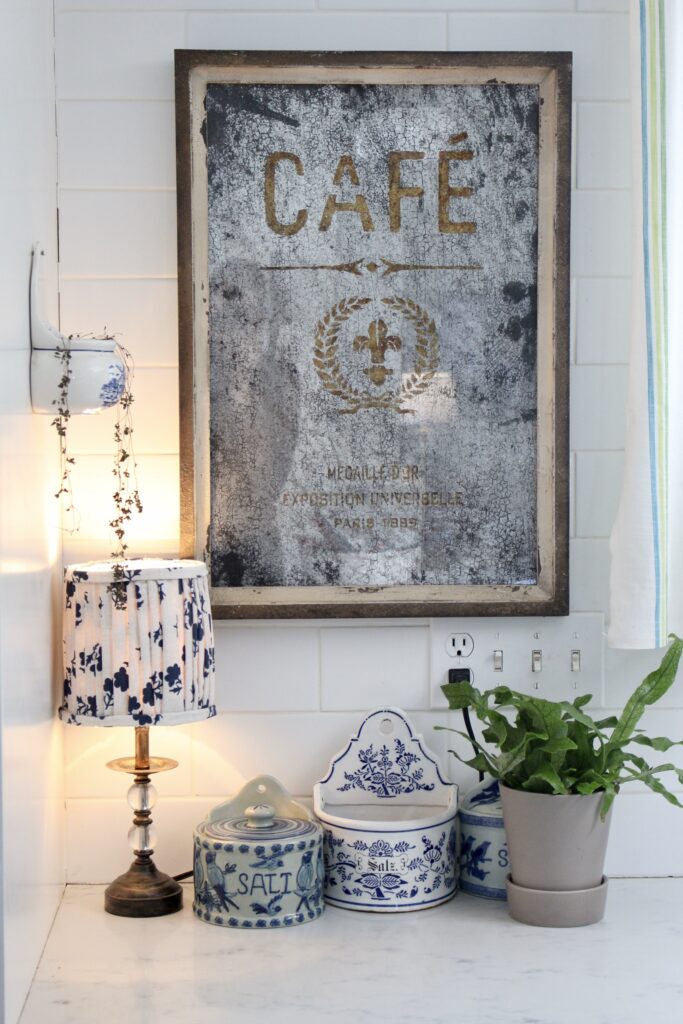
I love the look of pleated lampshades but don't love the price point! Today, I'm sharing with you a tutorial for a pleated lampshade that you can make on your own for a fraction of the cost!
DIY Pleated Lampshade Tutorial
{This post contains affiliate links, see full disclosure here.}
What You'll Need to make a pleated lampshade:
- Lampshade (LINK)– choose the size that you want for your lamp
- Pick out your favorite fabric. You will. need 2 to 3 times the diameter of your lampshade.
- Glue Gun & lots of glue cartridges (LINK)
- Double Fold Bias Tape (LINK)
Instructions: I followed the Tutorial from Sincerely Marie Designs (LINK)
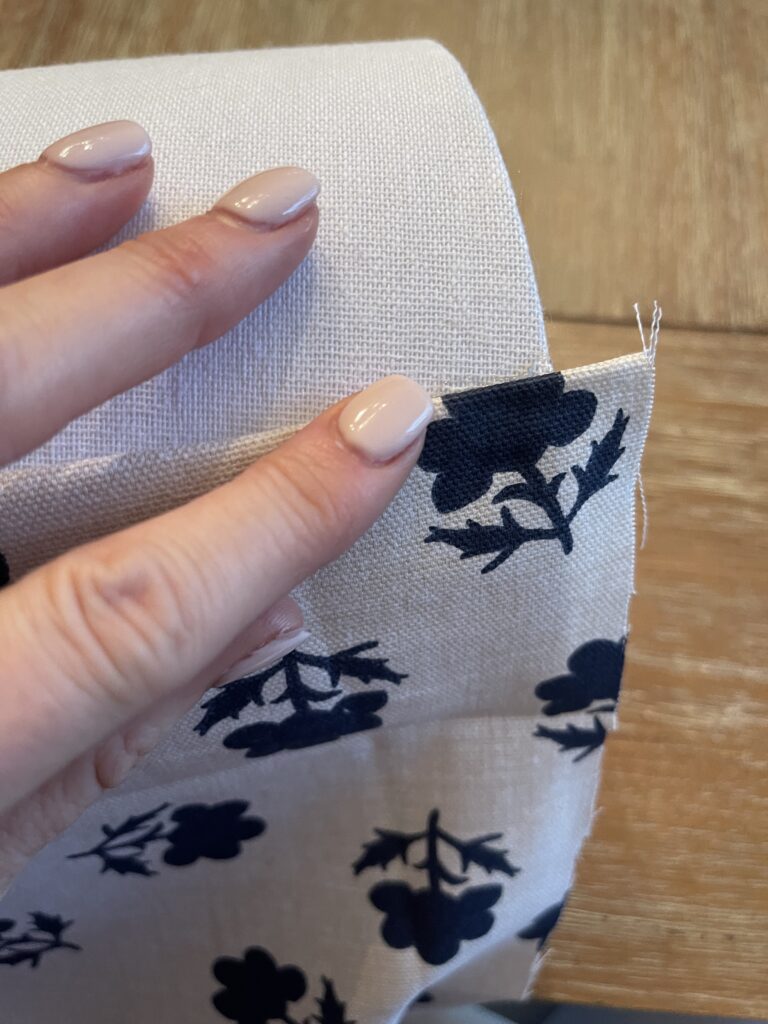
Cut the fabric to have about an inch or more overhang. Fold edge over and glue to the lampshade.
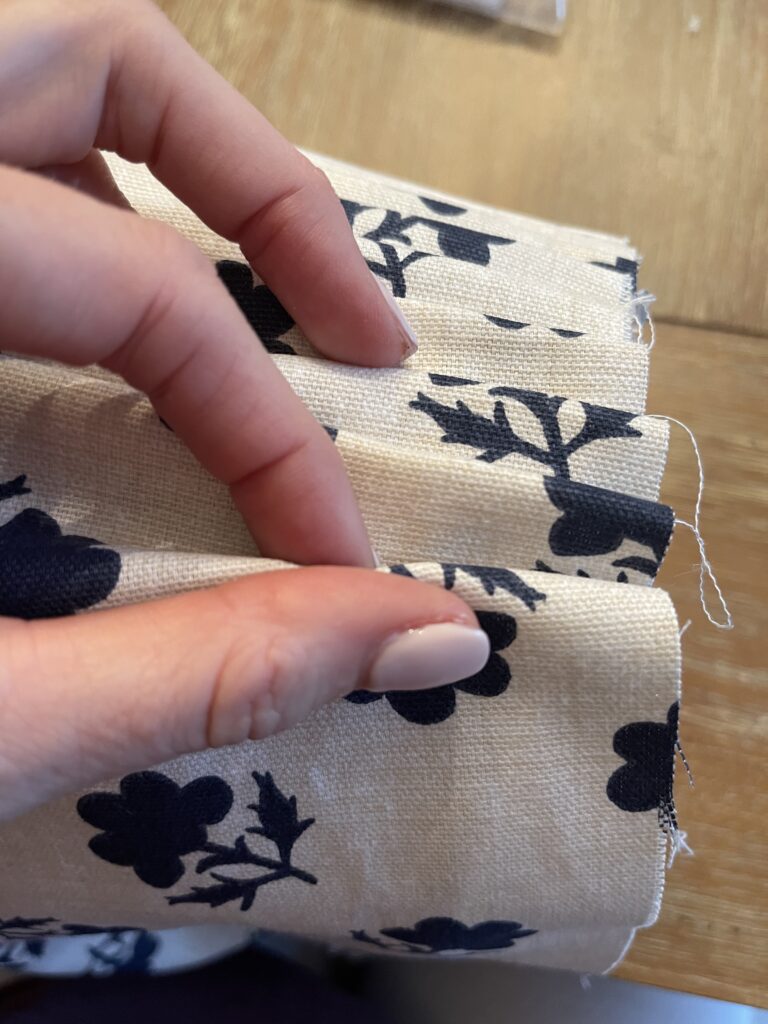
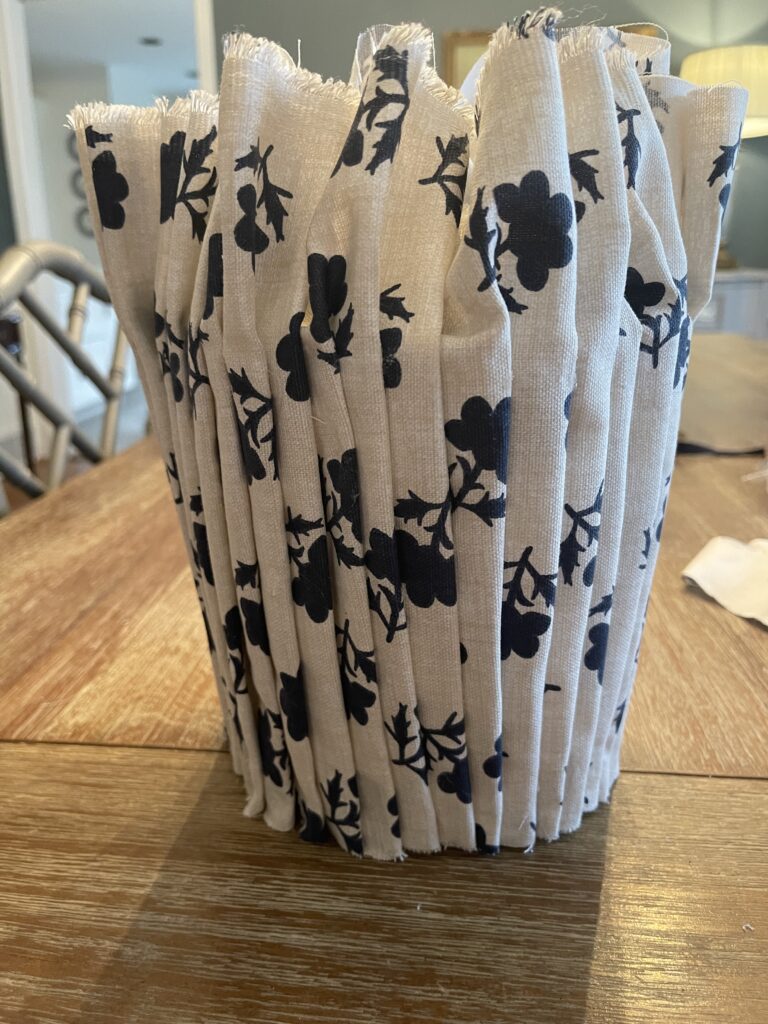
Next, fold the fabric in small pleat and glue at the top and bottom.
Continue to pleat and glue. I also sometimes glued from underneath and in-between just to get it to hold down.
If you run out of fabric and need to add more, just fold down the fabric and glue the end by running a bit of glue down the whole end. Then start again with a new folded edge right on top of it.

After you make your way all the way around, secure the last edge, trim both ends of the overhang.
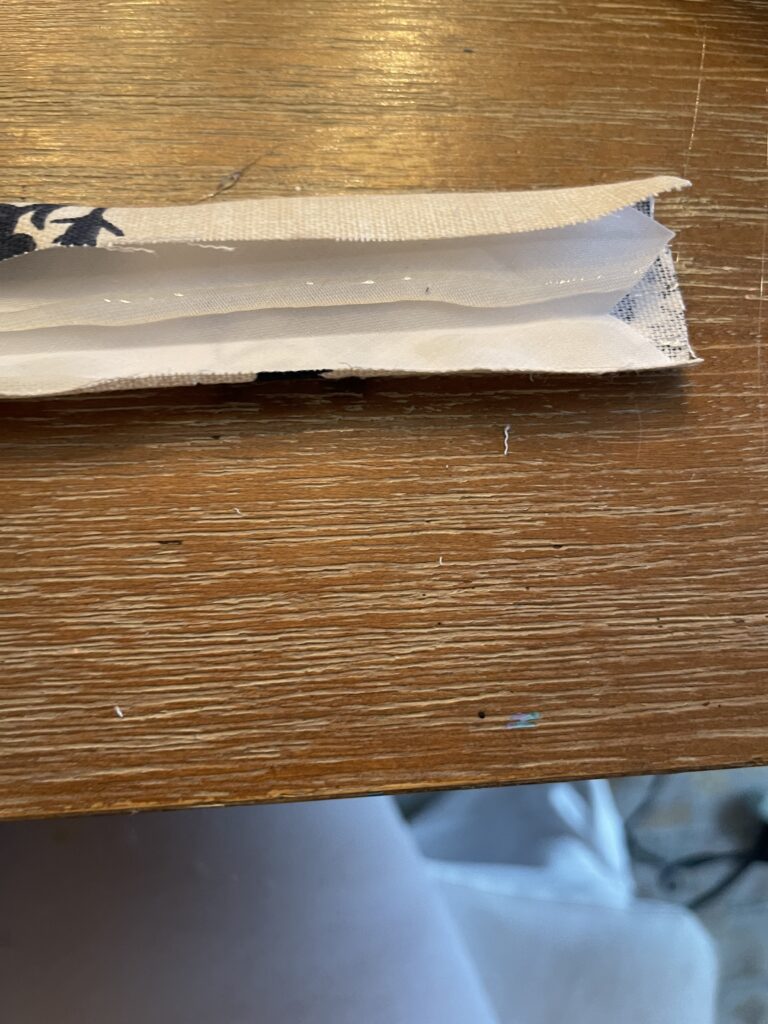
Next to do the trim edge use the bias tape and fold over a strip of fabric and glue both edges down.
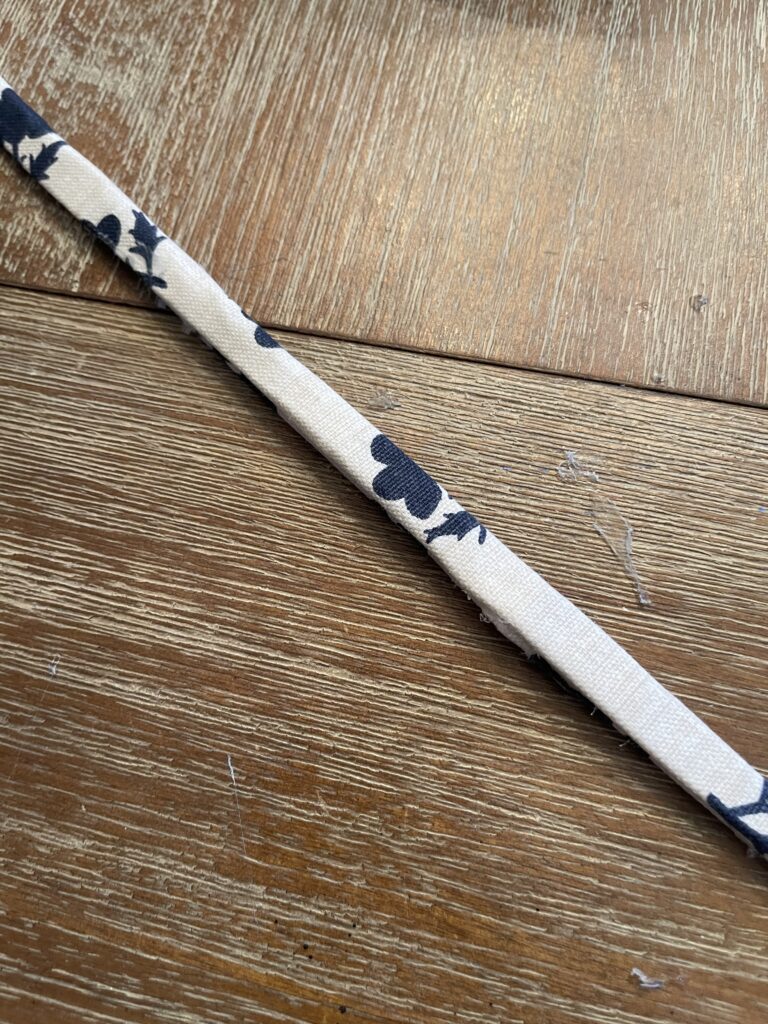
Fold again and glue until you have a clean edge of trim.
Glue the trim pieces on the edge and trim any extra threads hanging.


Not perfect but for the first try I really love how it turned out. For a couple of yards of fabric and trim, you have a custom shade at a extremely good price point!

Shop This Project
Leave a Reply
The Sunday Letter
Most Sundays, once the house has gone quiet and it's edging towards nine, a letter goes out. It's the one I'd write to a friend with good taste and not nearly enough time: one thing worth reading, one thing worth buying, and one thing to skip. No noise, no pressure to spend, just the considered version of what I've actually been using, loving, or quietly sending back.
If you like the sort of recommendation that still holds up six months later, leave your email below and I'll write to you on Sunday.