I'm Gillian, a Scotland based home & lifestyle blogger. Follow along as I navigate this new journey sharing my life from home.


Hi friends! Thanks for the book recommendations yesterday. I feel re-energized to try out some of the books you told me about! Keep the recommendations coming, as I am always looking for new reads!
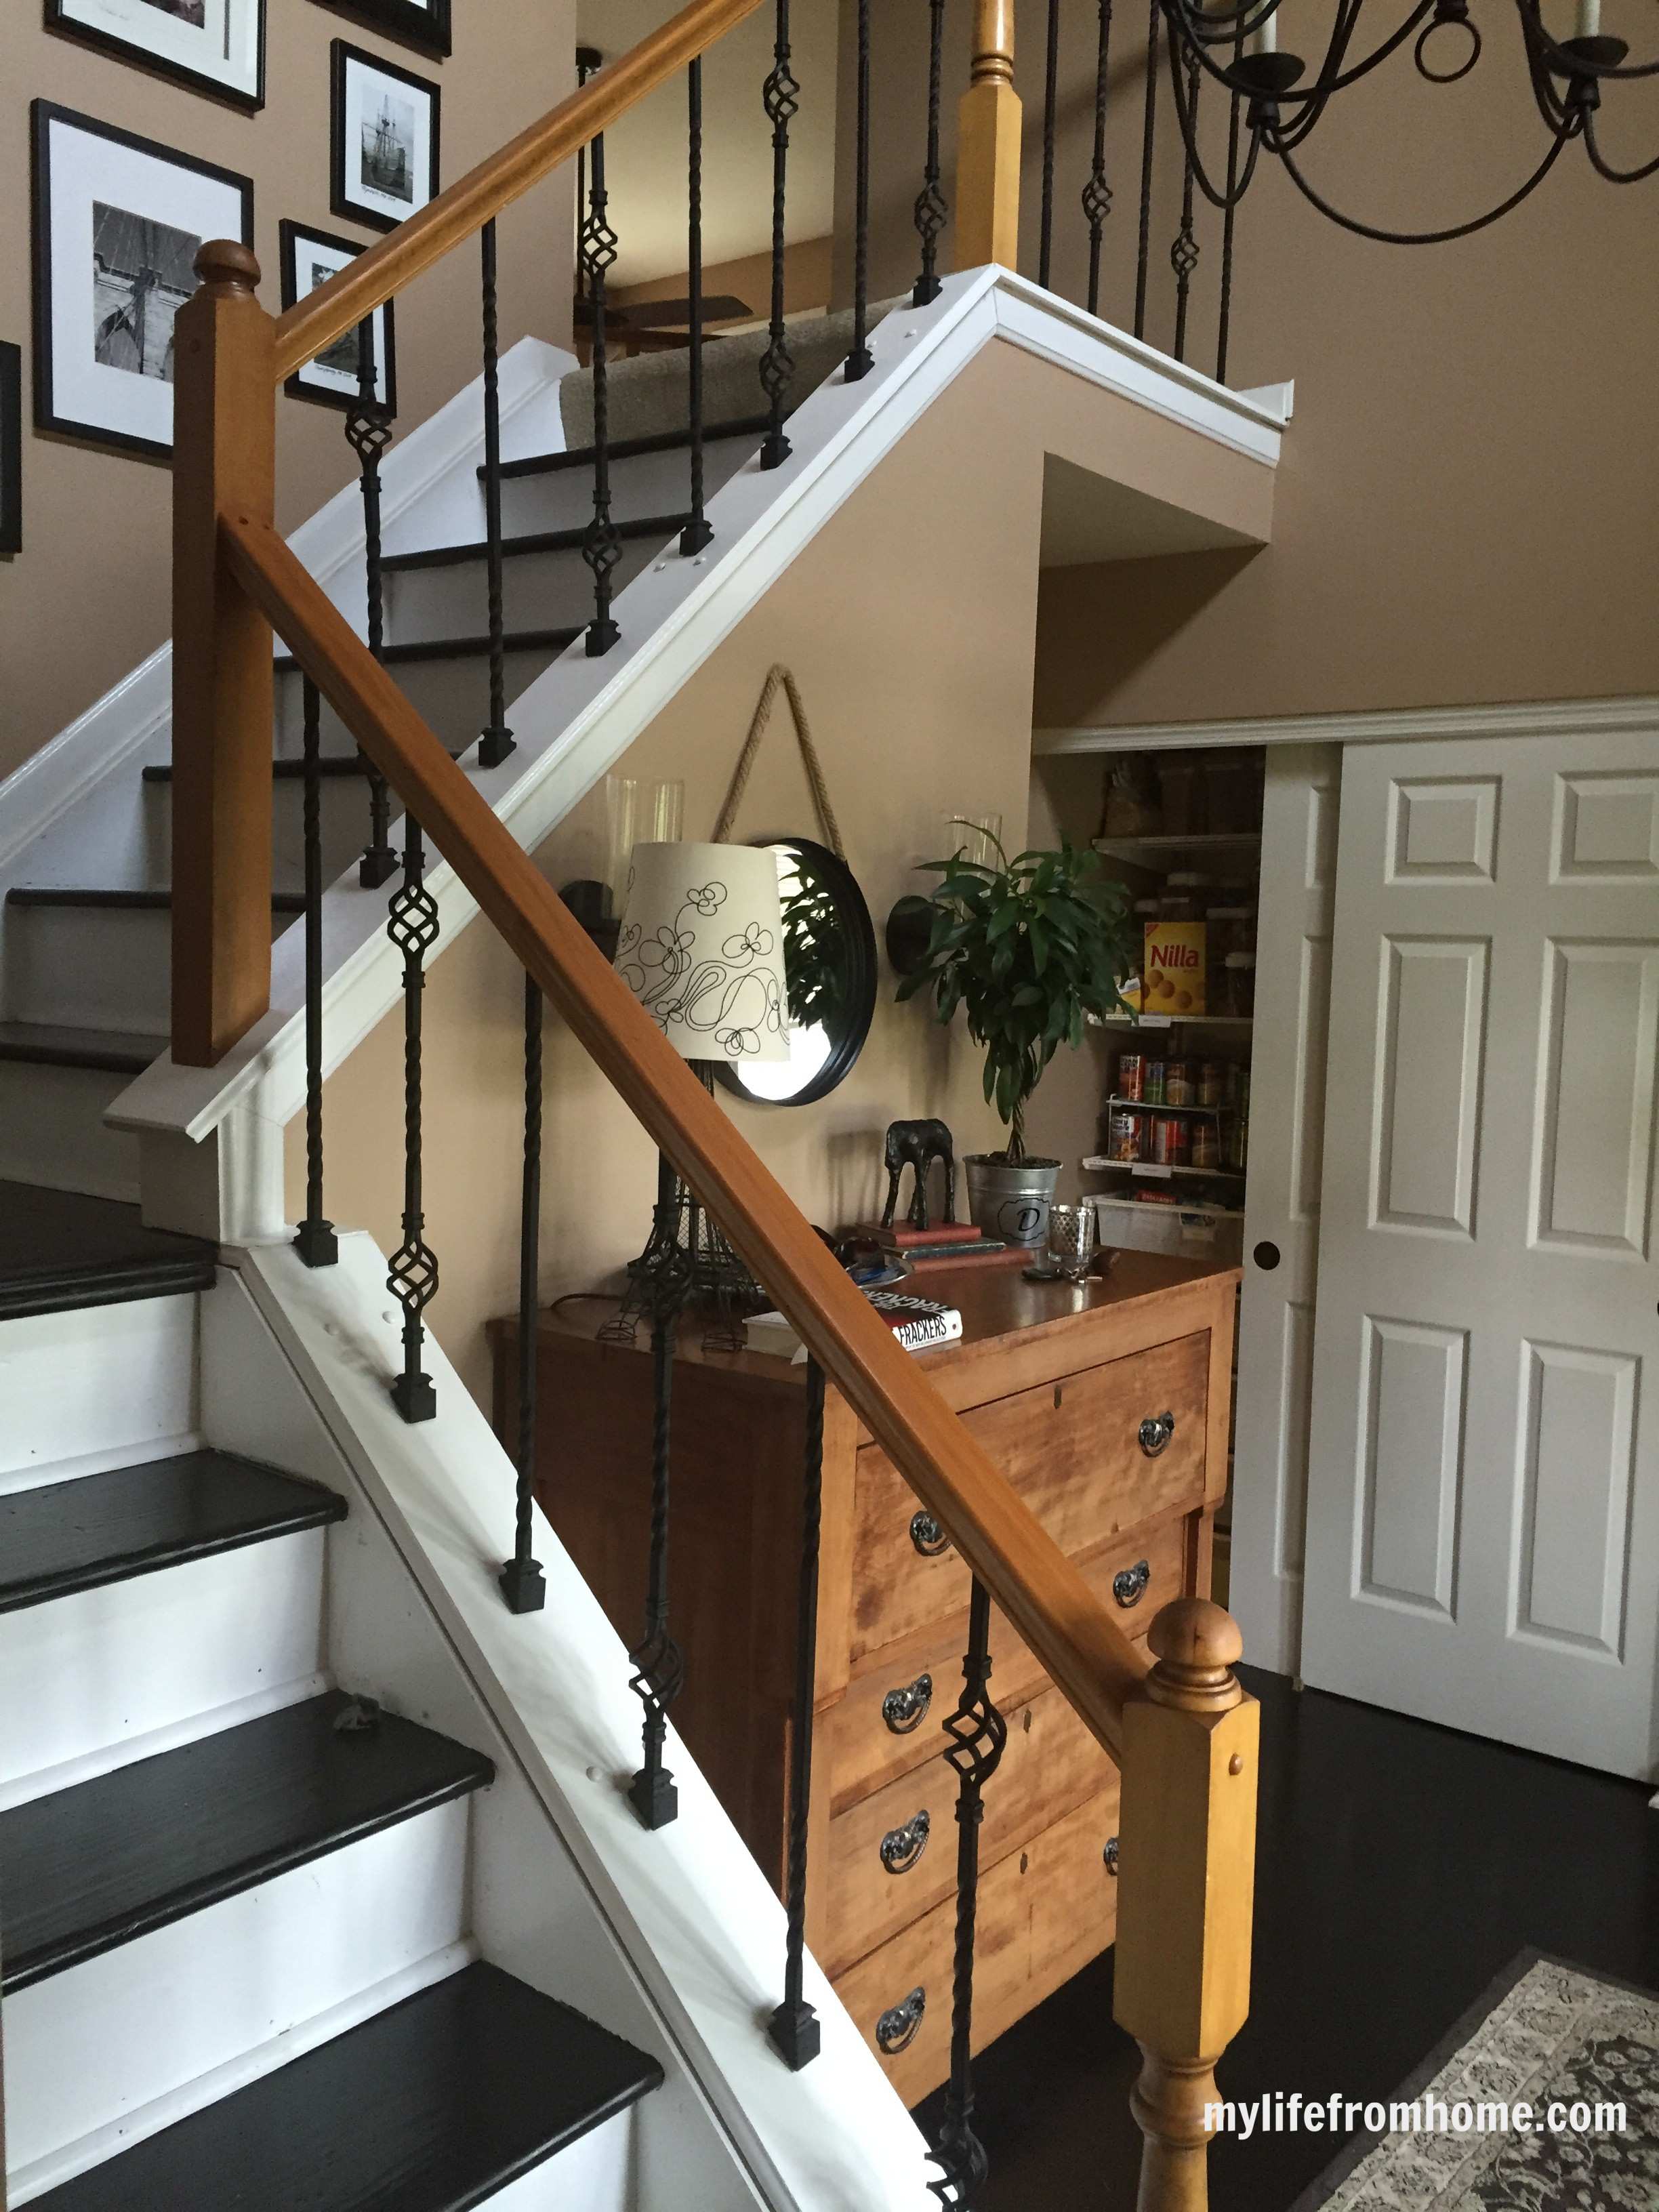
Today I am sharing a DIY home project. Not the most fun and glamorous project, but sometimes those small projects actually make the most impact. I alluded to this project in this Home Projects Galore post, but thought it would be a good post to explain the procedure in more detail. We recently had our oak spindles replaced with wrought iron ones. That along with a coat of paint on the bottom made a huge difference in the look and updated the whole space.
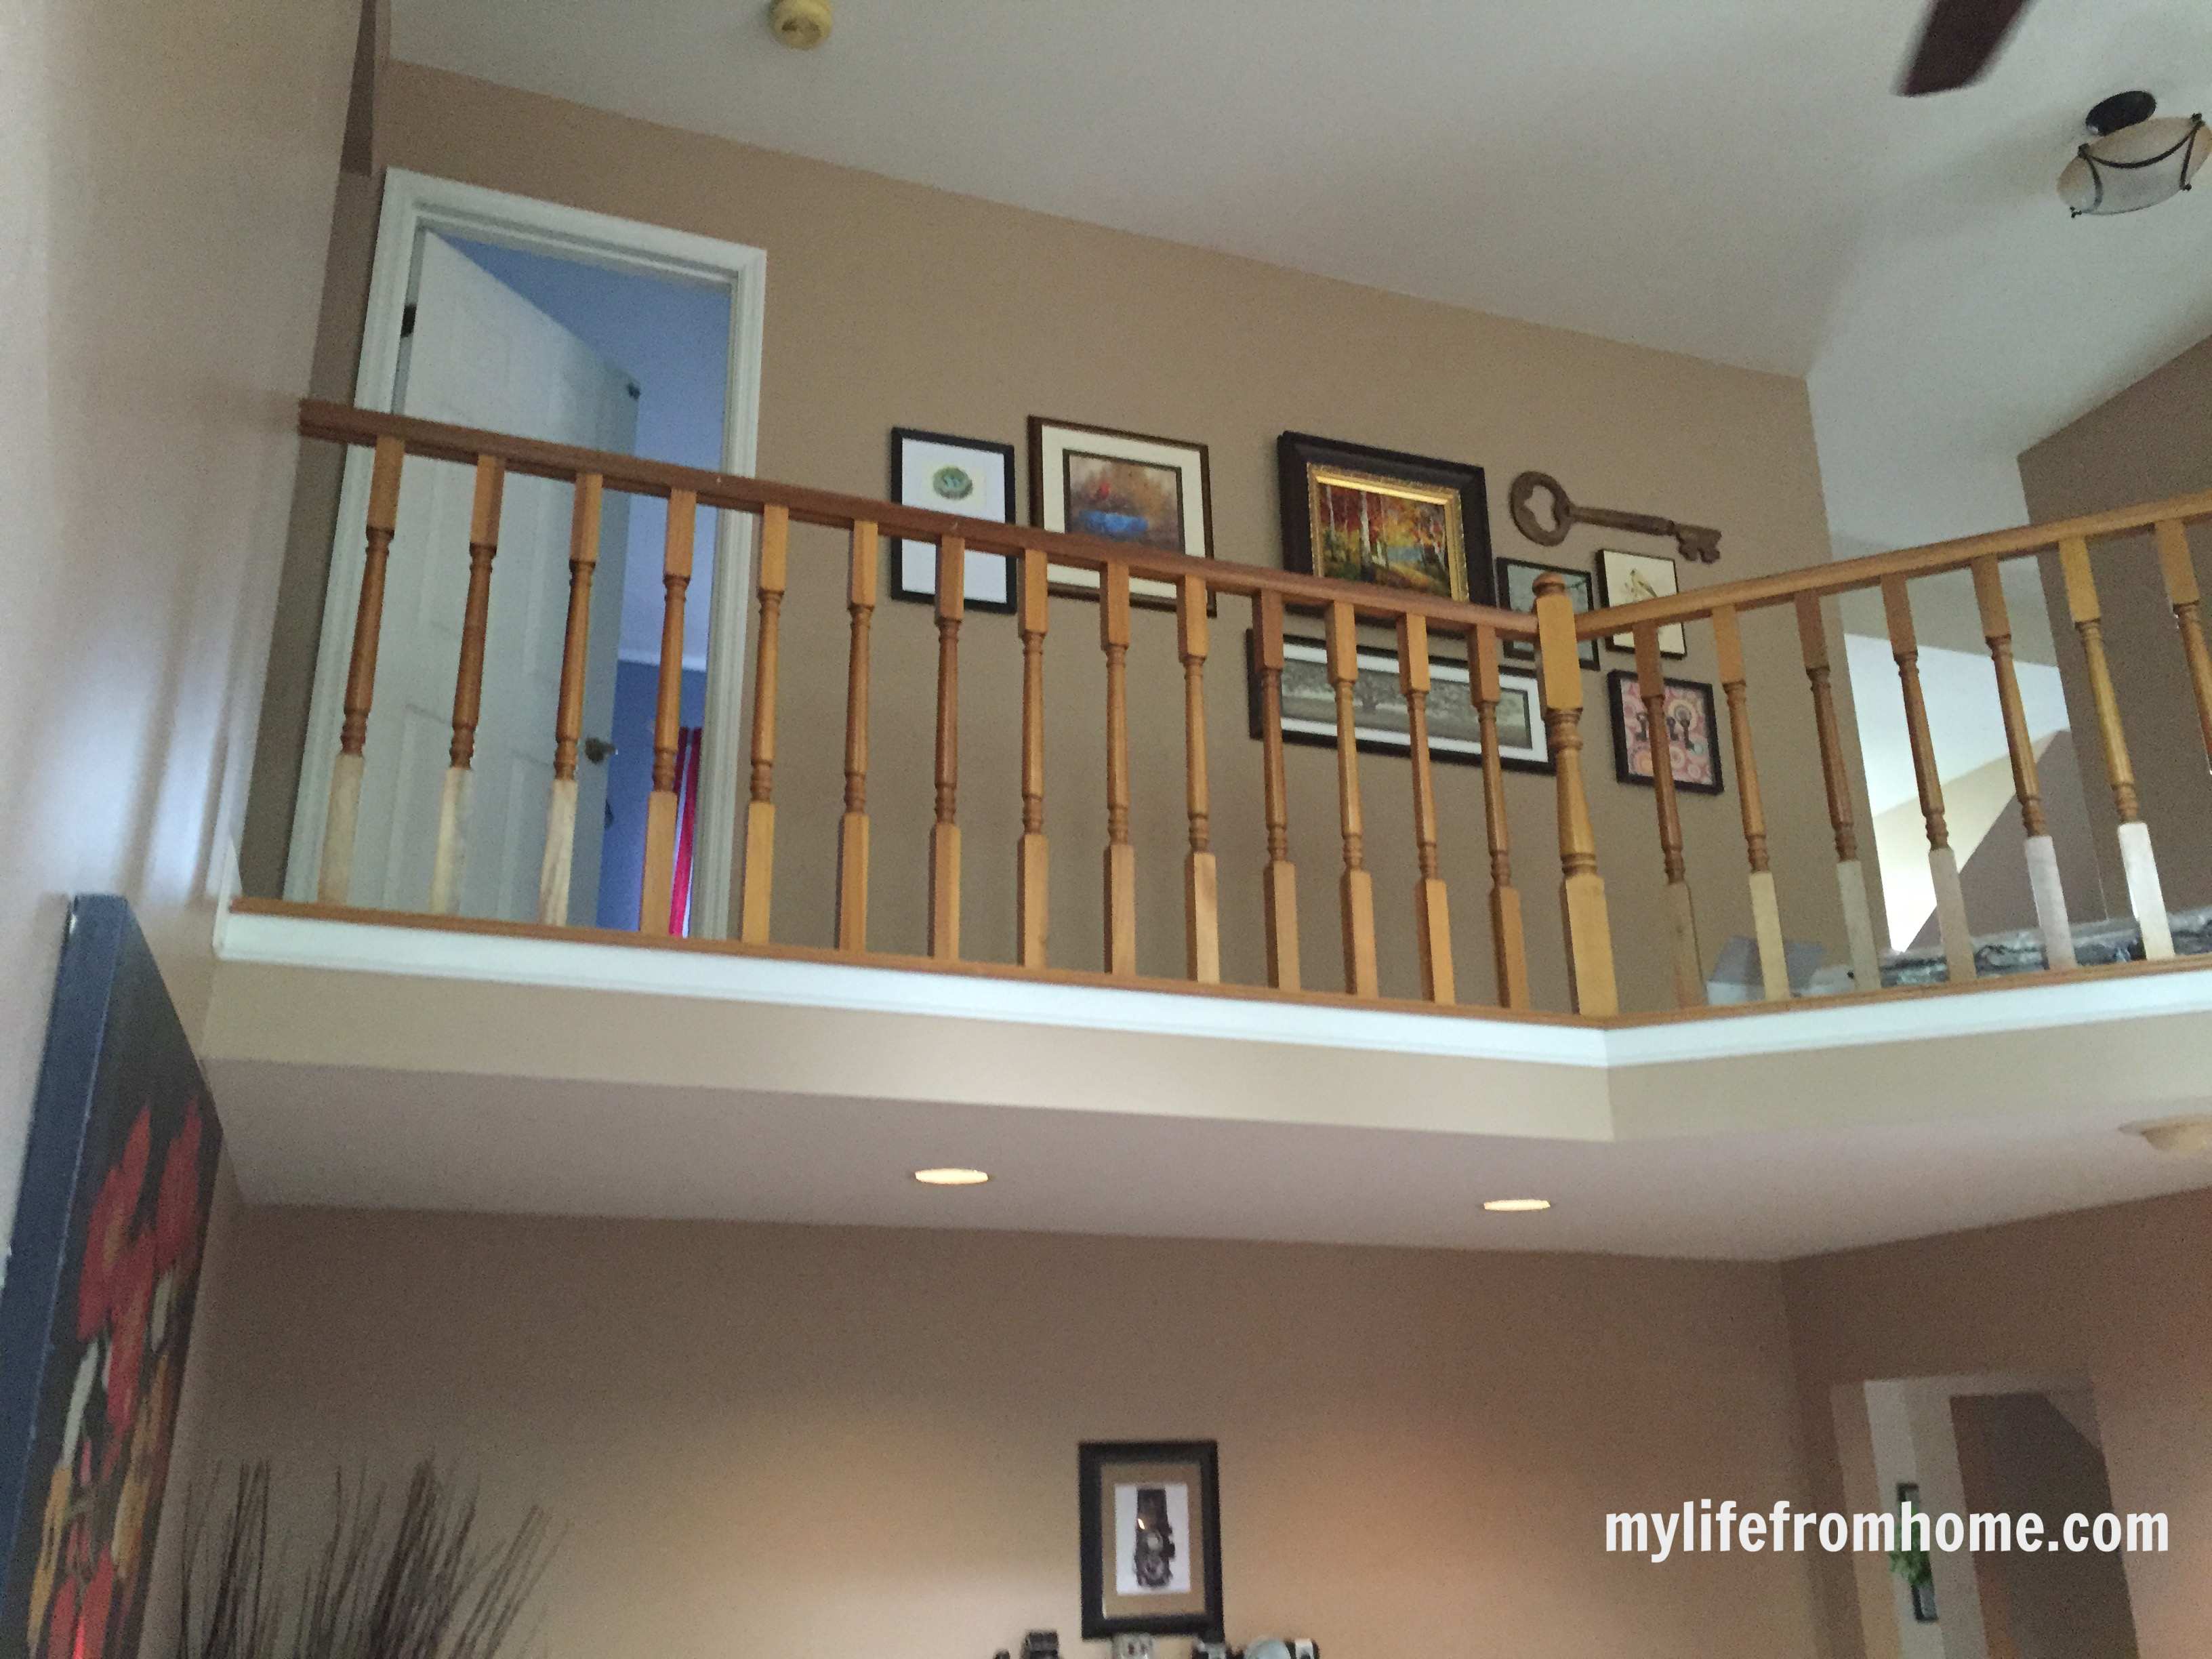
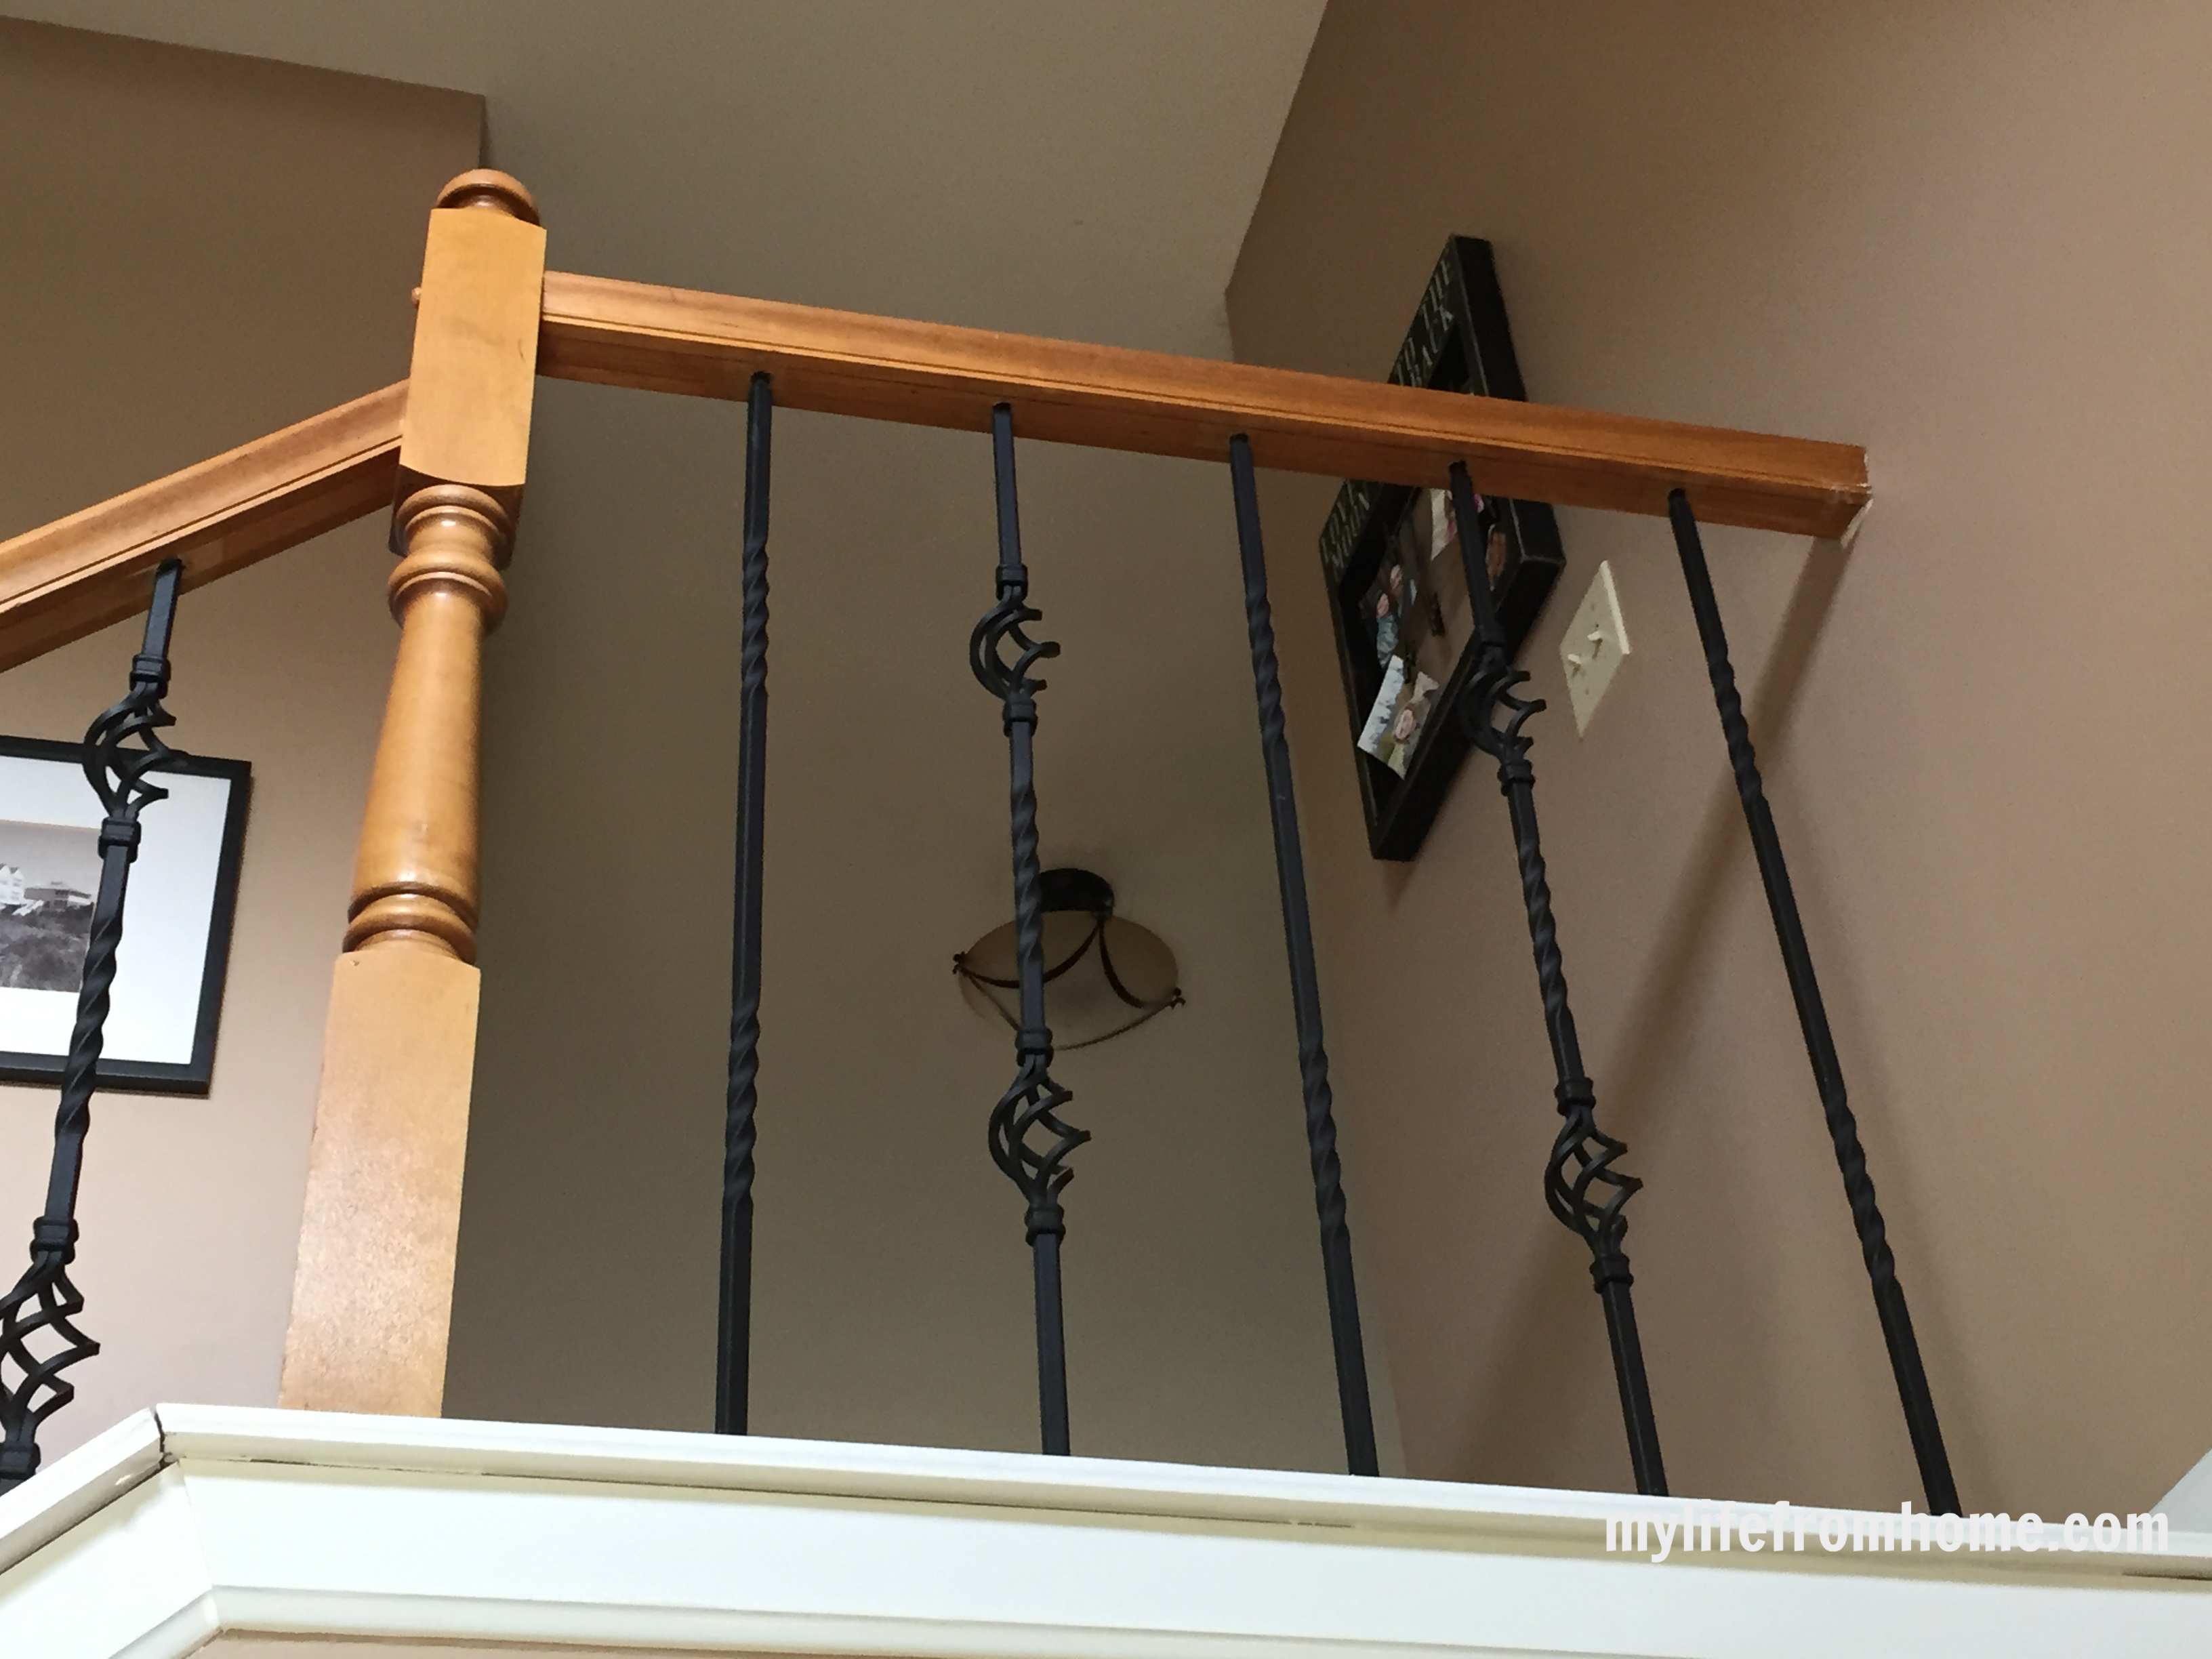
We have a lot of railing in our house. Our upstairs is open to our family room below so when you look up, you used to see an expanse of oak.
Here is the before shot.
Our contractor actually completed this project, but I watched him do it and thought I’d share the steps with you. If you have the right tools and enjoy a DIY project, you can completely do this one yourself.
Our new spindles were purchased at Lowes and we did a double barrel followed be a twist alternating them. They are the matte black look.
First step is to use a reciprocating saw to saw off the old spindles.
Screws at the bottom of the spindle should be removed.
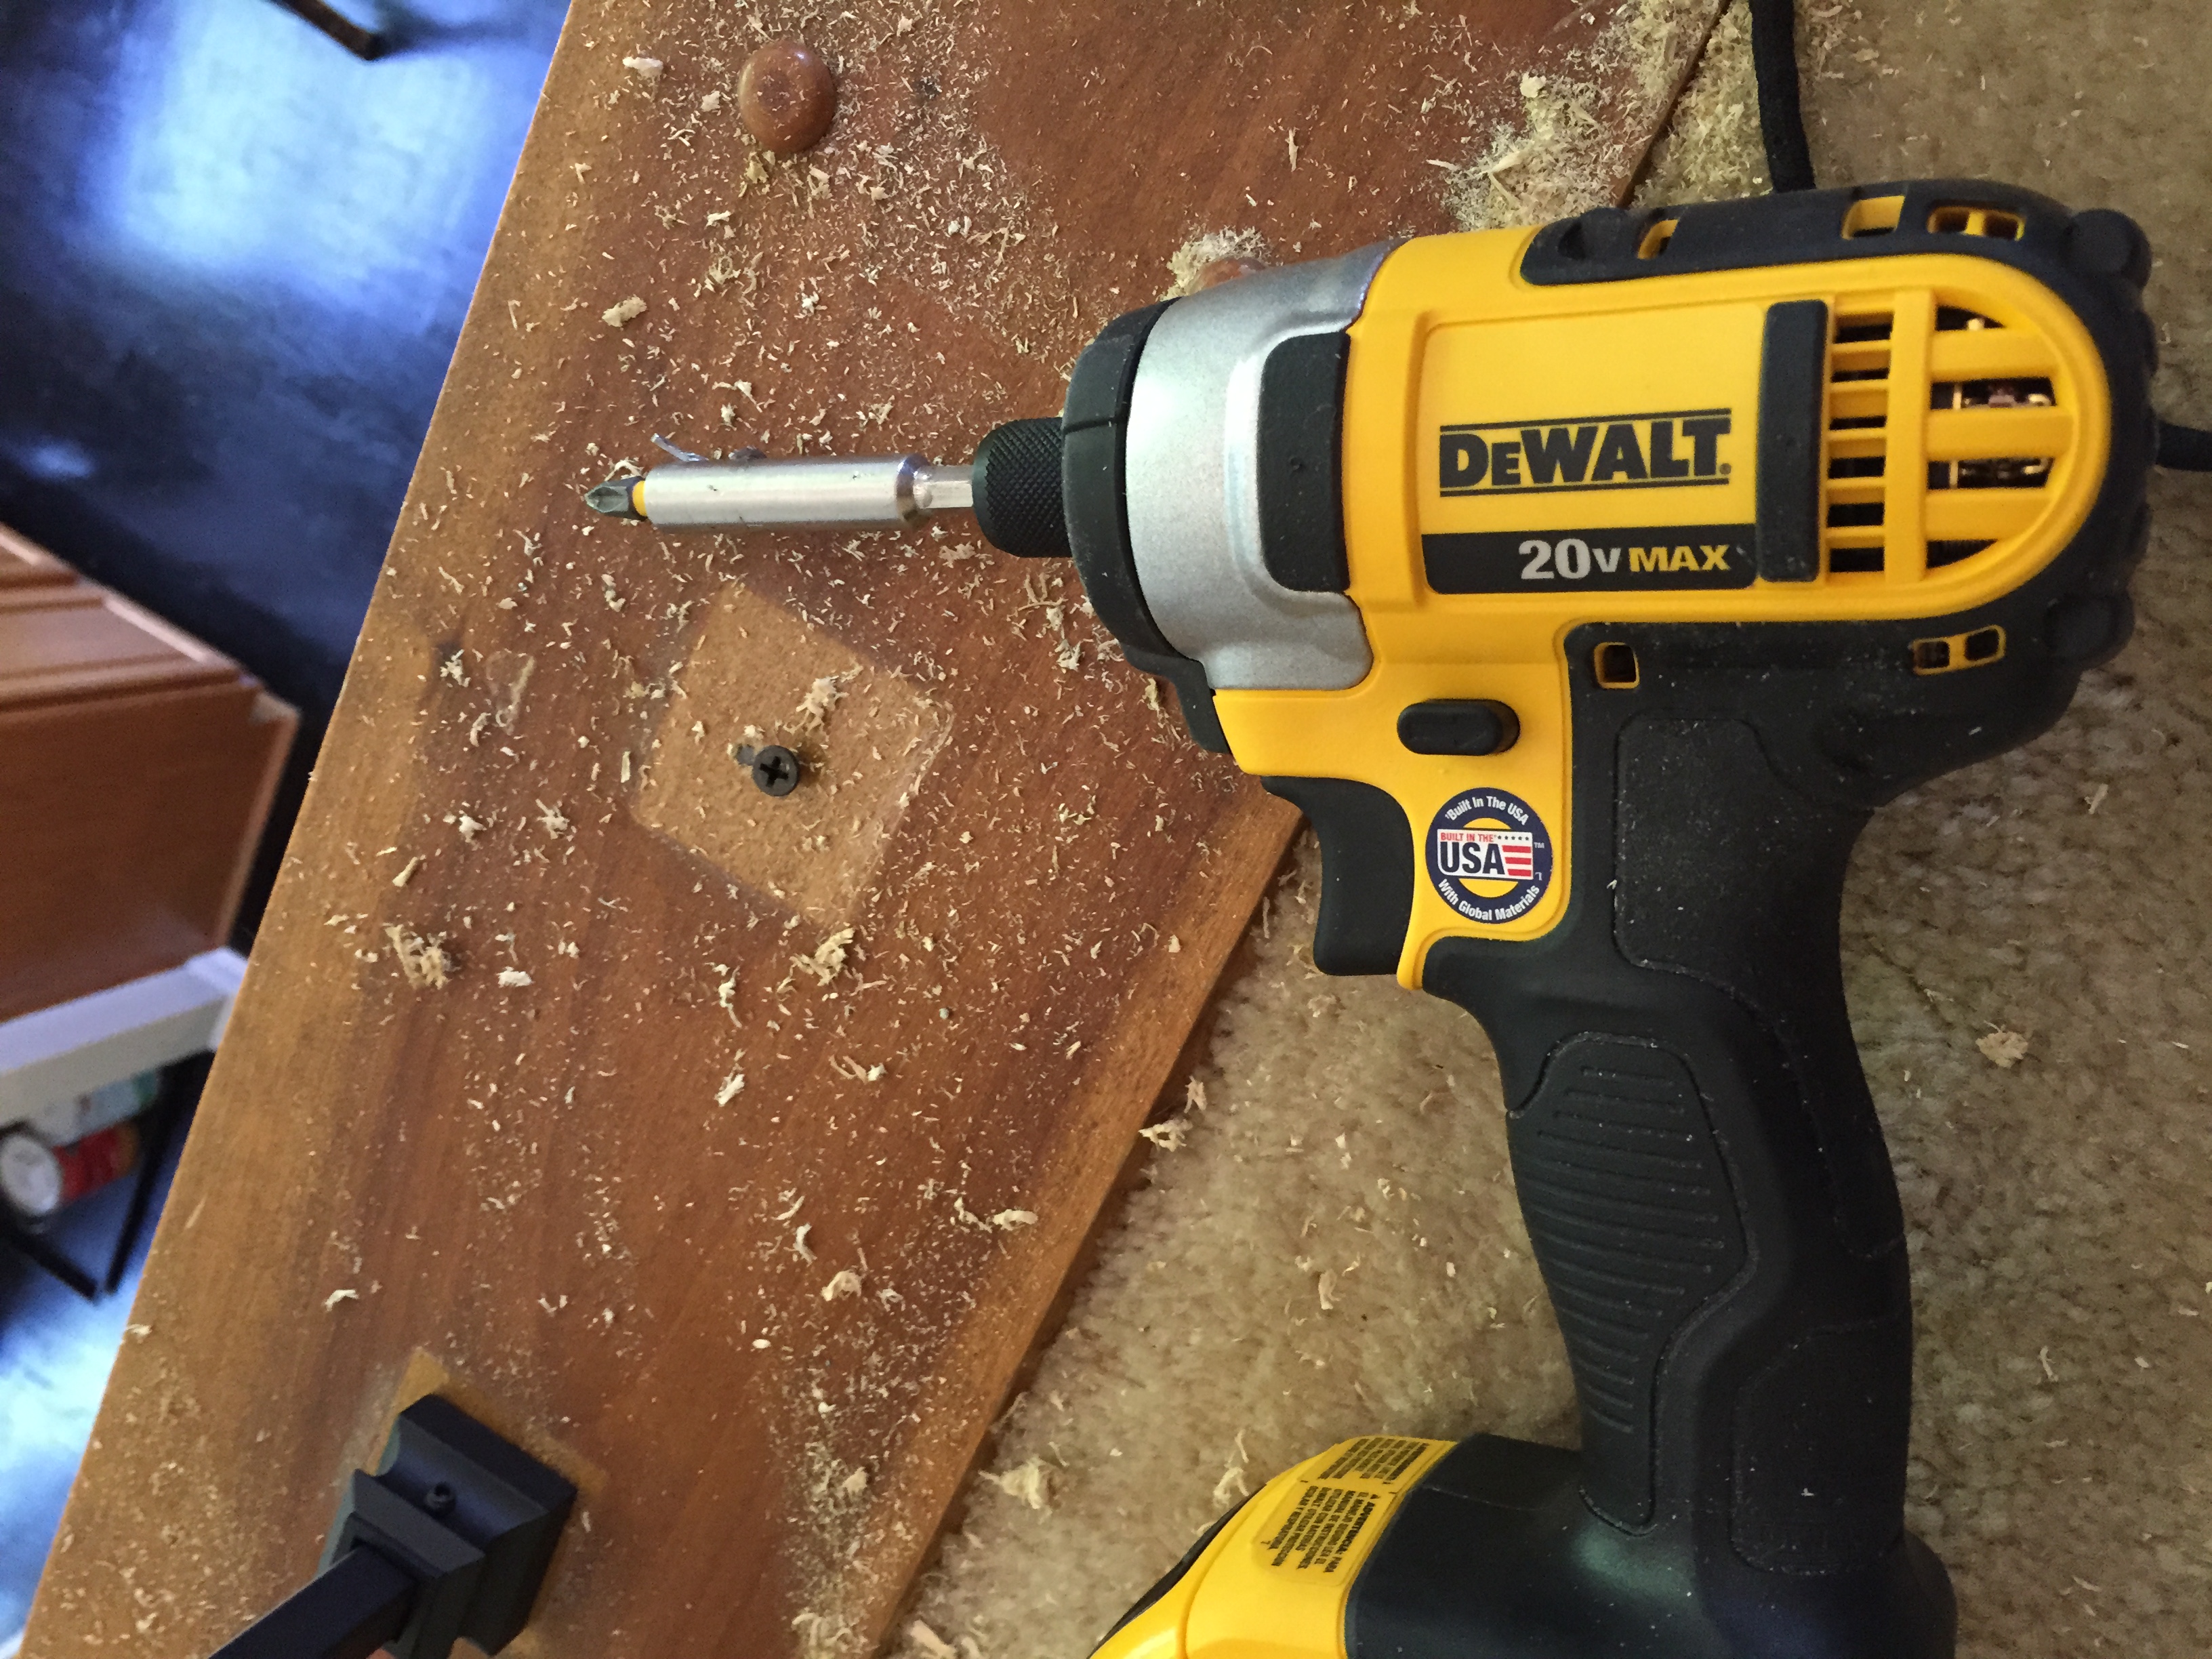 Using liquid nail attach the shoes to the bottom and then screw them in place.
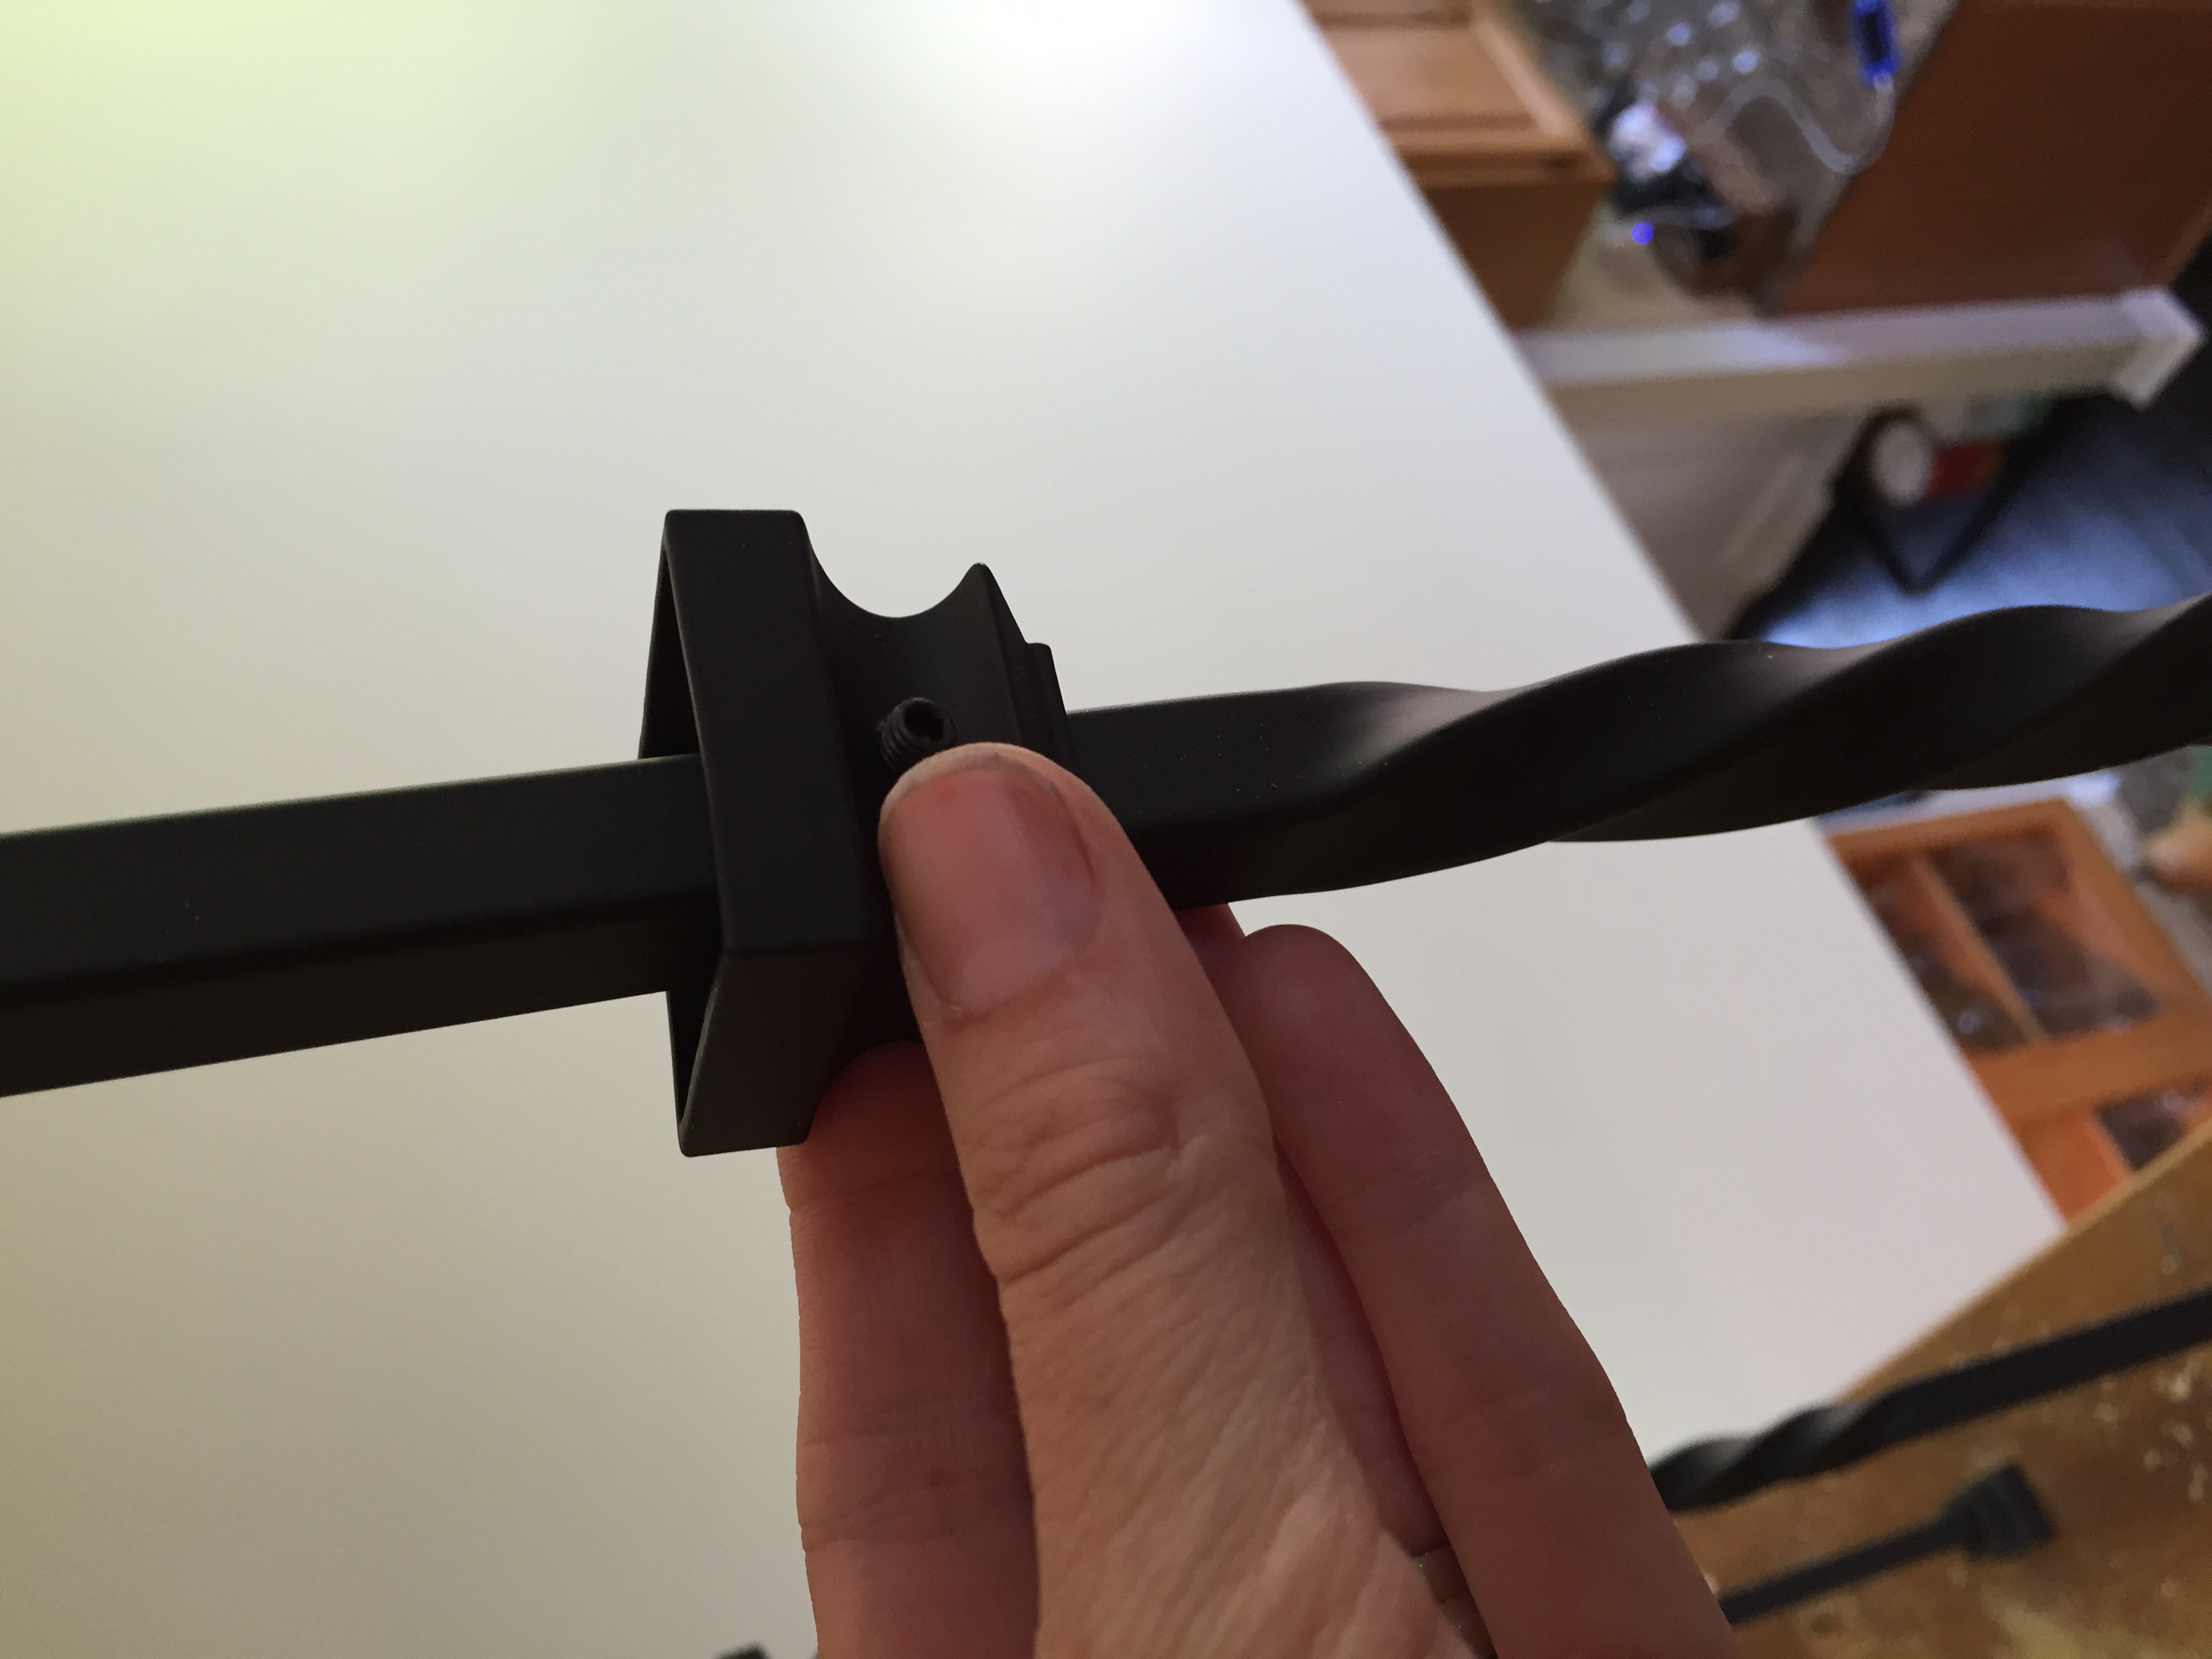 Next place your new spindle in the bottom shoe and screw it in to place.
 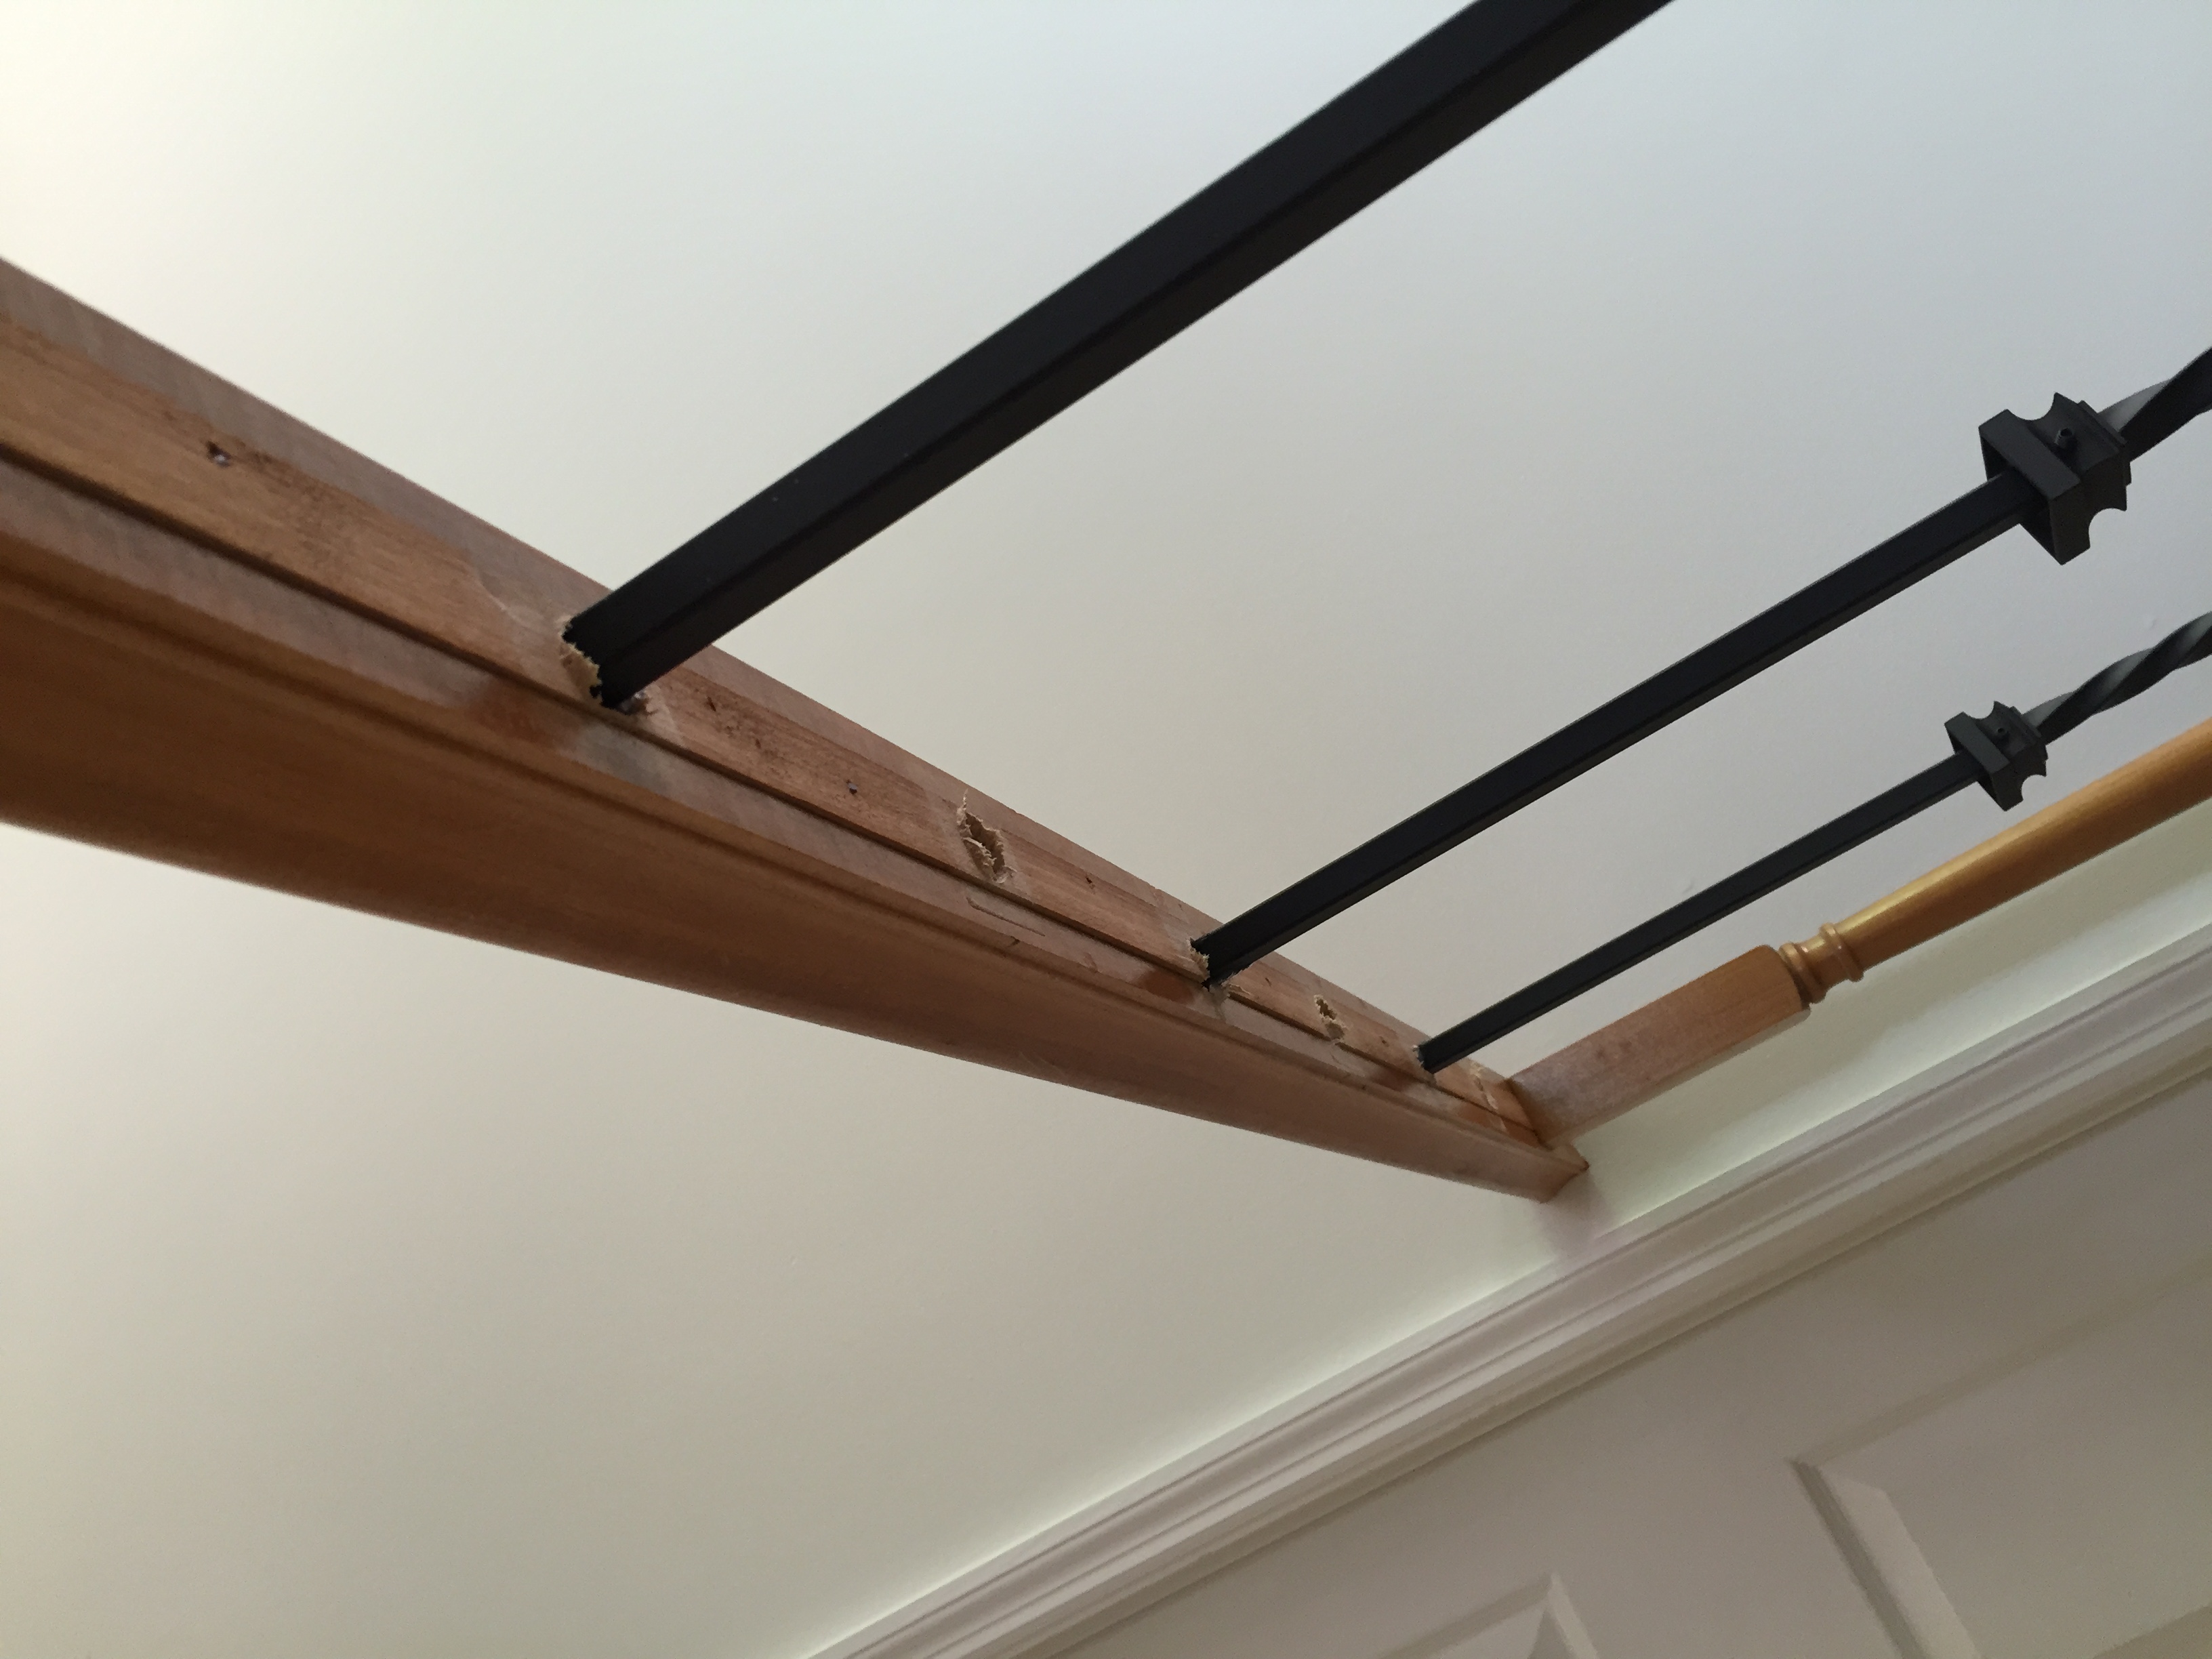 The tops should fit into the existing holes pretty loosely. A second shoe is then liquid nailed and screwed into place.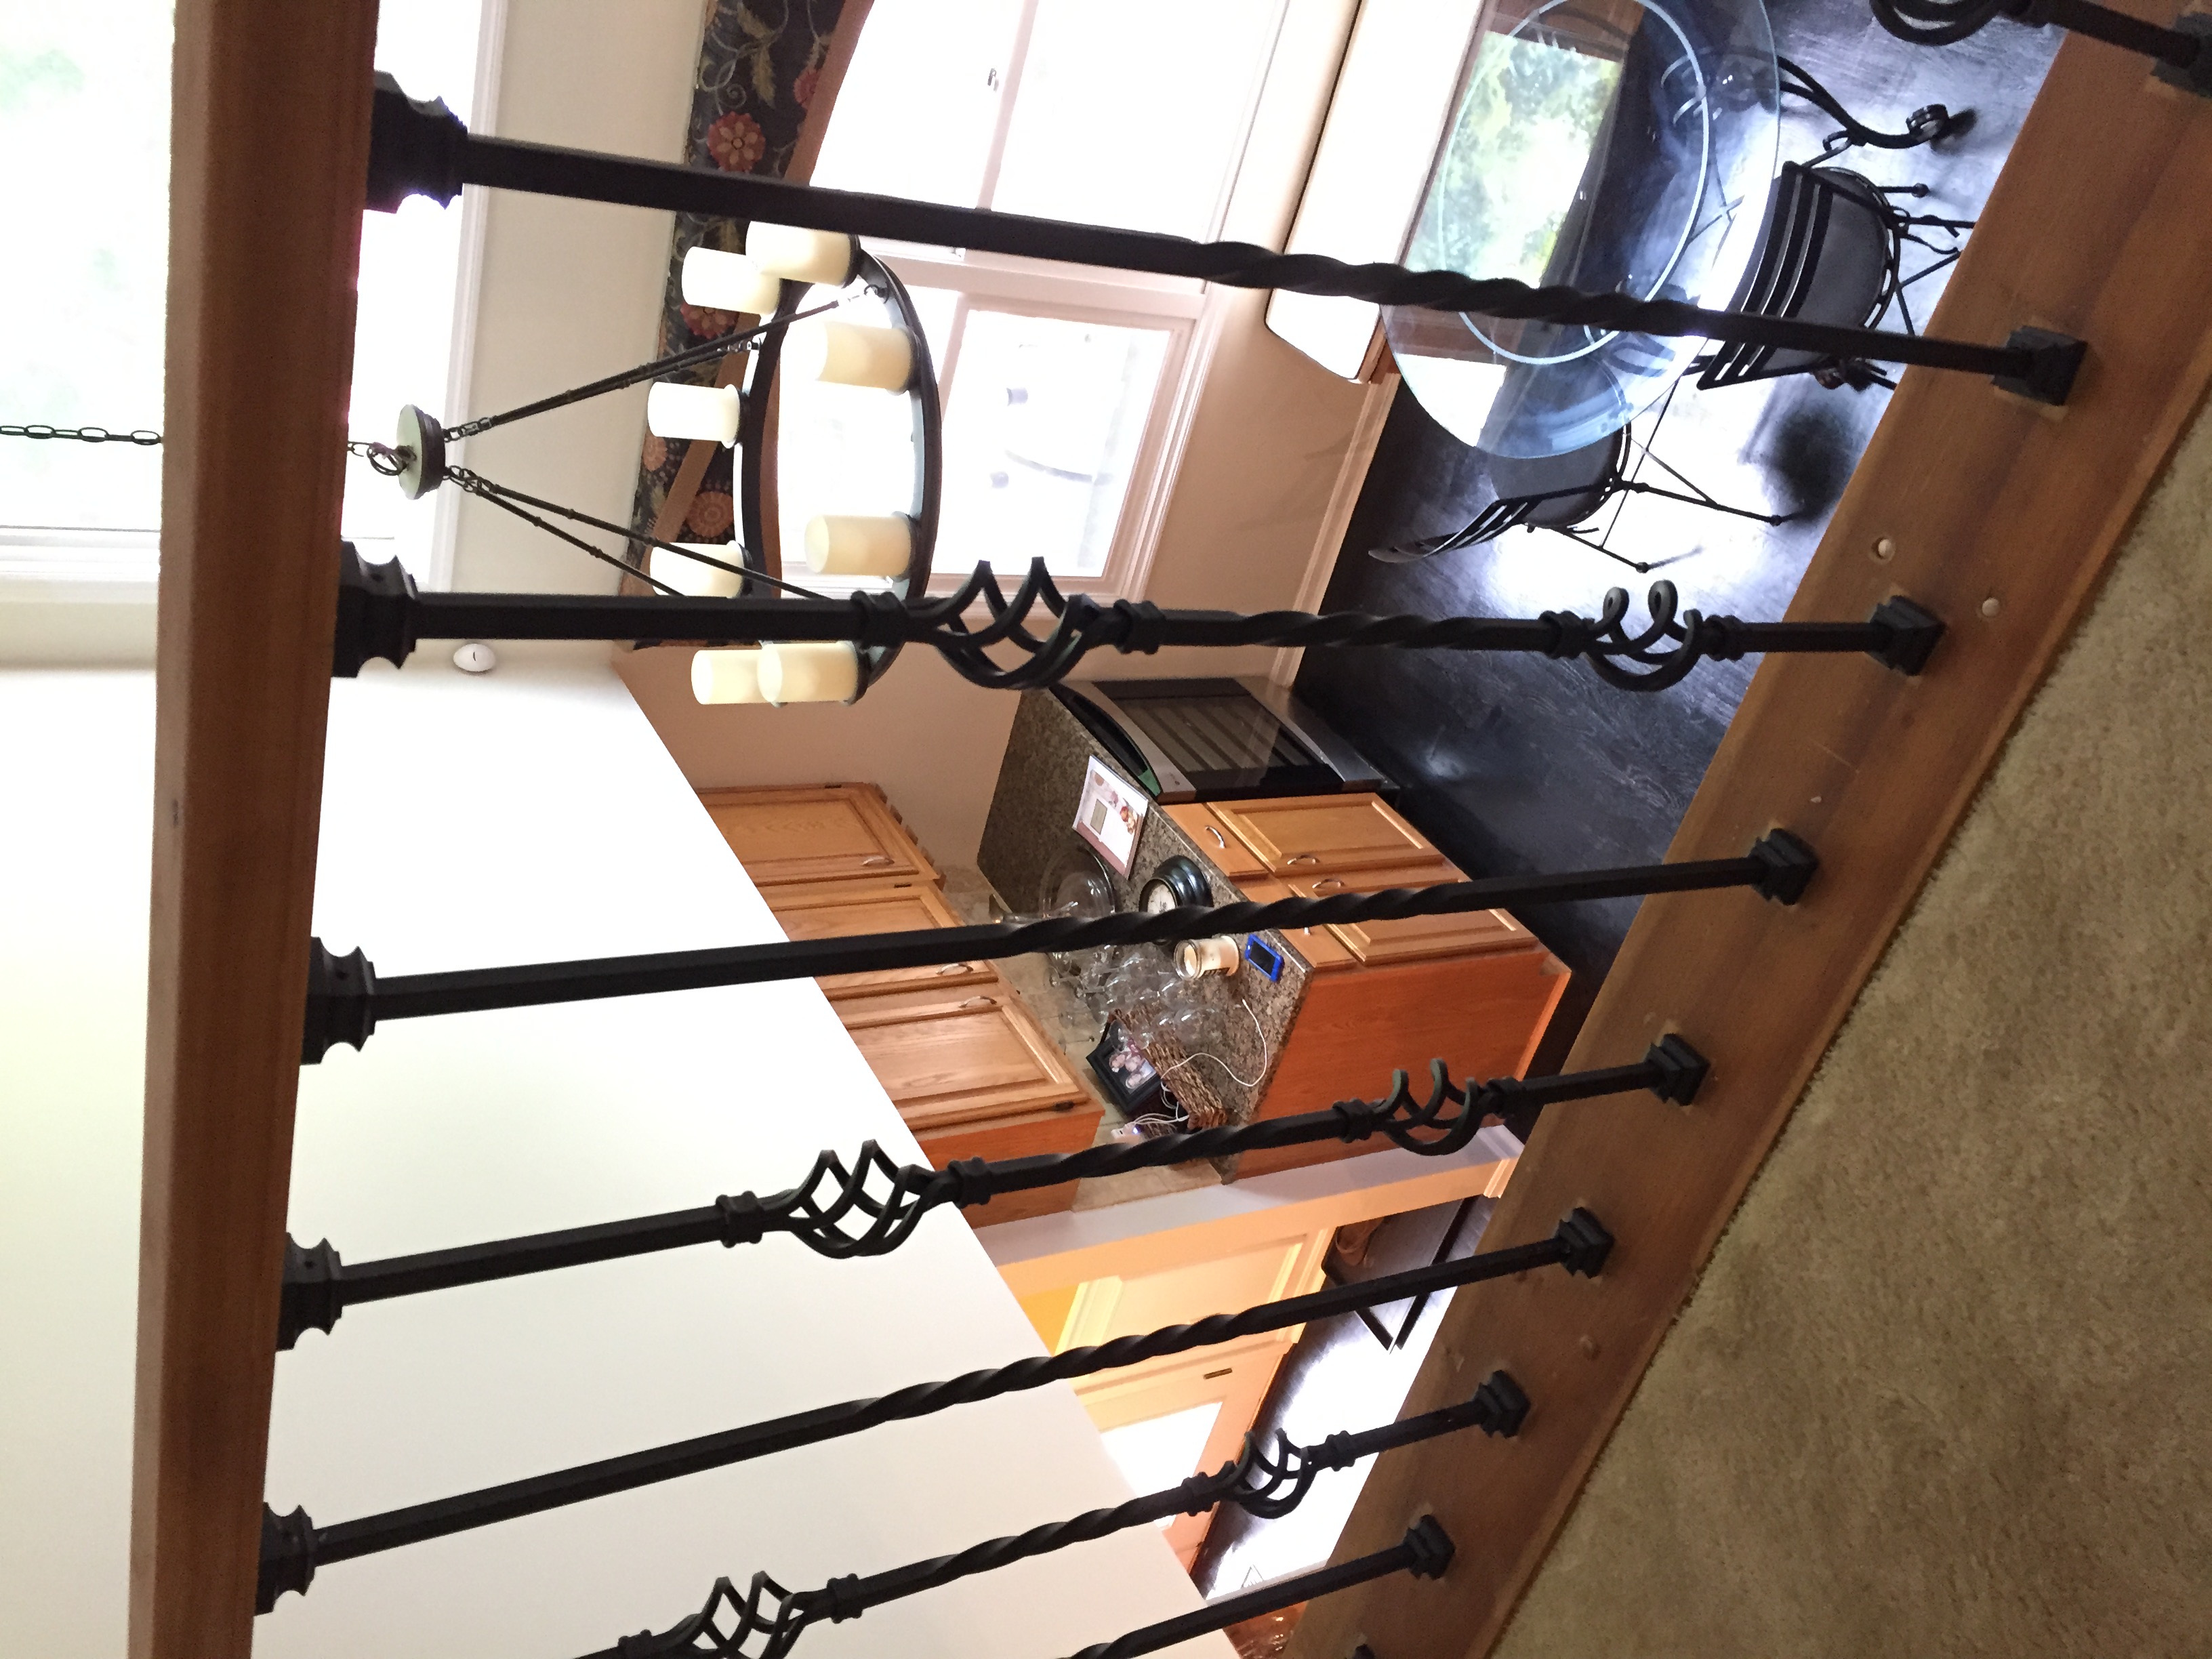
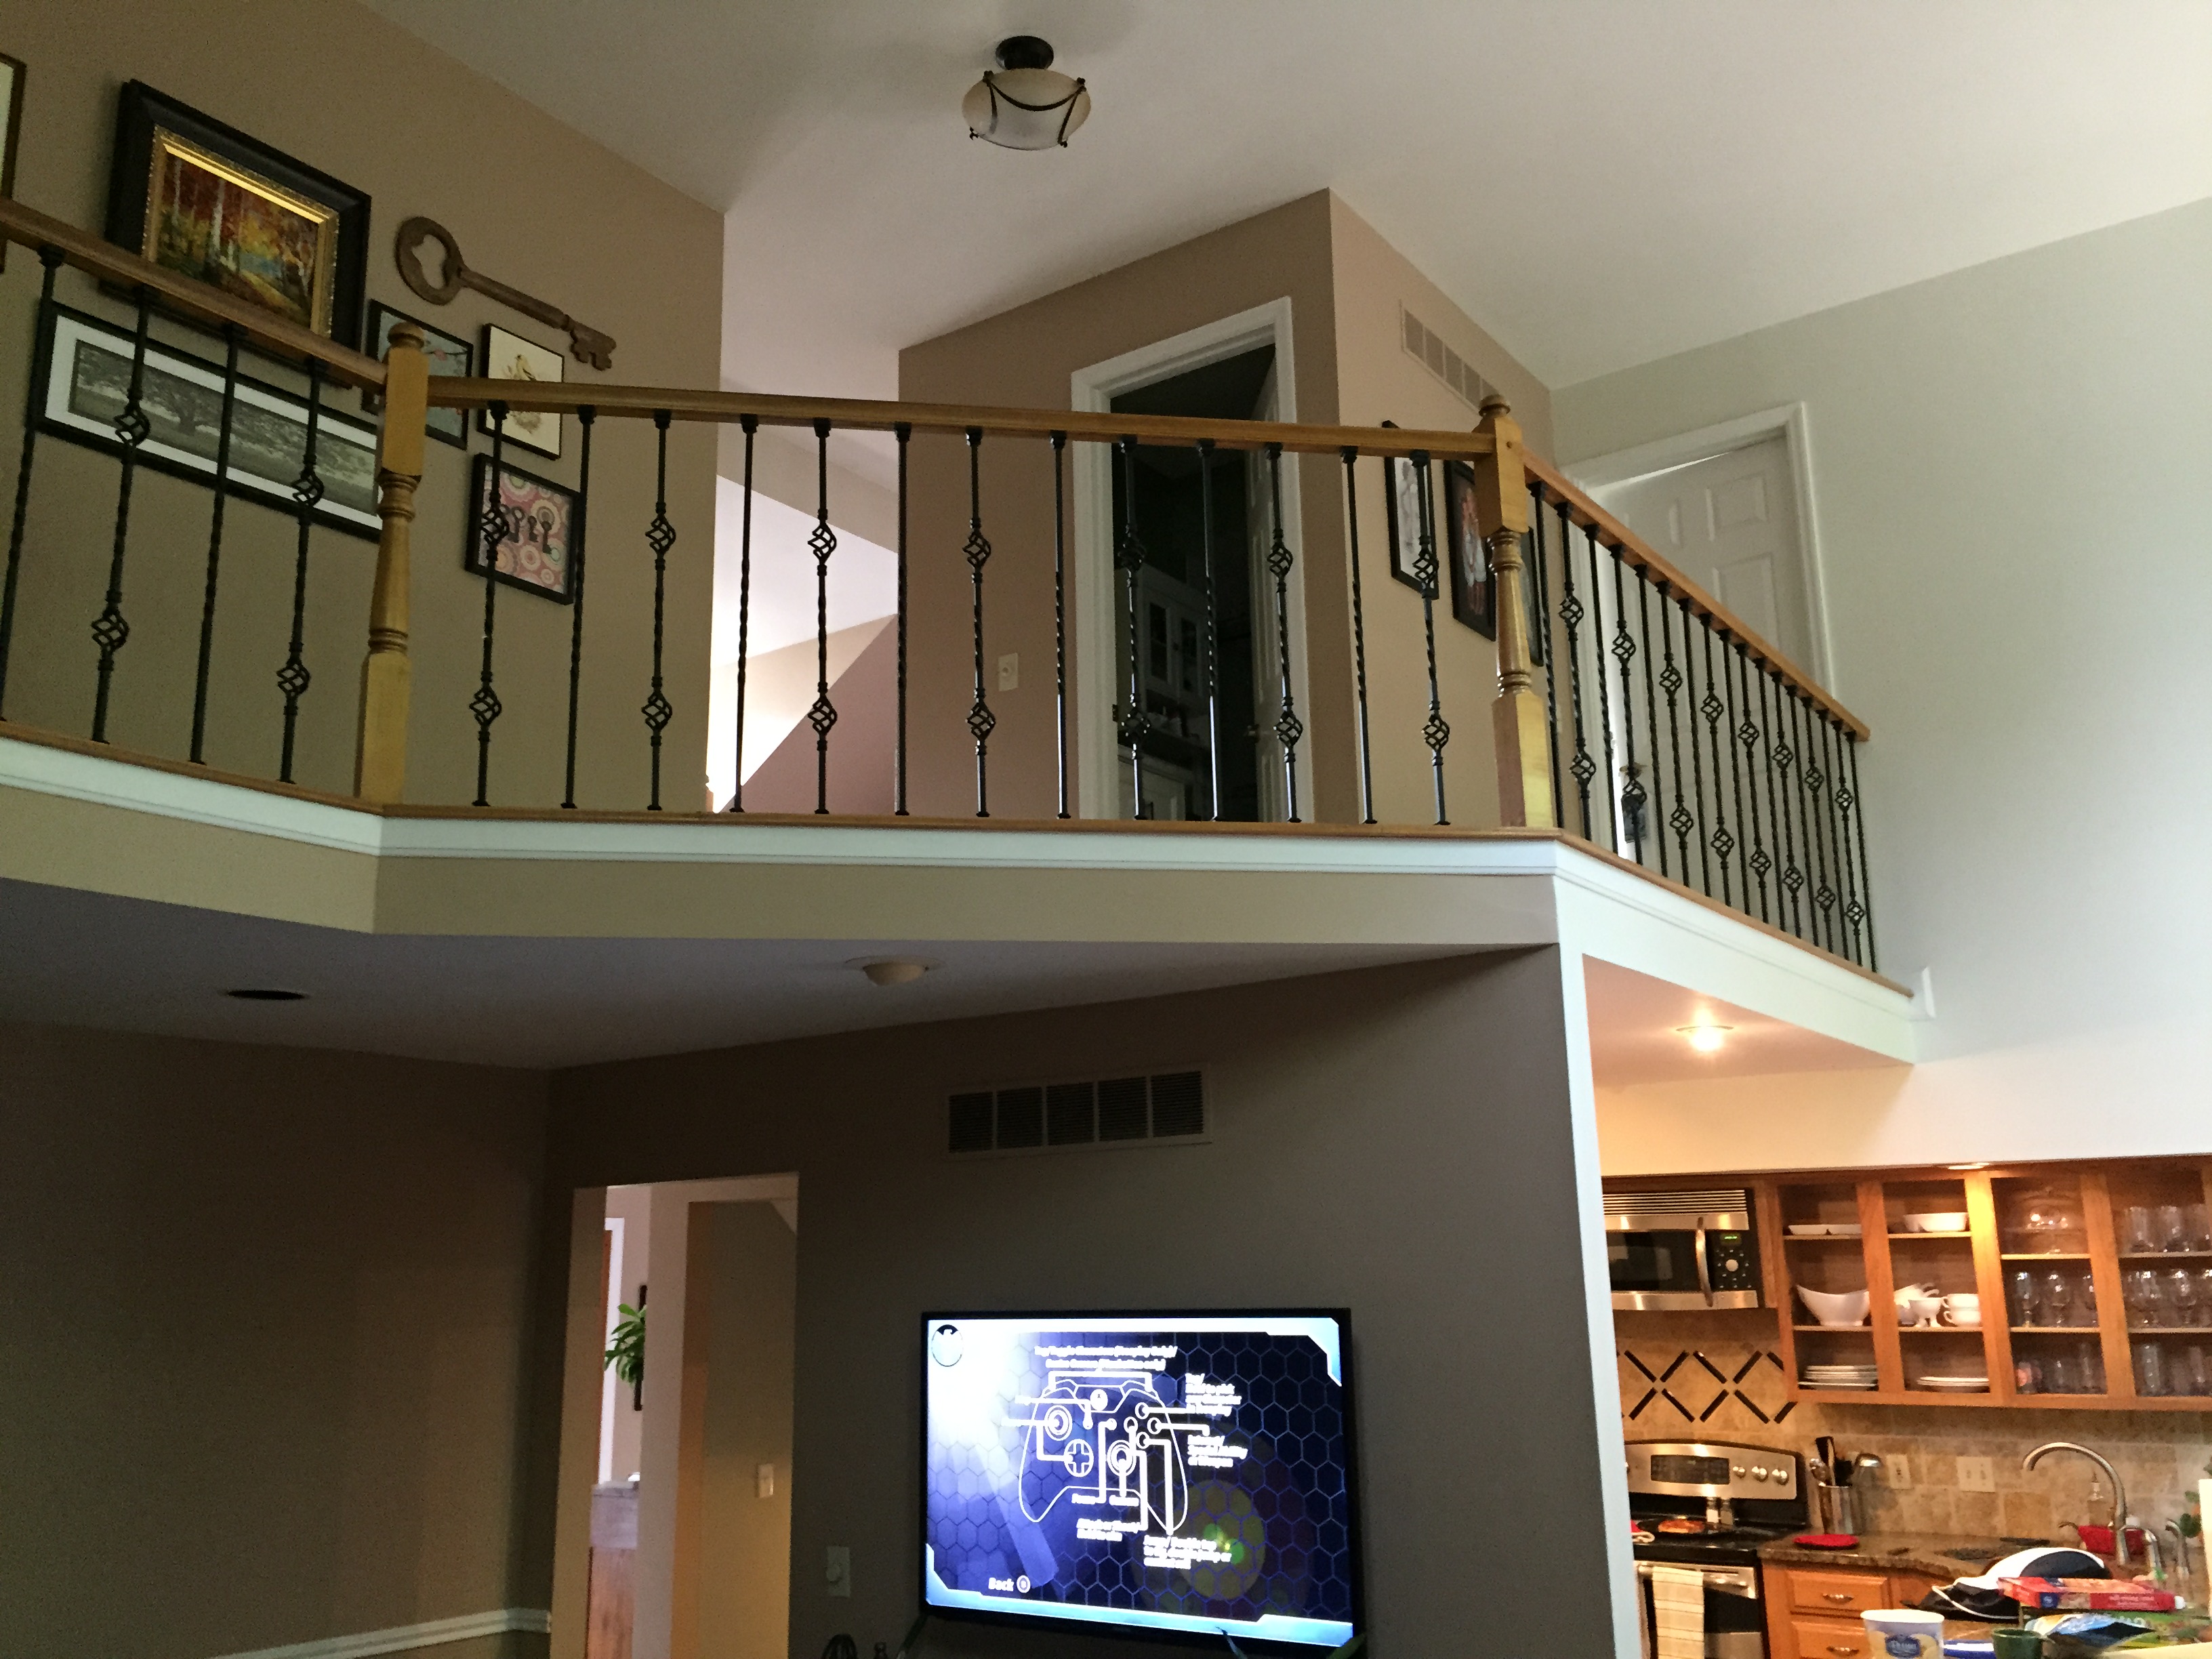
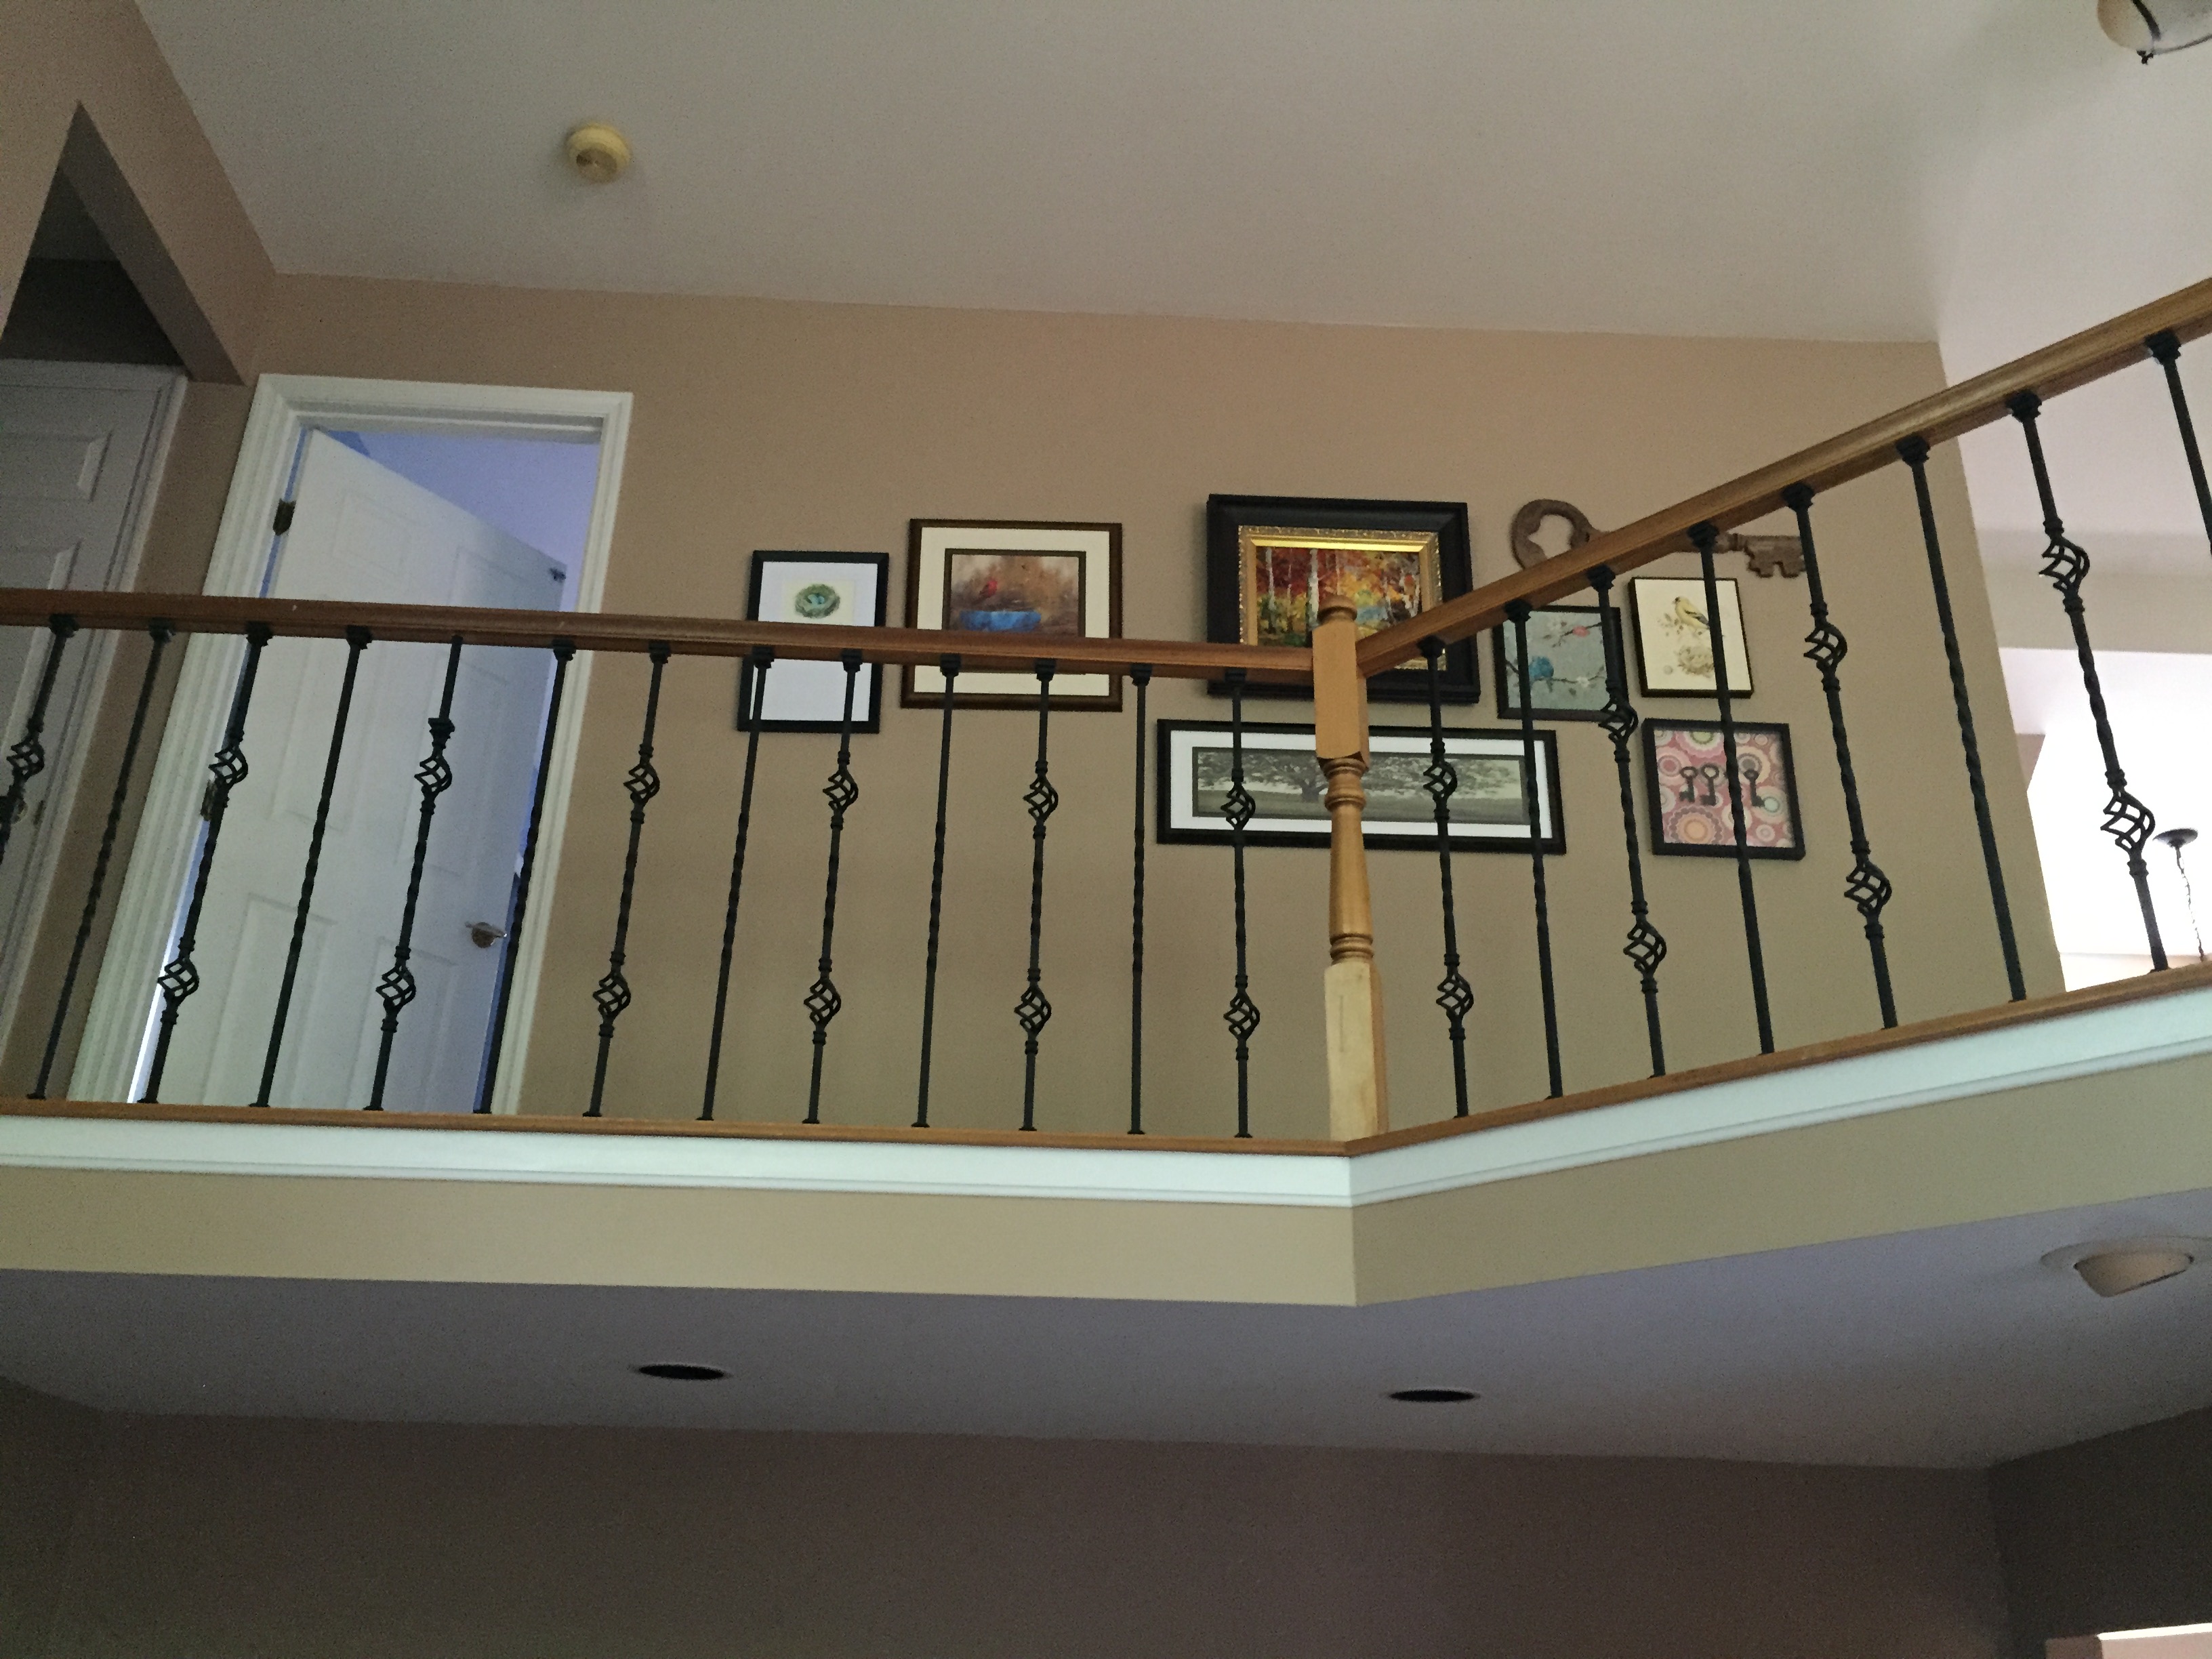 A coat of white paint on the bottom freshened up the look.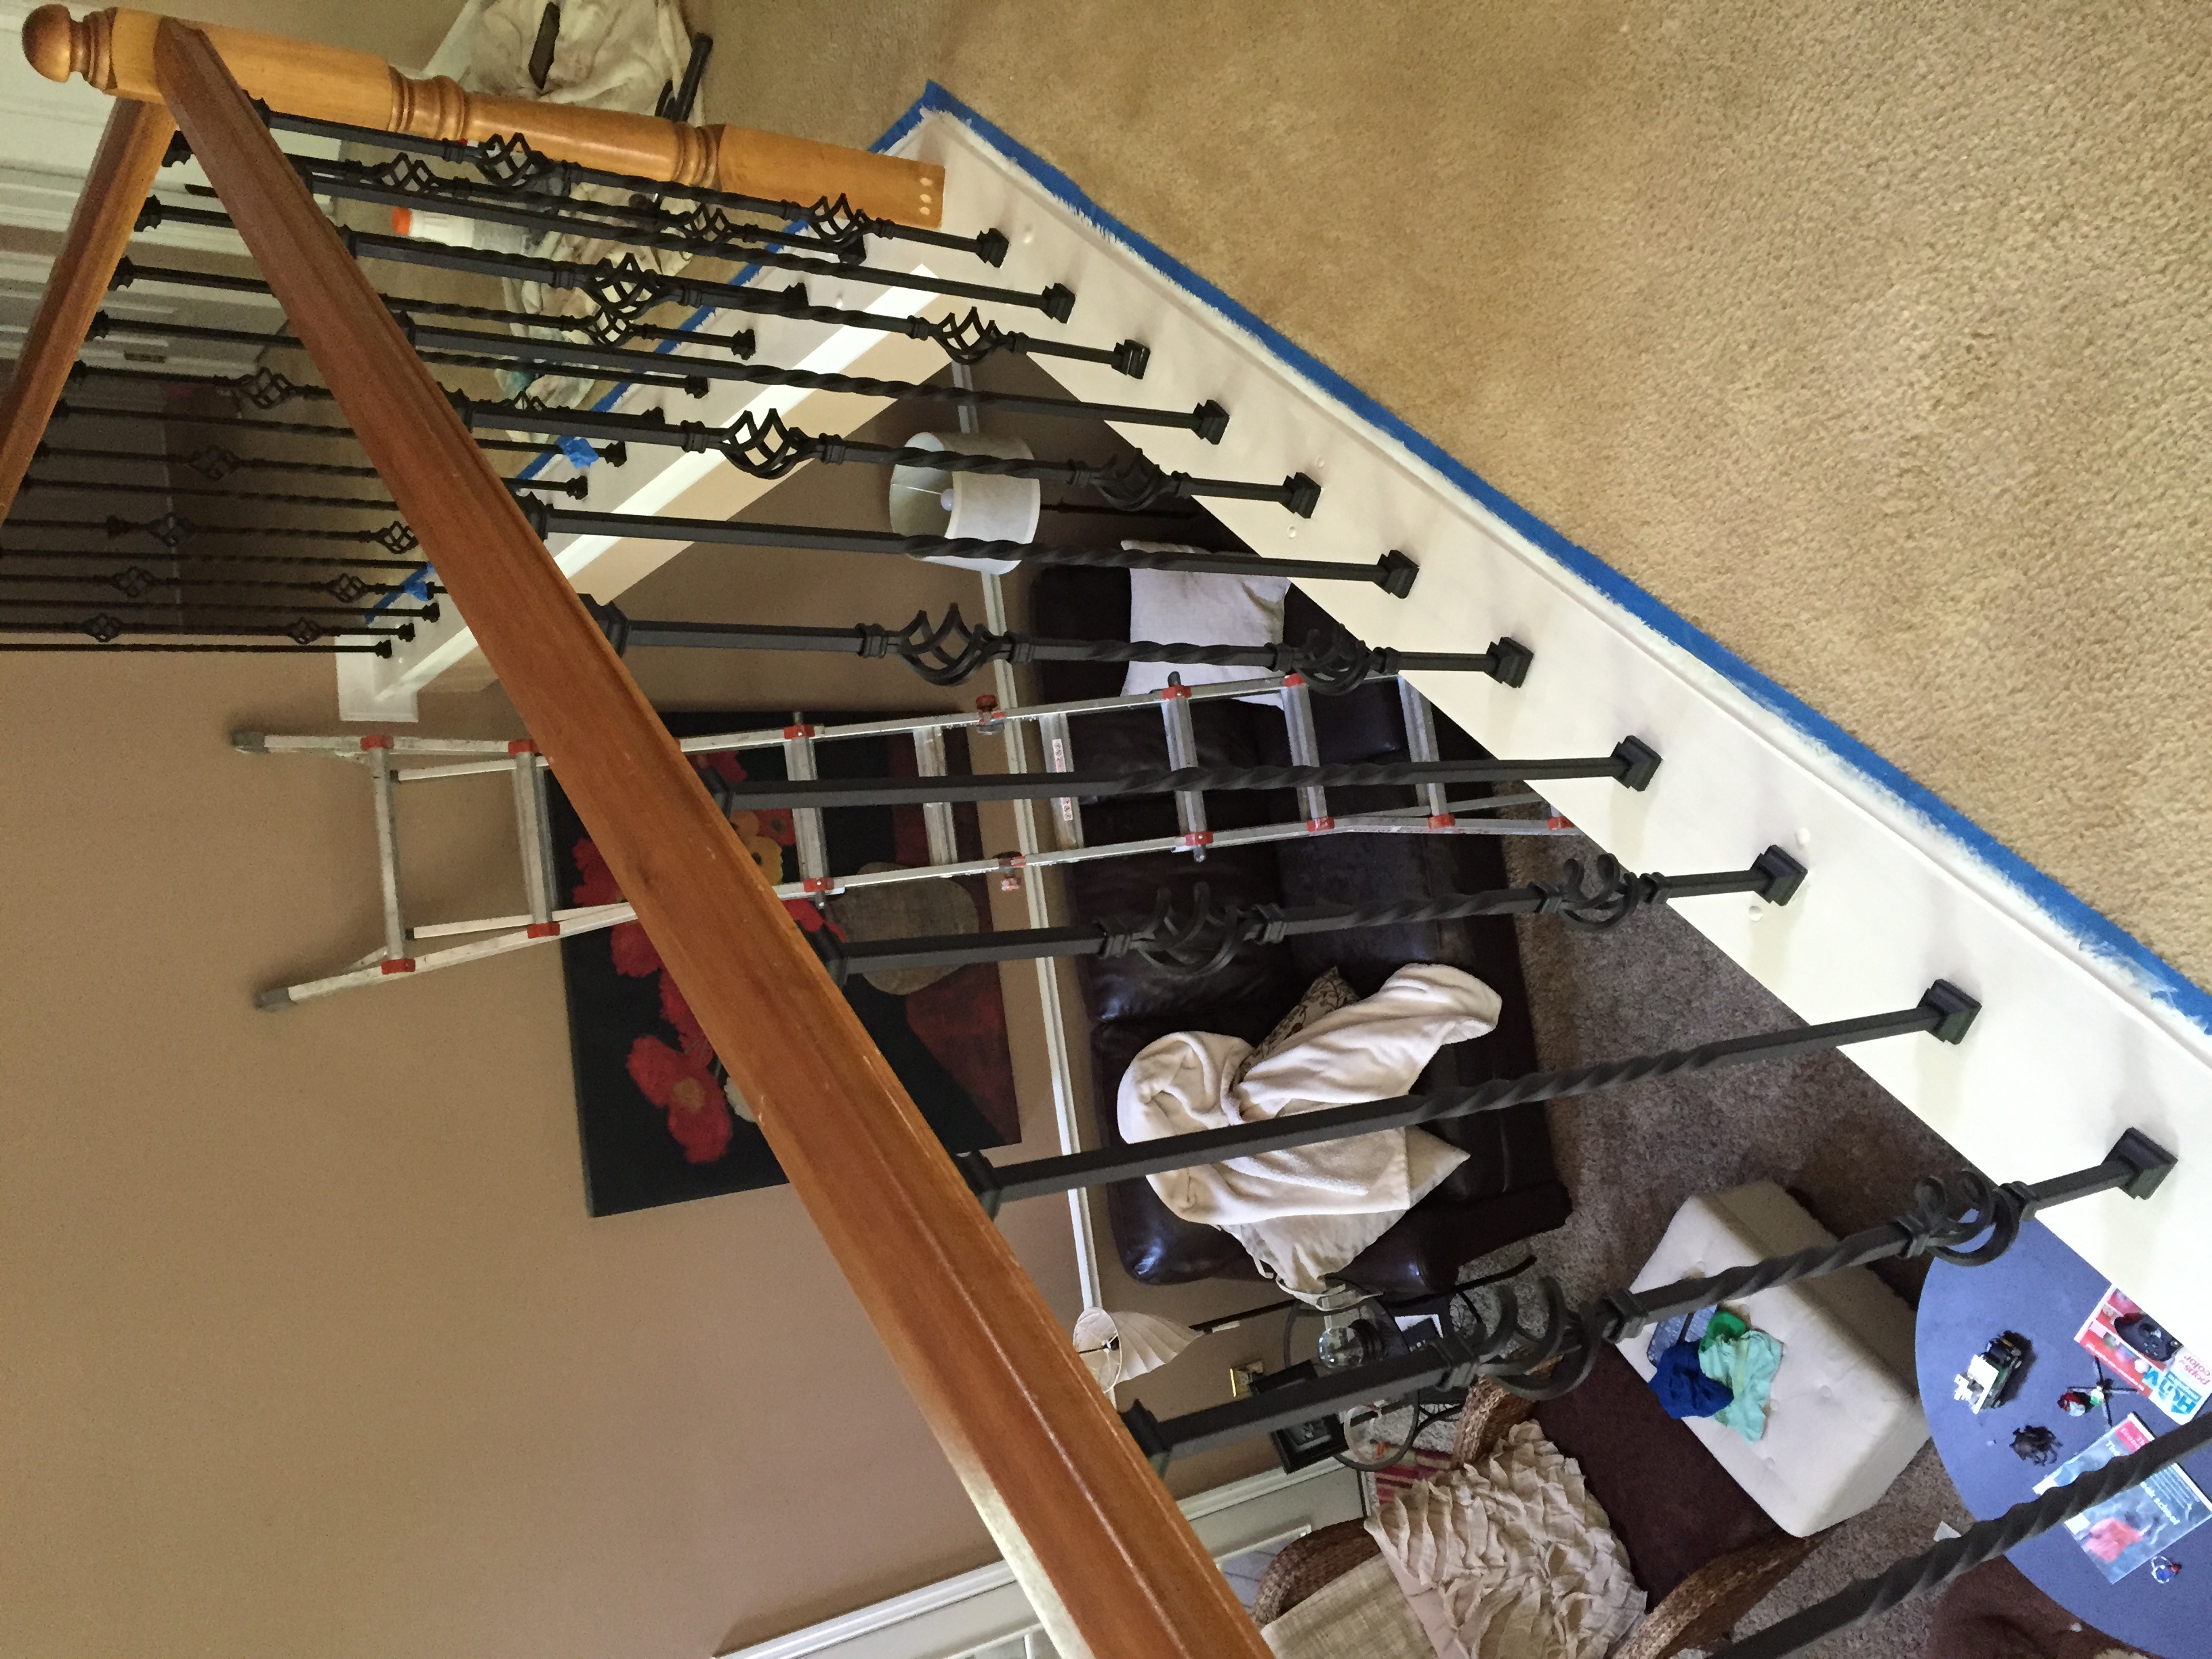
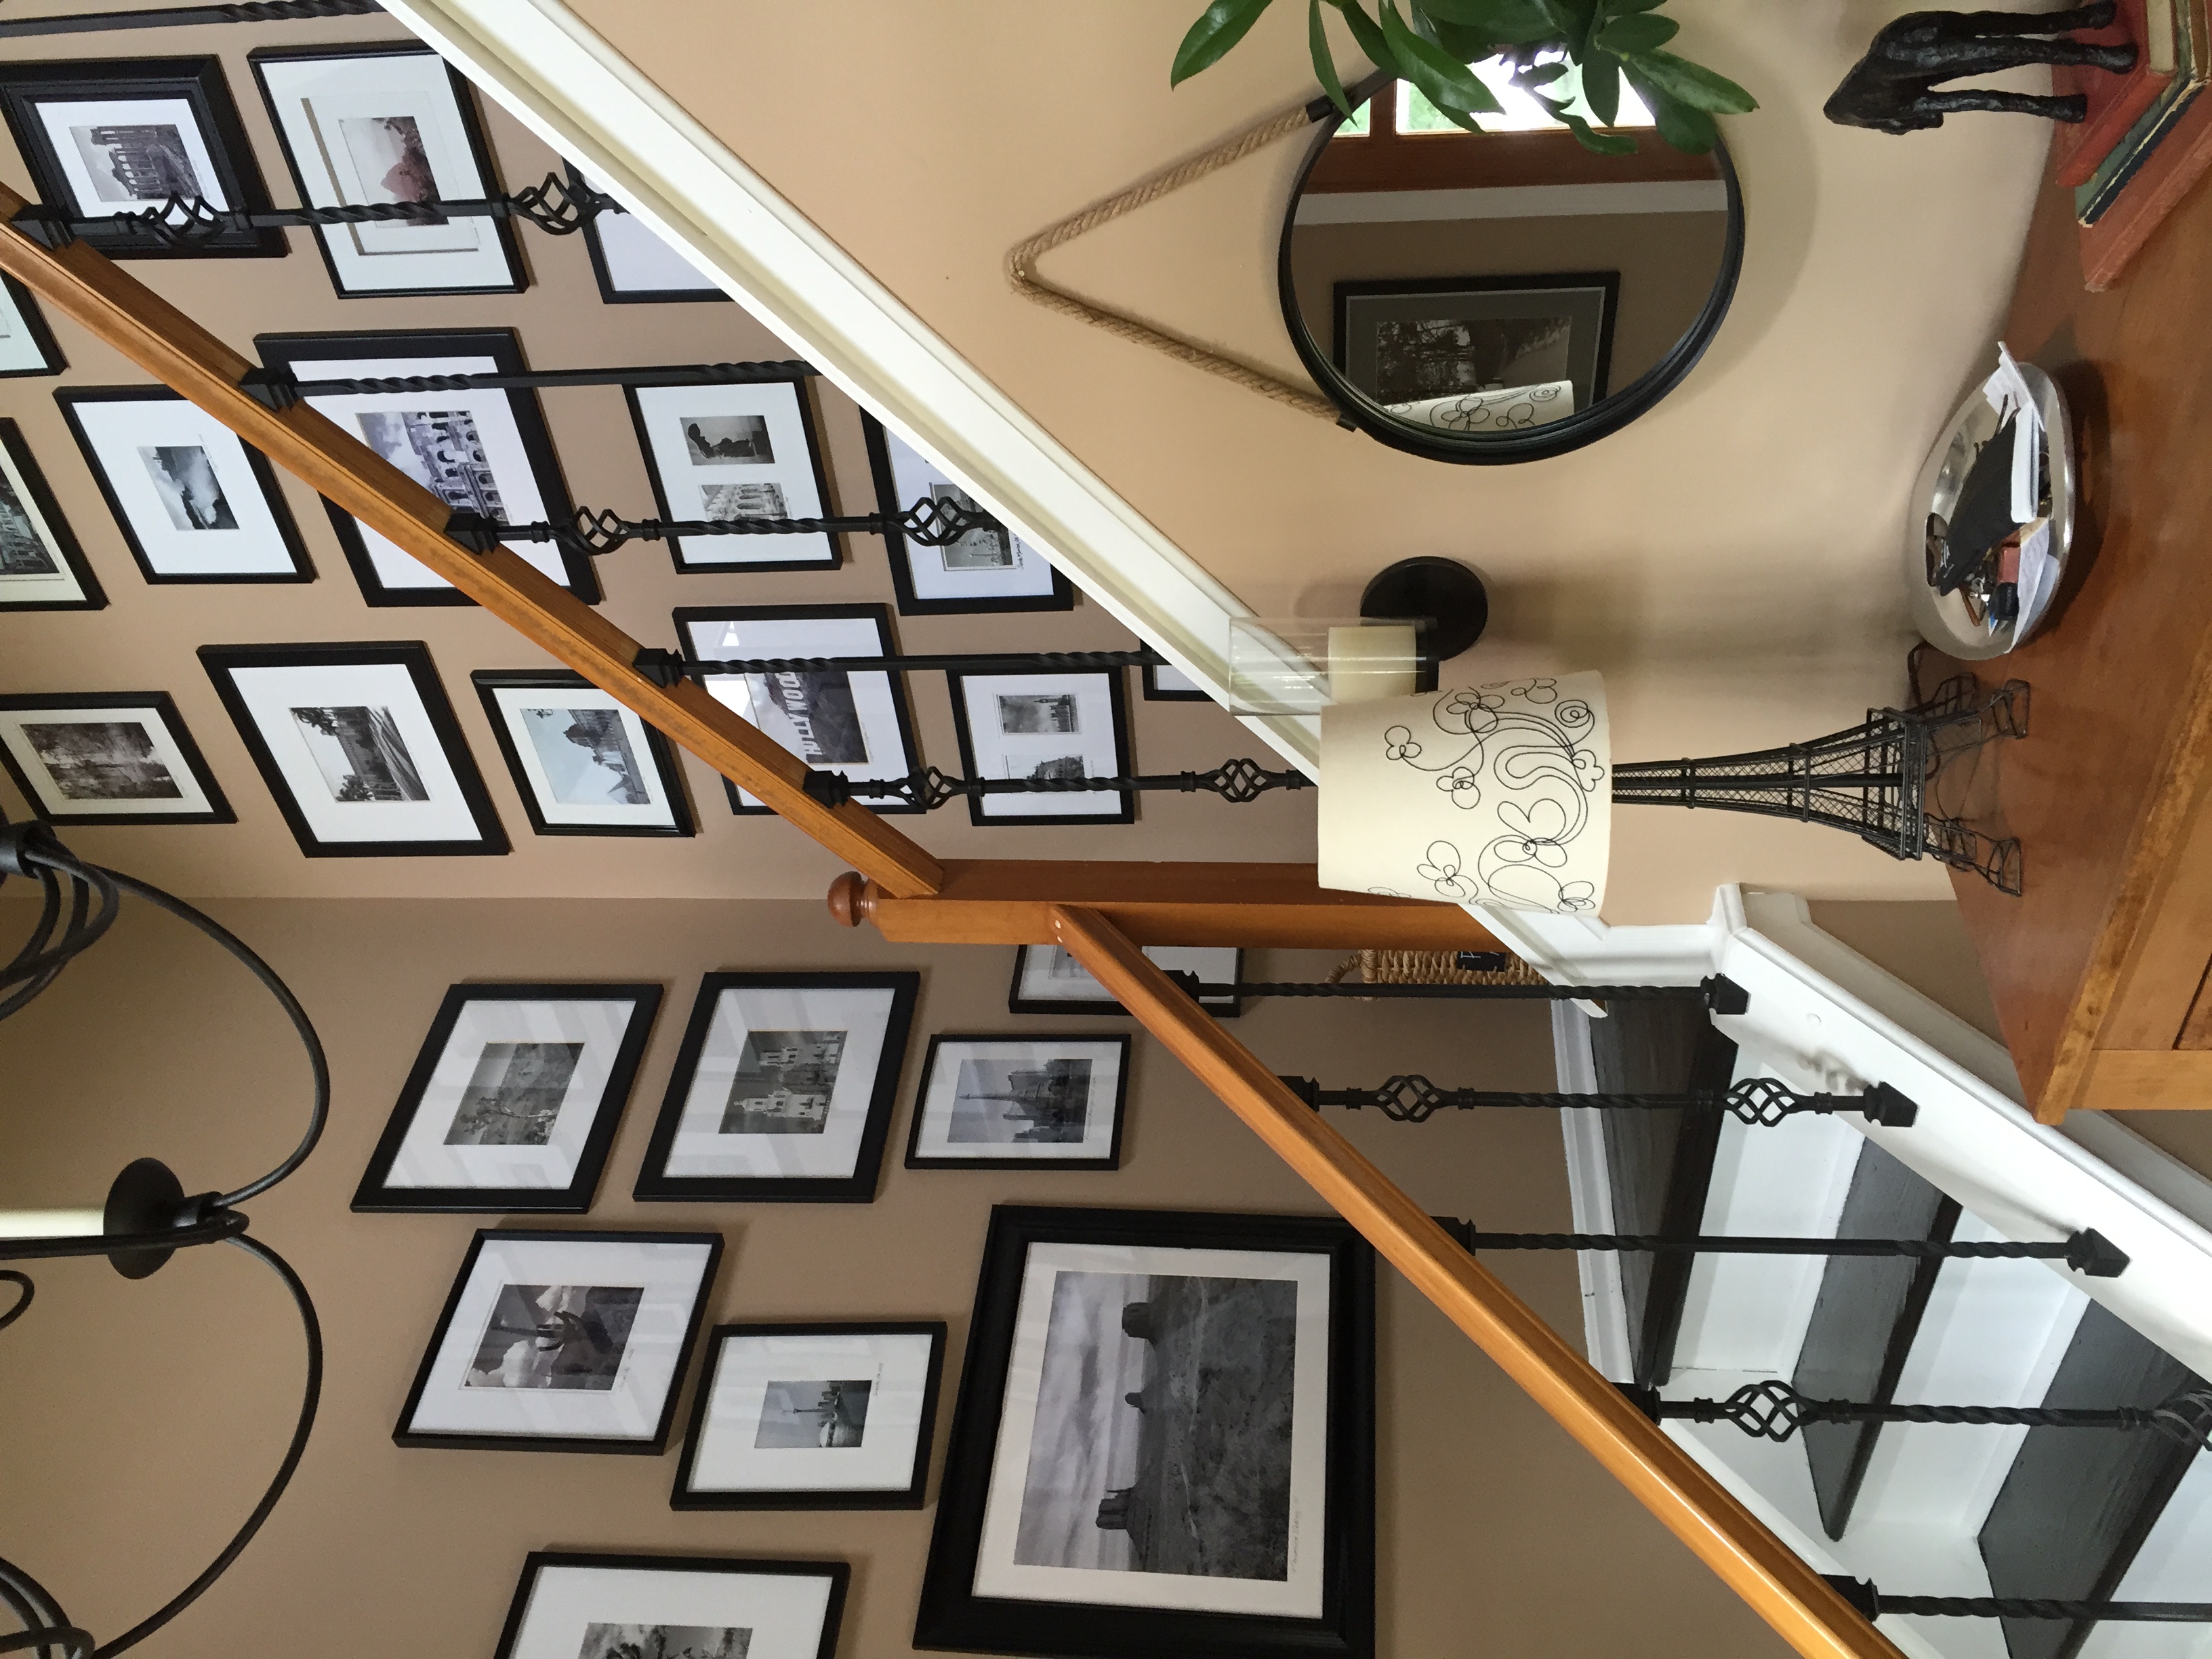
 We chose to leave the balusters and top rail oak. We like the contrast of the wood with the white and I have several light oak antique pieces throughout our home that will never see paint, so it works with our eclectic look.
You may choose to paint or stain accordingly for a look that works for you.
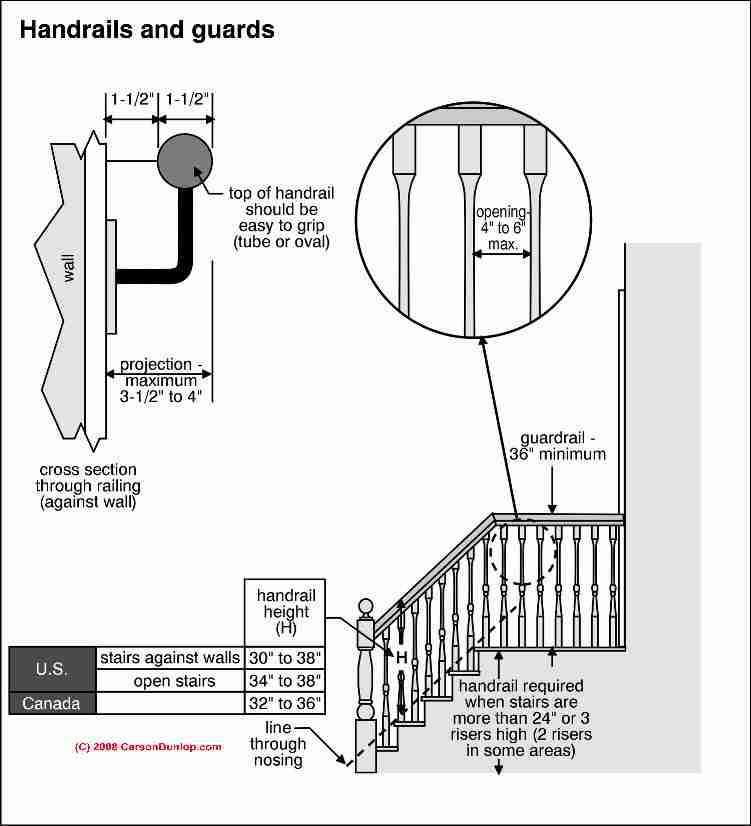
The biggest consideration when doing this project is to keep building requirements in mind. Here is a chart which will help you determine if your existing holes on your railing will work or if you need to drill holes closer together to meet code.
Would you try this DIY project yourself?
To life feeling like home!
XO,
Amy
[mc4wp_form]
Leave a Reply
If you like the sort of recommendation that still holds up six months later, leave your email below and I'll write to you on Sunday.
Most Sundays, once the house has gone quiet and it's edging towards nine, a letter goes out. It's the one I'd write to a friend with good taste and not nearly enough time: one thing worth reading, one thing worth buying, and one thing to skip. No noise, no pressure to spend, just the considered version of what I've actually been using, loving, or quietly sending back.



October 16th, 2015 at 8:43 am
Those look fantastic, Amy!! I’m sure that was hours worth of hard work but you make it look easy.
It’s funny because when I see the wrought iron spindles on a blog, I just admire them. We have the same ones you have and apparently I’ve been taking them for granted. 🙂
October 16th, 2015 at 9:37 am
We have those exact same railings! Love the transformation!
October 16th, 2015 at 12:09 pm
Thank you! I love the end result. It made a huge difference. 🙂
November 4th, 2015 at 5:04 pm
I have wrought iron railing from kitchen to family room with a 5 step drop. The railing is from the 70s and I hate it. do you think changing out the spindles might help?
April 6th, 2016 at 2:04 pm
[…] picture gallery of the places we’ve visited lines the staircase. The wrought iron spindles were a DIY project we tackled last summer. The plant stand I recently made using a wood slice and […]
October 21st, 2019 at 6:46 pm
I like how the wrought iron railings blended well with the color palette of your stairs. I like the contrast of neutral colors of browns, whites, and blacks. I know that you did this on your own, but if you know someone who can help us out on installing commercial wrought iron railings for our stairs, that would be nice.