I'm Gillian, a Scotland based home & lifestyle blogger. Follow along as I navigate this new journey sharing my life from home.


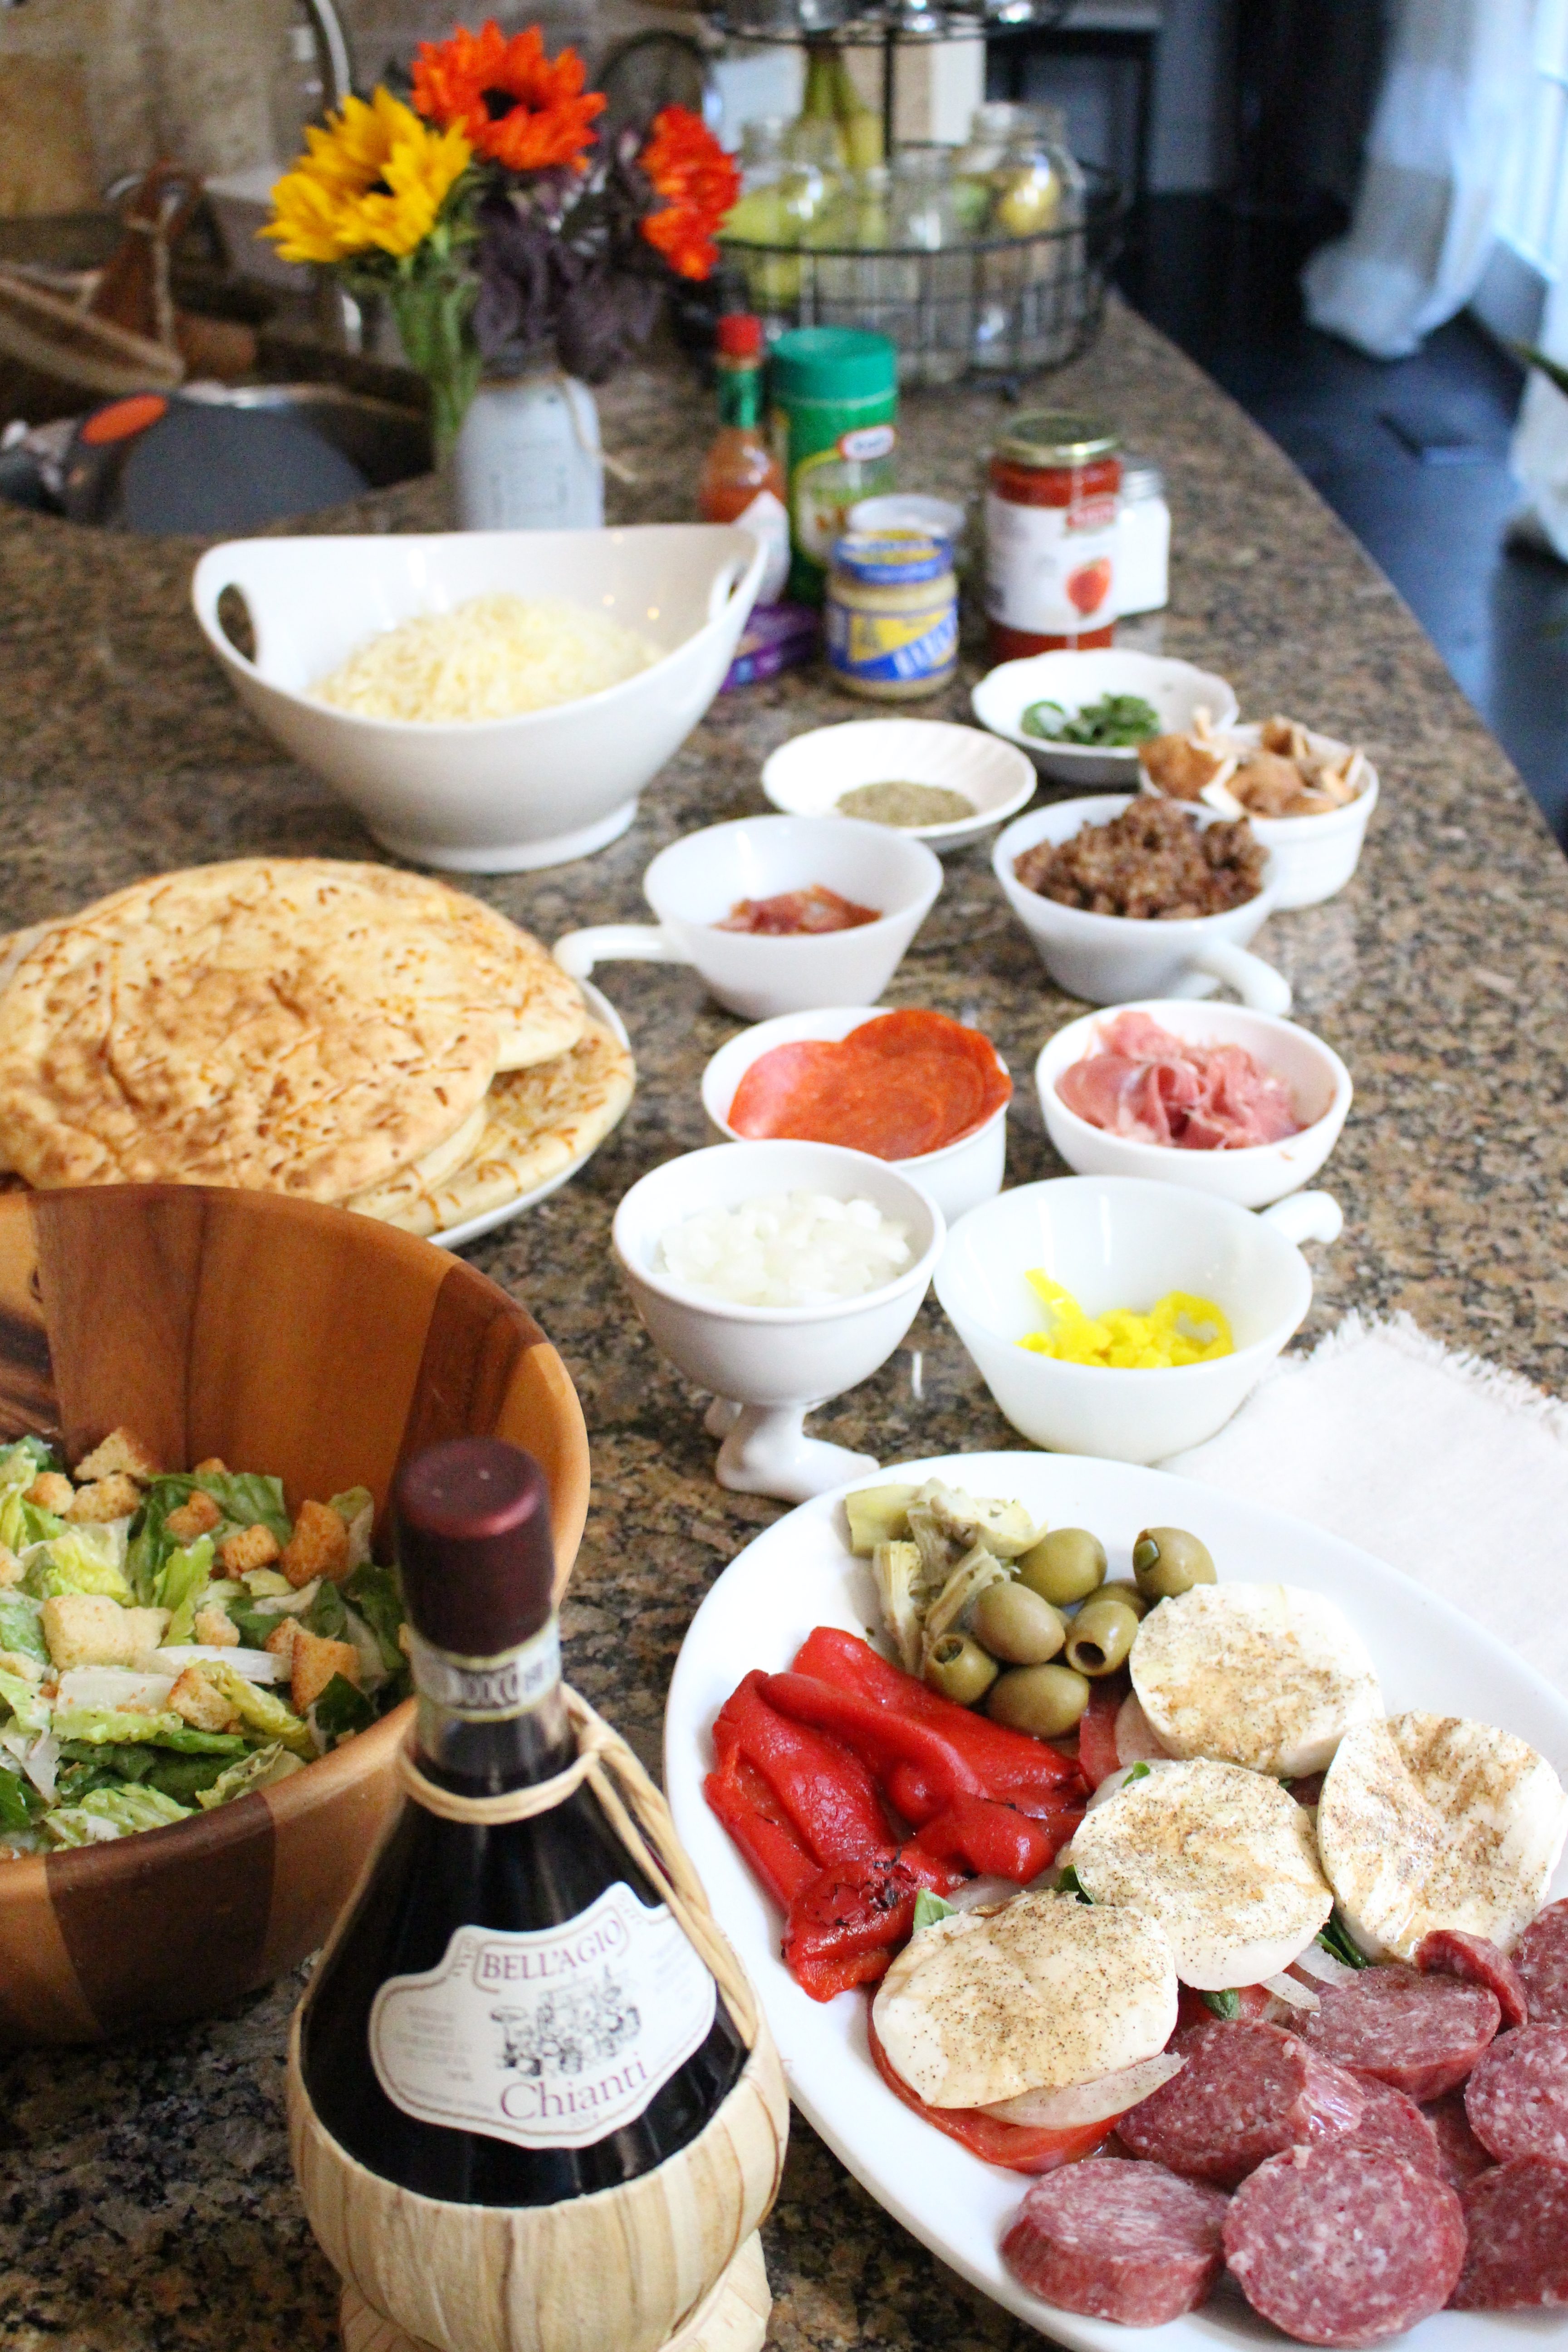
Warm evenings are too precious to spend tucked away in the kitchen while everyone else is outside. Grilled pizzas solve that beautifully: the preparation happens ahead, each person builds exactly the pizza they want, and the barbecue turns dinner into part of the evening rather than a job happening somewhere else. Add a bowl of salad, something cold to drink and plenty of napkins, and the table is set.
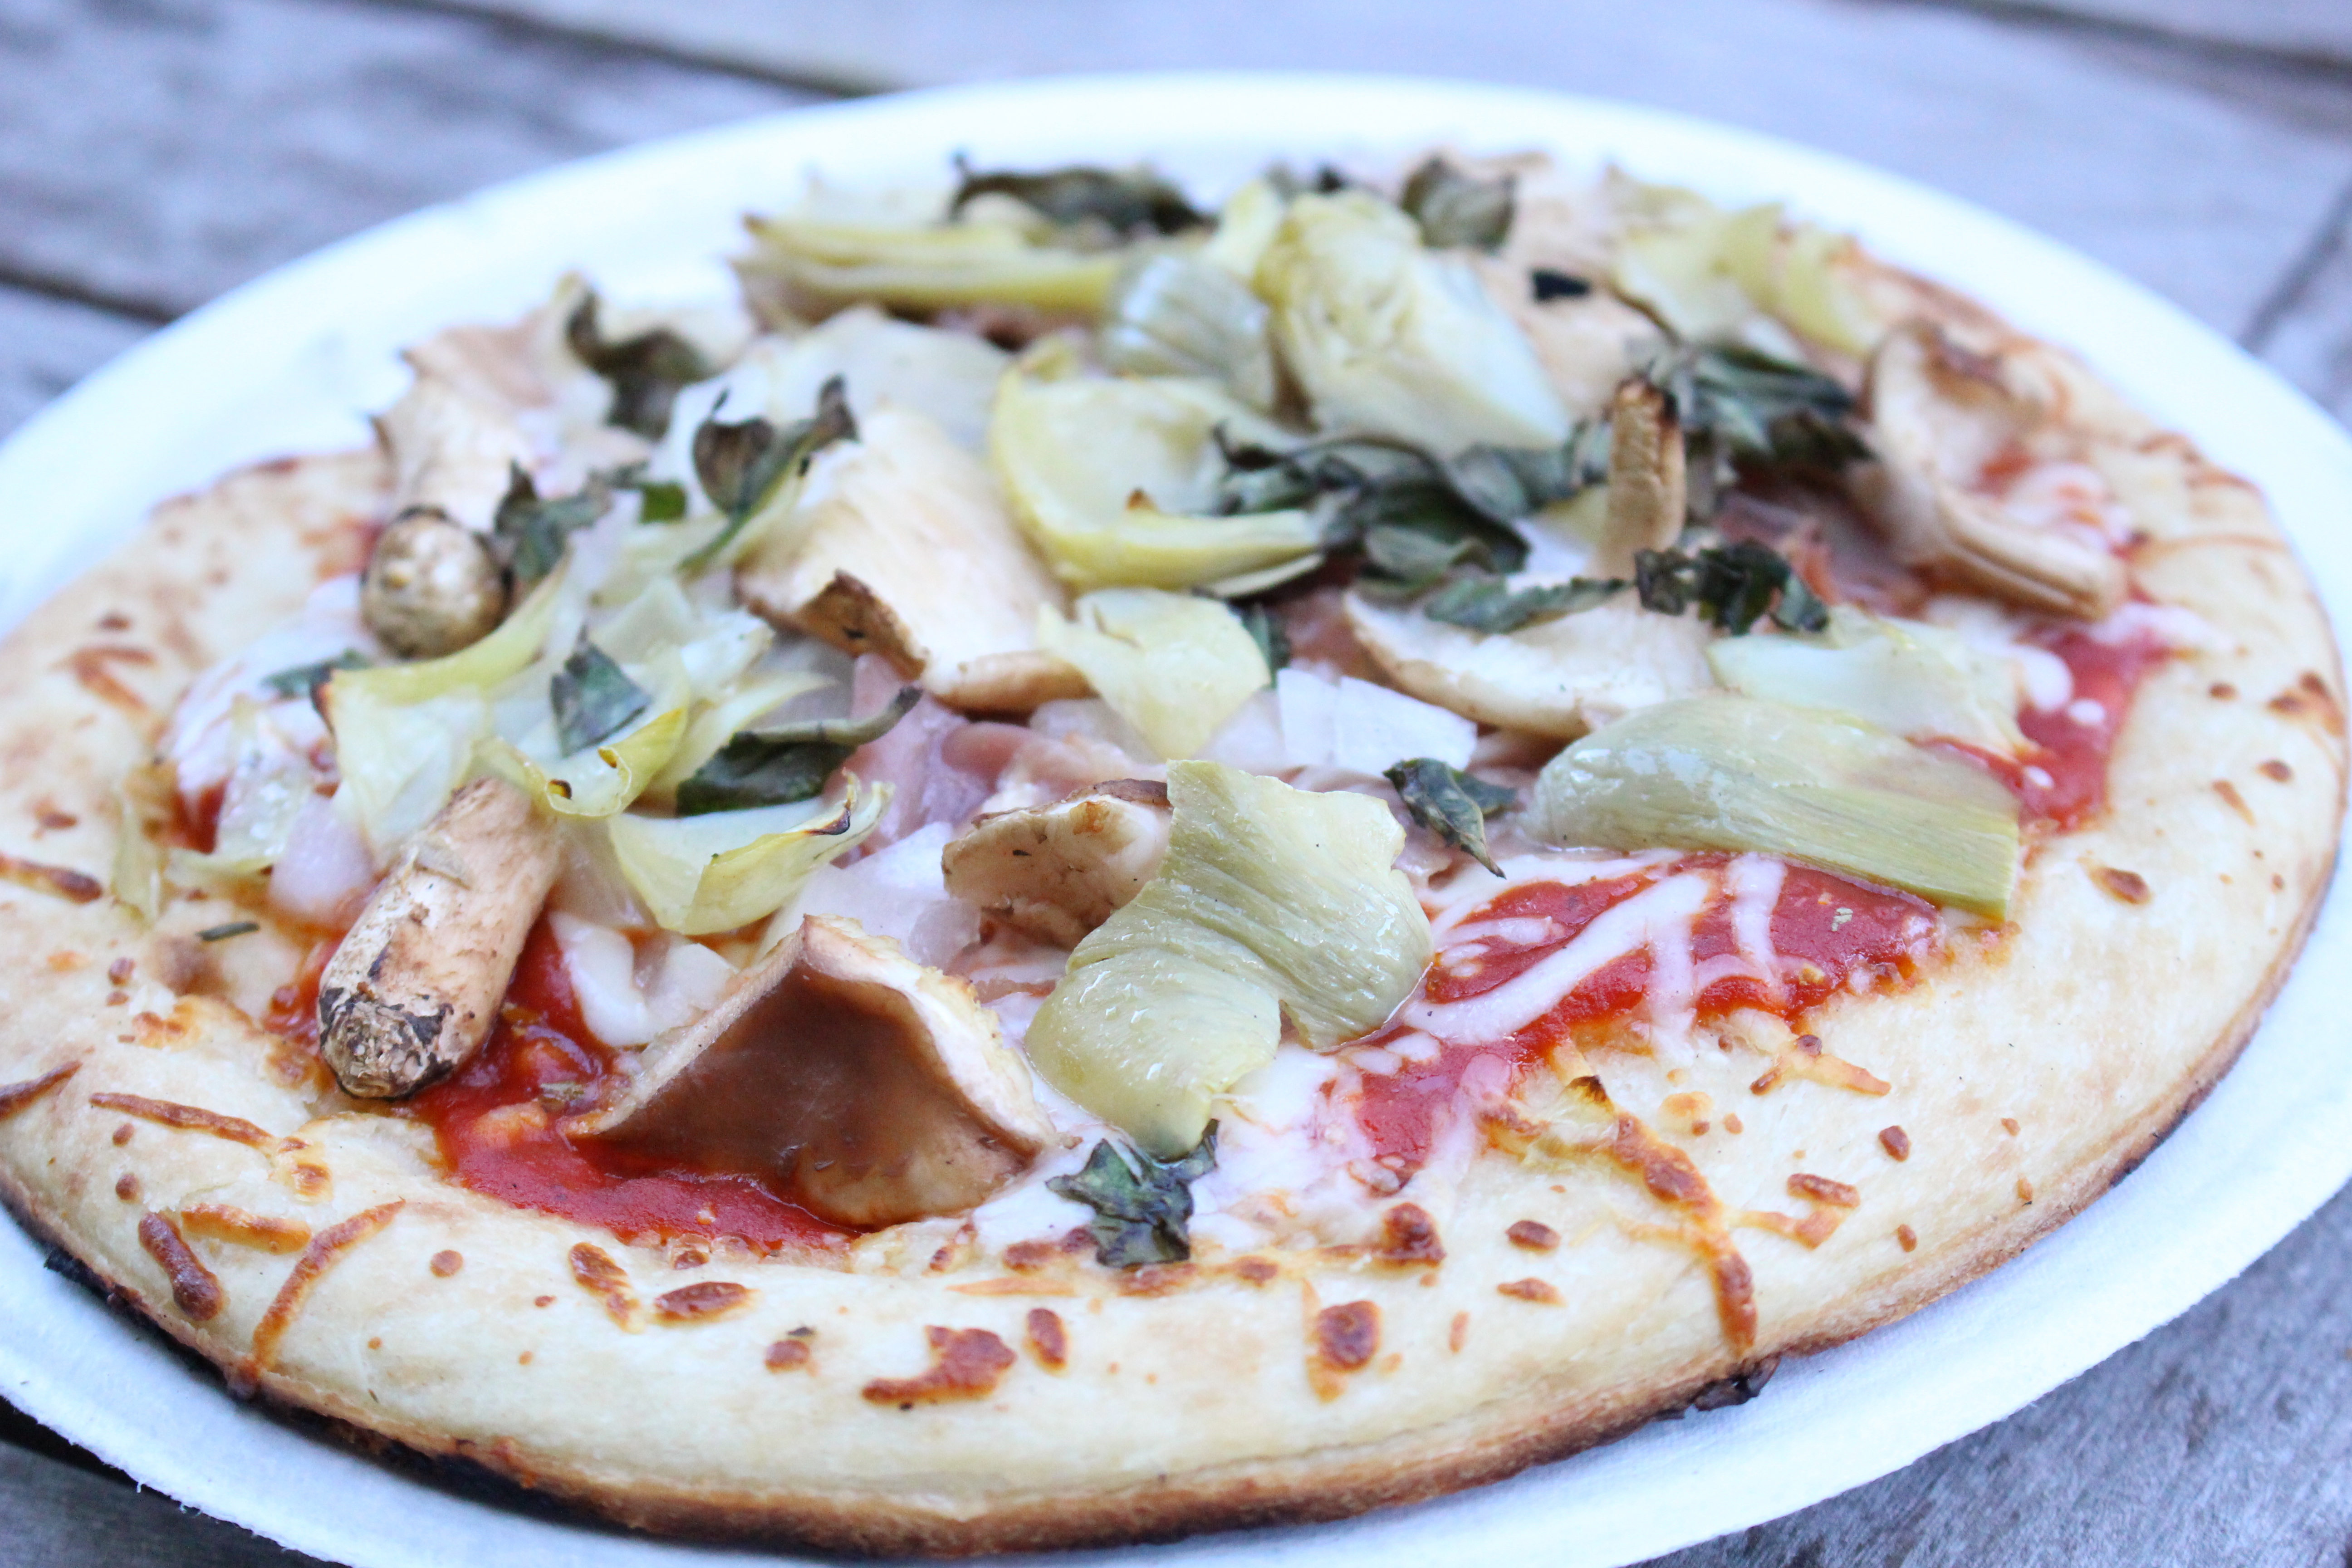
The everyday luxury here is choice. Small bowls of good toppings make an ordinary packet of pizza dough feel like a proper summer spread, while the hot barbecue gives each base crisp edges and a faintly smoky flavour you simply do not get from a standard oven tray. Children can keep theirs simple; adults can layer prosciutto, artichokes, herbs and chilli. It is relaxed, sociable and surprisingly easy once everything is chopped and ready. It also keeps the kitchen cool on warm afternoons and gives everyone a reason to gather around.

Why You’ll Love These Grilled Pizzas
- Everyone gets exactly what they want. Individual bases make different toppings, sauces and spice levels effortless.
- Most of the work happens early. Chop and portion everything before guests arrive, then enjoy the evening.
- The barbecue adds real flavour. A little char underneath gives the crust a gorgeous, smoky edge.
- It works for mixed ages. Simple cheese pizzas and more adventurous combinations can cook side by side.
- It feels special without being formal. A topping bar turns dinner into an activity and gives the table a generous, abundant look.
- The method is flexible. Use homemade dough, chilled supermarket dough or good ready-made dough balls.
What You’ll Need – Ingredients
The quantities below make four individual pizzas of around 20cm. Keep the toppings light so the bases cook quickly and remain crisp.
- 720g pizza dough, divided into four 180g balls
- 30g fine semolina or plain flour, for dusting
- 30ml olive oil, for brushing
- 240ml pizza sauce
- 250g mozzarella, grated or torn and drained well
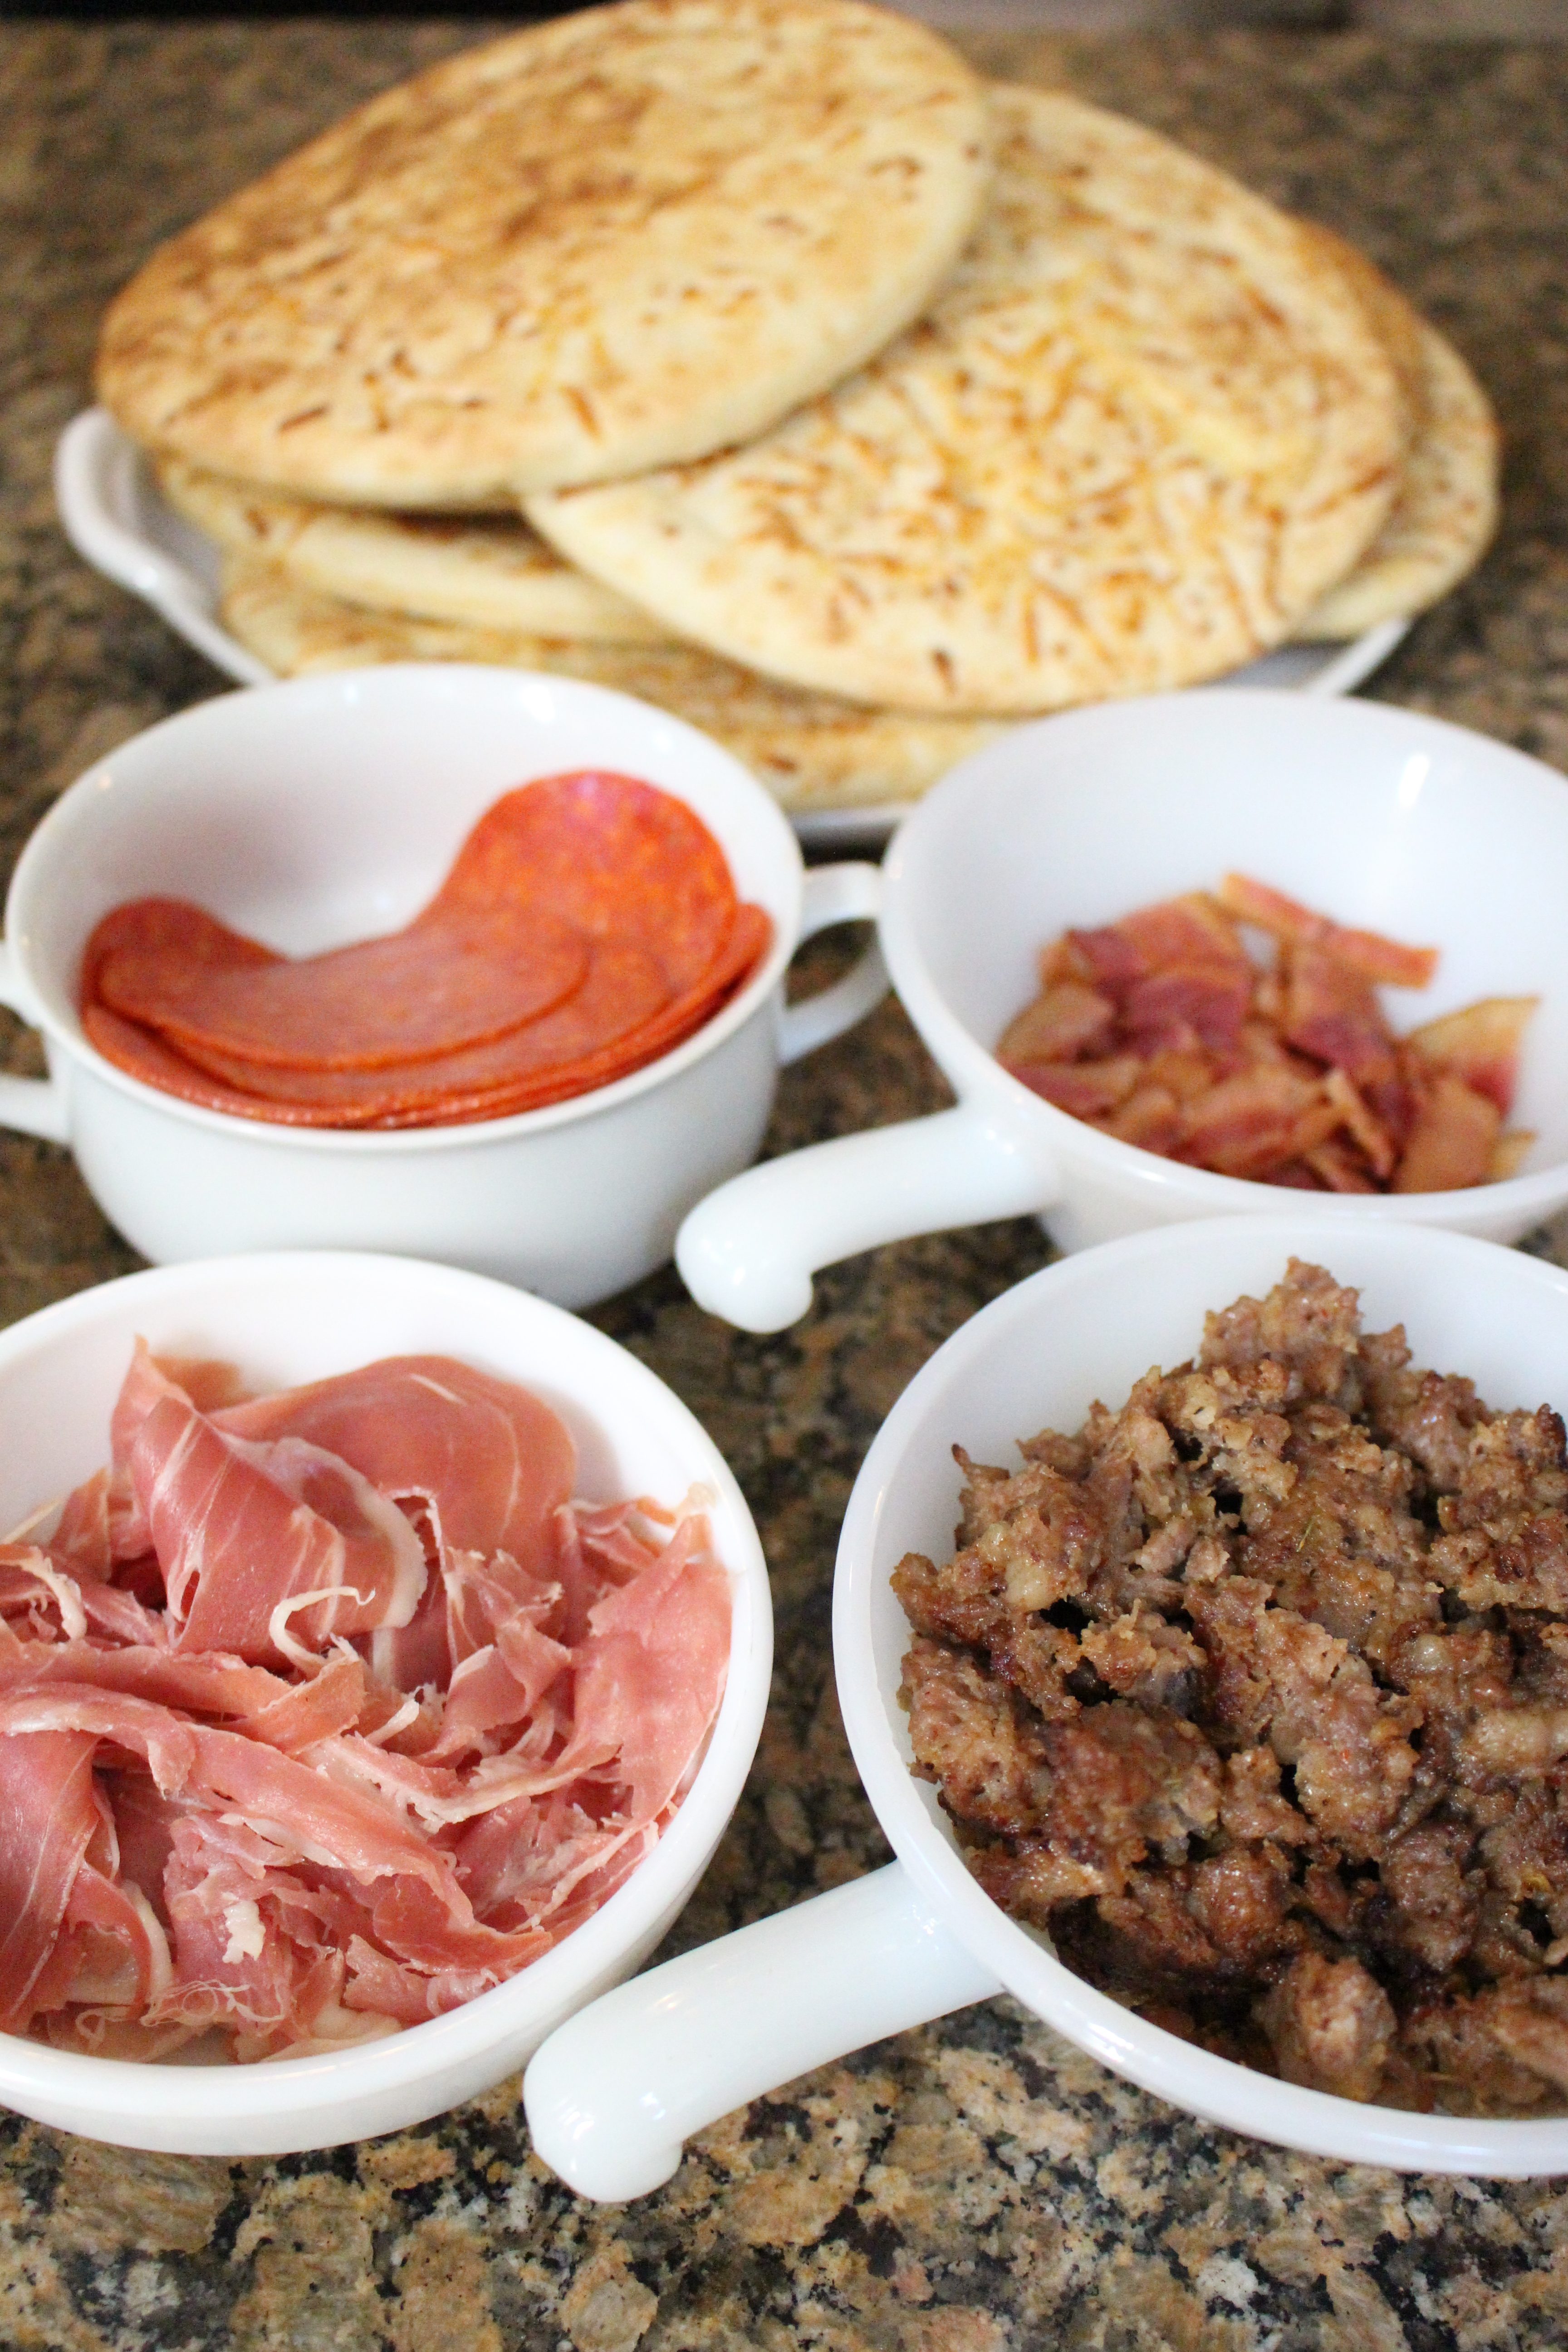
- 80g pepperoni
- 150g cooked sausage, crumbled
- 80g prosciutto
- 100g mushrooms, thinly sliced
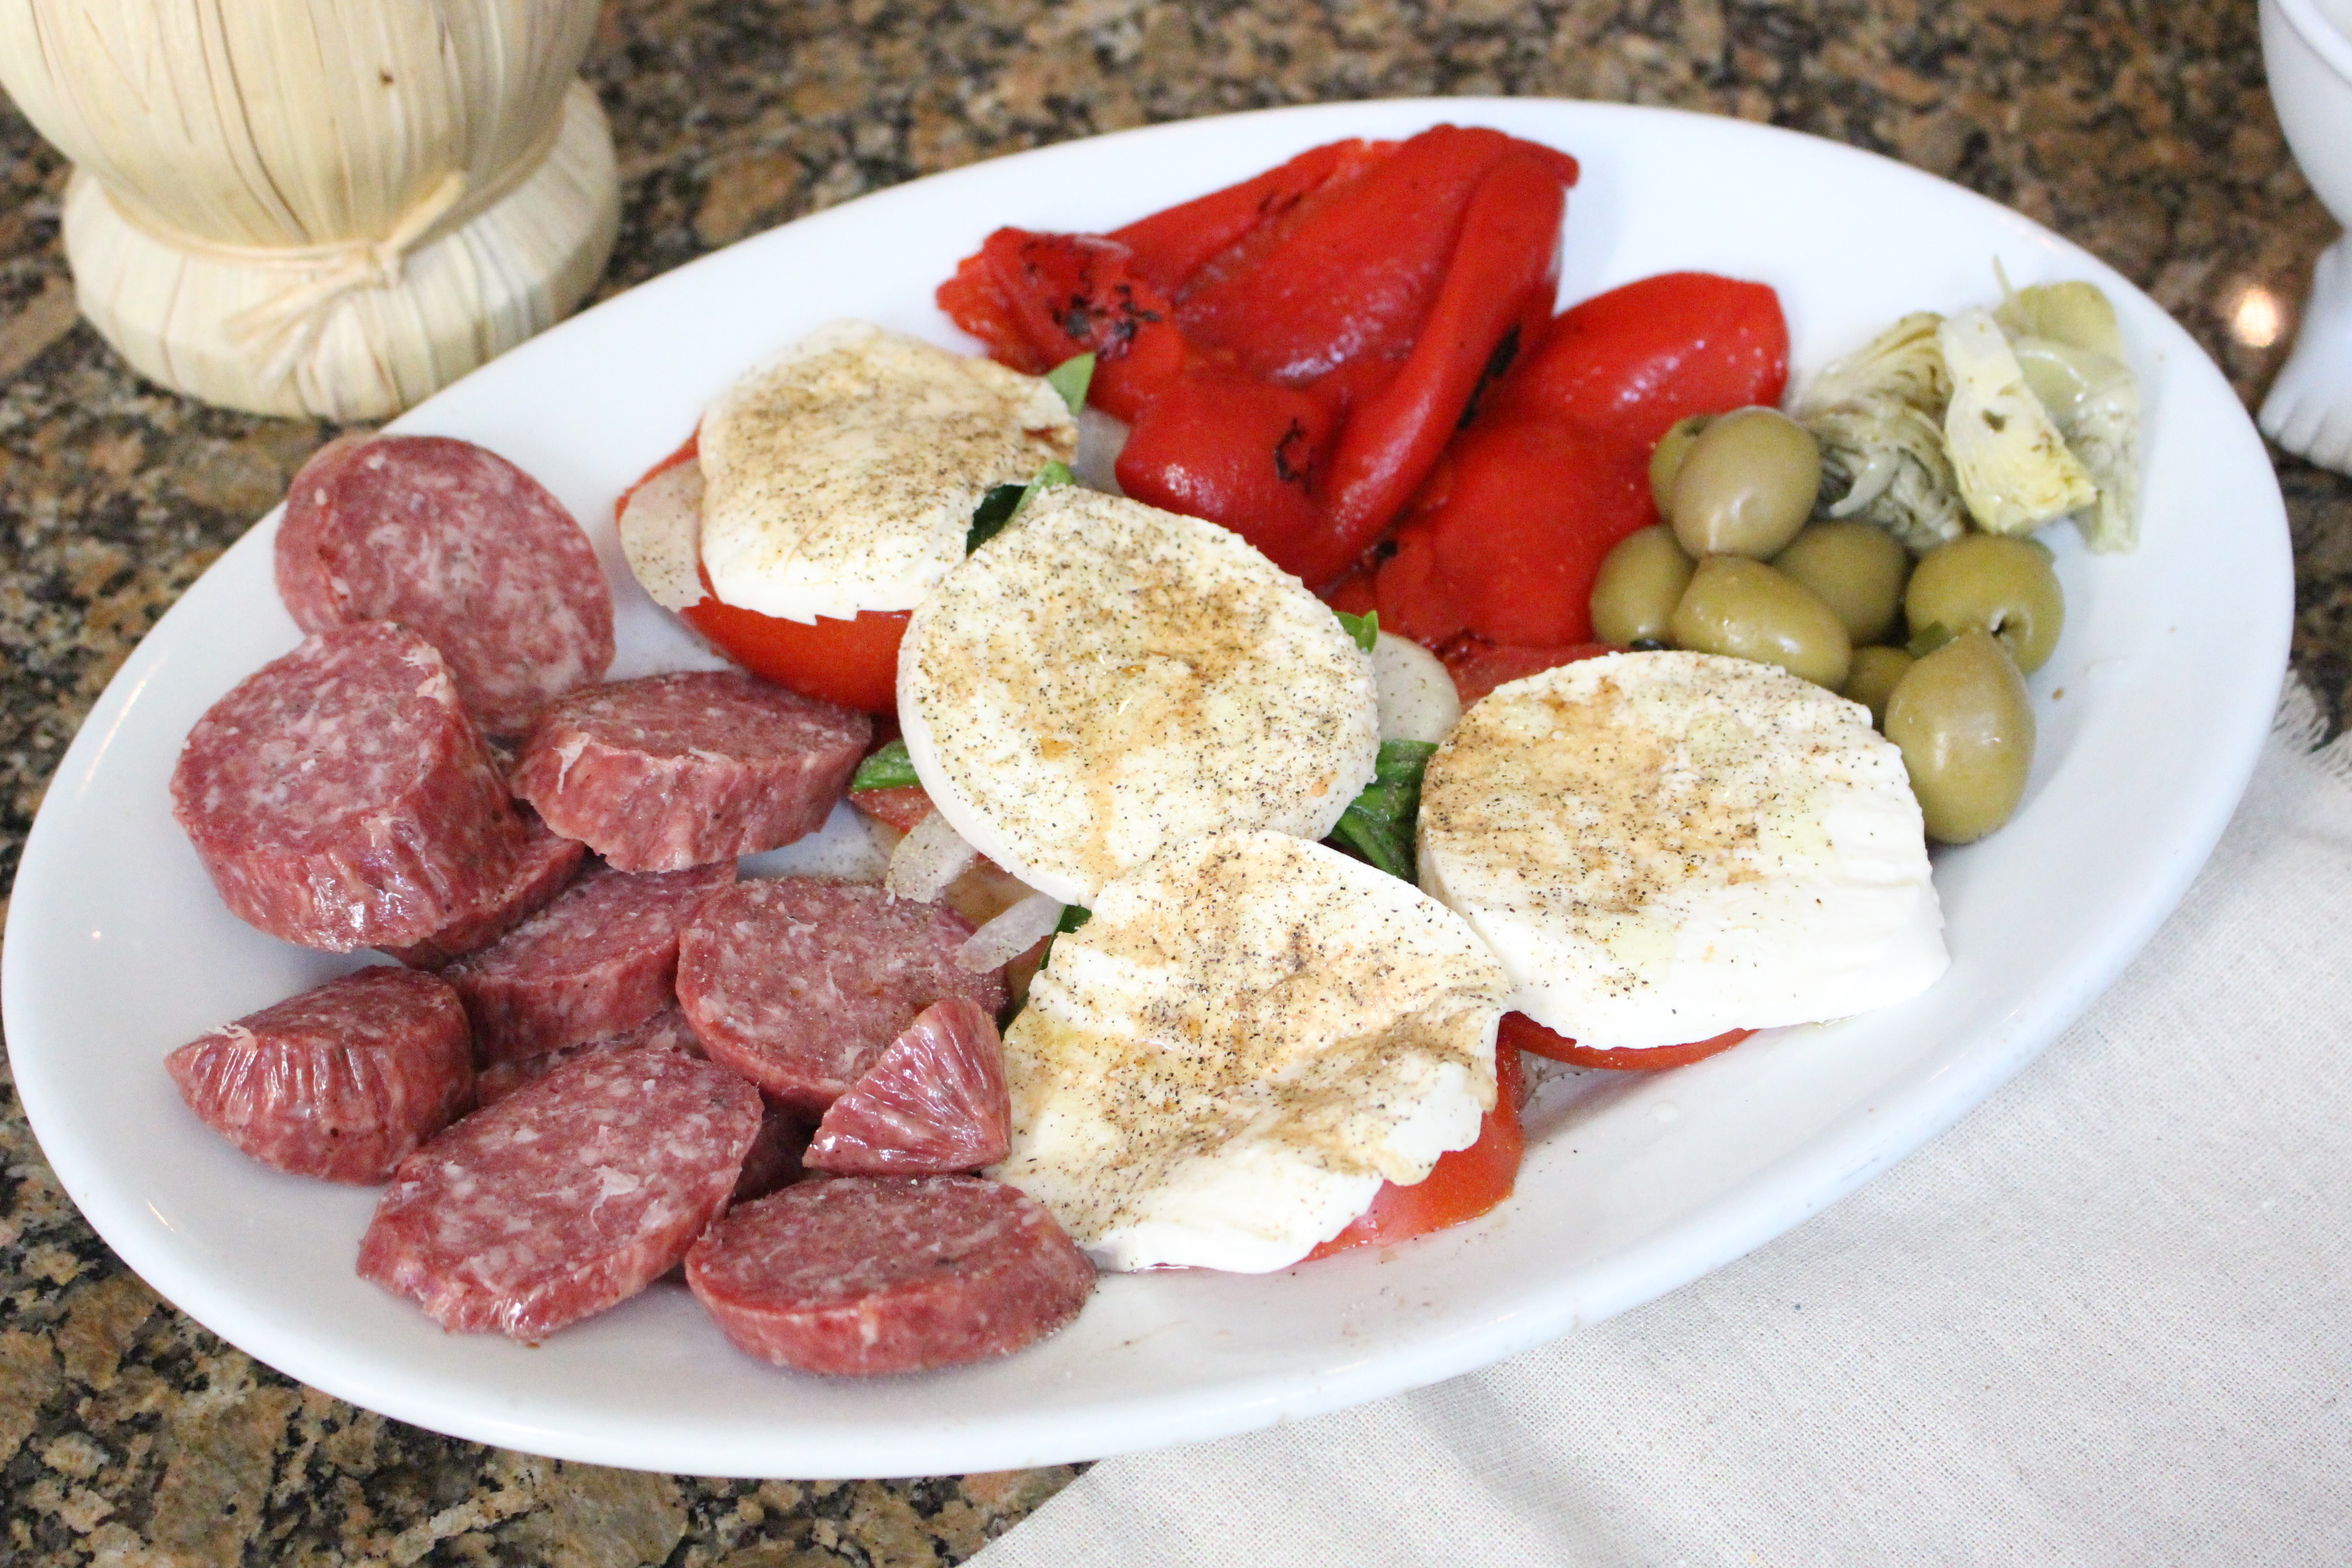
- 100g roasted peppers, drained and sliced
- 50g red onion, very thinly sliced
- 40g pitted olives or sliced jalapeños, optional
- A handful of fresh basil or oregano
- Chilli oil, parmesan or rocket, to finish
Note: Any raw sausage or other fresh meat must be cooked completely before it is offered as a pizza topping. Ready-made chilled dough is absolutely fine; look for dough balls rather than pre-baked bases if you want the best texture.
Equipment You’ll Need
- A lidded gas or charcoal barbecue with a clean cooking grate
- Long heatproof tongs and a wide metal spatula or pizza peel
- A set of mixing bowls for arranging the toppings
- A sharp chef’s knife and chopping board
- Digital kitchen scales for dividing the dough evenly
- Baking parchment or trays for moving the shaped bases
- An instant-read barbecue thermometer is helpful but not essential
A pizza stone is optional. Cooking directly on the grate gives the bases attractive grill marks and a more pronounced smoky flavour, while a stone produces a finish closer to a pizza oven.
How to Make Grilled Pizzas
Step 1: Prepare the topping bar
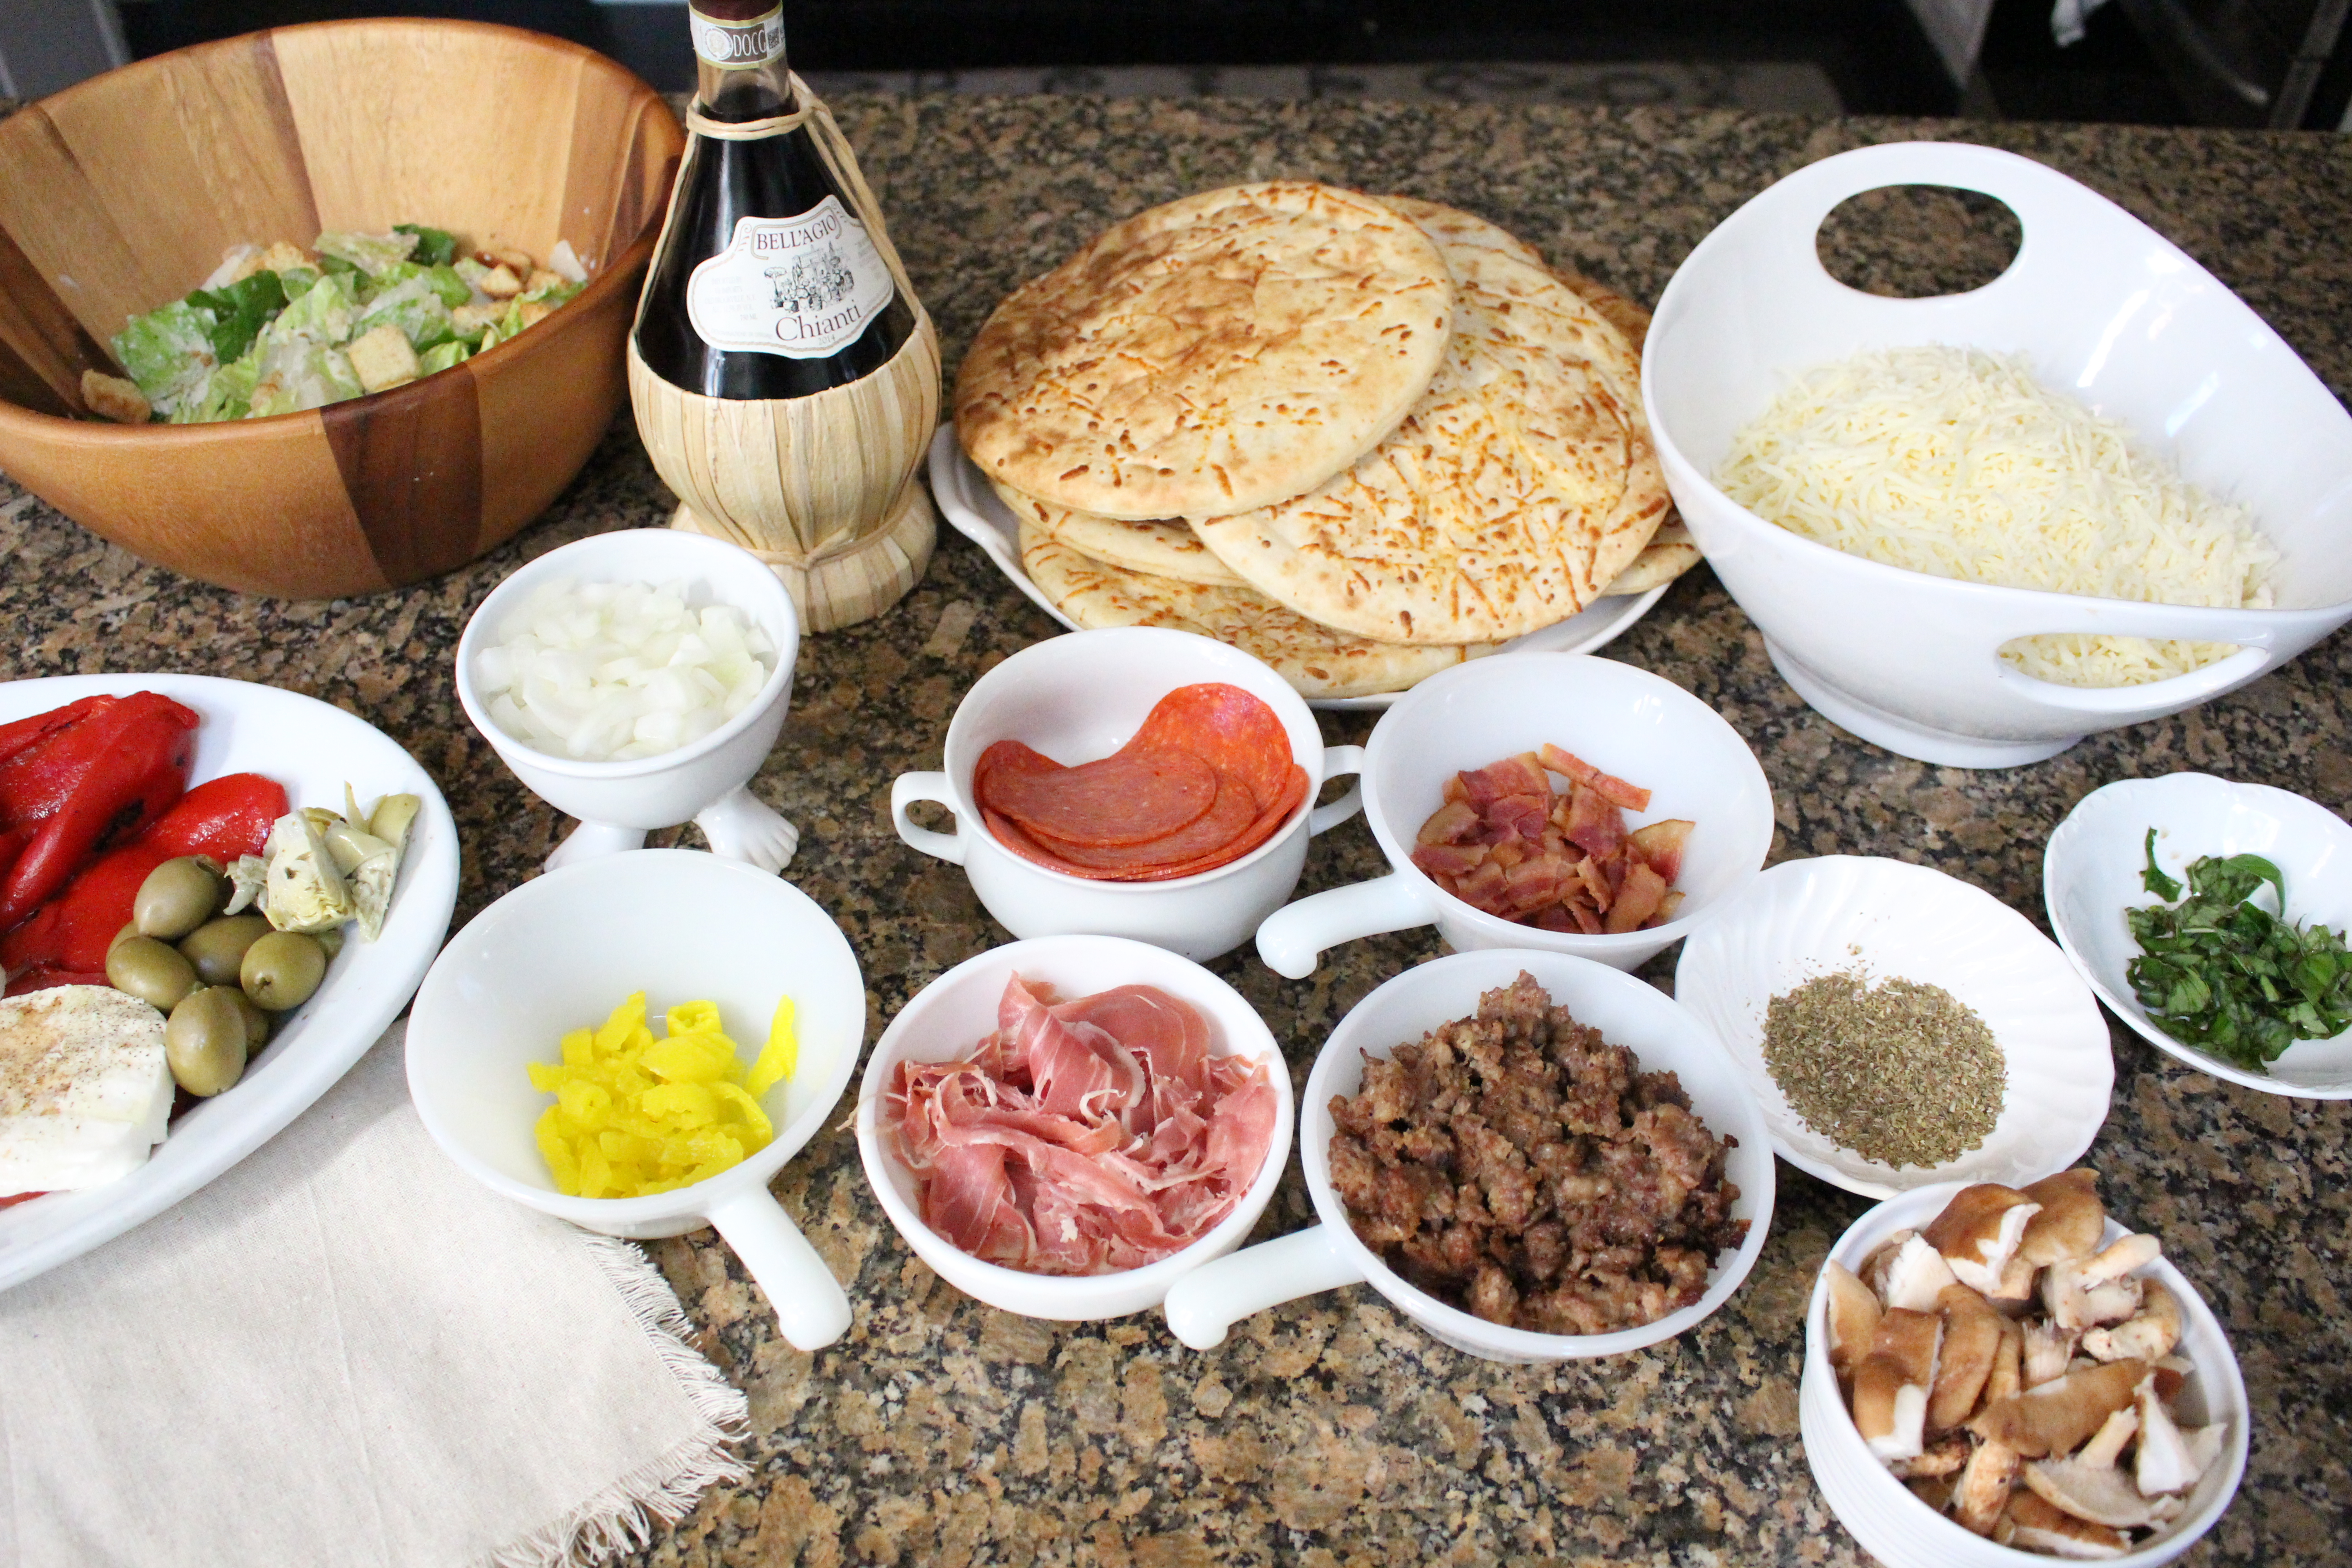
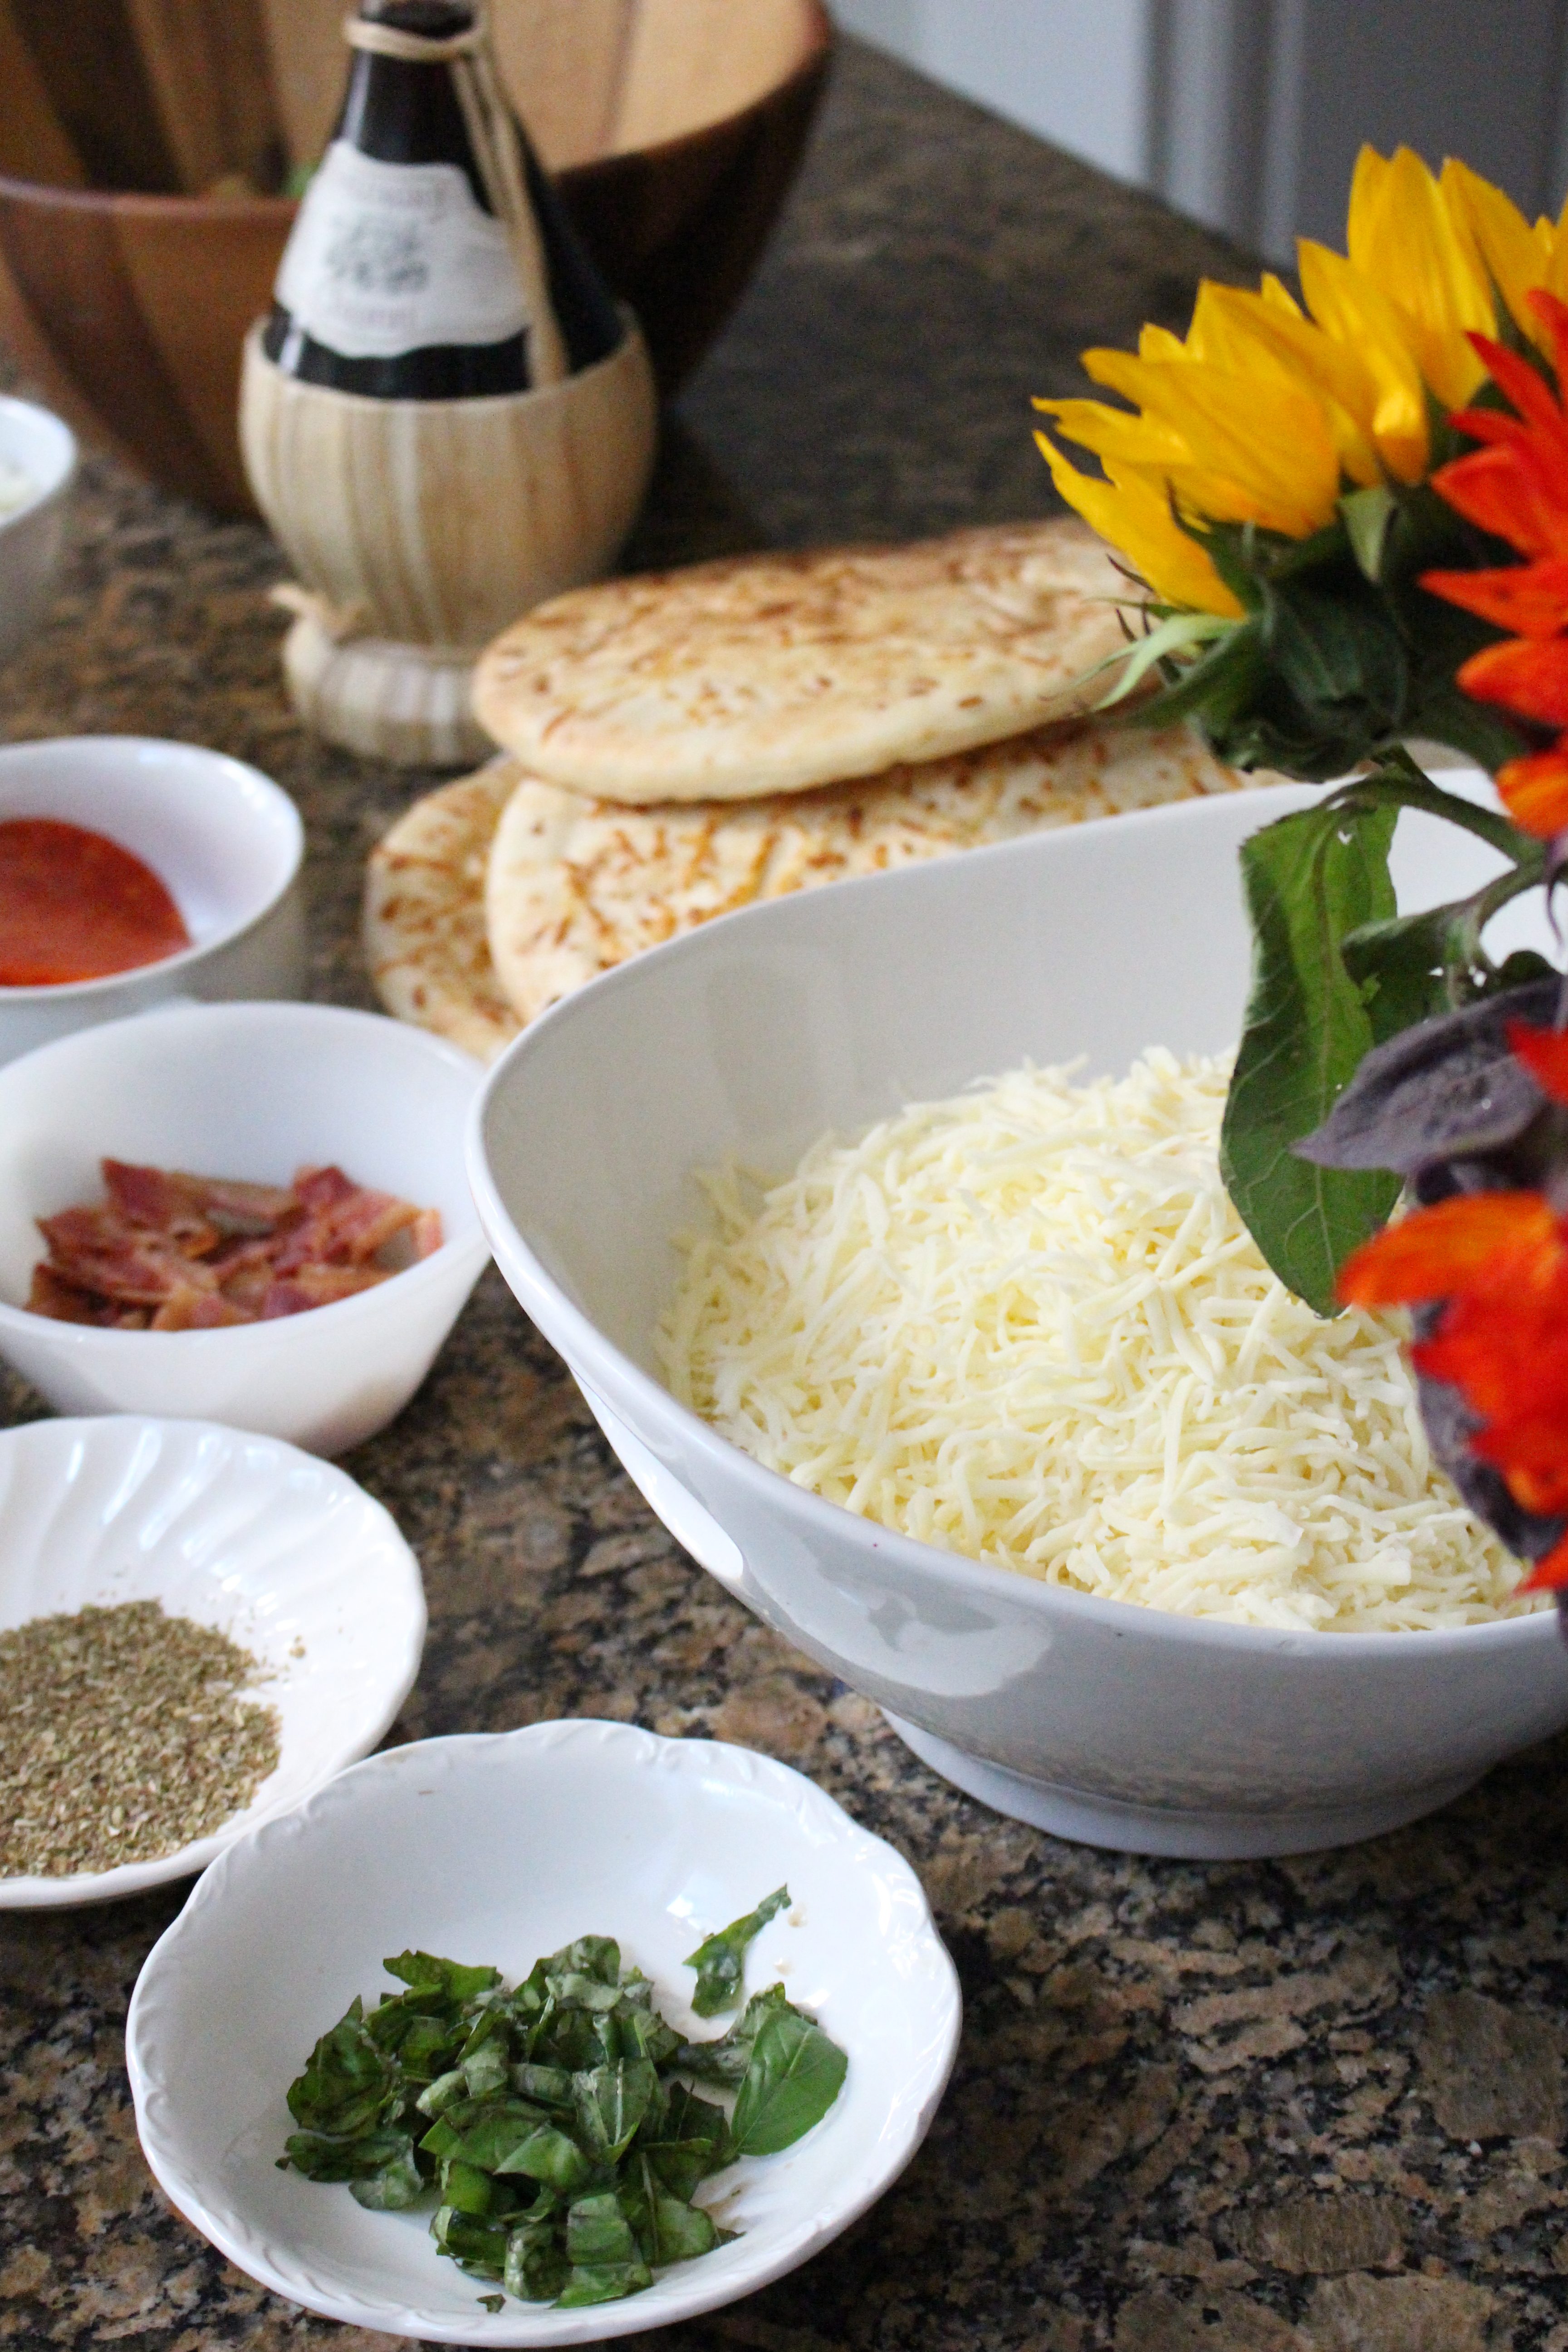
Slice and portion every topping before lighting the barbecue. Put each ingredient into a small bowl, keeping raw ingredients away from cooked ones, and make sure all meat toppings are fully cooked. Dry mozzarella and drained vegetables are important because extra moisture is the quickest route to a soggy pizza.
Step 2: Portion and rest the dough
Divide the dough into four 180g balls and place them on a lightly floured tray. Cover and leave at room temperature for 45 to 60 minutes if the dough came from the fridge. This relaxes the gluten, making each ball easier to stretch without tearing or shrinking back.
Step 3: Set up the barbecue
Heat the barbecue to between 220°C and 250°C with the lid closed. Create two heat zones by leaving one side cooler or free from direct coals. Clean the grate thoroughly, then wipe it lightly with oil using folded kitchen paper held in long tongs. A clean, hot grate is far less likely to grab the dough.
Step 4: Shape the bases
On a surface dusted with semolina or flour, press and stretch each dough ball into a rough 20cm round. Perfection is not the aim; slightly irregular pizzas look generous and homemade. Brush one side lightly with olive oil and keep the other side dusted so it slides easily from the board.
Step 5: Grill the first side
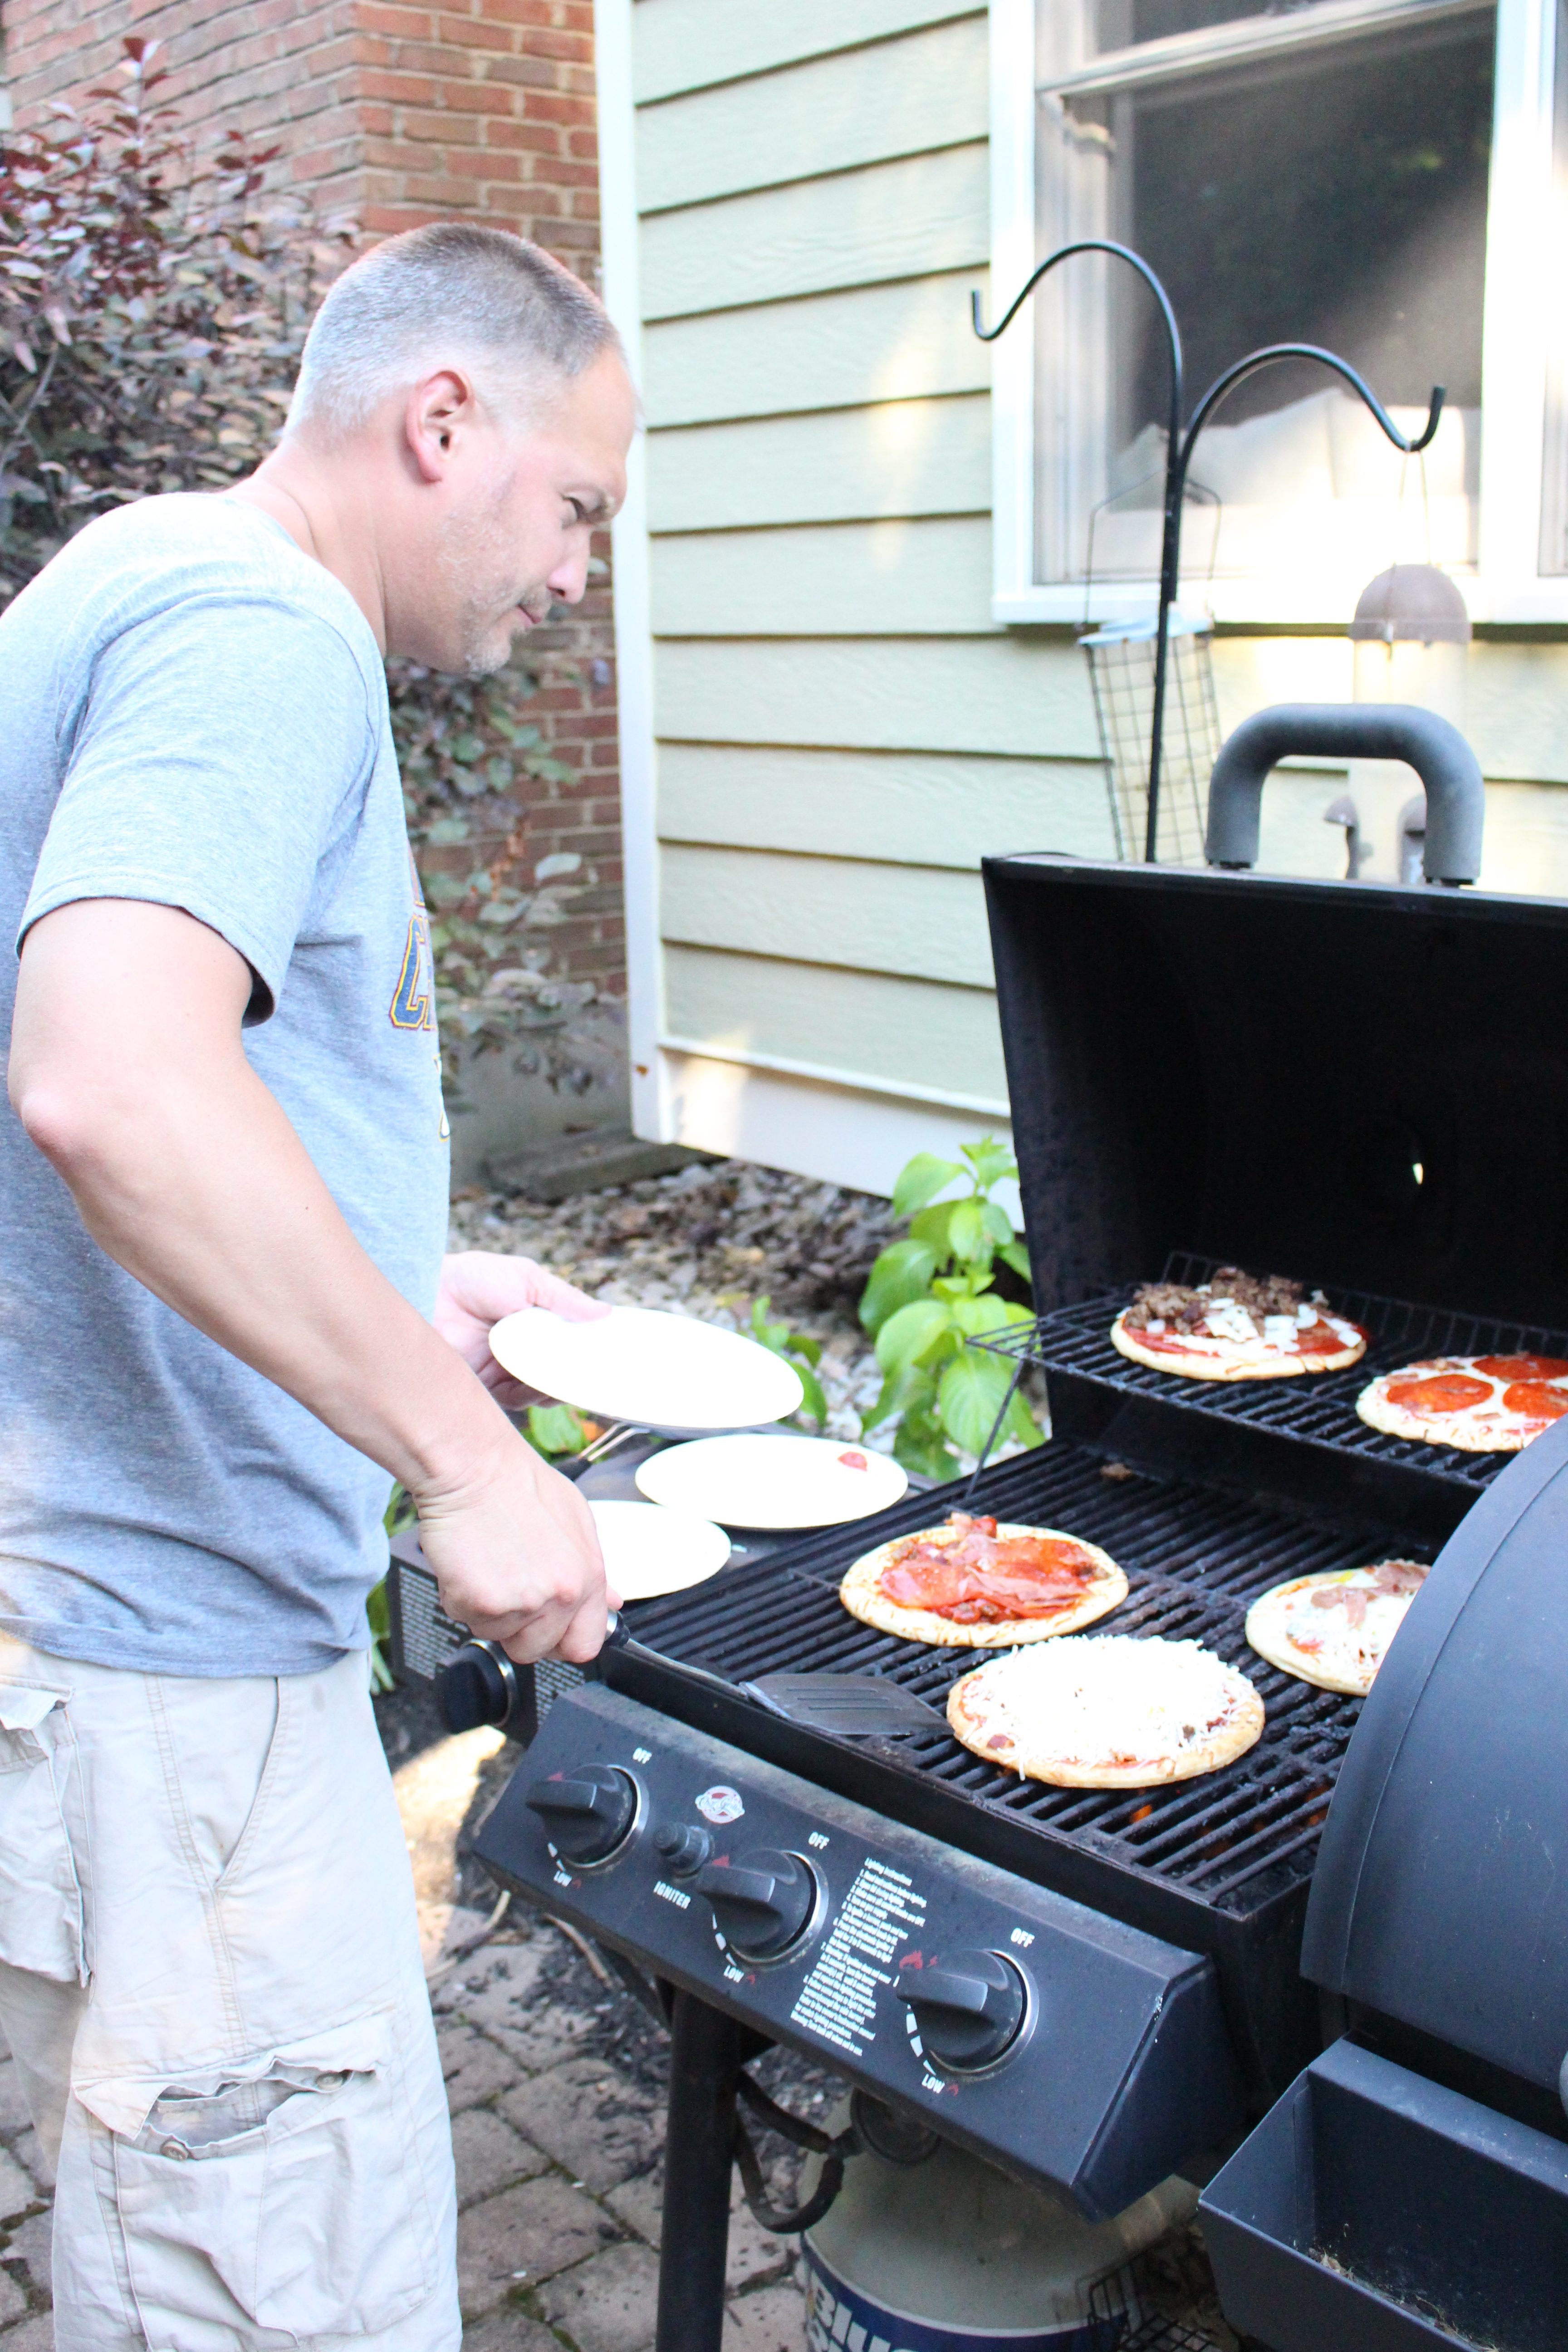
Lay one or two bases oiled-side down over direct heat, depending on the size of your barbecue. Close the lid and cook for two to three minutes, until the underside has clear grill marks and the top begins to bubble. Use tongs to lift an edge and check rather than relying only on the clock.
Step 6: Flip and add the toppings
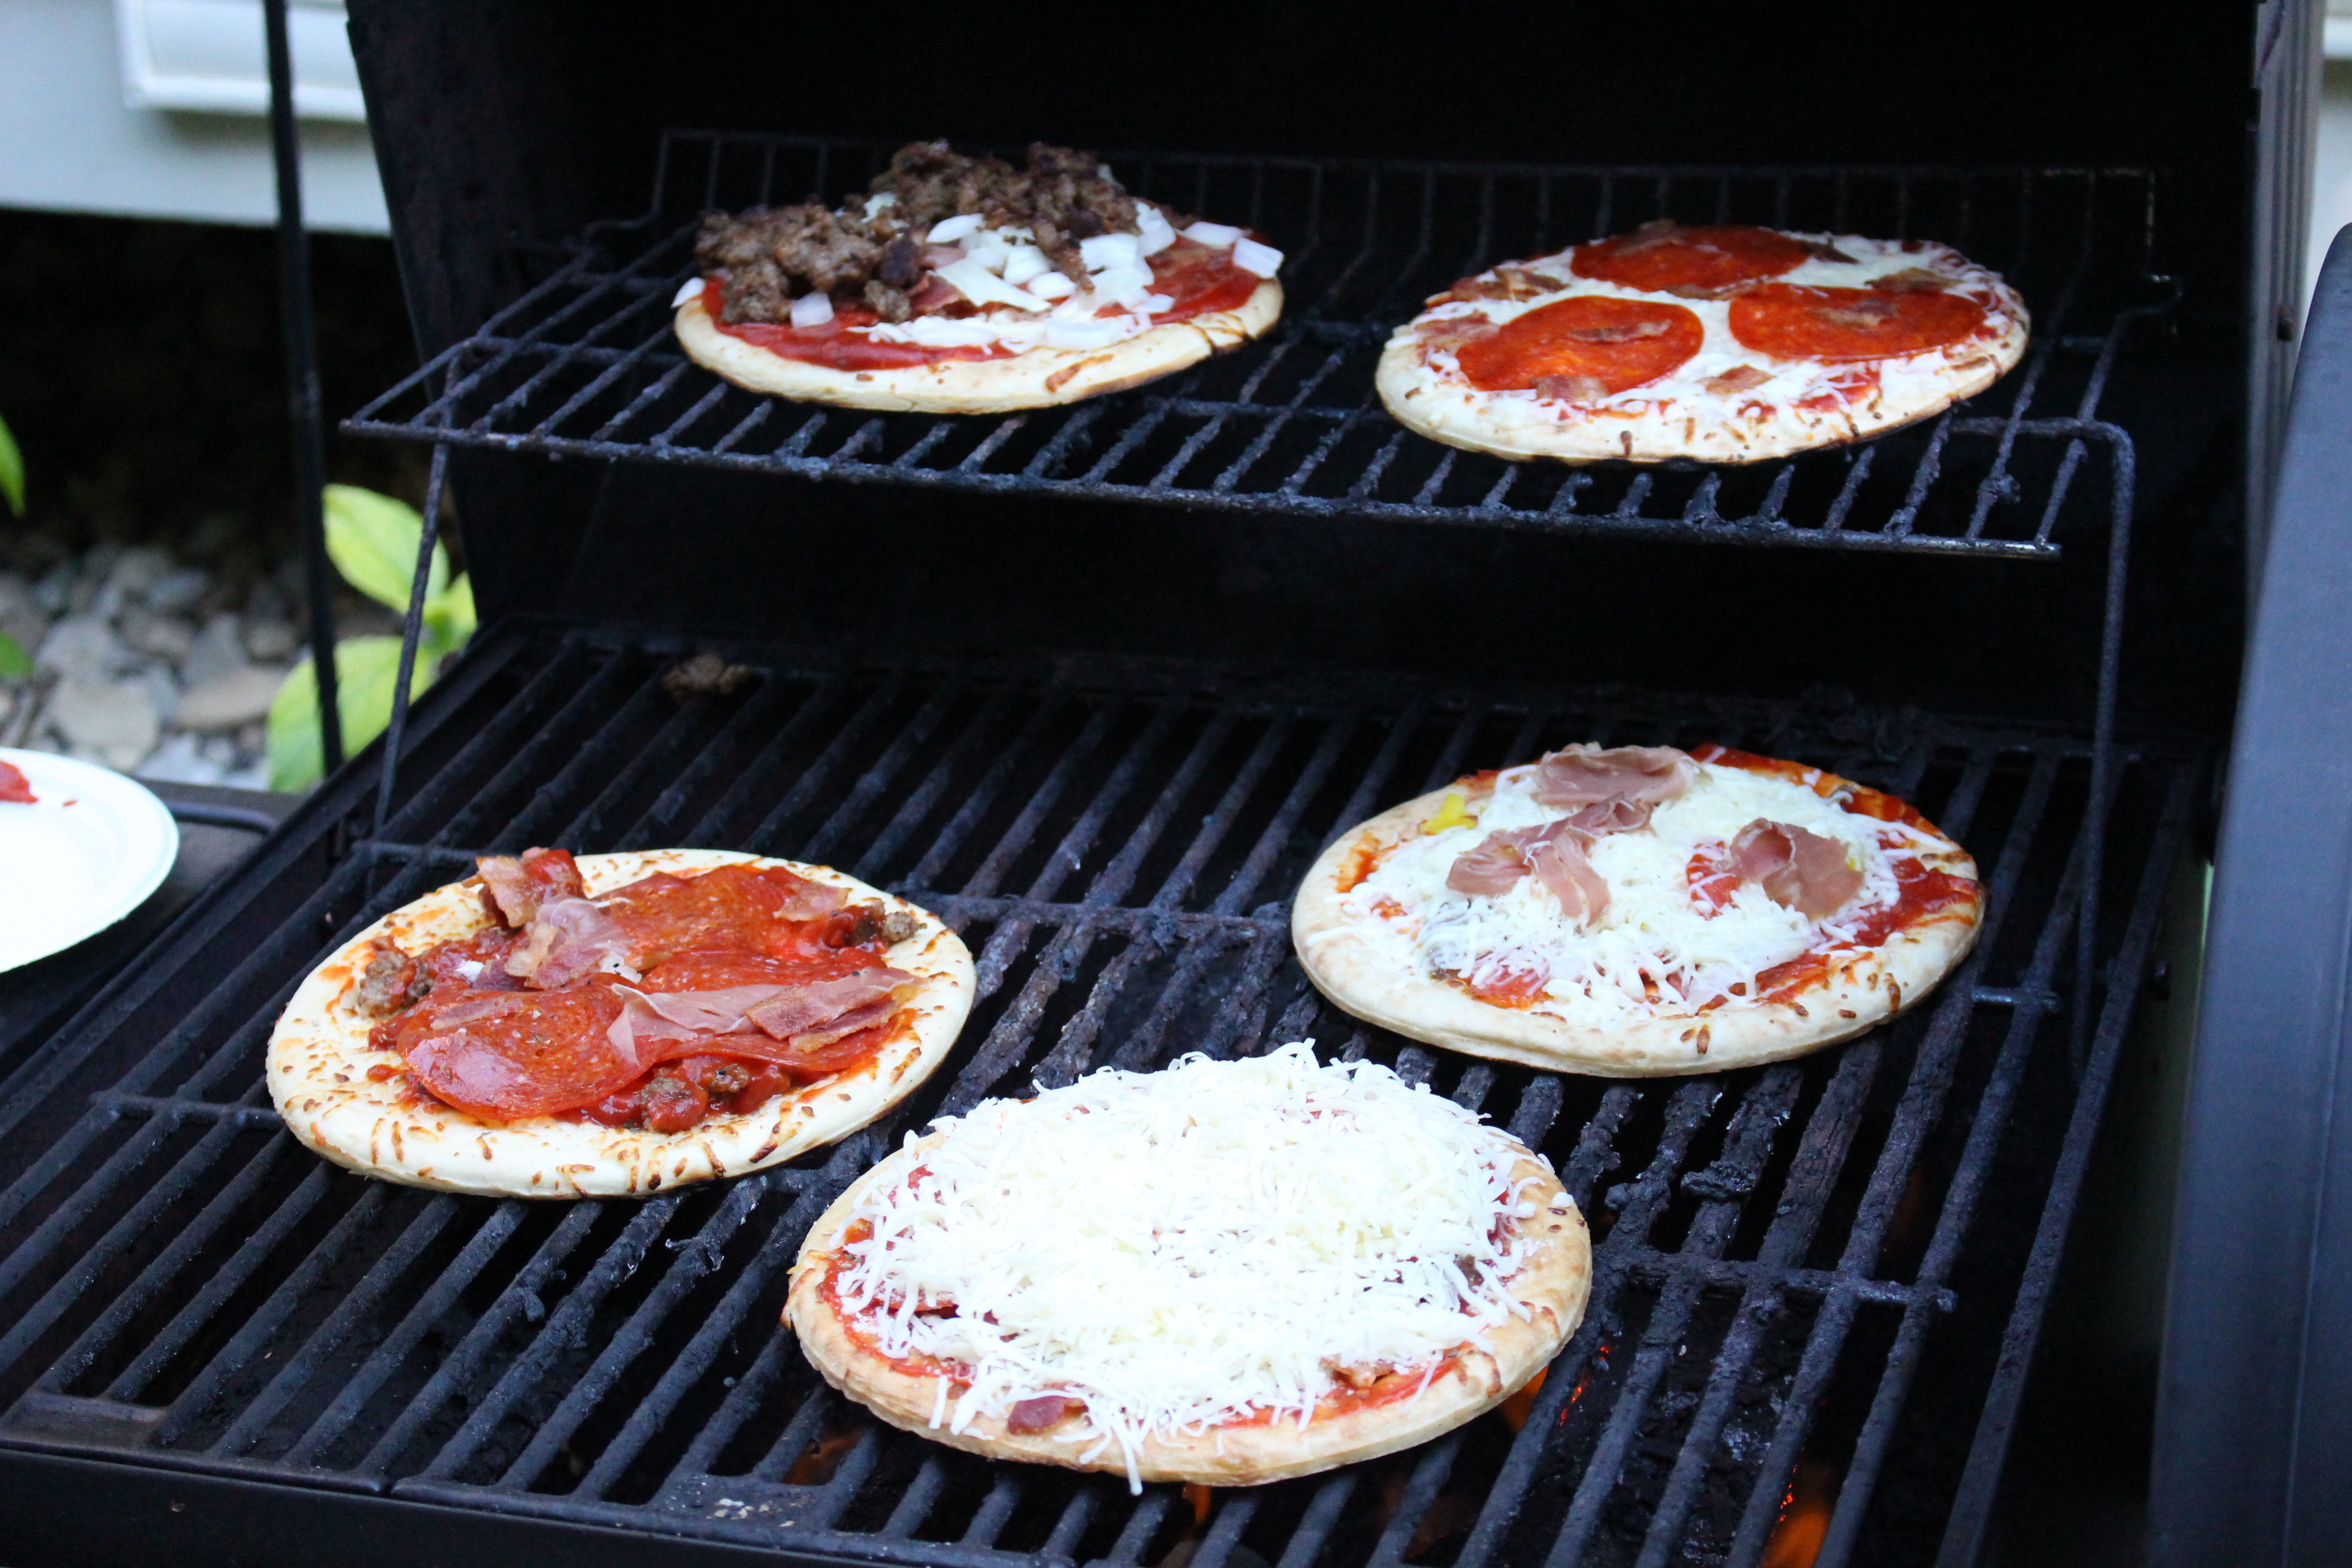
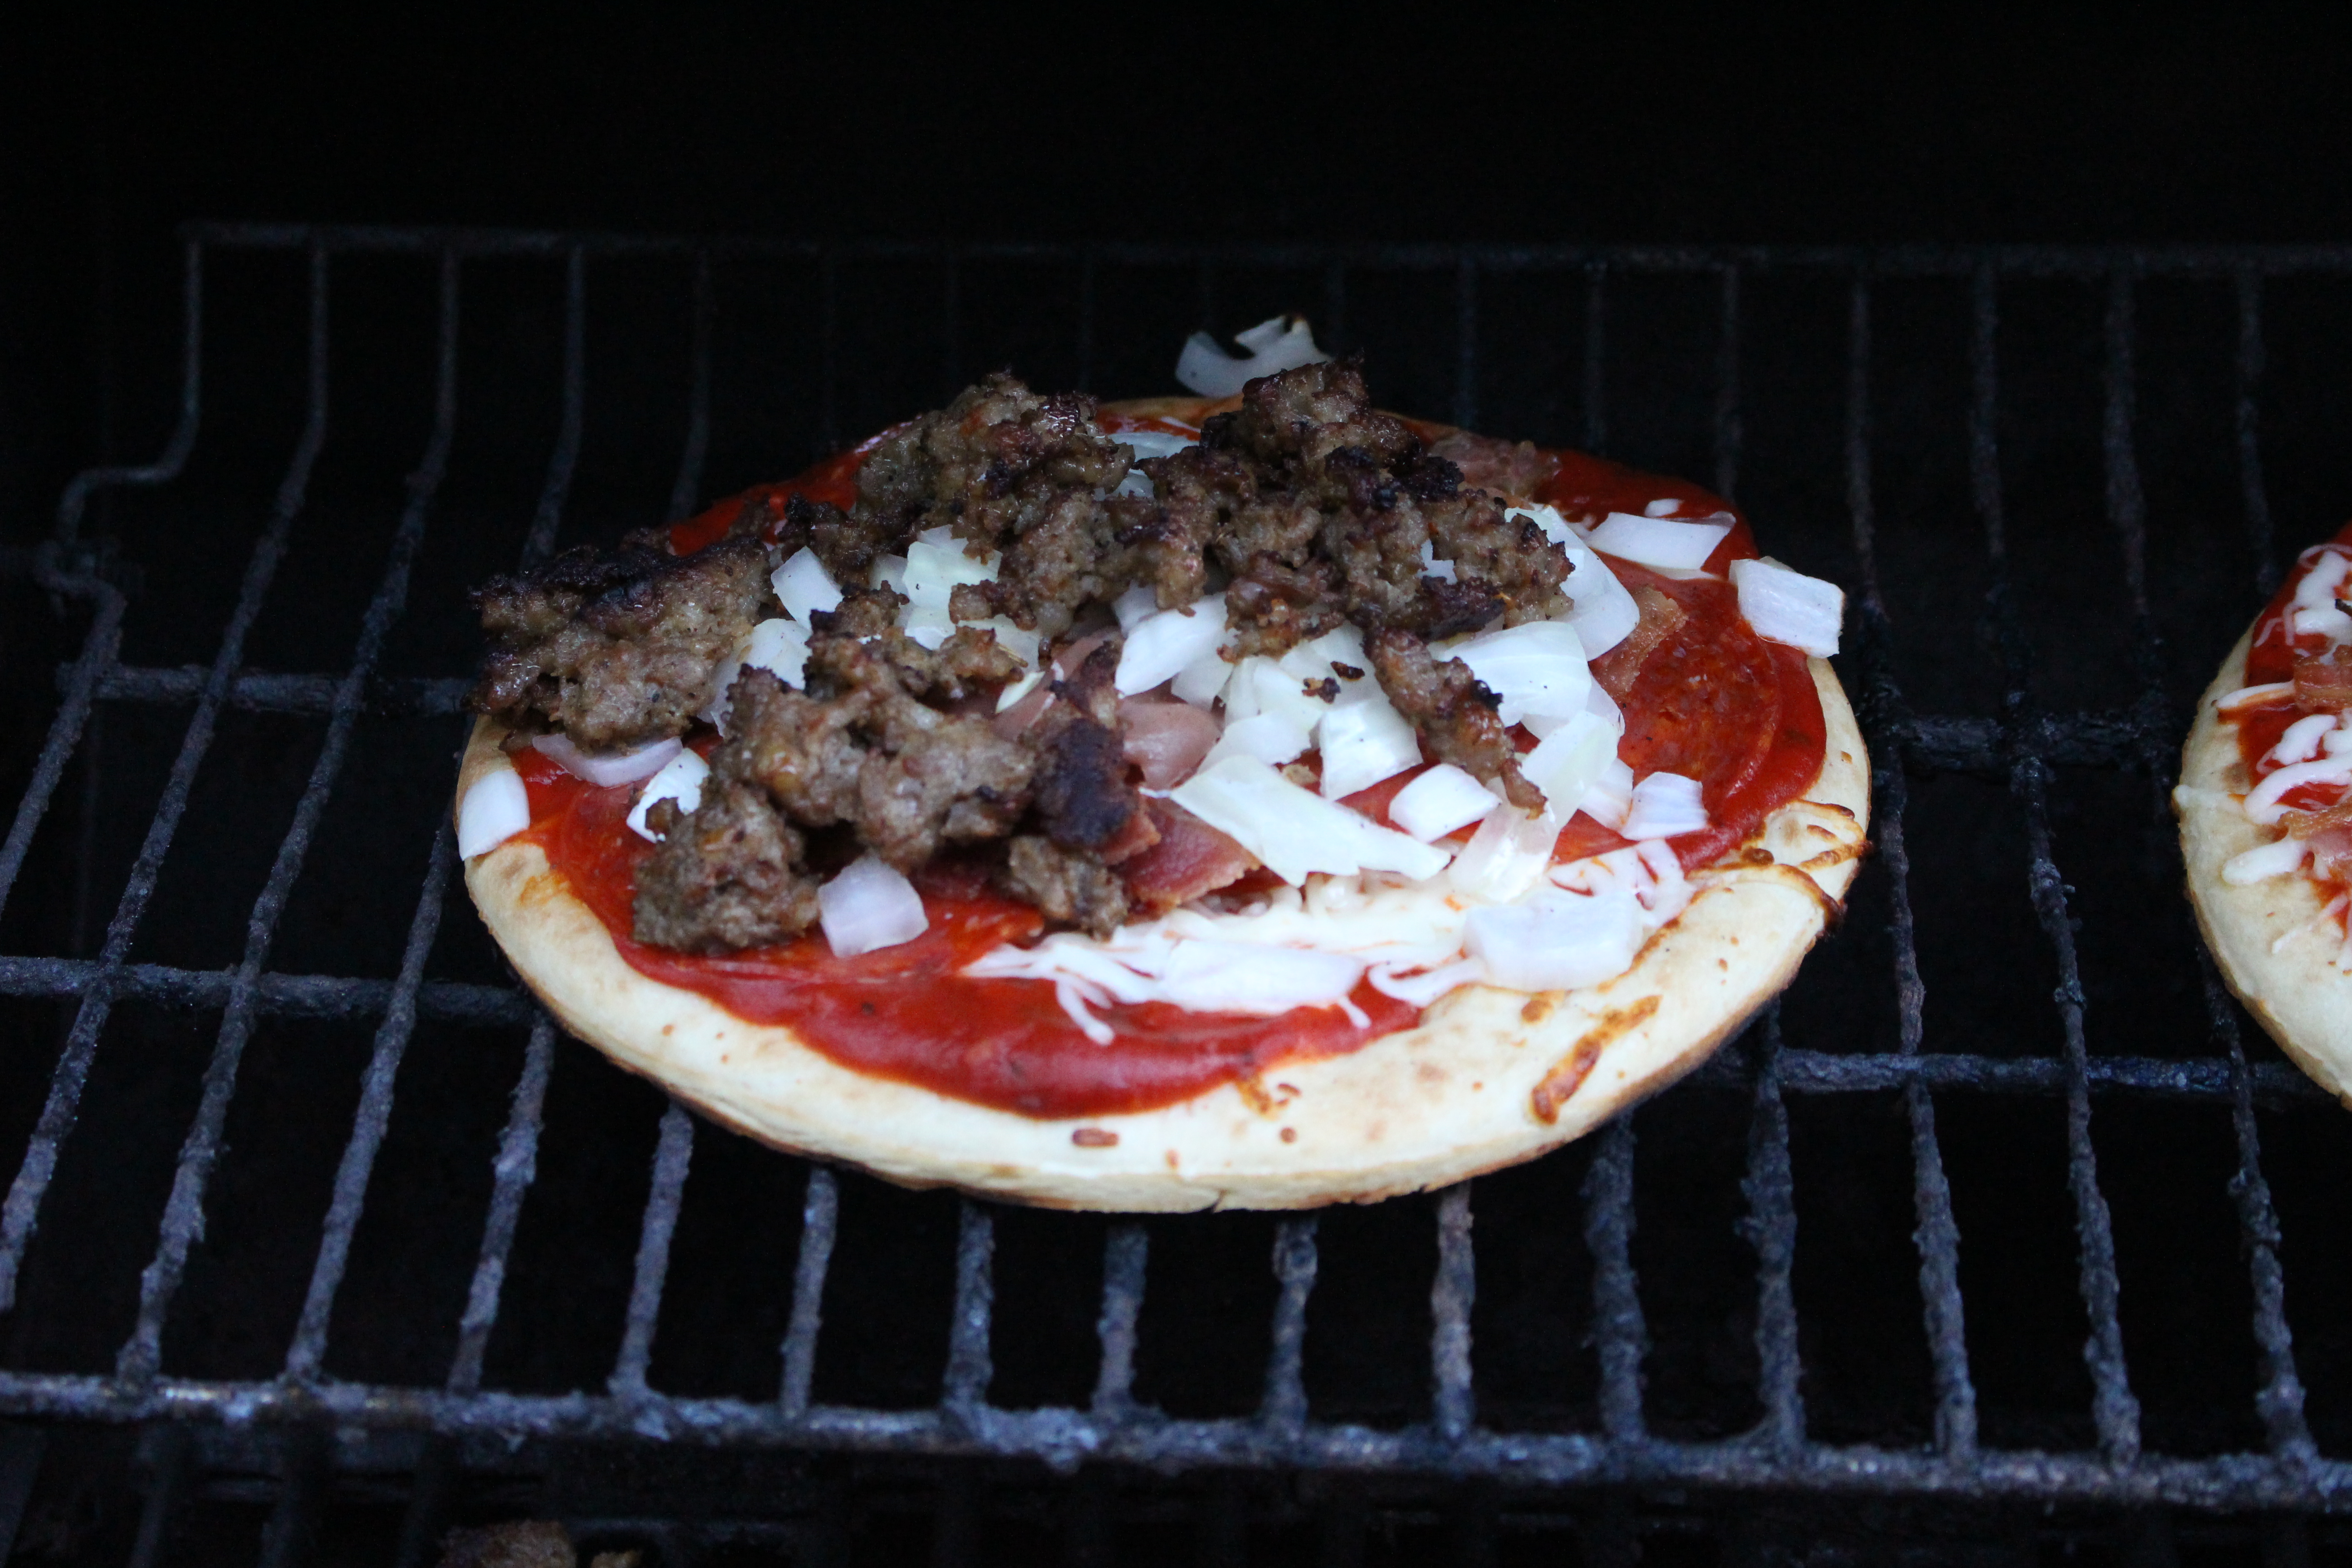
Move each base to a board with the cooked side facing up. Spread with about 60ml sauce, then add mozzarella and a restrained layer of toppings. Less is genuinely better here: an overloaded pizza takes longer to heat through and can burn underneath before the cheese melts.
Step 7: Finish over indirect heat
Return the topped pizzas to the cooler side of the barbecue, close the lid and cook for four to six minutes. Rotate them once if your barbecue has obvious hot spots. They are ready when the base is crisp, the crust is golden and the cheese is fully melted.
Step 8: Finish and serve
Transfer the pizzas to boards and let them stand for two minutes before slicing. Add basil, rocket, grated parmesan or a little chilli oil after cooking, when those flavours stay fresh. Serve the pizzas as they are ready rather than trying to hold the whole batch; that easy rhythm is part of the fun.
Tips for the Best Grilled Pizzas
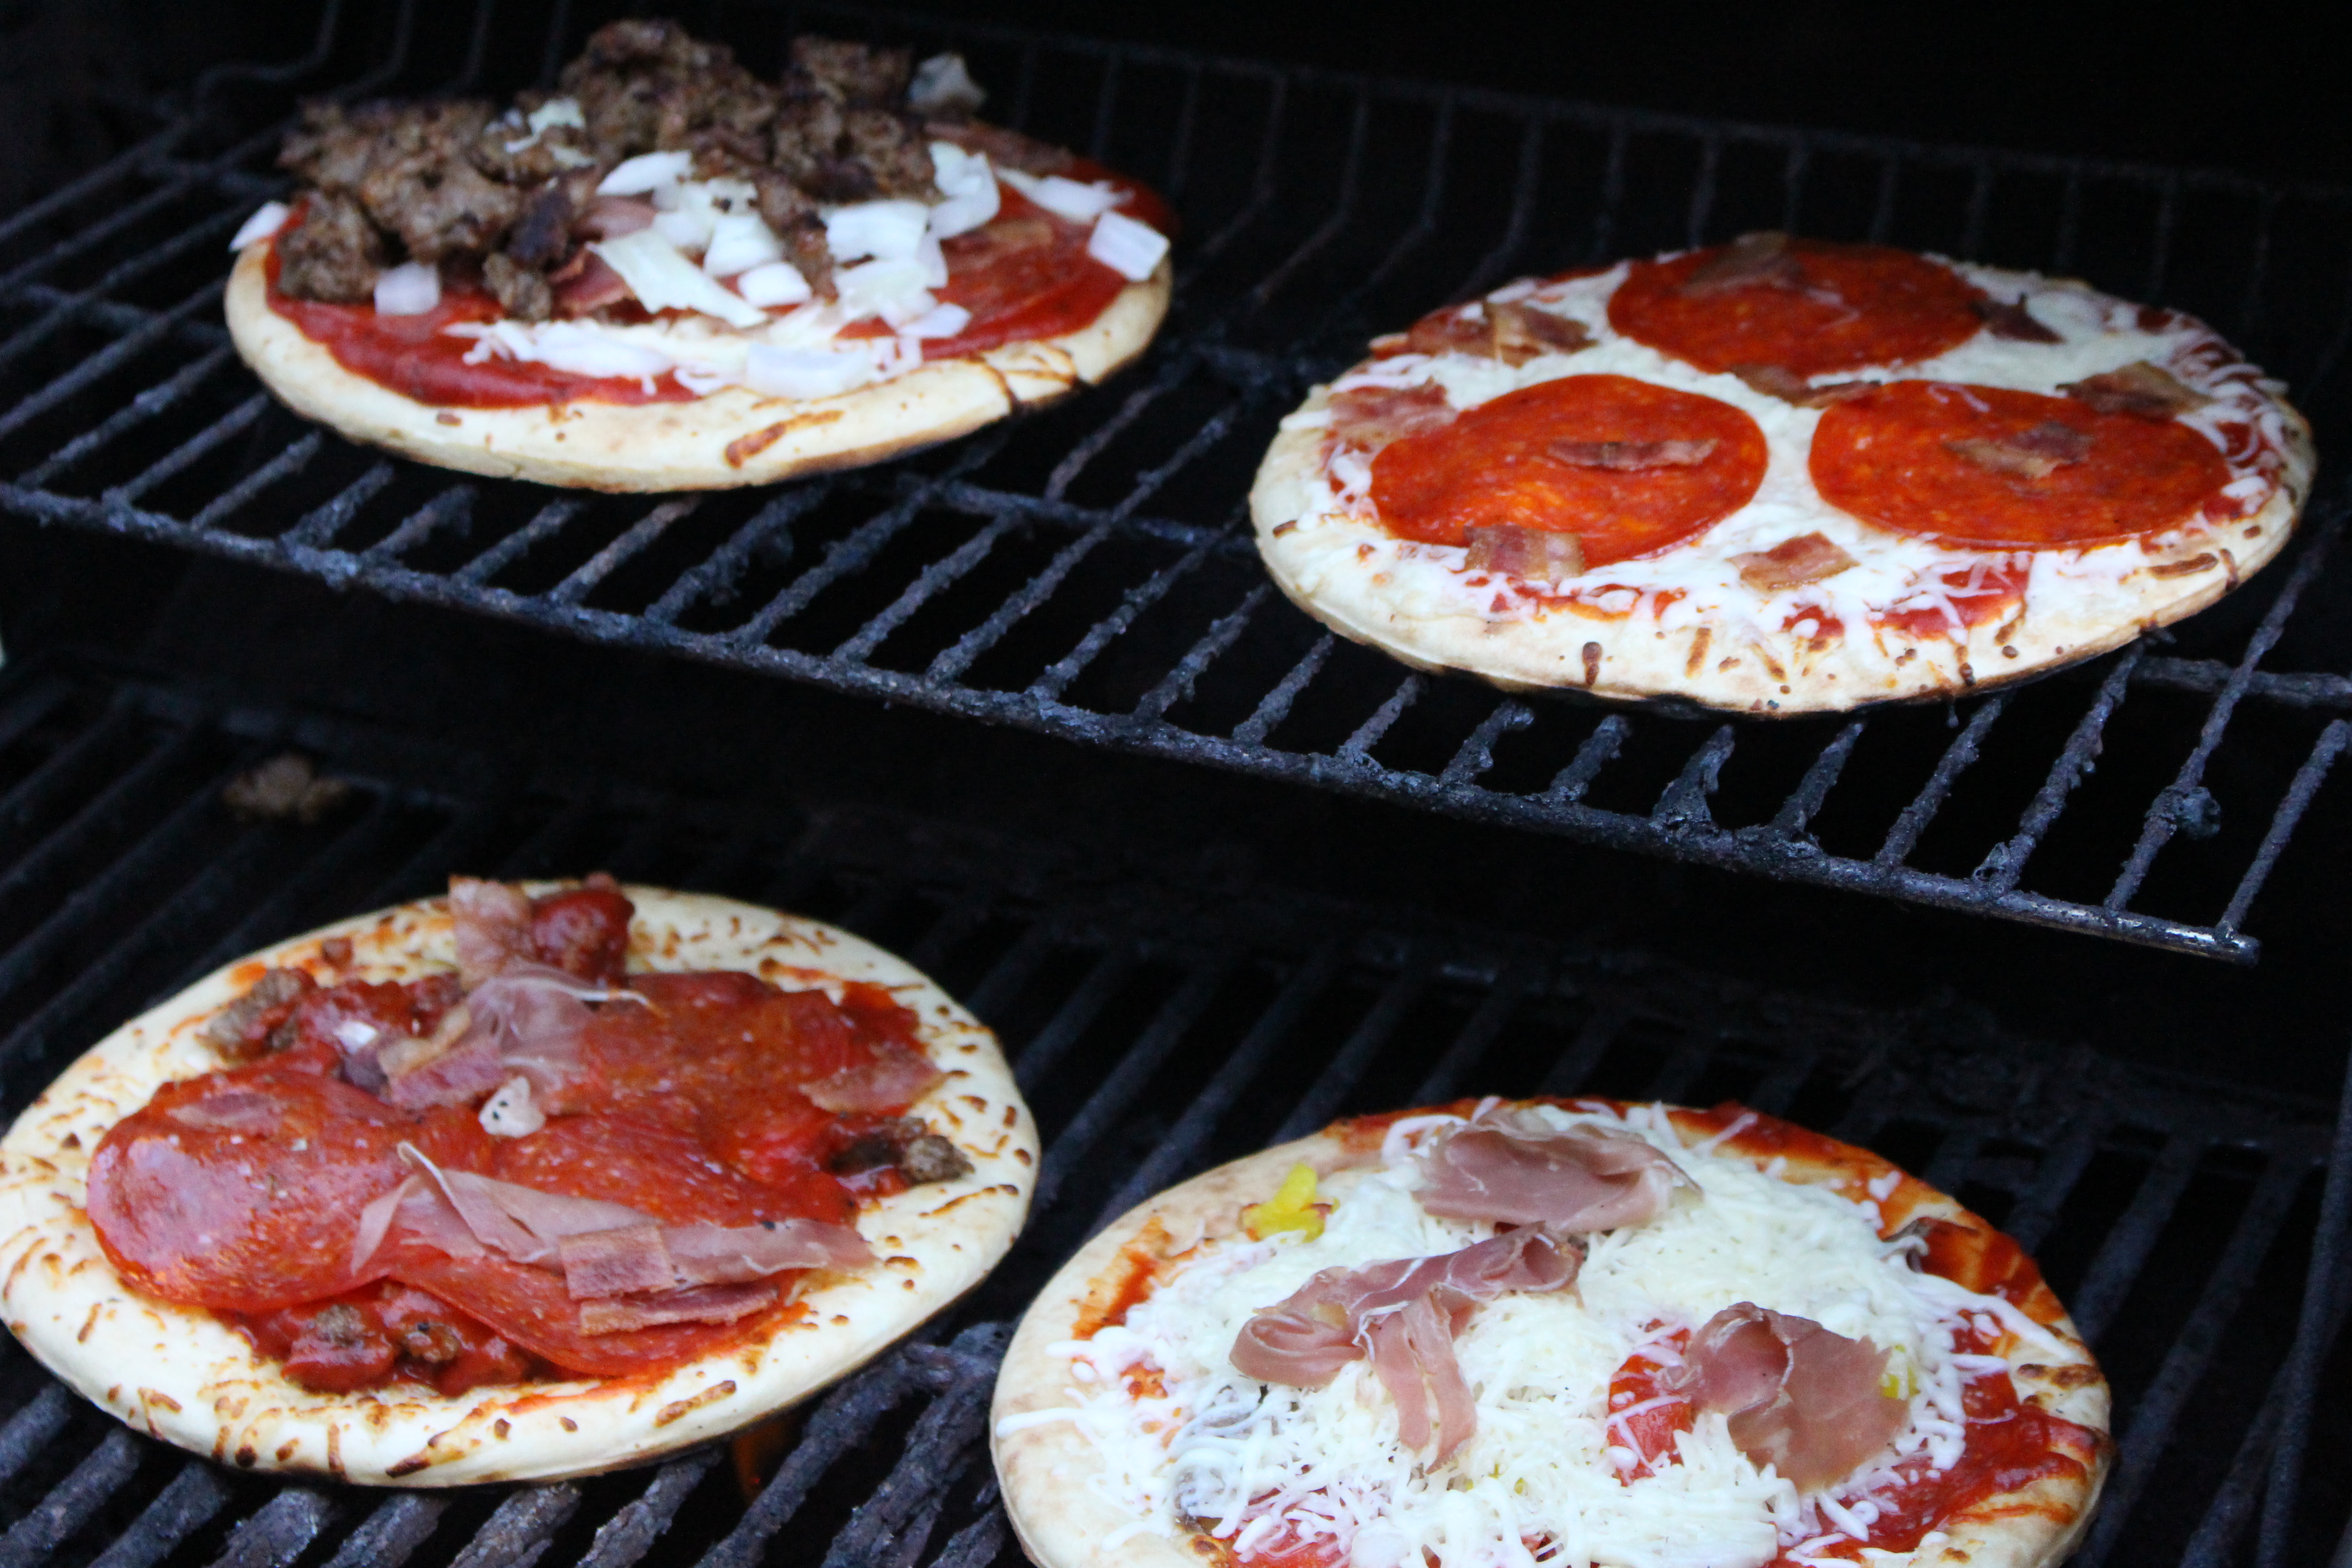
Keep the toppings restrained. Two or three toppings plus cheese usually produce a crisper, better-balanced pizza than a heavily loaded base.
Drain wet ingredients. Pat mozzarella, roasted peppers, olives and artichokes dry before they reach the dough.
Build a two-zone fire. Direct heat creates the char; indirect heat melts the cheese without scorching the base.
Do not force the first flip. Properly cooked dough releases from the grate. If it is still sticking, give it another 30 seconds before trying again.
Serve on wooden boards. A stack of simple boards, fresh herbs and a small dish of chilli oil makes the meal feel beautifully put together without adding work.
Allow for the weather. Wind and cool air can lower the barbecue temperature, so keep the lid closed and expect later pizzas to take an extra minute.
Scale by adding dough, not clutter. For eight guests, make eight small pizzas and keep the same sensible range of toppings rather than doubling every option.
Make It Your Own
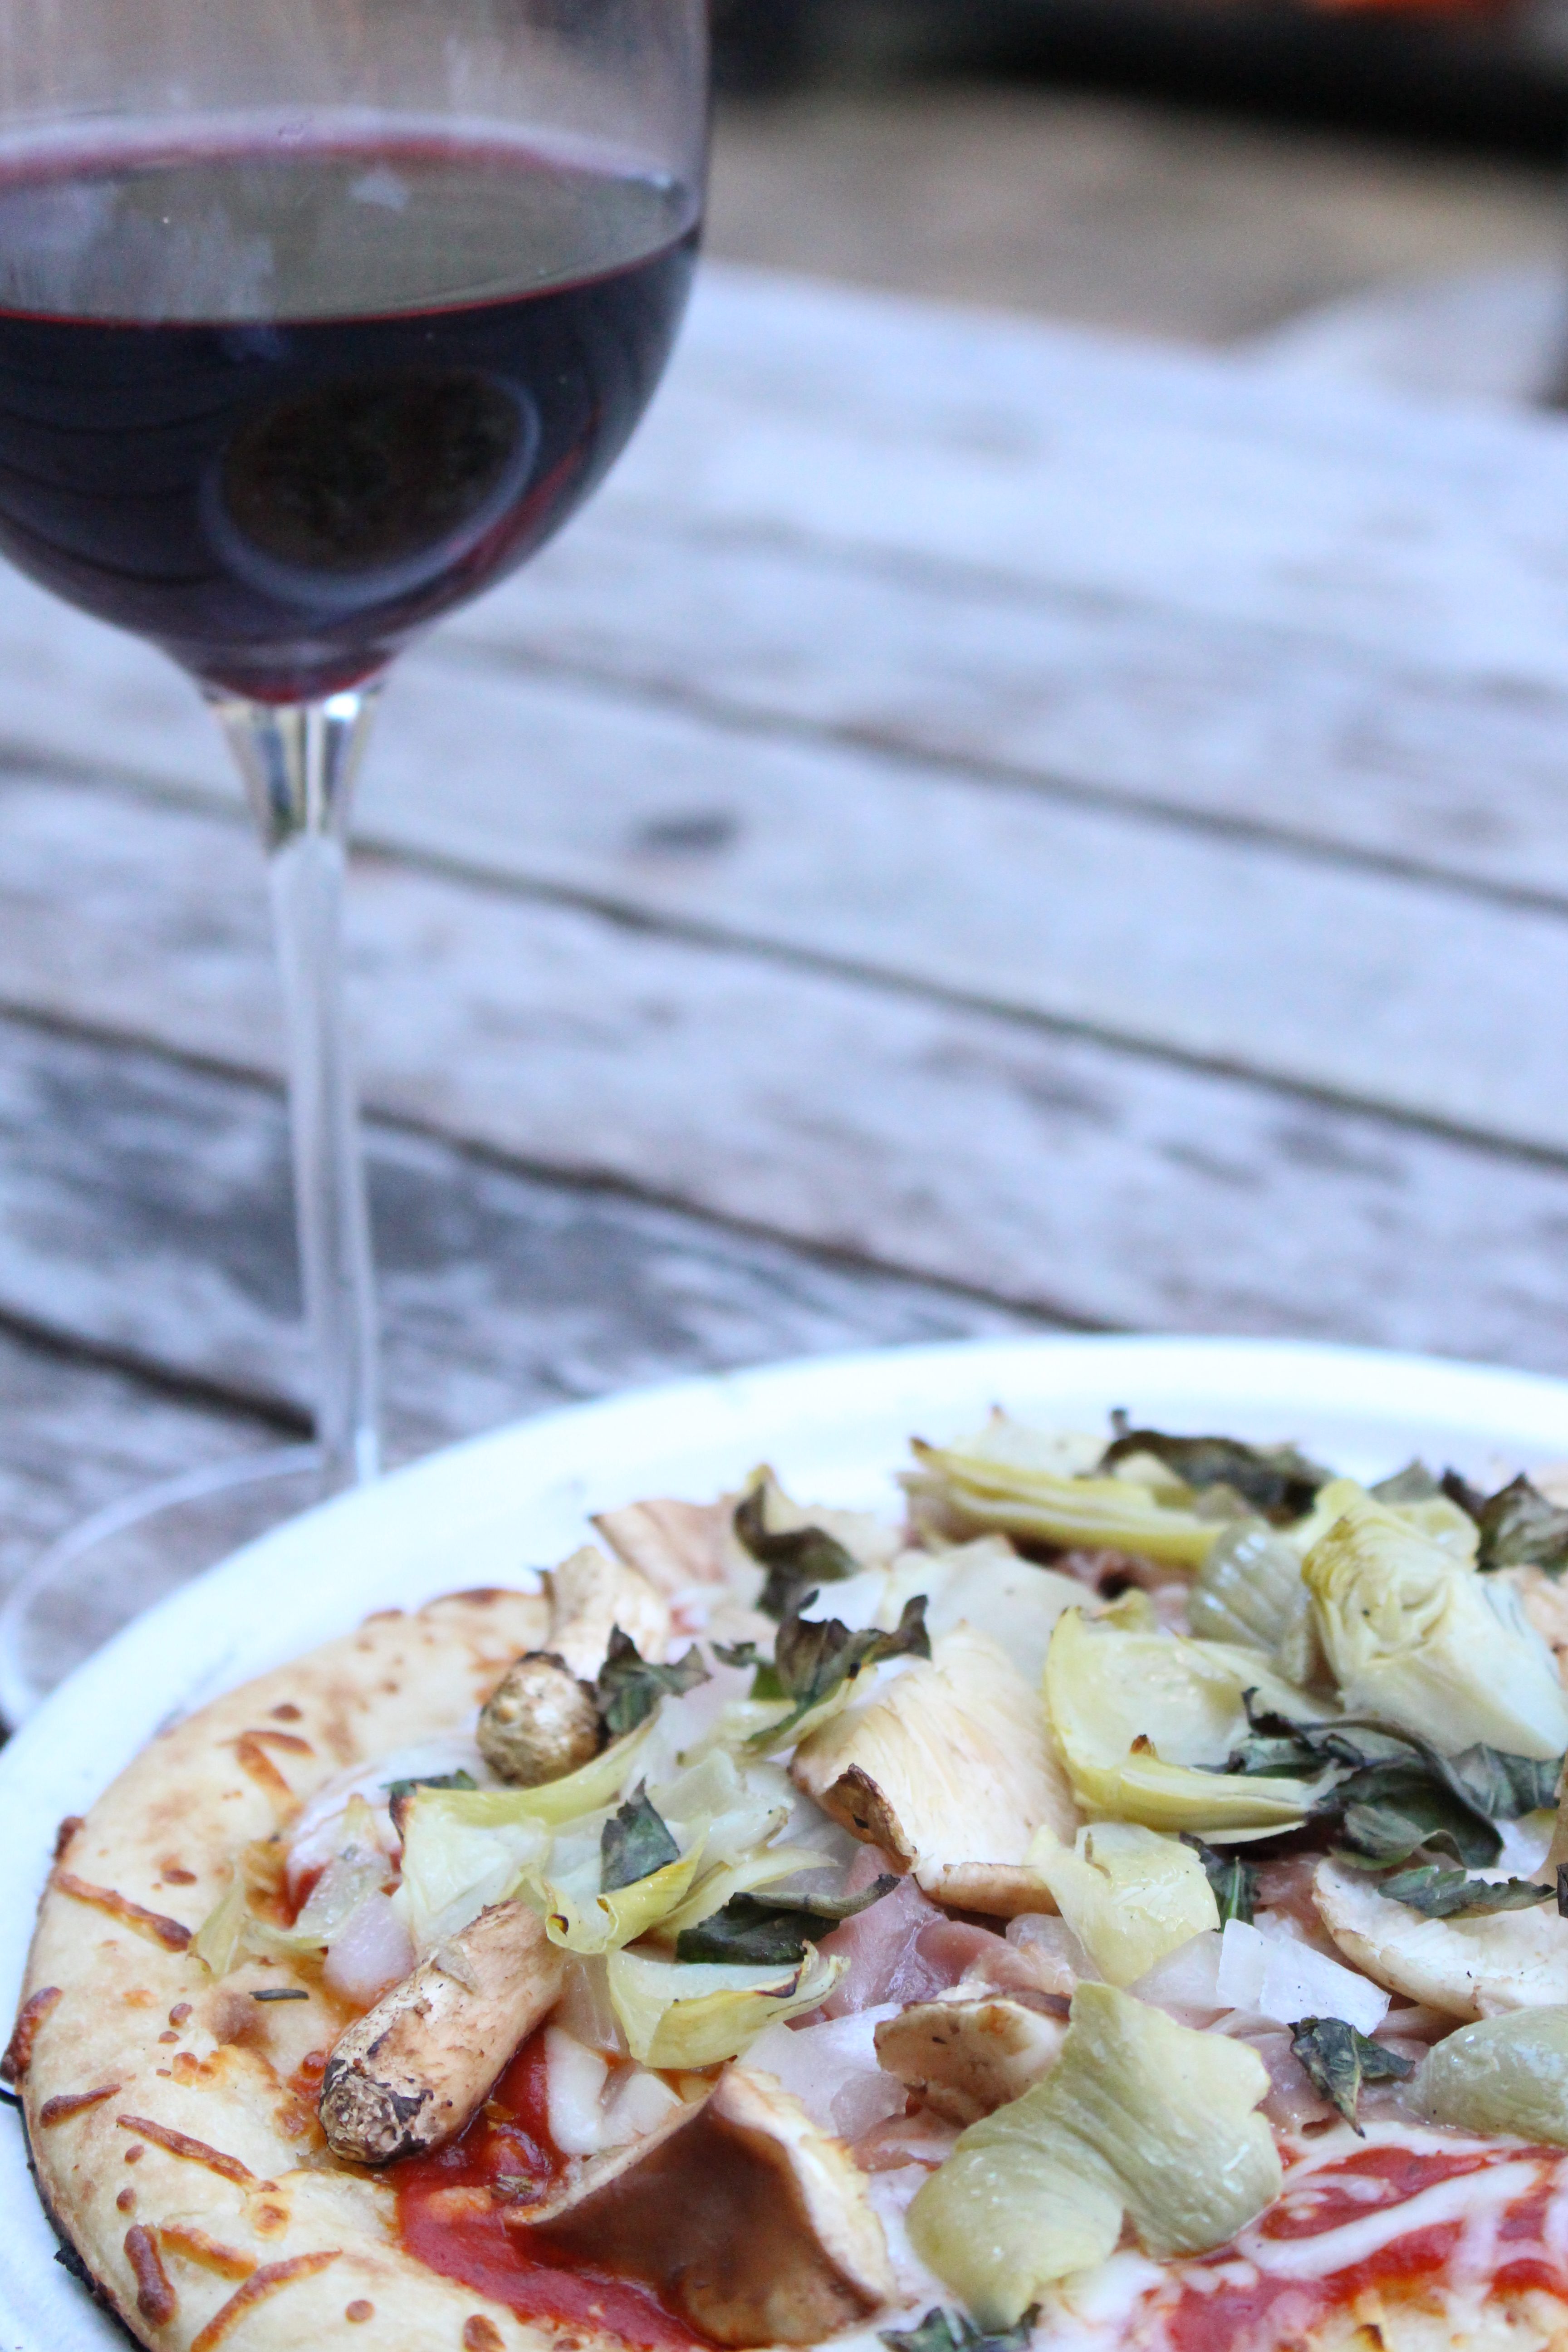
A classic margherita needs only sauce, mozzarella and basil. For something saltier, use prosciutto, artichoke and olive; for heat, pair pepperoni with jalapeños and finish with chilli oil. A white pizza is lovely too: replace the tomato sauce with a thin layer of crème fraîche, then add mushrooms, thyme and parmesan.
Vegetarian guests can choose roasted peppers, red onion, olives and plenty of herbs. For a lighter pizza, use courgette ribbons and rocket, adding the rocket only after cooking. Children often prefer a simple mozzarella base with one familiar topping, and letting them build it themselves makes the meal feel like an event.
Frequently Asked Questions
Yes. Clean and oil the cooking grate, then cook one side of the stretched dough before adding toppings to that cooked surface. Return the pizza to indirect heat with the lid closed so the base crisps without burning while the cheese melts.
Start with a clean, properly heated grate and brush the dough lightly with olive oil. Keep the dough and the board dusted with fine semolina or flour, and do not try to move the base before it has formed a crust and releases naturally.
Any meat that is unsafe to eat raw must be fully cooked before it goes onto the pizza. Watery vegetables such as mushrooms can also be sautéed briefly first, which prevents a soggy centre and concentrates their flavour.
Prepare and portion the dough, sauce, cheese and toppings in advance, then keep everything covered in the fridge. Bring the dough out 45 to 60 minutes before cooking so it relaxes and stretches without springing back.
Aim for roughly 220°C to 250°C with the lid closed. A two-zone setup is ideal because you can mark the dough over direct heat, then finish the topped pizza over gentler indirect heat.
Absolutely. This method cooks the dough directly on a clean barbecue grate, so a stone is optional. A stone produces a slightly more oven-like base, but direct grilling gives wonderful charred flavour and needs less equipment.
Yes. Heat a baking tray or pizza stone in a 240°C oven, then bake each topped pizza for 8 to 12 minutes. The base should be crisp, the crust golden and the cheese bubbling before you remove it.
How to Store and Reheat
Refrigerate leftover slices within two hours in covered glass storage containers for up to three days. Reheat on a hot barbecue over indirect heat for three to five minutes, or place on a preheated tray in a 200°C oven for six to eight minutes. Avoid the microwave if possible, as it softens the crust.
Cooked pizza freezes well for up to two months. Cool completely, freeze individual slices on a tray, then transfer them to a sealed container with baking parchment between layers. Reheat from frozen in a 200°C oven for 10 to 14 minutes until piping hot. Raw topped pizzas are harder to handle and can become wet, so freeze dough, sauce and toppings separately instead.
Recipe Card
Grilled Pizzas: The Easiest Outdoor Dinner Party
Crisp, smoky individual pizzas cooked directly on the barbecue and finished with each guest’s favourite toppings. A relaxed outdoor dinner that turns cooking into part of the party.
Equipment
- Lidded barbecue
- Long heatproof tongs
- Wide metal spatula or pizza peel
- Mixing bowls
- Chef’s knife and chopping board
- Digital kitchen scales
- Trays or baking parchment
Ingredients
- 720g pizza dough, divided into four 180g balls
- 30g fine semolina or plain flour
- 30ml olive oil
- 240ml pizza sauce
- 250g mozzarella, grated or torn
- 80g pepperoni
- 150g cooked sausage, crumbled
- 80g prosciutto
- 100g mushrooms, sliced
- 100g roasted peppers, drained and sliced
- 50g red onion, thinly sliced
- 40g olives or jalapeños, optional
- Fresh basil or oregano
- Chilli oil, parmesan or rocket, to finish
Instructions
- Prepare the toppings, making sure all meat is fully cooked and wet ingredients are well drained.
- Divide the dough into four 180g balls. Cover and rest at room temperature for 45 to 60 minutes if chilled.
- Heat a lidded barbecue to 220°C to 250°C with direct and indirect heat zones. Clean and lightly oil the grate.
- Stretch each dough ball into a rough 20cm round and brush one side with olive oil.
- Grill the bases oiled-side down over direct heat for 2 to 3 minutes.
- Remove to a board, cooked-side up. Add sauce, cheese and a light layer of toppings.
- Return to indirect heat, close the lid and cook for 4 to 6 minutes until crisp and bubbling.
- Rest for 2 minutes, add fresh garnishes, slice and serve.
Notes
Do not put raw meat onto the pizzas. Keep toppings light and dry for the crispest base. The pizzas can also be baked on a preheated tray or stone in a 240°C oven for 8 to 12 minutes. Refrigerate leftovers for three days or freeze cooked slices for two months.
More Recipes to Try
If you host your own grilled pizza evening, leave a comment or tag me on Instagram so I can see the combinations everyone chose. Serve it with my strawberry, onion and feta salad, then browse the full recipe index for more relaxed entertaining ideas.
Leave a Reply
If you like the sort of recommendation that still holds up six months later, leave your email below and I'll write to you on Sunday.
Most Sundays, once the house has gone quiet and it's edging towards nine, a letter goes out. It's the one I'd write to a friend with good taste and not nearly enough time: one thing worth reading, one thing worth buying, and one thing to skip. No noise, no pressure to spend, just the considered version of what I've actually been using, loving, or quietly sending back.


July 11th, 2016 at 12:40 am
Looks delish! We used to make pizzas on the grill all the time. We should try it again!