Handmade Kitchen Utensil Caddy
A handmade utensil caddy is an easy DIY project that is a perfect idea for a friend who likes to entertain!
A special thanks to Walnut Hollow and Deco Arts for suppling the products for this project!
Today I have teamed up with some fantastic companies and bloggers for a Handmade Holiday Hop!
I am always looking for an affordable, yet stylish handmade gift for a friend or loved one! There is something about the time put into planning and making a gift that makes it even more special for the recipient.
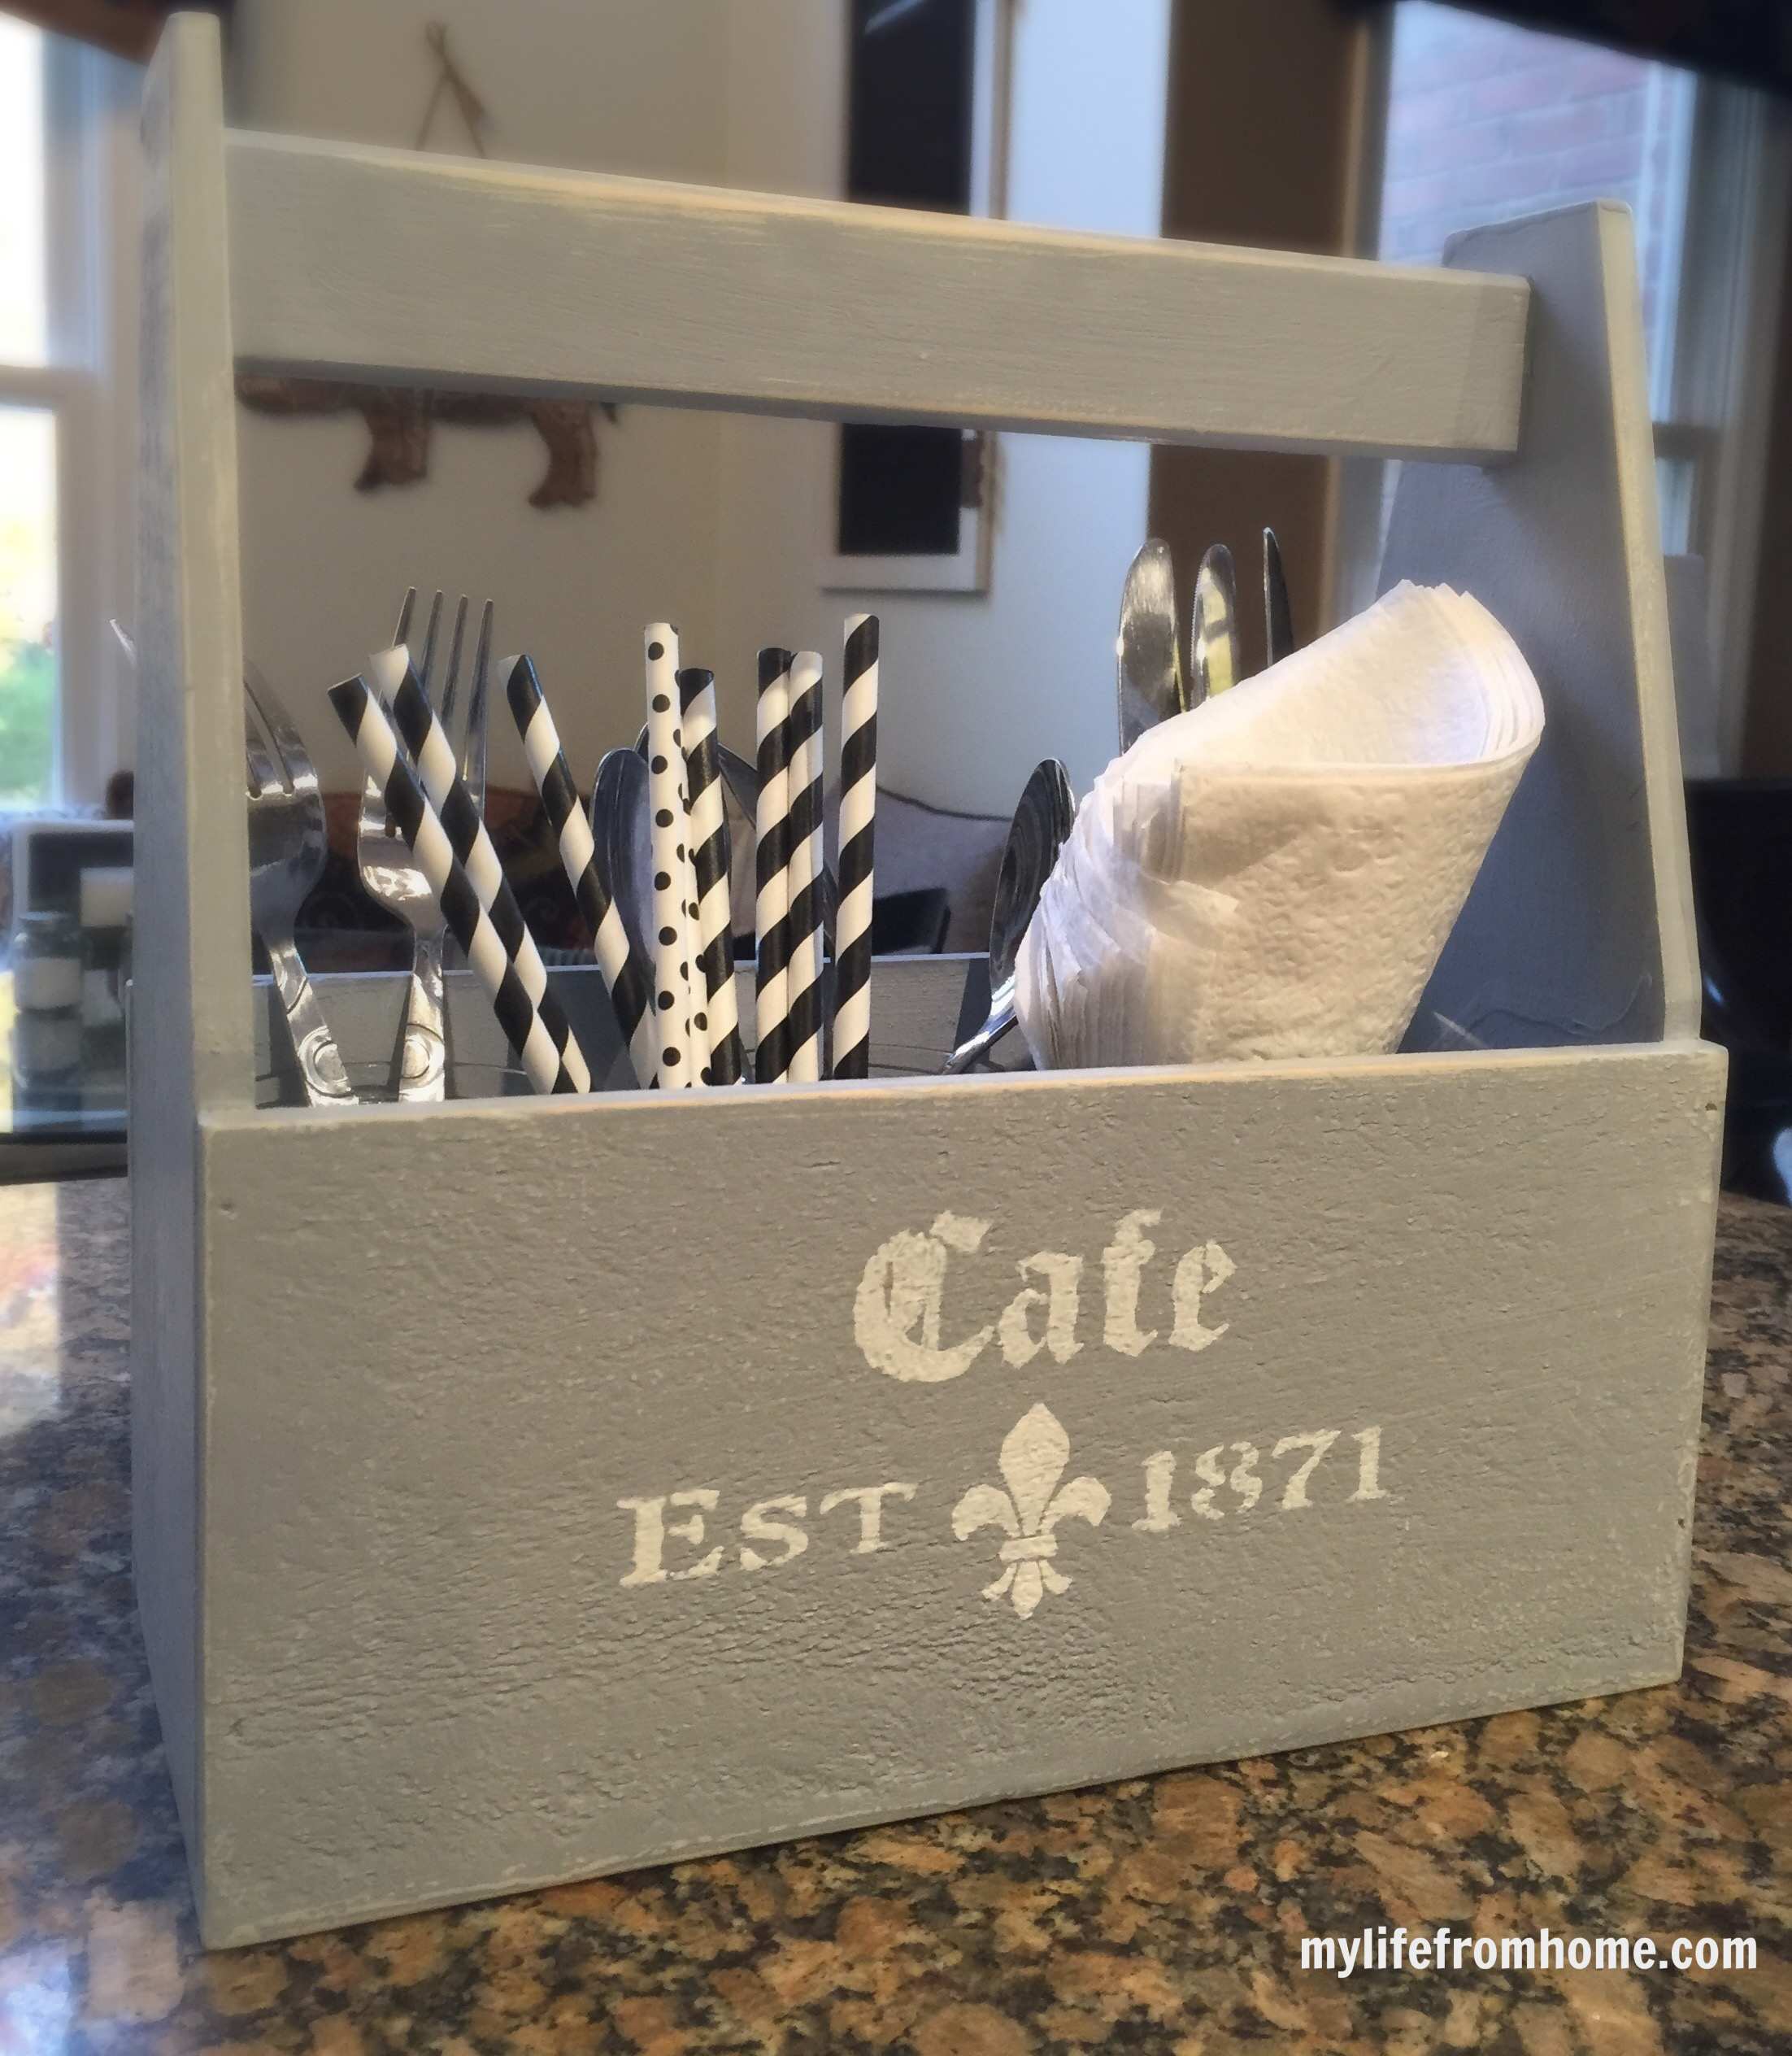
Today, I am going to show you how I created this vintage utensil crate which is the perfect gift for someone who loves to entertain!
How to Use Paint to Create a DIY Utensil Holder from a Wooden Crate
{This post contains affiliate links, see full disclosure here.}
The supplies needed for this project are a rustic crate, french elements stencil, Americana Decor chalky finish paint, Yesteryear, Americana Decor chalky finish paint, Everlasting, Americana Decor creme wax, clear, paintbrushes. The crate is from Walnut Hollow and the paints and wax are all from Deco Arts.
- The first step is to sand the crate with a sanding block. I liked the rustic look of the crate as it was, but to help the paint adhere, I sanded it lightly and used a tack cloth to wipe off the excess.
- I used two different paints with the intention of distressing the final coat to show the underneath color. The first coat I used was the Americana Decor, Deco Art color called, Everlasting.
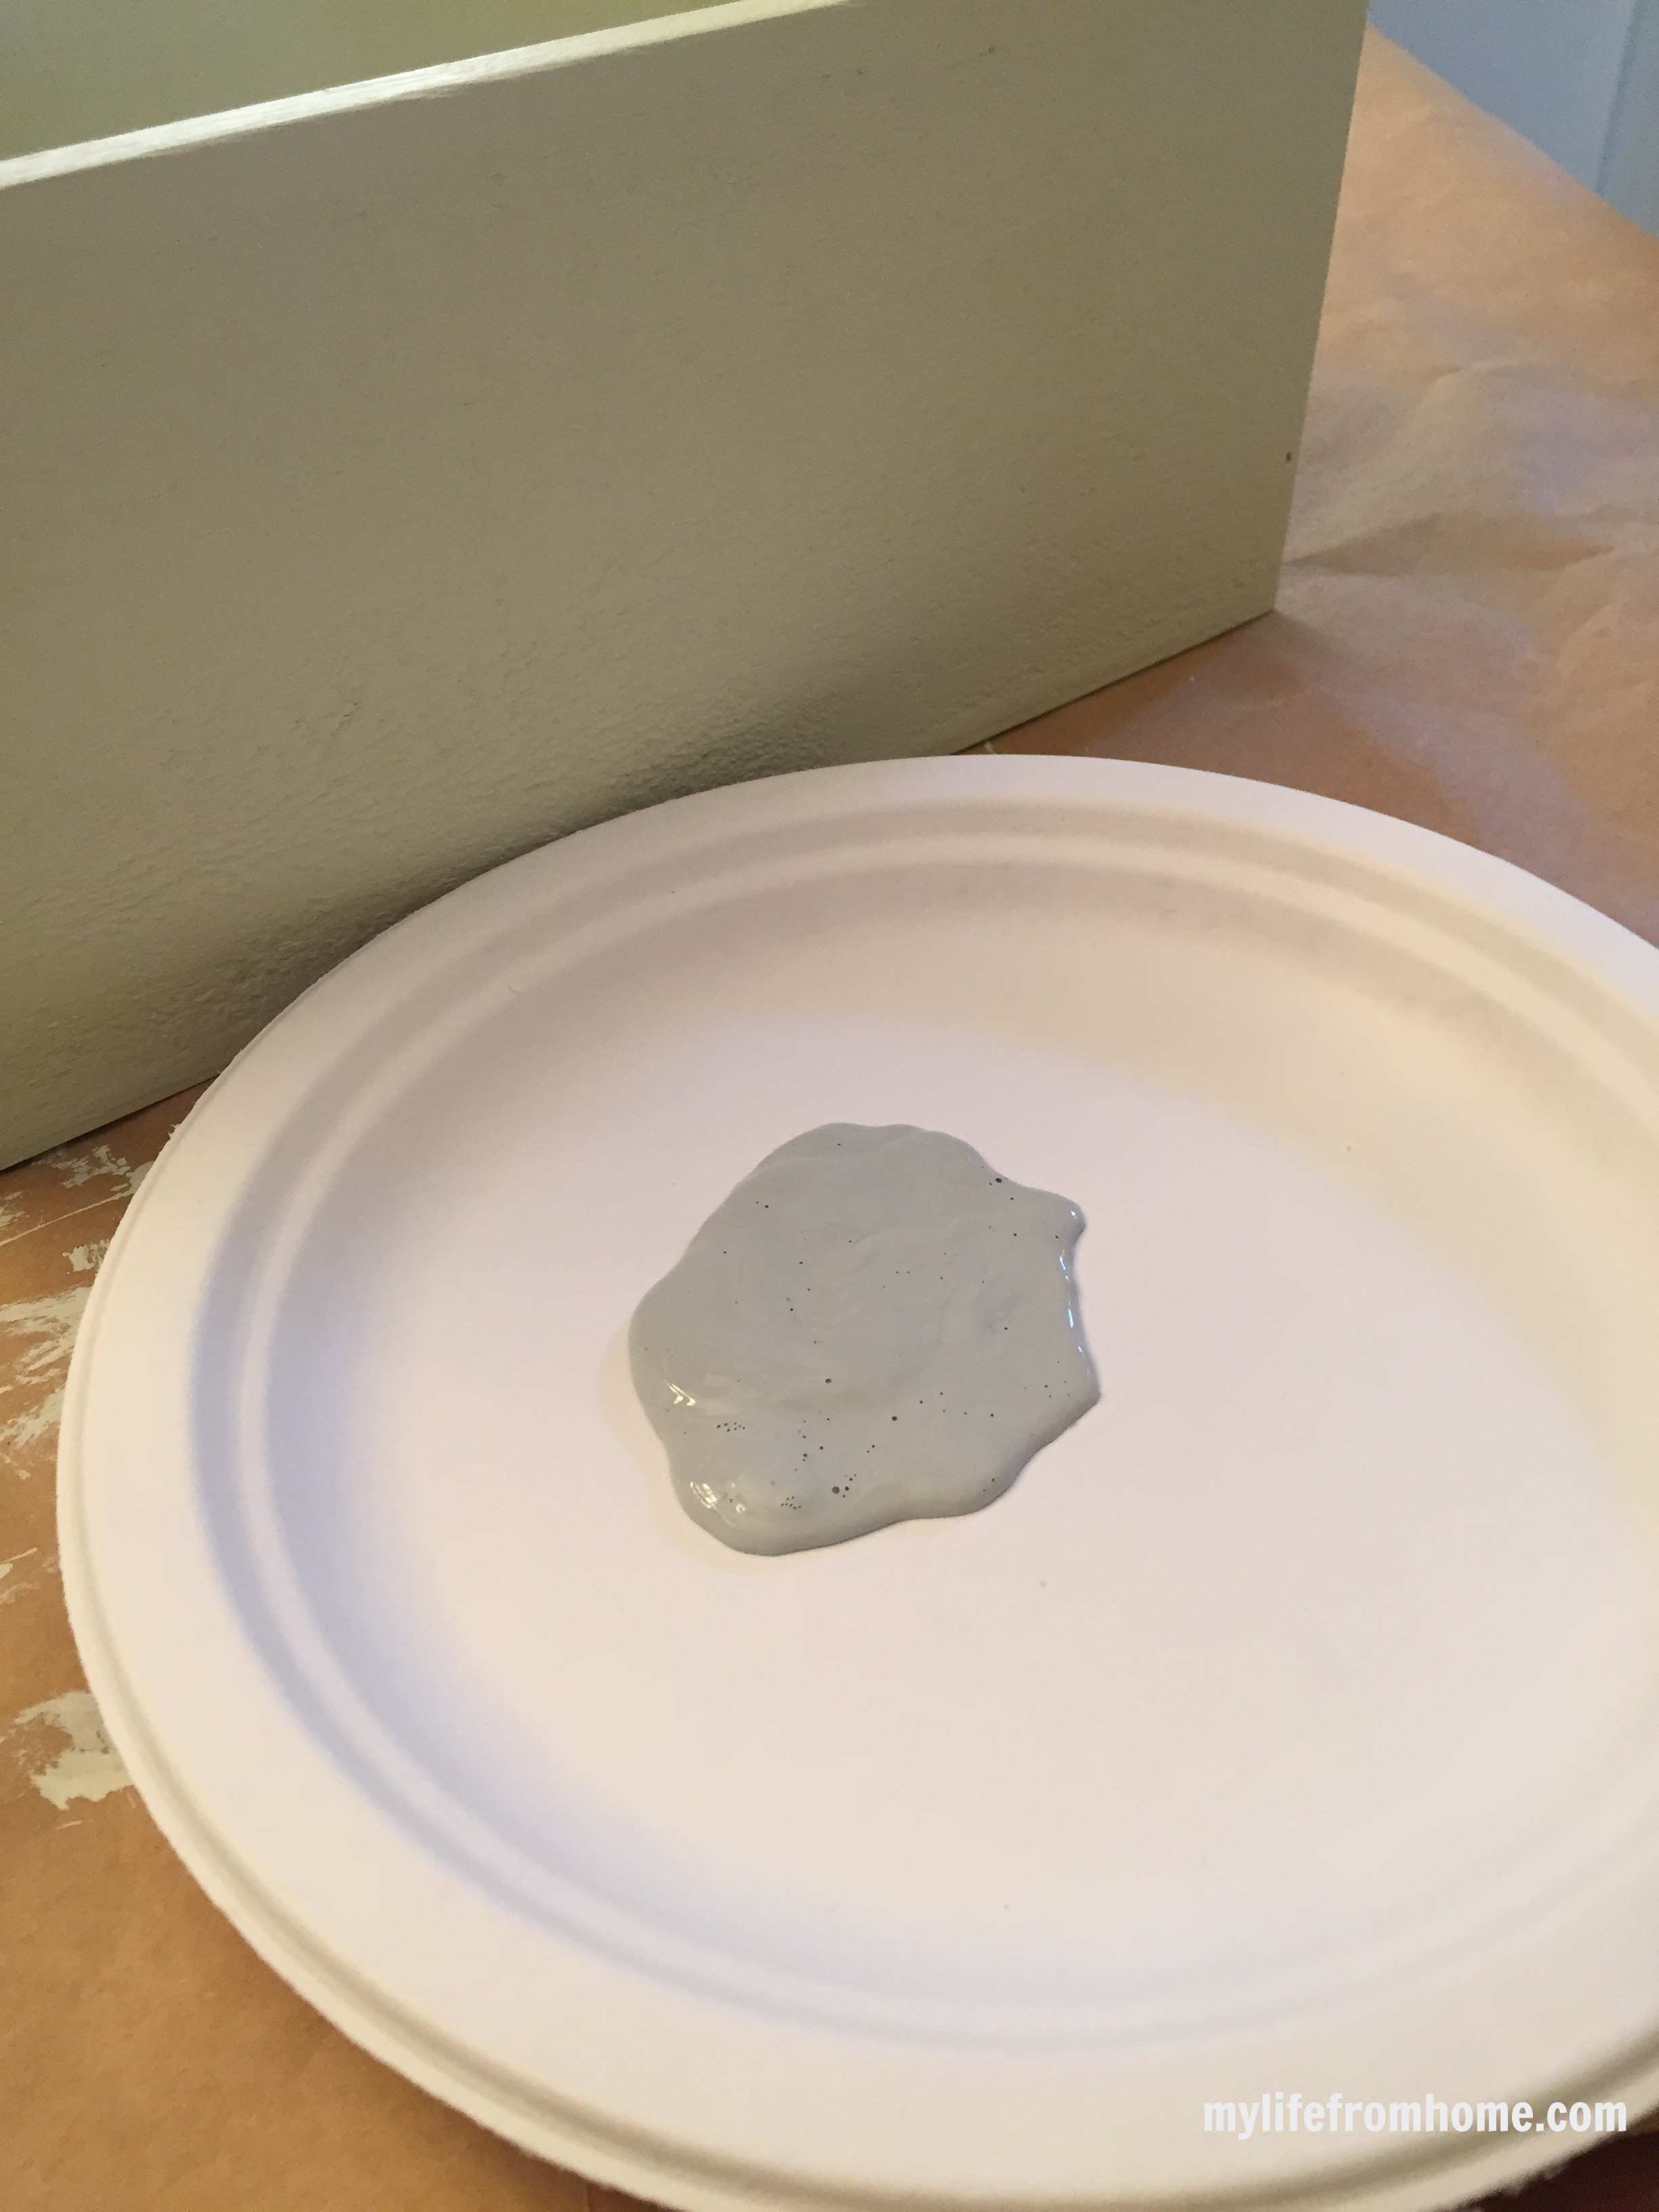
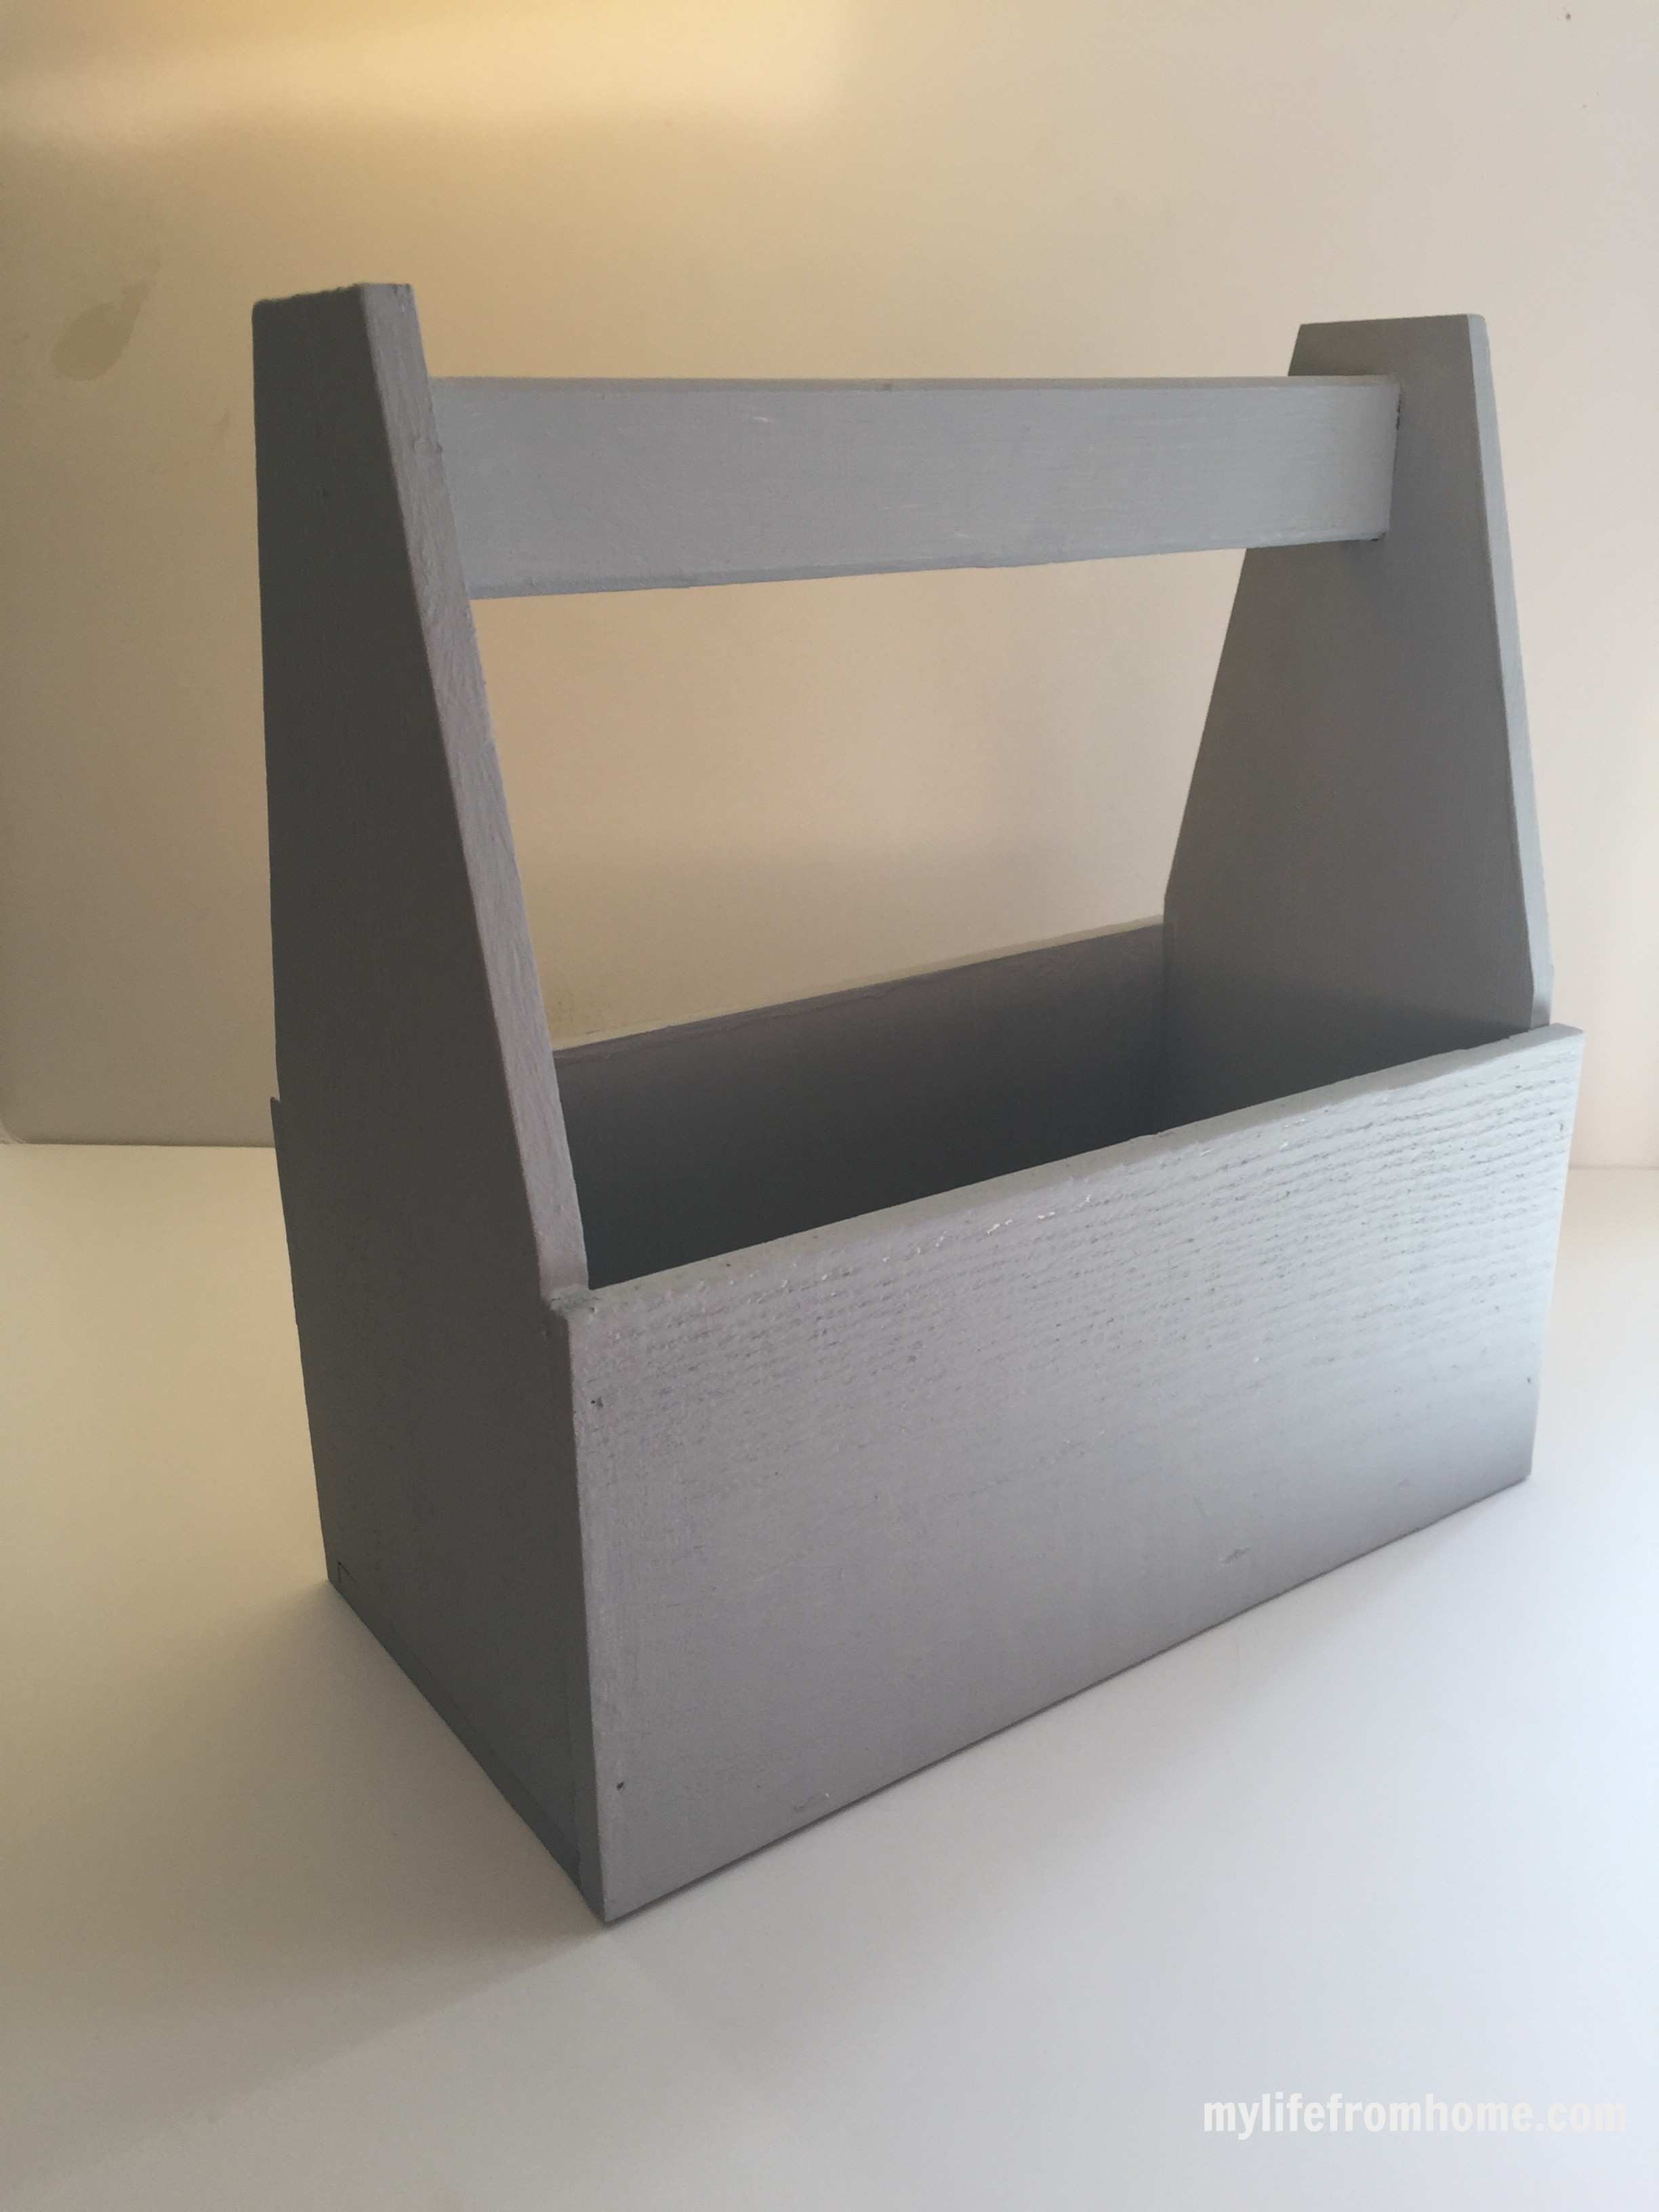
3. After allowing the first coat to dry, I followed up with a 2nd coat called Yesteryear, the perfect shade of gray!
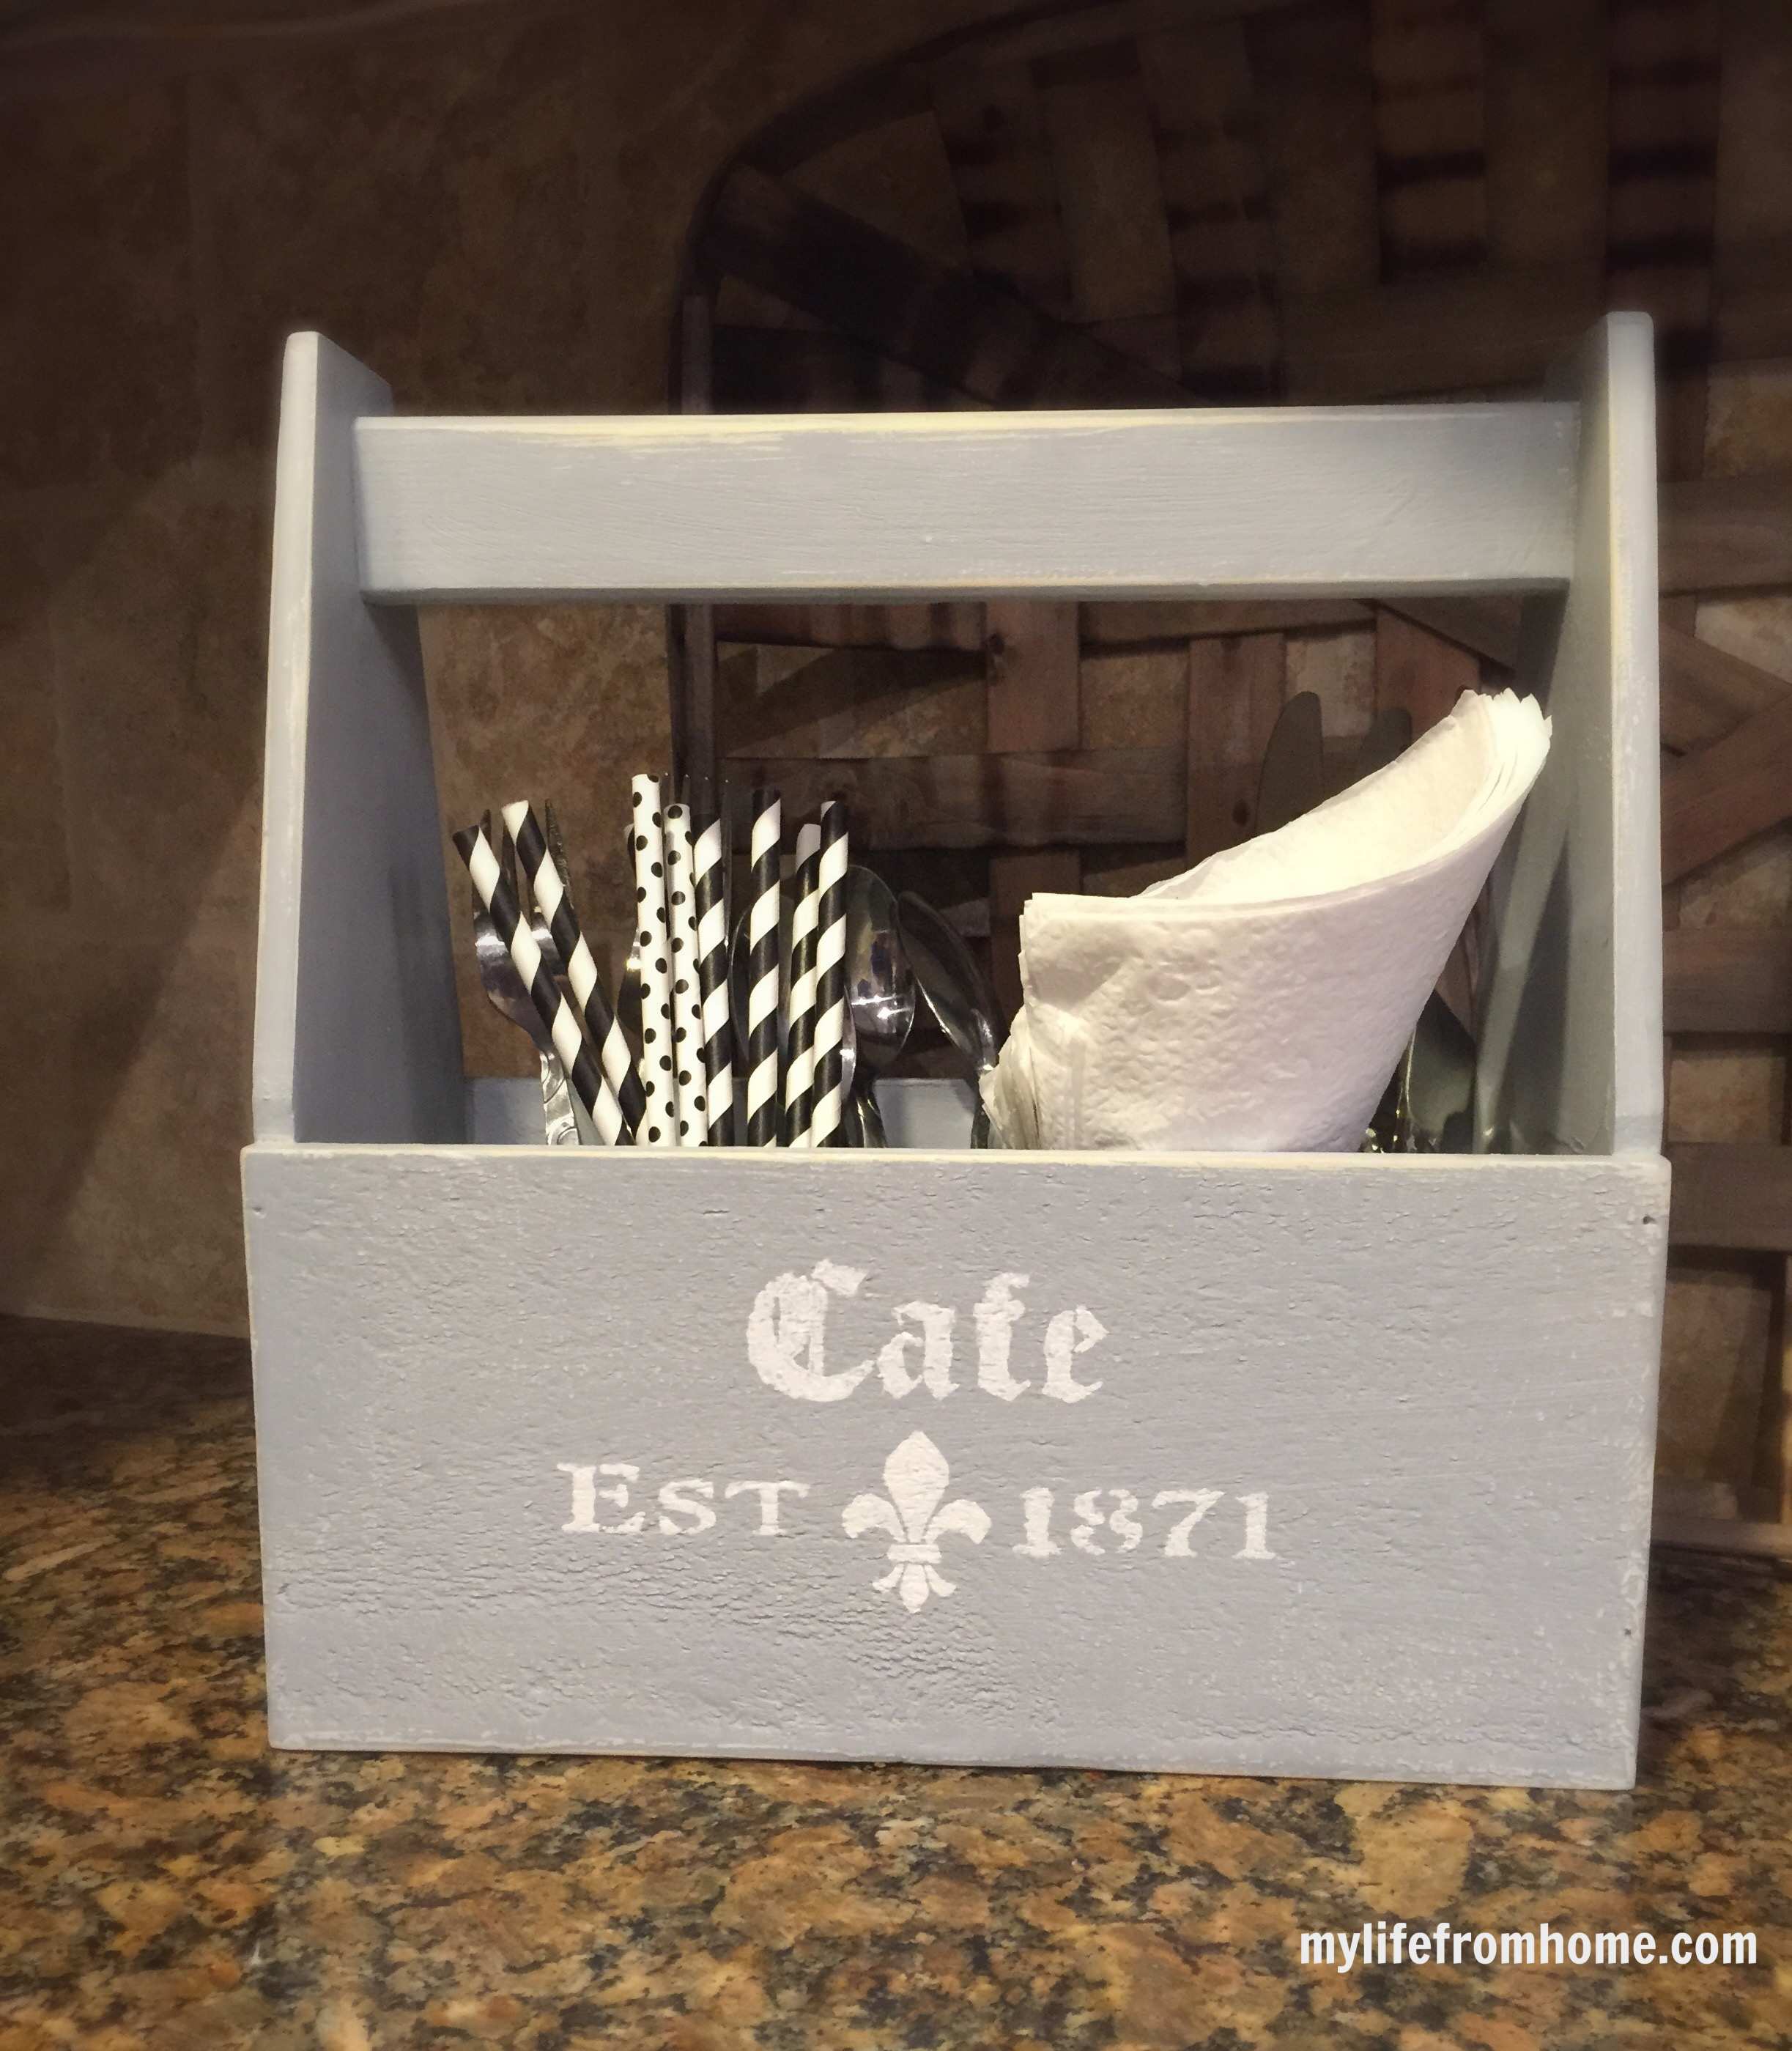
4. I want this piece to be used in the kitchen or for entertaining, so I choose to stencil the word Cafe and an established date on the front. Using painters tape to position the stencil and hold it into place, I painted over the word with the color Everlasting. 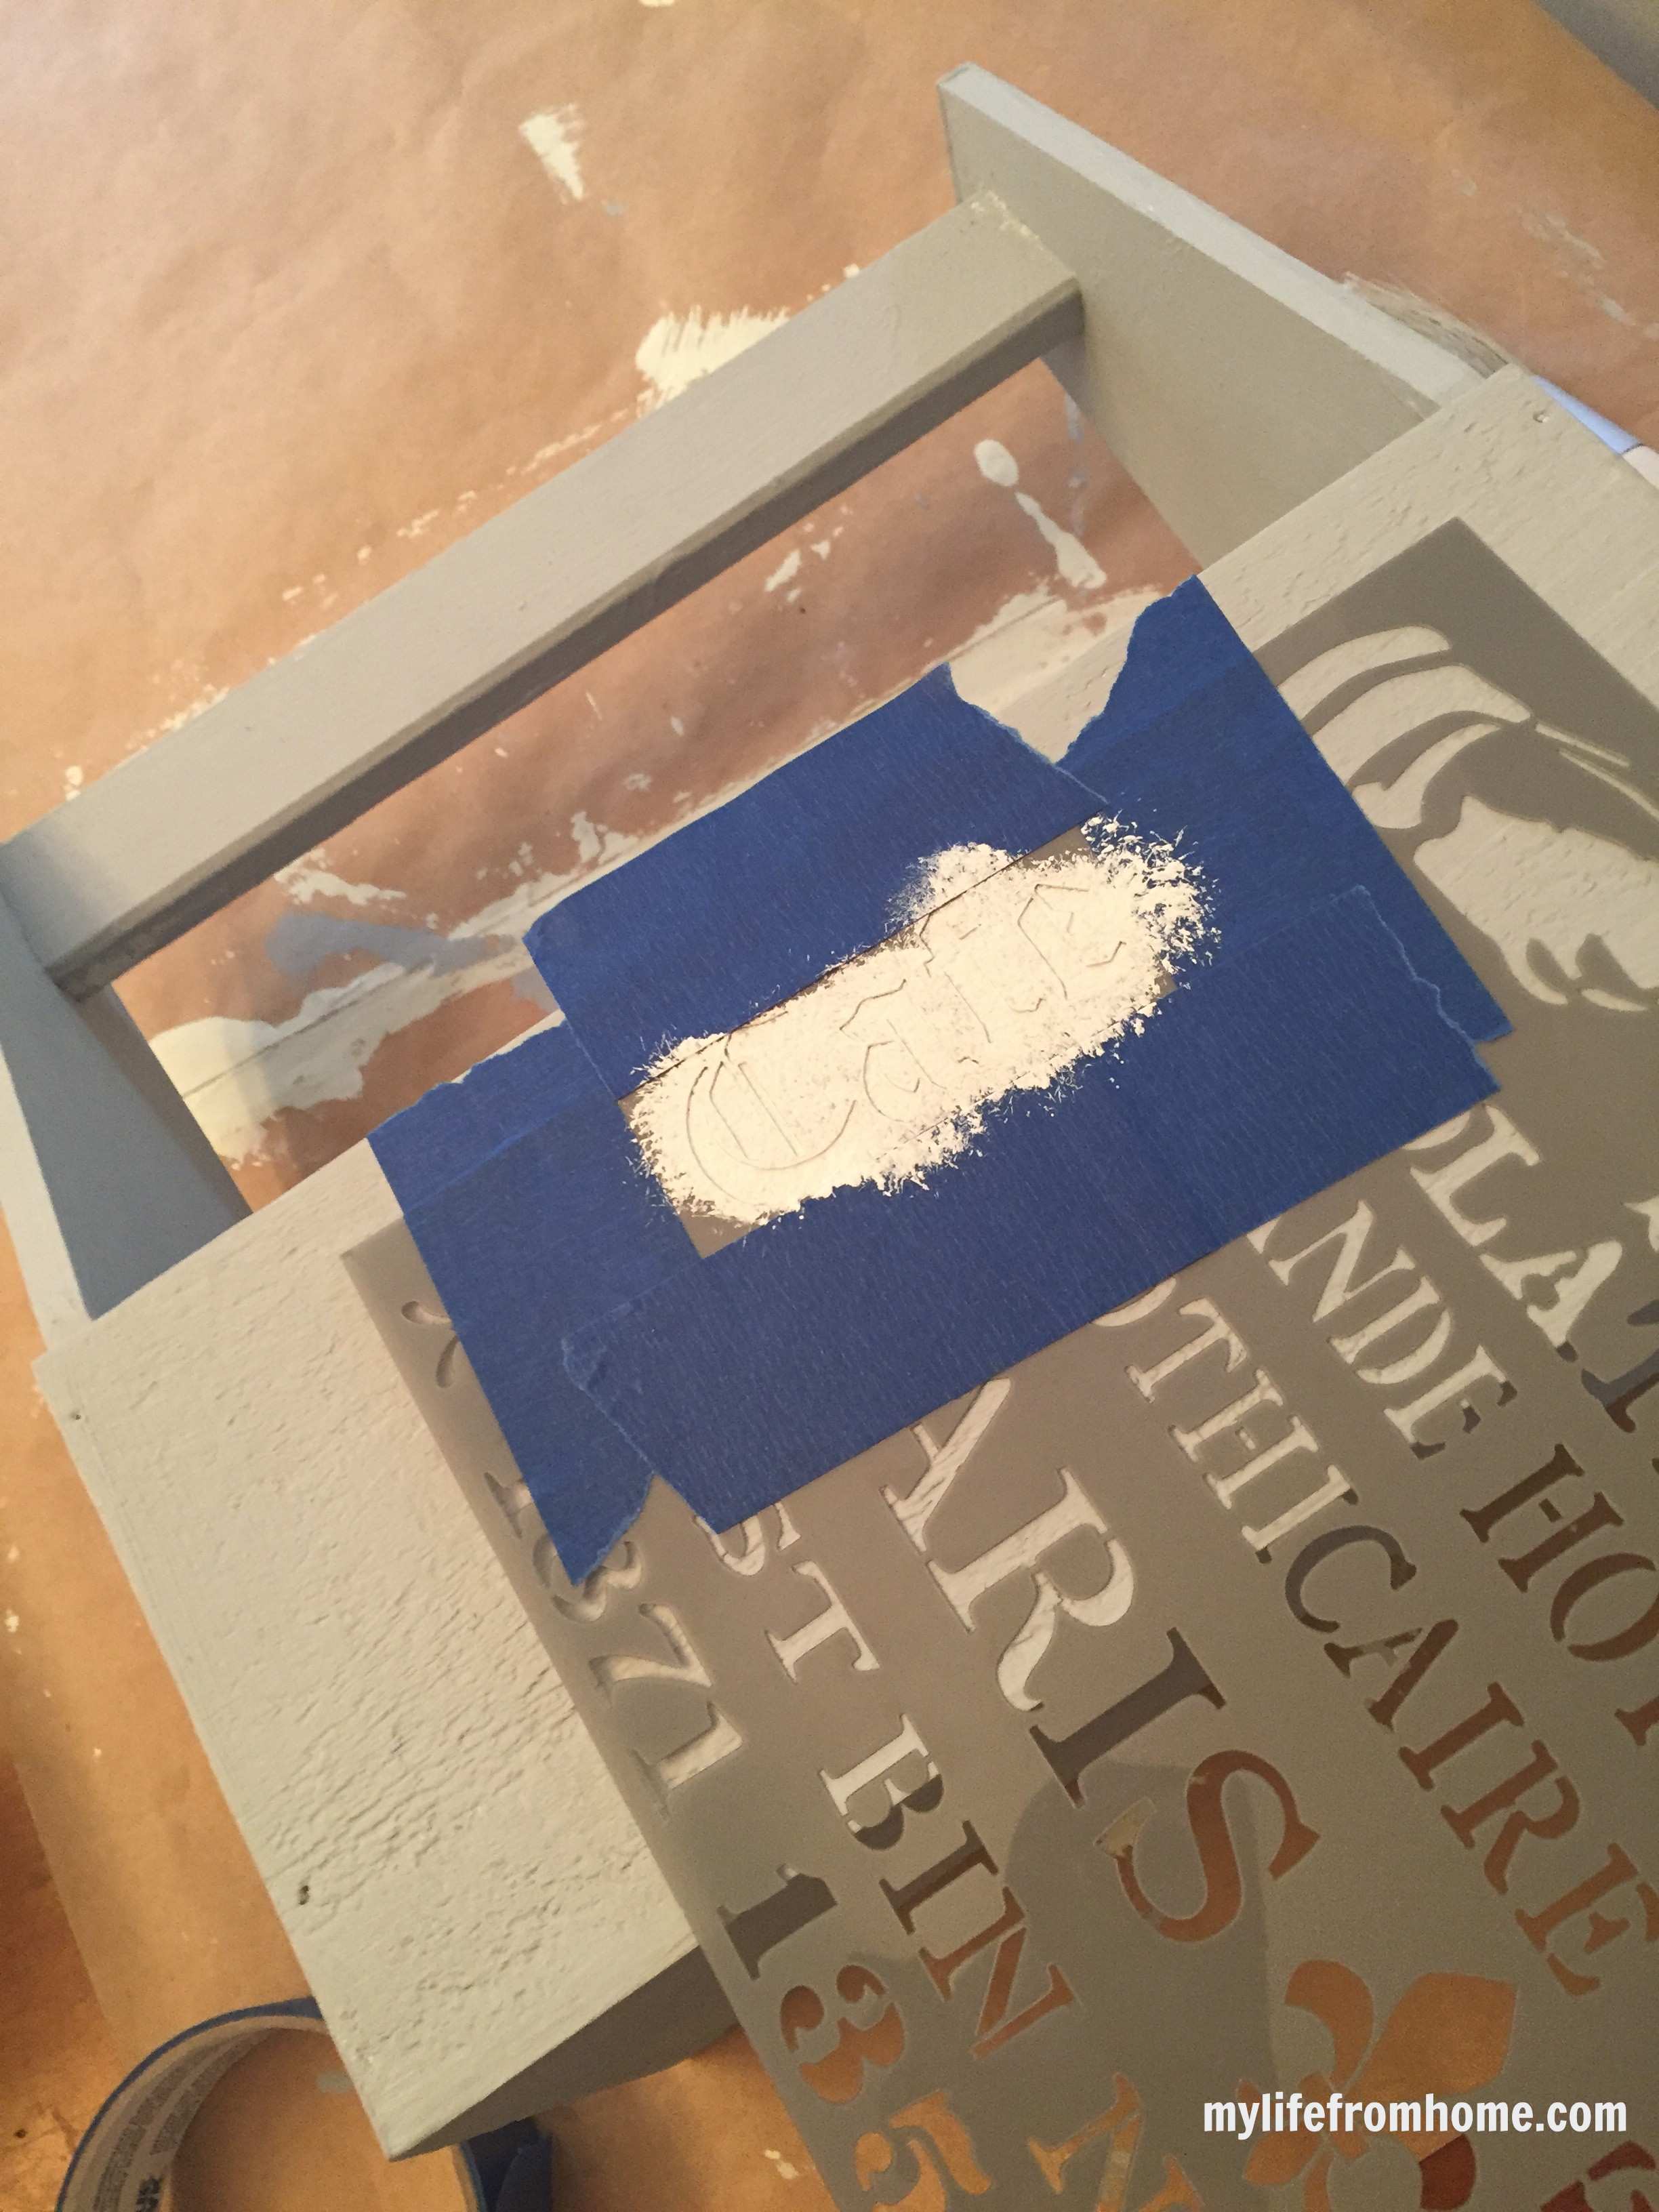
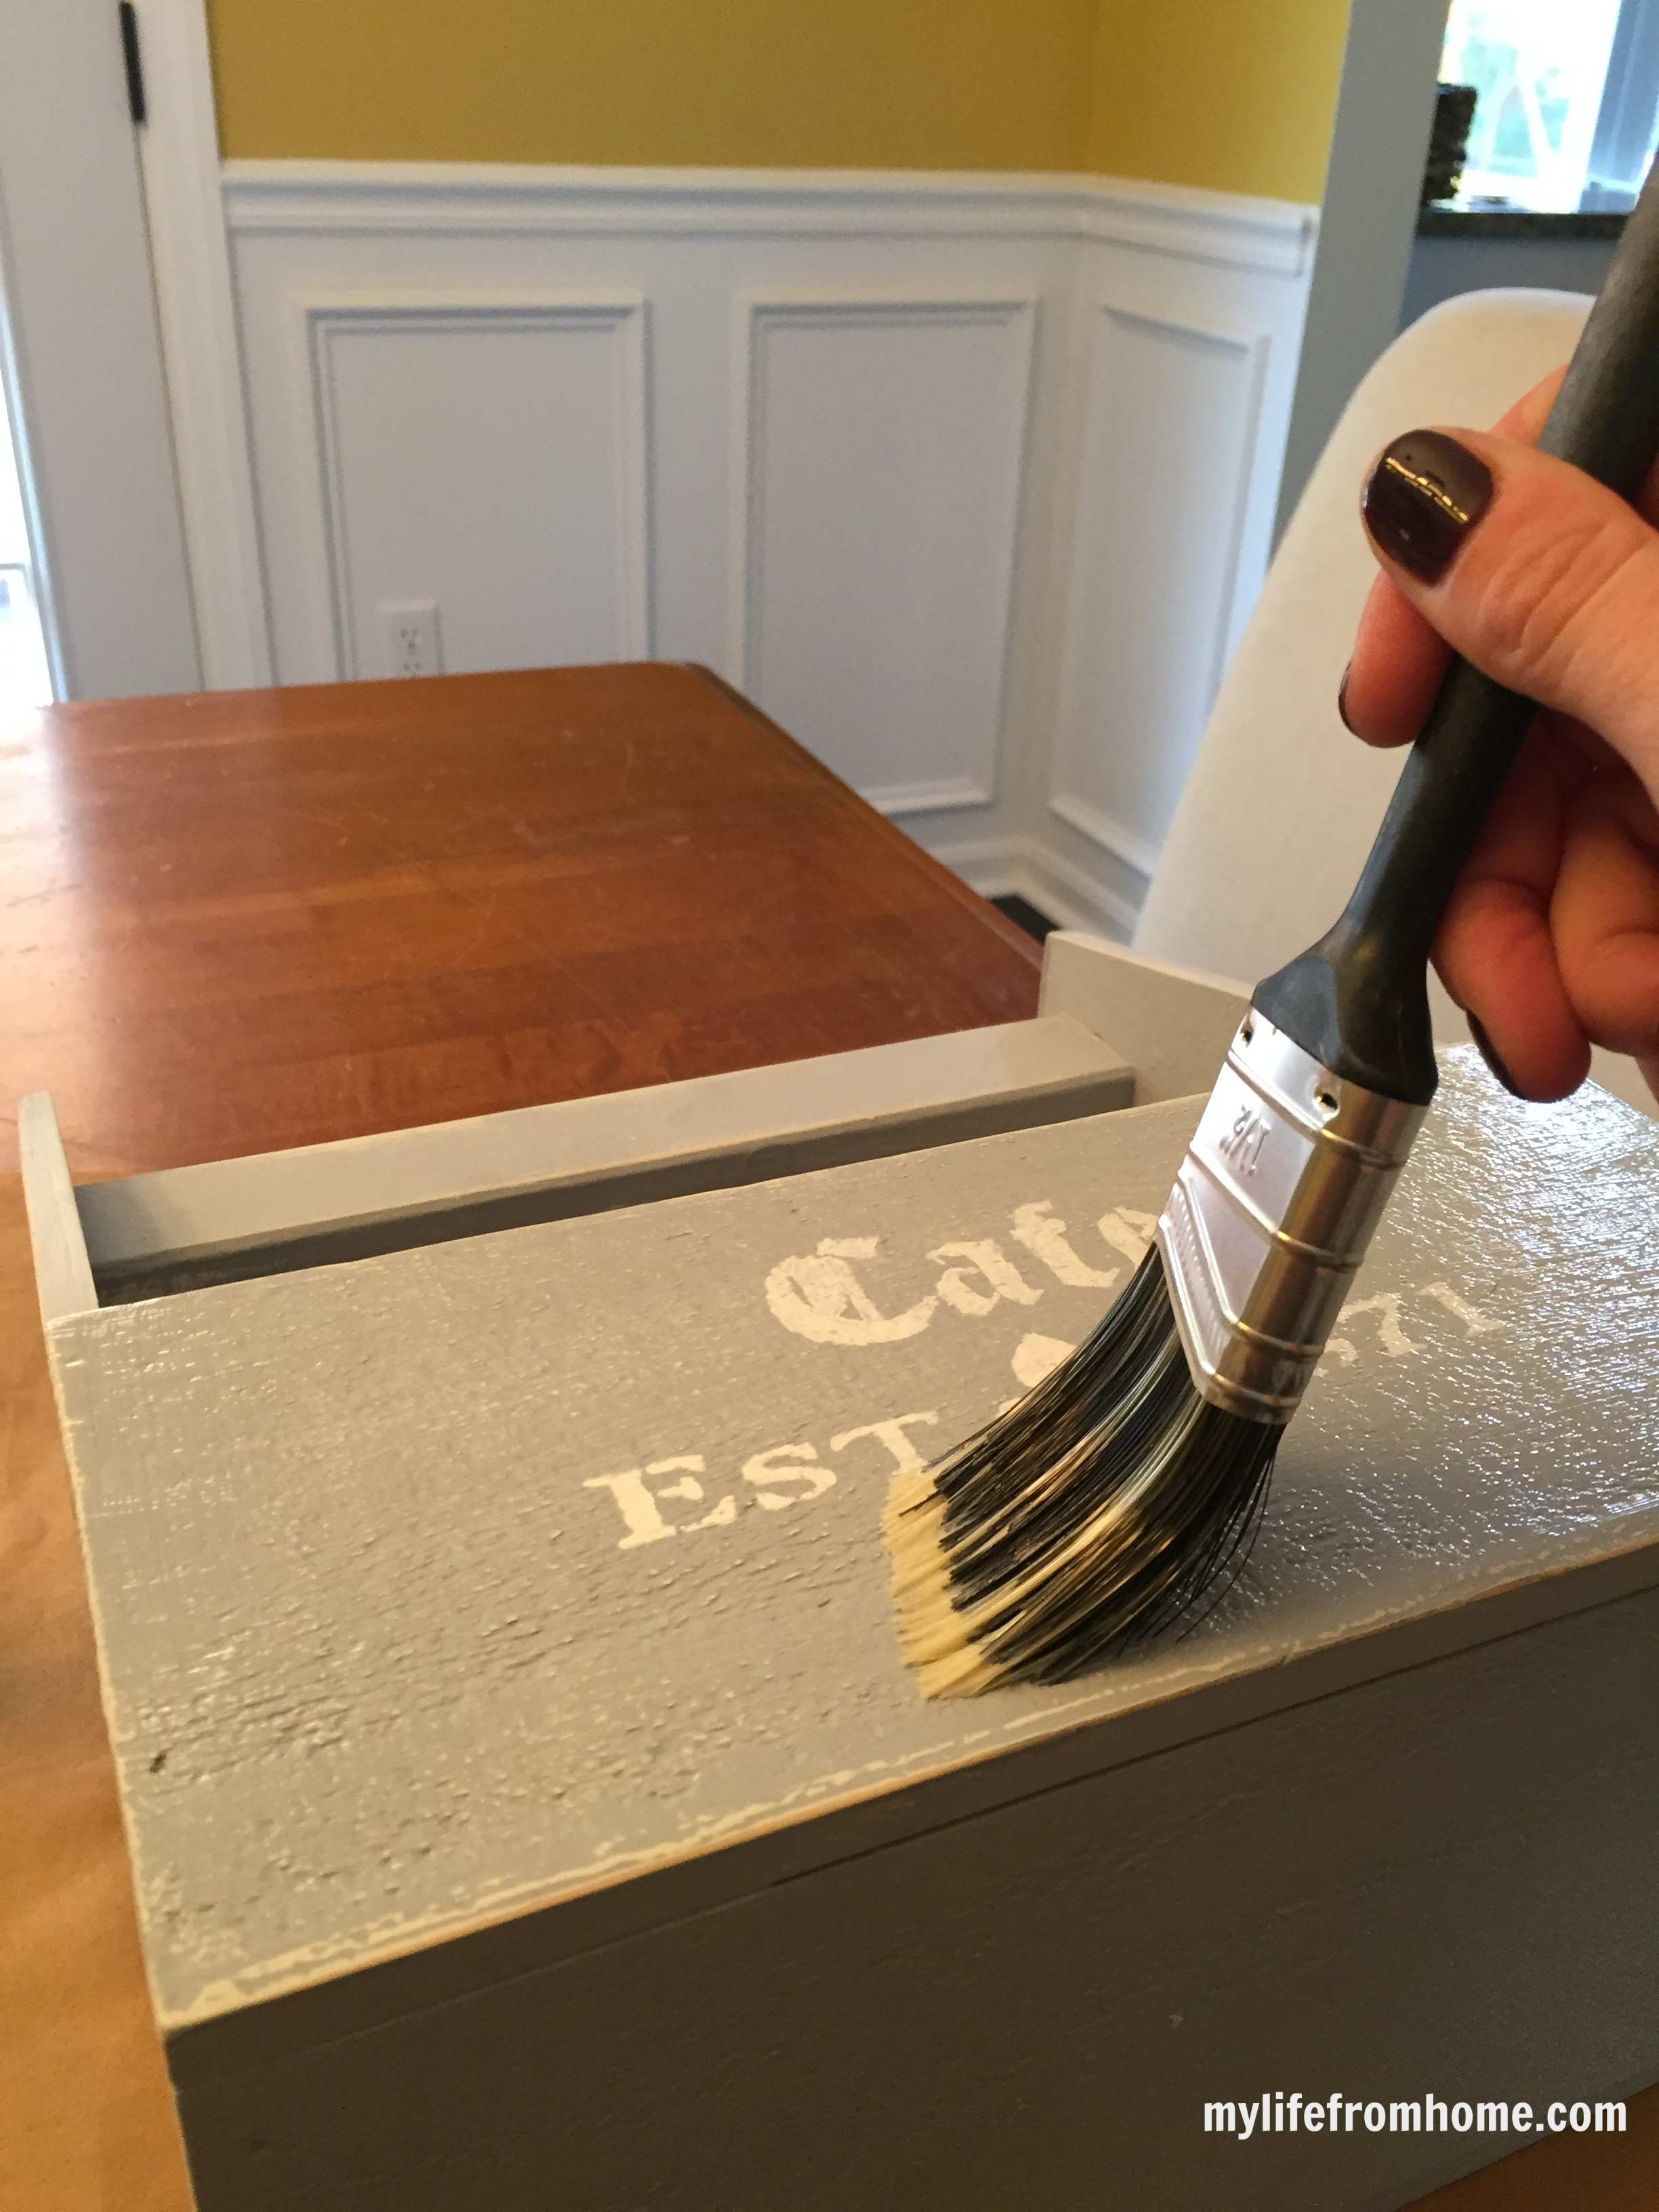
5. After stenciling, I used my sanding block again to lightly sand the edges for a distressed look. Just enough to allow the underneath color to peek out. This gives it a more vintage look as if it has been around for many years.
6. Lastly, I applied a coat of the Creme Wax which is clear. This will protect the piece from wear and tear especially if it is used for outdoor entertaining.
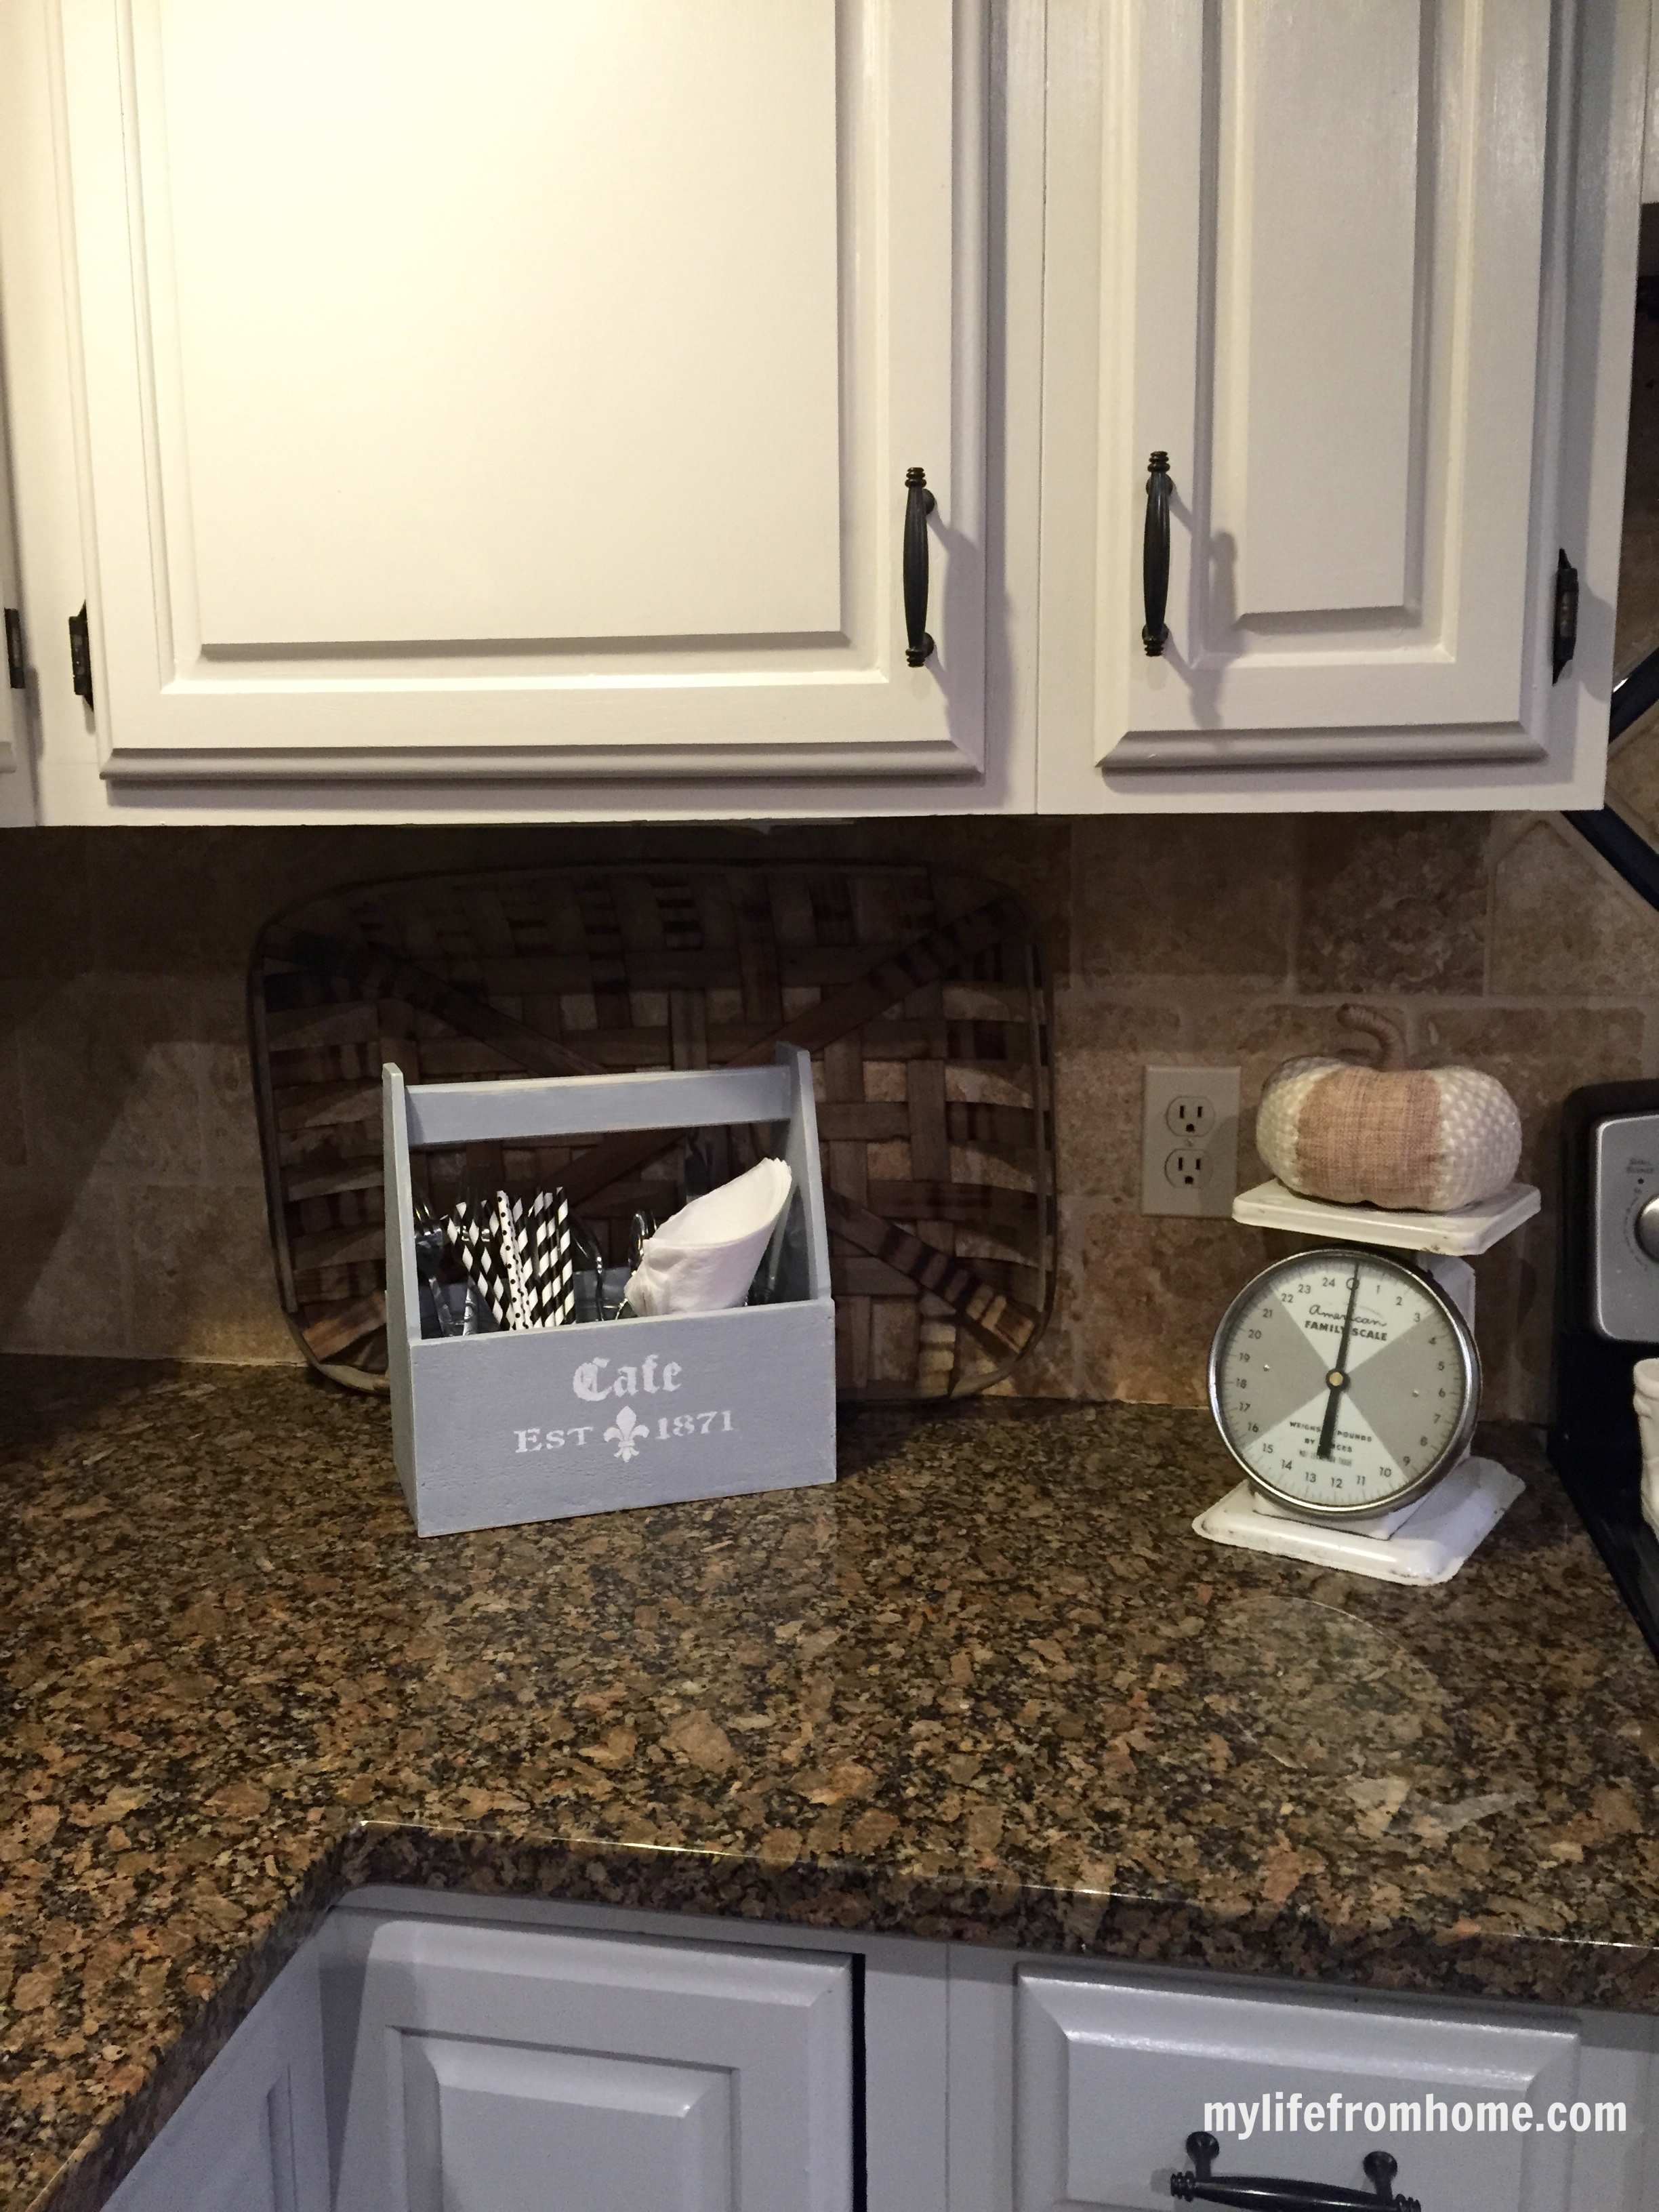
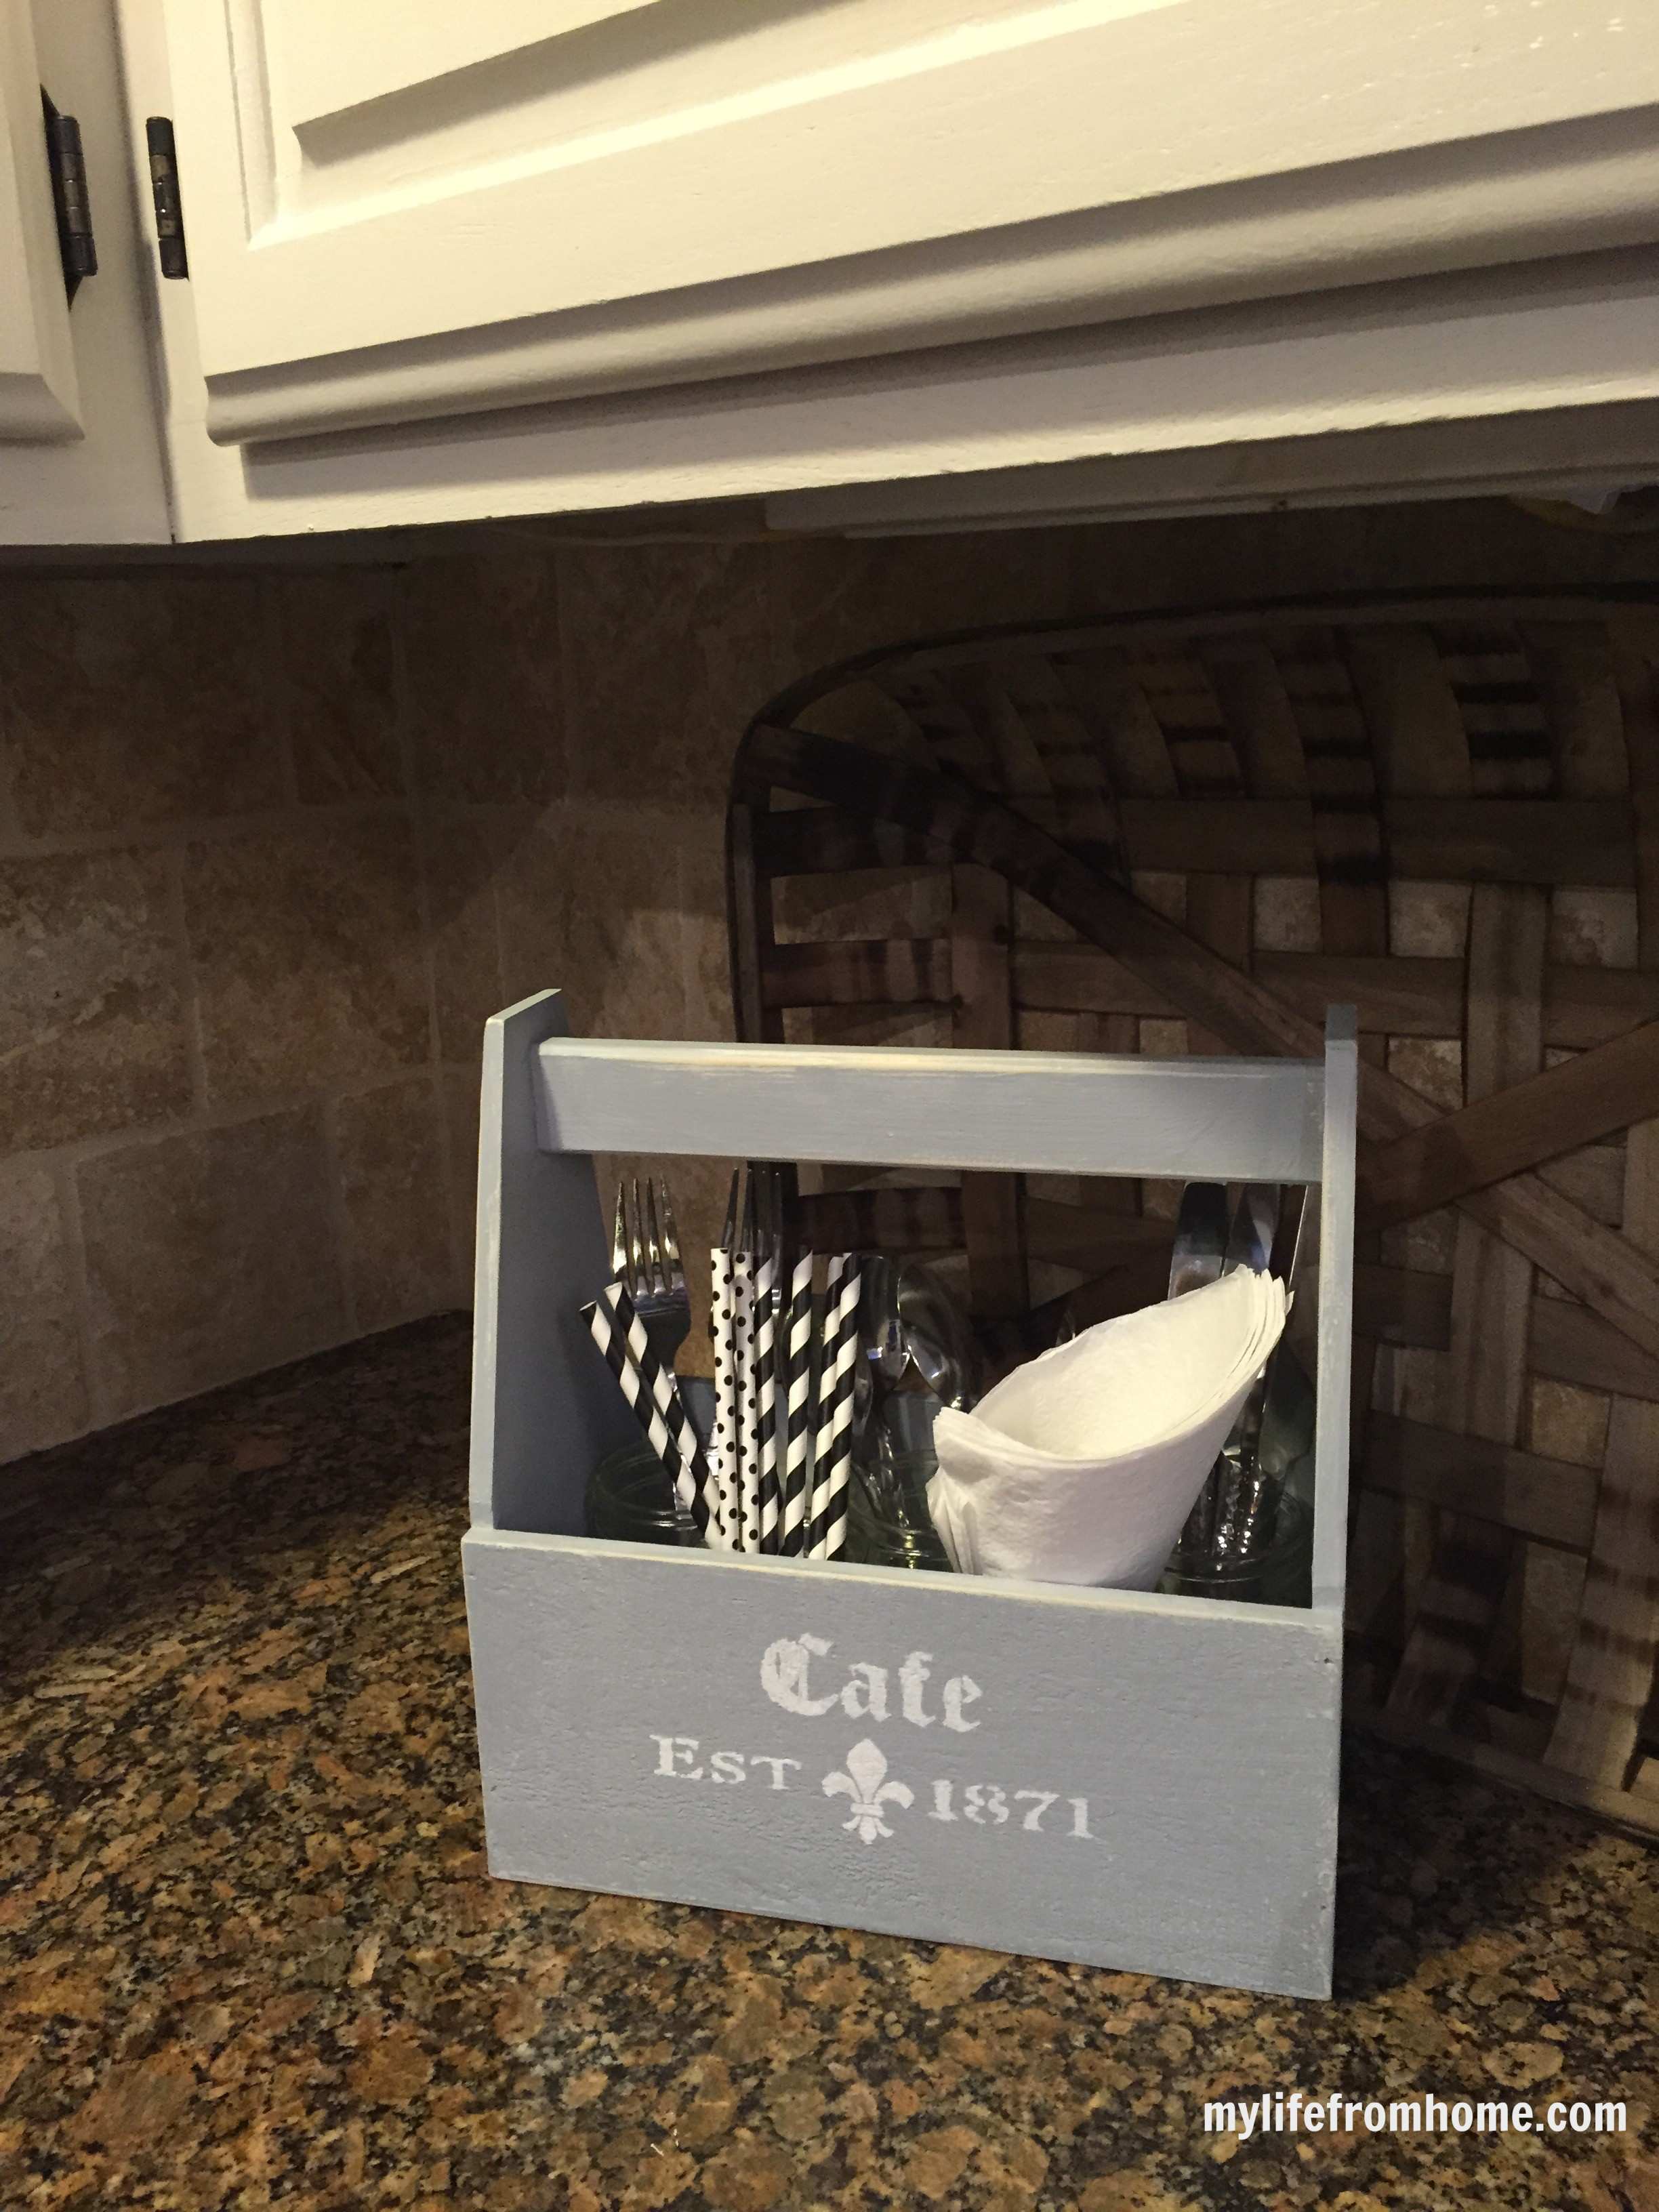
Loaded up with small mason jars and utensils, this is the perfect crate for entertaining or storing extra kitchen supplies.
You can find all the supplies you need to make this simple crate for yourself or a friend at Walnut Hollow and Deco Art.
Now it's your turn to hop on over to other featured bloggers today and see all their handmade gifts!! Just click on the blue button and follow their links!
How about a giveaway??
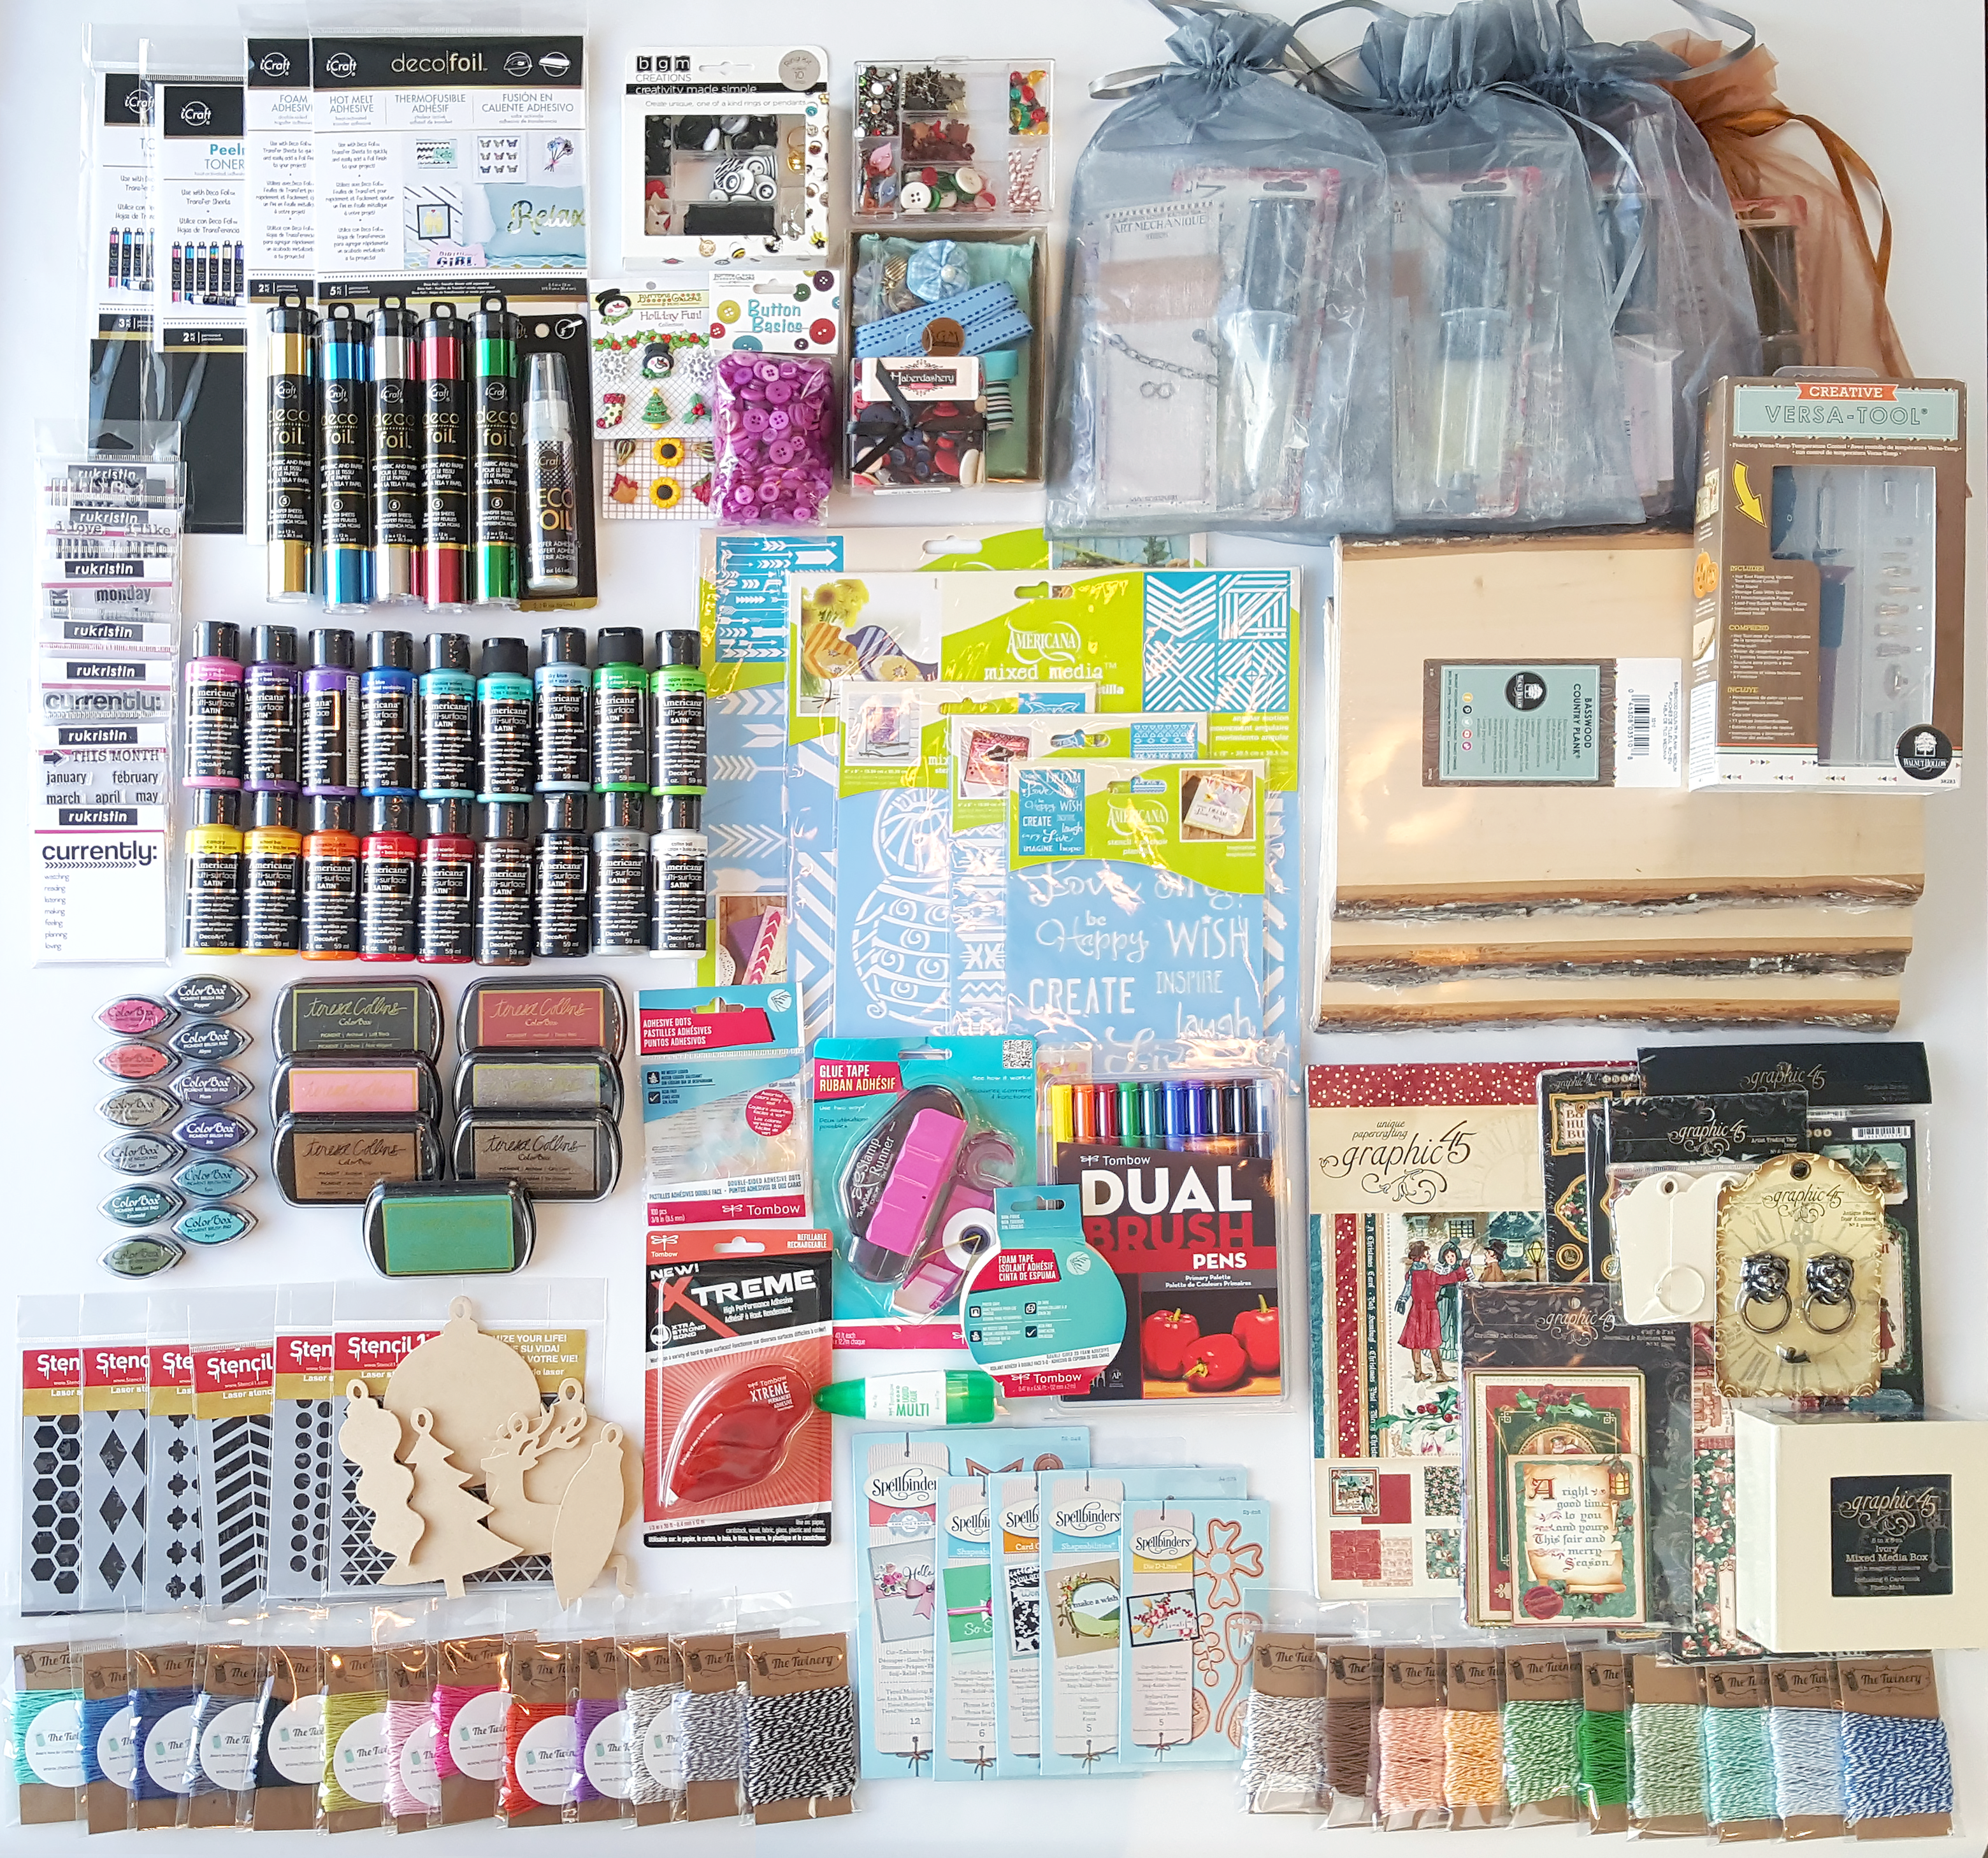
We are having a giveaway of over $600 in craft supplies to help you make this holiday handmade.
Enter to win using the link below:
To life feeling like home!
XO,








Really helpful in carrying stuff and catering tools. Very easy to carry stuff and organize in the kitchen or even outside.
[…] My Life From Home – DIY Kitchen Caddy (gift idea) […]
This is a cute caddy with that vintage look. Painting and distressing pieces isn’t as easy as it looks! Thanks for sharing on Family Joy Blog Link-up. Please come back and join us again! Remember to leave your host a comment to increase the chance of being featured.
Hello Amy!! Just stopping by to let you know your post has been selected as a Feature this week for the Welcome Home Wednesdays Link Party!! Stop by and see your post and grab a Featured Button!! ~Lisa~
Thank you Lisa!! That’s awesome. Much appreciated! ?
This is such a cute piece. I love the stencil that you used. And the distressing takes it to the next level. Very pretty and it will definitely make a great gift. Thanks for the excellent tutorial.
Thank you so much Mary! 🙂
I really like how you did this project, and the pictures are awesome, thanks for sharing.
Love how your caddy turned out!
I know exactly who to make this for! thanks for the tutorial. I’ve been wanting to make wood projects, but didn’t know where to start!
Carmen L
Yay! So glad this was helpful! 🙂
LOVELY gift idea!!!
WOW – this could be personalised for everyone in the family and filled with items just for them, from cutlery to cosmetics, craft supplies to tools!!!
THANK YOU for sharing 🙂
Thank you for stopping by Tracy!! Love your ideas! I may just have to use them. 🙂
Just love this… it can be used for so many things… I have three close friends and I would love to make them each one with a totally different theme… one is a gardener, one knits, and one is a master baker. I am looking forward to decorating one for each gal and finding some goodies to put in them for the holiday!
Great ideas!!! They will love them so much! 🙂
great idea
Thanks Cathleen! 🙂
A perfect gift for those who spend a lot of time in the kitchen!
What a lovely gift idea!!!! I can see this being used for so many different things!!! TFS!
This would also be cute for those smaller recipe pamphlets I get from companies.
I’ll have to look to see if these totes come in various sizes.
This is a lovely idea, Amy! I know my sister would just love something like this.
Such a versatile gift ! The possibilities are endless. Thanks for sharing!
Such a cool idea! I had no idea Walnut Hollow carried utensil caddies (must get some). I love how yours came out – thanks for sharing this awesome project:)
Thanks Maggie! I also am using it now for plants!
What a good idea to make this for the upcoming holidays. Love how it turned out.
Thank you Janet!! I am excited to either use it myself 🙂 OR gift a friend!