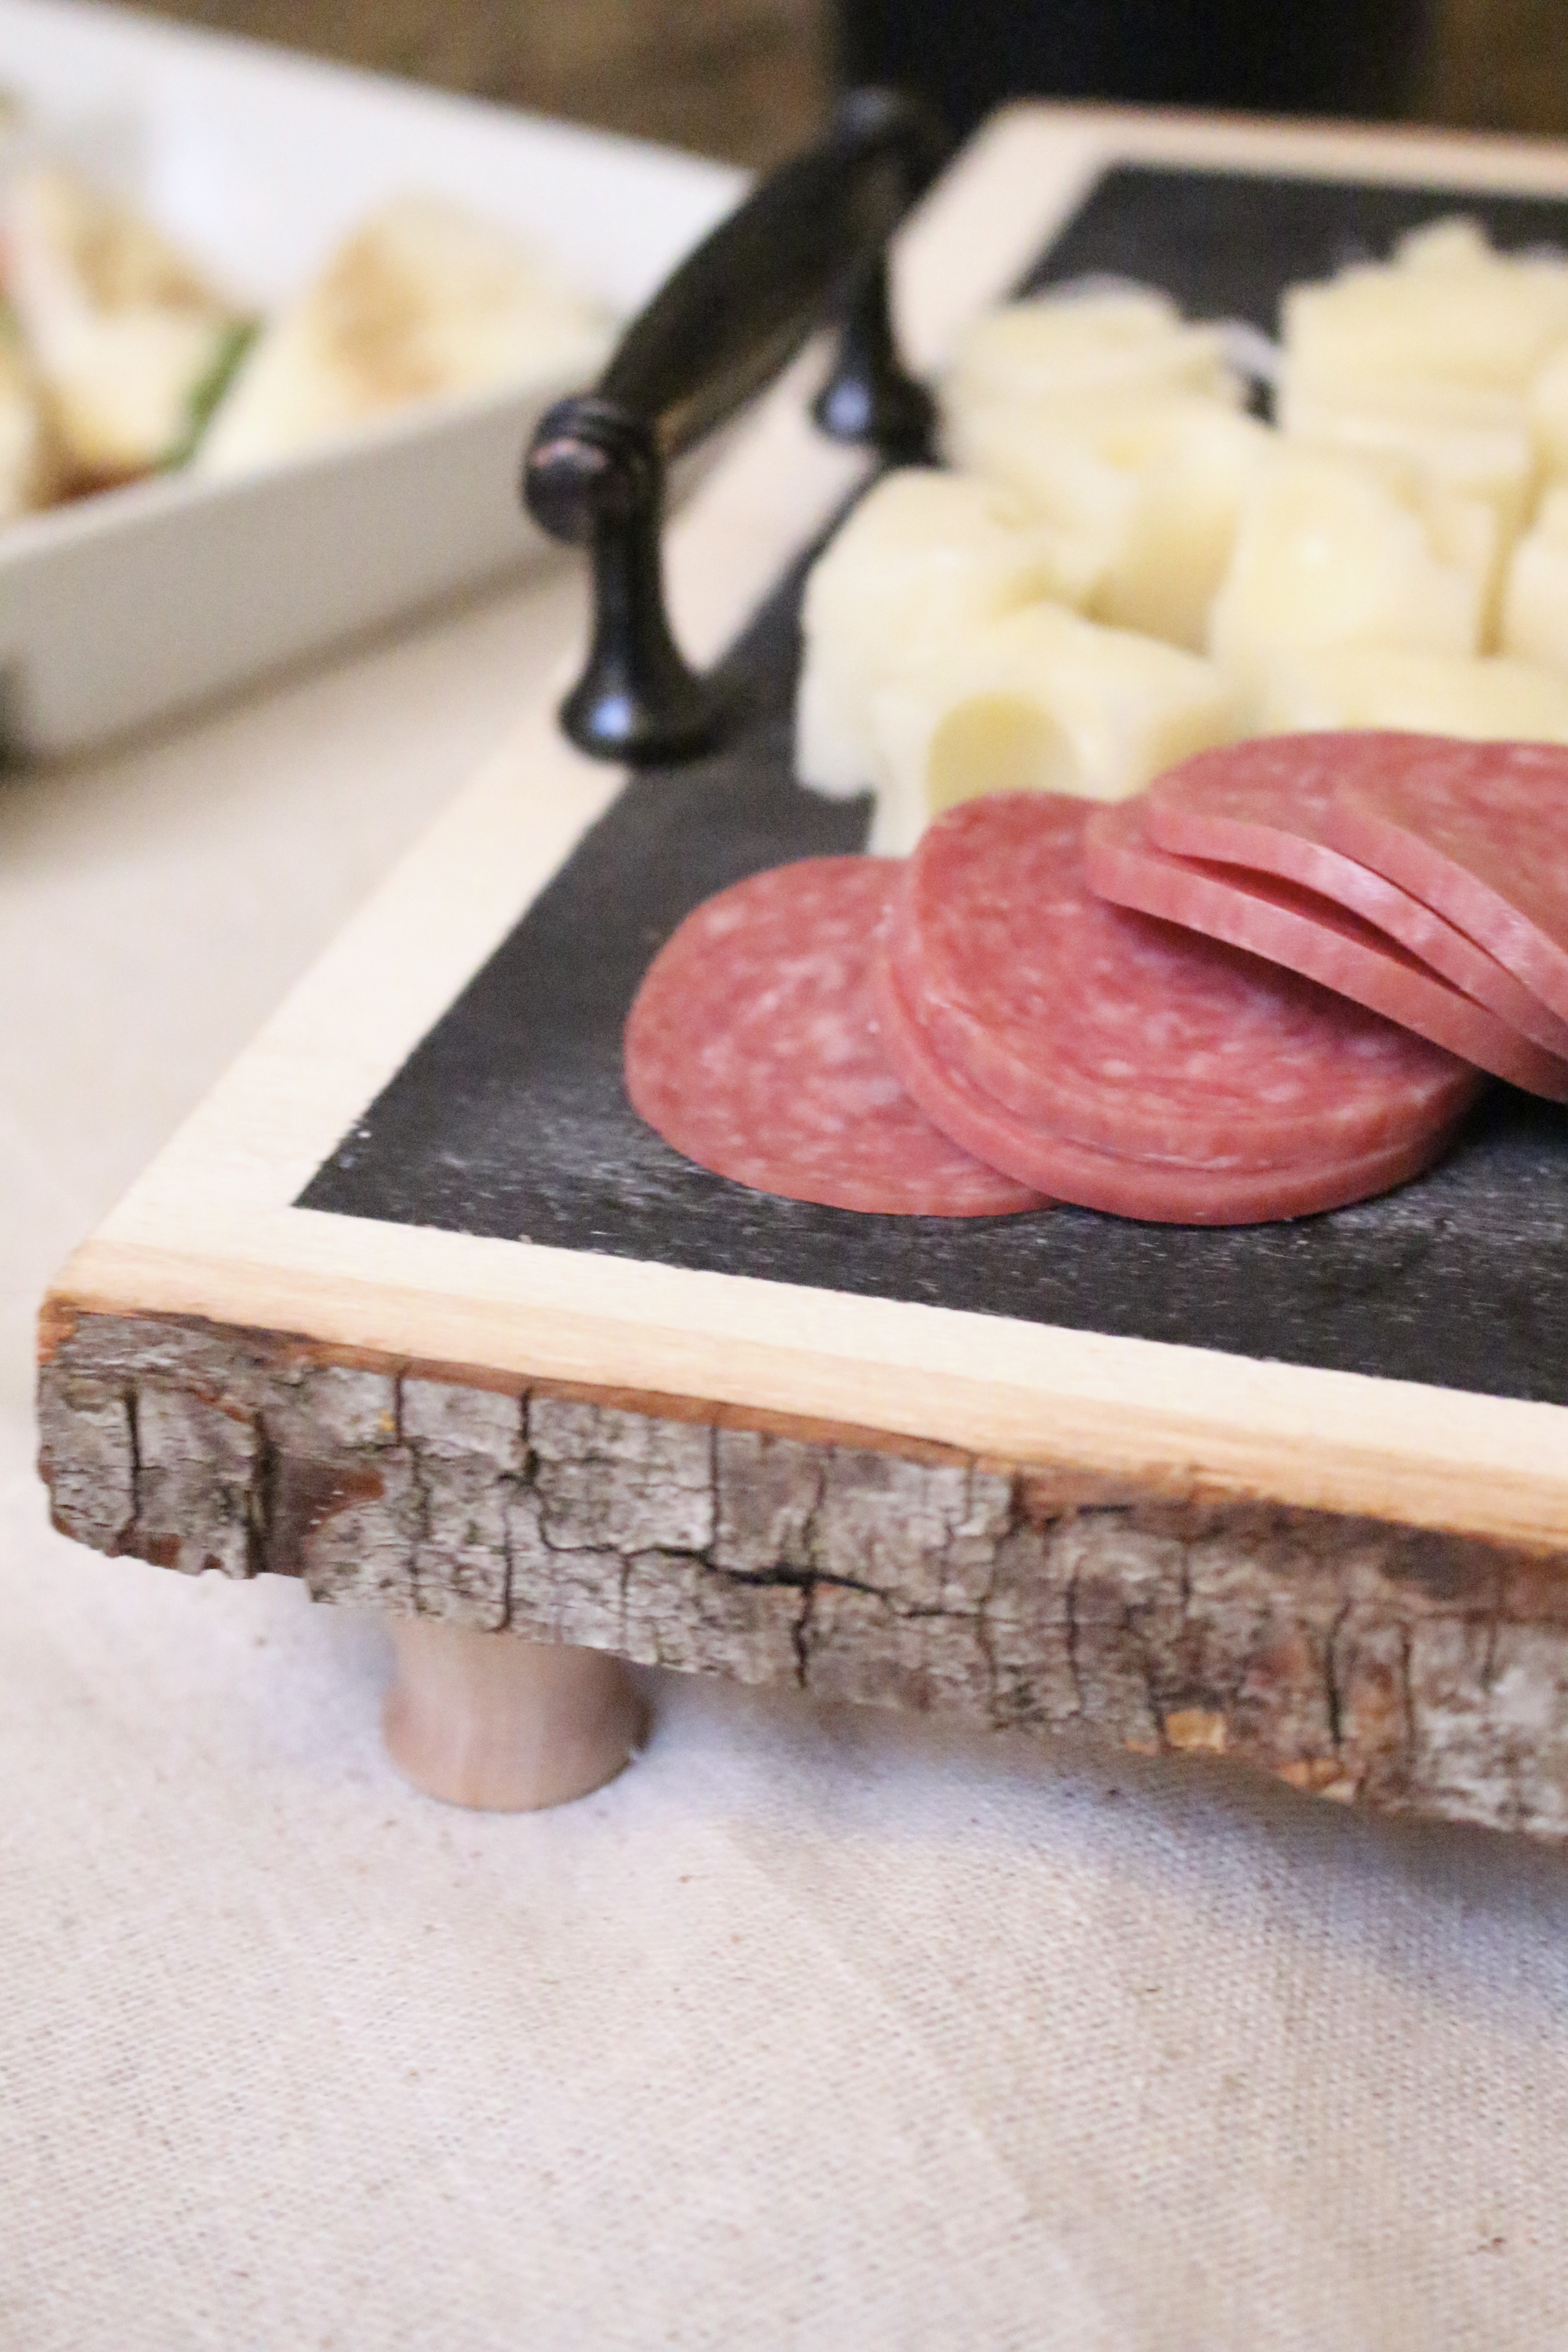
Some evenings call for a proper spread without the work of cooking a full meal. Learning how to make a cheese board that looks beautiful and tastes even better gives you exactly that: something generous, relaxed and rather lovely that can be assembled in less than half an hour. It works just as well for Christmas drinks as it does for a birthday, a quiet Friday night or an impromptu gathering around the kitchen table.
The best cheese boards are not necessarily the biggest or most expensive. What matters is balance. A few cheeses with different textures, something crisp, something sweet and something sharp will make a modest board feel considered. Everything here can be found in an ordinary supermarket, and there is no need to hunt down specialist ingredients or buy a cupboard full of serving pieces.
This version is designed for six people as part of a drinks or grazing spread. It includes enough variety to feel special, while keeping the shopping list and cost sensible. Use it as a reliable formula, then change the cheeses and accompaniments to suit the season, the occasion and what you already have.
Why You’ll Love This Simple Cheese Board
- It looks impressive without being difficult. Most of the work is simply choosing good ingredients and arranging them with a little care.
- You can shop for everything in one supermarket. There are no obscure cheeses or American-only ingredients to track down.
- It is easy to scale. The same formula works for a cosy evening for two or a generous party platter for twelve.
- Much of it can be prepared ahead. Portion the accompaniments and organise the serving pieces earlier in the day, then add the cheese shortly before guests arrive.
- There is something for everyone. Combining creamy, firm and stronger cheeses makes the board interesting without filling it with risky choices.
- It feels like everyday luxury. A beautiful board, one excellent cheese and a few thoughtful extras can turn supermarket ingredients into a proper occasion.
What You’ll Need to Make a Cheese Board
This shopping list makes a generous board for six people as an appetiser. If it is replacing dinner, increase the cheese and crackers by roughly half.
The cheeses
- 200g mature Cheddar, for a familiar firm cheese with plenty of flavour
- 200g Brie or Camembert, for a soft, creamy contrast
- 150g Stilton or another blue cheese, for something more distinctive
- 150g goat’s cheese or Wensleydale, optional, if you would like a fourth cheese
The accompaniments
- 250g mixed crackers and oatcakes
- 150g grapes, washed and divided into small bunches
- 1 crisp apple or pear, approximately 150g, thinly sliced just before serving
- 75g unsalted almonds, walnuts or cashews
- 75g dried apricots, figs or cranberries
- 100g olives or cornichons, drained
- 4 tbsp chutney, fig preserve or honey, approximately 80g
- 150g sliced salami or prosciutto, optional
- A few sprigs of rosemary or thyme, optional, for finishing
Note: A cheese board does not need to include meat. If you would like to add it, sliced salami, prosciutto or a continental meat selection all work well. For a vegetarian board, leave it off and add another cheese, more nuts or a bowl of marinated artichokes.
Equipment You’ll Need
- A large wooden board, slate, ceramic platter or flat tray
- Two or three small bowls for olives, chutney and loose ingredients
- A separate knife or spreader for each cheese
- Small plates and napkins for guests
- Digital kitchen scales for accurate metric measurements
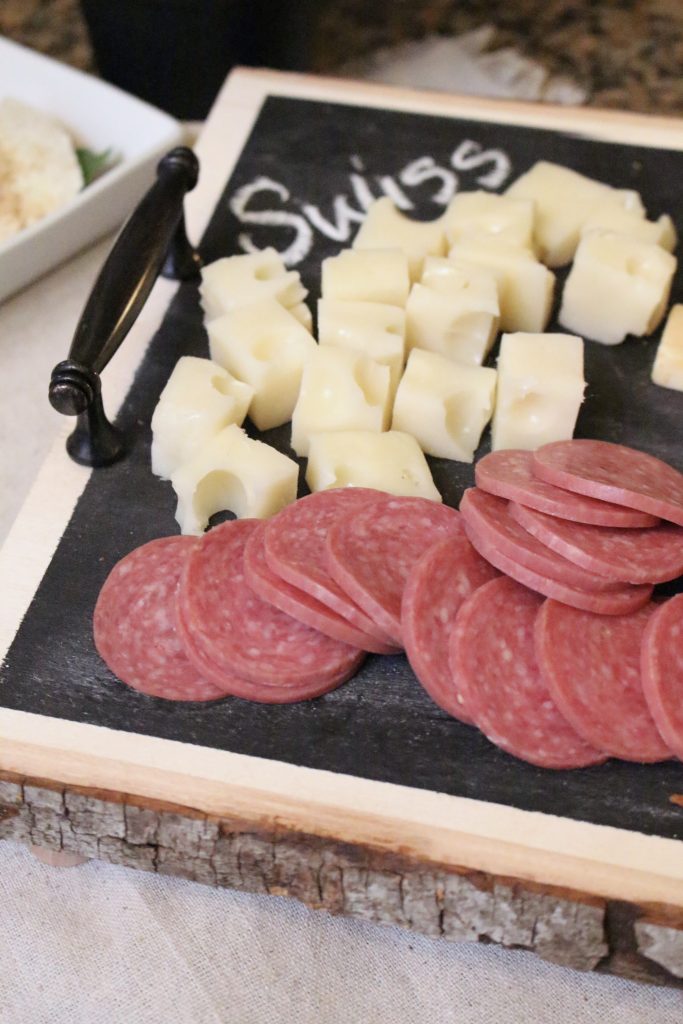
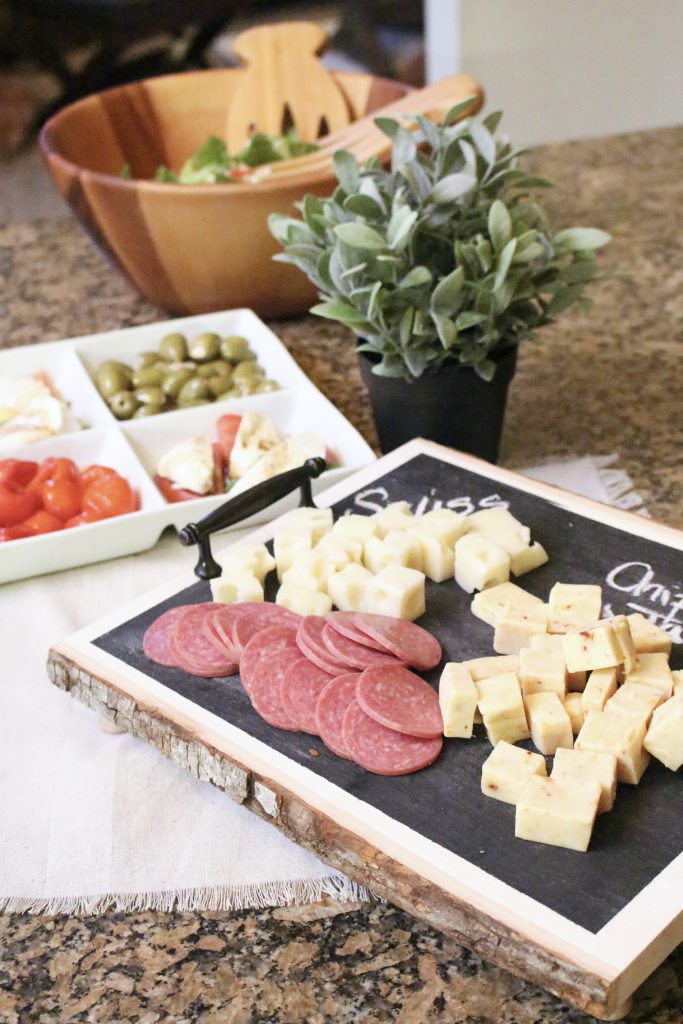
Nothing specialist is required. A large chopping board is perfectly good, particularly when it has an attractive grain. A homemade DIY chalkboard tray also makes a useful base and lets you label the cheeses.
How to Make a Cheese Board
Step 1: Choose a board with enough room
Start with a board that gives the ingredients a little breathing space. For six people, something around 40 x 30cm (16 x 12in) is comfortable. It does not have to be completely covered; a small amount of visible board makes the arrangement look intentional and gives guests room to cut the cheese.
Step 2: Bring the cheese to room temperature
Take the cheeses out of the fridge 45 to 60 minutes before serving. This softens their texture and allows their flavour to come through properly. Do not leave them beside a radiator or in direct sunlight; a cool room is ideal.
Step 3: Place the cheeses first
Set the cheeses around the board rather than lining them up in the centre. Put the larger wedge or round down first, then place the others at different angles to give the board a relaxed shape. Pre-slice a few pieces from firm cheese so guests know where to begin, but leave most of it whole so it does not dry out.
Step 4: Add bowls and savoury extras
Place chutney, honey, olives or cornichons in small bowls and position them between the cheeses. Bowls anchor the arrangement and stop wet or sticky ingredients from spreading across the board. If you are including cured meat, fold it loosely into ribbons rather than laying the slices flat.
Step 5: Fill the spaces with fruit and crunch
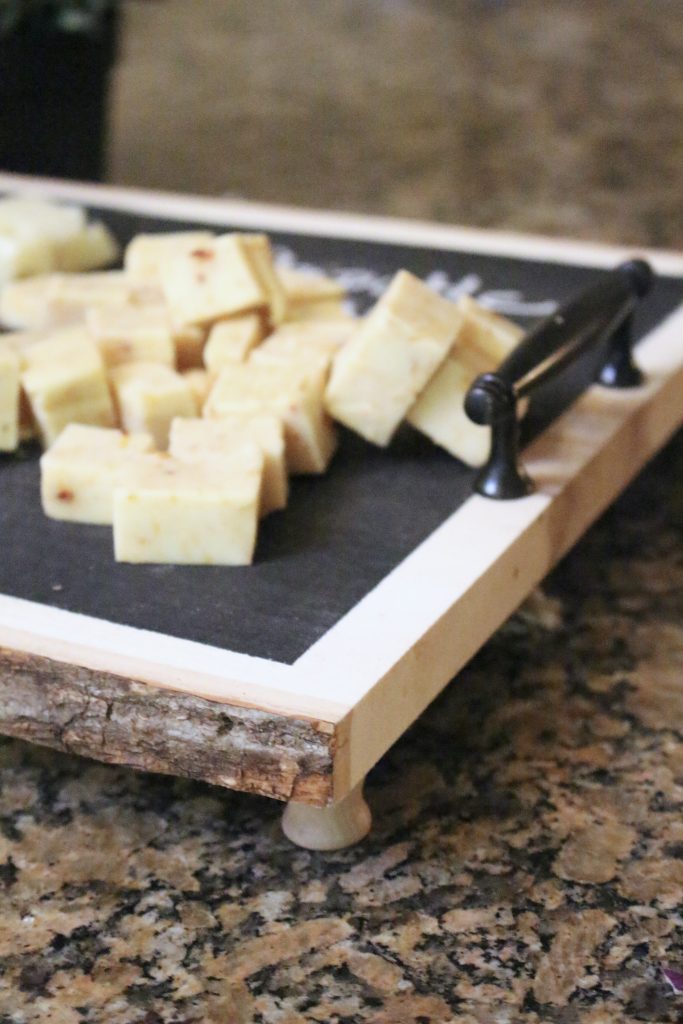
Add small bunches of grapes, sliced fruit, nuts and dried fruit, repeating colours in two or three places. This creates a fuller, more balanced board without needing huge quantities. Keep nuts in a separate bowl if there is any possibility of an allergy, and label them clearly.
Step 6: Add crackers at the last moment
Tuck a few crackers and oatcakes around the edges, then serve the rest in a basket or separate plate. This keeps the board from becoming cramped and means you can top them up easily. Add any apple or pear slices just before serving so they stay fresh; a little lemon juice will slow browning.
Step 7: Finish and serve
Add a few sprigs of rosemary or thyme for colour, then give each cheese its own knife. Check that every bowl has a small spoon or fork and place napkins within reach. The finished board should look abundant but still be easy to eat from, which matters far more than making every gap disappear.
Tips for the Best Cheese Board
Use three different textures. A firm cheese, a soft cheese and a blue or crumbly cheese give the board contrast without making the choice overwhelming.
Allow 75–100g of cheese per person. Use the lower amount for an appetiser and the higher amount if the board is the main event.
Choose one cheese worth spending a little more on. A good farmhouse Cheddar or creamy British blue can elevate the whole board, while the remaining ingredients can be simple supermarket favourites.
Keep flavours balanced. Rich cheese needs acidity and freshness, so include grapes, apple, cornichons or a sharp chutney alongside the sweeter additions.
Label unfamiliar cheeses. Small cards or chalk labels help guests choose confidently and are especially useful when a cheese is very strong, unpasteurised or contains alcohol.
Do not overcrowd the board. Refill crackers and cured meat from separate plates if necessary. Guests need enough room to cut cheese without knocking everything else out of place.
Prepare for dietary needs. Keep gluten-free crackers wrapped until serving and use separate knives. For vegetarians, check that cheeses are made with vegetarian rennet.
Make It Your Own
For a board centred on British cheeses, build the selection around mature Cheddar, Stilton and a softer regional cheese such as Tunworth, Baron Bigod or Cornish Brie. Add oatcakes, apple, walnuts and a good onion chutney.
A summer board can be lighter, with goat’s cheese, soft herbs, strawberries, cherries and a little honey. In autumn, use pear, figs, toasted walnuts and a darker chutney. At Christmas, add Stilton, cranberry sauce, spiced nuts and slices of clementine.
For a vegetarian board, replace cured meat with roasted peppers, marinated artichokes, extra olives or a pot of hummus. A family-friendly board can use milder Cheddar, mini mozzarella, apple slices and plain crackers, keeping stronger cheeses grouped at one end for adults.
If you are serving only two people, choose two cheeses rather than buying miniature portions of everything. Add good crackers, fruit and one savoury extra, then open a bottle of something lovely. It will still feel generous without leaving half the board uneaten.
Frequently Asked Questions
Allow 75–100g of cheese per person when the board is an appetiser. Increase that to around 150g per person if it is replacing a meal, and provide plenty of crackers, fruit and other accompaniments.
Choose at least three different styles: a firm cheese such as mature Cheddar, a soft cheese such as Brie or Camembert, and a blue or crumbly cheese such as Stilton or Wensleydale. A goat’s cheese makes a useful fourth option when serving a larger group.
You can portion dry accompaniments and arrange the bowls several hours ahead. Add and loosely cover the cheese up to an hour before serving, but wait until the last moment to add crackers and sliced apple or pear so they remain crisp and fresh.
Yes. Most cheese tastes better when it has been out of the fridge for 45–60 minutes because both the texture and flavour improve. Keep the board in a cool room and do not leave cheese unrefrigerated for more than two hours.
Add a mixture of crackers, oatcakes, fresh fruit, dried fruit, nuts, olives or cornichons and one sweet or sharp condiment. Cured meat is optional. Aim for a balance of creamy, crisp, sweet, salty and acidic flavours rather than buying as many items as possible.
Use a large board, repeat colours in a few places and vary the height and shape of the ingredients. One excellent cheese, fresh seasonal fruit and a proper chutney will make more difference than filling every space with expensive extras.
Absolutely. Cheese boards do not need cured meat. Add another cheese or include marinated vegetables, hummus, extra nuts and olives, checking that the cheeses use vegetarian rennet if you are serving vegetarian guests.
How to Store Leftover Cheese Board Ingredients
Return cheese to the fridge within two hours. Wrap each variety separately in waxed paper, baking parchment or proper cheese paper, then place it in a loosely closed container. Most opened hard cheese keeps for one to two weeks, while soft cheese is best eaten within three to five days; always follow the pack date and discard anything that smells or looks wrong.
Refrigerate olives, chutney and cut fruit in separate airtight containers. Crackers and nuts should stay at room temperature in sealed containers so they remain crisp. Cheese does not generally benefit from freezing because its texture can become crumbly, although leftover hard cheese can be grated and frozen for up to three months for use in sauces or cooking.
Cheese Board Assembly Card
Recipe name: Easy Cheese Board for Six
Short description: A balanced, beautiful cheese board made with easy-to-find supermarket ingredients. It is ideal for relaxed entertaining, festive drinks or a cosy grazing supper.
Prep time: 25 minutes
Cook time: 0 minutes
Total time: 25 minutes, plus 45–60 minutes for the cheese to reach room temperature
Servings: 6 as an appetiser
Estimated cost: Approximately £24 per board, or £4 per serving
Calories: Approximately 620 calories per serving, depending on the cheeses and accompaniments chosen. Nutritional figures are estimates only.
Ingredients
- 200g mature Cheddar
- 200g Brie or Camembert
- 150g Stilton or another blue cheese
- 150g goat’s cheese or Wensleydale, optional
- 250g mixed crackers and oatcakes
- 150g grapes
- 1 apple or pear, approximately 150g
- 75g unsalted nuts
- 75g dried fruit
- 100g olives or cornichons
- 80g, or 4 tbsp, chutney, fig preserve or honey
- 150g sliced salami or prosciutto, optional
Instructions
- Remove the cheeses from the fridge 45–60 minutes before serving.
- Place the cheeses around a large board, pre-slicing a few pieces of firm cheese.
- Add chutney, olives or cornichons to small bowls and place them between the cheeses.
- Fold any cured meat into loose ribbons and arrange it beside the cheeses.
- Fill the open spaces with grapes, sliced fruit, nuts and dried fruit.
- Add a small quantity of crackers to the board and serve the rest separately.
- Finish with herbs, give each cheese its own knife and serve immediately.
Notes
- Allow 75–100g cheese per person for an appetiser.
- Use vegetarian cheeses and omit cured meat when serving vegetarians.
- Add crackers and cut fruit just before serving.
- Return leftovers to the fridge within two hours.
If you build your own version, leave a comment or share it with me on Instagram. For another simple entertaining idea, try this hot bacon and cheese dip, and add another related post here: [link to related post here].
Leave a Reply
If you like the sort of recommendation that still holds up six months later, leave your email below and I'll write to you on Sunday.
Most Sundays, once the house has gone quiet and it's edging towards nine, a letter goes out. It's the one I'd write to a friend with good taste and not nearly enough time: one thing worth reading, one thing worth buying, and one thing to skip. No noise, no pressure to spend, just the considered version of what I've actually been using, loving, or quietly sending back.



December 11th, 2017 at 8:04 am
This is great advice Amy and we love your DIY chalkboard too! We can’t even imagine your hectic family life with the kitchen reno! The payoff and wait will be worth it!
December 11th, 2017 at 8:14 am
Amy, you are a total champ for pulling this cheese tray off especially in the midst of a kitchen remodel! These tips are so good and definitely ones that can be repvisted all year long. Can’t wait to see how things are progressing on your latest project. I know it will be amazing! Hugs, CoCo
December 11th, 2017 at 9:54 am
Thank you for sharing this because I need to be reminded to do this more often. Easy and so yummy!
December 11th, 2017 at 9:56 am
Amy – I love cheese trays, only problem is I eat too much! Ha! Thanks for the tips and l really like your DIY tray. Great job!
December 11th, 2017 at 1:39 pm
Great cheese tray Amy! The chalkboard tray you made is awesome!