
Earlier this year I did something slightly ridiculous. I signed up for a wedding floristry course with absolutely no intention of ever doing wedding flowers.
No bridal bouquets. No church arches. No 6am setups in a marquee.
I just wanted to know why the flowers in my kitchen never looked like the flowers in my head. I could buy the same peonies, the same eucalyptus, the same pretty vase, and somehow end up with something that looked like it had been dropped in from a height. Meanwhile florists make a bunch of supermarket carnations look like a magazine spread.
It turns out the difference is not talent, and it is definitely not budget. It is a handful of professional flower arranging techniques that nobody tells you about, because they are usually taught to people going into the trade. So this post is everything I learnt, translated for real life: how to arrange flowers like a professional at home, using the flowers you can actually get your hands on.
It is a long one, so put the kettle on. By the end you will know how to condition flowers so they last, how to build an arrangement with proper structure, and my favourite part, how to make cheap flowers look expensive.
Why Wedding Floristry Techniques Work Even Better at Home
Here is the thing that surprised me most on the course. Wedding flowers only need to look good for about eight hours. Home flowers need to last a week.
Wedding florists design for one perfect day. Everything peaks at 2pm on a Saturday and nobody cares what it looks like on Tuesday. At home, we need the opposite: arrangements that open slowly, hold their shape, and still look presentable when your mother-in-law turns up unannounced five days later.
So while the structural techniques transfer beautifully, the flower care side actually matters more at home than it does at a wedding. That is why this post covers both. The mechanics give you the florist look. The conditioning gives you the florist lifespan. You need the two together, and most DIY home floral arrangement tutorials only teach you one.


The Tools You Actually Need (and the Ones You Do Not)
Before the course I assumed florists had a van full of specialist kit. In reality, the basics fit in a kitchen drawer. Here is everything I use for everyday flower arrangements at home:
- Floral shears or snips. Sharp ones. Kitchen scissors crush the stems, which stops them drinking properly.
- Chicken wire. The single most useful thing I own now. More on this below.
- Waterproof floral tape (pot tape). For grids and for securing chicken wire. Regular sticky tape gives up the moment it gets wet.
- Flower food. The sachets that come with your bouquet genuinely work. Keep the spares.
- A clean bucket. For conditioning flowers before they go anywhere near a vase.
- Wire cutters. For the chicken wire. Your good scissors will never forgive you otherwise.
That is it. No floral foam, no fancy frogs, no thorn strippers. Under twenty pounds all in, and everything except the flower food lasts for years.
How to Condition Flowers So They Last All Week
Conditioning was the first thing we were taught, before we were allowed anywhere near an arrangement. It is the least glamorous part of floristry and the most important. If you skip everything else in this post, do not skip this.
Conditioning just means preparing the stems so they can drink properly. Here is the professional routine, which takes about ten minutes:
Strip every leaf that will sit below the waterline. Leaves rot underwater, and rotting leaves breed the bacteria that kill your flowers. This one habit alone will add days to a bouquet.
Cut each stem at a sharp angle. Around 45 degrees, with proper shears. The angle increases the surface area for drinking and stops the stem sitting flat against the bottom of the vase like a blocked straw.
Then let them rest. This is the step nobody does at home. Put the cut stems in a deep bucket of cool water, somewhere shaded, for a few hours or ideally overnight. Florists call this a good long drink. Flowers arrive dehydrated from travel, and arranging them straight away is like asking someone to run a race the moment they step off a long-haul flight.
When you come back to them, the heads will be lifted, the petals firmer, and the whole bunch will look like it cost more than it did. Conditioned flowers are half the answer to how to make flowers look expensive. The other half is structure, which is where the fun starts.

How to Use Chicken Wire Instead of Floral Foam
If you have ever wondered how florists get stems to stay exactly where they put them, this is the secret. It is not skill. It is mechanics hidden inside the vase.
The industry used to rely on floral foam for this, but it is single-use plastic and most modern florists have moved away from it. What we were taught instead is the chicken wire pillow, and it is now the thing I recommend to everyone.
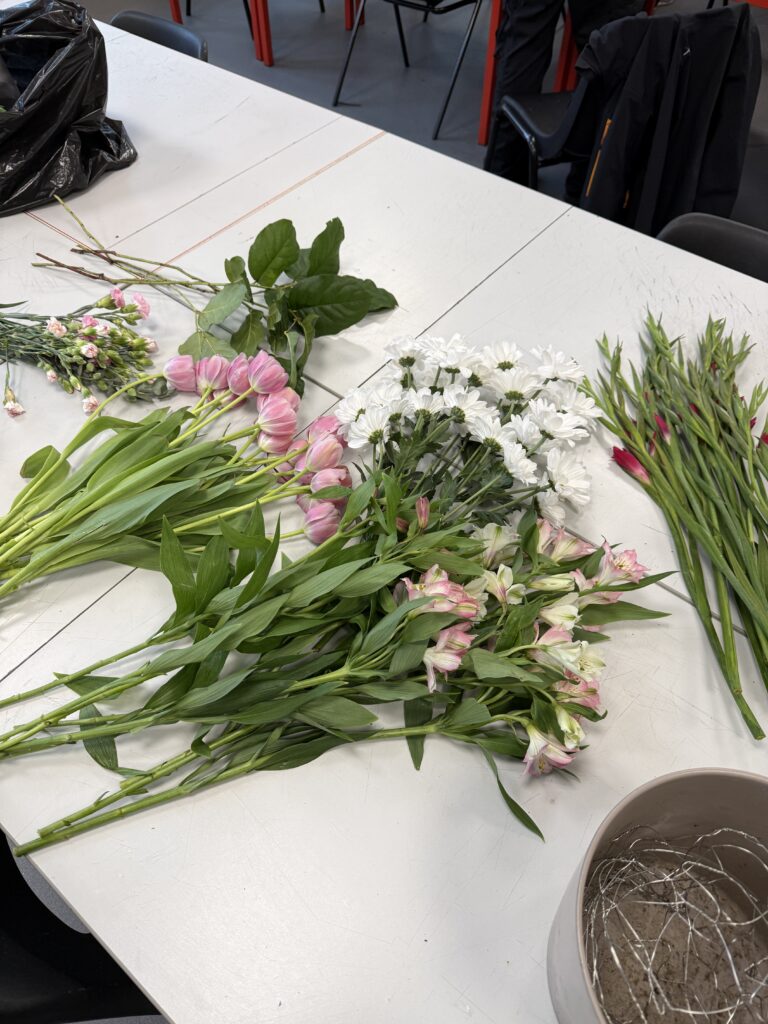
Cut a piece of chicken wire roughly twice the size of your vase opening. Scrunch it loosely into a ball, so you get layers of holes at different heights, and tuck it inside the vase. If the vase is wide or the wire is springy, secure it with a cross of pot tape over the top.
Now every stem you add threads through two or three layers of wire and stays precisely where you angled it. Heavy-headed flowers like hydrangeas stop flopping. Single stems can lean out sideways at that lovely careless angle that never actually happens by accident. And unlike foam, you rinse it, squash it back into shape, and use it forever.
This is the technique that changed my arrangements more than any other. If you buy one thing from the tools list, buy this.
How to Use Floral Tape for Structure
For shallow bowls and wide-necked vases, where chicken wire is overkill or too visible, florists use a tape grid instead.
Stretch strips of waterproof pot tape across the opening of the vessel, first in one direction, then the other, to create a grid of small squares. Run one strip around the rim to lock the ends down. Make sure the vase is bone dry first, or nothing will stick.
Each square becomes a little parking space for two or three stems. Instead of every flower sliding to the edge of the bowl and leaving a hole in the middle, your stems stand up and fan out from the centre. It takes two minutes and it is completely invisible once the arrangement fills out over the rim.
Wide, low arrangements are the ones people always assume were professionally made, and this grid is the entire trick.
How to Build an Arrangement Like a Florist
Here is where the course properly rewired my brain. I always started with the prettiest flower and worked outwards. Florists do the exact opposite. They build in layers, and the flowers go in last.
Start with the greenery
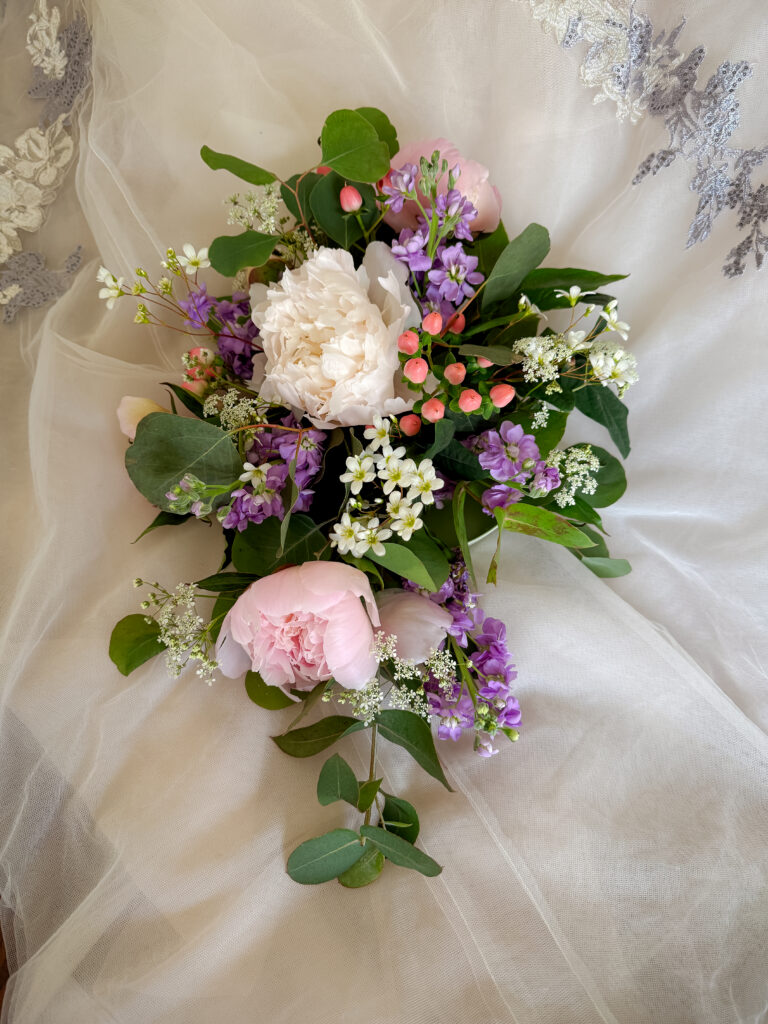
Foliage first, always. The greenery is the skeleton of the arrangement. It sets the overall shape, height and width before a single flower goes in, and it gives later stems something to rest against. Place it at different heights and angles, with some pieces trailing over the rim of the vase. If your greenery looks good on its own, you have basically already won.
Add your focal flowers in odd numbers
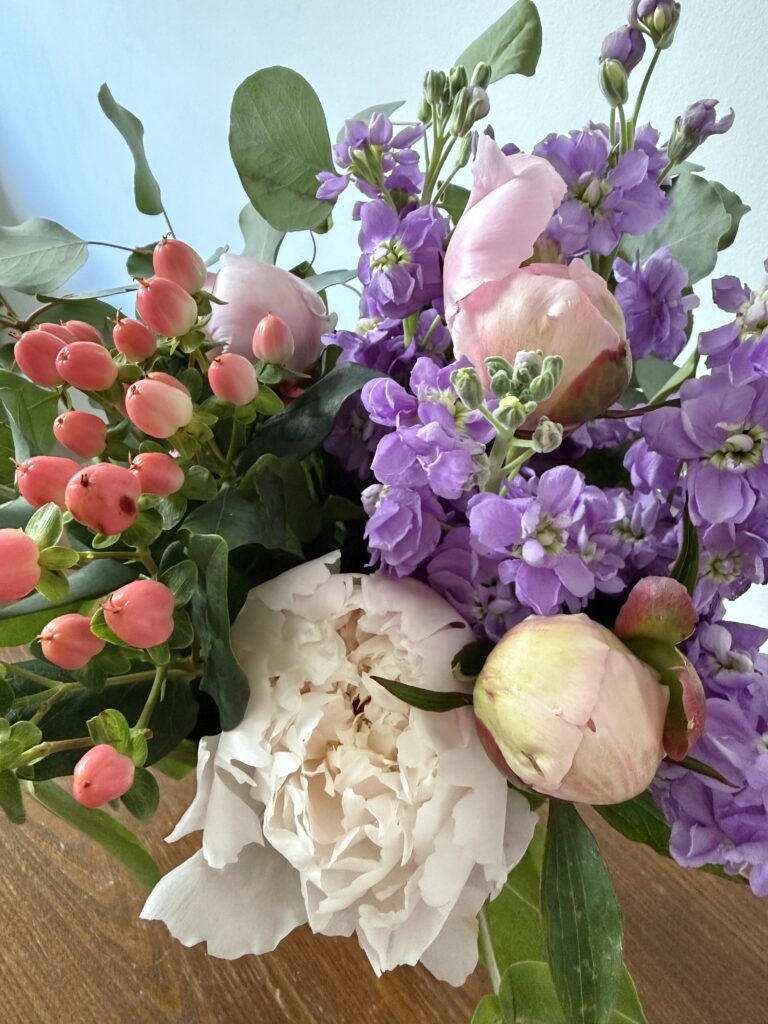
Focal flowers are your biggest, most beautiful blooms. Peonies, roses, hydrangeas, dahlias, whatever the stars of the bunch are. Add them in threes or fives, never in even numbers. Odd numbers force the eye to move around the arrangement instead of splitting it neatly in half, which is what makes it look organic rather than arranged.
And vary the heights. This was drilled into us constantly. Cut one shorter, leave one taller, nestle one deep into the greenery. Flowers all sitting at the same level is the number one giveaway of a DIY arrangement. In nature, nothing grows in a flat line.
Fill in with secondary and filler flowers
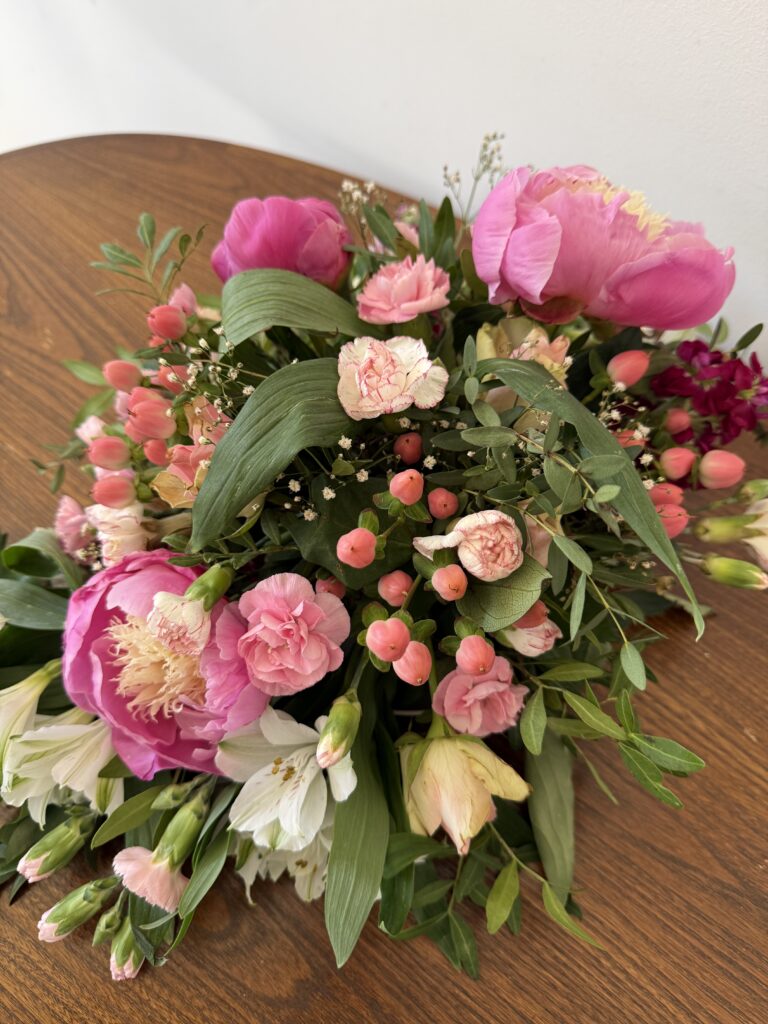
Next come the supporting acts: smaller blooms like spray roses, lisianthus or stocks, tucked between the focal flowers to bridge the gaps. Then the filler, the airy delicate stuff like waxflower, gypsophila or astrantia, which softens everything and adds that slightly wild, expensive texture.
Then stop
The hardest lesson of the whole course. When you think it needs one more stem, it does not. Florists talk about leaving room for the flowers to breathe, and they mean it literally: blooms need physical space to keep opening over the week. A slightly sparse arrangement on day one is a perfect arrangement on day three. A packed one is compost.
How to Make Supermarket Flowers Look Expensive
Right. The section I would have skipped to first.
Everything above works with any flowers, but supermarket flowers need a little extra intervention, because the problem is not the quality of the blooms. Supermarket flowers are often genuinely good. The problem is the mix. Those bouquets are designed to look full in cellophane under shop lighting, so they cram in one of everything, in colours that fight.
Here is what the course taught me, translated to the Saturday shop:
Buy two of the same bunch, not two different bunches. Repetition reads as intentional. Doubling up on identical flowers instantly looks like a designed arrangement rather than a lucky dip, and it gives you enough of each variety to work in those odd-numbered groups.
Split the mixed bouquet and edit it ruthlessly. Unwrap it, sort it into piles by flower type, and be prepared to leave something out. There is usually one dyed or clashing element dragging the whole thing down. Pull it, and put it in a jam jar in the bathroom where it can do no harm.
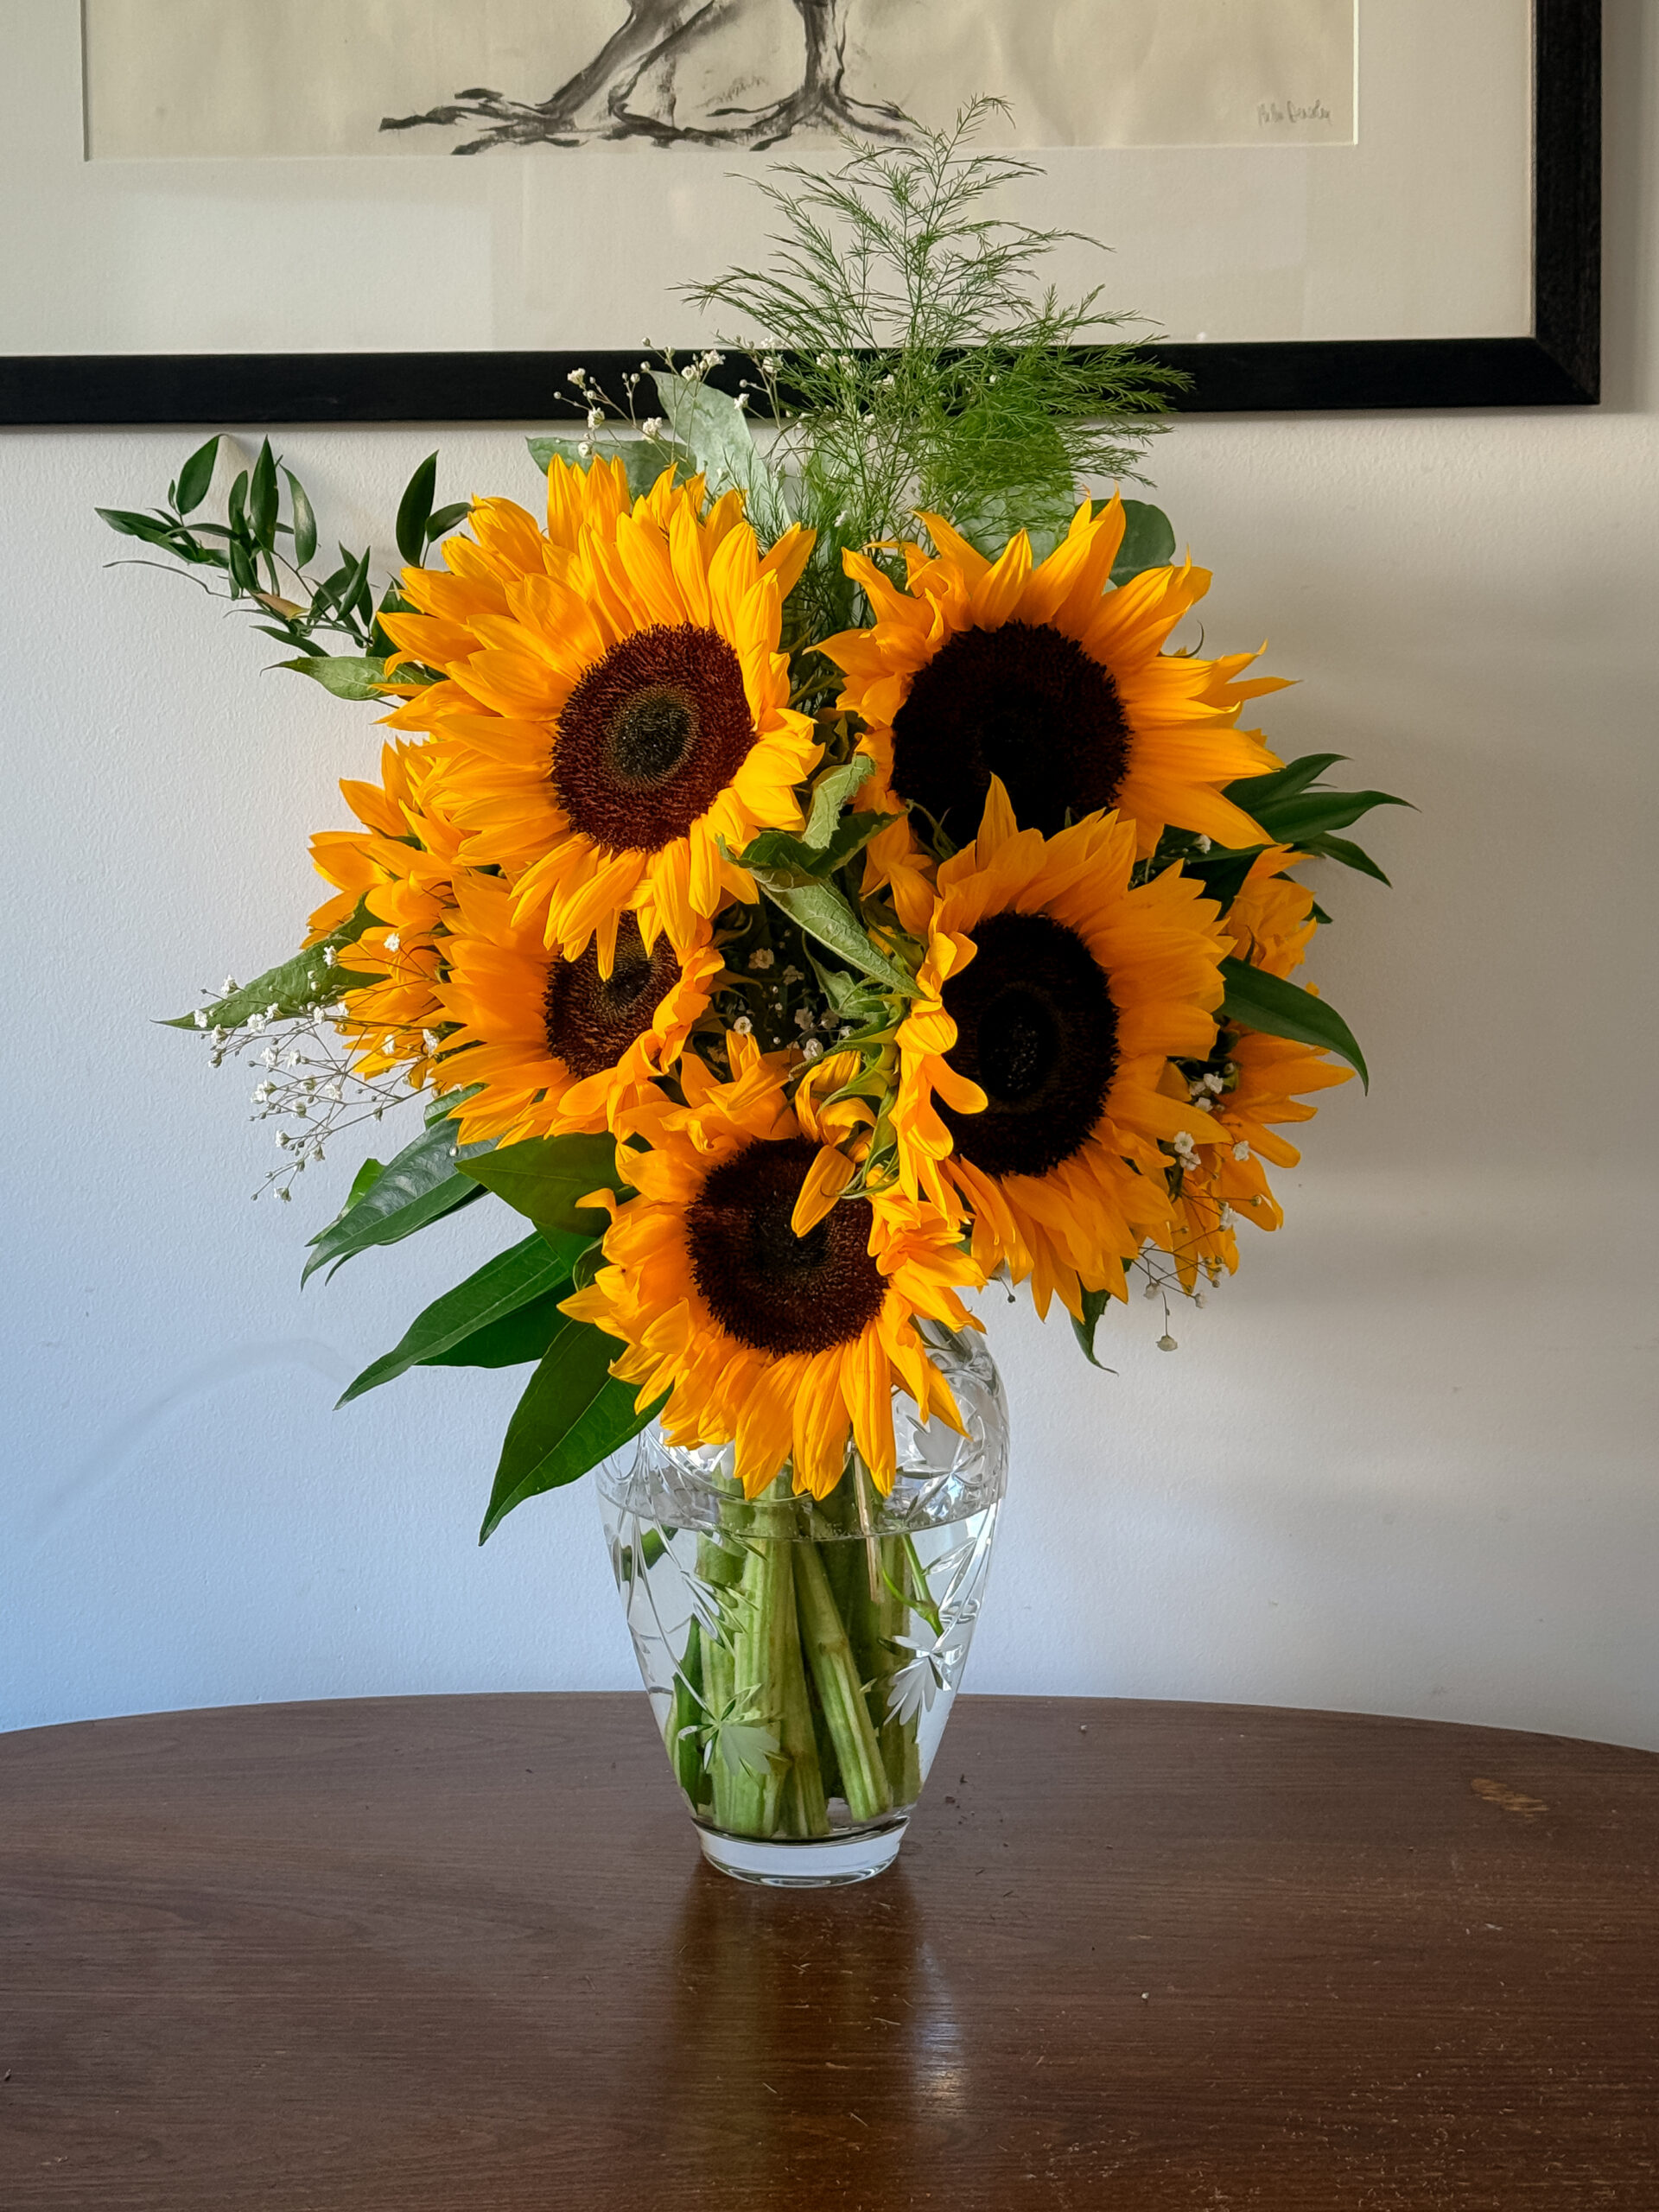
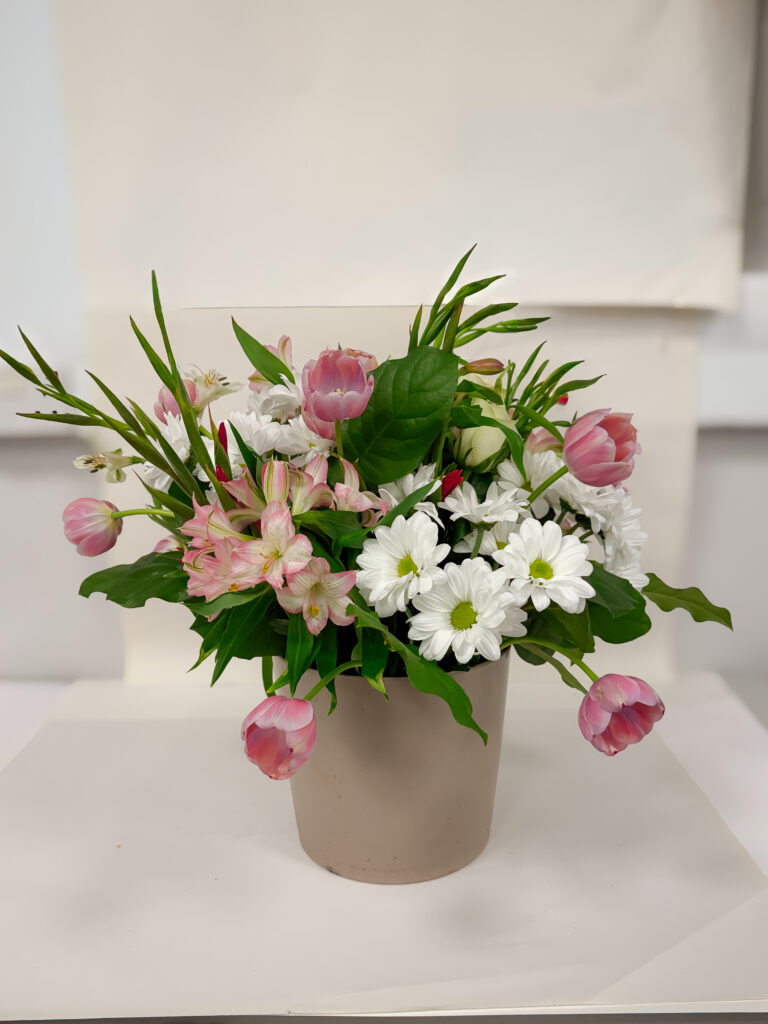
One variety en masse always looks expensive. Fifteen white tulips in a low bowl. A dome of carnations in a single colour, cut short and packed tight. Carnations, of all things, are having a real moment, and massed together they look like a boutique hotel lobby. A single-variety arrangement is the cheapest shortcut to expensive that exists.
Cut the stems shorter than feels right. Supermarket flowers come long so they look generous in the wrap. In a vase, all that length turns into gangly, top-heavy chaos. Cutting them down concentrates the blooms into a fuller, denser shape. When in doubt, shorter.
Give them a day to open. Supermarket flowers are sold tight so they survive the shelf. That is a feature. Arrange them, then let them open in place. What looks mean on Saturday looks lush by Monday.
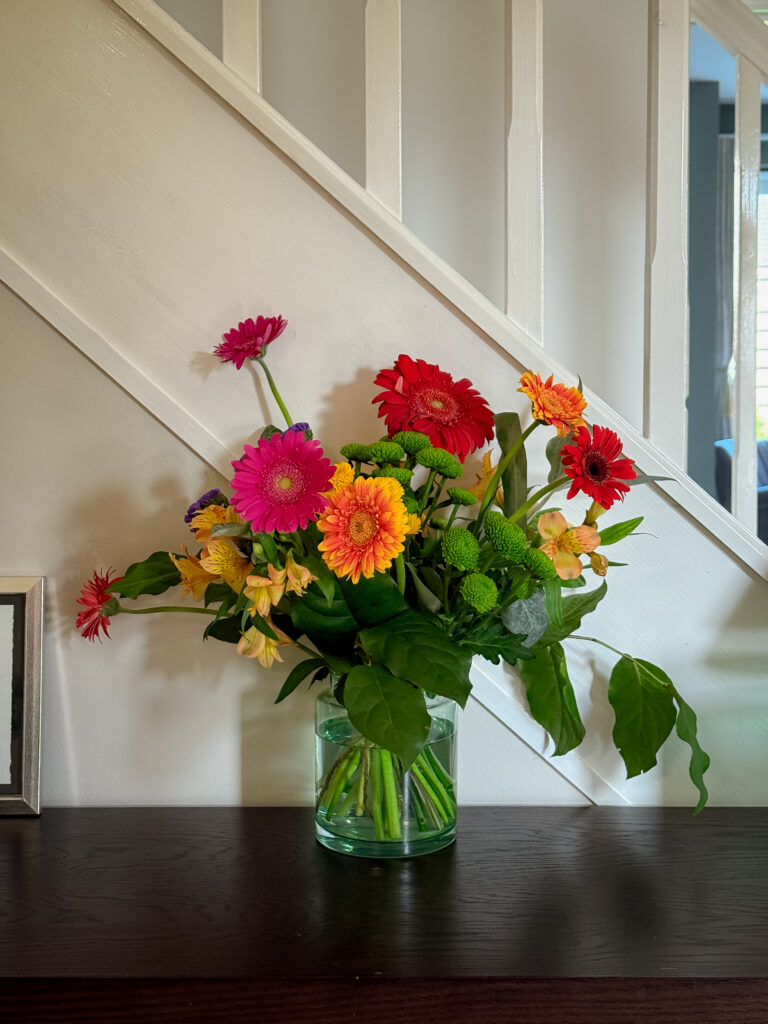
Choosing the Right Vase (It Matters More Than the Flowers)
One line from the course that stuck with me: an average bunch in the right vase beats a beautiful bunch in the wrong one.
Two rules cover nearly everything. First, the neck. A narrow neck does half the arranging for you by holding stems together, which makes it perfect for small bunches and single varieties. Wide necks need mechanics inside, so save those for when you are using chicken wire or a tape grid.
Second, proportion. As a rough guide, the flowers should sit at about one and a half times the height of the vase. Much taller and it looks precarious, much shorter and it looks like the flowers are hiding. I now cut one test stem, hold it against the vase, and use it to measure the rest.
And if your water tends to go cloudy before you get round to changing it, an opaque vase is not cheating. It is strategy.

How to Keep Your Arrangement Alive for a Week or More
The arranging is done. Now for the part wedding florists never have to think about: the long game.
Change the water every two days, fully, not a top-up. Bacteria in the water is what actually kills cut flowers, which is also why the vase should be properly clean before you start. While the vase is empty, recut every stem by a centimetre or so at an angle to reopen the drinking channel.
Keep the arrangement away from radiators, direct sunlight and, oddly, the fruit bowl. Ripening fruit releases ethylene gas, which ages flowers at speed. I had no idea about this before the course and it explained years of mysteriously dead kitchen tulips.
Finally, edit as you go. Flowers die at different rates, so pull each bloom as it fades rather than declaring the whole thing finished. An arrangement usually has two or three lives in it. By the end of the week, my big arrangements almost always end up as a couple of bud vases on the windowsill, which brings me to the last thing.
Making Flowers an Everyday Thing (Not a Special Occasion Thing)
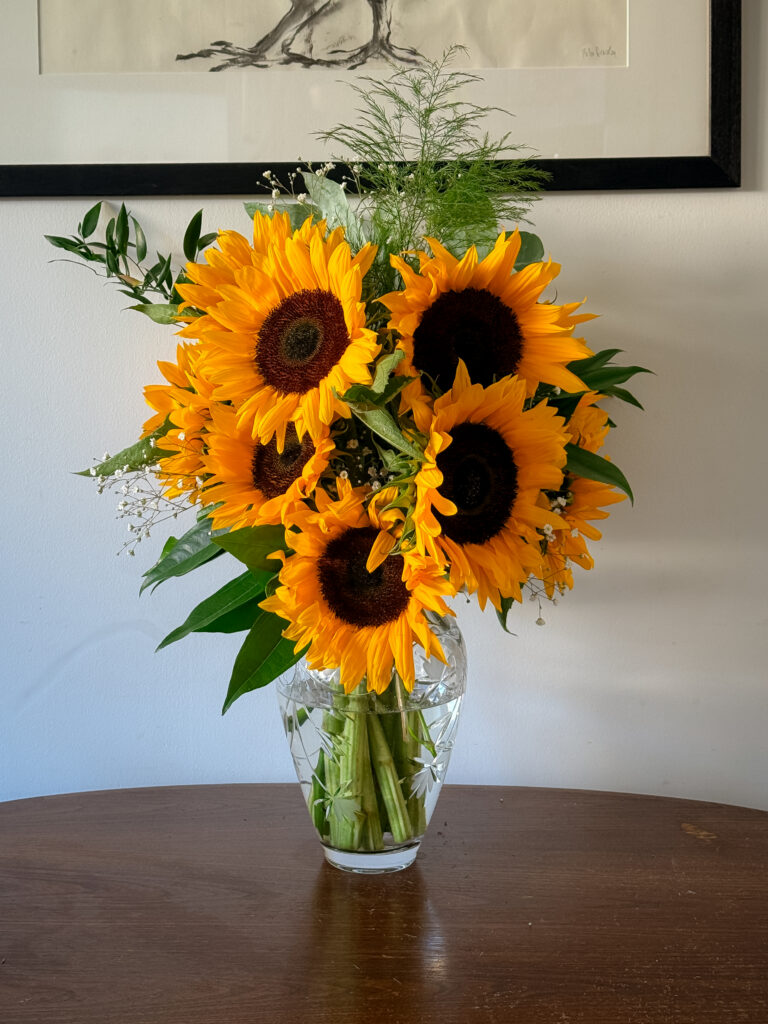
The quiet lesson underneath all of this is that flowers at home do not need to be an event. Once you have the basic floristry techniques, the everyday versions become almost effortless.
A cluster of bud vases with one or two stems each. Three stems of something structural in a bottle. A handful of whatever is flowering in the garden, conditioned properly and cut short into a jug. These take five minutes, they cost very little, and they change how a room feels in a way that no cushion ever has.
I went into that course to learn professional tricks, and I did. But the thing I actually came away with was a habit. There are flowers in my house every single week now, and most weeks they cost less than a takeaway coffee habit.
Flower Arranging FAQs
Three things do most of the work: strip all leaves below the waterline, cut stems at a 45 degree angle with sharp shears, and change the water completely every two days, recutting the stems each time. Keep arrangements away from heat, direct sun and ripening fruit. Do all of that and most flowers will comfortably last a week, often longer.
Yes, and most florists now prefer it. A loosely scrunched ball of chicken wire inside the vase, or a grid of waterproof tape across the opening, holds stems in place just as well. Both are reusable, and chicken wire in particular is better for heavy-headed flowers.
Waxflower, astrantia, gypsophila, alchemilla and dried grasses are all brilliant, affordable and long-lasting. Good filler adds air and texture between your bigger blooms, and it is often the difference between a bunch of flowers and an arrangement.
Carnations, tulips, stocks, alstroemeria and chrysanthemums all punch far above their price, especially arranged as a single variety in one colour. Massing one type of flower together is the most reliable way to make an inexpensive bunch look designed.
Fewer than you think. A medium vase works well with roughly five focal flowers, five to seven secondary stems, a few pieces of filler and a good base of greenery. Work in odd numbers and leave space for blooms to open. If it looks slightly sparse on day one, you have it right.
Before You Go
If this was useful, this is exactly the sort of thing I share in the Sunday Letter, my weekly email about making home feel good without spending a fortune. You can join below, and I will send you the next one this Sunday.
Leave a Reply
The Sunday Letter
Most Sundays, once the house has gone quiet and it's edging towards nine, a letter goes out. It's the one I'd write to a friend with good taste and not nearly enough time: one thing worth reading, one thing worth buying, and one thing to skip. No noise, no pressure to spend, just the considered version of what I've actually been using, loving, or quietly sending back.
If you like the sort of recommendation that still holds up six months later, leave your email below and I'll write to you on Sunday.