{This post contains affiliate links, see full disclosure here.}
Hello! I hope everyone had a great holiday weekend. Thank you for the kind words regarding my summer home tour last week. My summer arrangement in the olive bucket was a big hit, so I thought I'd share with you more details on how I put it together and give you the tricks I recently learned on how to put together a hand bouquet.

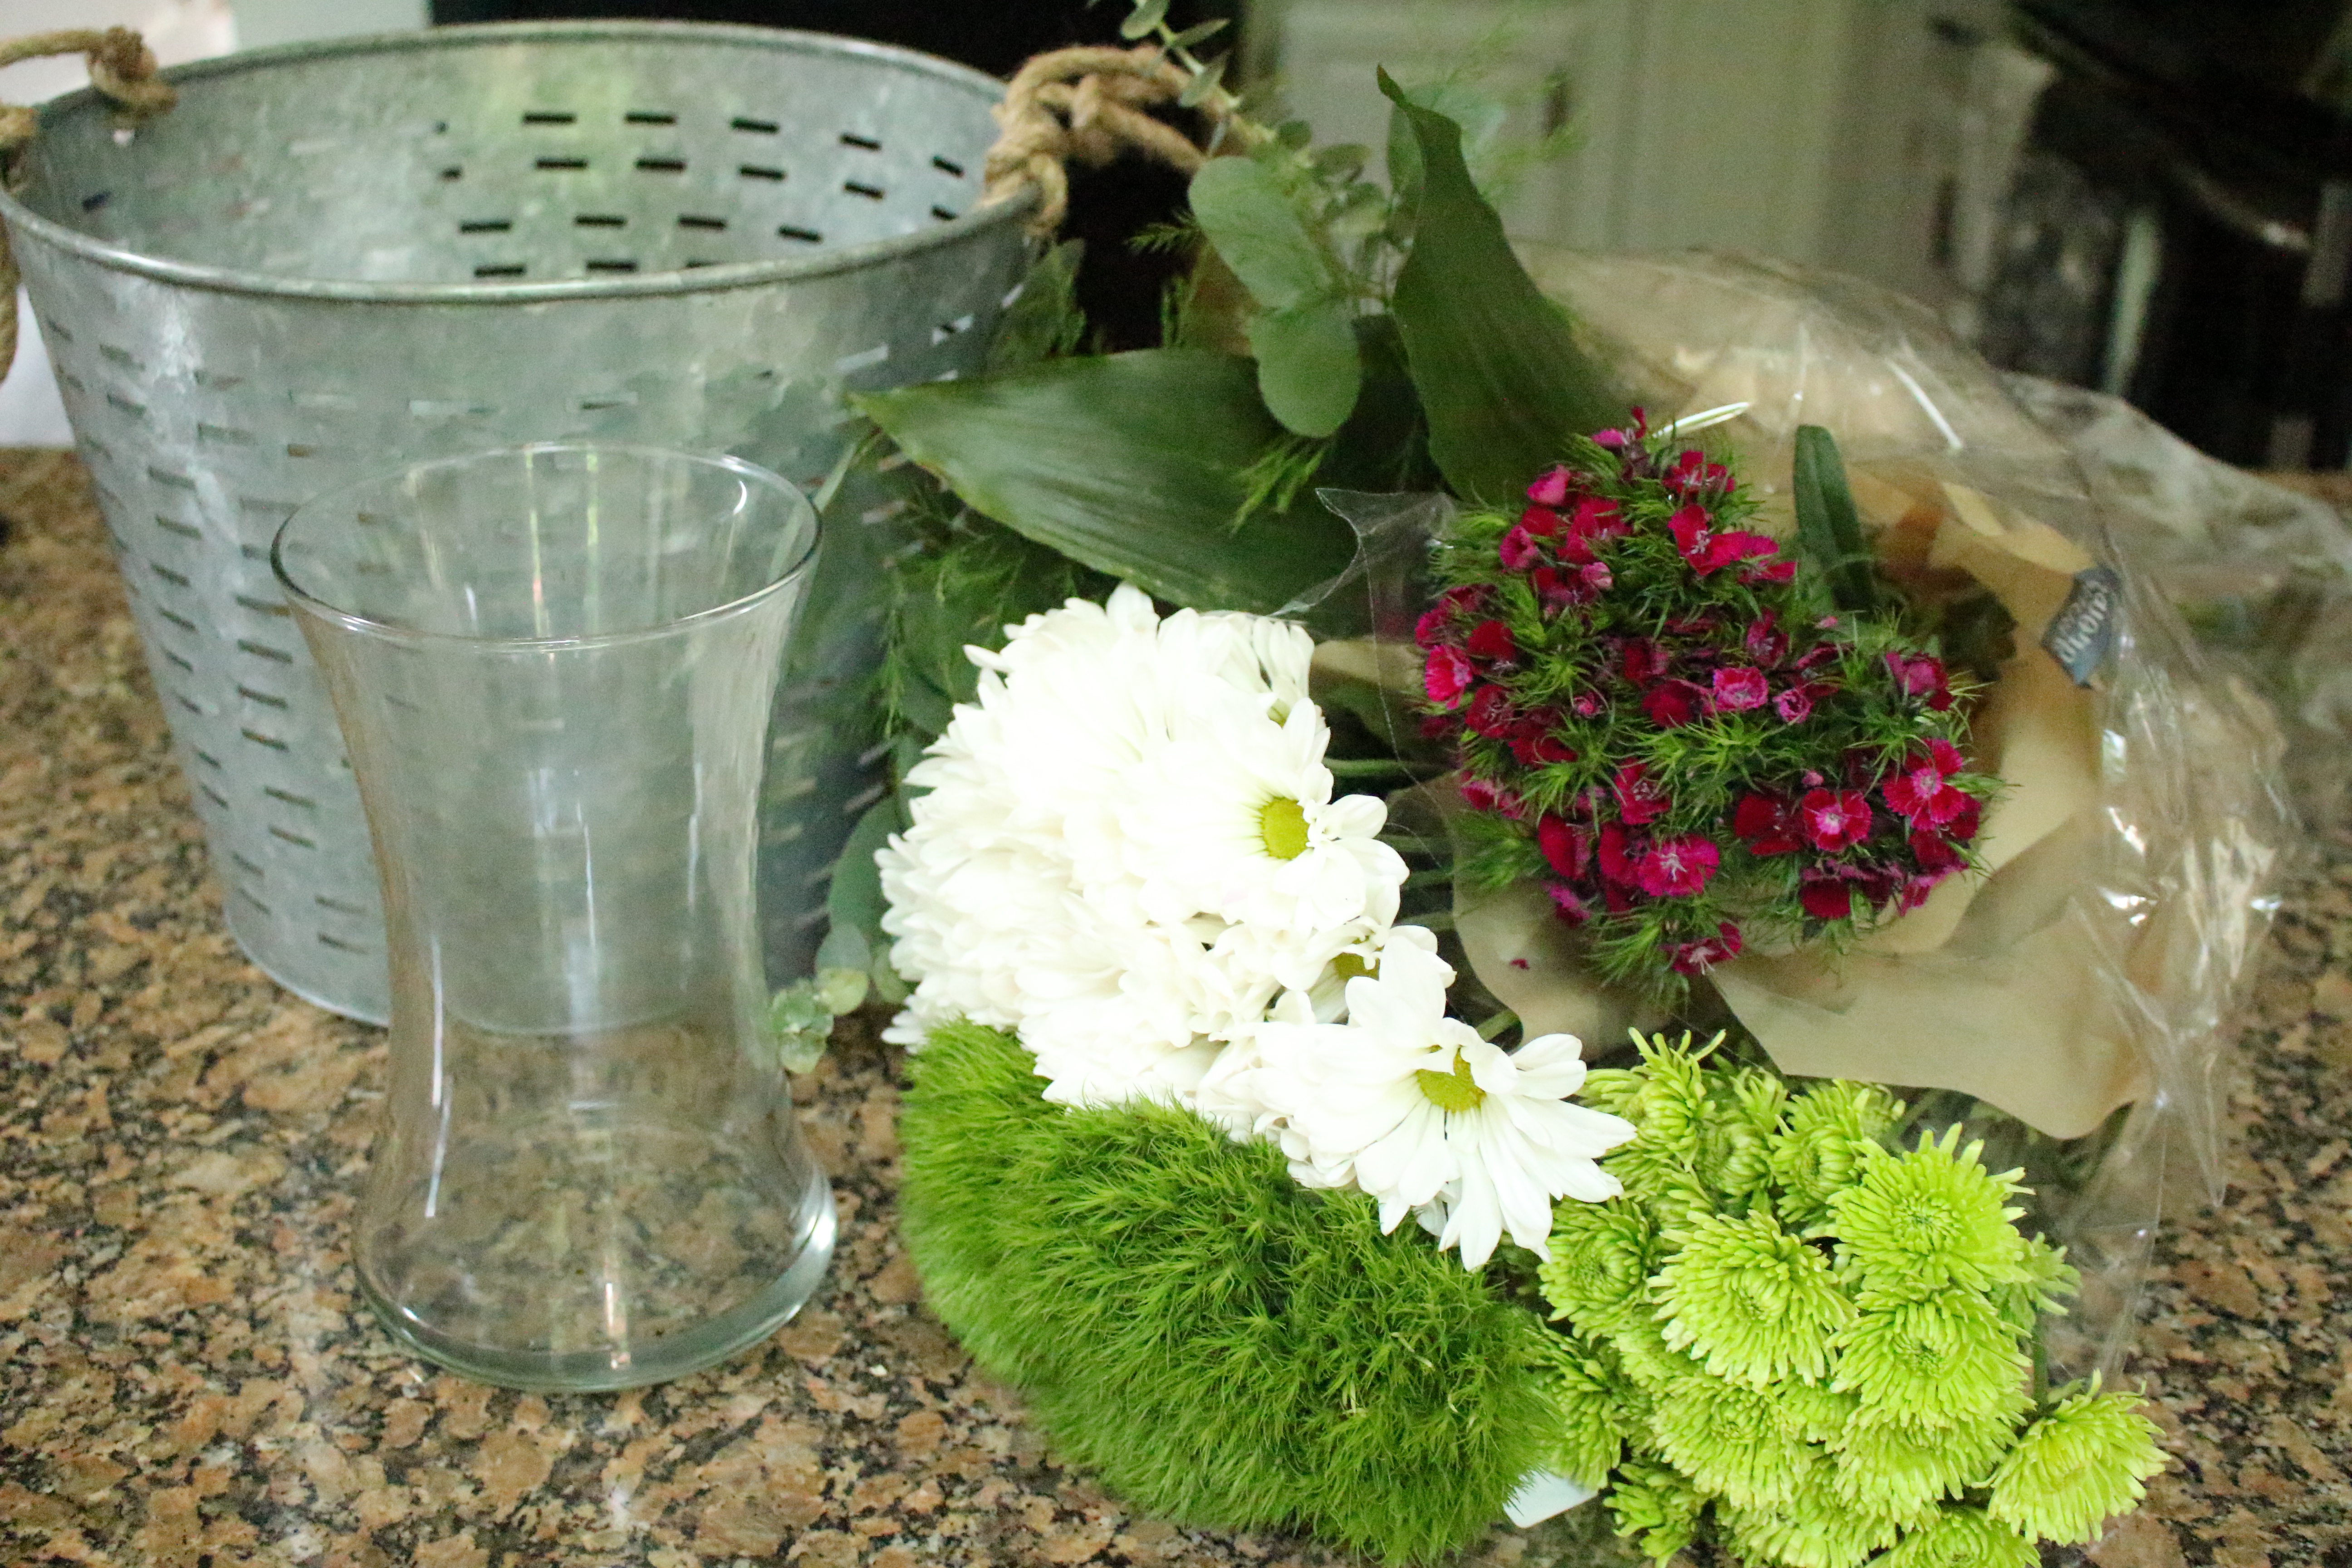
The flowers I used were grocery store mix and match bouquets. I wanted to keep the color scheme to green and white, with a pop of color. I always buy a package of just lemon leaves and spray which are inexpensive, but also great filler flowers.
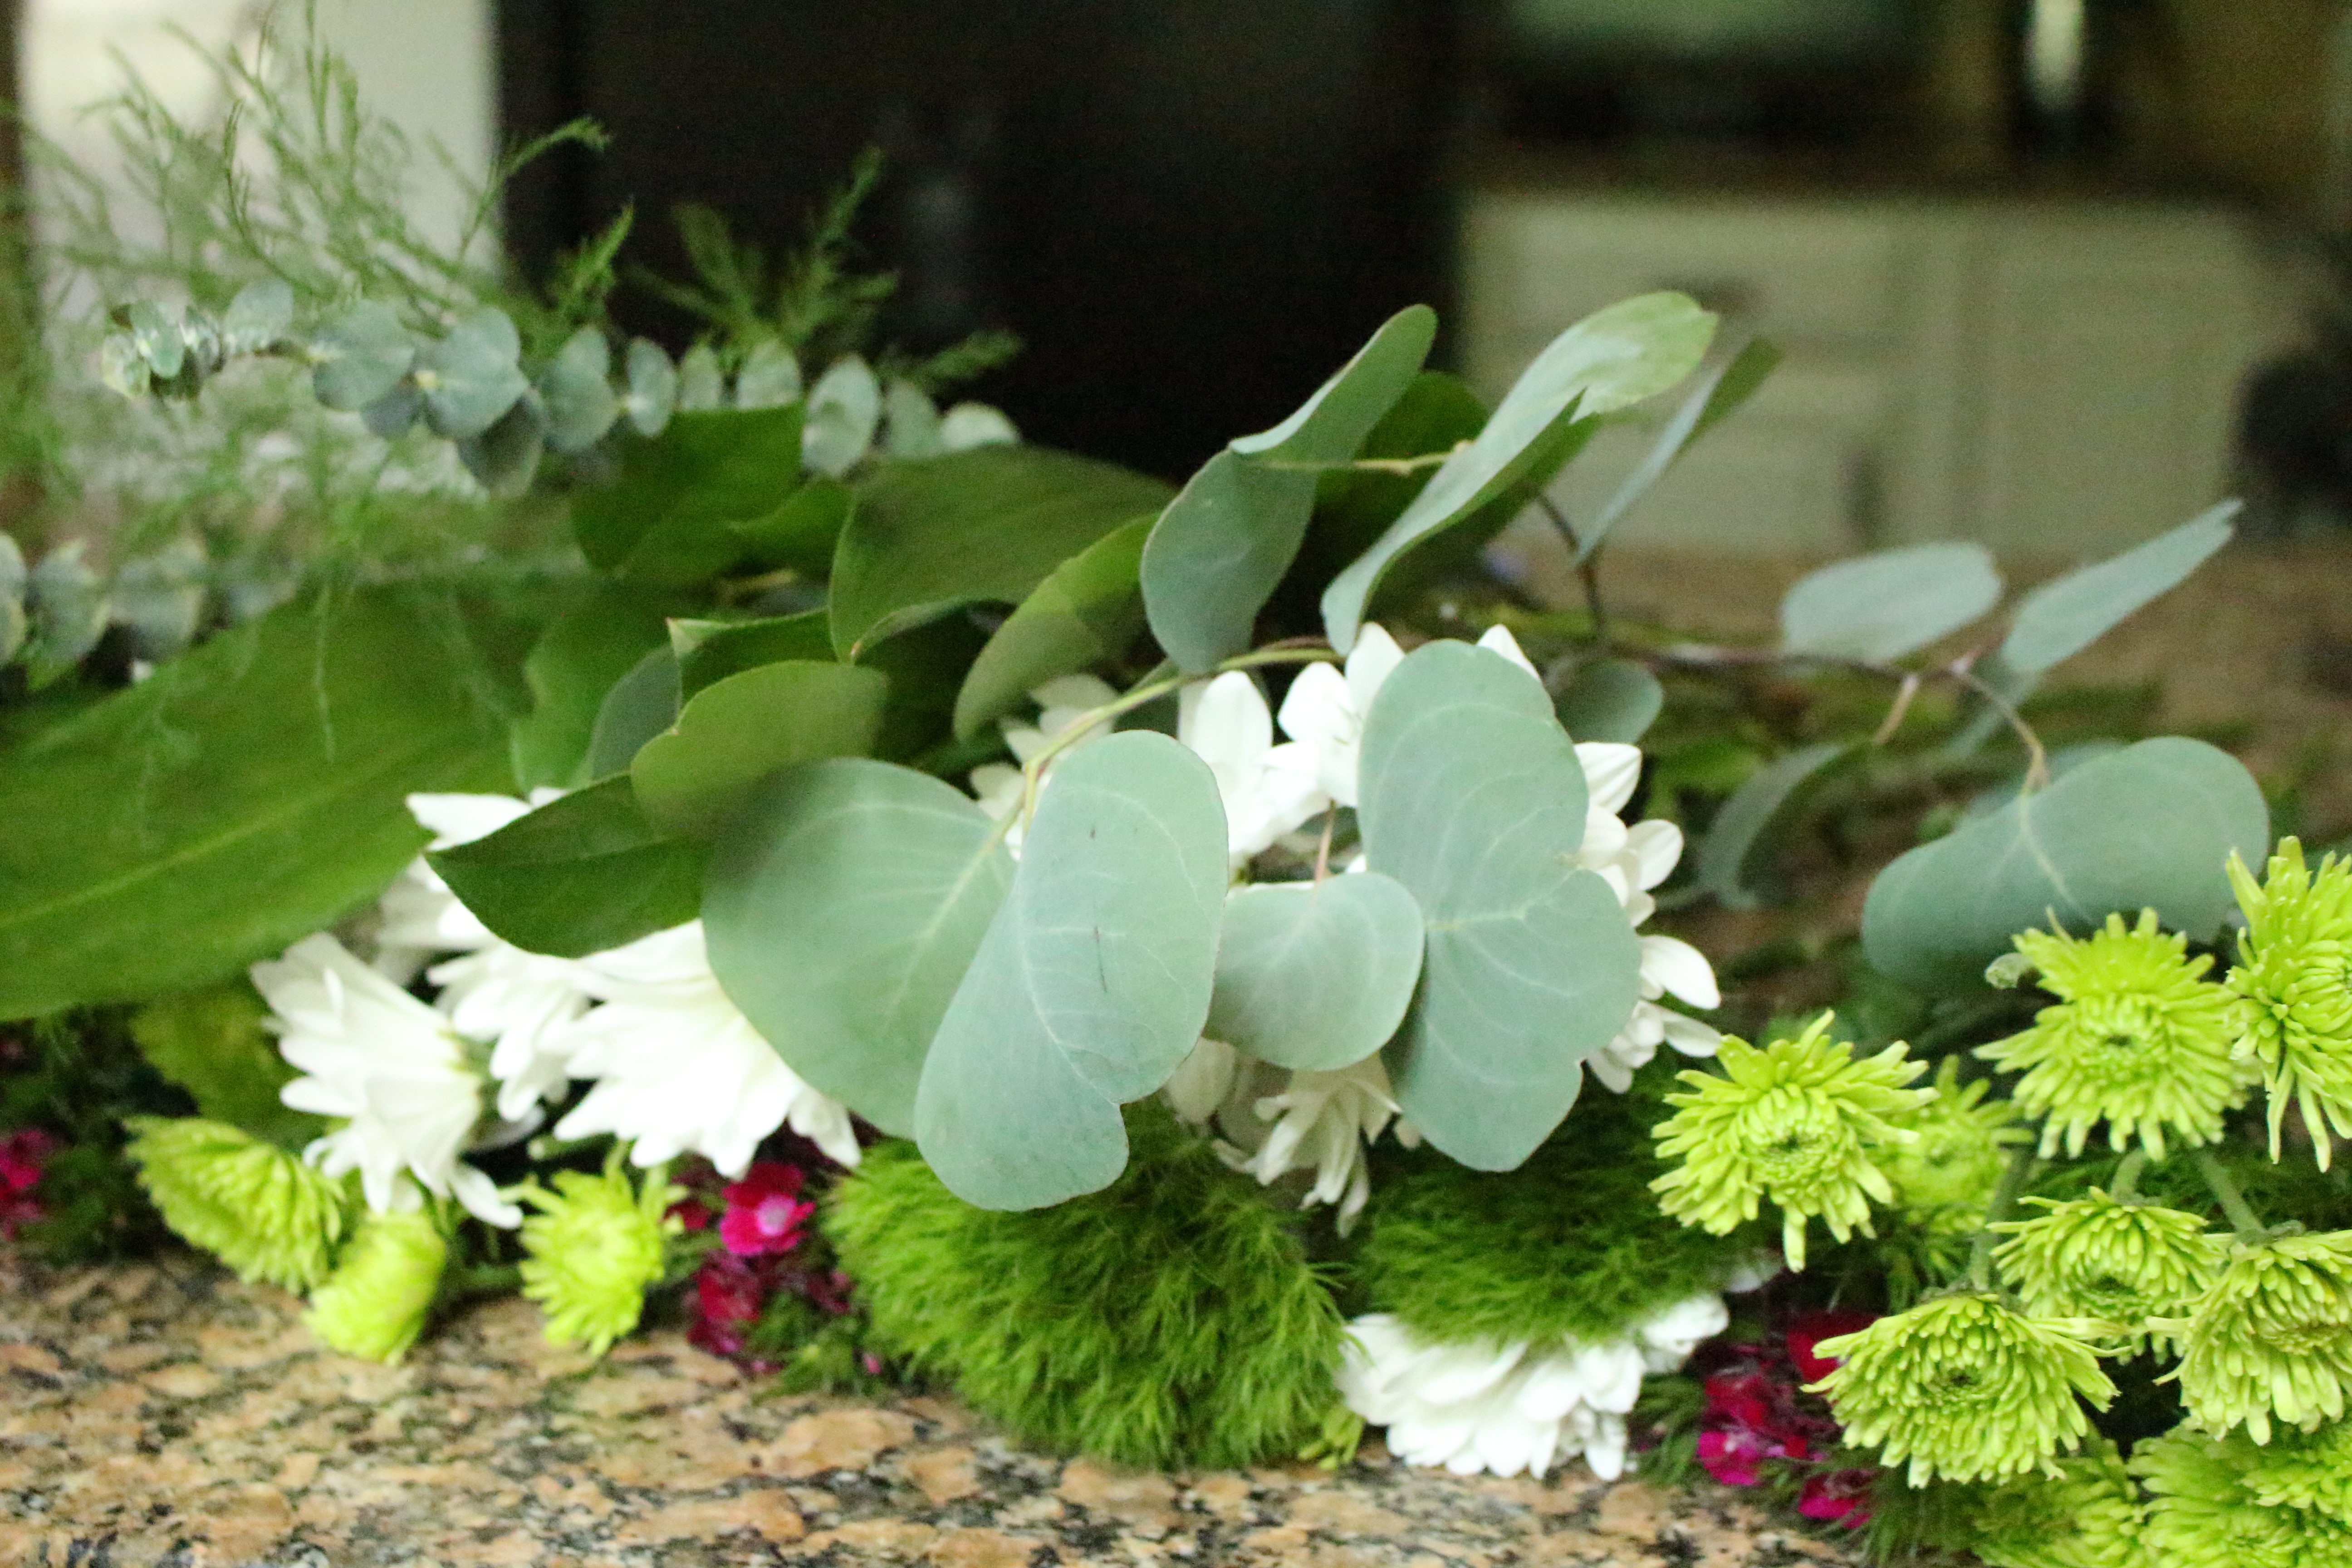
I love the varying shades of green. So pretty against the white daisies.
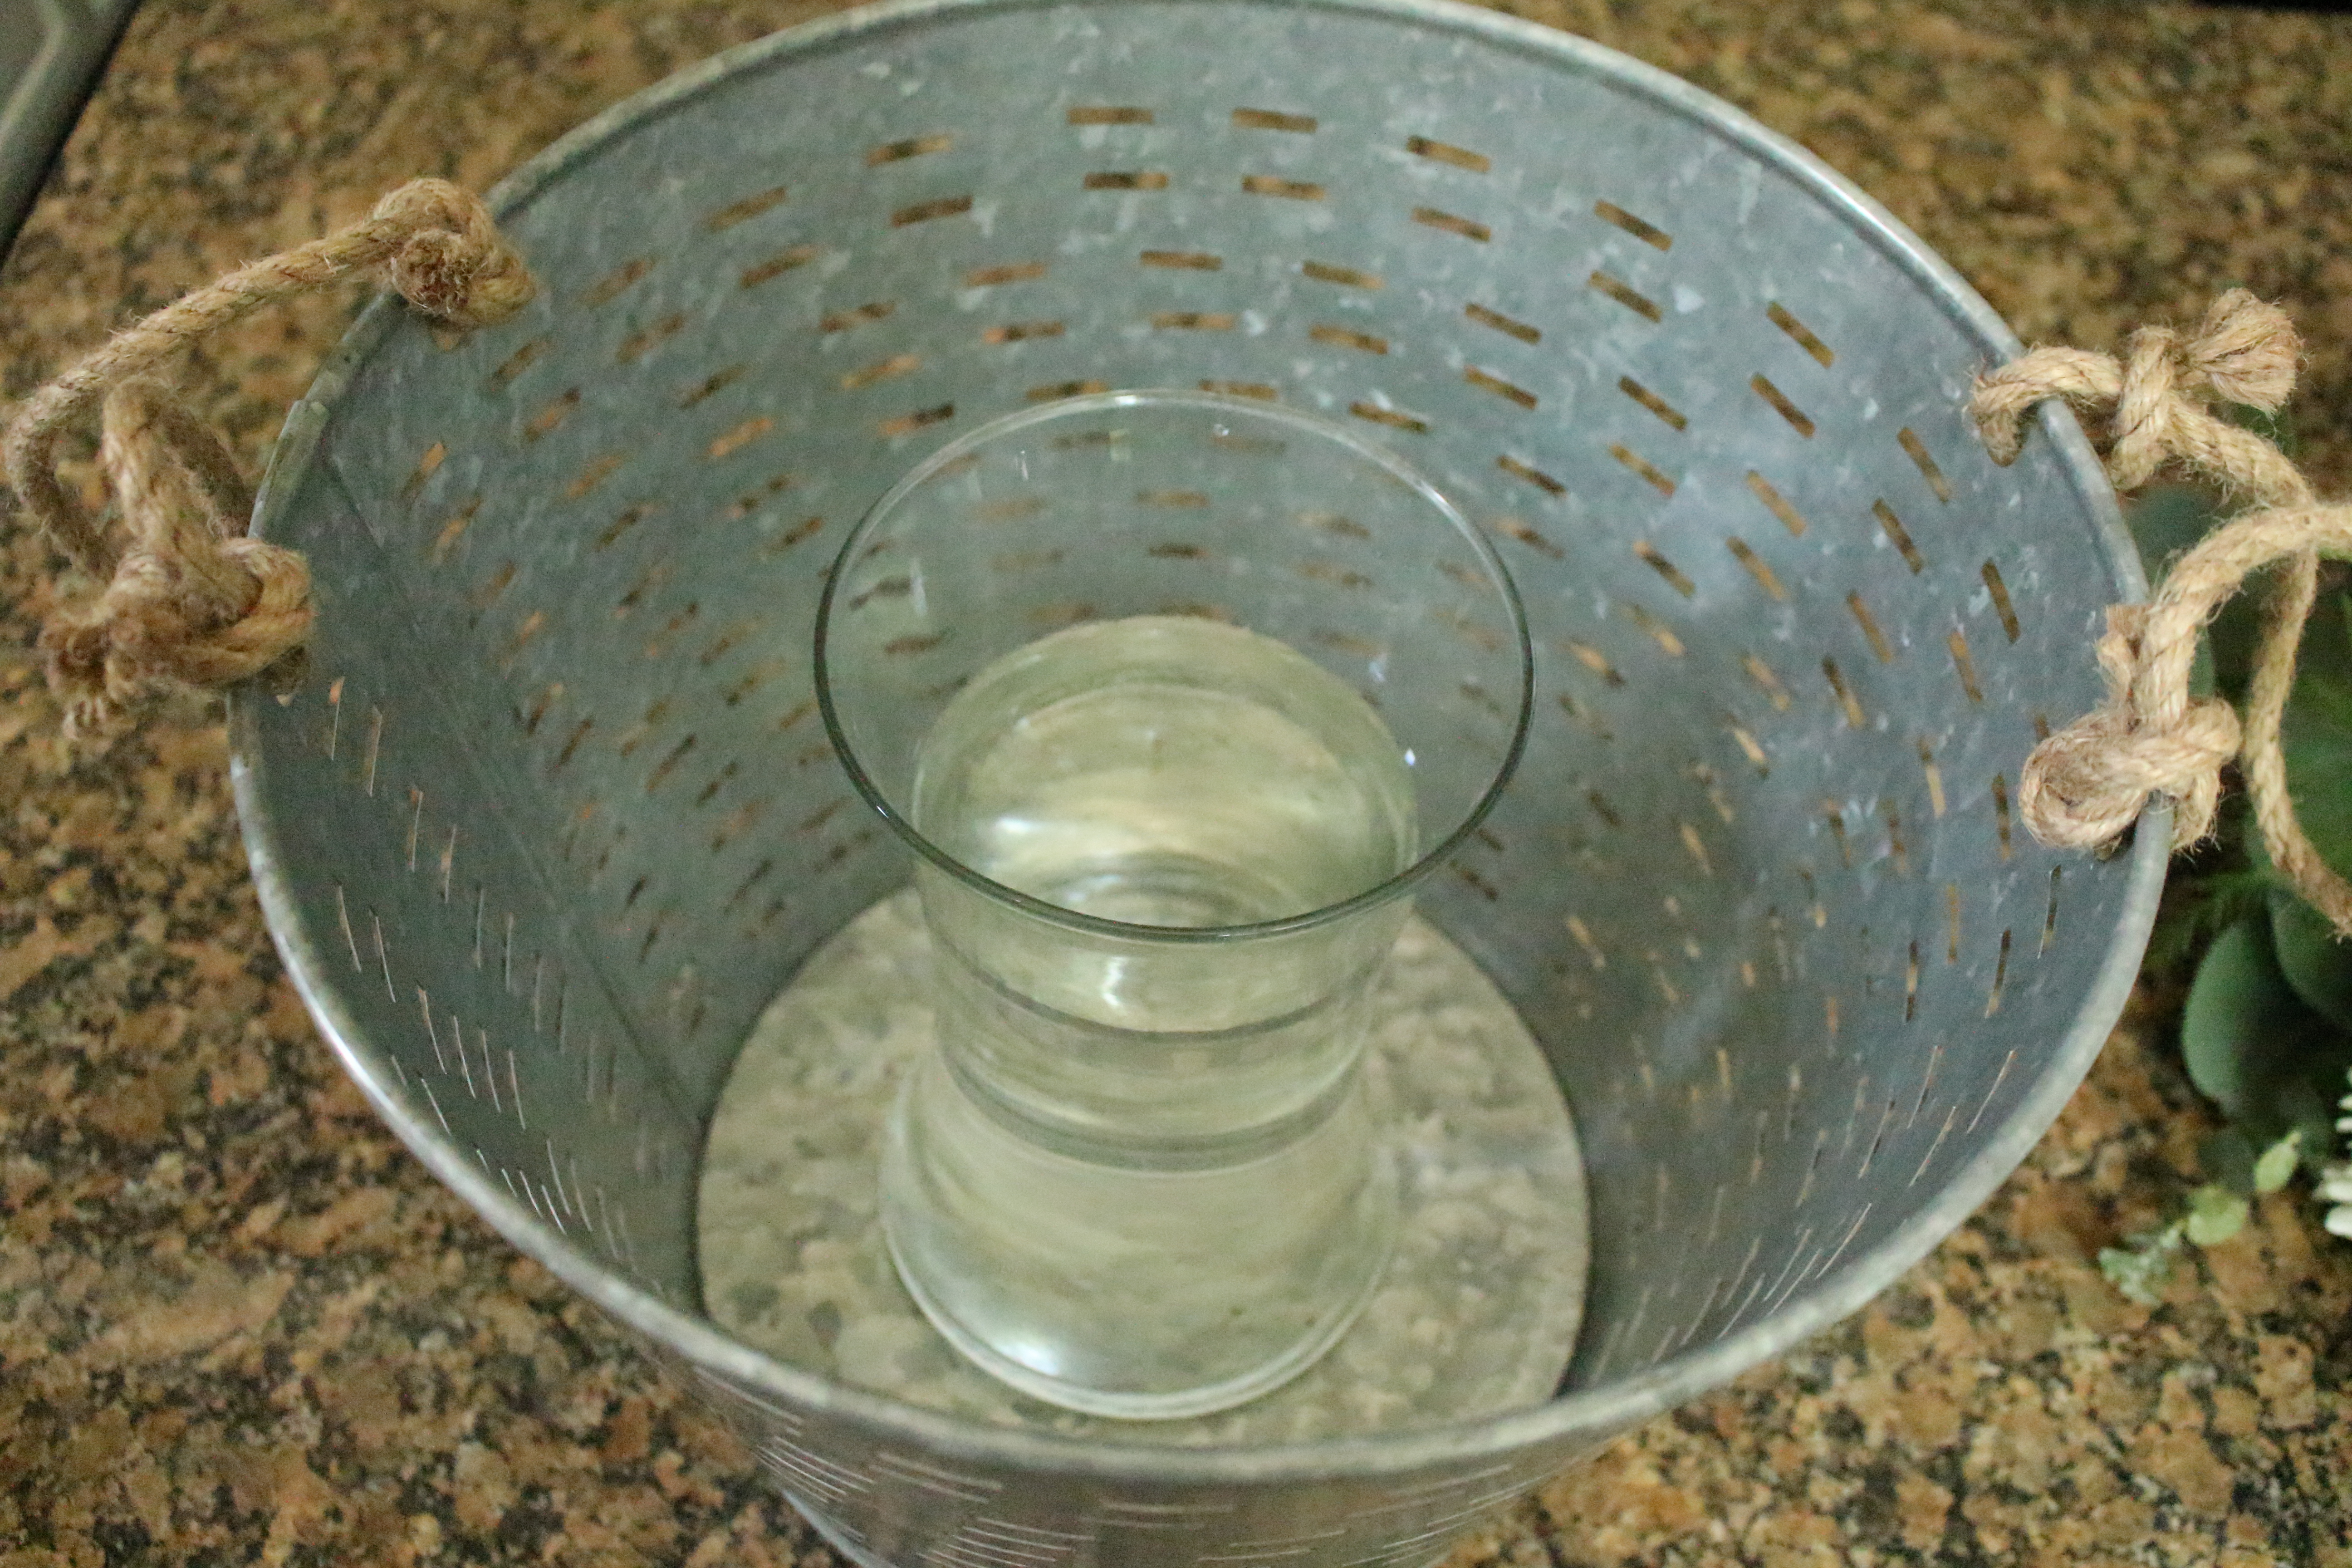
Since the olive bucket has holes, you need to find a vase to put the flowers in. I wanted it to be shorter than the rim of the bucket and large enough for a big bouquet. This was one I had in my stash of vases.
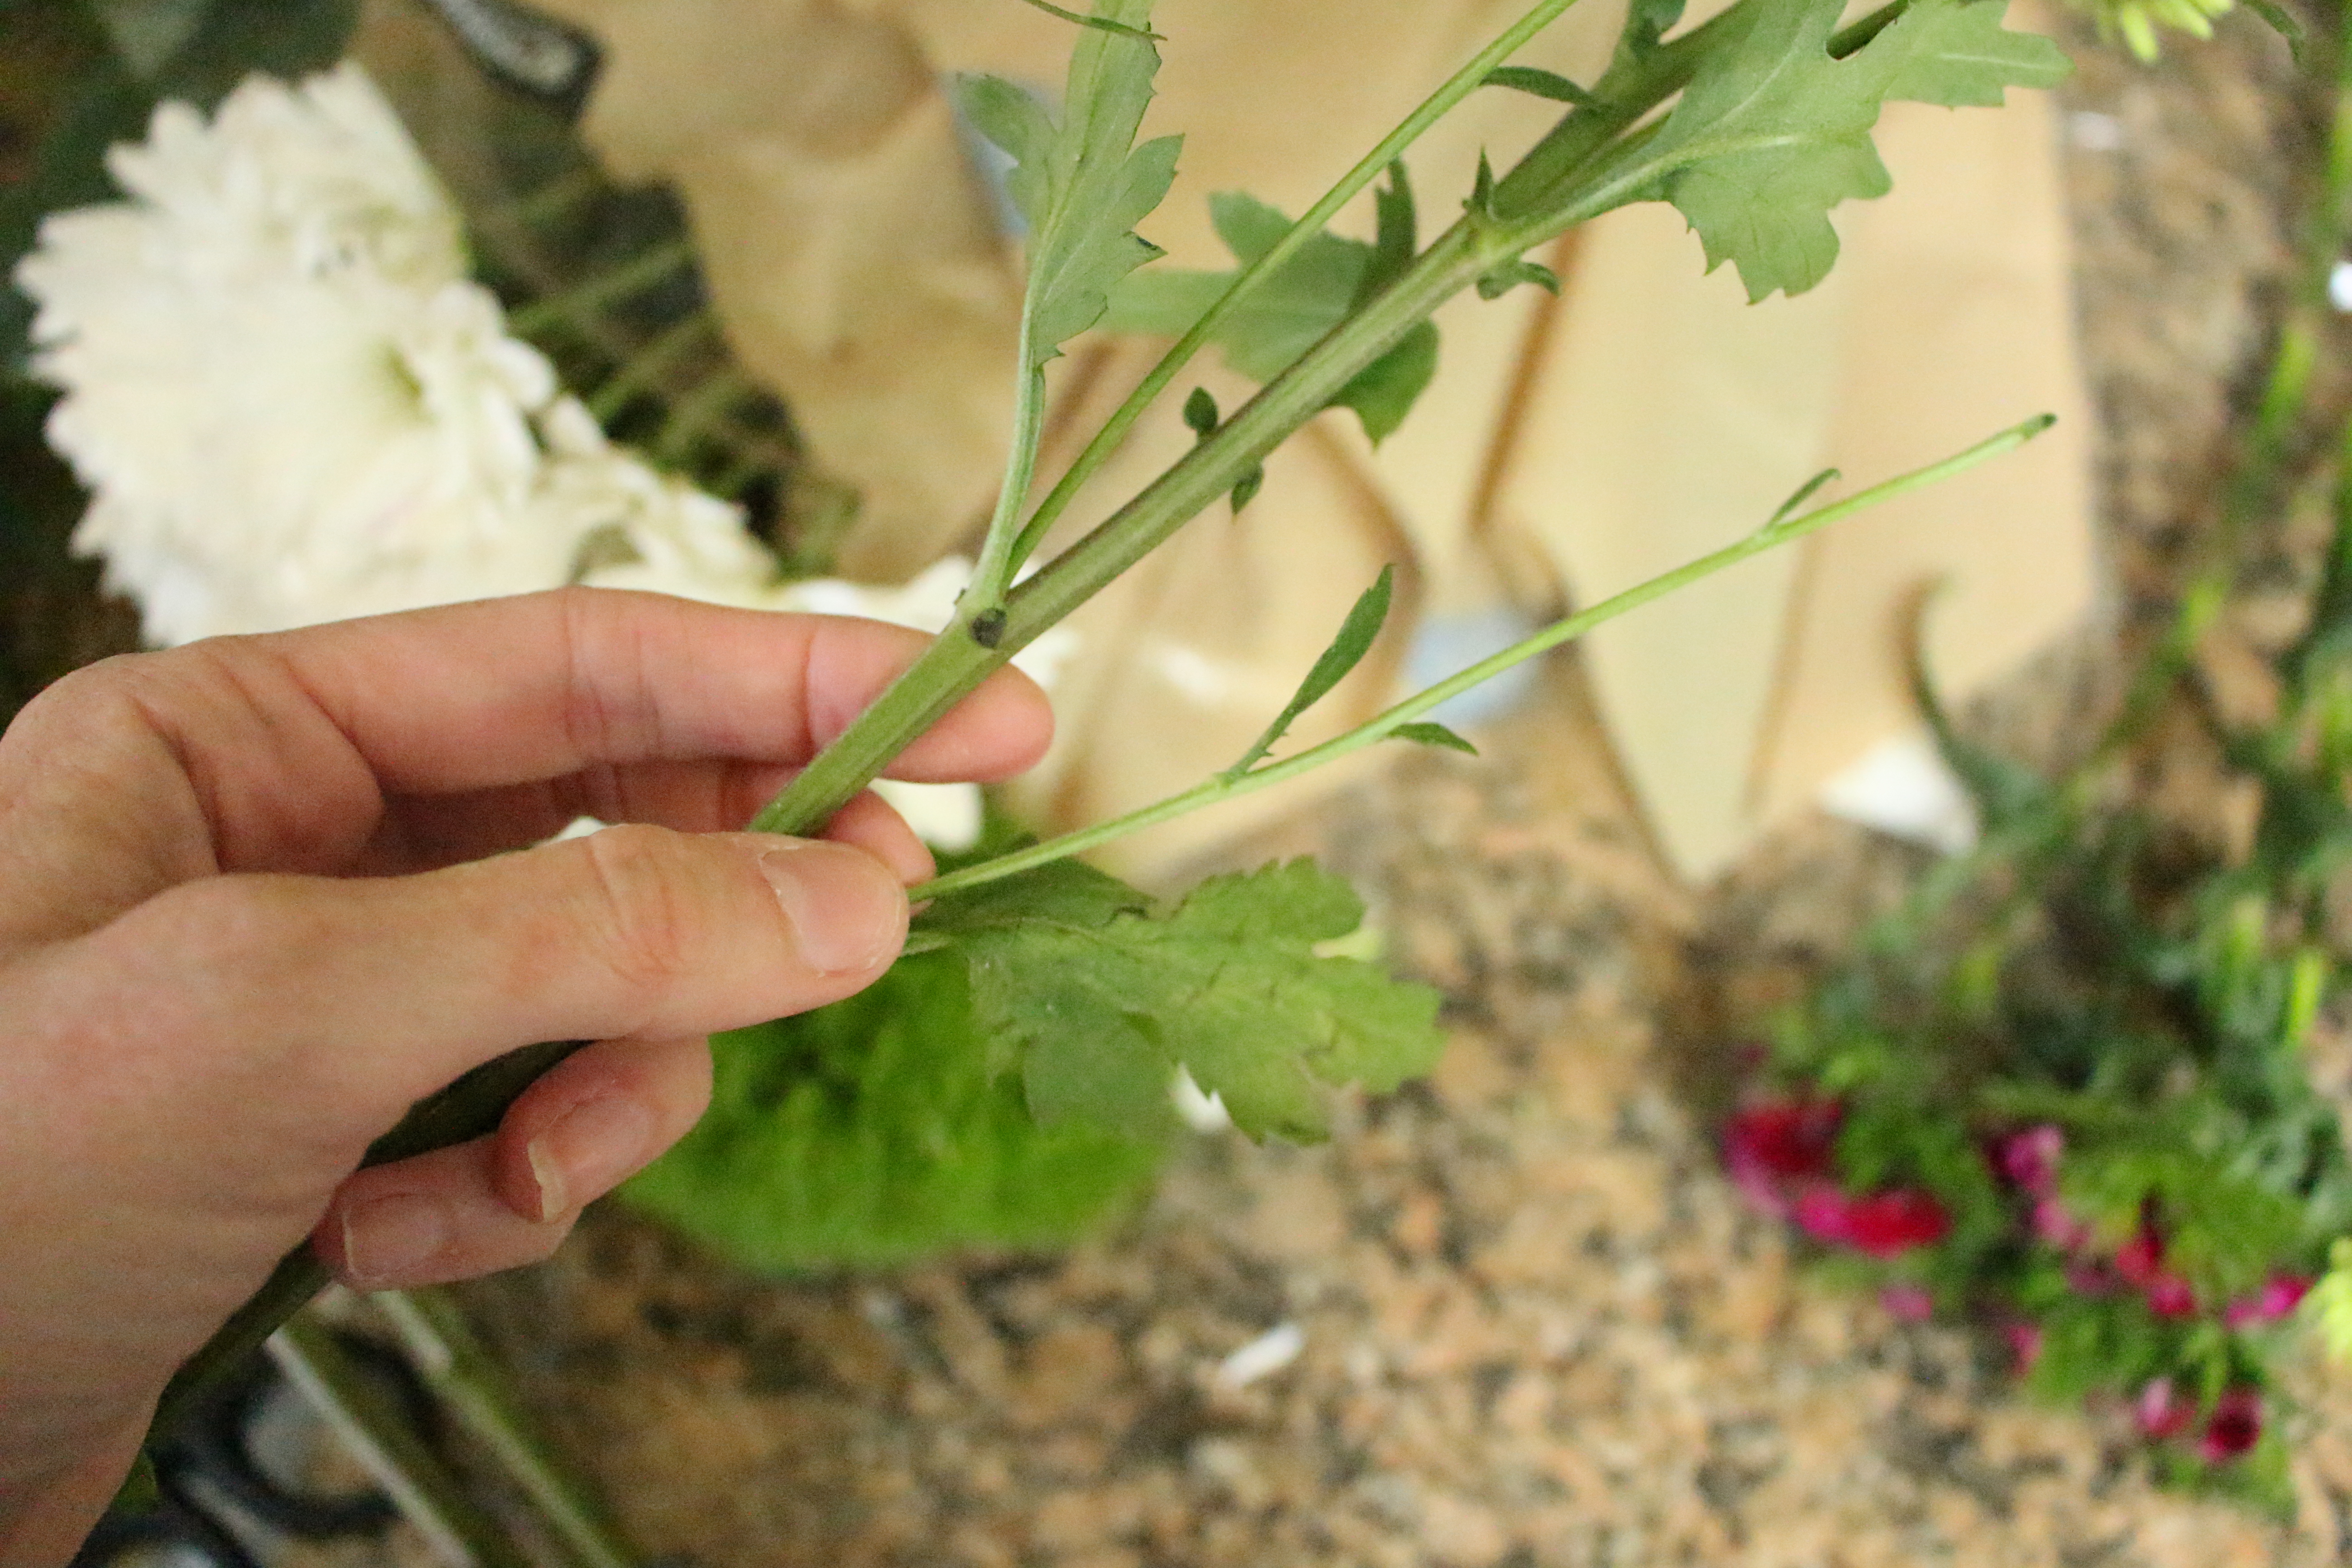
I begin by laying out all the flowers I have and stripping off the leaves that would be below the water line.
To begin a hand bouquet you begin with the flower you want to be in the center. Holding that flower, you work your way around, turning the flowers and adding stems one by one. Do not let go of the bouquet. Instead as your holding it continue adding and turning.
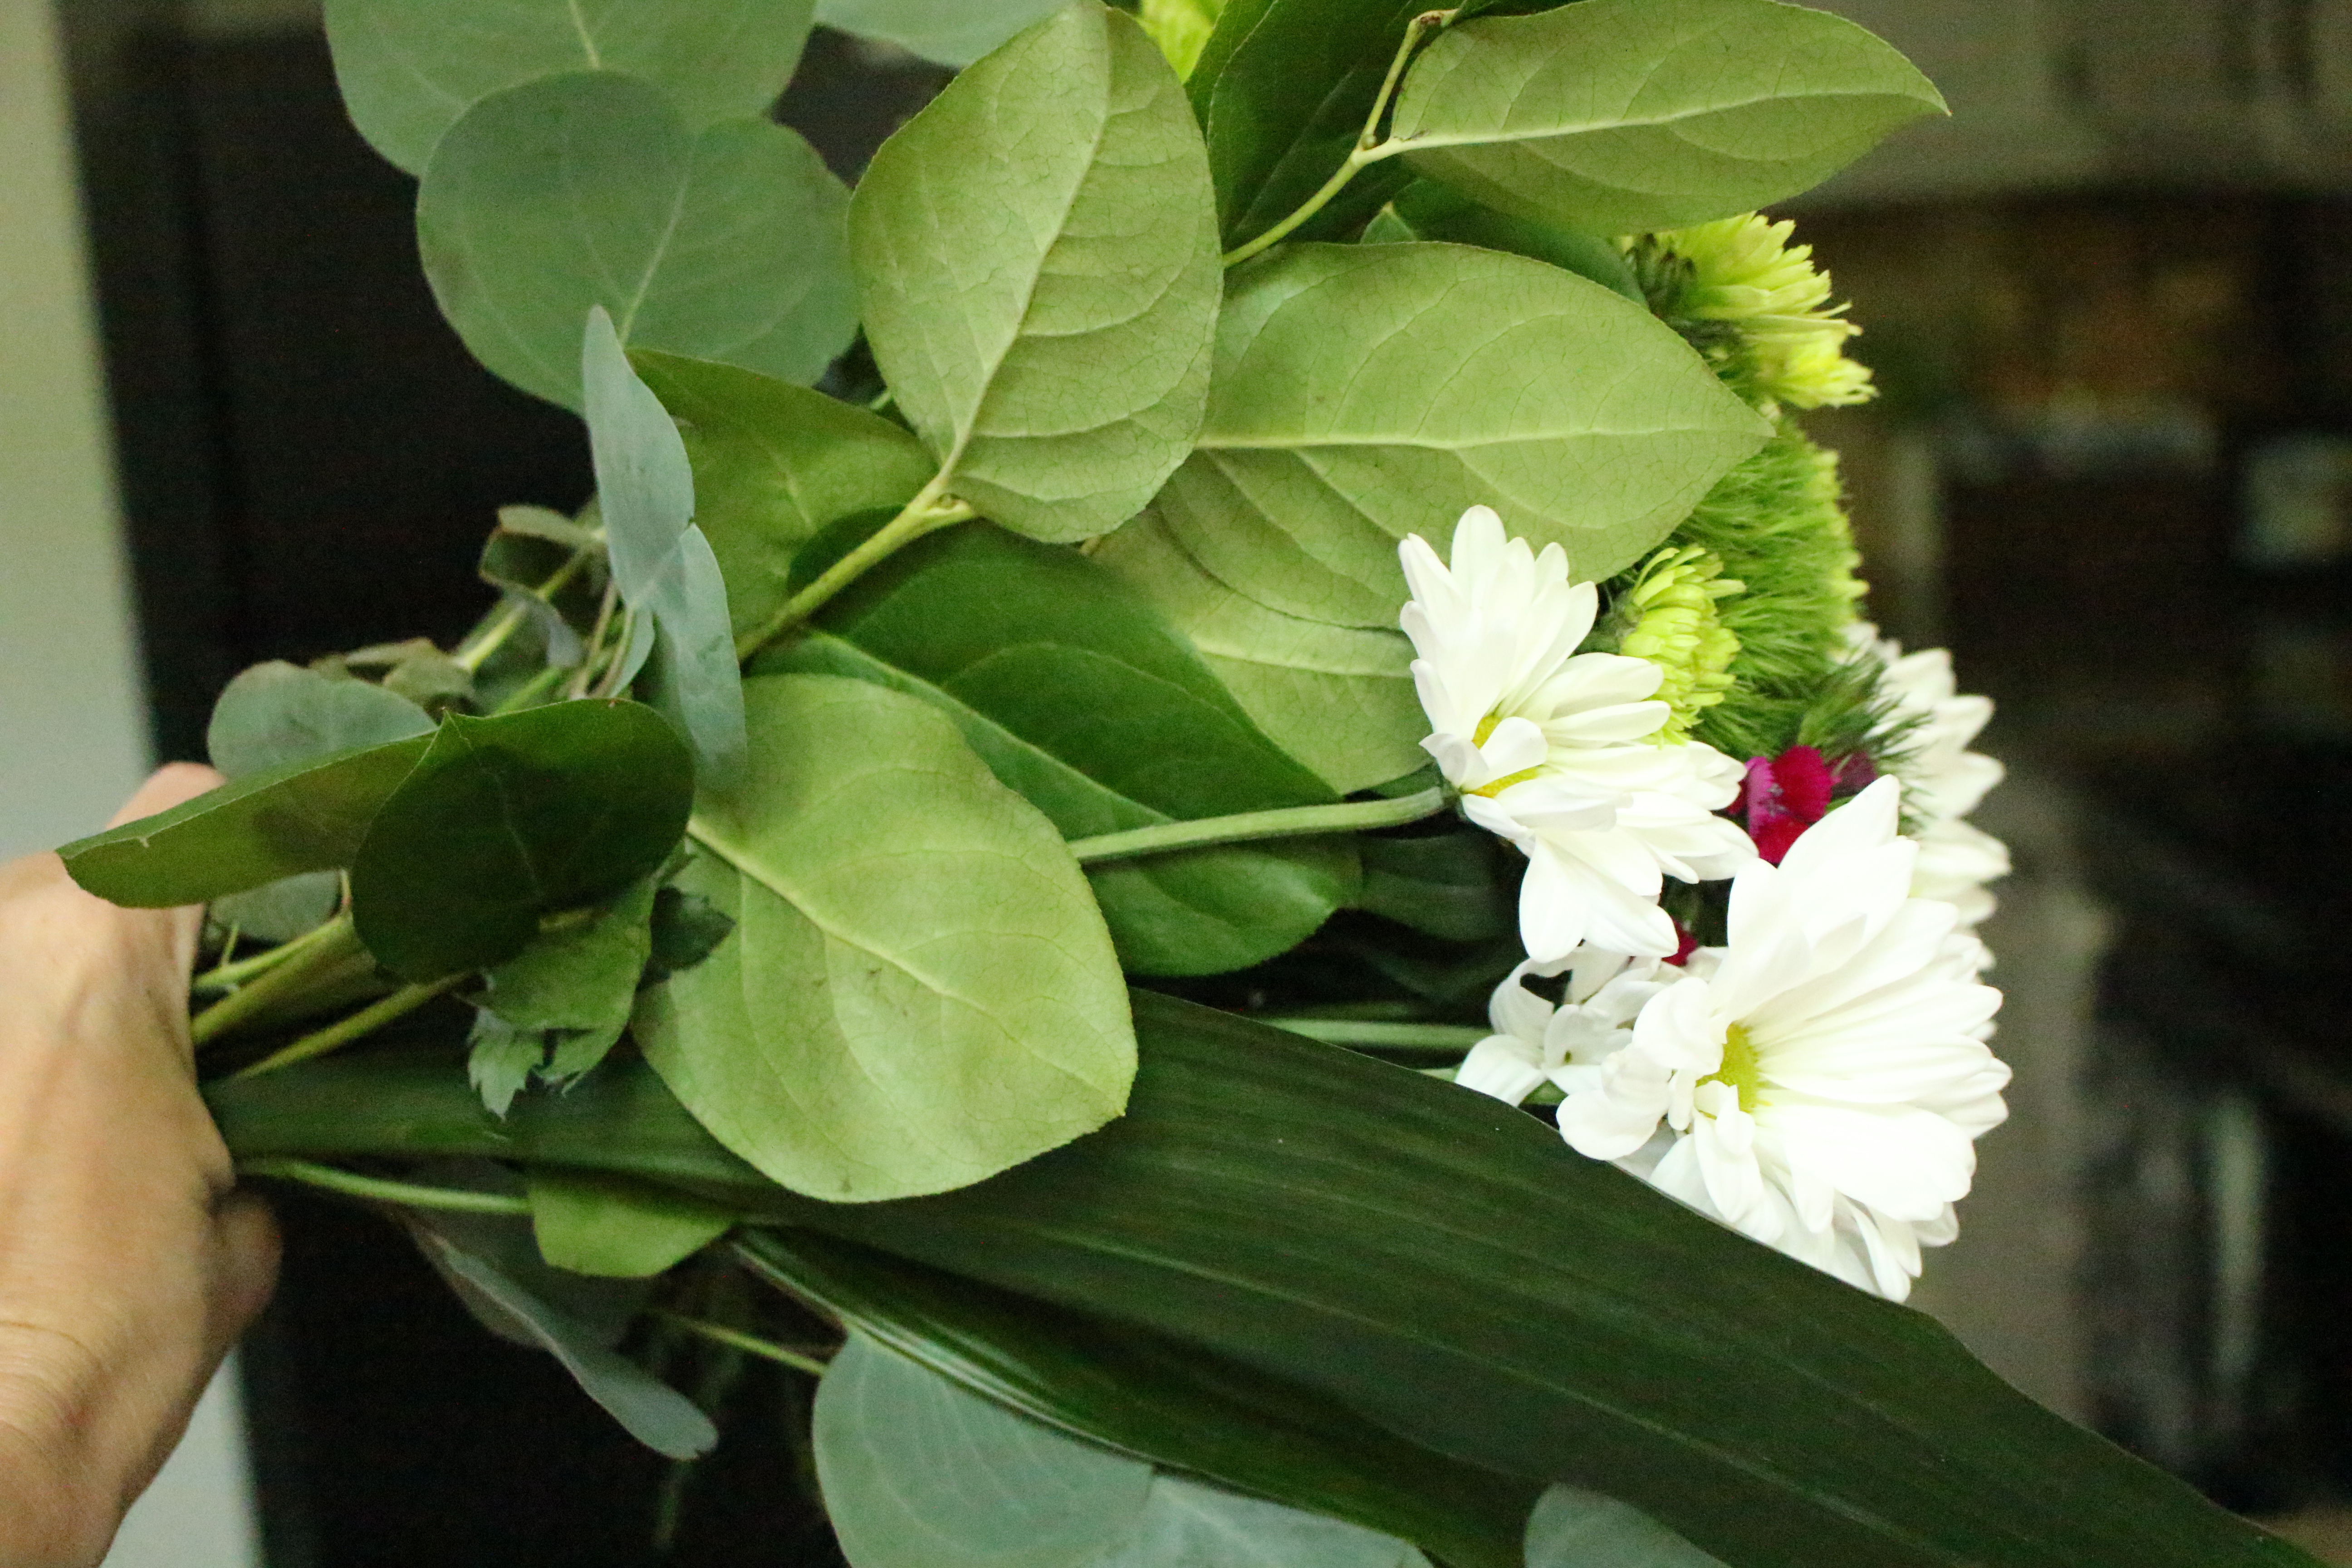
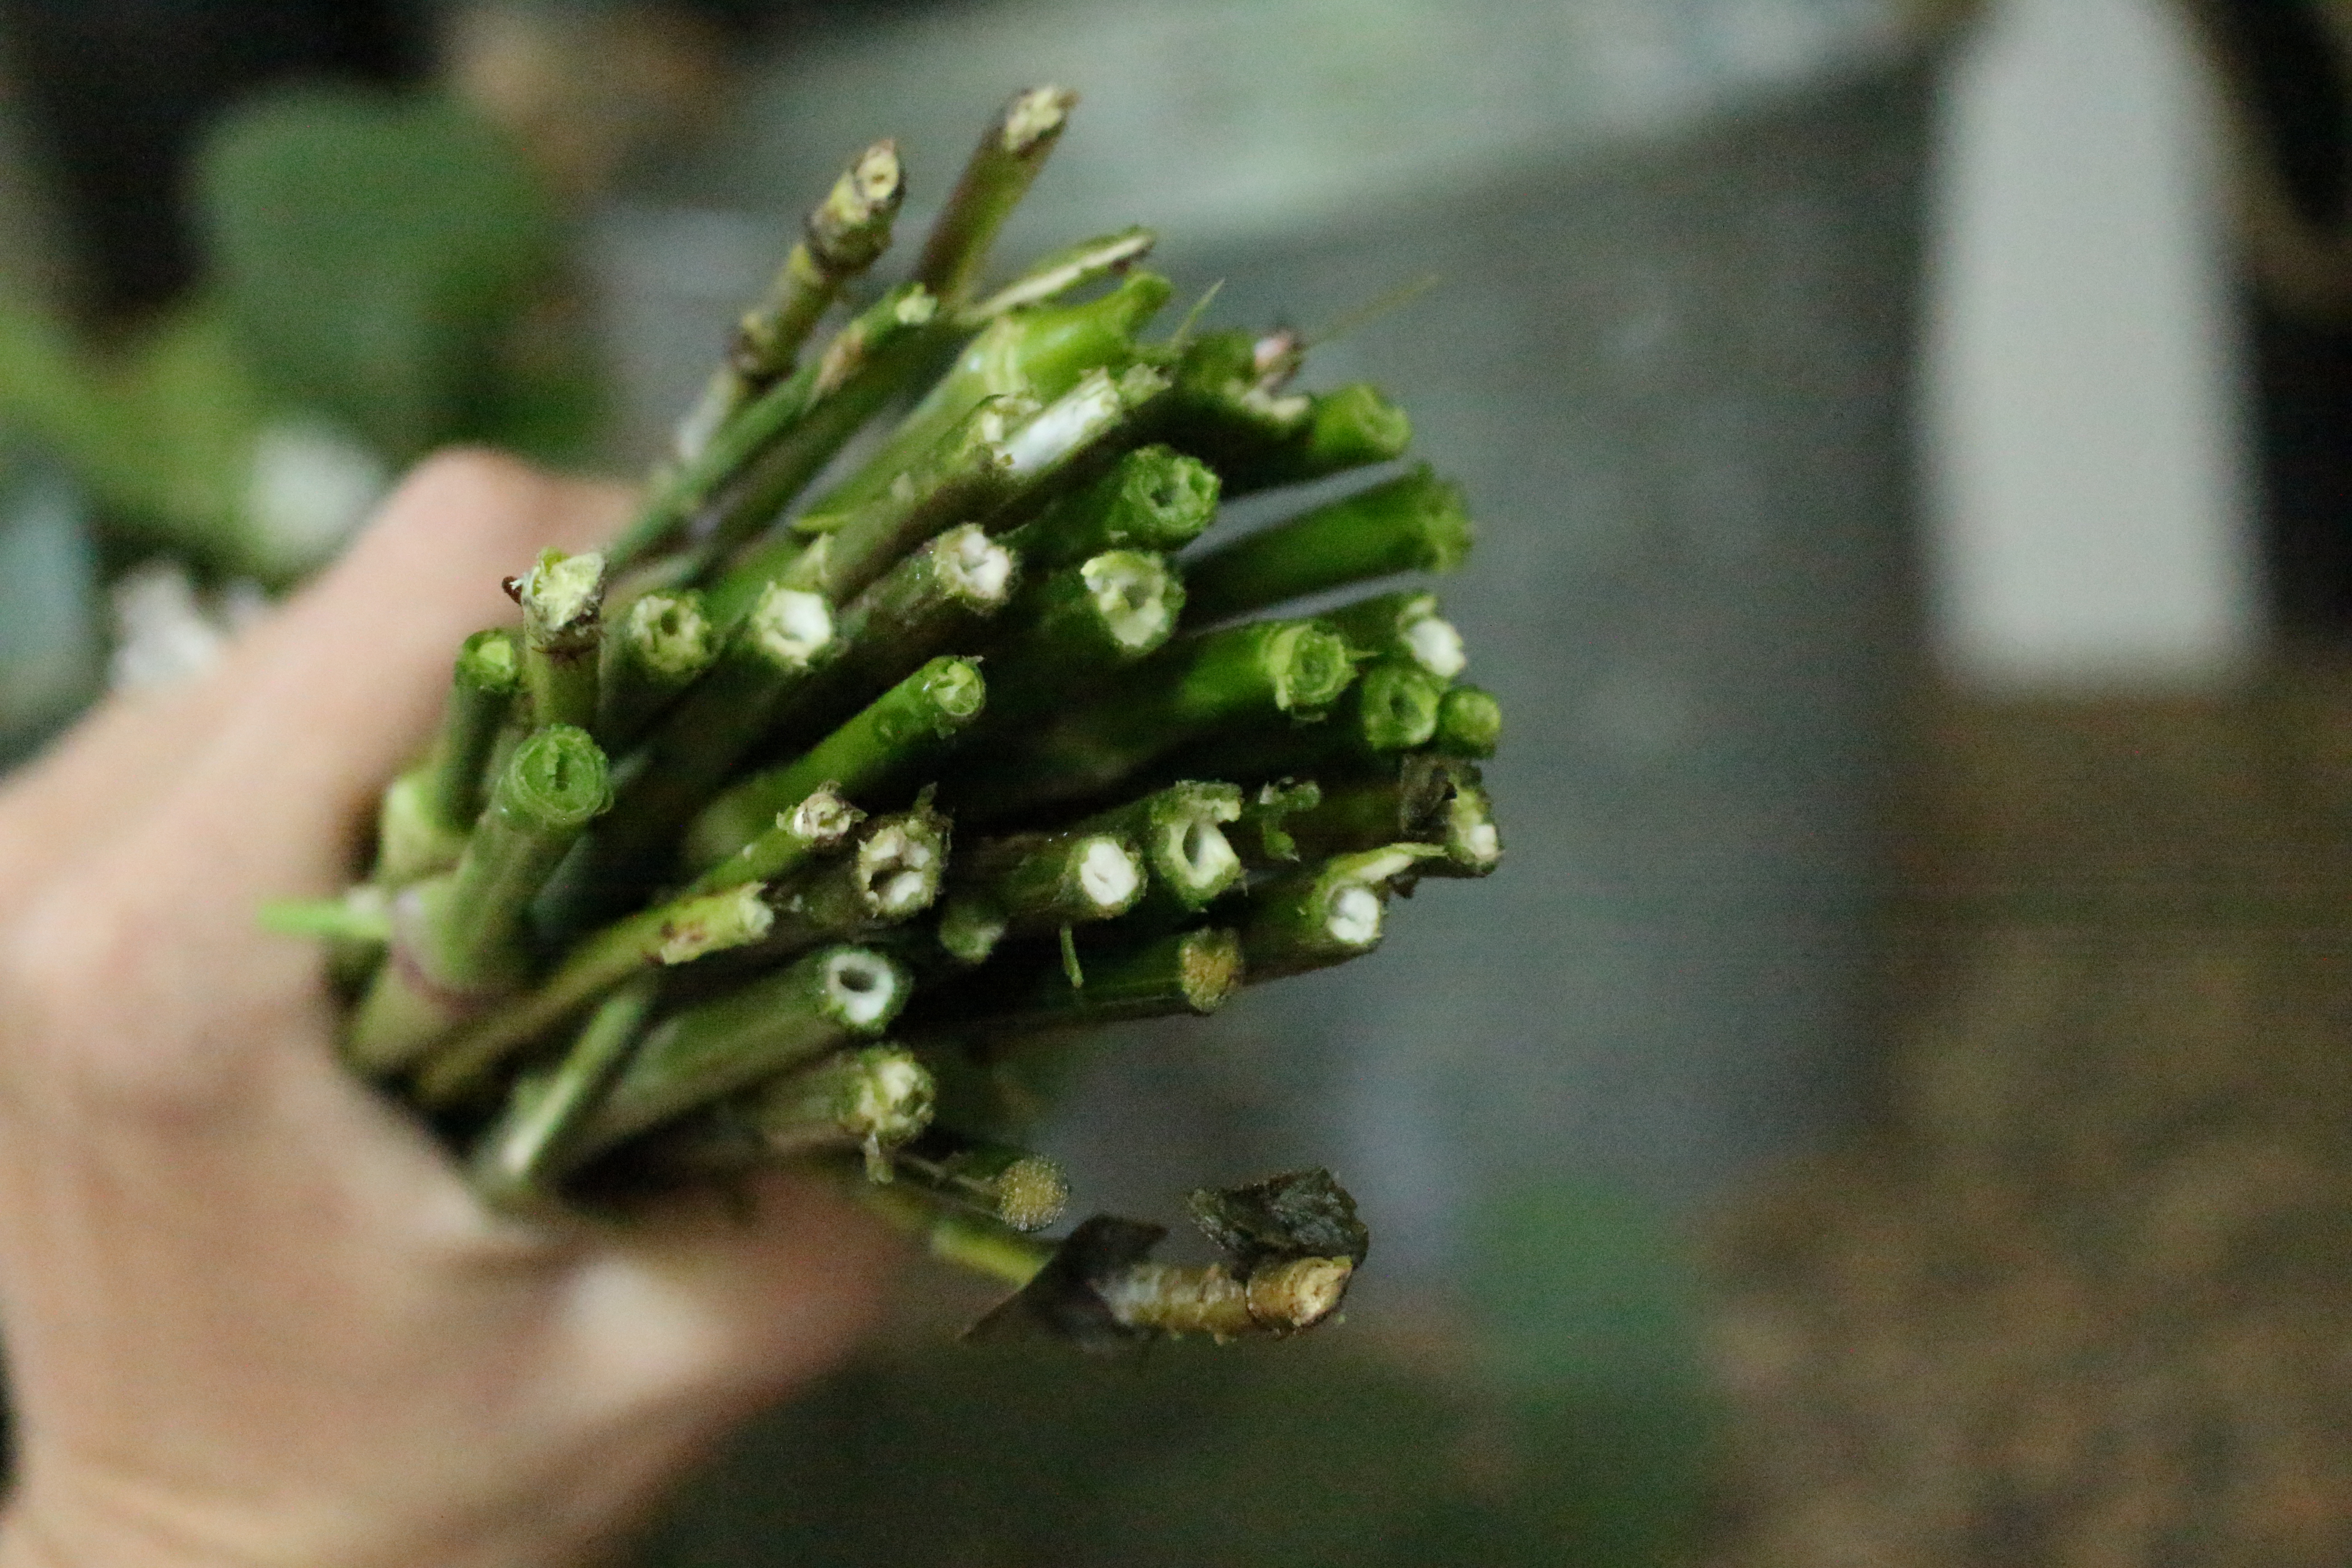
When finished adding, your stems will be uneven at the bottom of the bouquet. Cut the stems evenly and then insert the whole bouquet into the vase.
Take some time to “fluff up” your bouquet on all sides.
You now have the perfect arrangement!

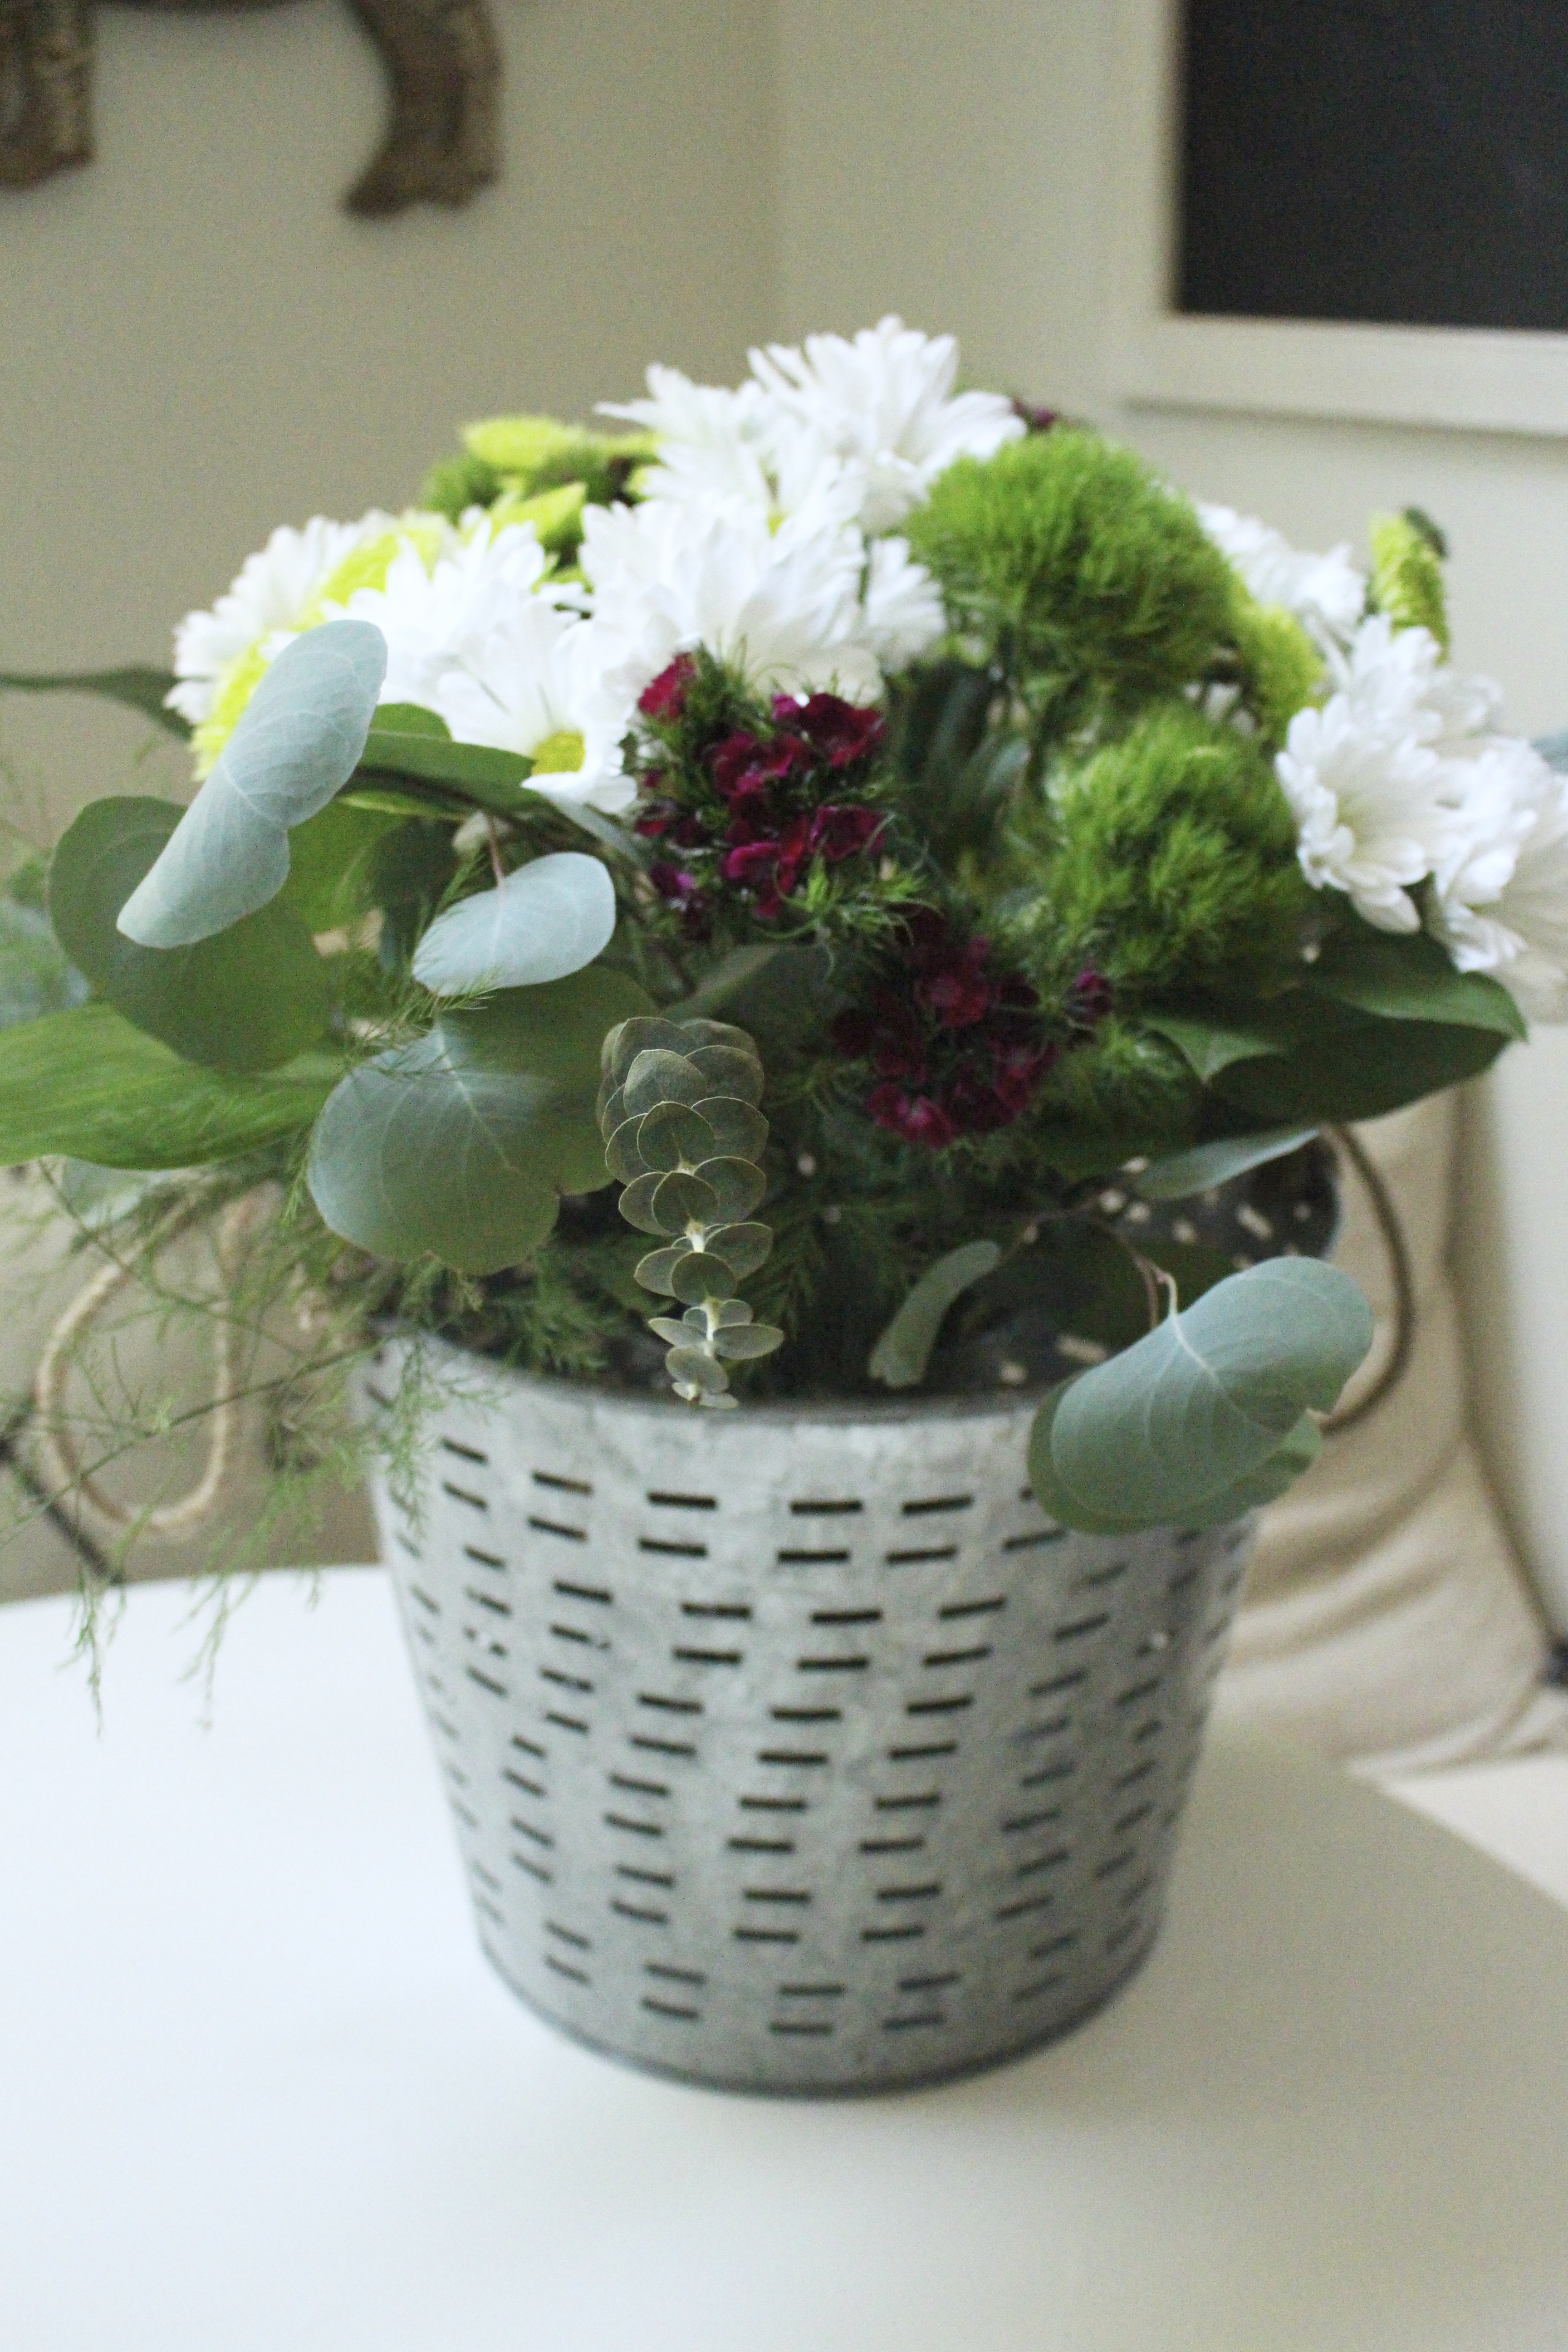
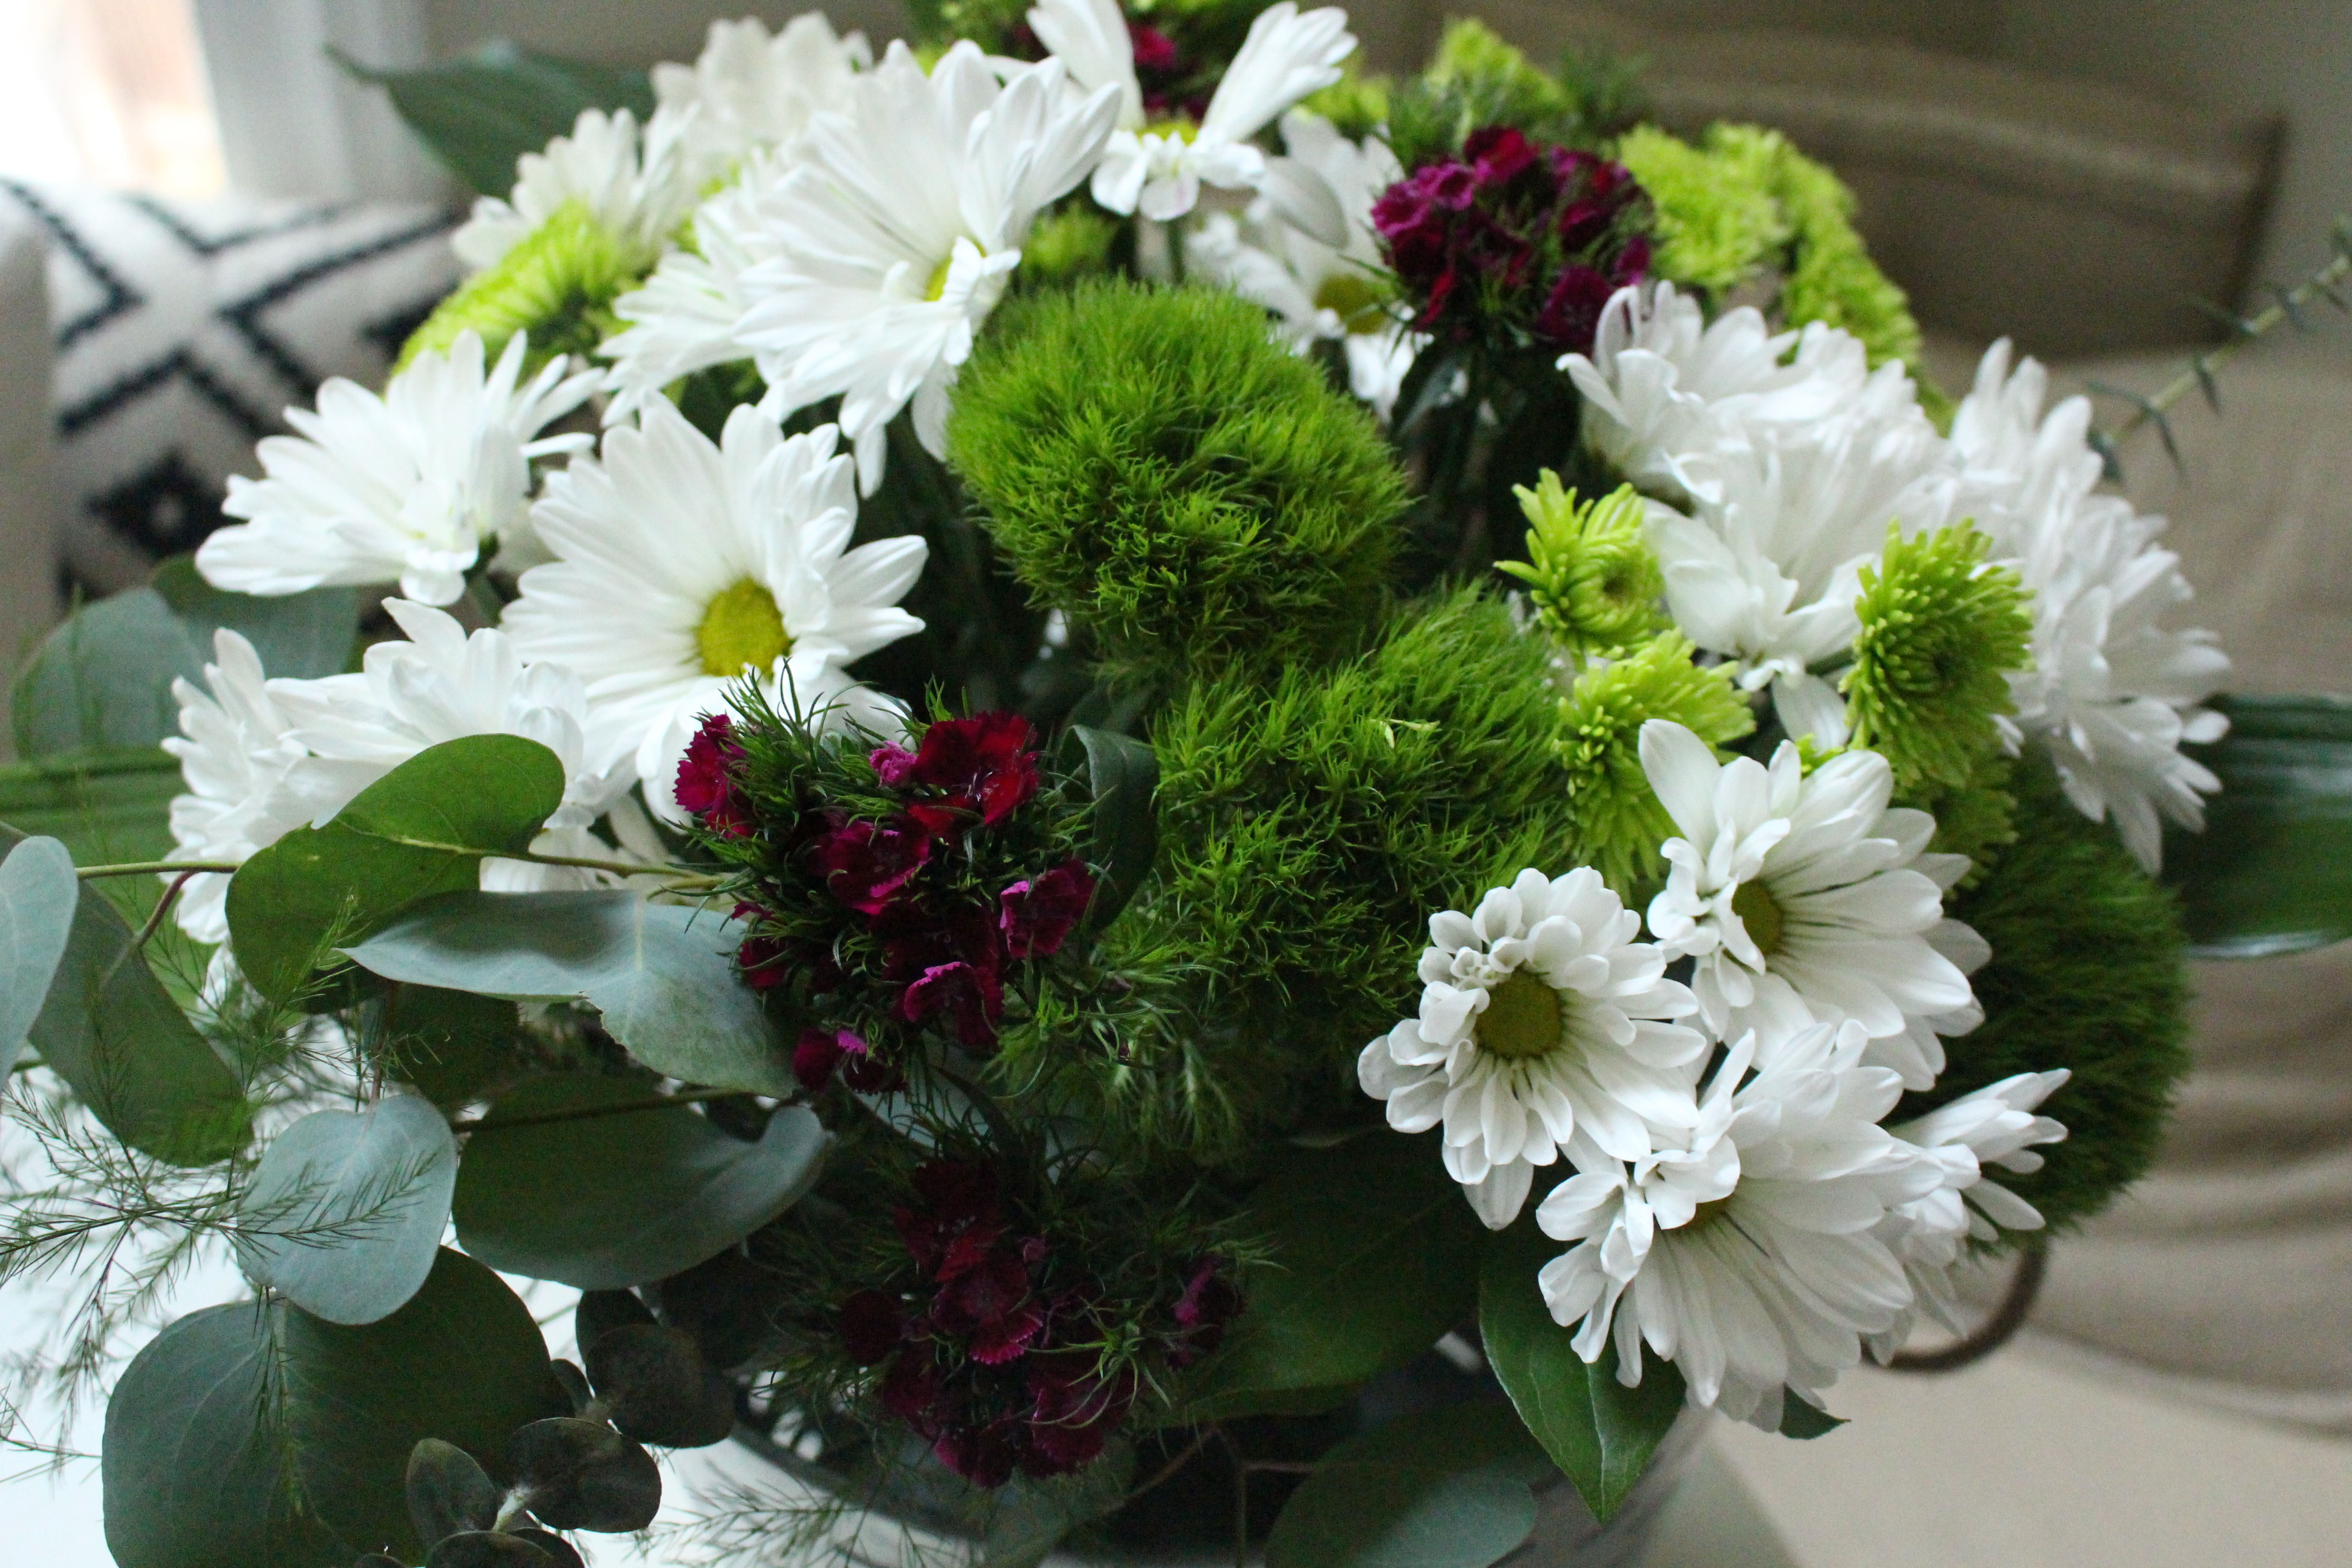
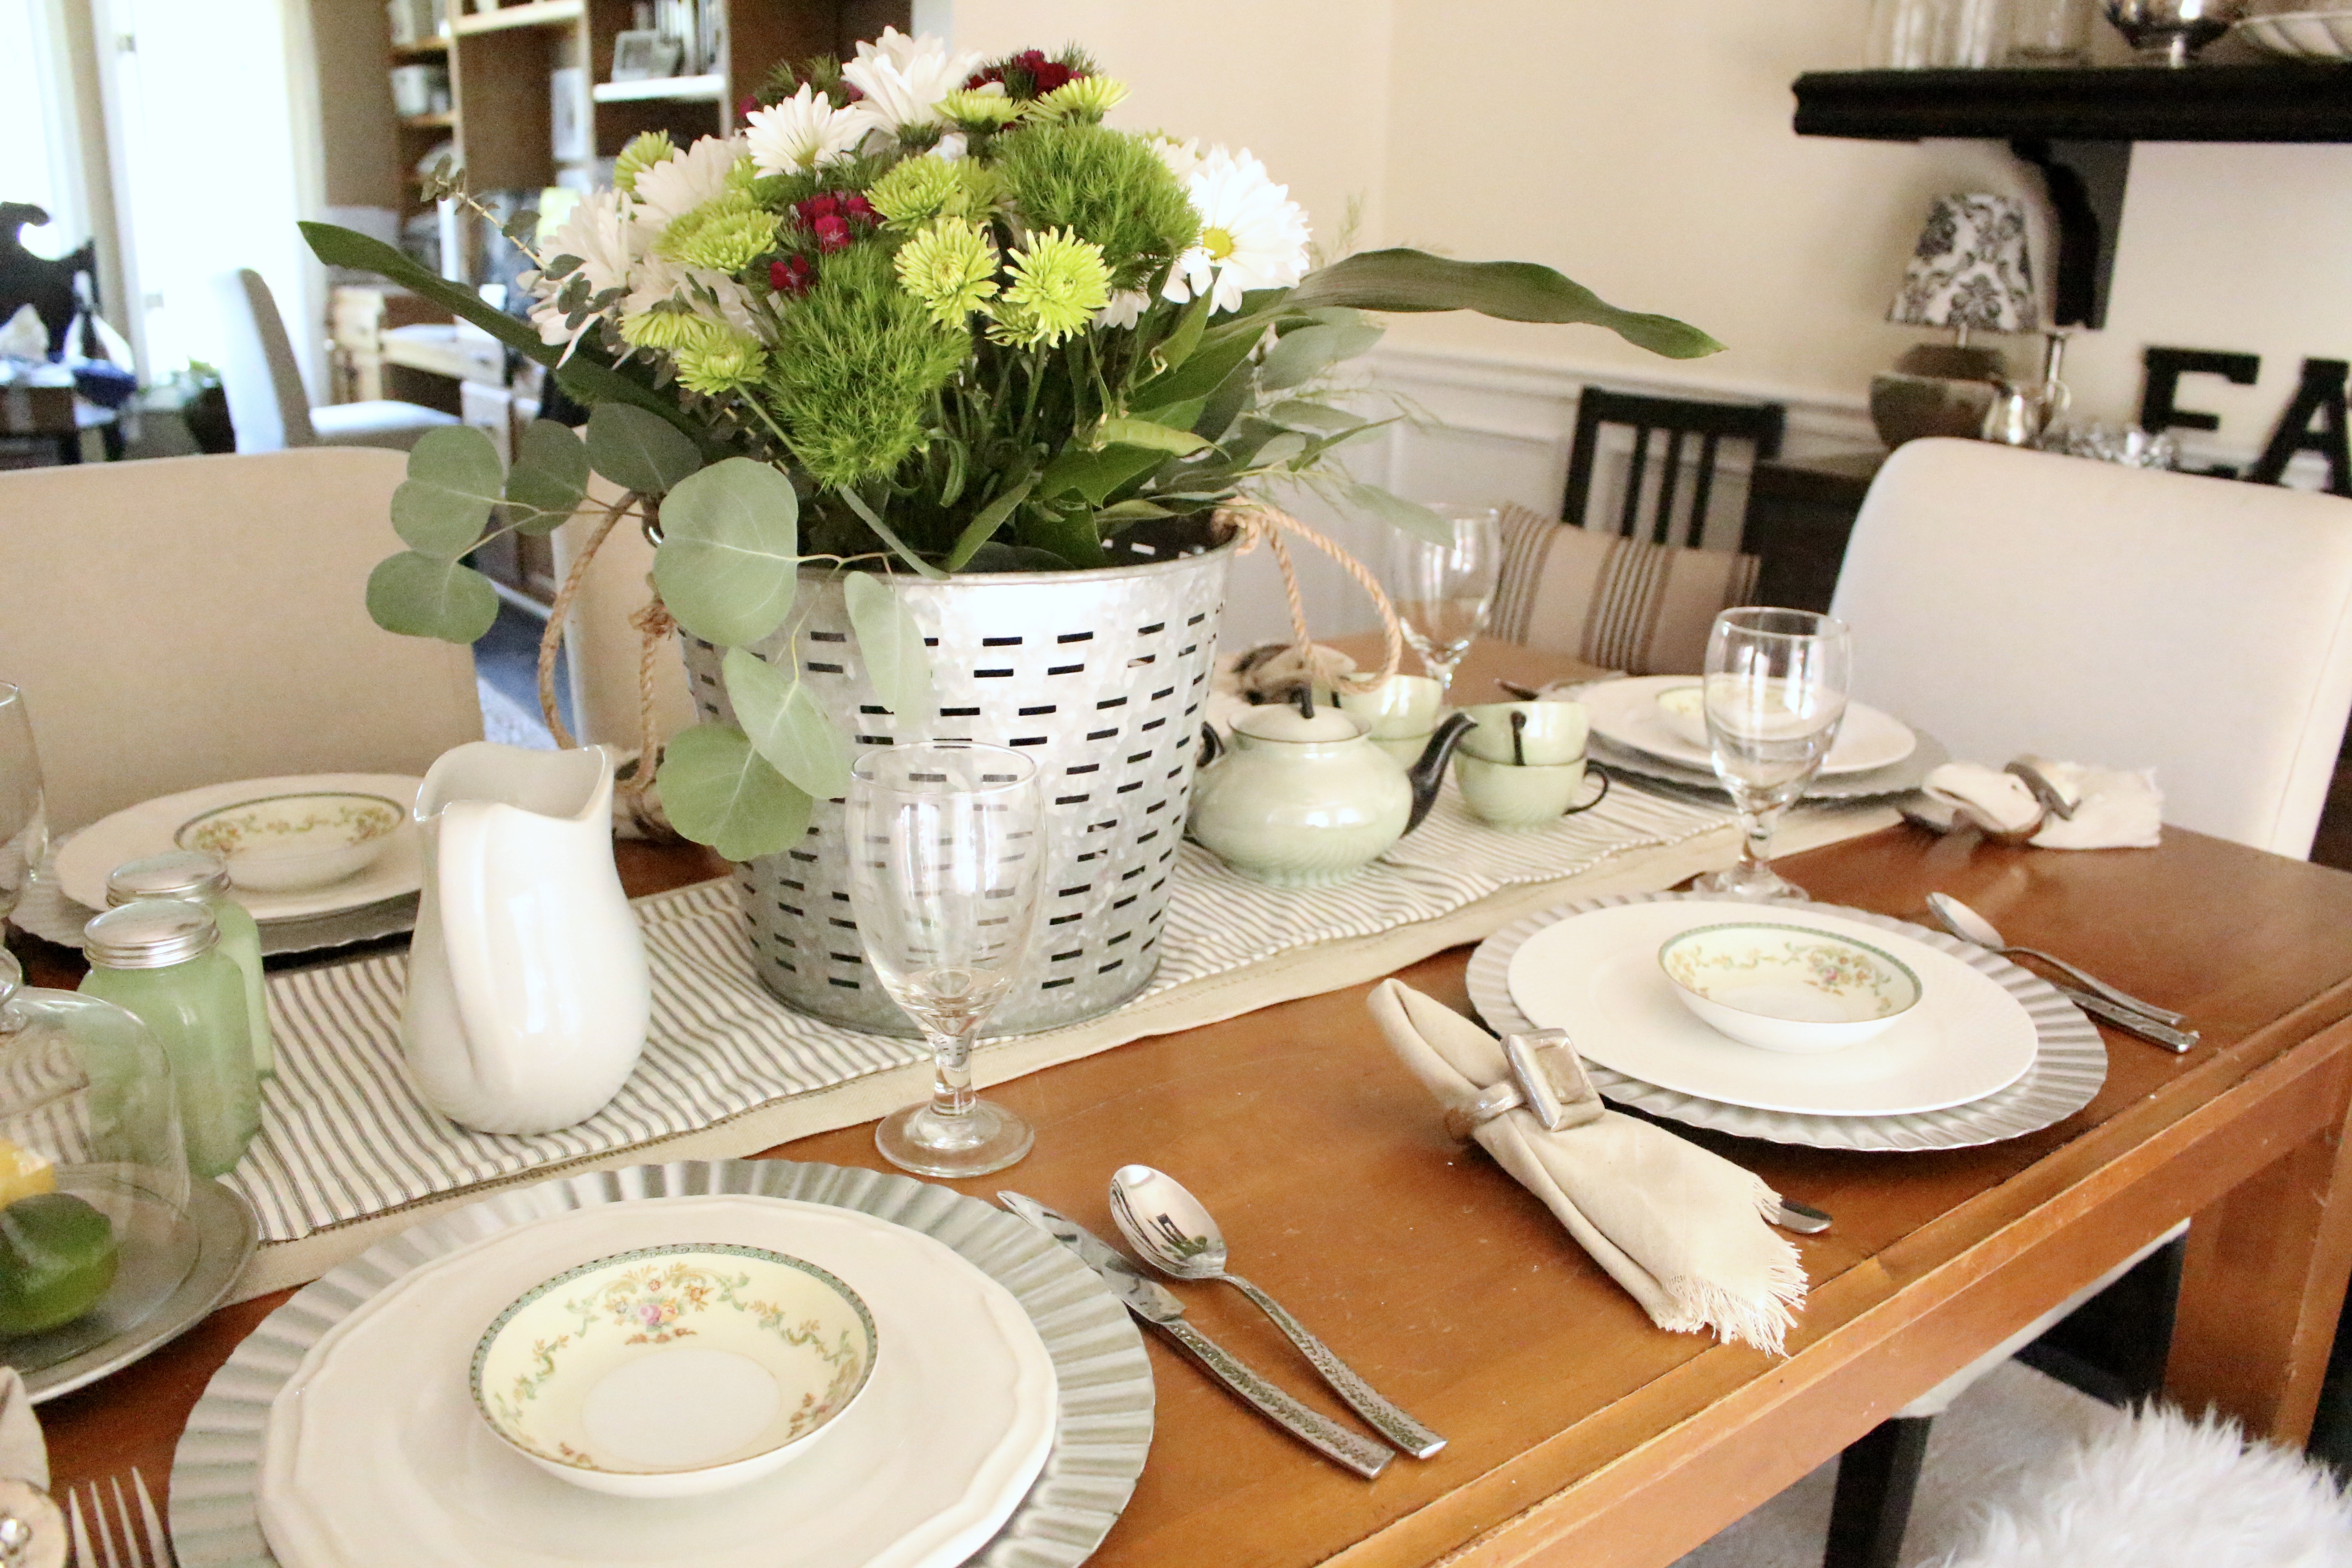
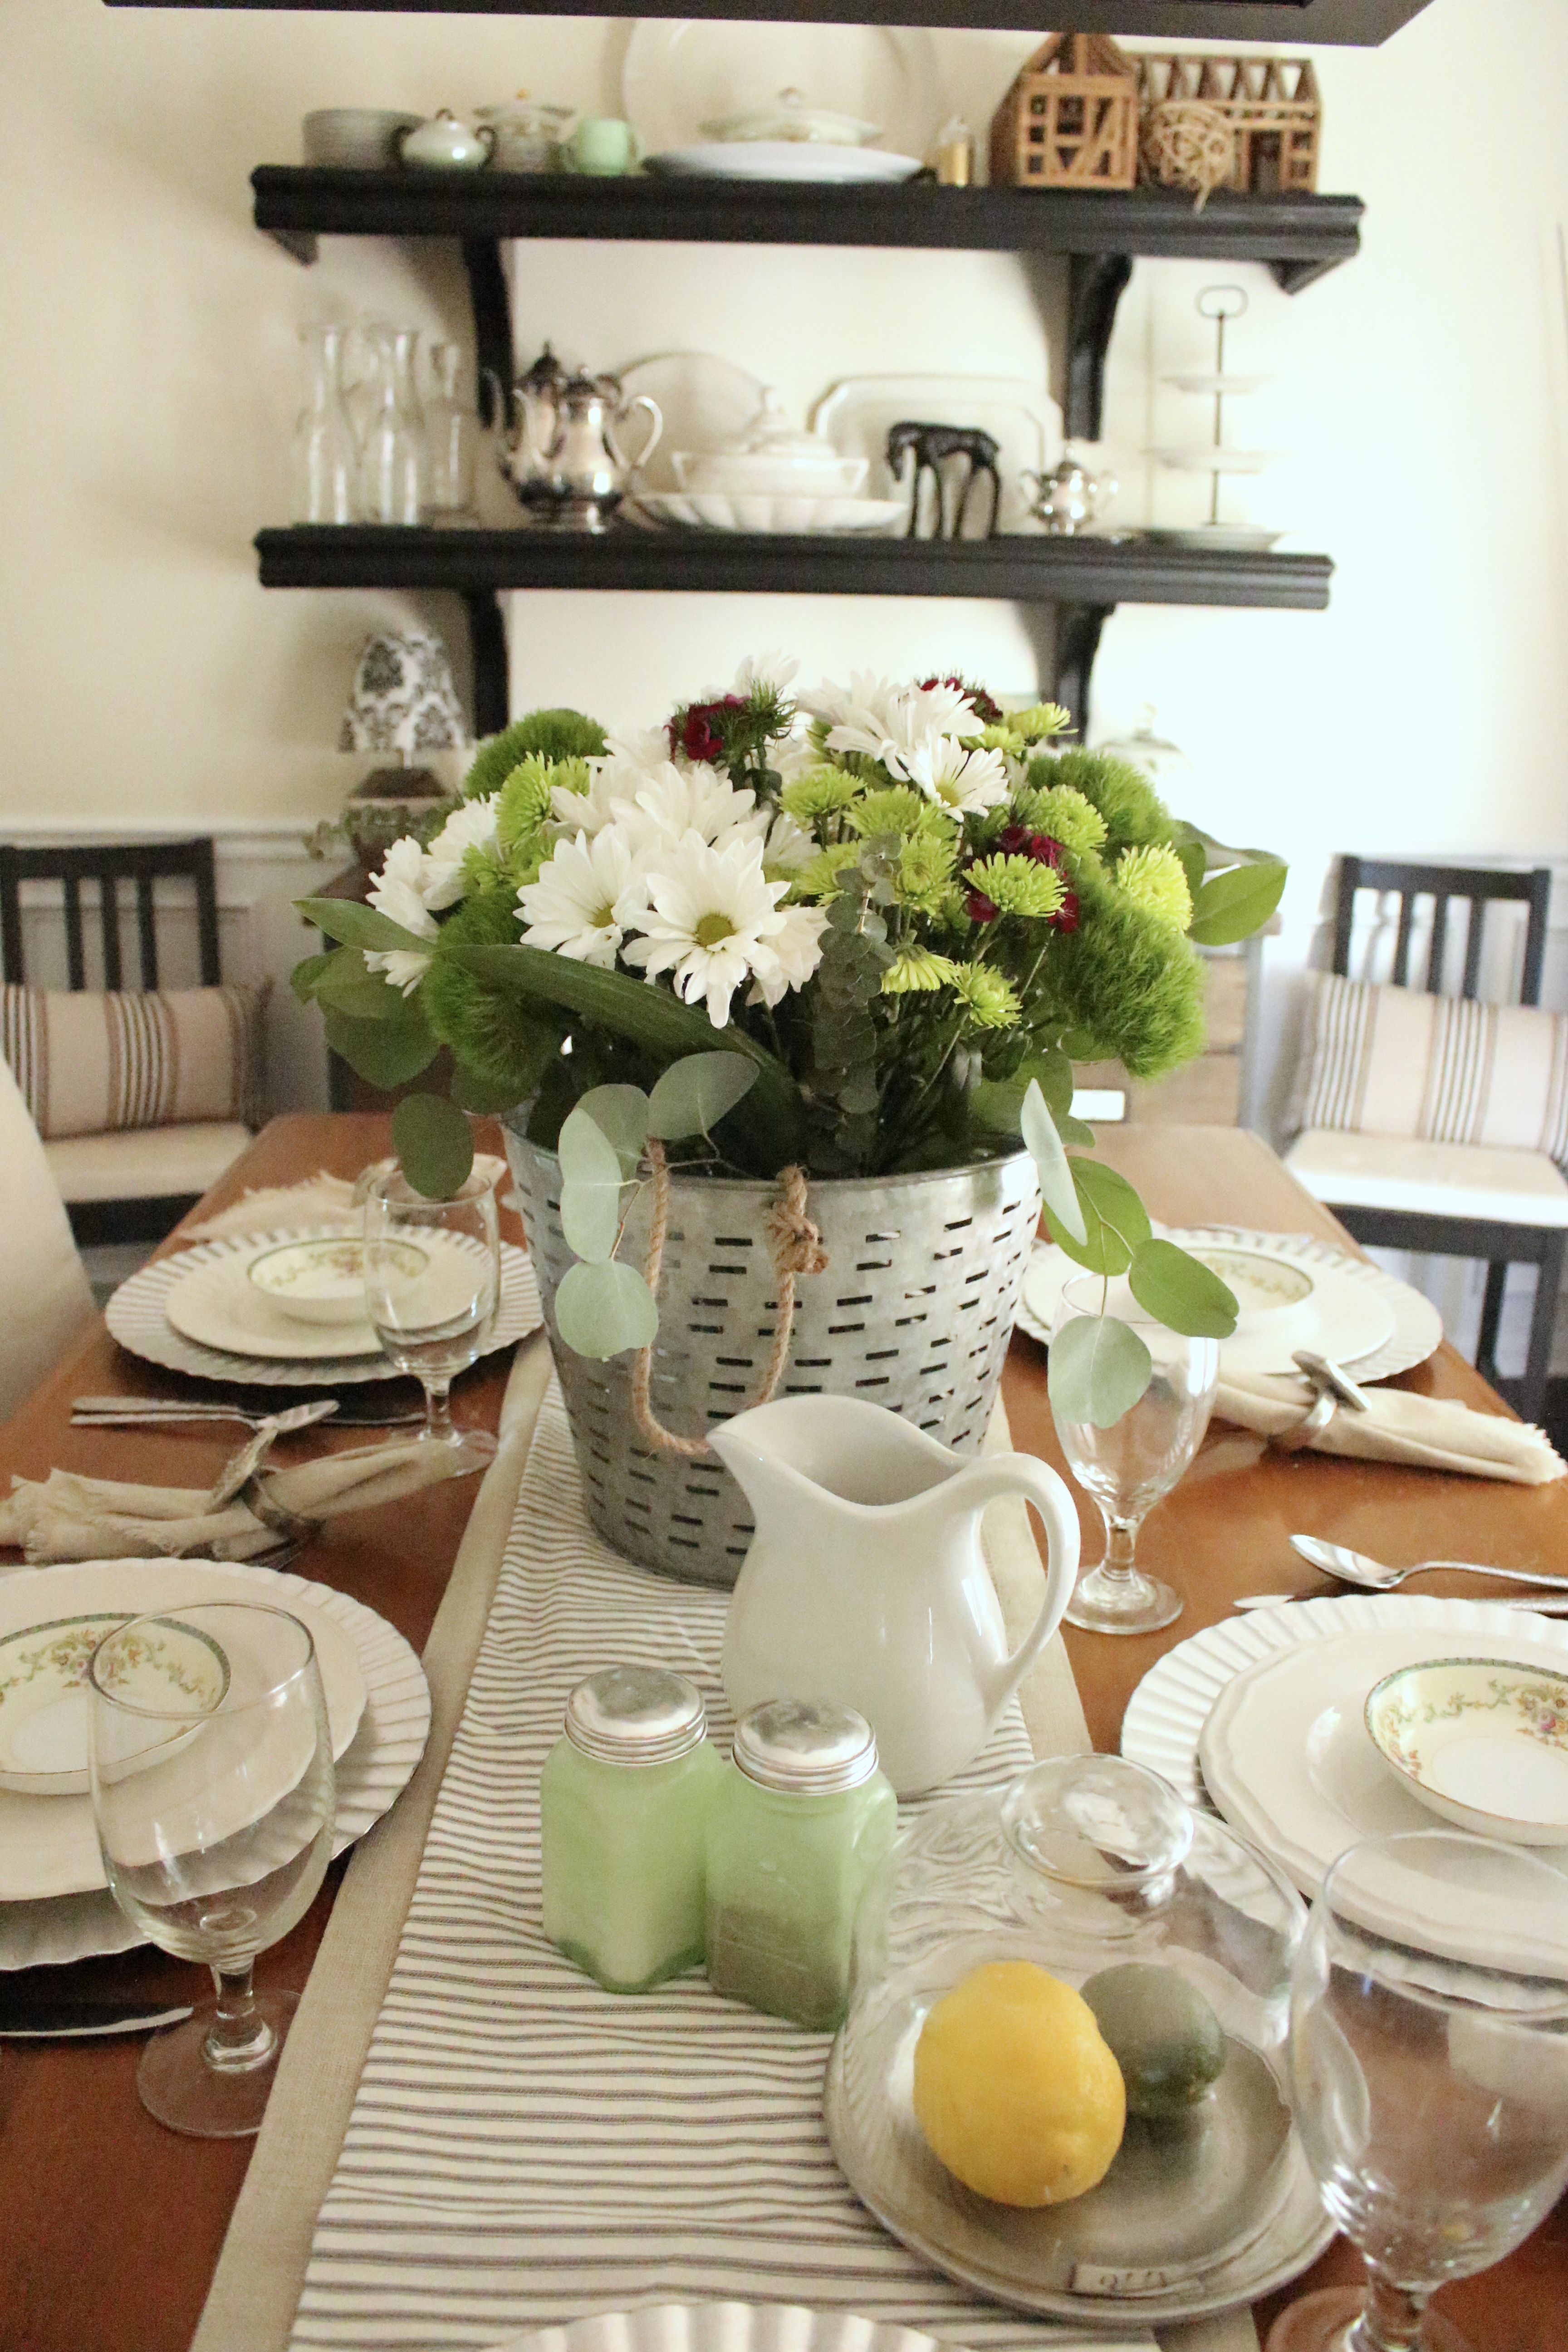
Here's another view of it as my centerpiece in my summer tablescape.
Want to see some other fun arrangements I've made? Check these out.


{This post contains affiliate links, see full disclosure here.}


