I'm Gillian, a Scotland based home & lifestyle blogger. Follow along as I navigate this new journey sharing my life from home.


Paper foliage has an image problem, and it is mostly deserved. Most of what turns up in a search is either aggressively crafty or so shiny it belongs on a party table for a nine year old. Which is a shame, because a paper leaf garland made with a bit of restraint sits somewhere quite different: matt, sculptural, tonal, closer to a florist’s dried arrangement than anything you would find in a card shop.
The version in this post takes an afternoon, costs very little, and lasts for years if you store it properly. No wilting, no water, no dropping leaves on the mantelpiece by day three. It is one of those small projects that gives back far more than the effort it asks for, which is really the whole point of making anything by hand.
Why paper works better than you would expect
Real foliage is lovely and always will be. It also dies. Eucalyptus dries beautifully; most other greenery goes brittle and grey within a fortnight, and anyone who has hosted with fresh garlands knows the quiet stress of buying them at the last possible moment so they look their best on the night.
Paper solves that. Cardstock holds a fold, catches light along its scored spine, and reads as texture rather than as paper once it is layered up. The trick is entirely in the choice of colour and weight, which is where most tutorials skip ahead and where this one is going to slow down.
What you will need
- Cardstock in two or three shades of green, ideally matt and textured, around 160gsm to 300gsm
- Florist’s wire, medium gauge
- Florist’s tape in green
- A glue gun with fine-tip nozzle
- A scoring tool or a bone folder, or the back of a butter knife at a push
- A leaf template, or a cutting machine if you already own one
- Ribbon in a natural fibre, such as silk, linen or cotton
That last one matters more than it sounds. Polyester ribbon has a sheen that undoes the whole effect. A length of silk in a soft olive, oatmeal or dusty rose costs a couple of pounds more and changes the finish entirely.
Choosing your paper
Green is not one colour, and a garland cut from a single shade looks flat no matter how well it is assembled. Three tones give depth: something deep and slightly blue, such as a bay or fir; something mid and slightly grey, in the eucalyptus family; and something pale, closer to sage or a soft olive.
Weight is the other consideration. Anything under about 160gsm will flop once glued, and anything over 300gsm resists the fold and cracks along the score line. The sweet spot sits between the two. Textured, laid or lightly felted papers photograph far better than smooth ones, and they hide fingerprints, which becomes relevant around leaf number forty.
Skip anything metallic, pearlised or glittered. The point of this garland is that it looks quiet and slightly botanical, and glitter takes it straight back to the party shop.
How to make a paper leaf garland
Cut your leaves in three or four sizes, varying the shape slightly between them. Something long and narrow like a bay leaf, something rounder like eucalyptus, and something in between will give you the variation you need. Cutting by hand with a template is genuinely fine here; a cutting machine simply makes it faster if one is already in the house.
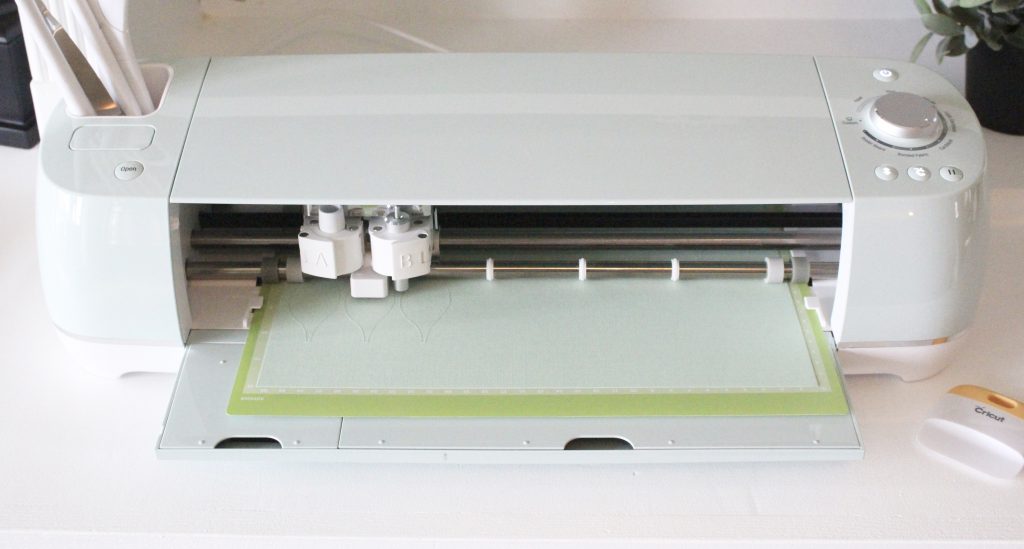
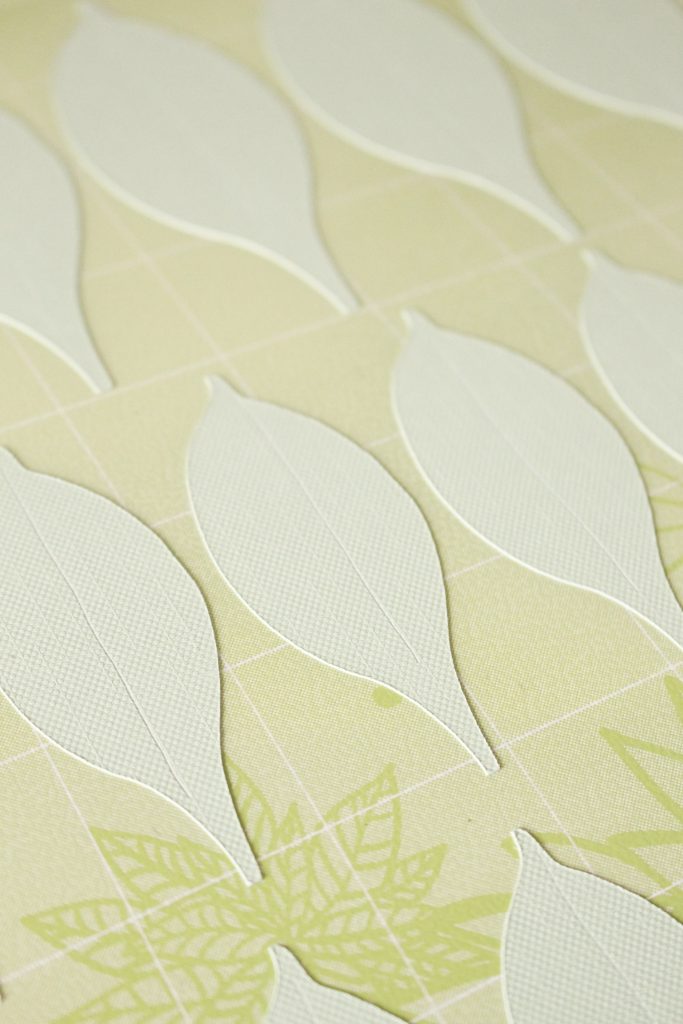
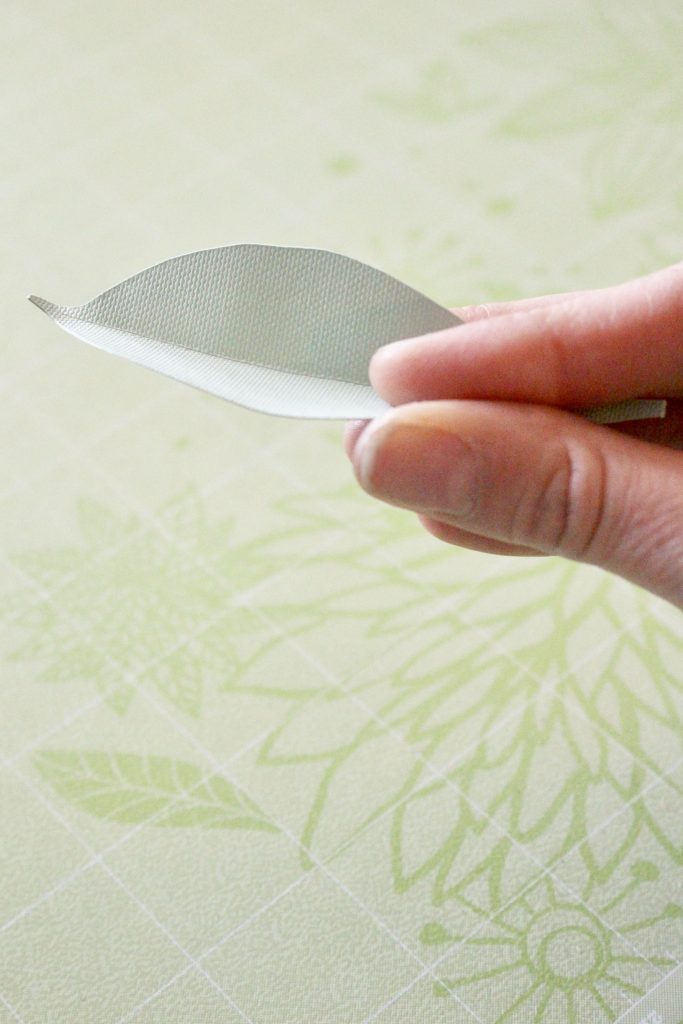
Score a line down the centre of each leaf, from tip to stem. Do this before removing them from the mat if you are using a machine, since they stay put and the line comes out straighter.
Fold along every score line, gently. The fold should be soft rather than sharp, closer to a crease than a pleat. This is what gives each leaf its curve and stops the finished garland looking two dimensional.
Glue the leaves into small clusters of two or three, overlapping the bases and mixing sizes and shades within each cluster. Aim for around twelve to fifteen clusters for a garland of roughly a metre.
Cut a length of florist’s wire slightly longer than you want the finished garland, then wrap the last few centimetres in florist’s tape to seal the end.
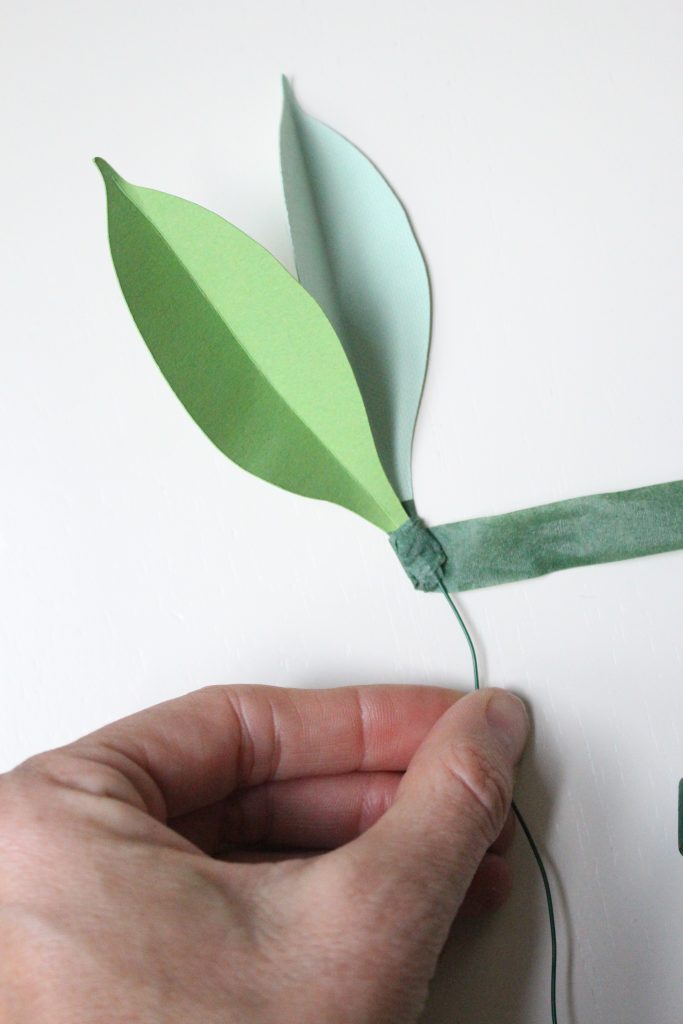
Attach each cluster to the wire with florist’s tape, working from one end towards the middle. Stretch the tape slightly as you wrap so it activates and grips itself, and twist as you go rather than laying it flat.
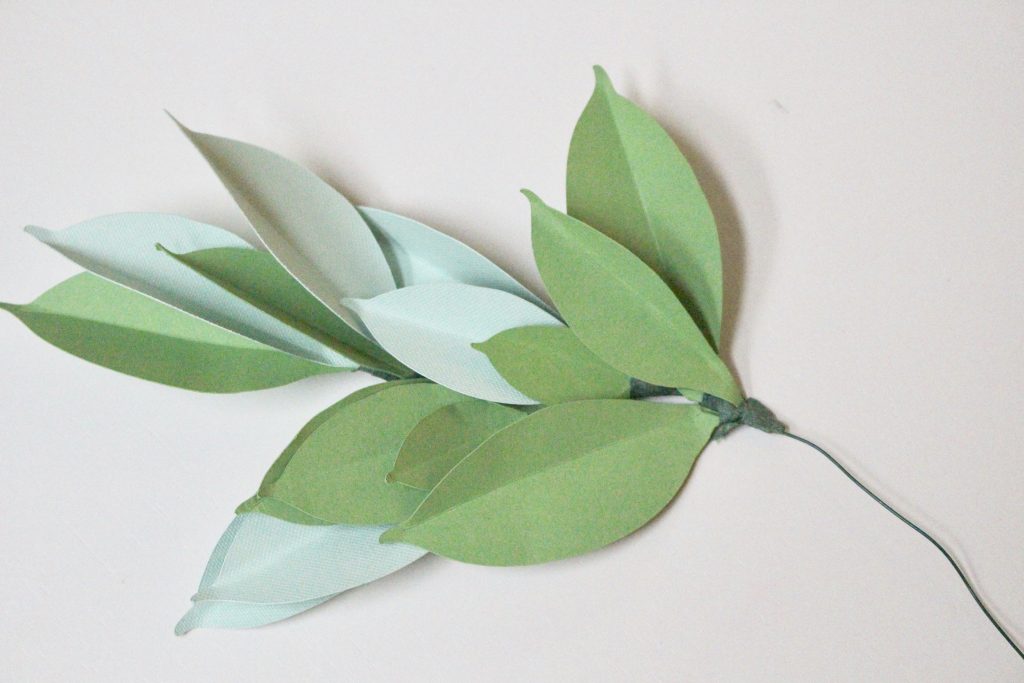
Keep adding clusters, angling each one slightly differently, until the wire is covered and the garland has the density you want.
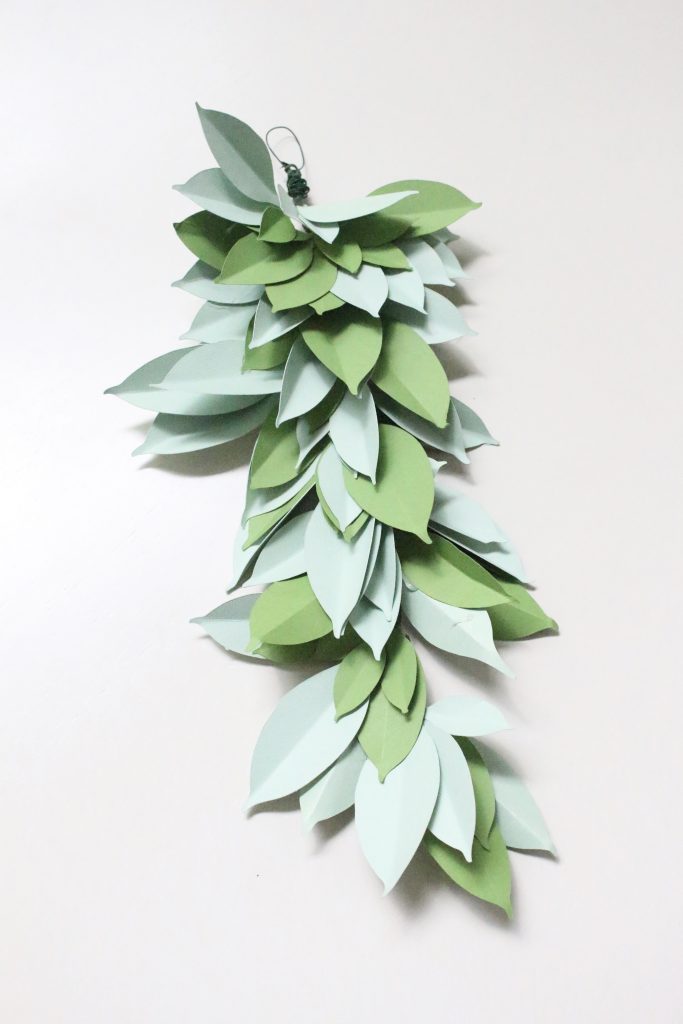
Twist the far end of the wire back on itself to form a small loop for hanging.
Tie ribbon at each end, or at the centre if you are hanging it from a single hook.
The part that takes practice
Step six is where most people lose patience, and it helps to know that in advance. Florist’s tape does not behave like sellotape. It only becomes tacky when it is stretched, so a gentle pull as you wrap is what makes it stick, and the first two or three clusters will almost certainly slide about before the technique clicks.
Working in a warm room helps. Cold tape is stiff tape. If a cluster sits at the wrong angle, unwrap it and go again rather than gluing over the top, because glue on the wire creates lumps that show through the finished garland.
Where to hang it
A mantelpiece is the obvious home, draped rather than pinned taut, with a little sag through the middle. Beyond that, it works along the spine of a dining table with candles set between the leaves, over a doorway, along a bannister, or looped once around a mirror frame.
For a table, keep it low. Anything that blocks eye contact across a dinner table has failed at its job, however pretty it looks in photographs.
It also earns its keep at events. Paper foliage down a long table, or a small cluster tied to the back of each chair, gives you the look of a florist’s install for a fraction of the cost and can be made weeks in advance, which is not something fresh greenery will ever offer you.
Adapting it through the year
The same technique carries across seasons with only a change of paper. Soft greens and creams read as spring. Deeper bottle greens, russets and a single ochre carry autumn. For winter, cut the same shapes in charcoal, deep green and a warm off-white, and thread in a few dried orange slices from the dried fruit garland project for scent and contrast.
Styled alongside a few hand-painted milk glass vases and a cluster of candles, the whole arrangement starts to look considered rather than crafted, which is the difference worth chasing.
Storing it properly
Paper garlands survive storage badly if they are simply folded into a box. Coil this one loosely into a large circle, lay it flat in a shallow box with tissue paper between the layers, and keep it somewhere dry. Lofts are usually too damp and cardstock absorbs moisture, which softens the folds.
Handled that way, the garland will come out looking exactly as it did the first time, which after an afternoon of assembly feels like a fair return.
Common questions
Roughly two to three hours for a garland of about a metre, including cutting. The cutting is the slow part if you are working by hand.
No. A paper template and a sharp craft knife or small scissors will do the same job. A machine simply speeds up the repetitive cutting if one is already in the house.
Matt or textured cardstock between 160gsm and 300gsm, in two or three tonal shades of green. Avoid glossy, metallic or glittered finishes.
Not realistically. Paper takes on moisture quickly and the folds soften in humidity, so keep this one indoors.
Several years, provided it is stored flat and dry between uses. The florist’s tape is the first thing to fail, and it can be rewrapped if it loosens.
Whether it ends up on the mantelpiece or down the centre of a table, this is the sort of project that quietly justifies the afternoon it takes. For more slow, considered projects for the home, have a look through the home interiors section.
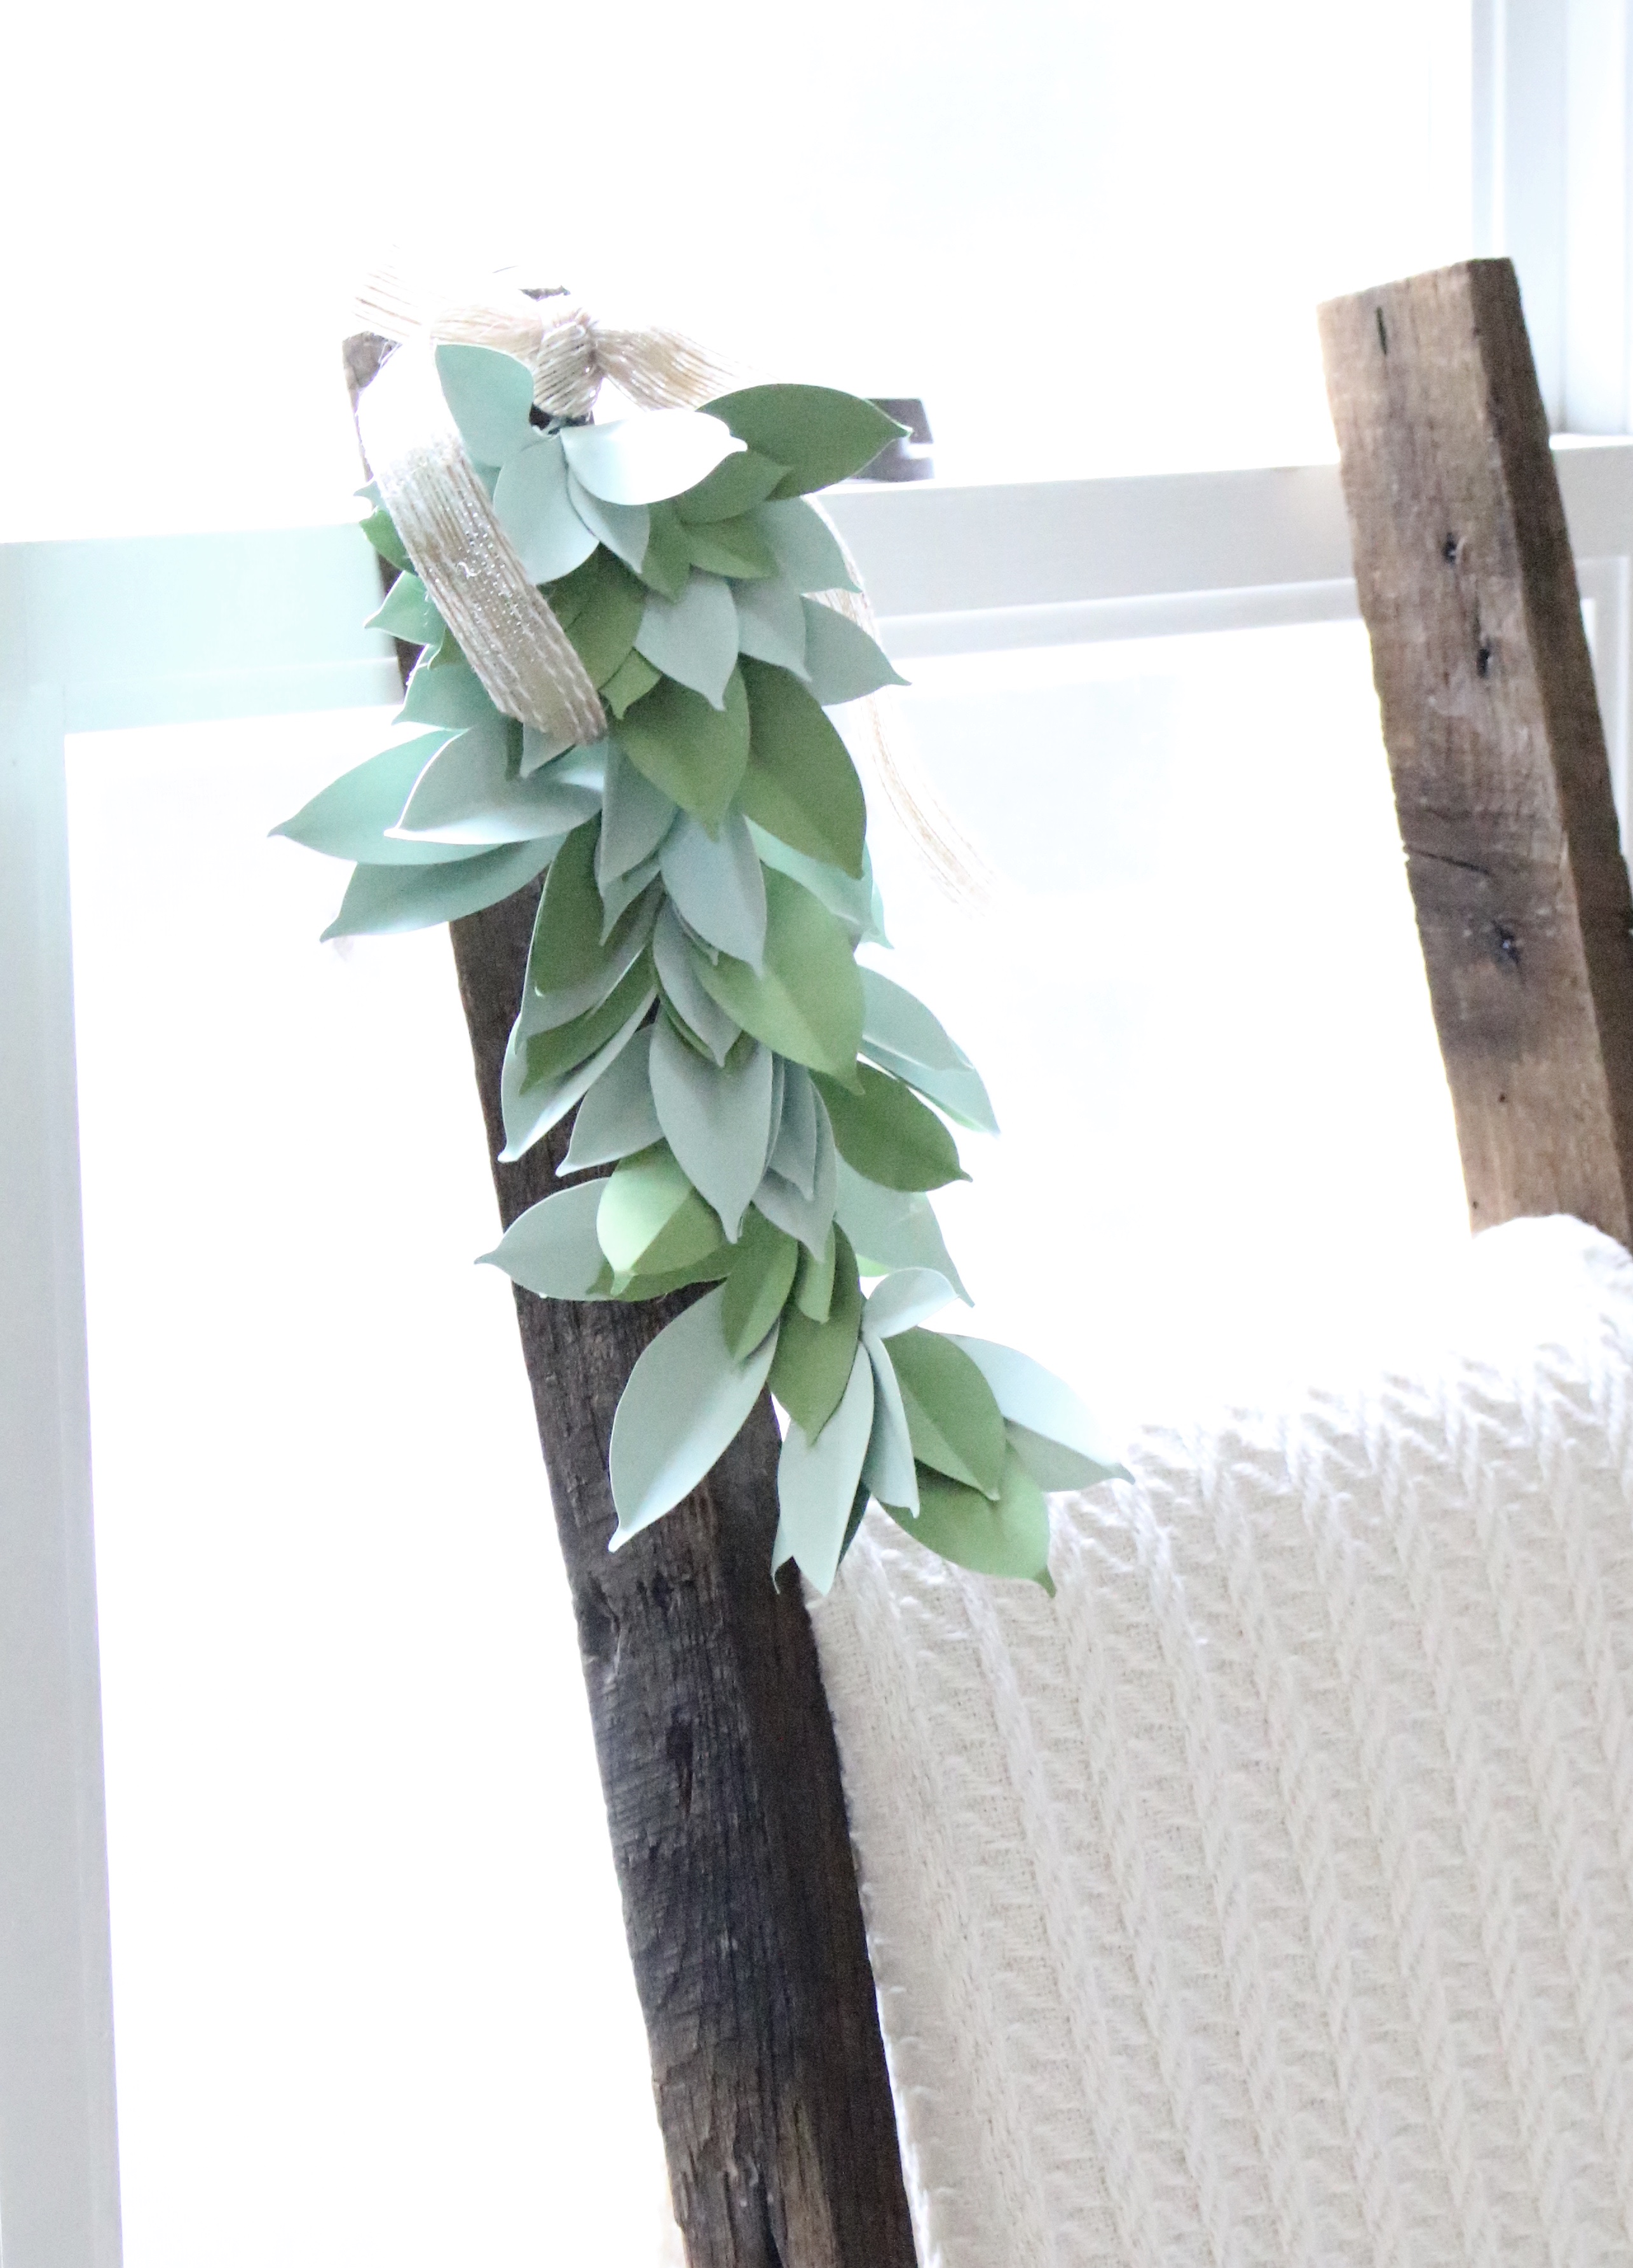
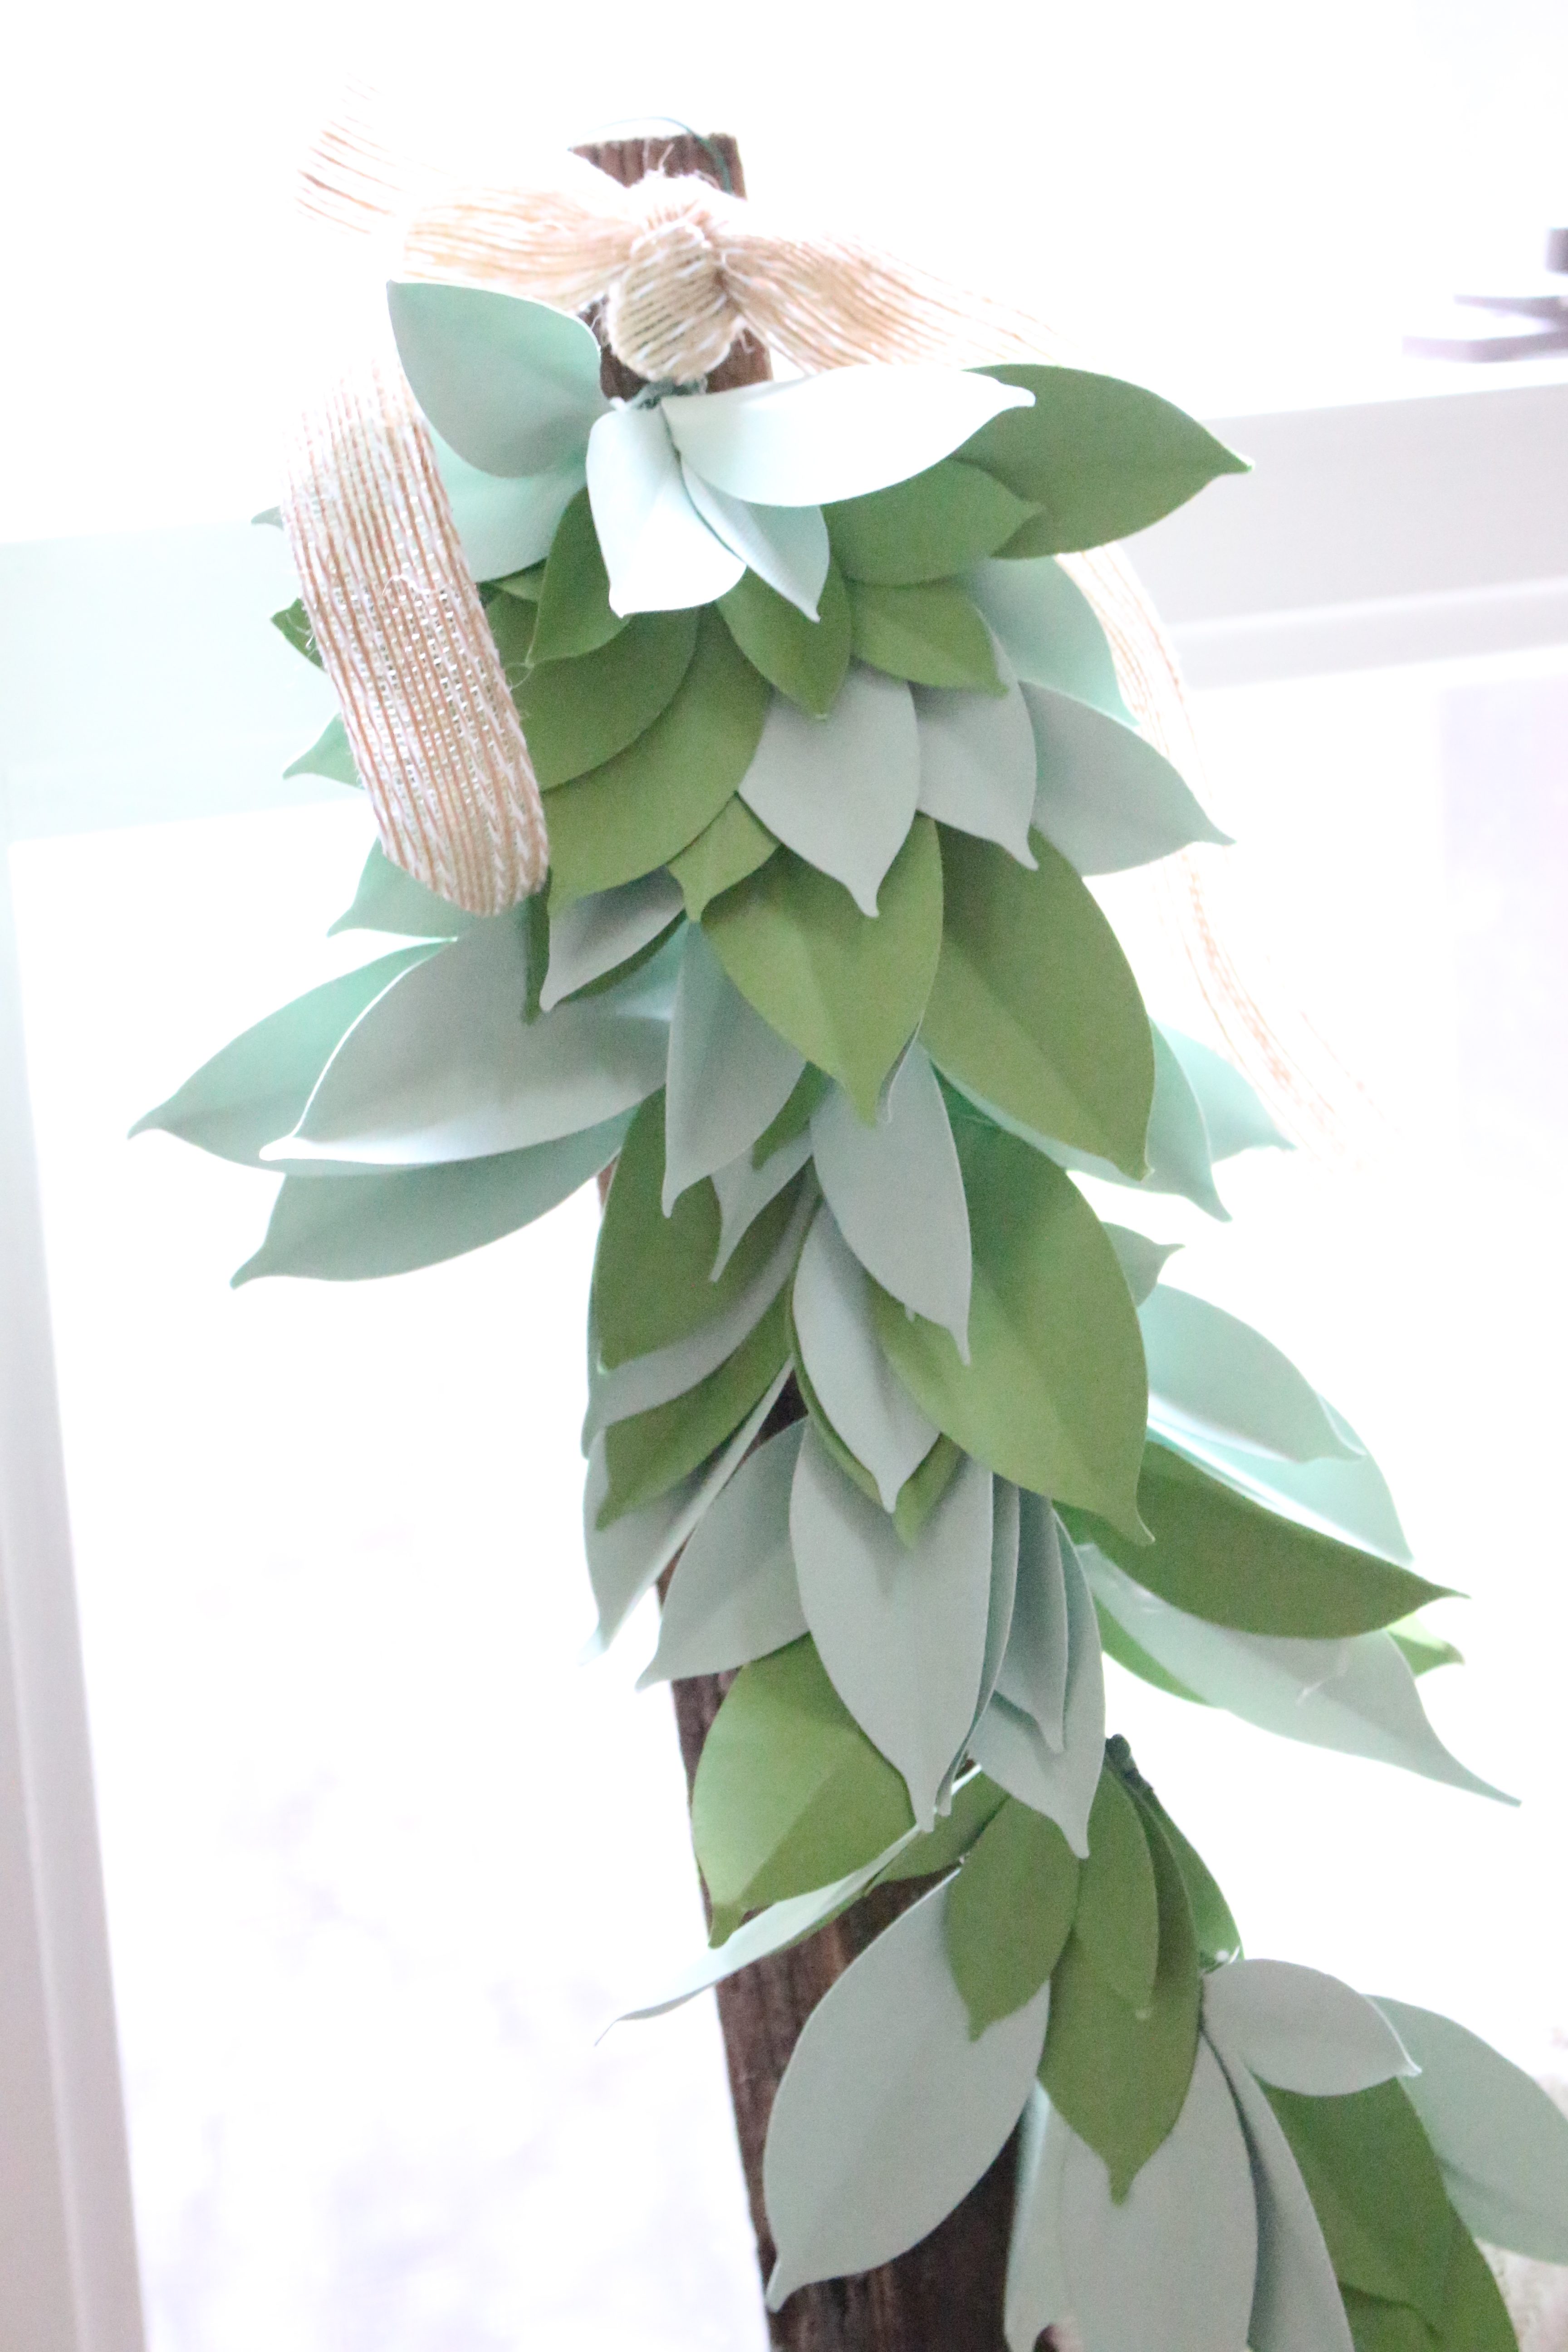
- Paper leaf garland in three shades of green draped across a mantelpiece
- Folded cardstock leaves grouped into clusters before assembly
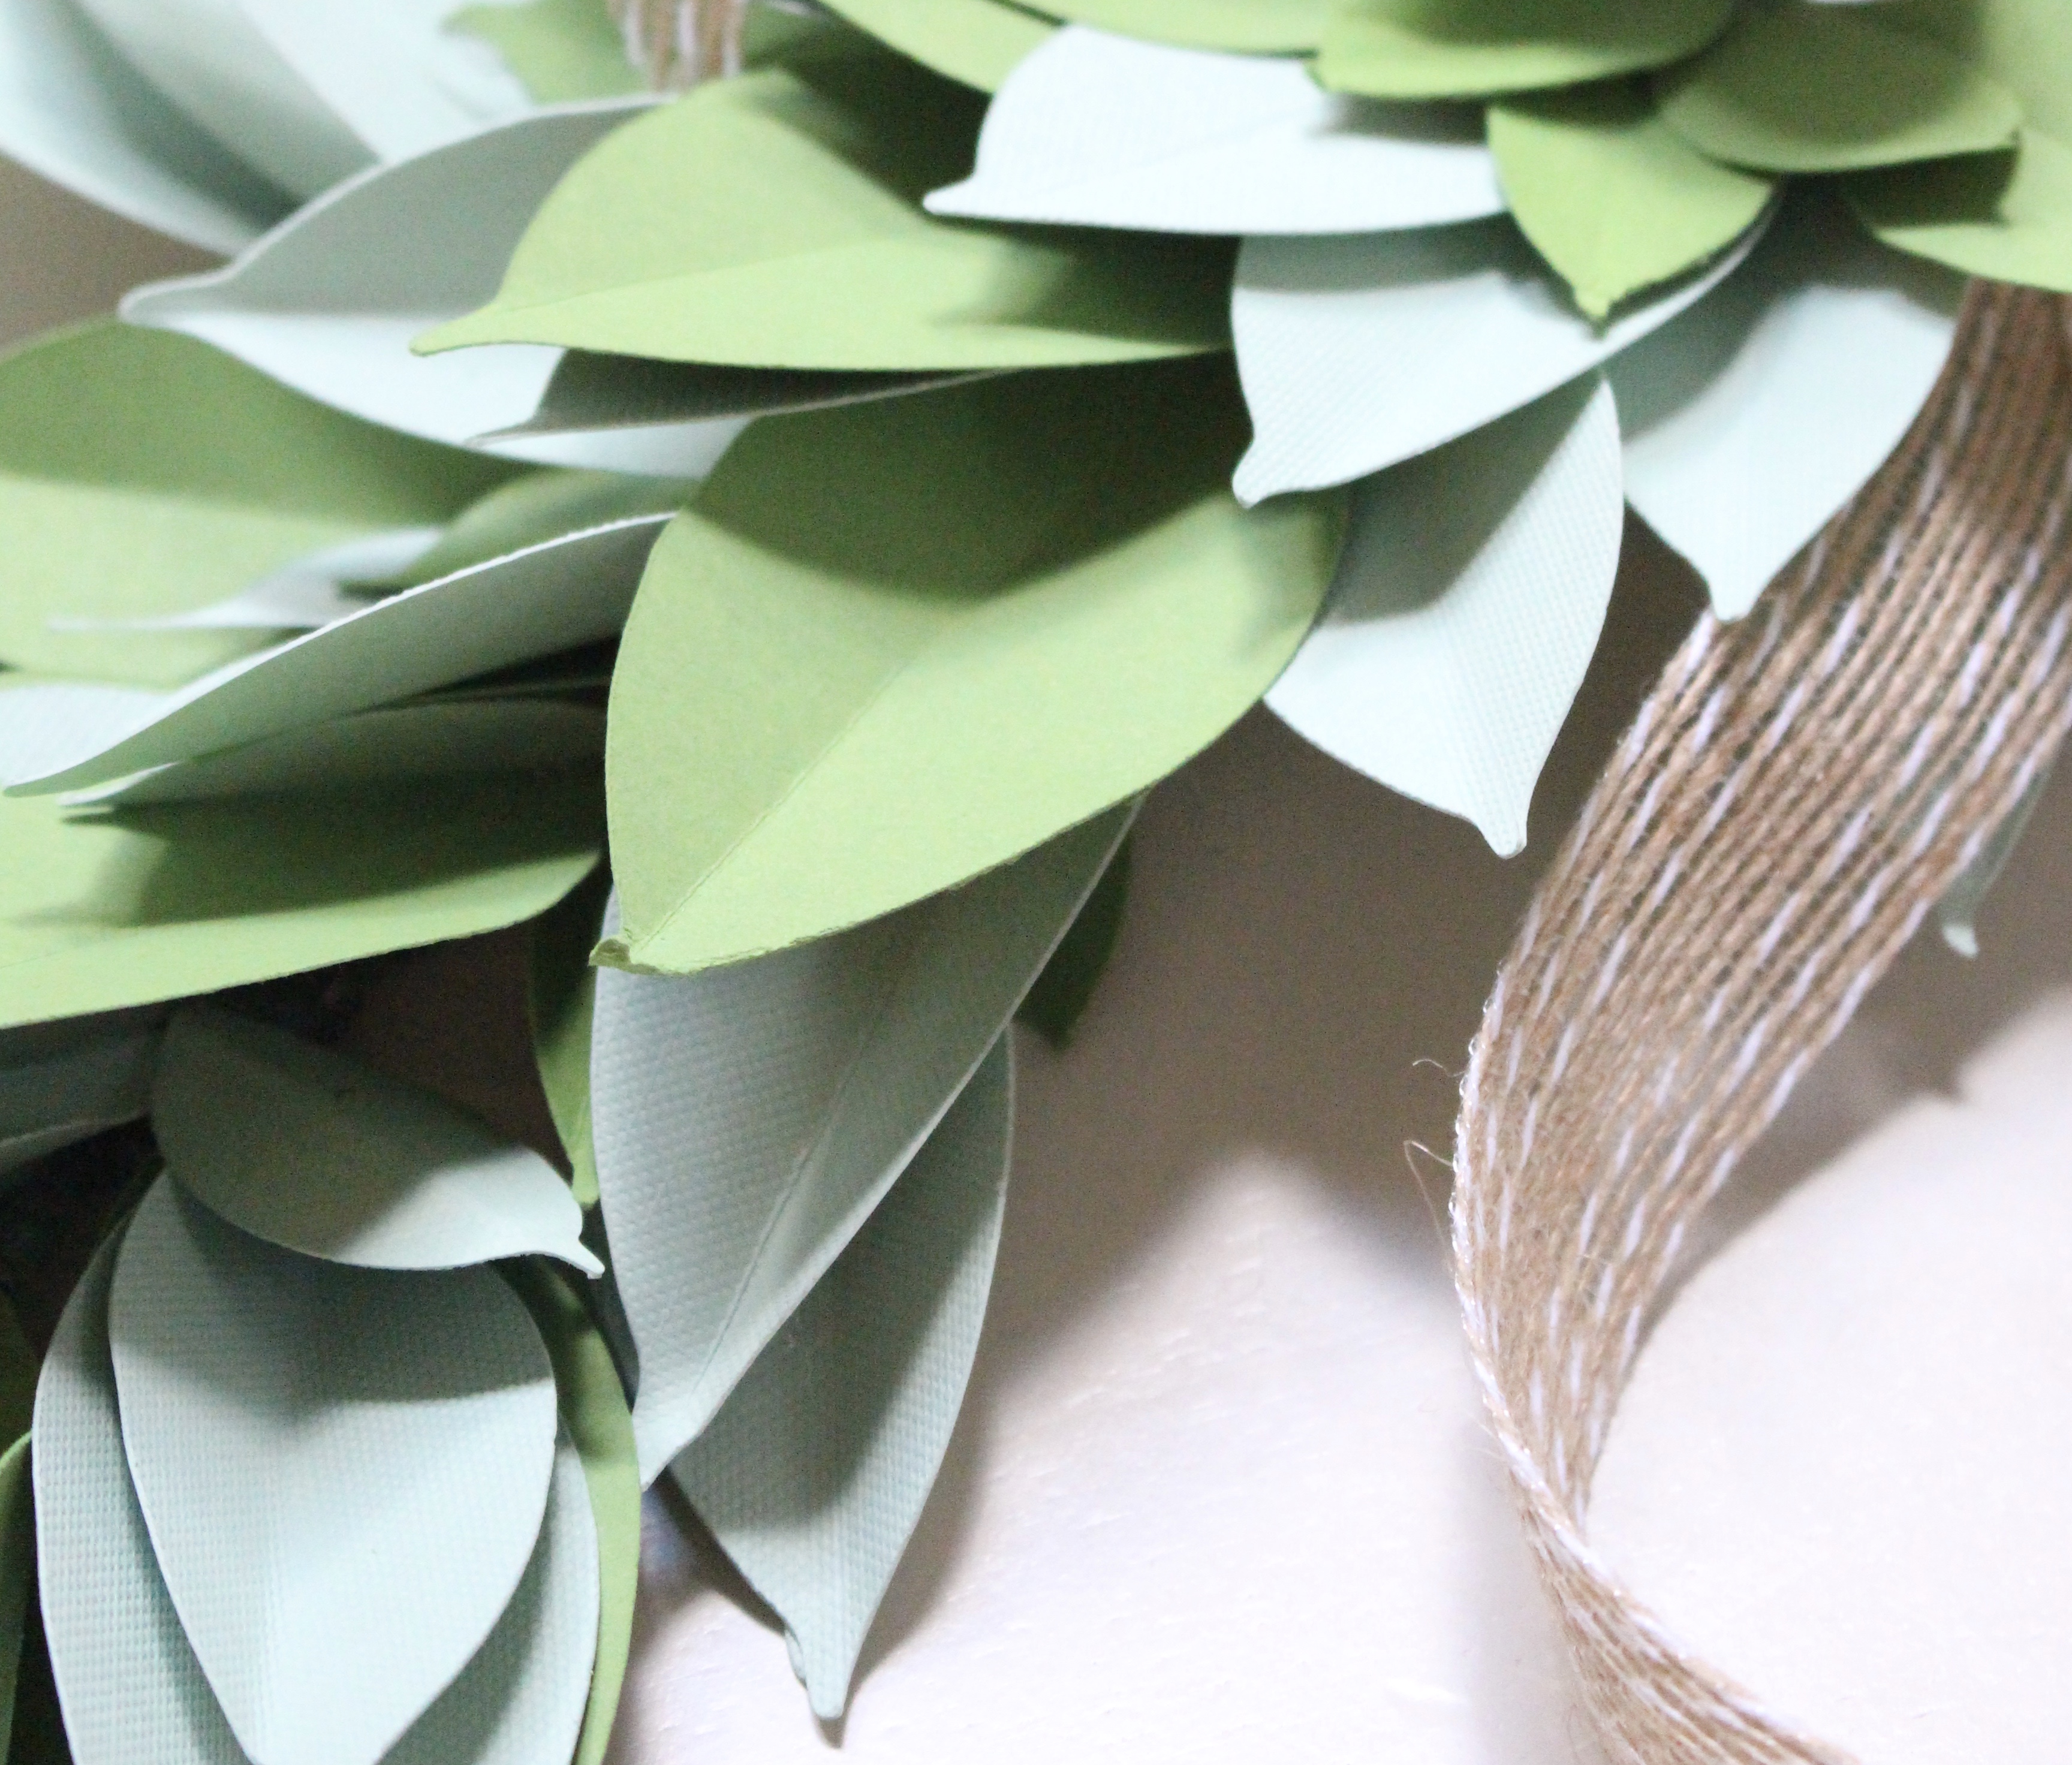
- Close-up of scored and folded paper leaves showing centre crease
- Paper leaf garland running down the centre of a dining table with candles
- Paper leaf garland tied with silk ribbon over a doorway
Leave a Reply
If you like the sort of recommendation that still holds up six months later, leave your email below and I'll write to you on Sunday.
Most Sundays, once the house has gone quiet and it's edging towards nine, a letter goes out. It's the one I'd write to a friend with good taste and not nearly enough time: one thing worth reading, one thing worth buying, and one thing to skip. No noise, no pressure to spend, just the considered version of what I've actually been using, loving, or quietly sending back.



June 7th, 2017 at 12:10 pm
What a cute idea! It would be pretty made into a wreath too!
June 10th, 2017 at 1:38 pm
Thank you, yes, a wreath would be so cute!!
June 22nd, 2017 at 6:42 pm
I love this idea, Amy! Your swag looks perfect!
June 24th, 2017 at 6:00 am
[…] Farmhouse Paper Swag / My Life from Home […]
June 15th, 2018 at 12:37 pm
[…] Paper Flowers | Cricut Paper Crafts 4.Make it: Egyptian Mummy & Sarcophagus with Cricut 5.Farmhouse Paper Swag Using My Cricut Explore Air 2 6.How to Cut Freezer Paper with the Cricut Explore 7.How to Make Beautiful Paper Flowers for Your […]
September 21st, 2018 at 2:44 pm
[…] Does your farmhouse decor need a bit of a pick-me-up for spring? Check out this beautiful swag from Amy at My Life From Home. […]
February 24th, 2021 at 2:40 am
Your blog “Farmhouse Paper Swag Using My Cricut Explore Air 2” is helpful and informational, thank you so much.