Using the Cricut Explore Air 2 to Make a Decorated Cake Stand

{This post contains affiliate links, see full disclosure here.}
Hi friends, I am back today showing you another fun and easy project that you can do with your Cricut Explore Air 2. If you missed my first post about my new favorite crafting machine, you can catch up HERE.
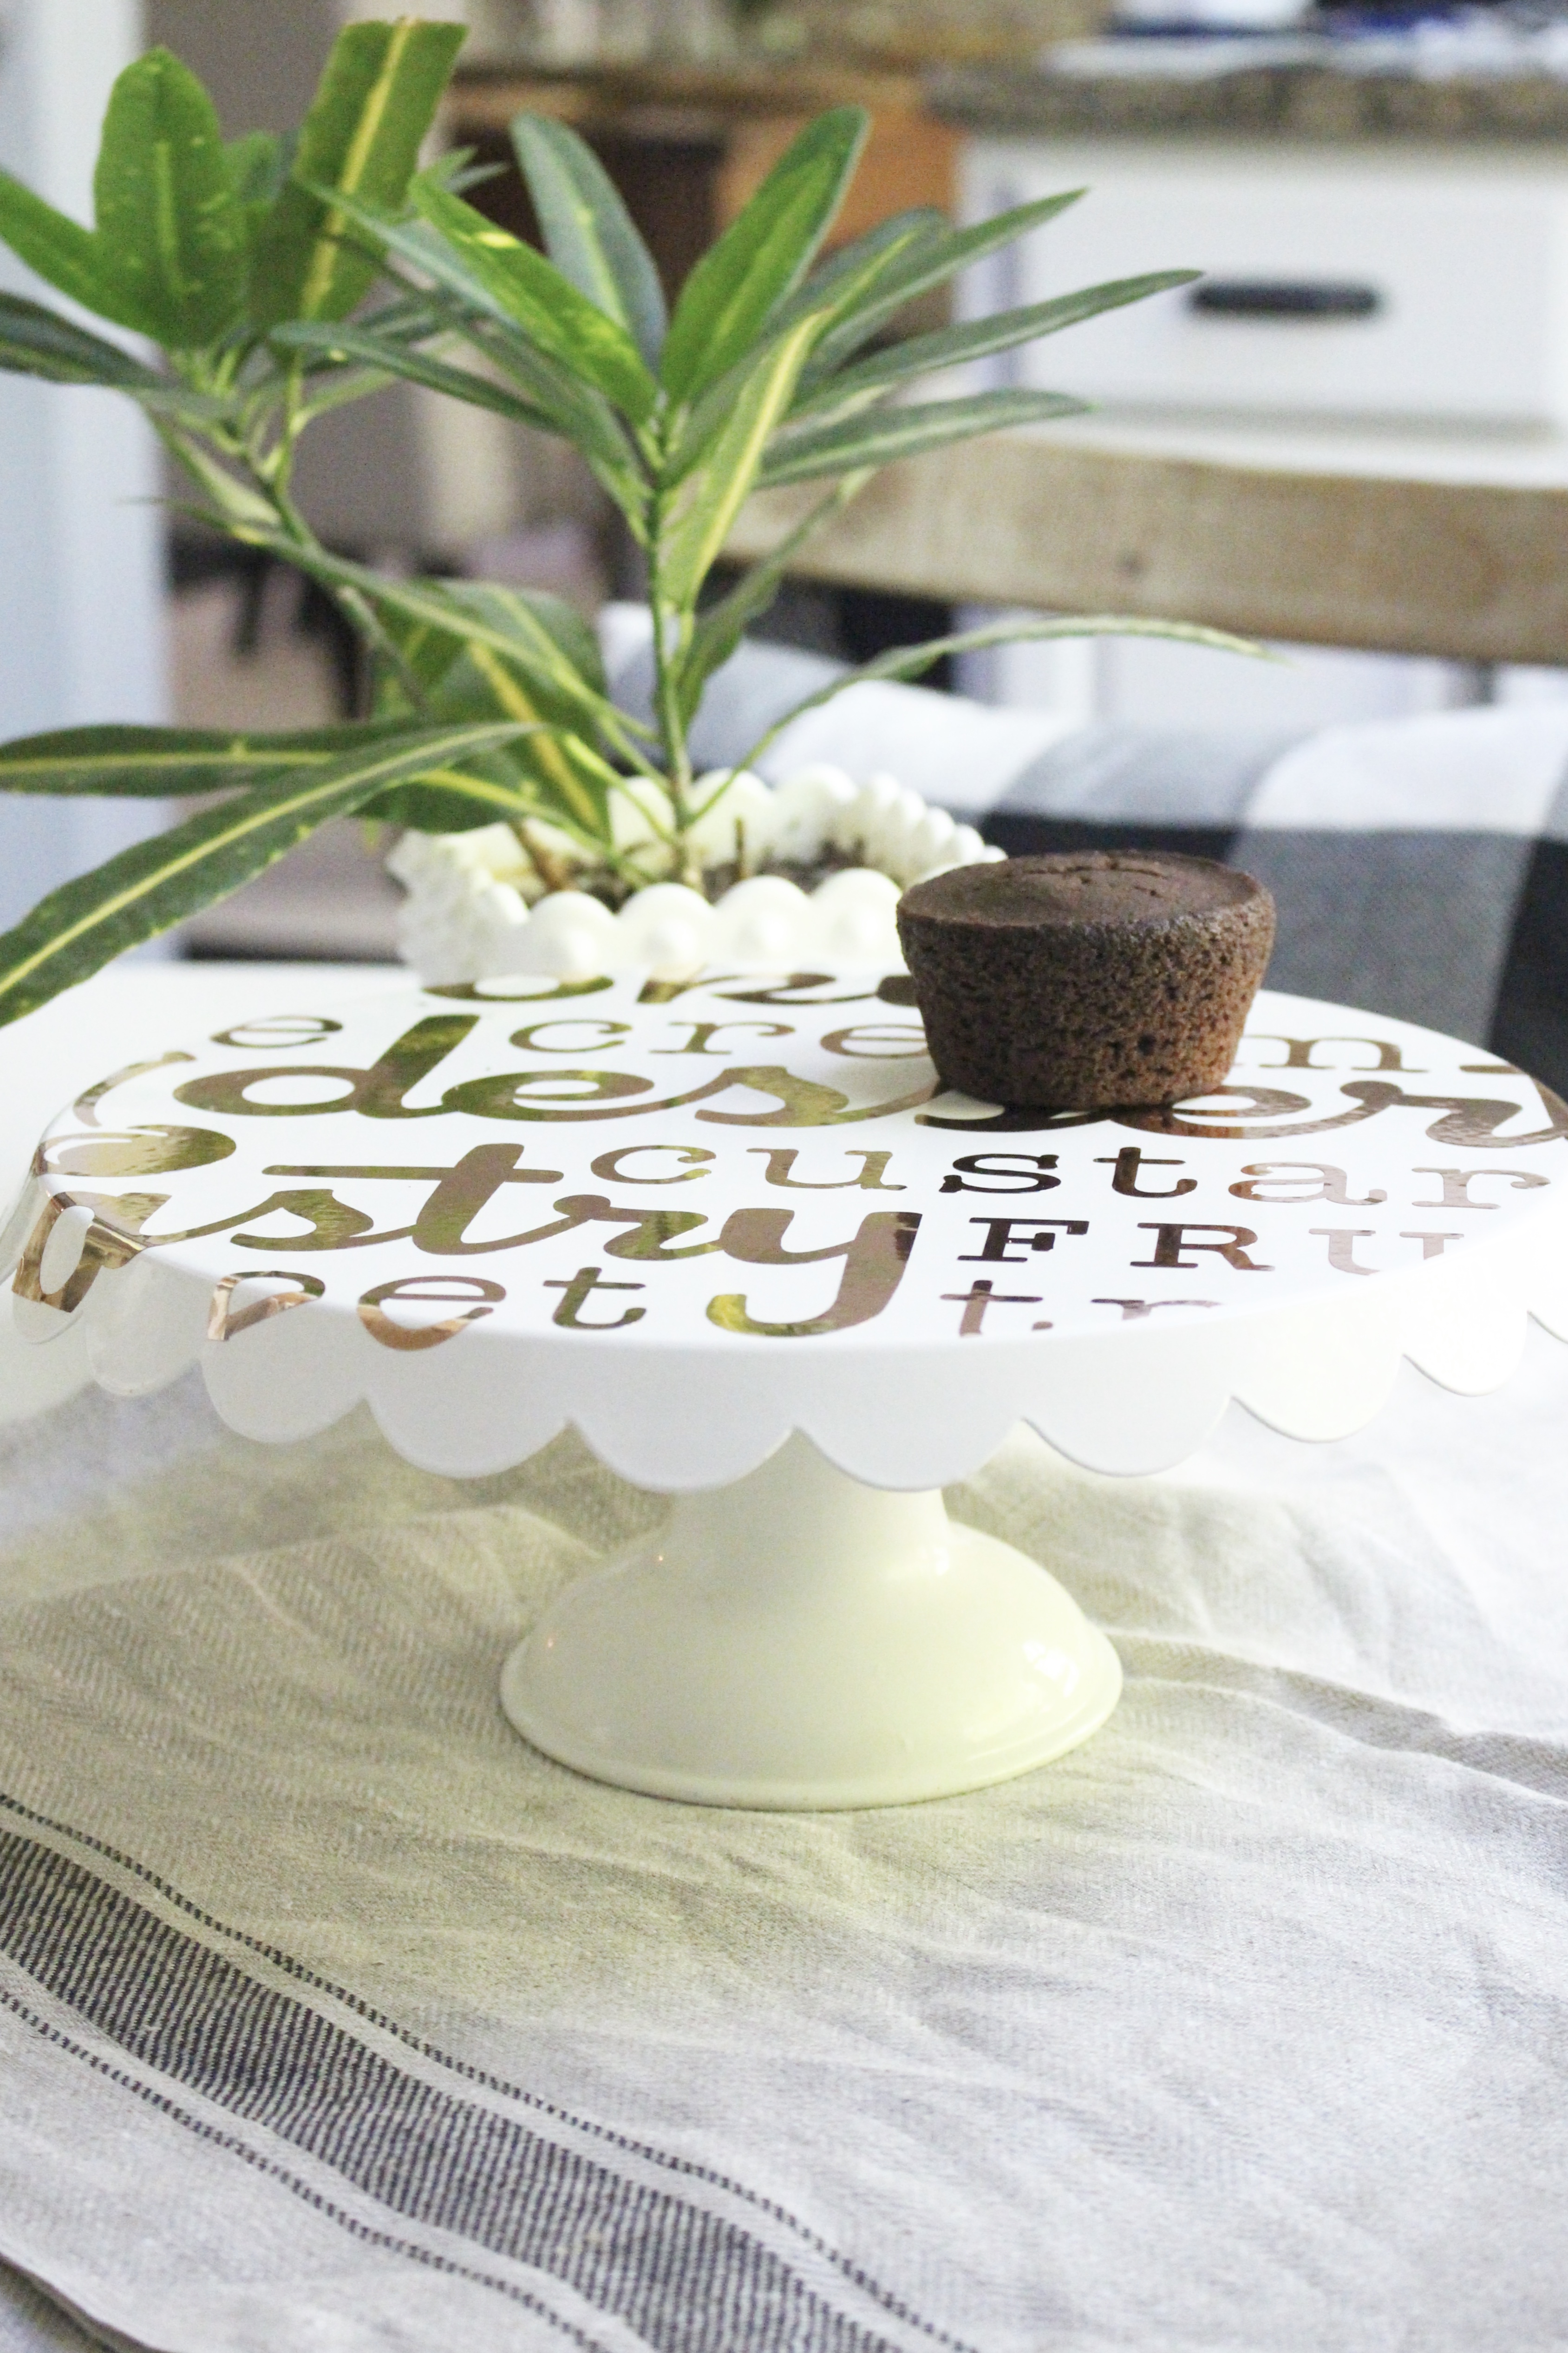
I collect cake stands so today, I am going to show you how to quickly embellish one to give it a fun new look!
Decorated Cake Stand
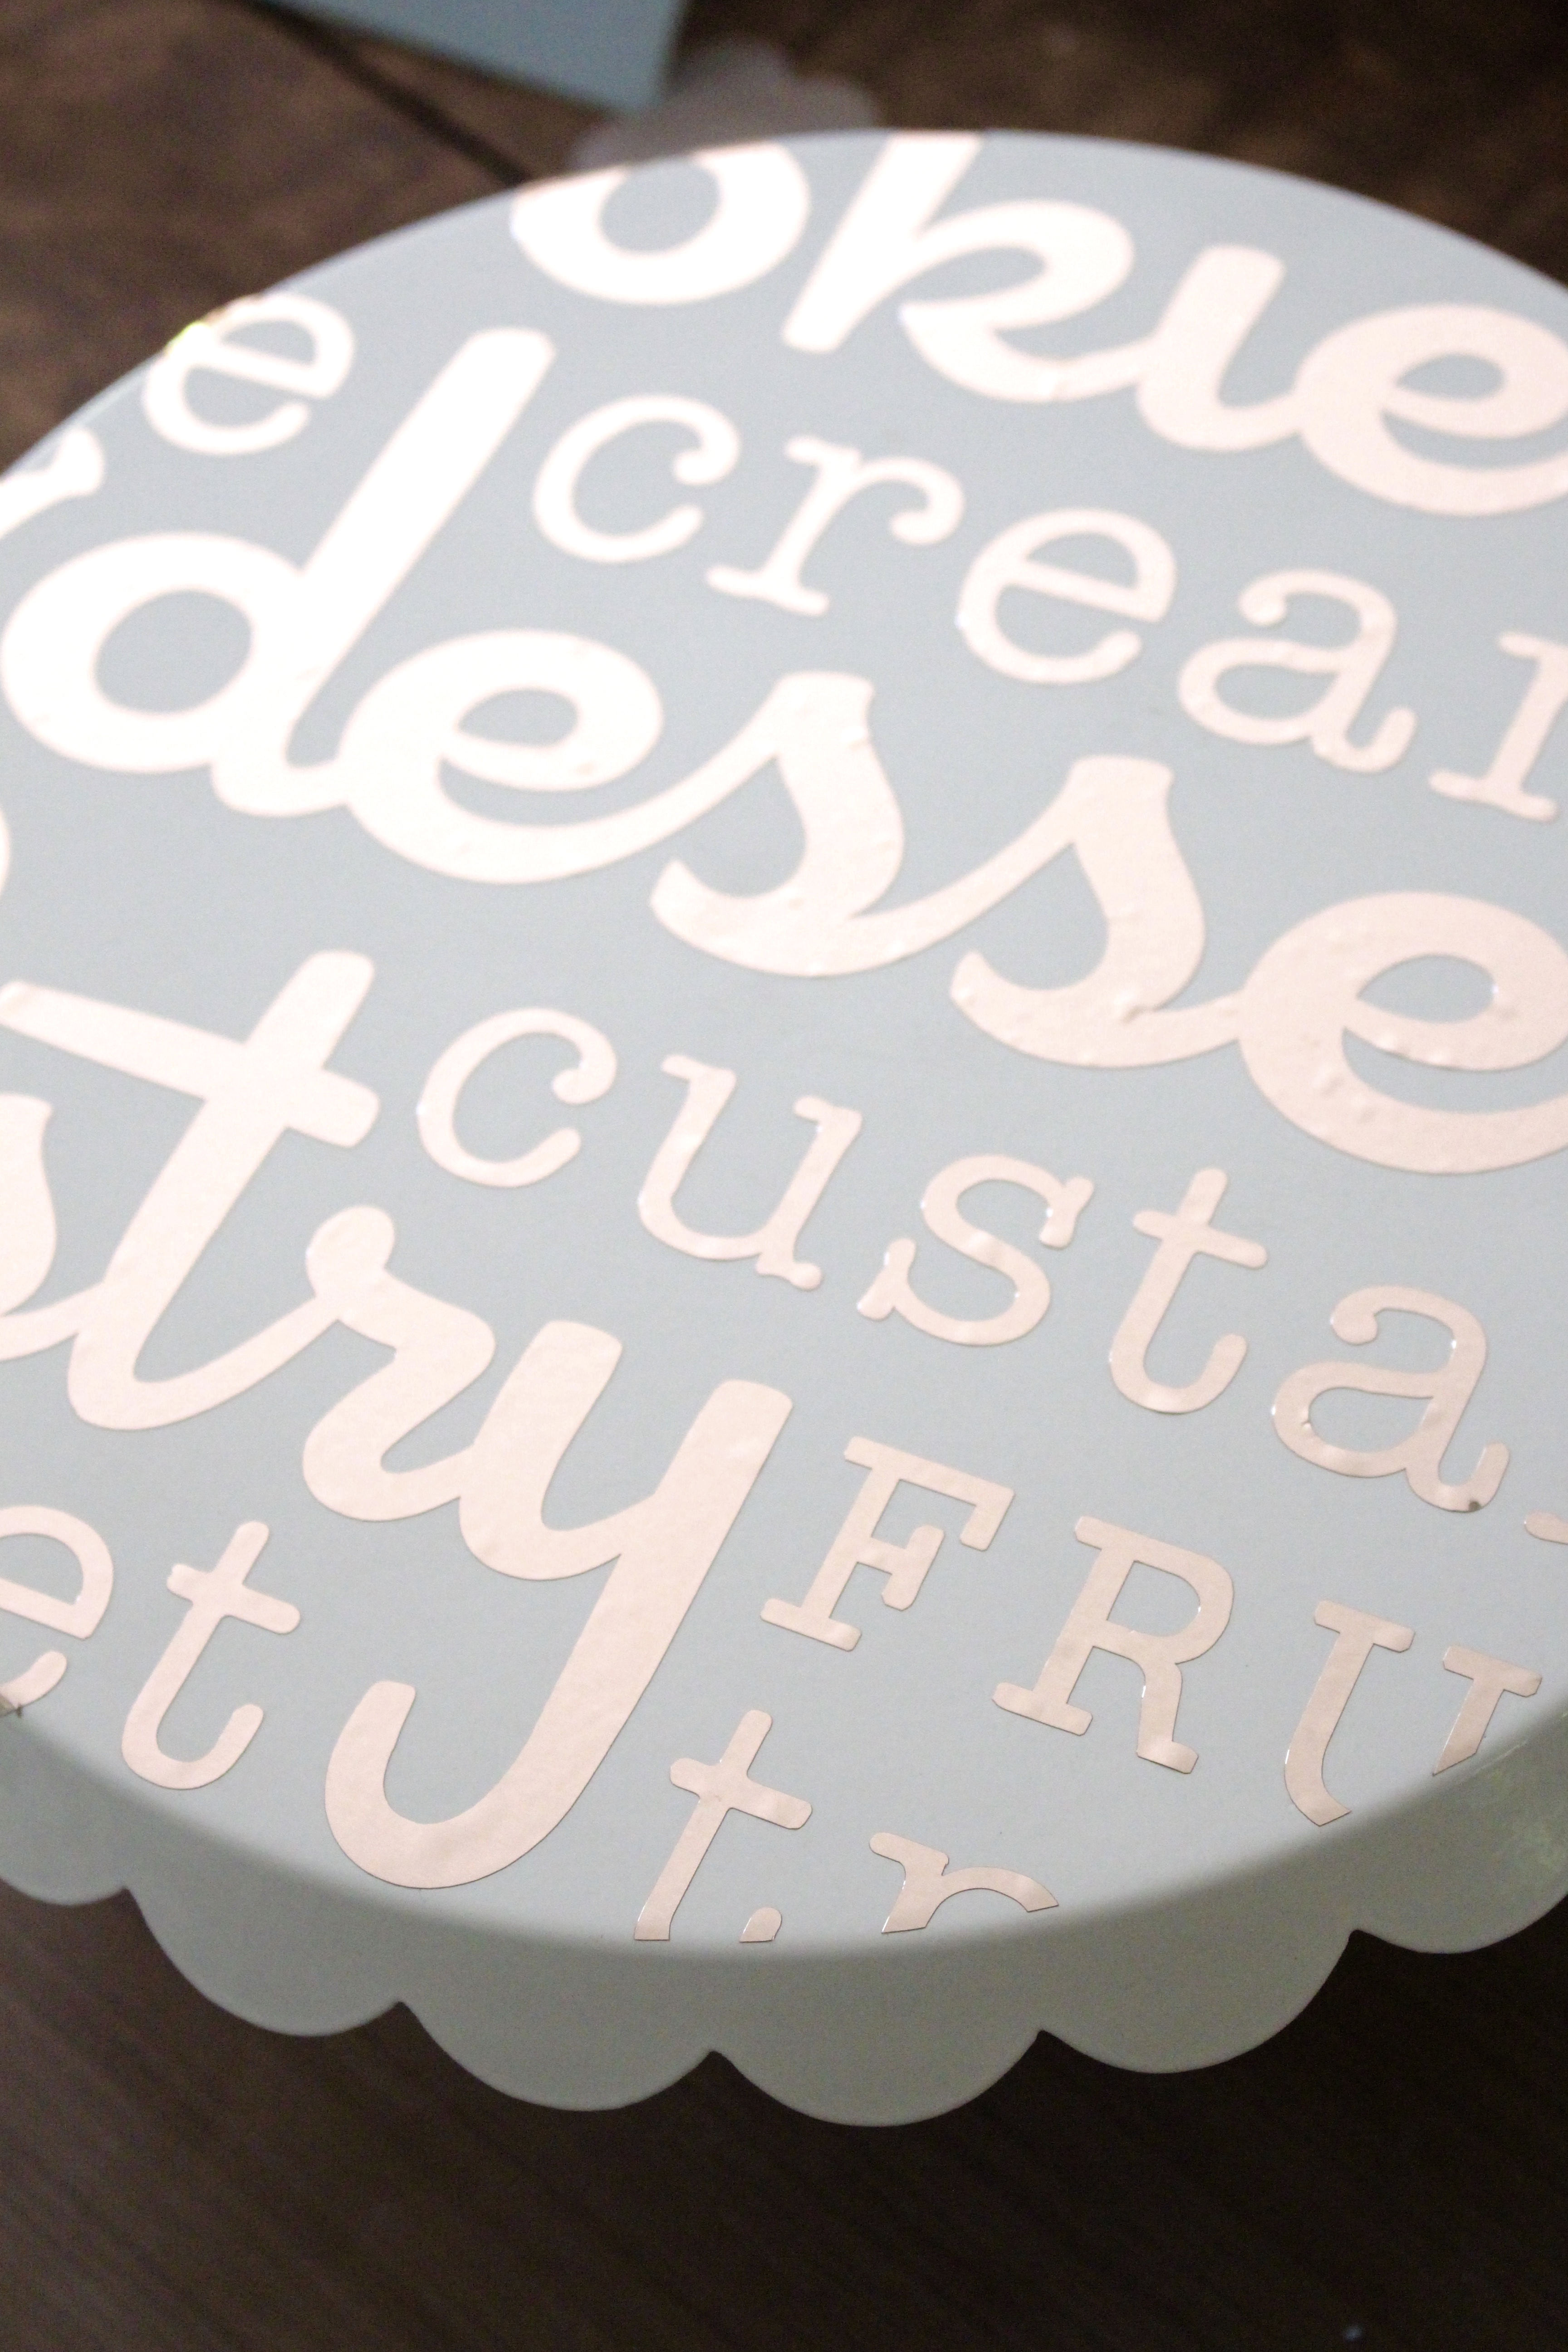
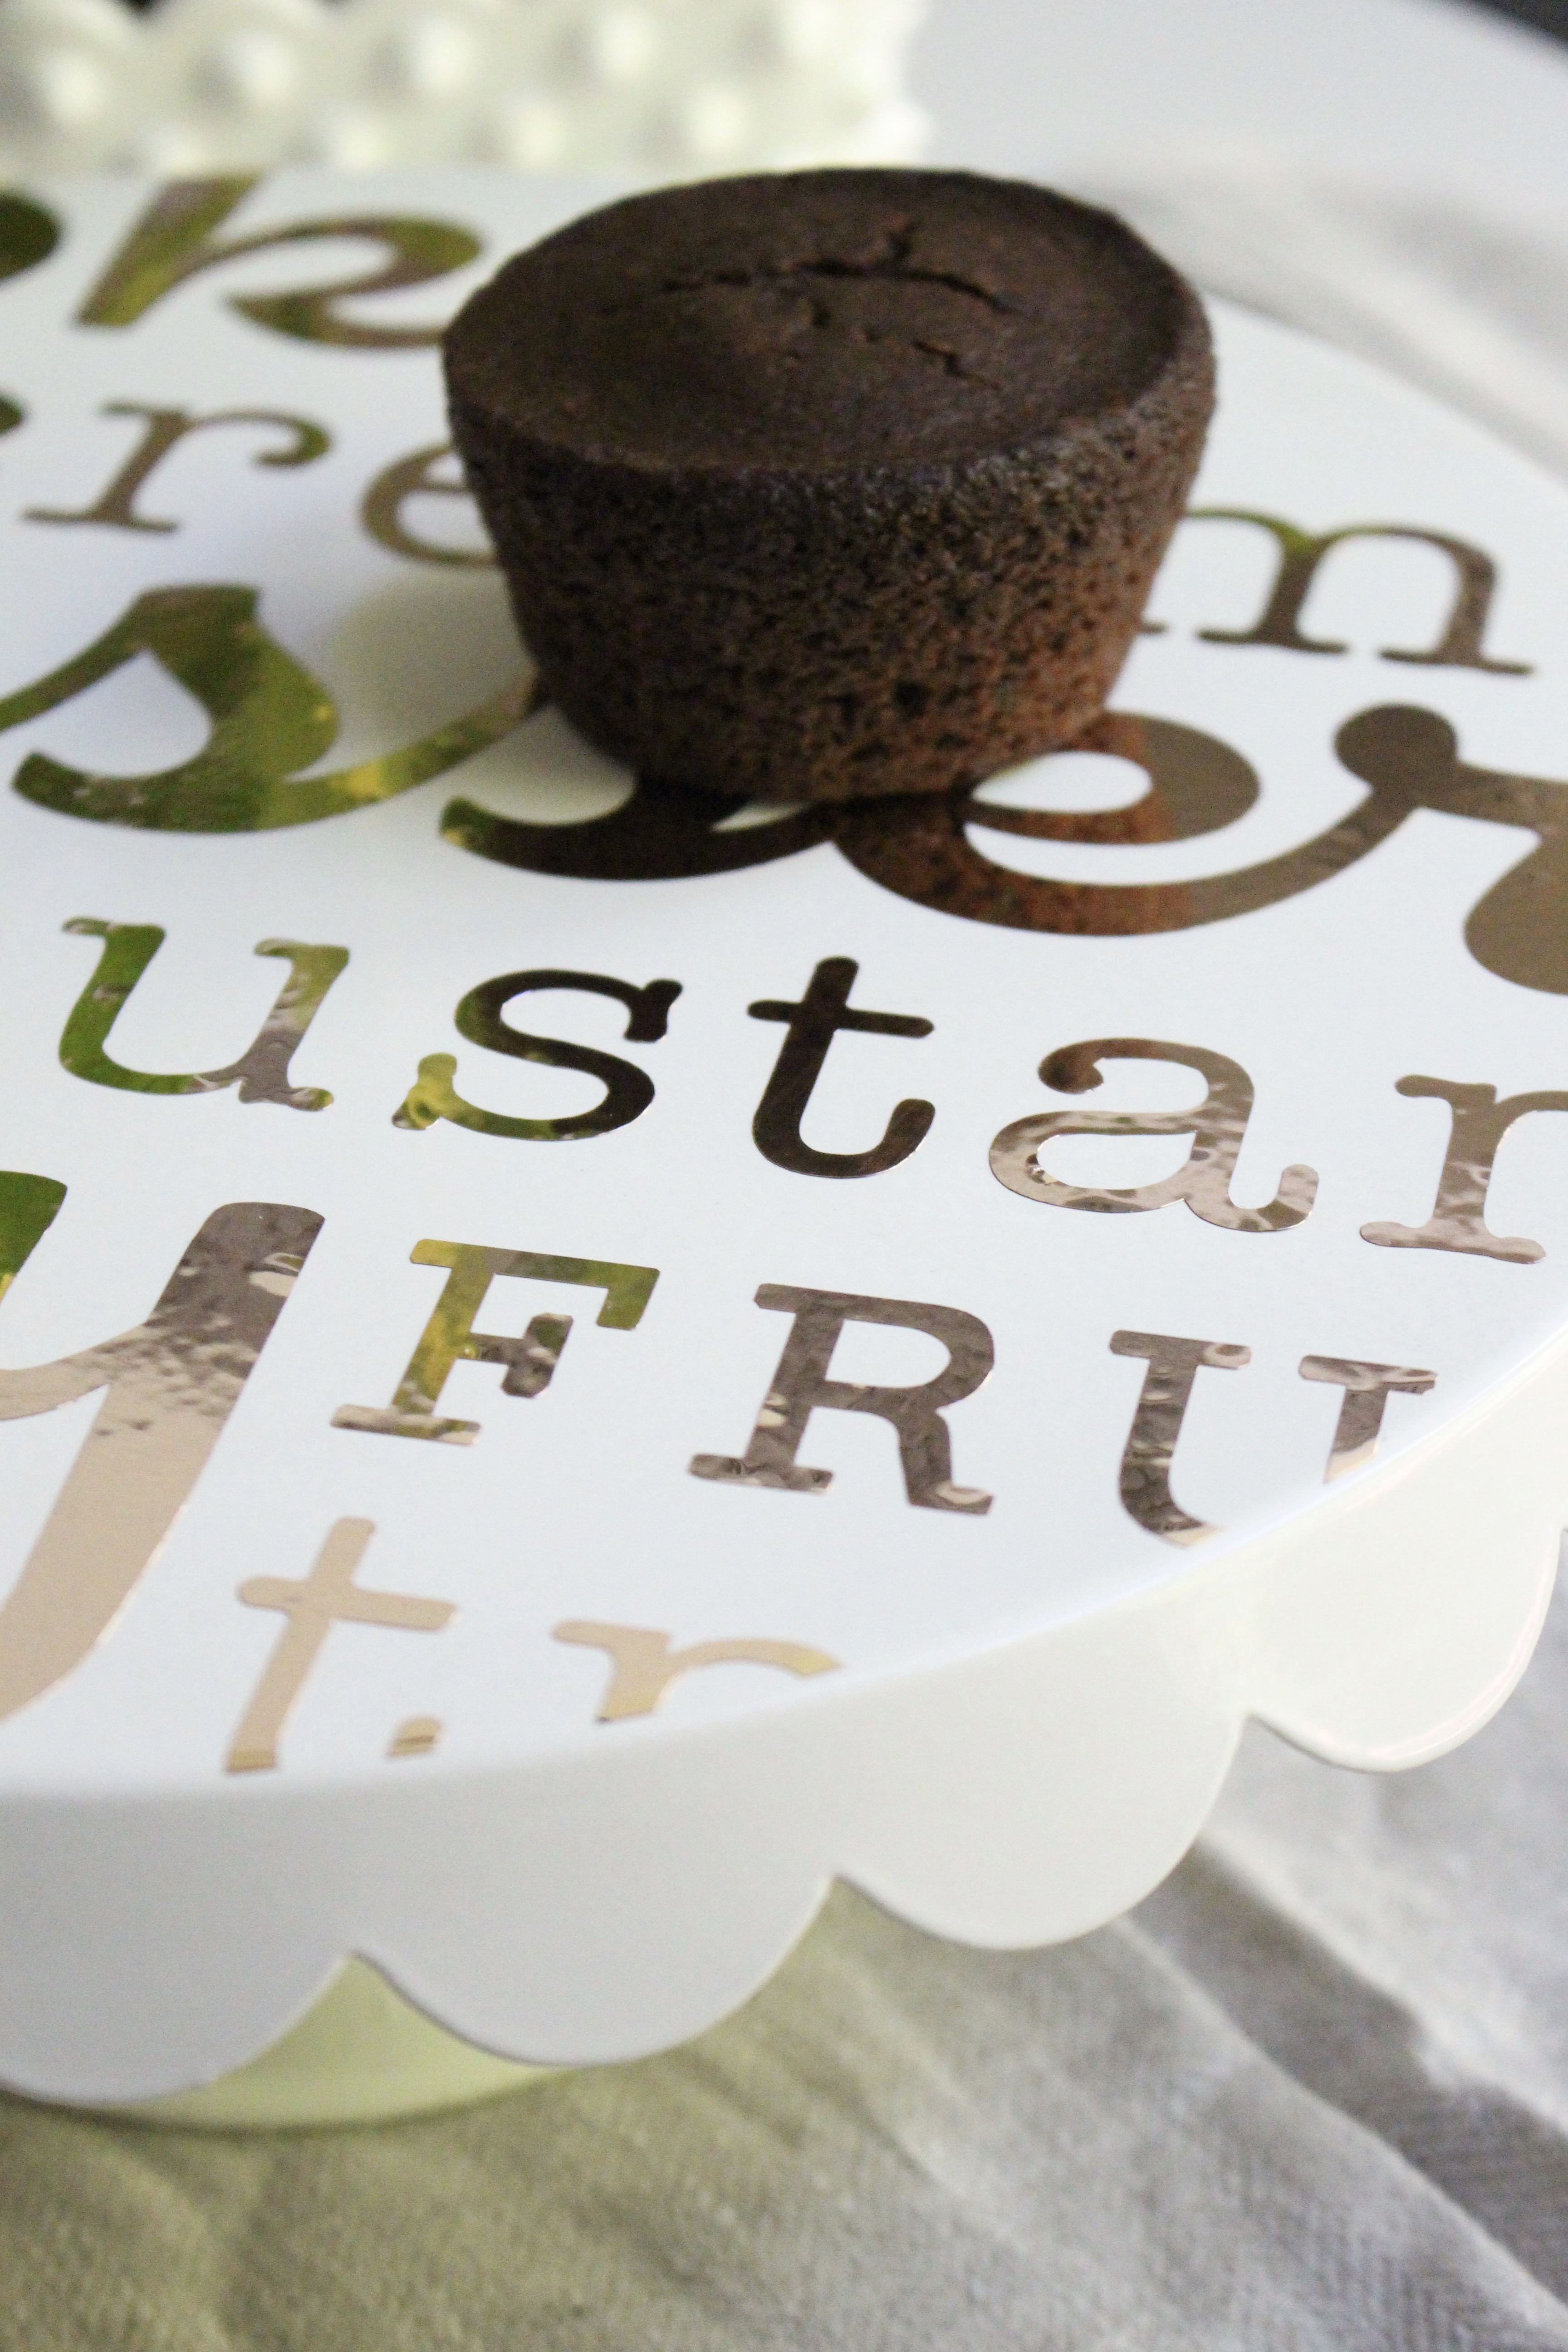
Using the Cricut Explore Air 2 to make creative projects is super easy with the Cricut Design Space image library. I began by searching the image library and found this cute image that would work for my white cake stand I purchased from World Market. It has names of all different kinds of desserts.
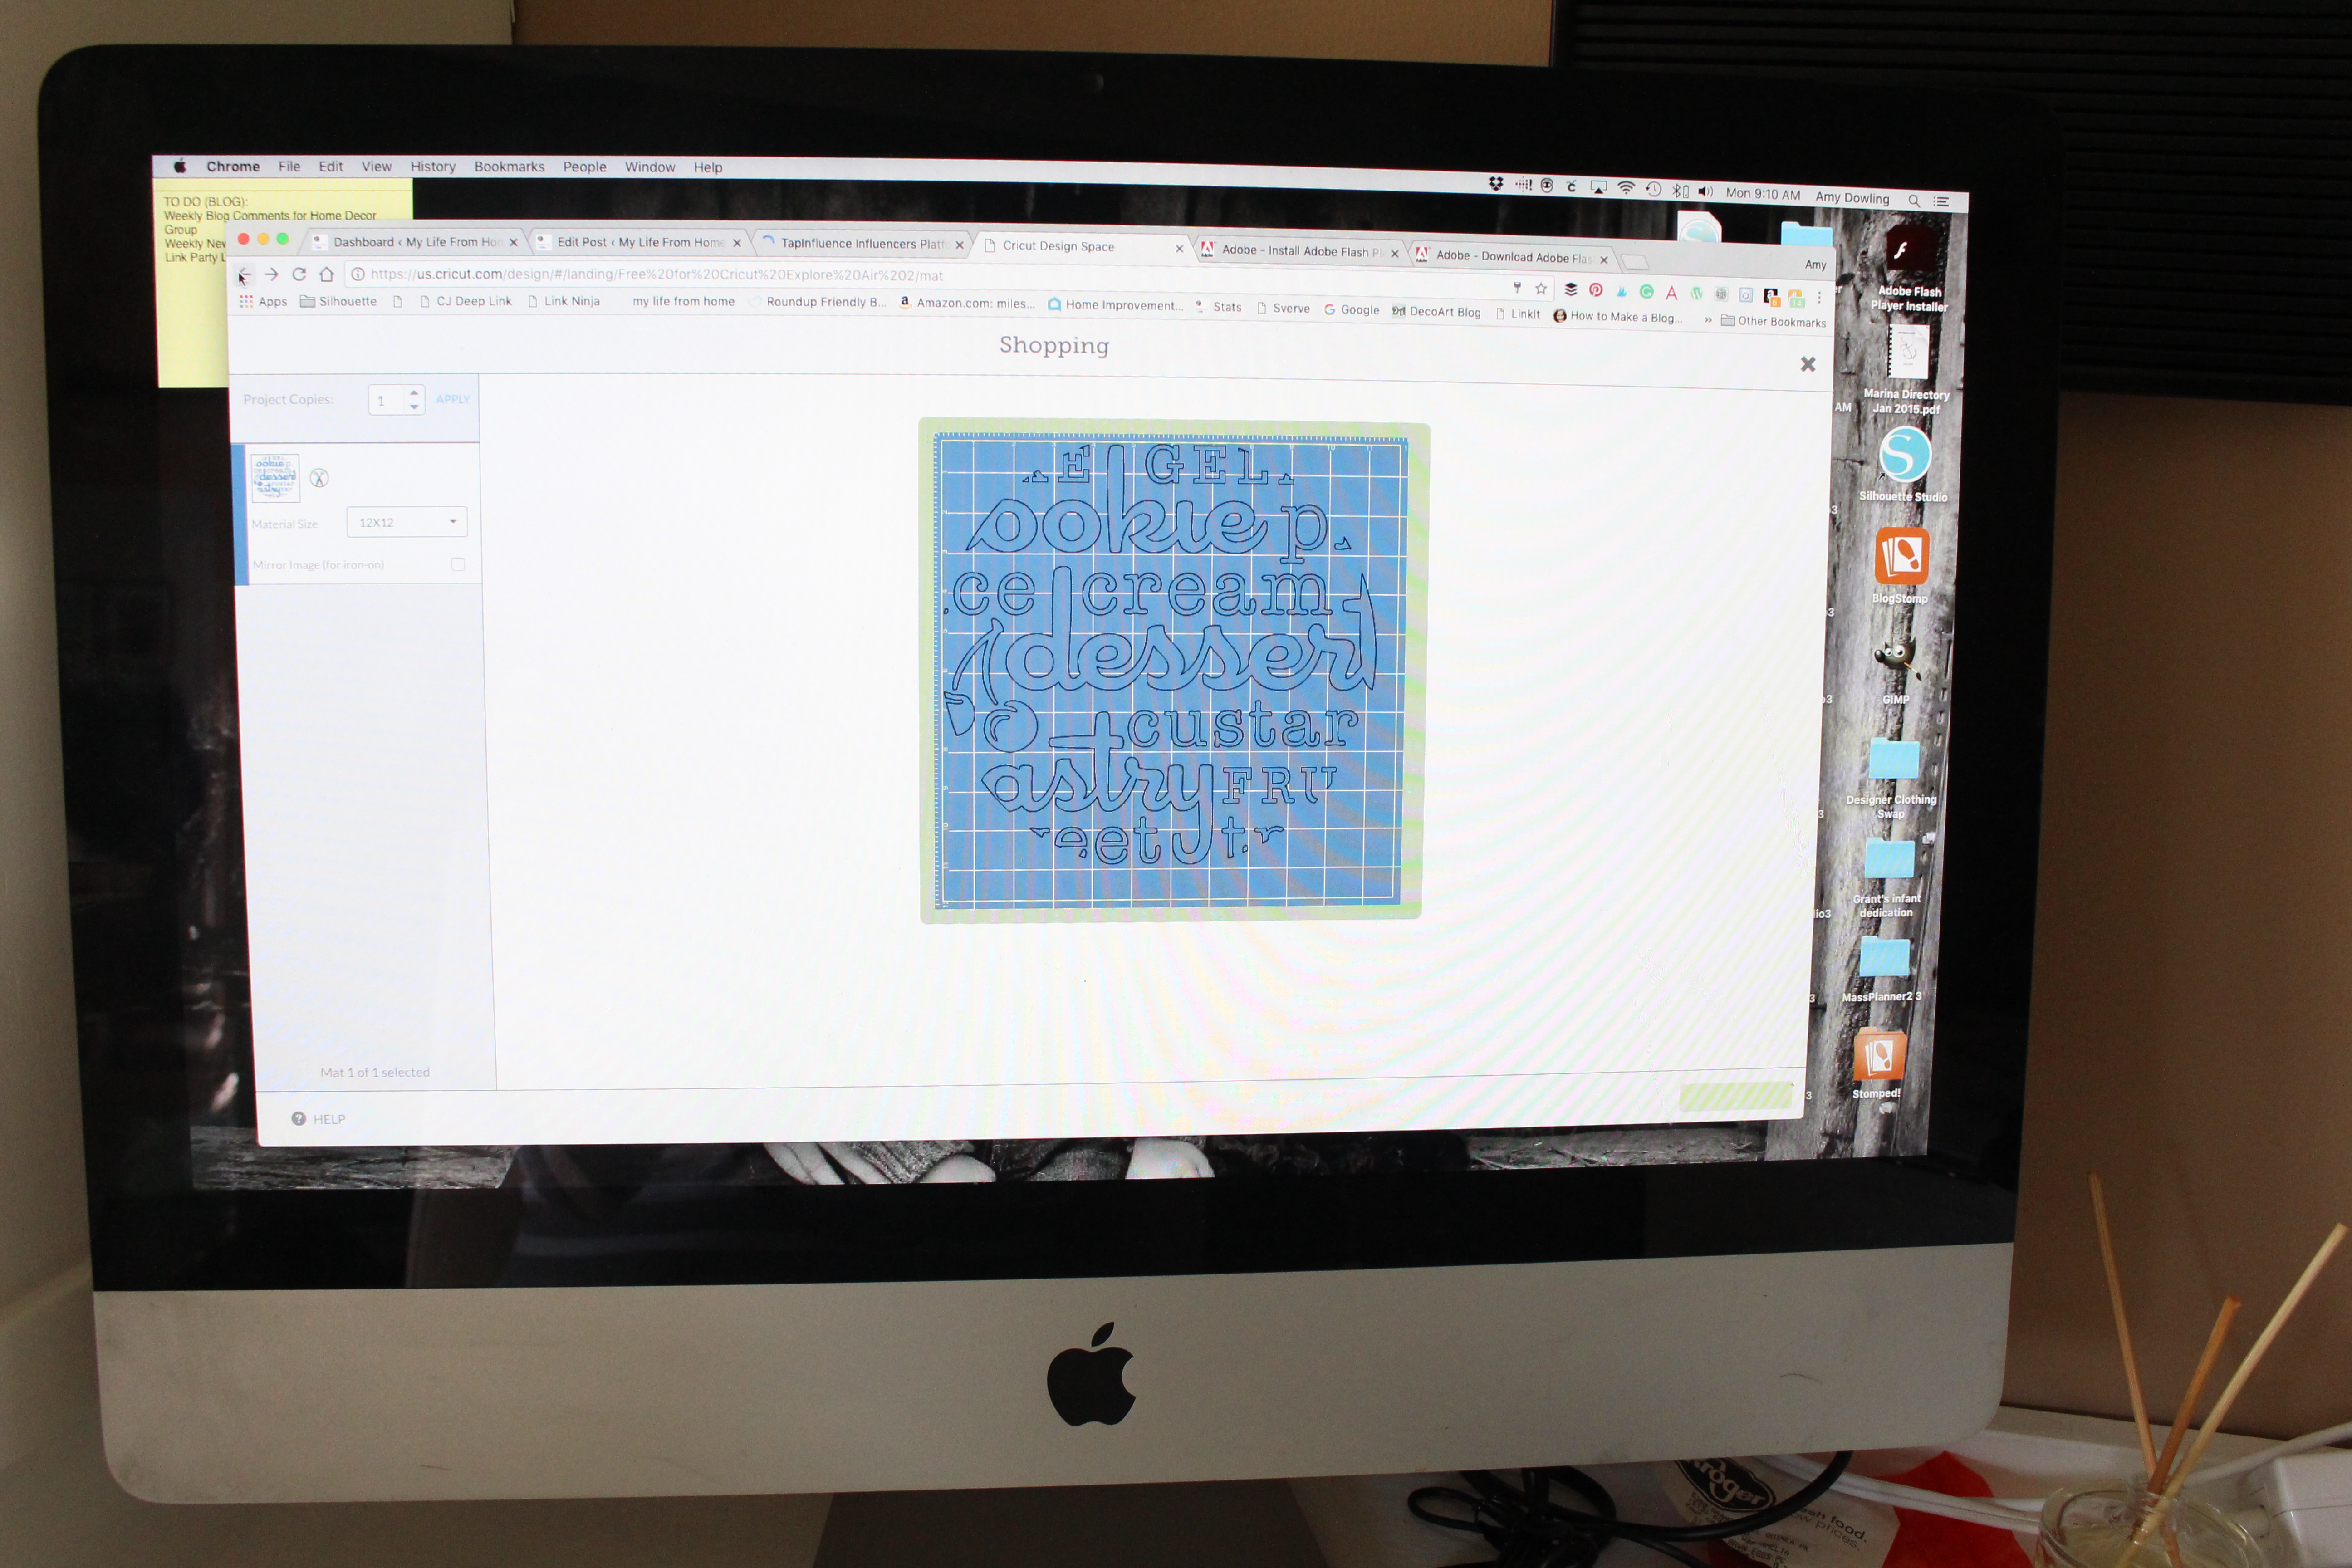
I purchased this one from the library and it popped right up on my cutting mat. You can edit it if you need to make it smaller or larger. It worked nicely the size that it was, so I didn't have to do anything.
I wanted to try out my copper vinyl so I loaded it into the machine and turned the knob on the machine to vinyl.

The screen will prompt you when it is ready and time to press the Cricut “go” button.
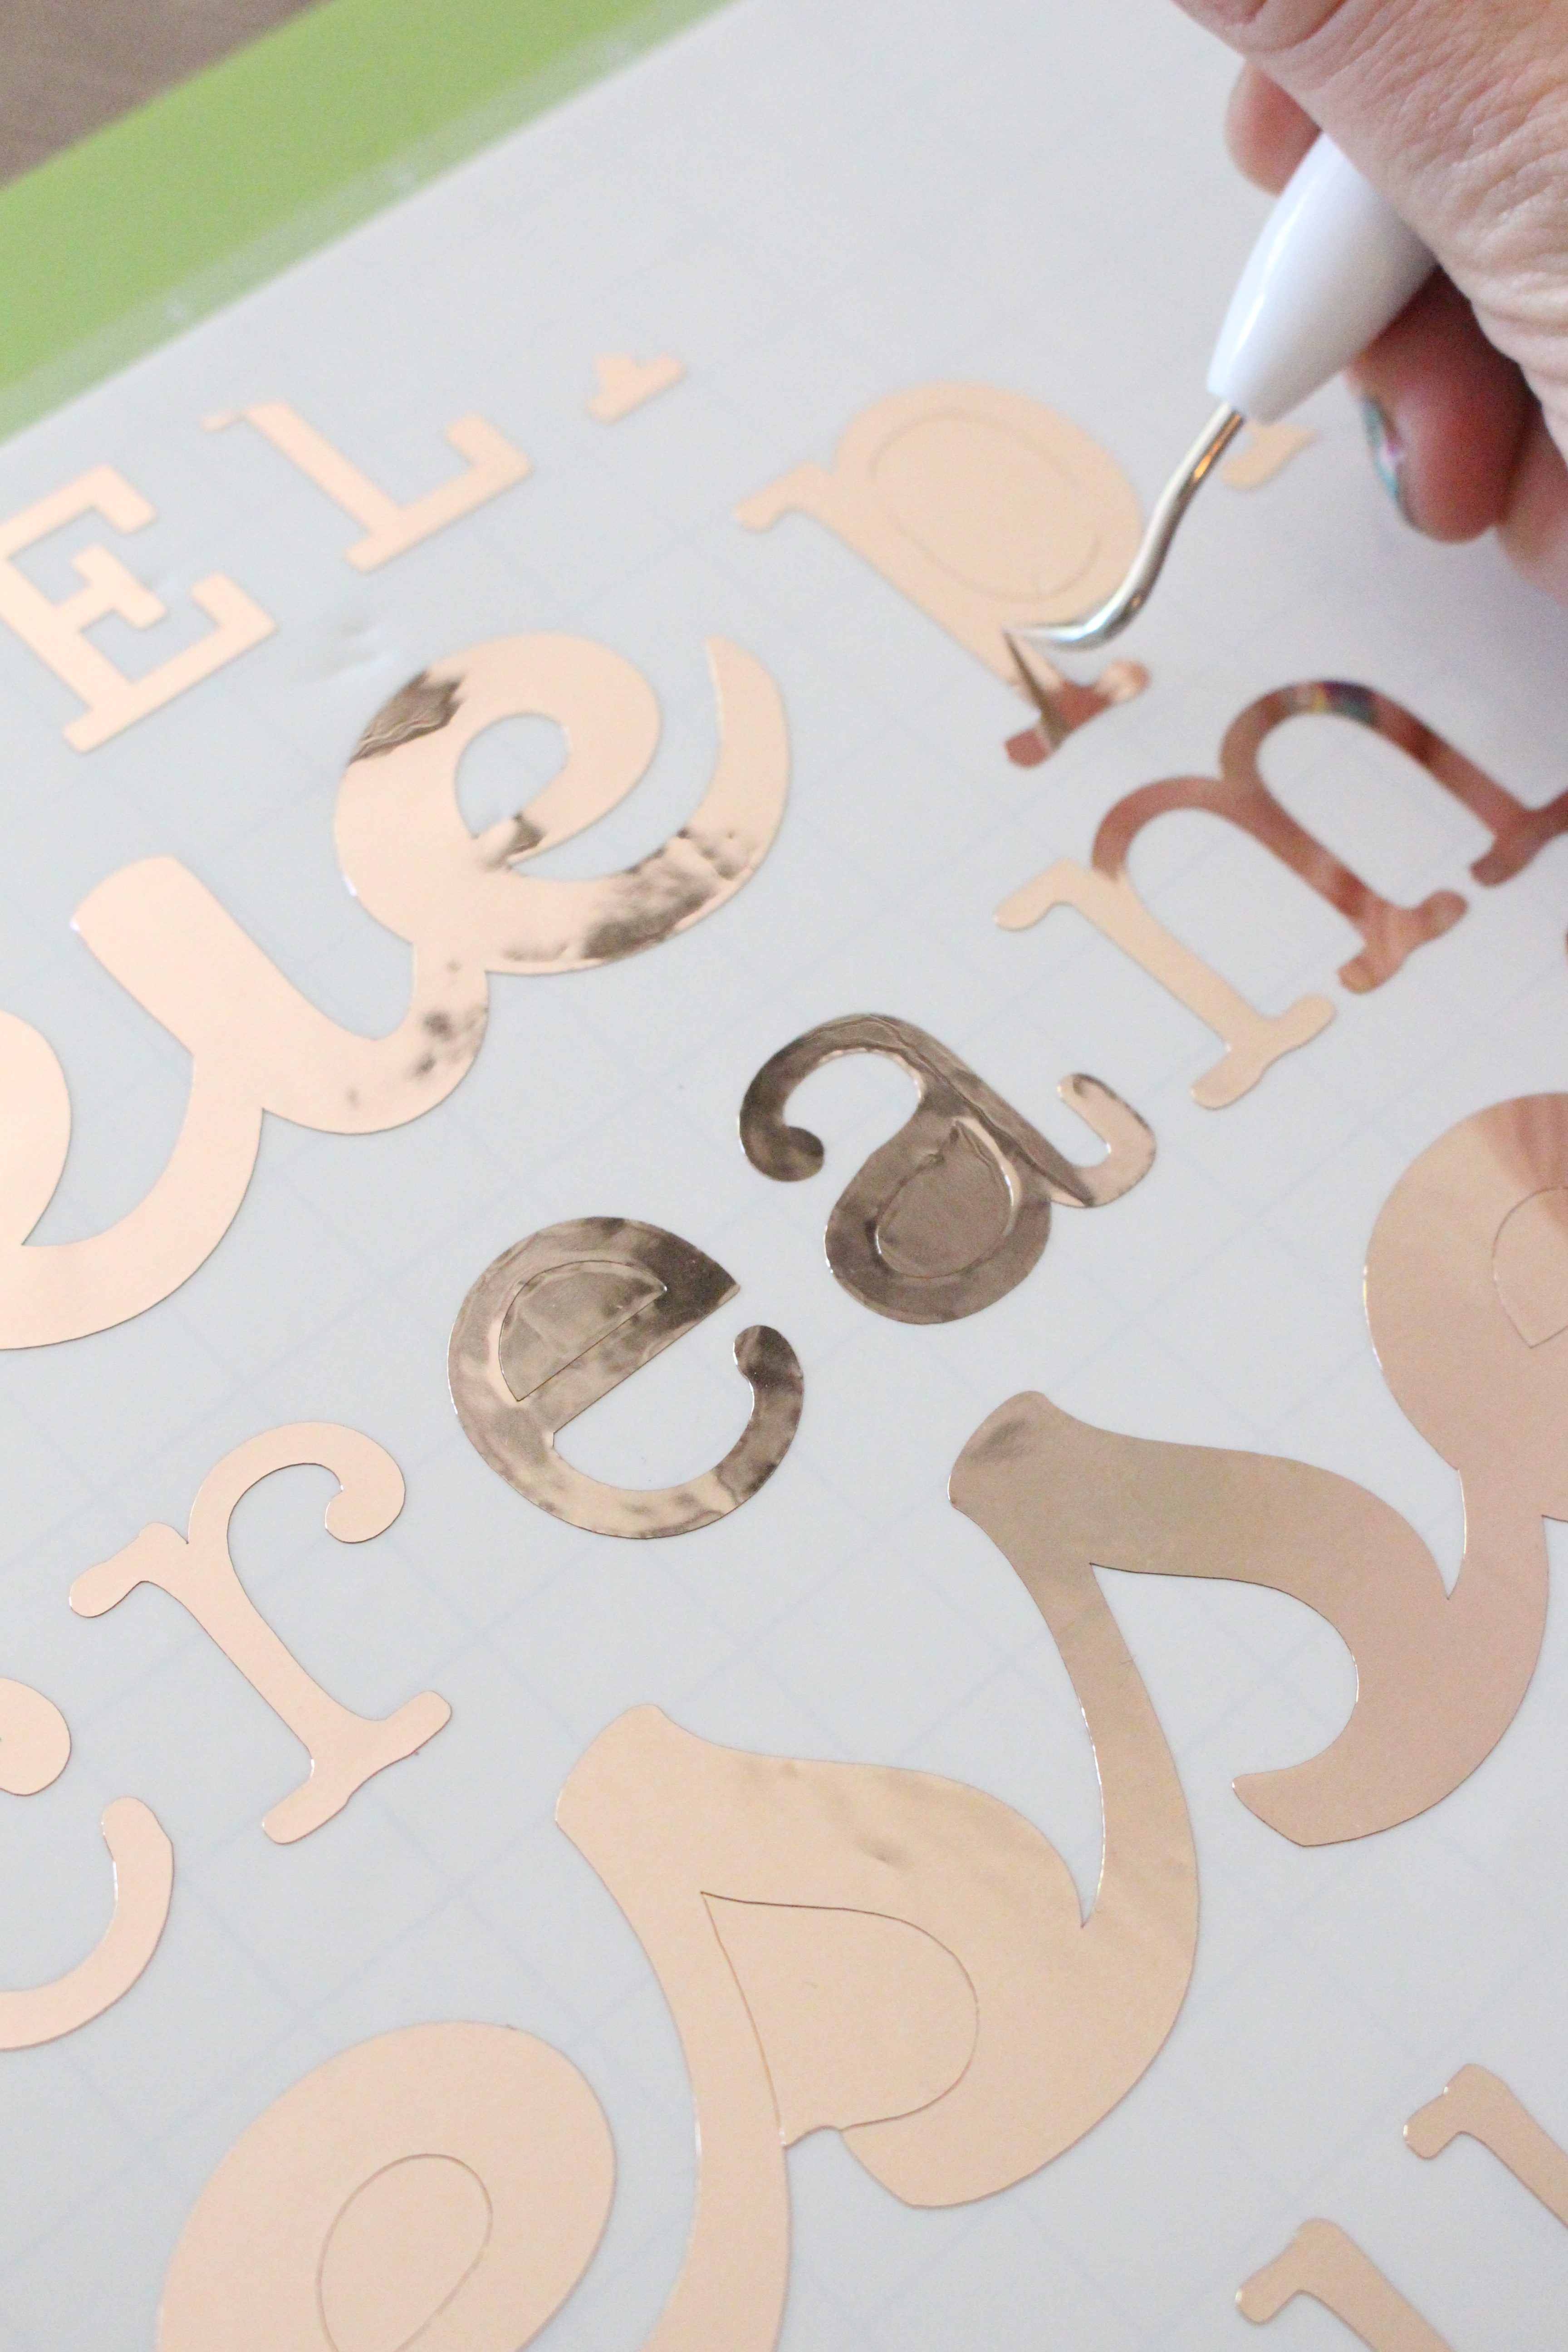
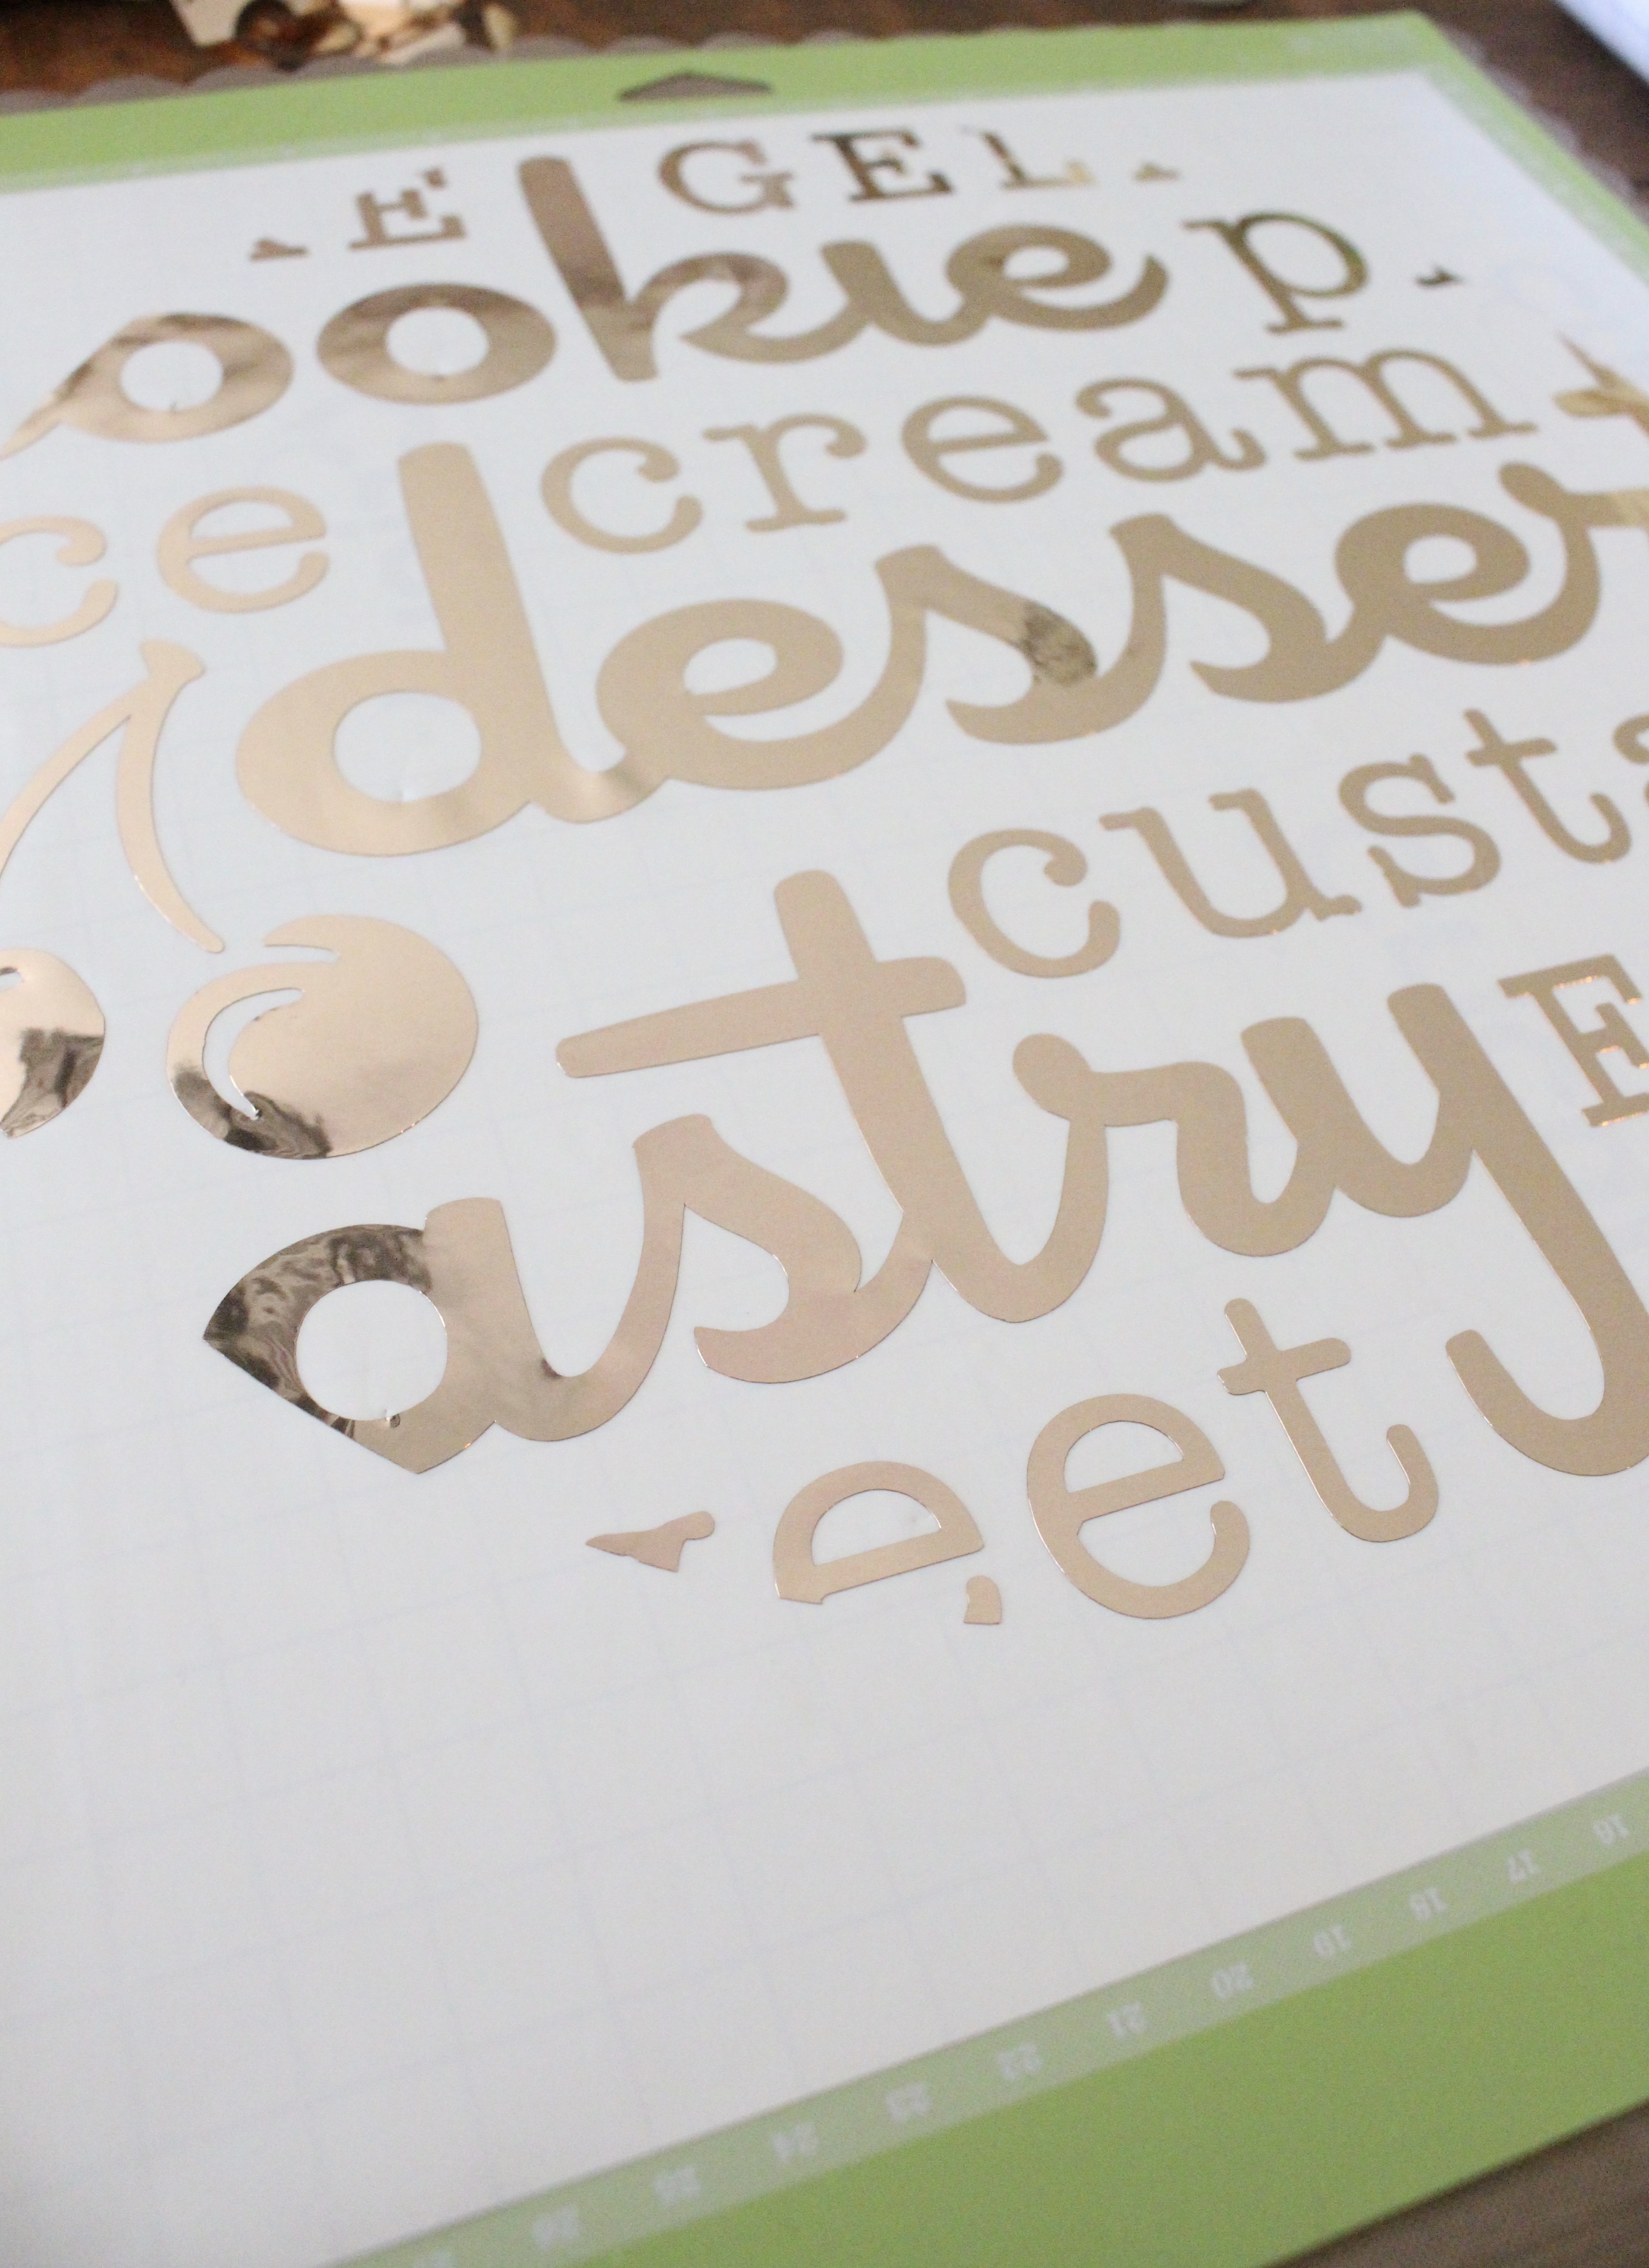
Once the vinyl is complete and cut, I used my weeding tool to weed out the excess vinyl.
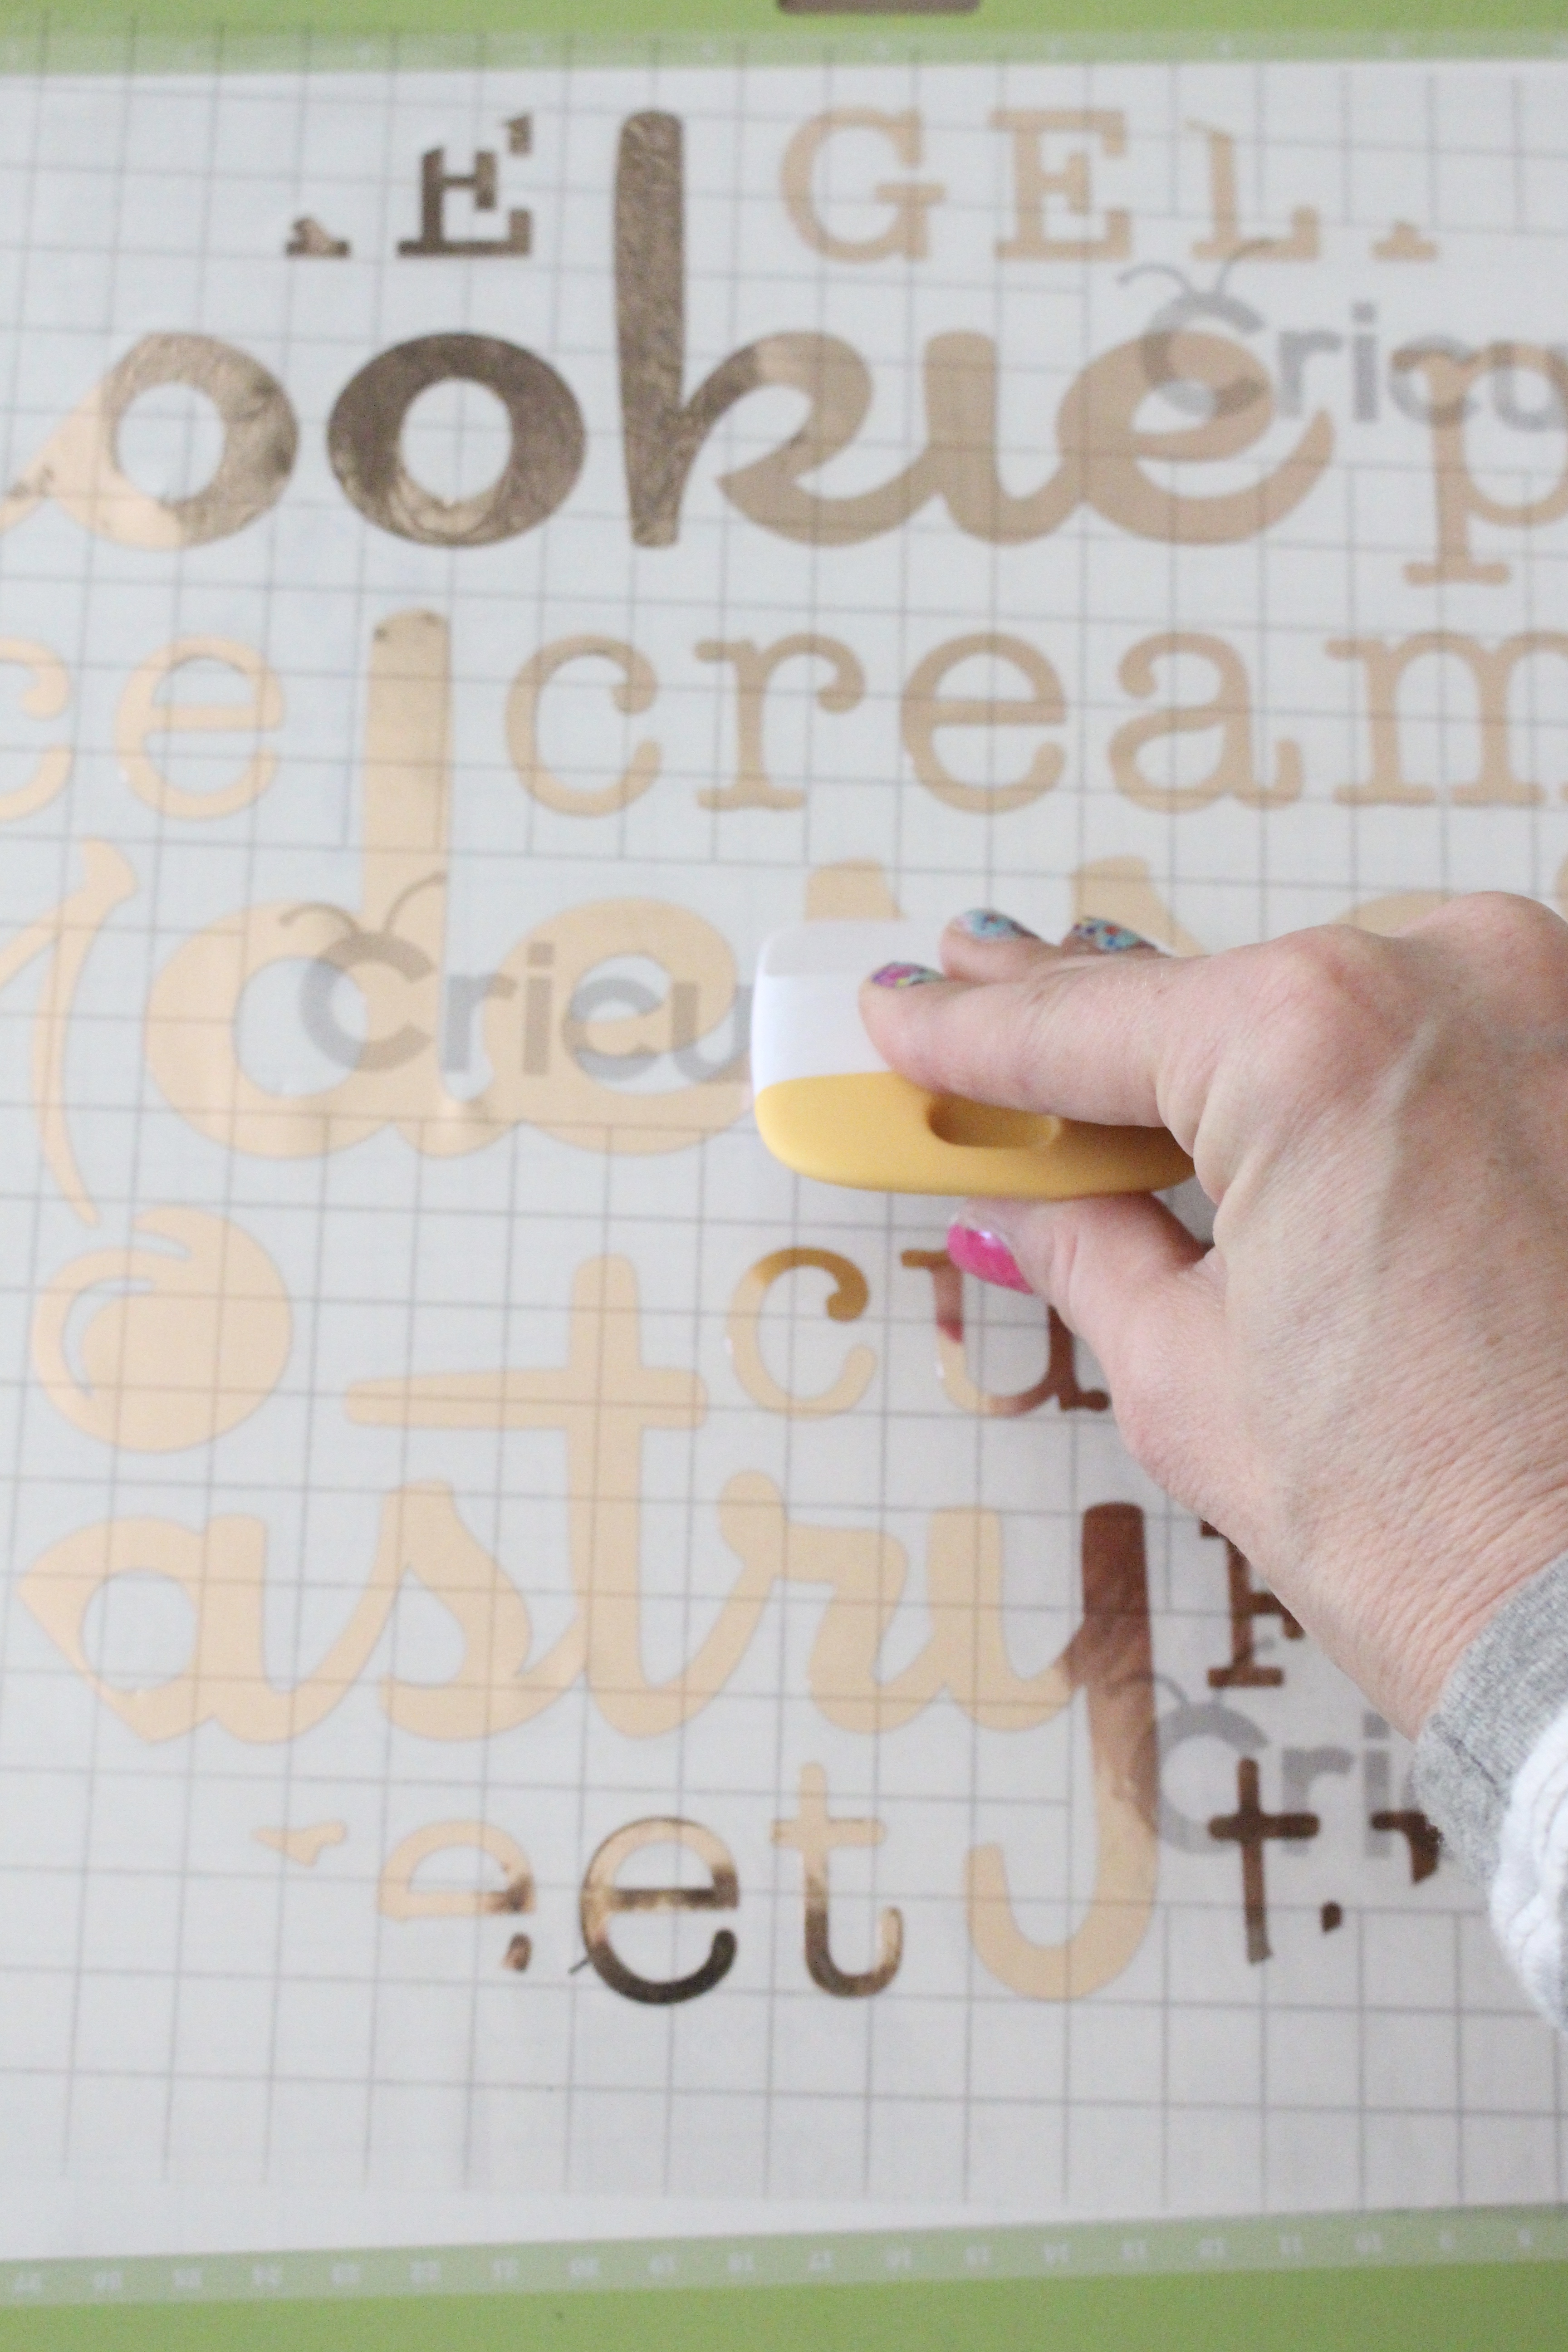
The next step is using the transfer tape. This step is best used for large images. It will keep the image altogether for easy transfer to your object.
Remove the backing off the transfer tape and carefully lay it on top of your image. Using the smoothing tool, smooth it until it adheres completely. You can lift up a small corner and see if your image is transferring to the tape. If not, lay the transfer tape back down and smooth some more.
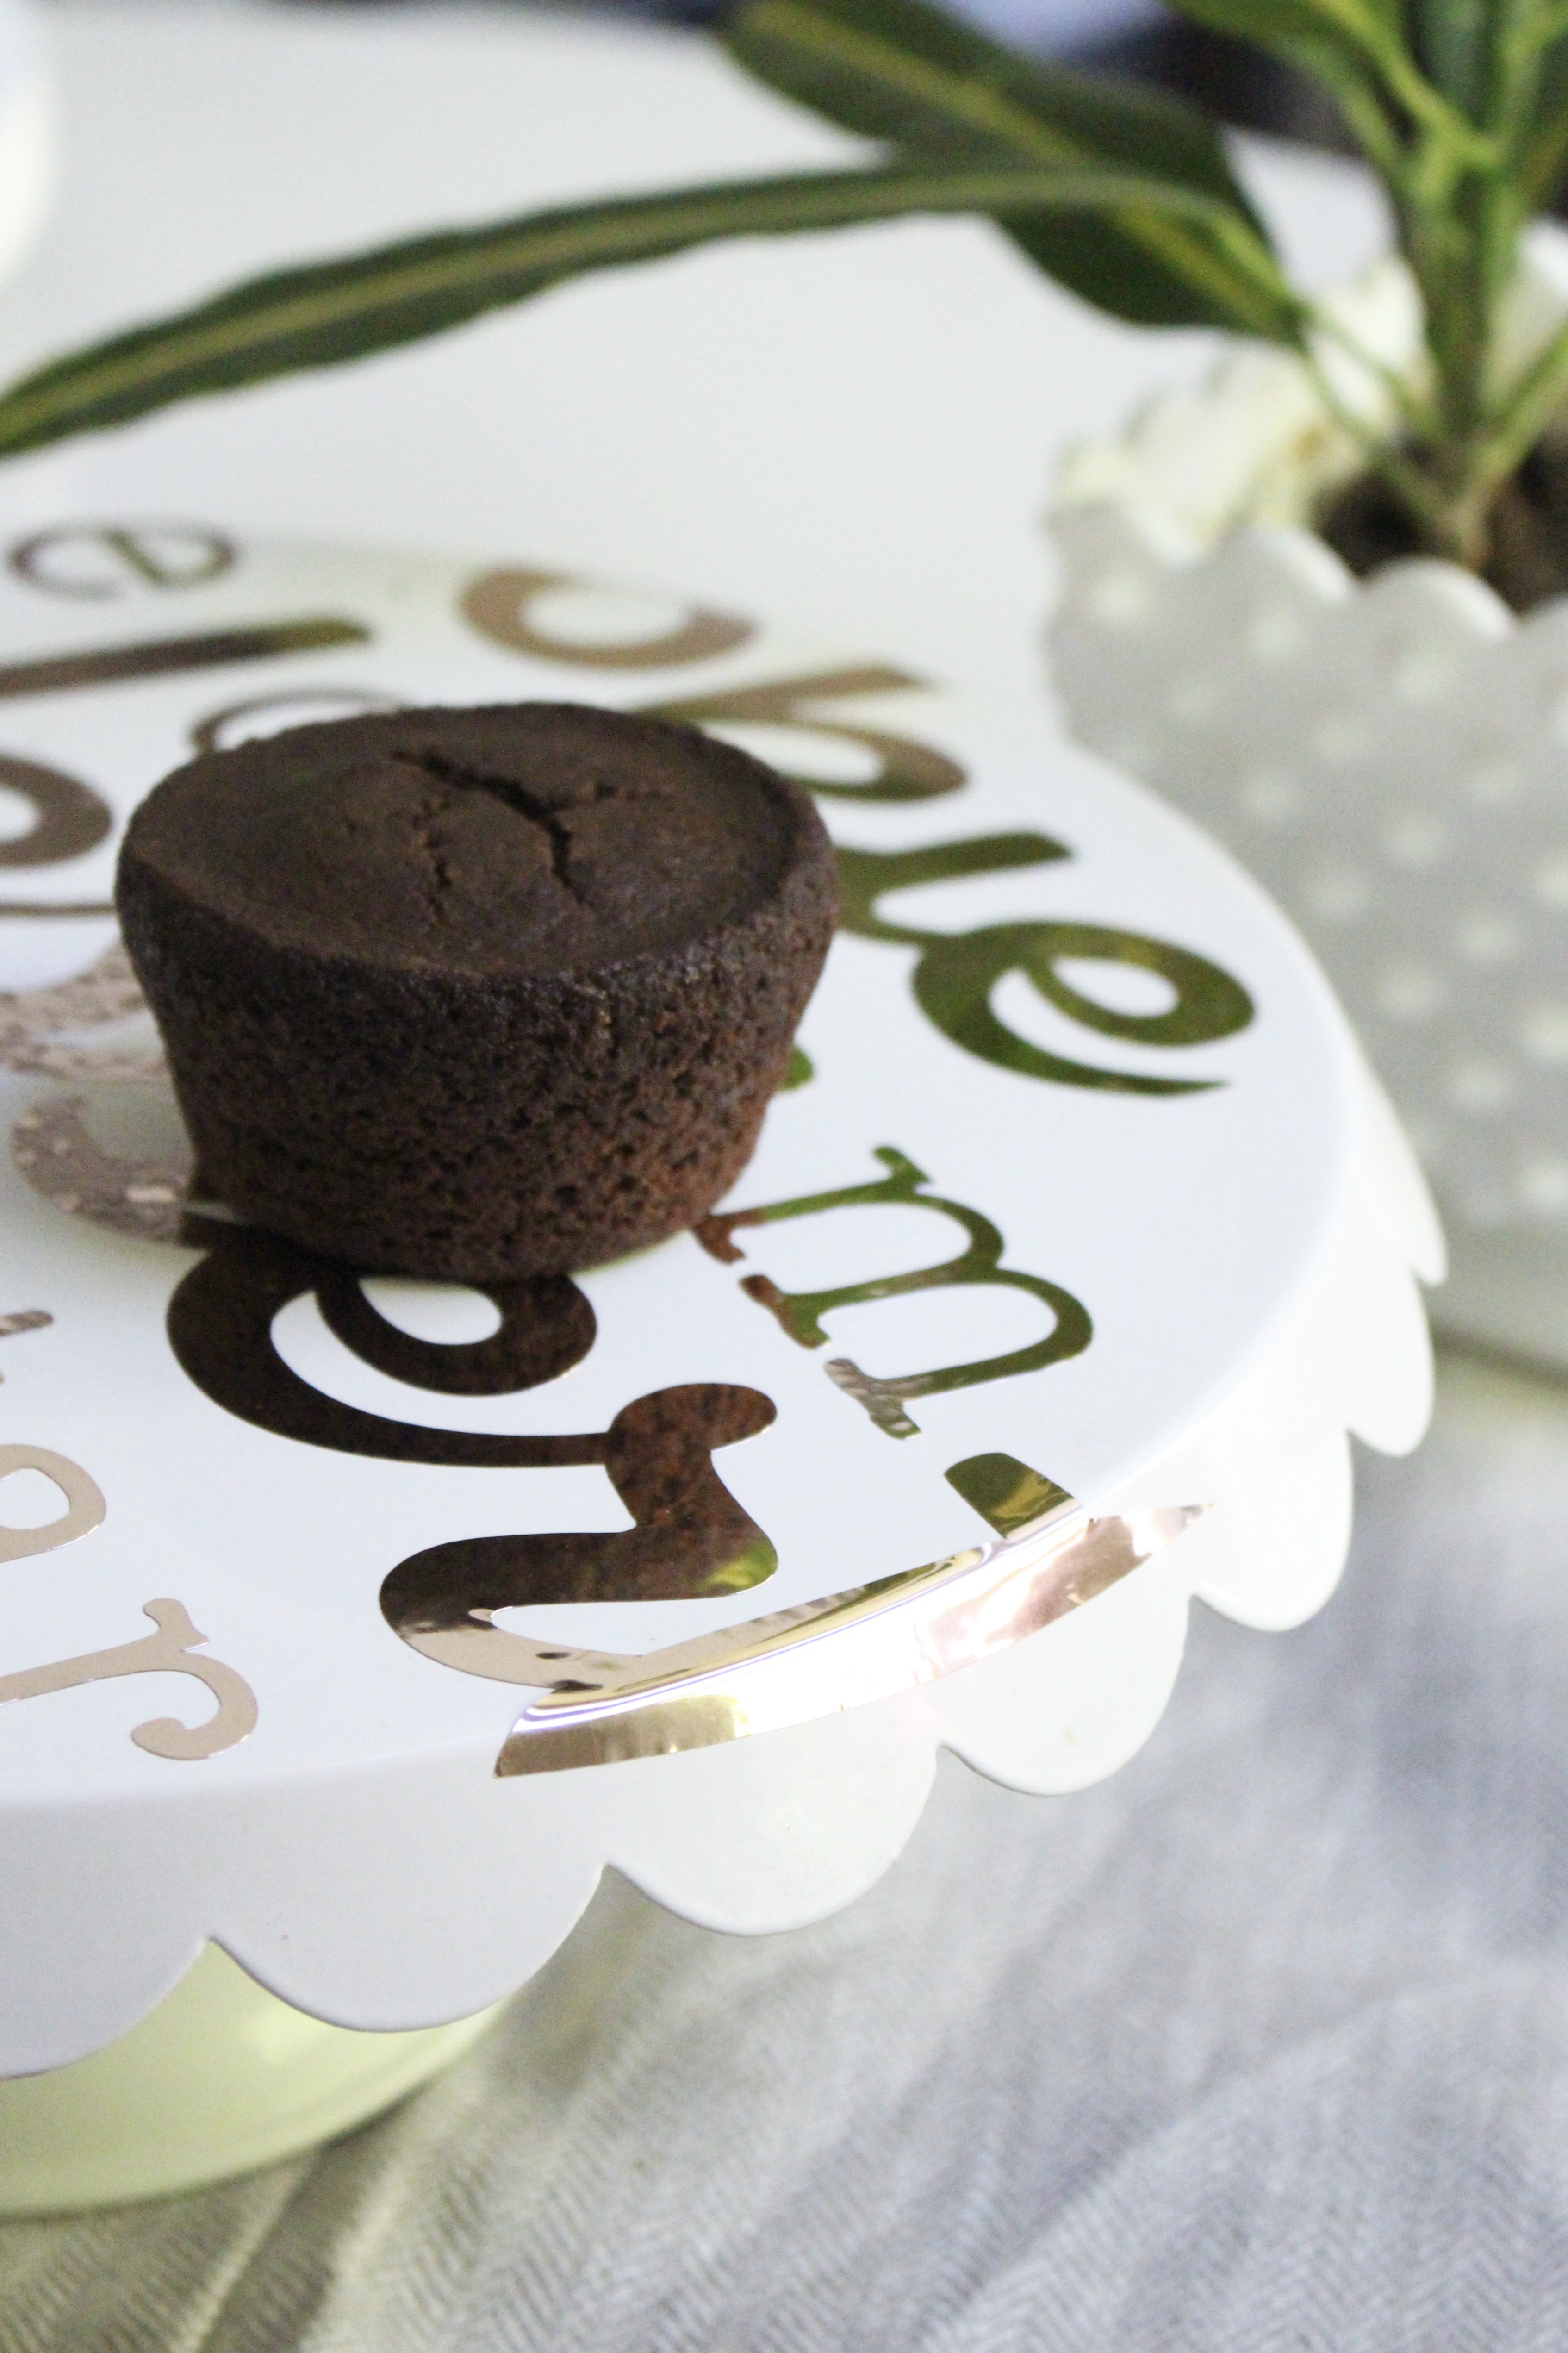
Once it completely adheres, transfer the image to your cake stand and smooth it on the surface completely by using the smoothing tool again.
There were a few bubbles here and there, but not bad. You can continue to smooth once it is on the surface if you want.
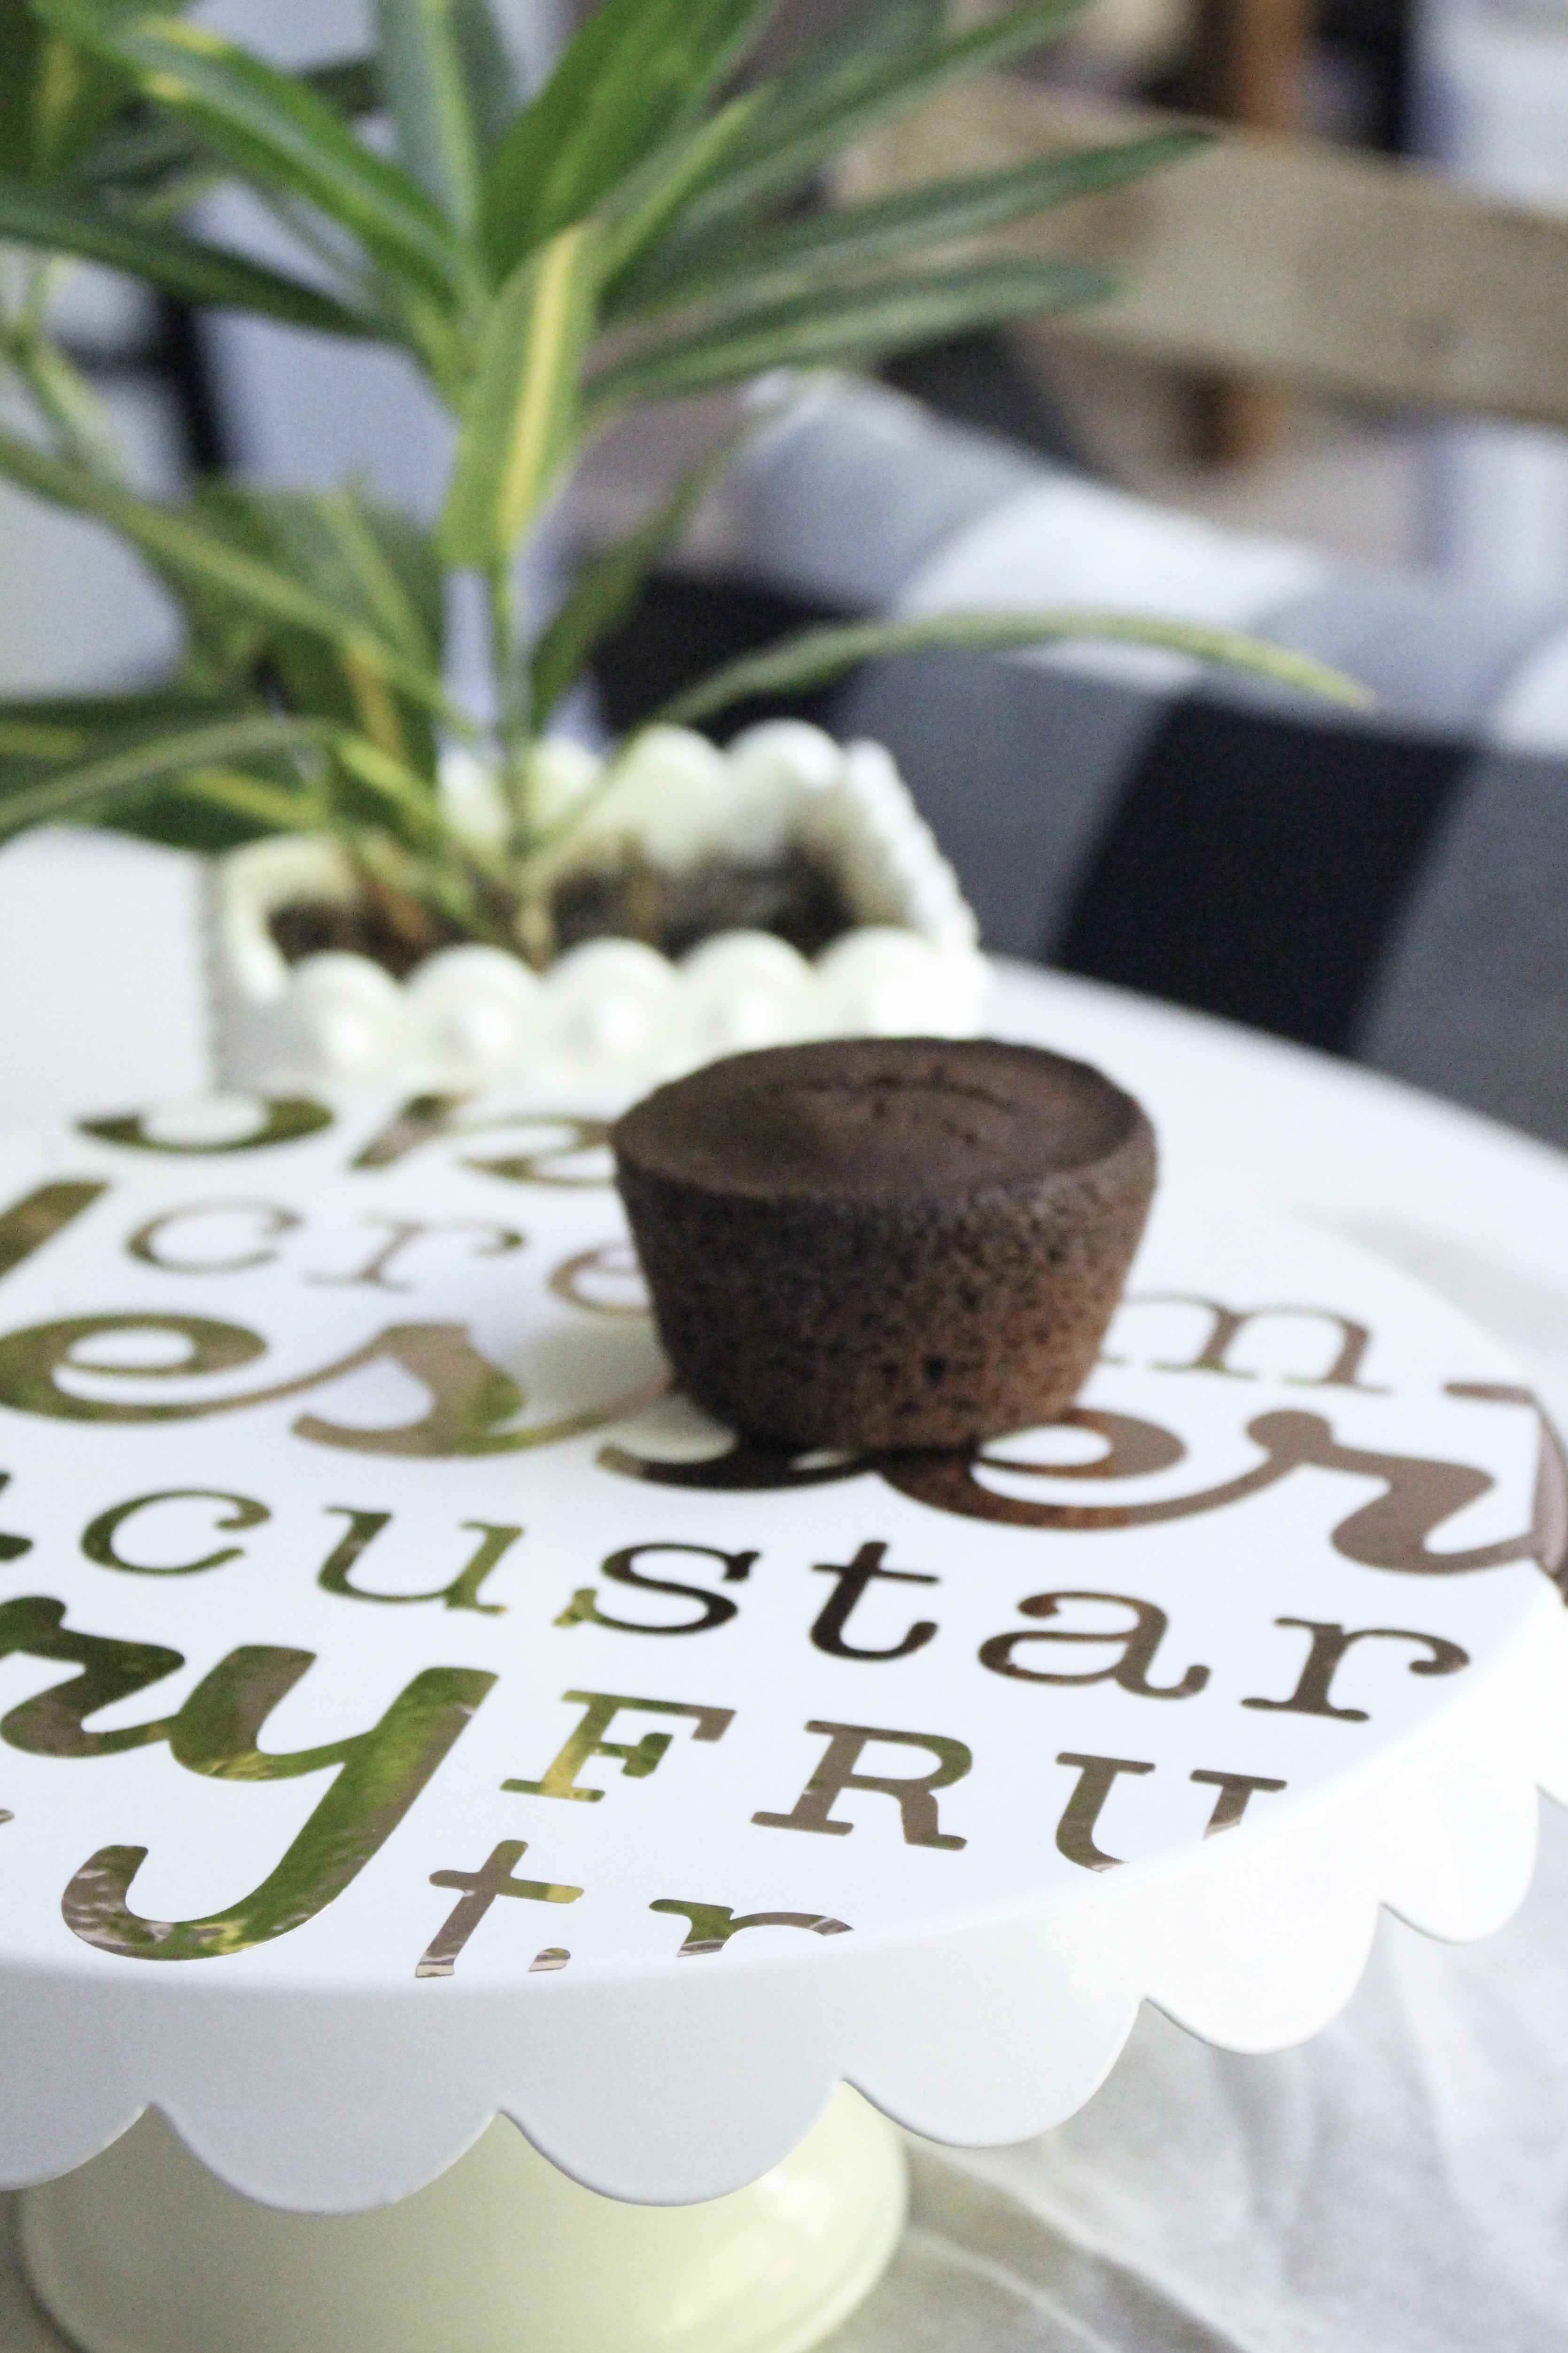
I love creating my own images, but using the Cricut Design image library is a quick and easy way to make a project without having to spend the time designing. Most likely with the hundreds of available images, you will find what you want anyway!
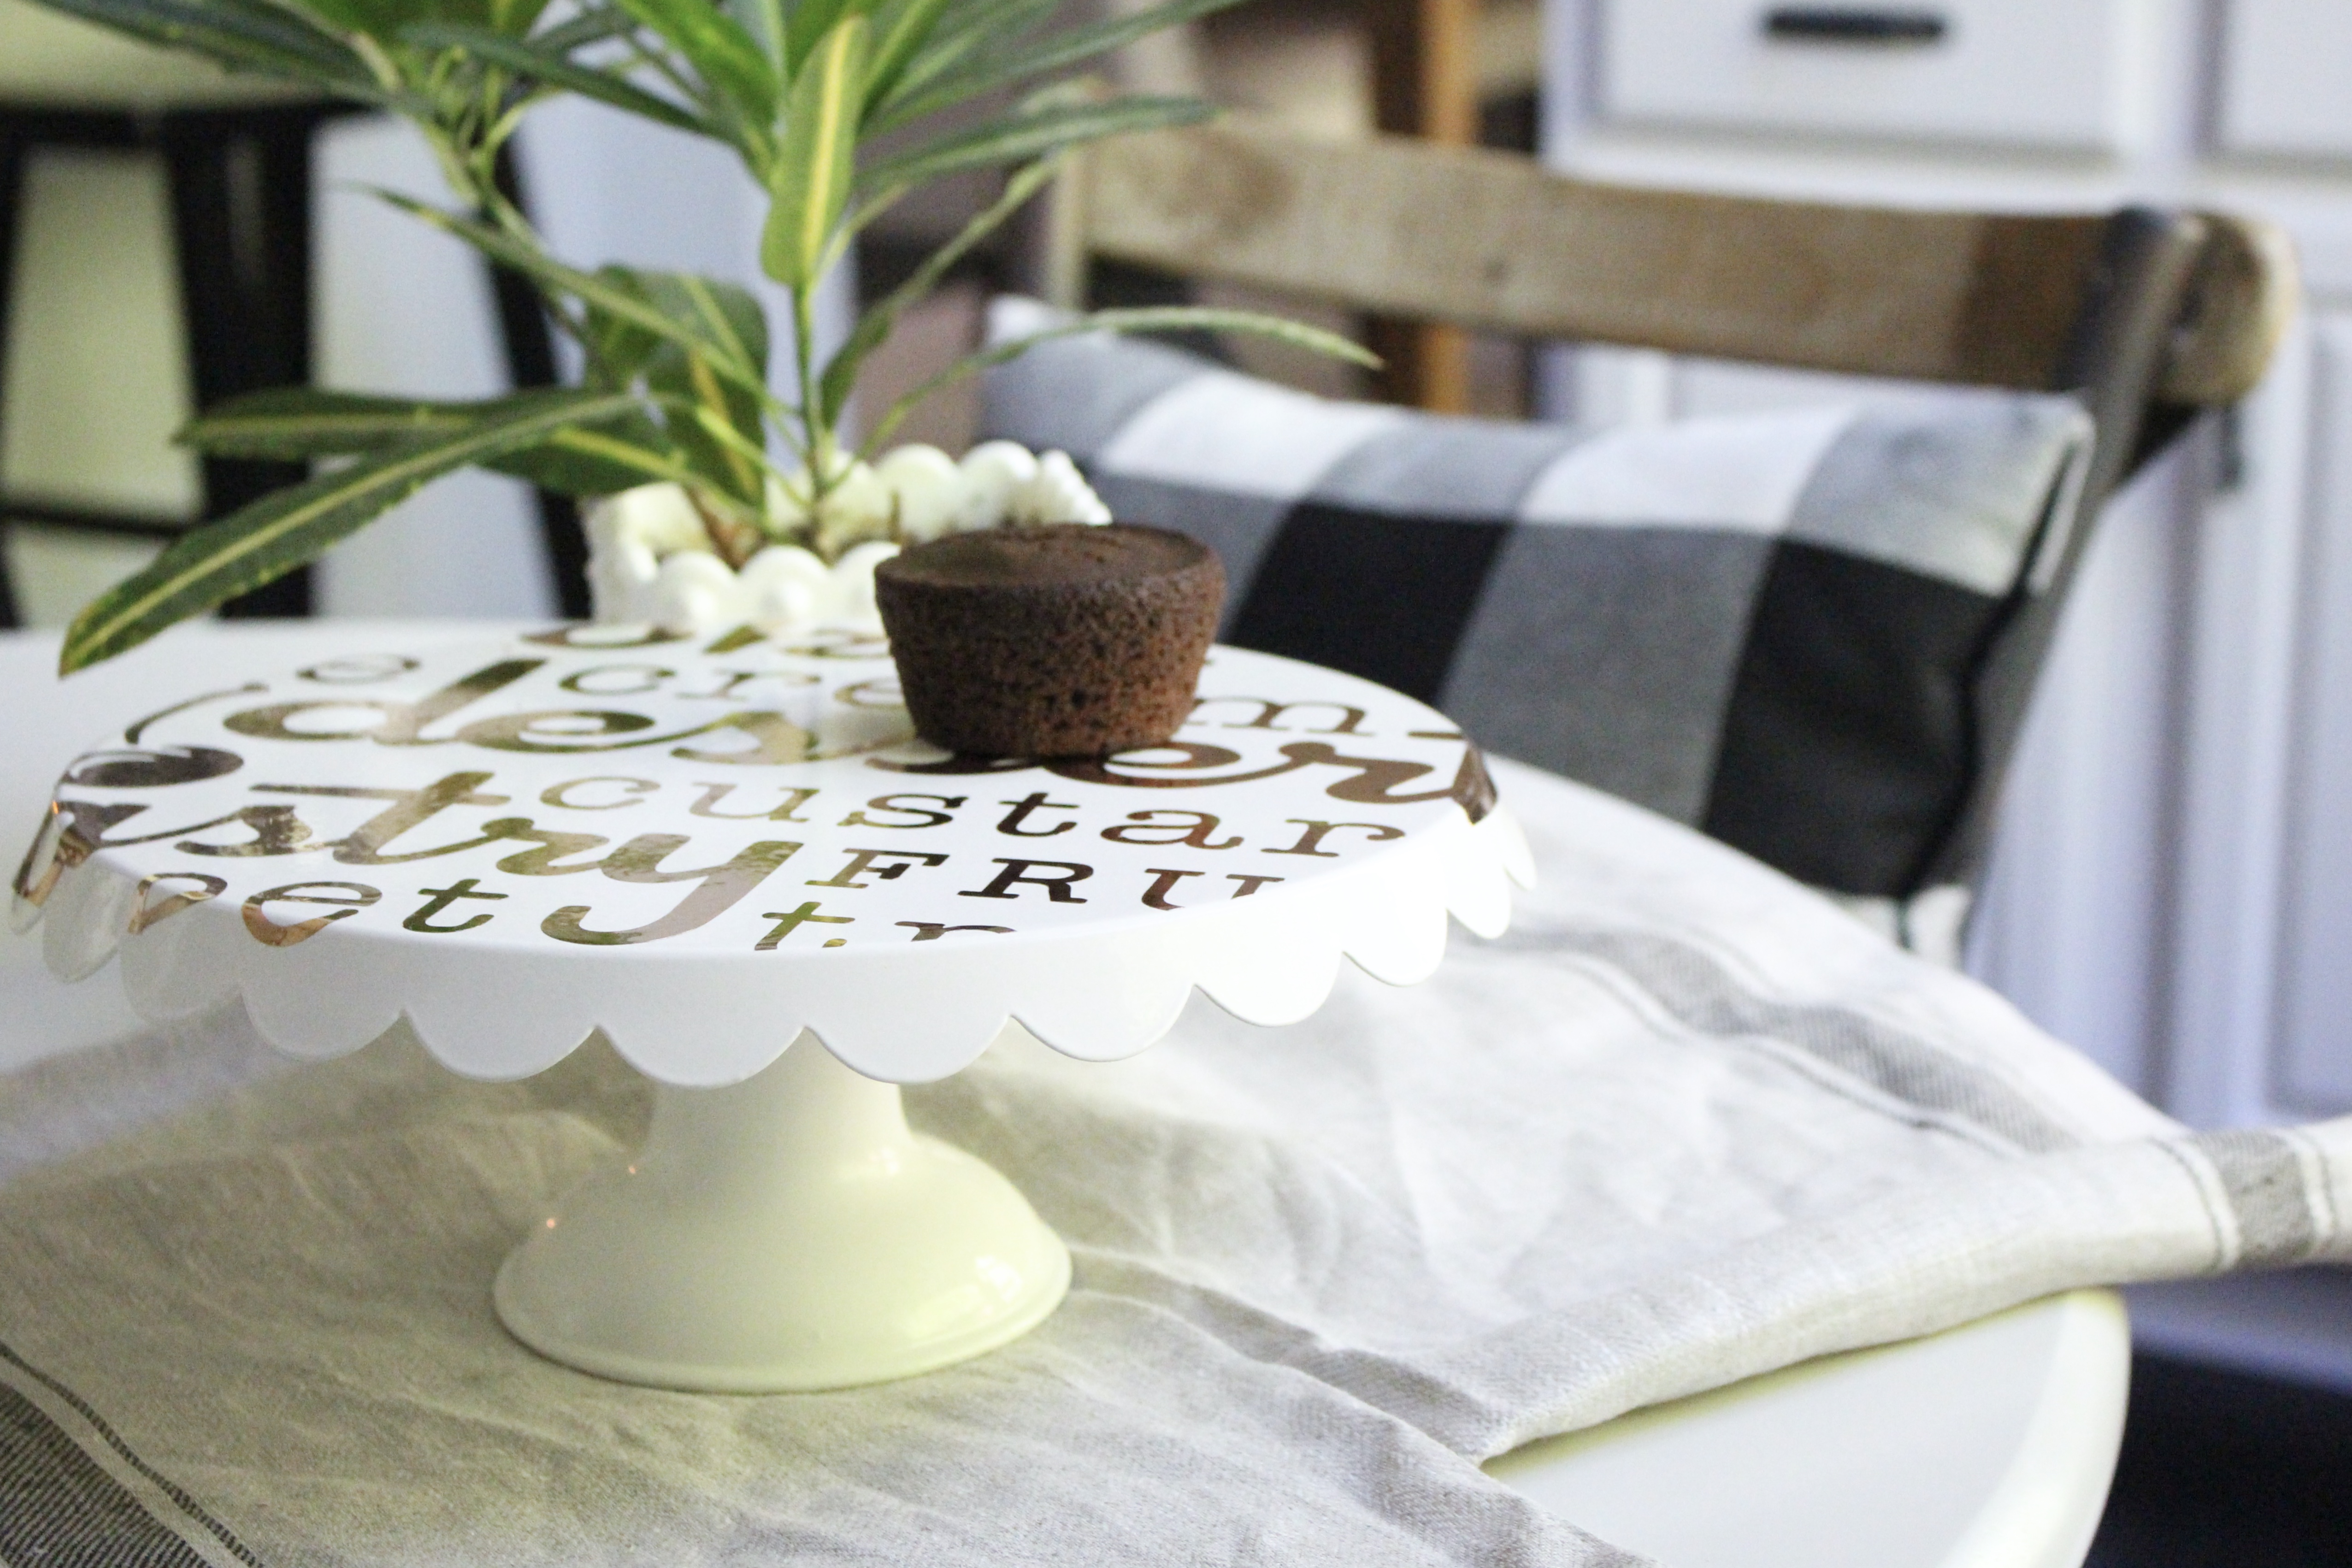
Vinyl is not food safe, so be sure to use your new cake stand for display only or set a plate on it if serving food. Most of my cake stands are displayed and I love how the copper accent adds a punch to my decor!
To life feeling like home!
XO,
This is a sponsored conversation written by me on behalf of Cricut. The opinions and text are all mine.
Leave a Reply
The Sunday Letter
Most Sundays, once the house has gone quiet and it's edging towards nine, a letter goes out. It's the one I'd write to a friend with good taste and not nearly enough time: one thing worth reading, one thing worth buying, and one thing to skip. No noise, no pressure to spend, just the considered version of what I've actually been using, loving, or quietly sending back.
If you like the sort of recommendation that still holds up six months later, leave your email below and I'll write to you on Sunday.


Your post has been very helpful and thanks a lot for sharing.
Thank you, dear, for providing such a great post I will surely bookmark your site Thanks for sharing such a nice post. Love the way you described whole the article. Your writing style is so awesome.
I love how this turned out! What a great way to customize a plain cake stand!