
This mantel happened by accident, which is honestly how some of the best decorating ends up working out. I'd had the idea of adding pears to my fall mantel for a while, so I ordered a set of faux pears online expecting something reasonably realistic. What arrived looked nothing like a real pear. Rather than send them back, I decided to work with what I had, because there's very little a bit of paint can't fix.
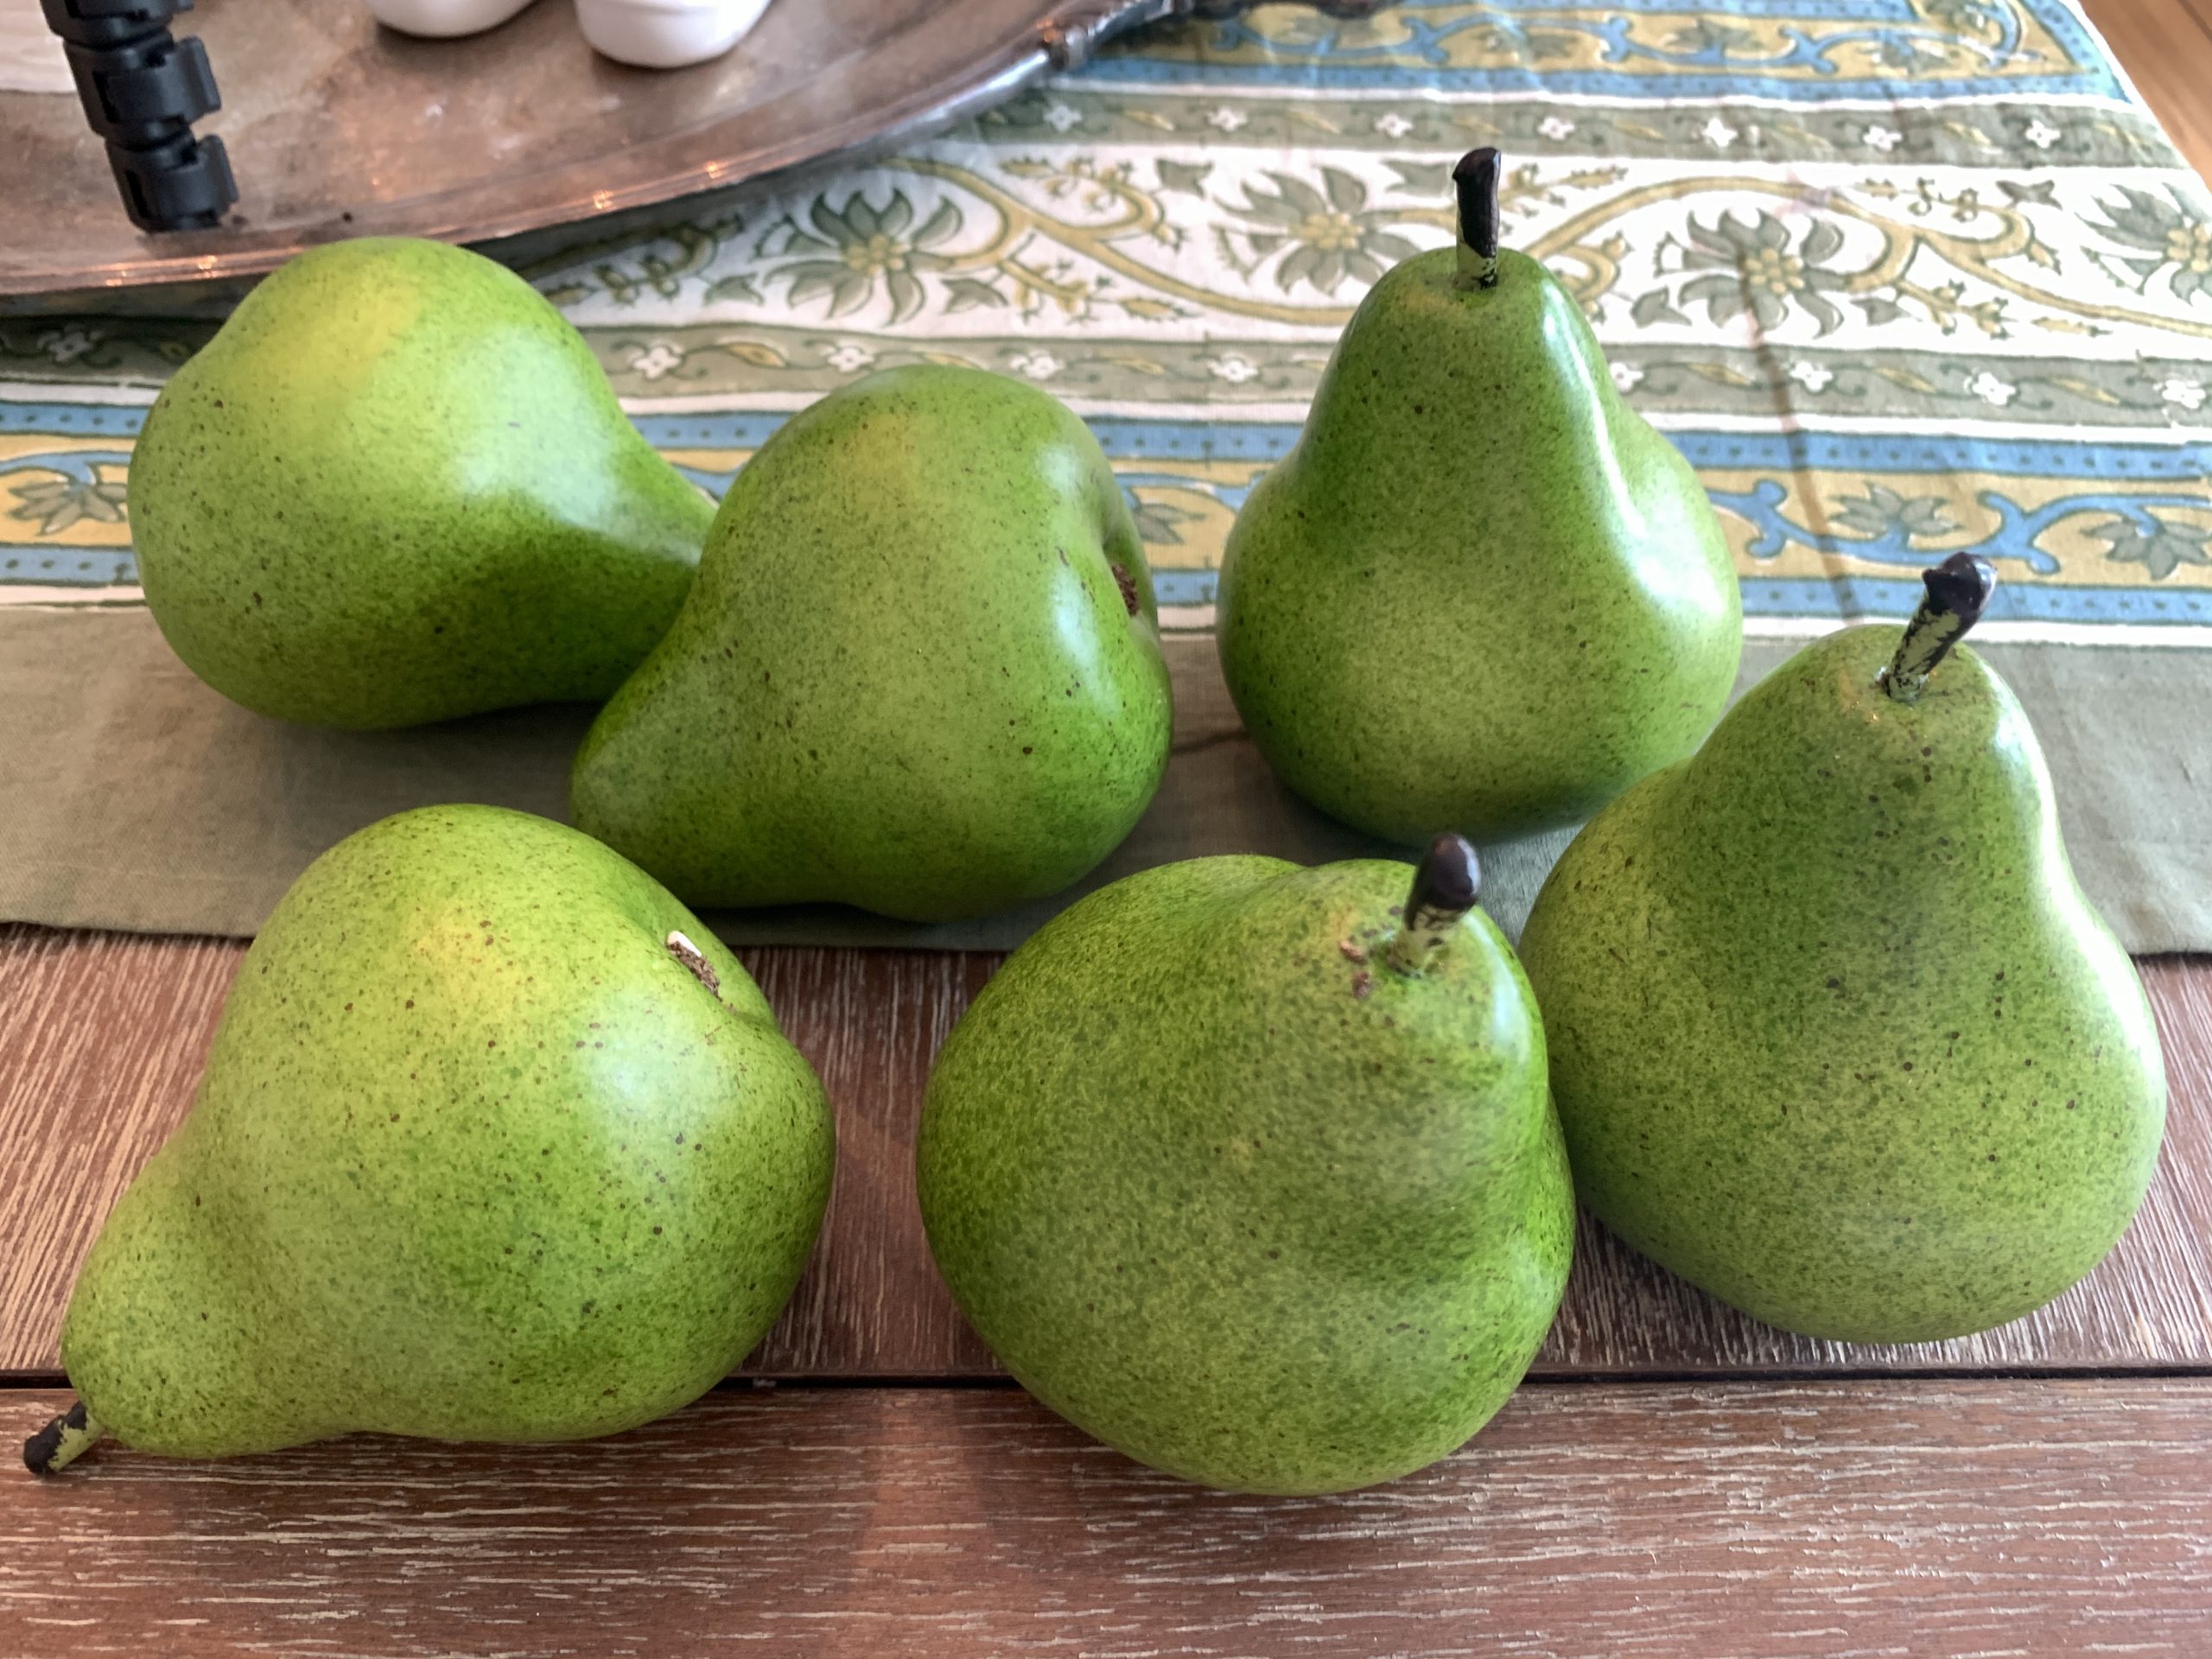
That “problem” turned into one of my favourite mantel looks yet, and it's genuinely one of the easiest DIY projects I've done. Here's exactly how it came together.
Why gold pears work so well for a fall mantel
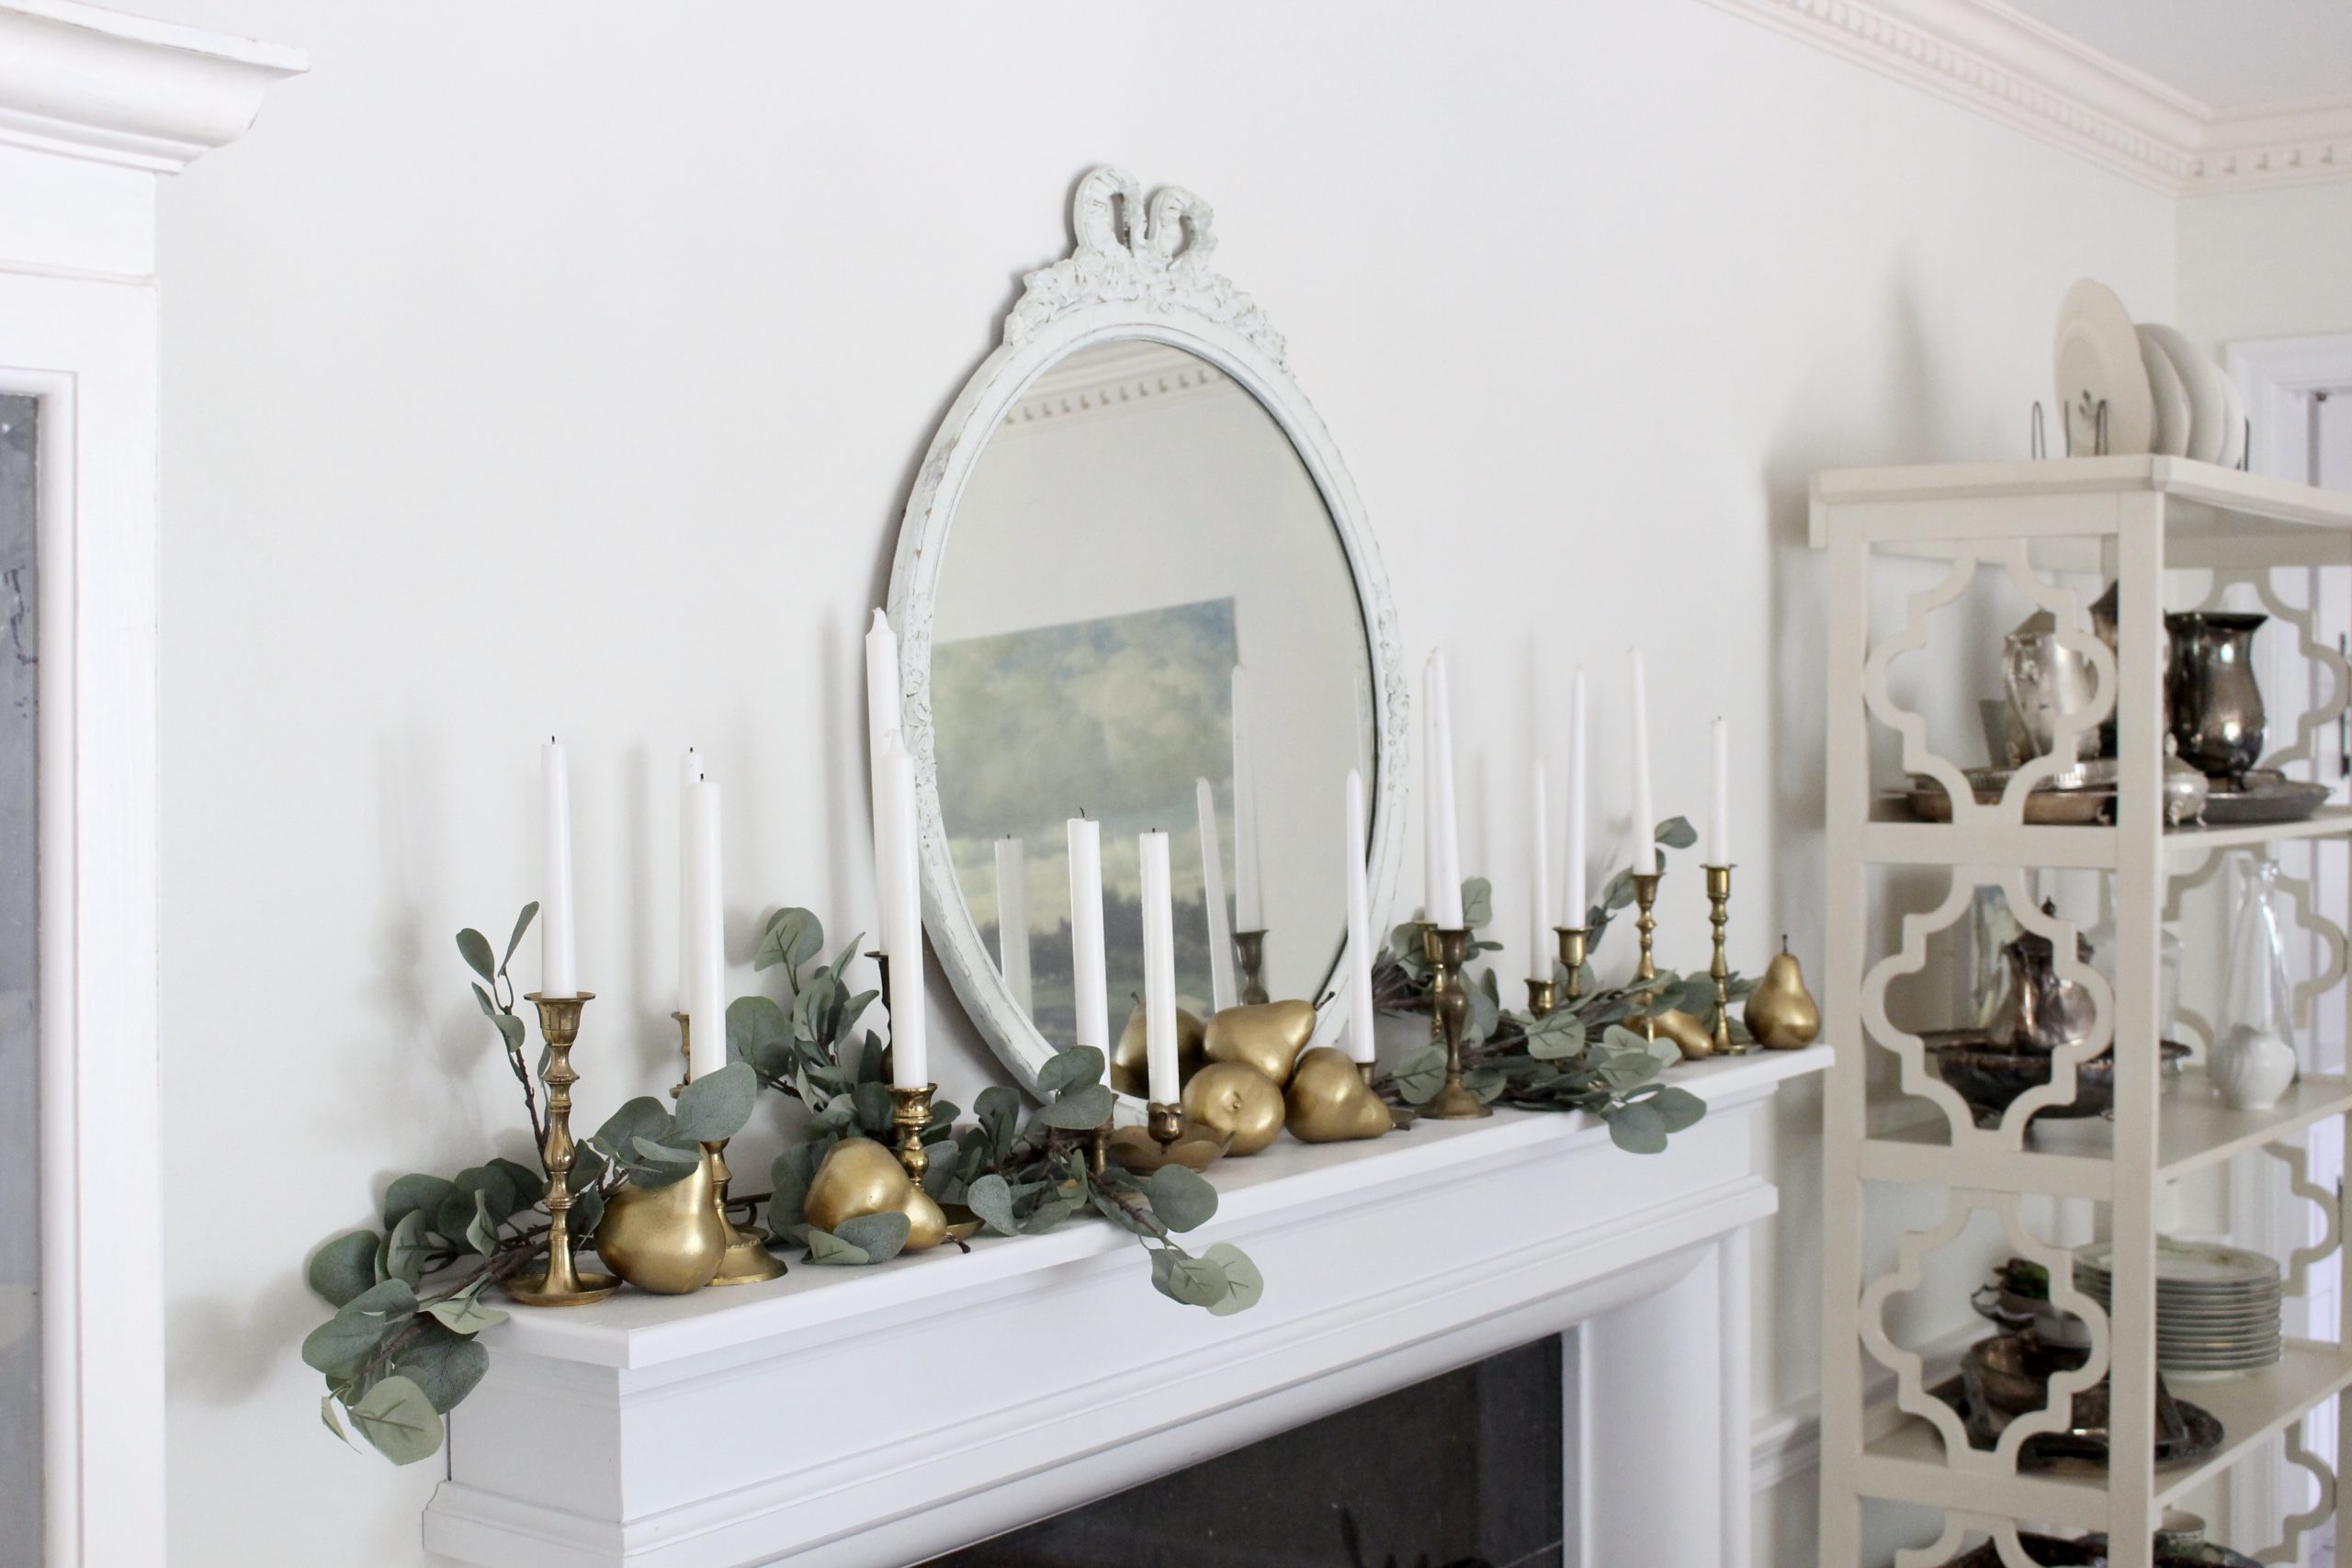
Fall decor leans so heavily on orange and brown that a mantel can start to feel a bit one-note by the time you've added pumpkins, leaves and the usual seasonal trimmings. Metallic gold cuts through that. It photographs beautifully against warm autumn tones without competing with them, and it gives a mantel a more polished, considered feel than the standard pumpkin-and-gourd approach.
Pears specifically work well because their shape is more elegant than a pumpkin and pairs naturally with brass, which is where the vintage candlesticks come in. Once you've got the gold running through both the pears and the candlesticks, the whole mantel reads as a single considered scheme rather than a collection of separate decorations.
What you'll need
- A set of faux pears (the more unrealistic or oddly finished, the less it matters, since you're painting over them anyway)
- Metallic gold paint, either a pot with a brush or a spray version
- A brush if you're not using spray paint
- Something to protect your work surface
- Vintage or brass candlesticks, in varying heights
- A few stems of faux or real eucalyptus
How to paint faux pears gold
Step 1: Prep your work area
This is a messier project than it looks, mostly because pears are an awkward round shape to hold while painting. Lay down newspaper or an old sheet, and accept early on that you're probably going to get paint on your hands at some point.
Step 2: Paint in sections
Rather than trying to coat a whole pear in one go, work in sections and let each one dry before moving on to the next. If you're short on patience, you can go faster and just embrace the mess, but sectioning it does give a slightly neater result if you want to take your time.
Step 3: Leave the stems unpainted
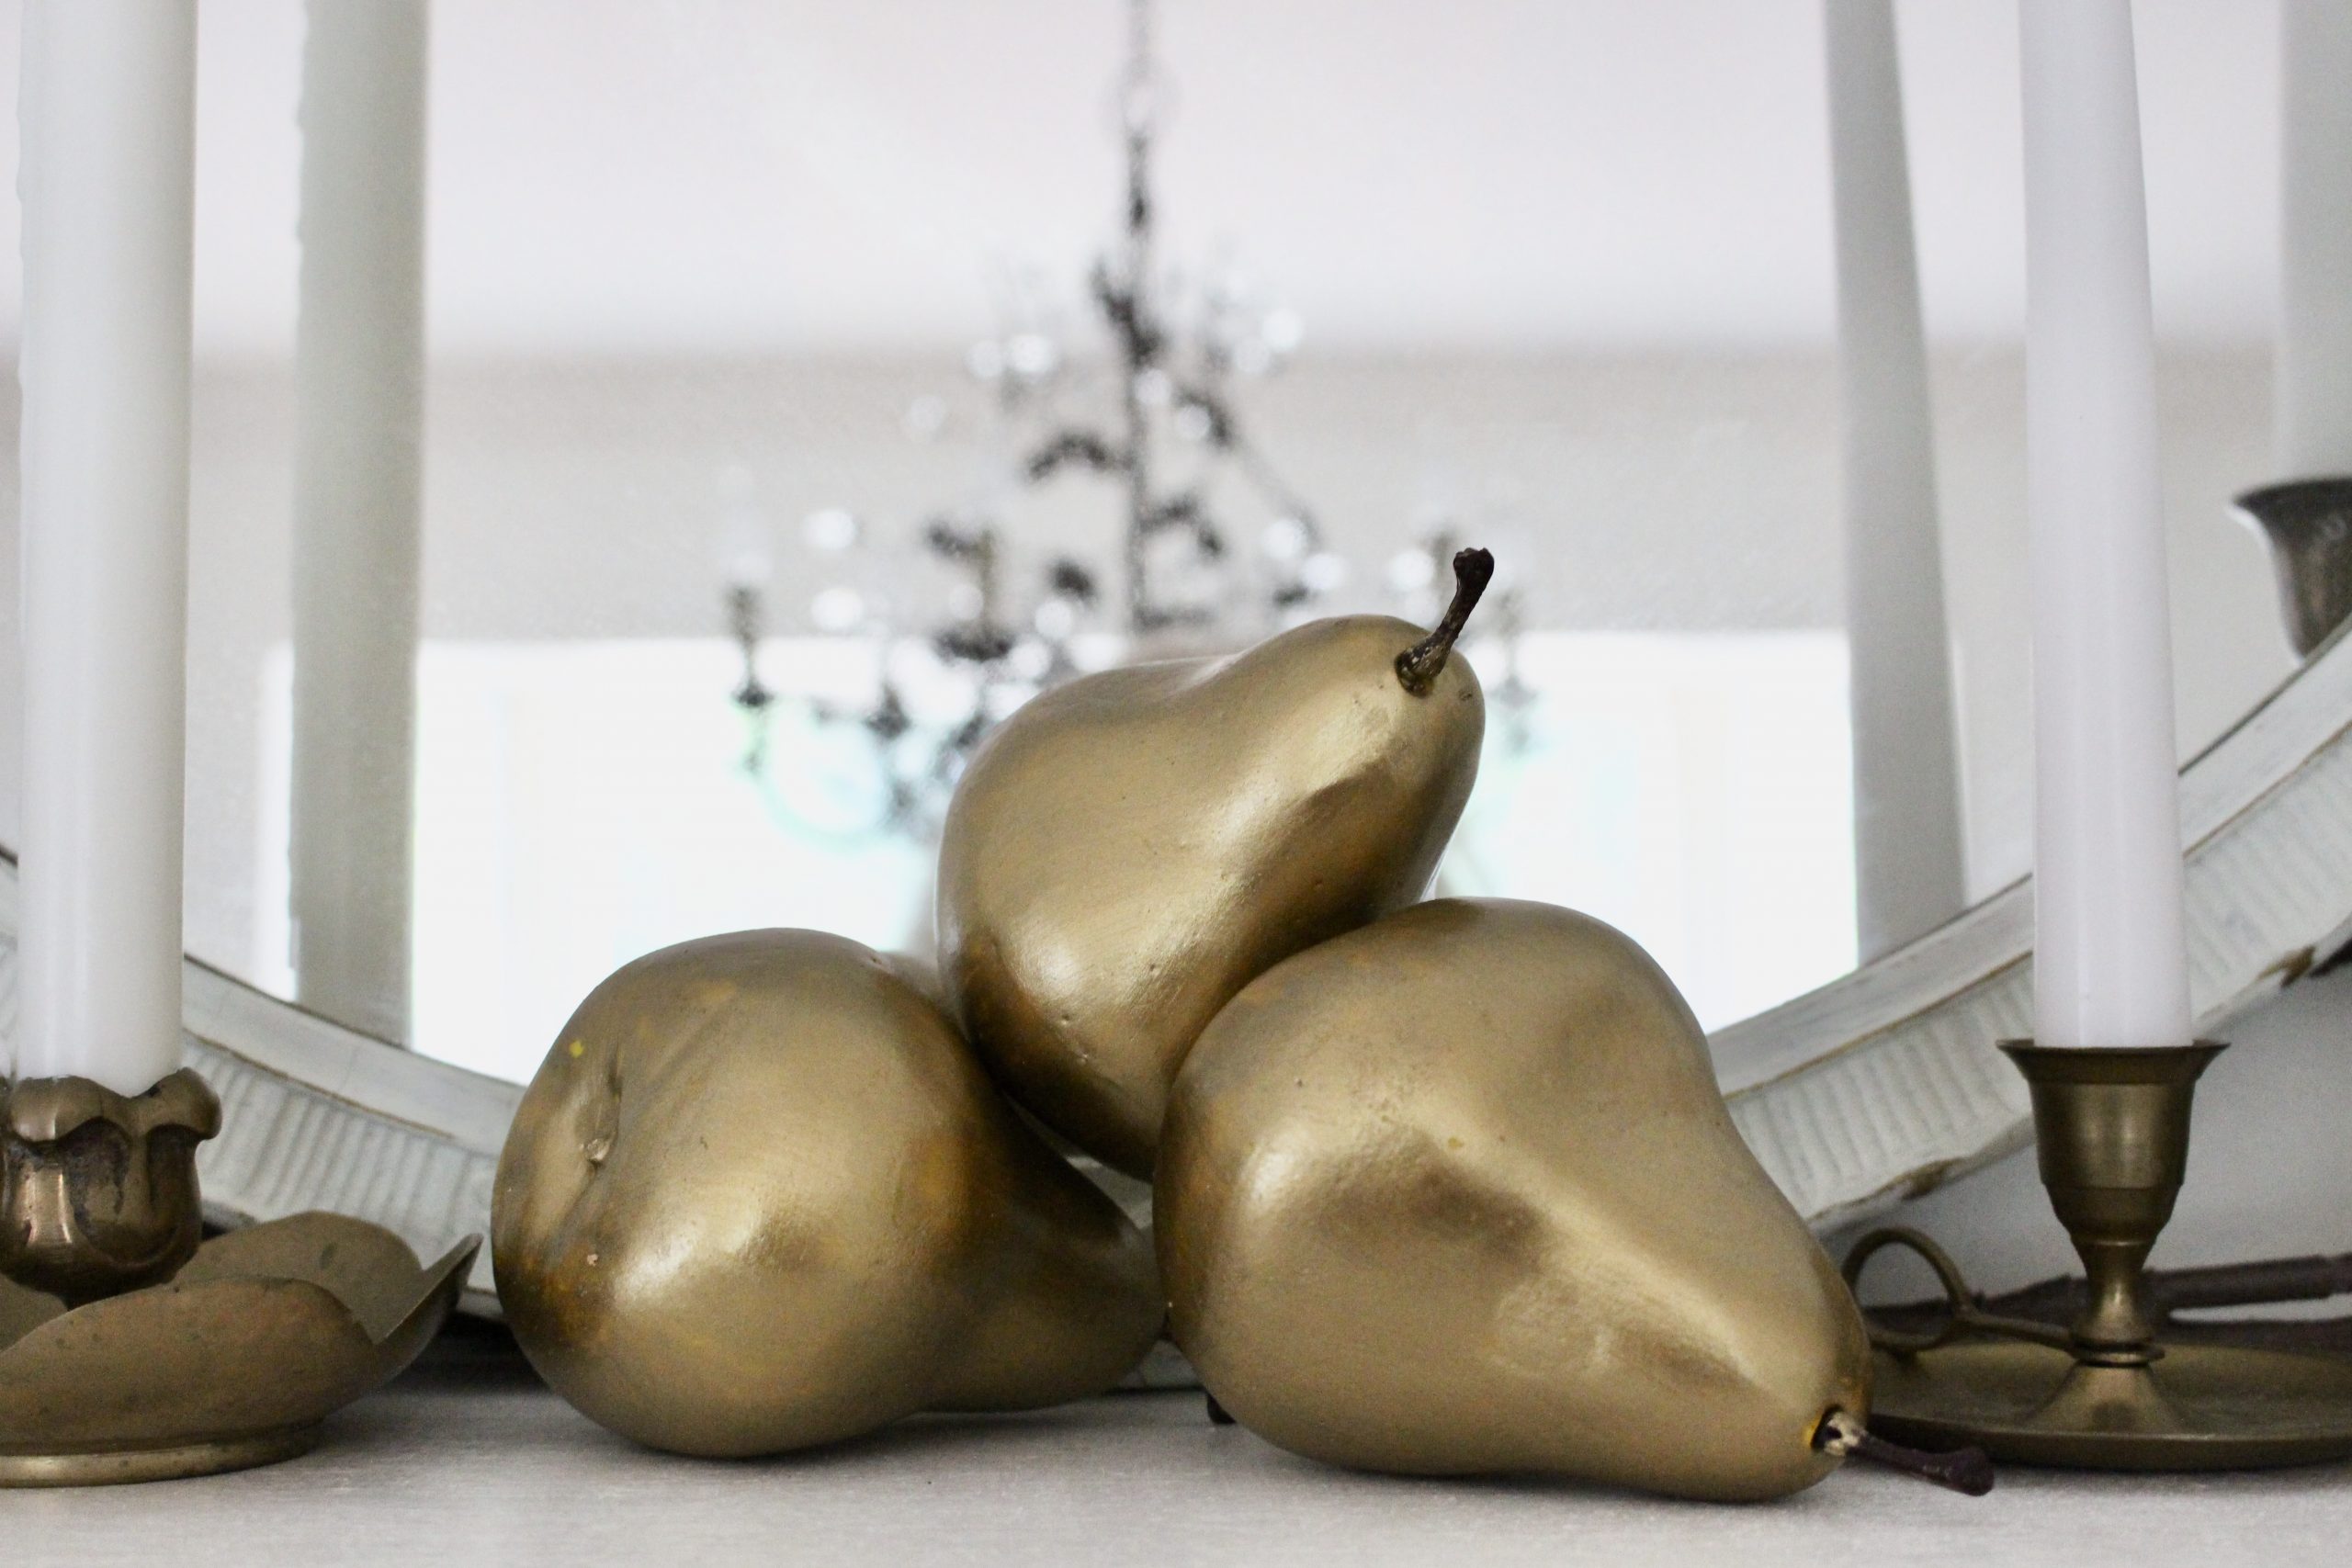
Skip the stem when you're painting, and leave it in its natural colour. It's a small detail, but it stops the pears looking uniformly gold and keeps a bit of the original material visible, which reads as more natural once they're styled on the mantel.
Step 4: Apply a second coat
One coat of metallic paint rarely gives full, even coverage. A second coat, applied once the first has dried, is usually what takes the pears from patchy to properly finished.
Step 5: Let them dry fully before styling
Give the pears plenty of time to dry completely before handling them for styling. Metallic paints can stay tacky longer than you'd expect, and moving them too soon risks fingerprints or smudging on an otherwise smooth finish.
Styling the finished mantel
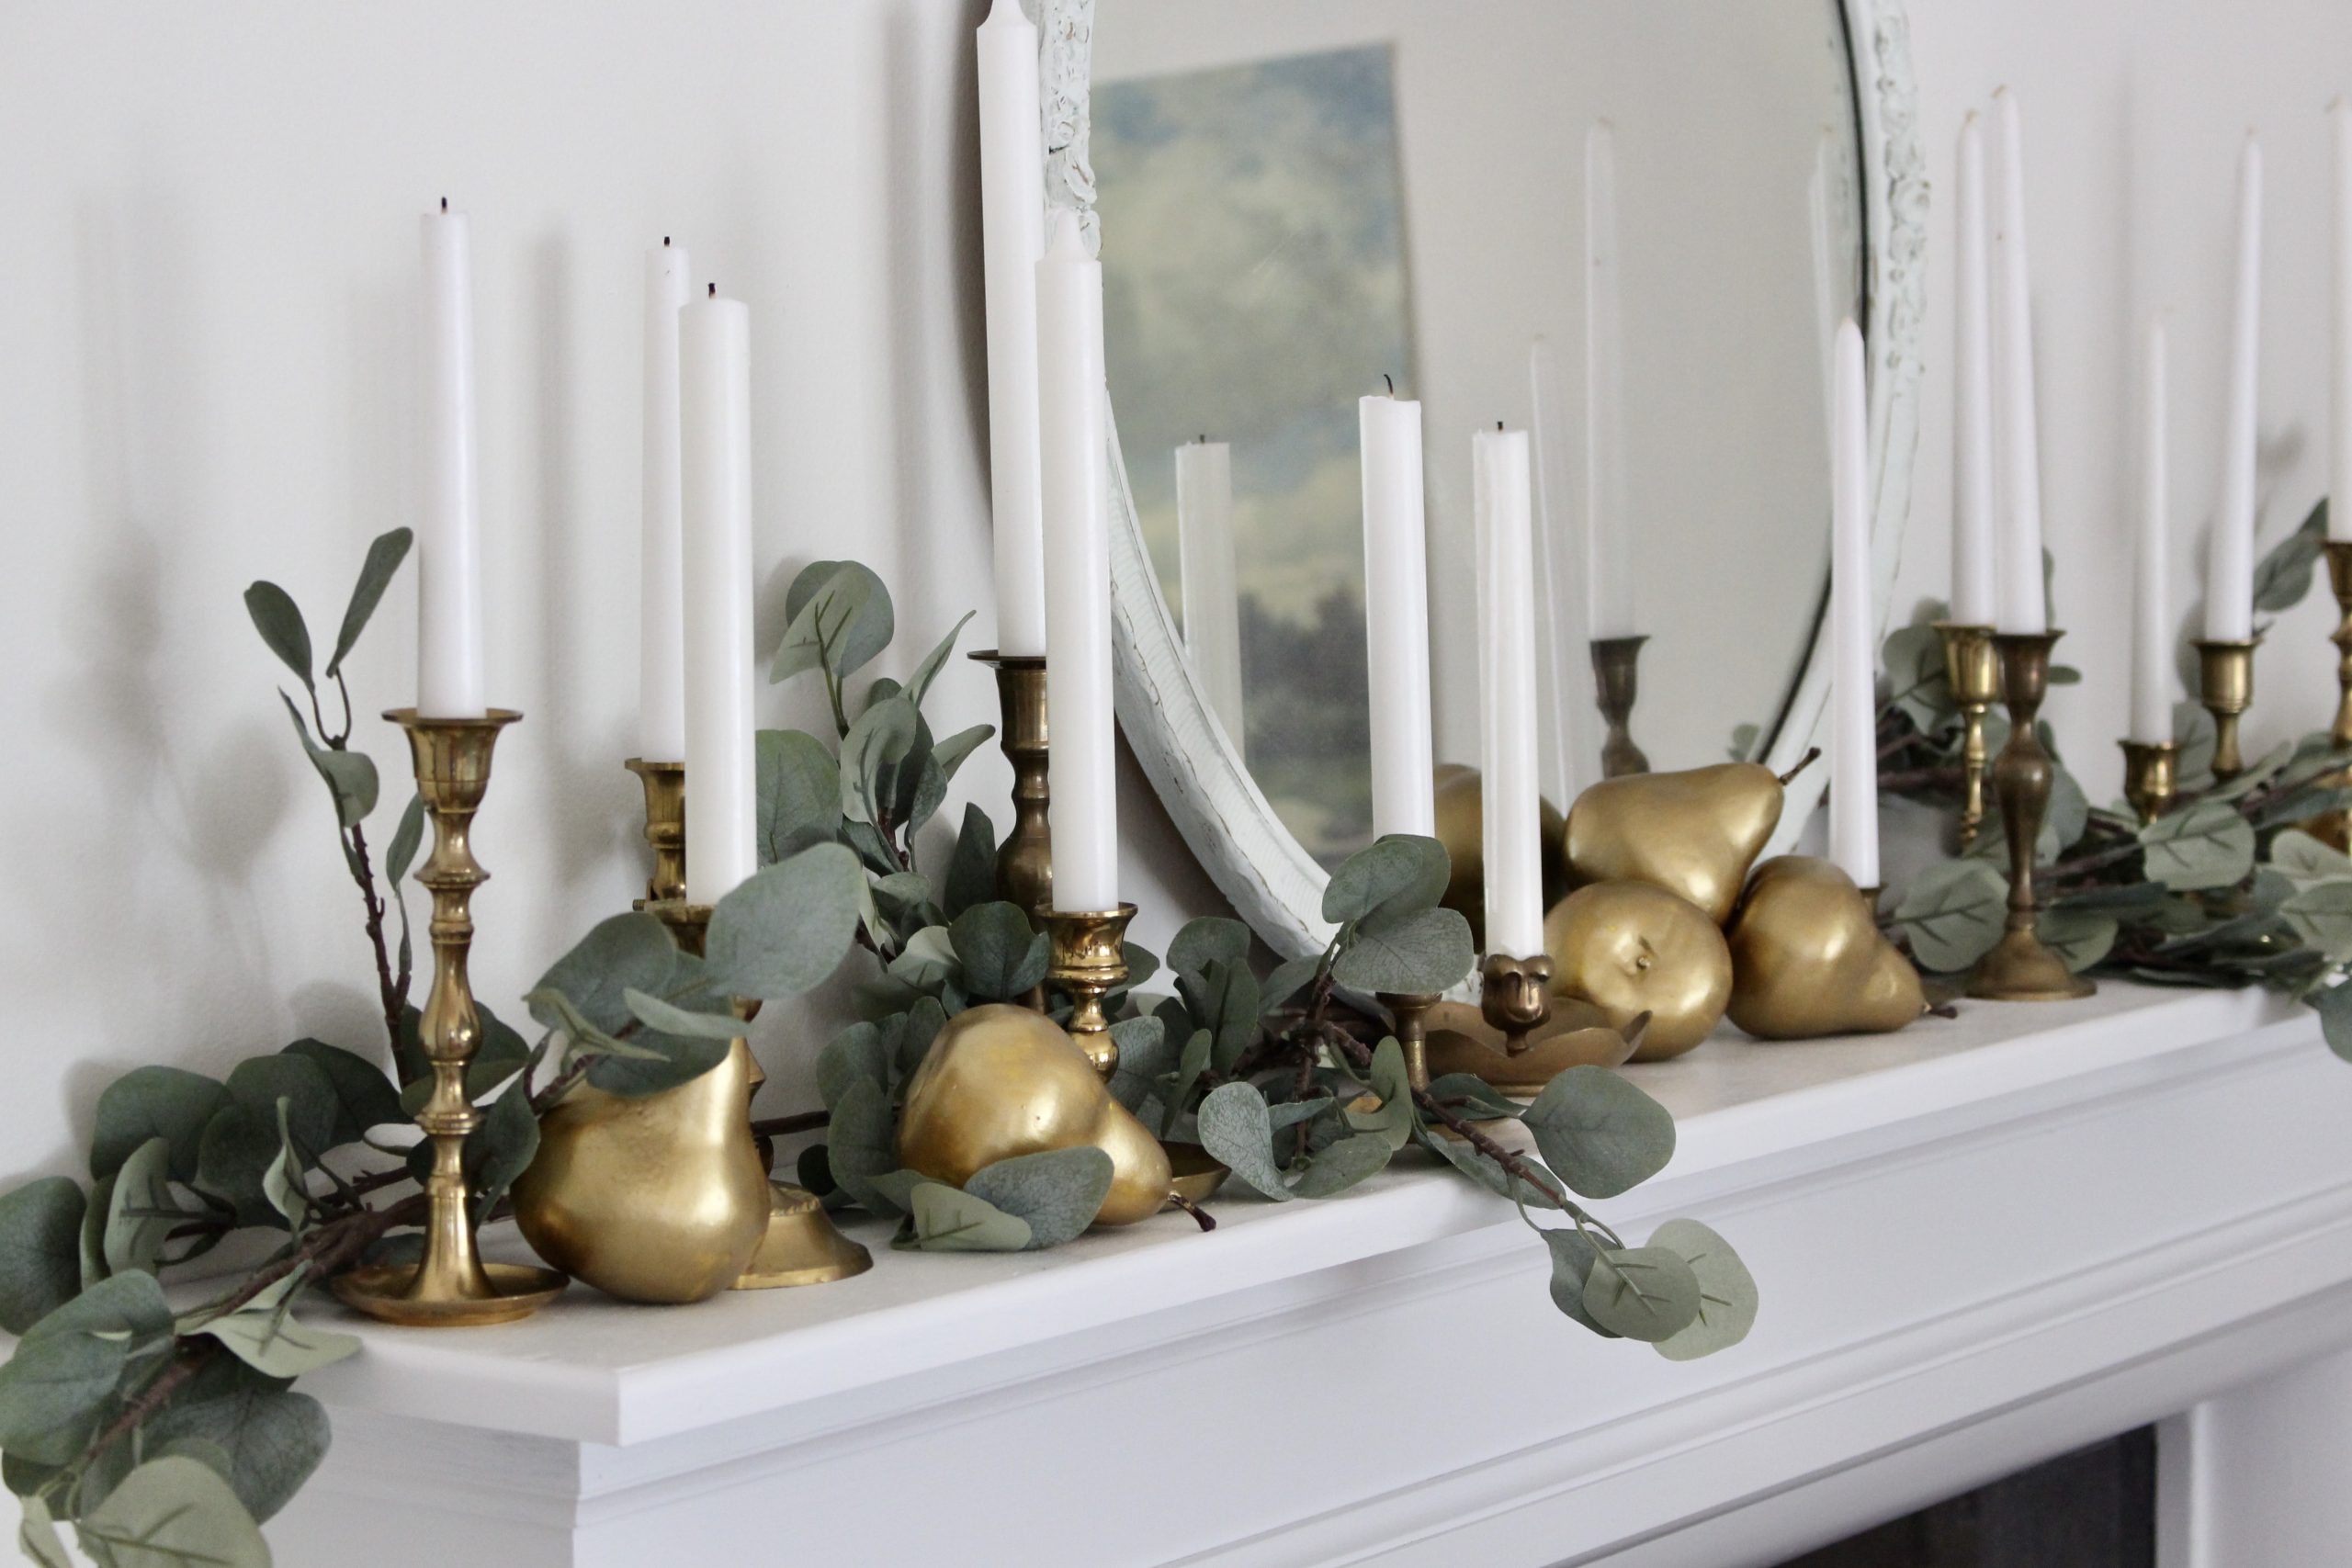
Once the pears are dry, the styling itself is where the mantel really comes together. Start with your candlesticks, since they set the height and rhythm for everything else. A mismatched set in varying heights, rather than a matching pair, gives the mantel more visual interest and looks more like a collection built up over time.
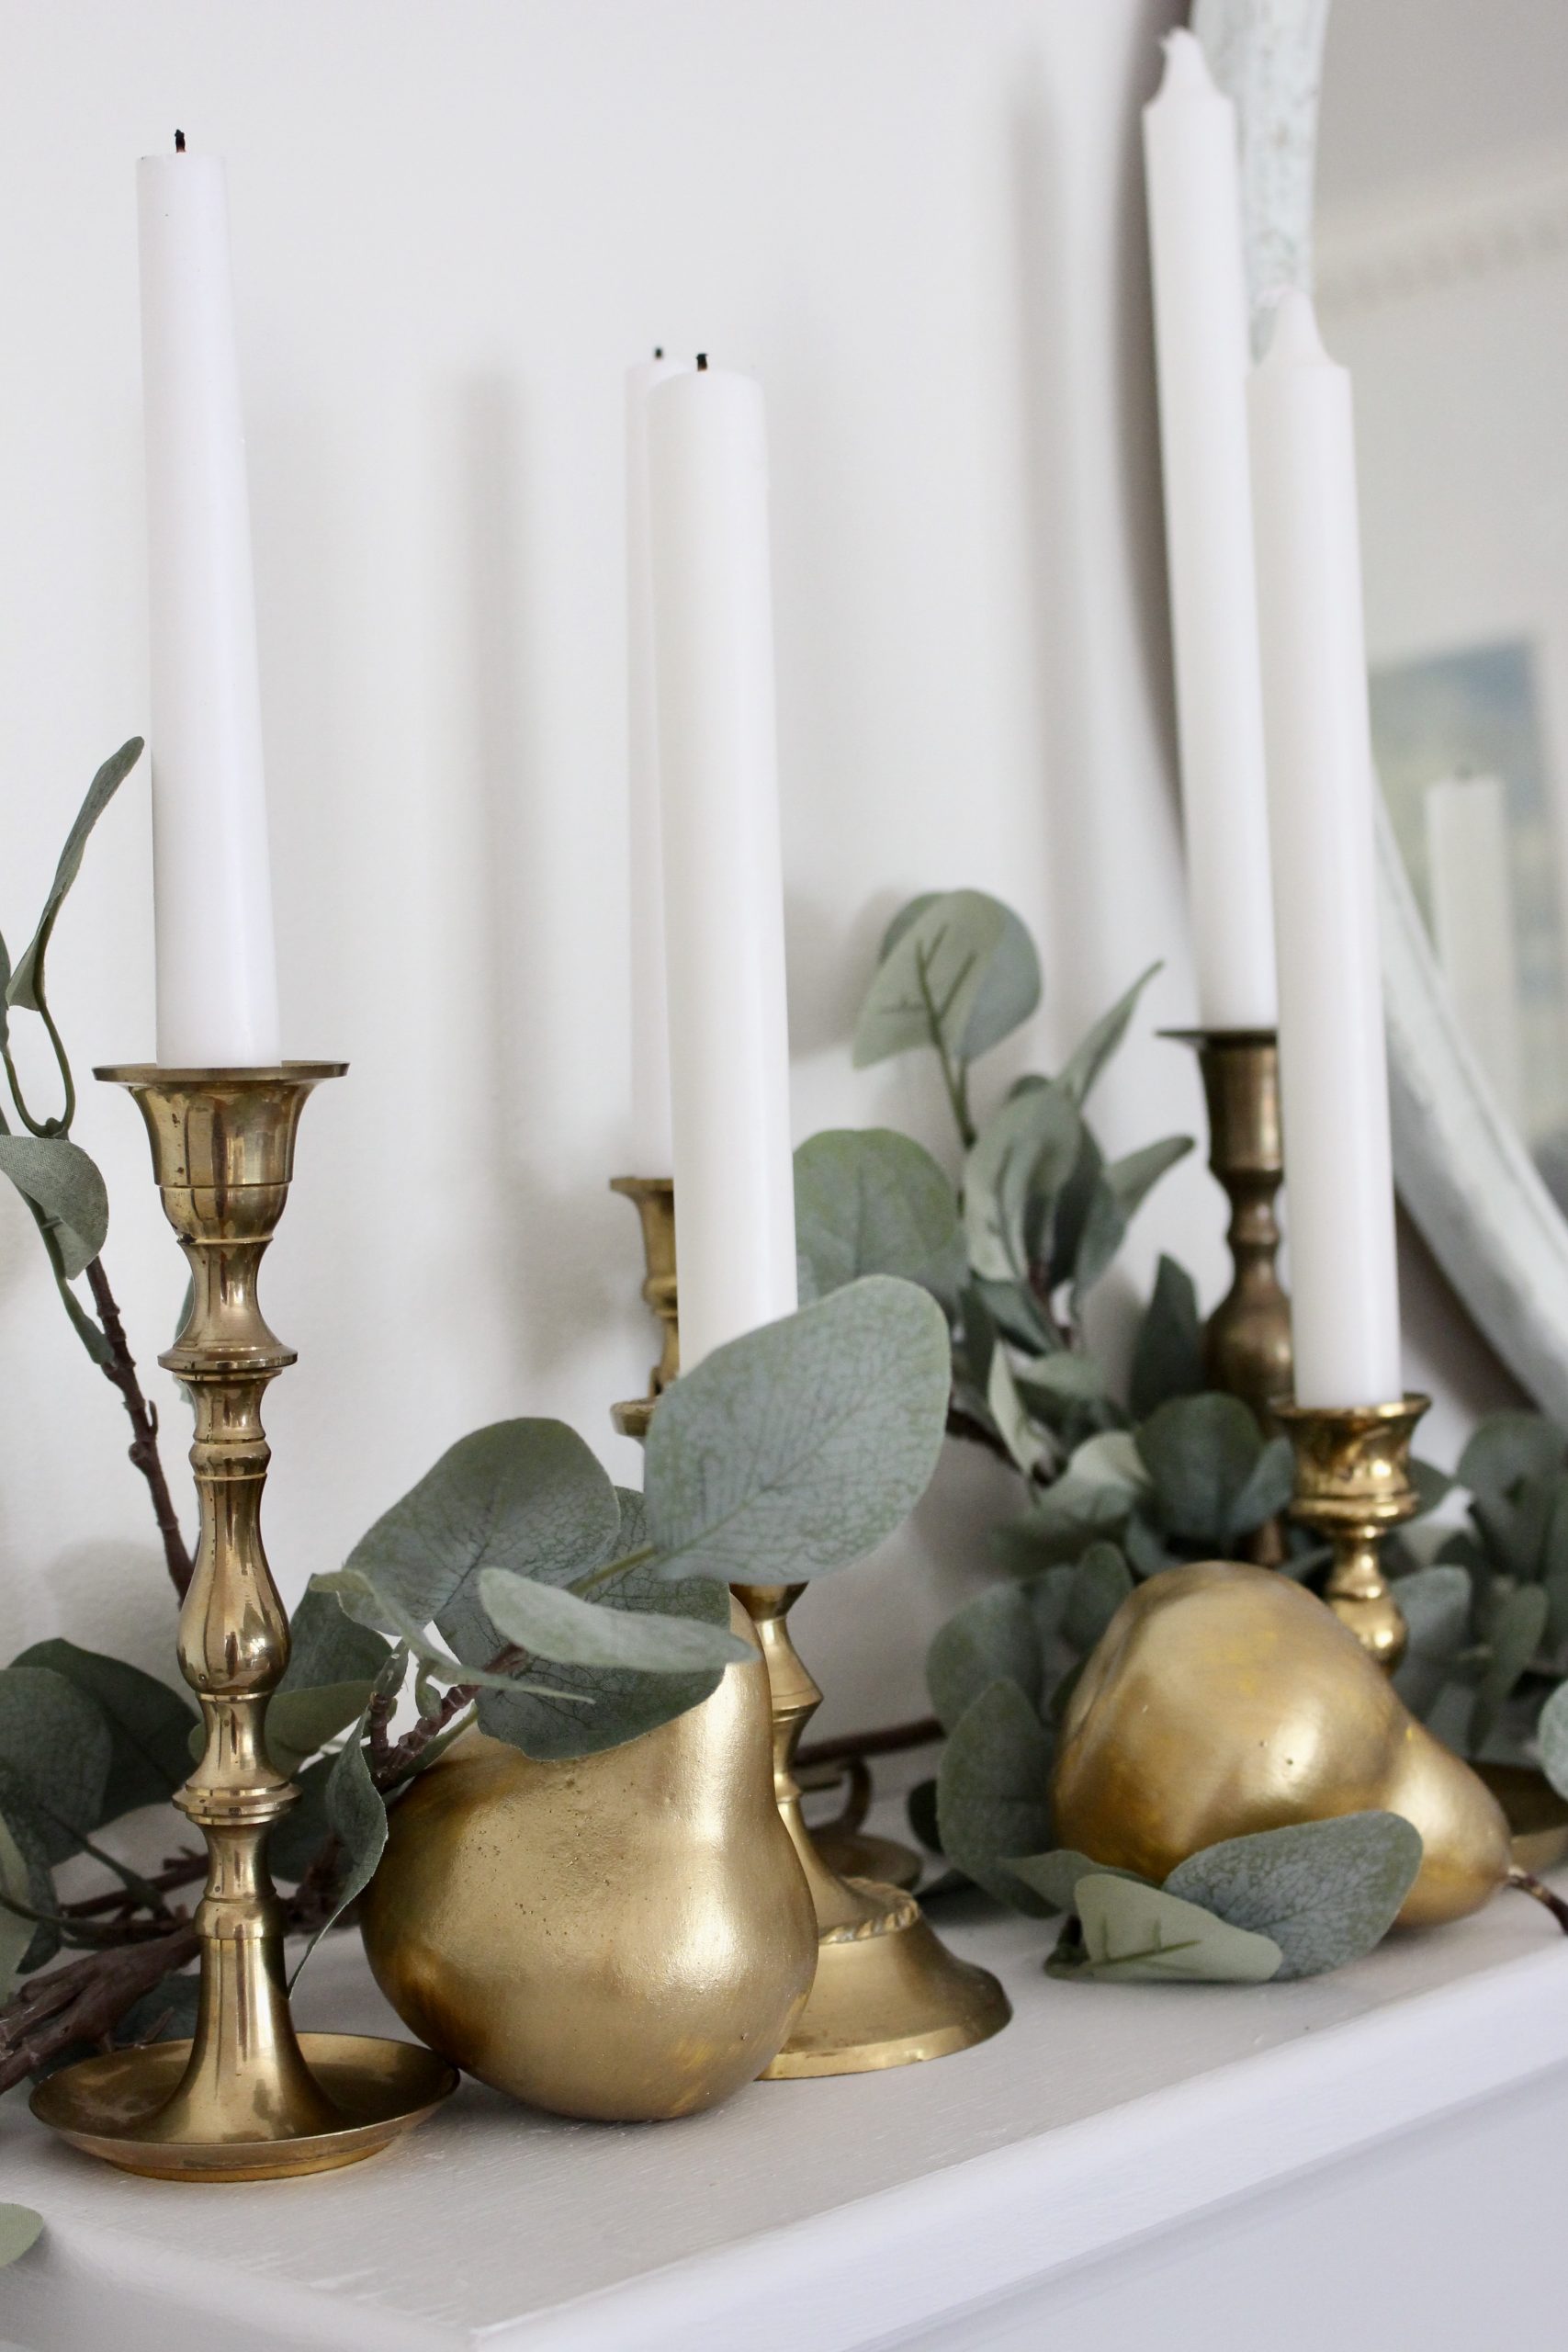
Layer the eucalyptus in next, letting a few stems trail slightly over the edge of the mantel rather than sitting in a neat, contained line. This softens the whole arrangement and stops it looking too formal.
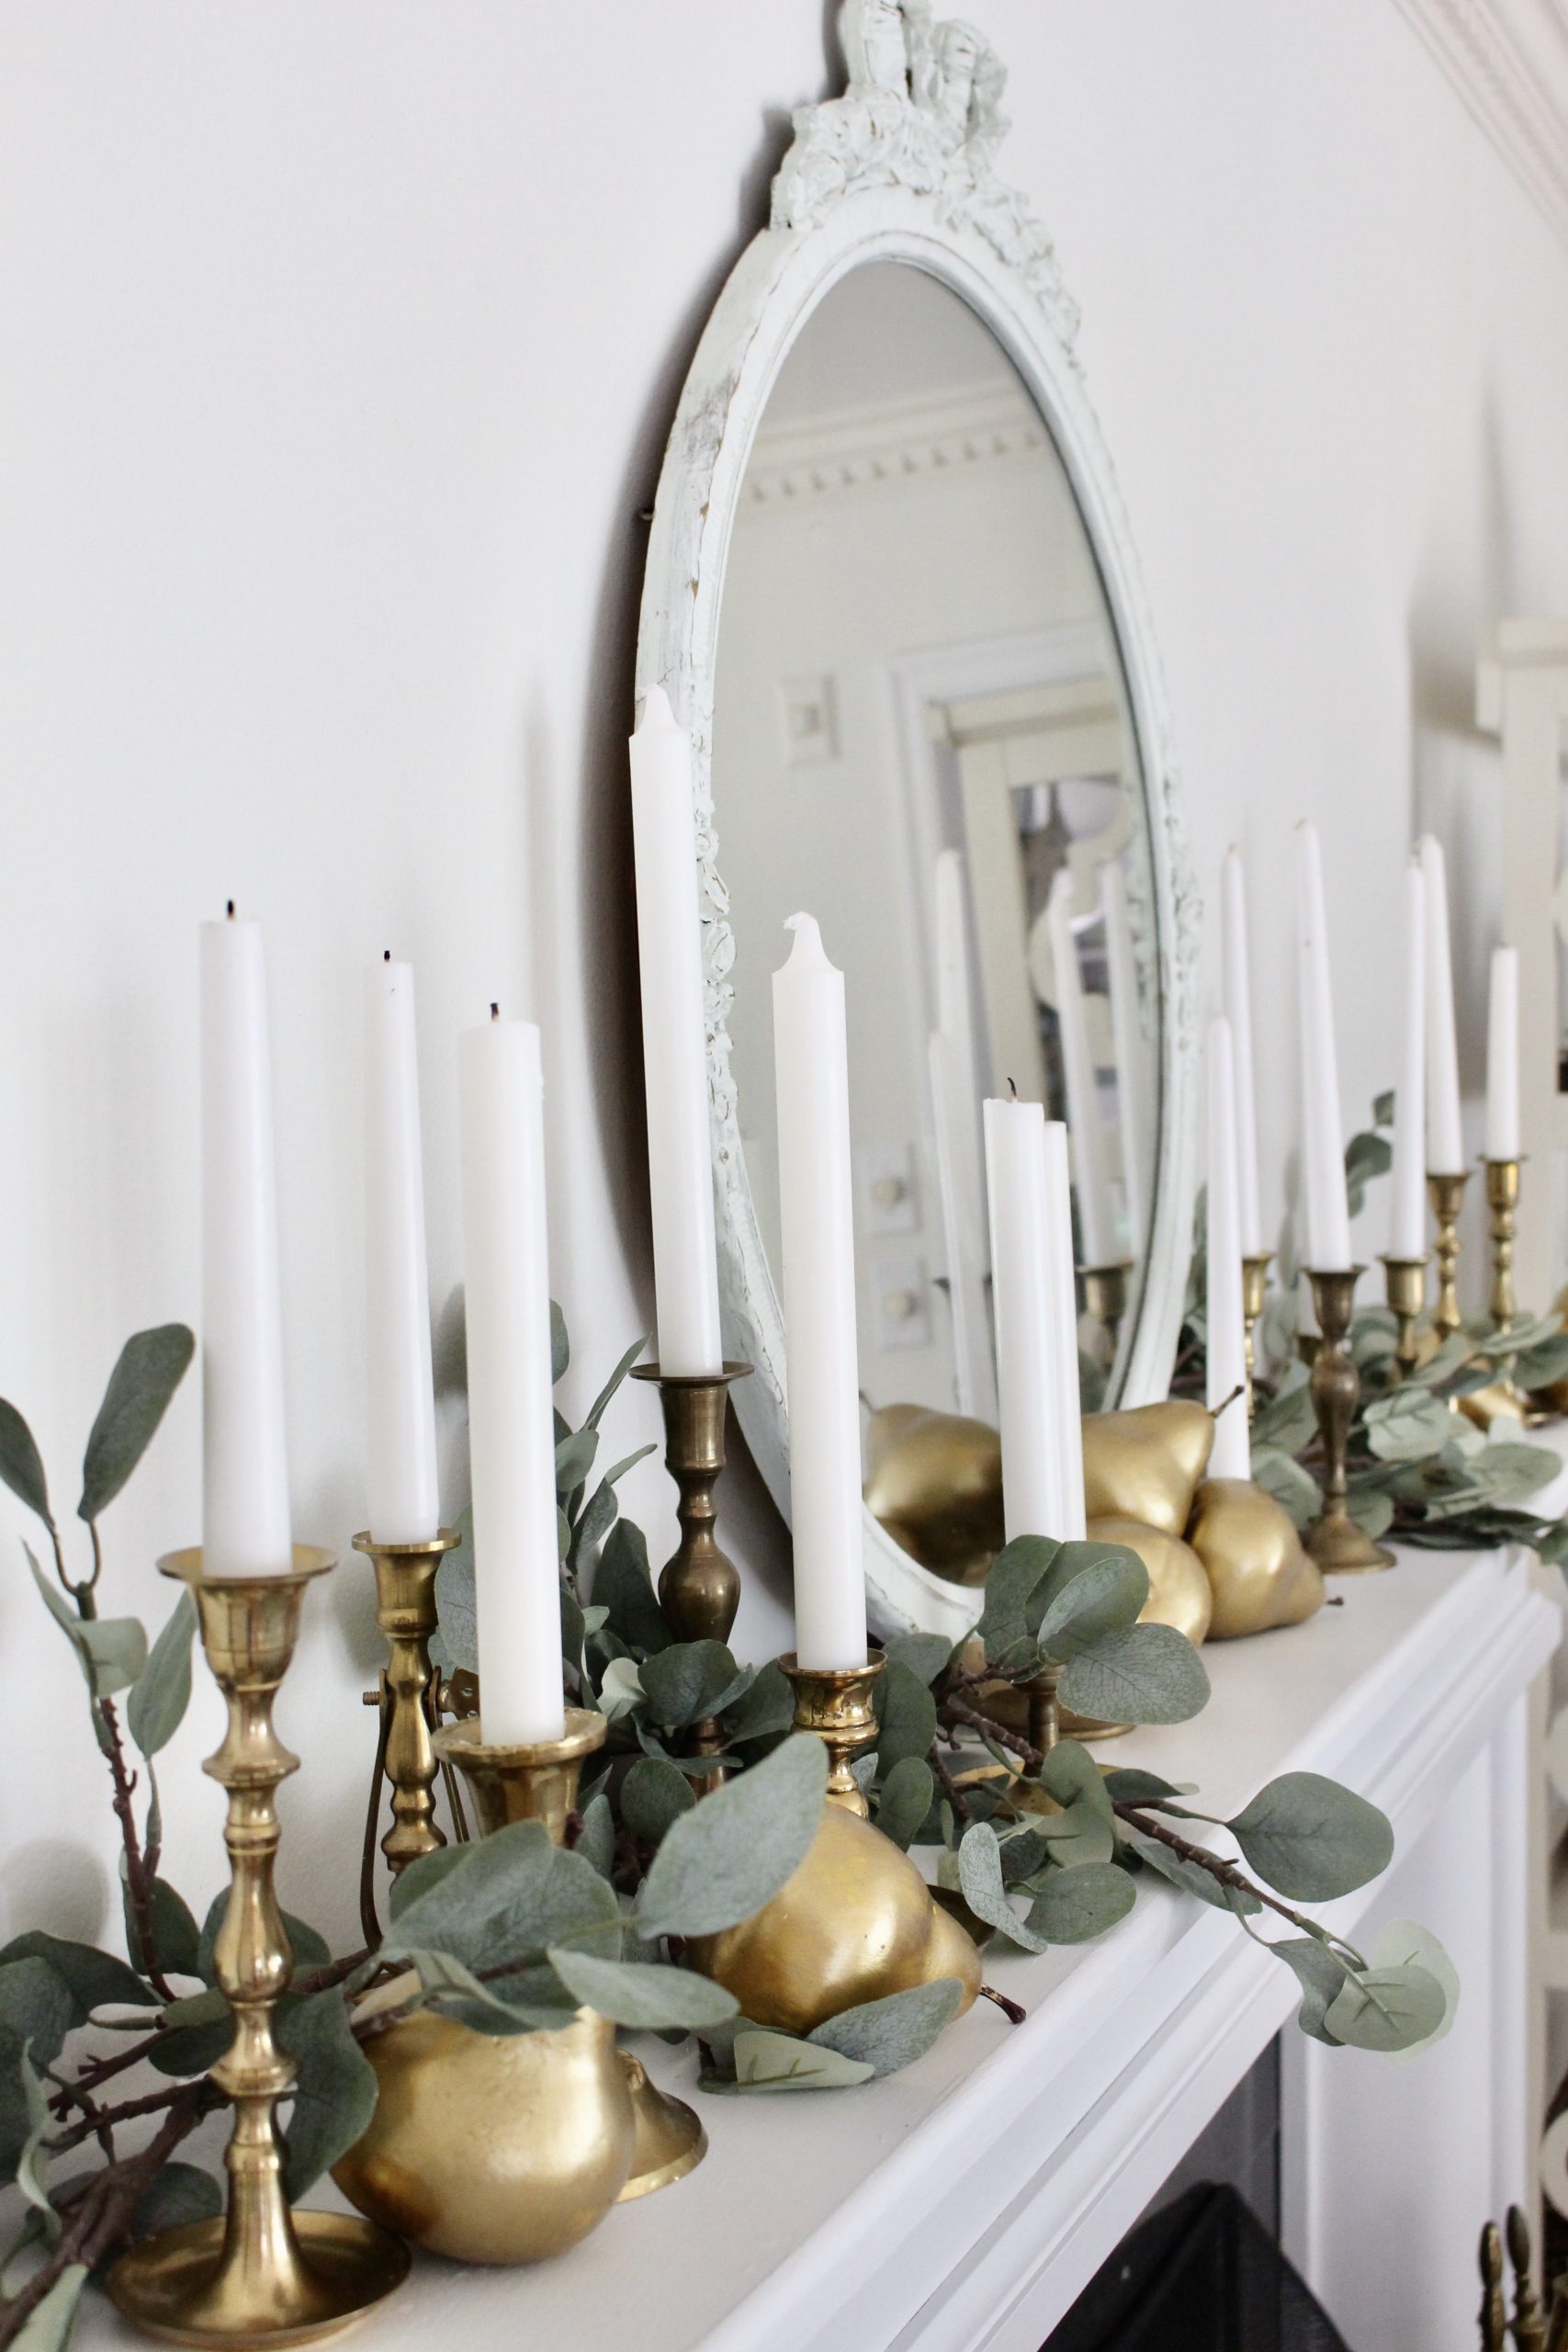
Finally, scatter the gold pears through the arrangement rather than lining them up. A few grouped near the candlesticks, one or two slightly apart, reads as far more natural than a symmetrical row.
Make It Your Own
If you want a more subtle look, paint only a few pears gold and leave the rest in their natural faux finish, so the metallic accent reads as a detail rather than the whole scheme.
If gold isn't your colour, this same technique works just as well in bronze, copper or a warm antique silver, depending on what suits your existing decor.
If you don't have faux pears on hand, apples or small faux pumpkins take the same paint treatment well and give a slightly different silhouette.
If you want the look to last beyond one season, store the painted pears carefully wrapped so the paint doesn't chip, and they'll come back out just as easily next autumn.
Frequently Asked Questions
A metallic acrylic craft paint or a metallic spray paint both work well, and spray paint tends to give a slightly smoother, more even finish with less brush-stroke texture. Two coats are usually needed for full, opaque coverage either way.
It's not essential for most faux pears, since the surface usually takes acrylic or spray paint directly, but a quick light sanding beforehand can help the paint grip if the surface feels very smooth or glossy.
Most metallic paints are dry to the touch within an hour, but it's worth leaving them for several hours, or ideally overnight, before handling them for styling to avoid smudging or fingerprints on the finish.
You can, though real pears will only last a matter of days once painted and won't be food-safe afterwards, so they're best treated as a very short-term decorative option rather than a lasting piece for the mantel.
Handle painted pieces carefully once dry, and consider a light coat of clear sealant if you want extra durability, particularly if they'll be handled often or stored and reused year after year.
Brass or vintage candlesticks, eucalyptus or dried greenery, and warm wood tones all sit naturally alongside gold accents without competing with the metallic finish.
Bringing it together
This is one of those projects that's genuinely easier than it looks in photos, and it's a good reminder that a decorating mistake is often just a different project waiting to happen. A coat of paint turned pears I nearly sent back into the piece that made the whole mantel work.
If you're planning more seasonal decorating, have a browse of the home interiors section for more room-by-room ideas.
Leave a Reply
The Sunday Letter
Most Sundays, once the house has gone quiet and it's edging towards nine, a letter goes out. It's the one I'd write to a friend with good taste and not nearly enough time: one thing worth reading, one thing worth buying, and one thing to skip. No noise, no pressure to spend, just the considered version of what I've actually been using, loving, or quietly sending back.
If you like the sort of recommendation that still holds up six months later, leave your email below and I'll write to you on Sunday.


[…] FALL MANTEL DRESSED WITH DIY GOLD PEARS […]
[…] is sprinkled throughout my home and outdoor spaces. From my fall mantel (LINK), family room (LINK), to my small front porch (LINK), every little space gets a touch of fall. […]
[…] in gold faux pears and eucalyptus a couple weeks ago. If you missed it, you can see the full post, here (LINK). I grabbed some more gold pears and placed them on a silver tray for the centerpiece on the table. […]