I'm Gillian, a Scotland based home & lifestyle blogger. Follow along as I navigate this new journey sharing my life from home.


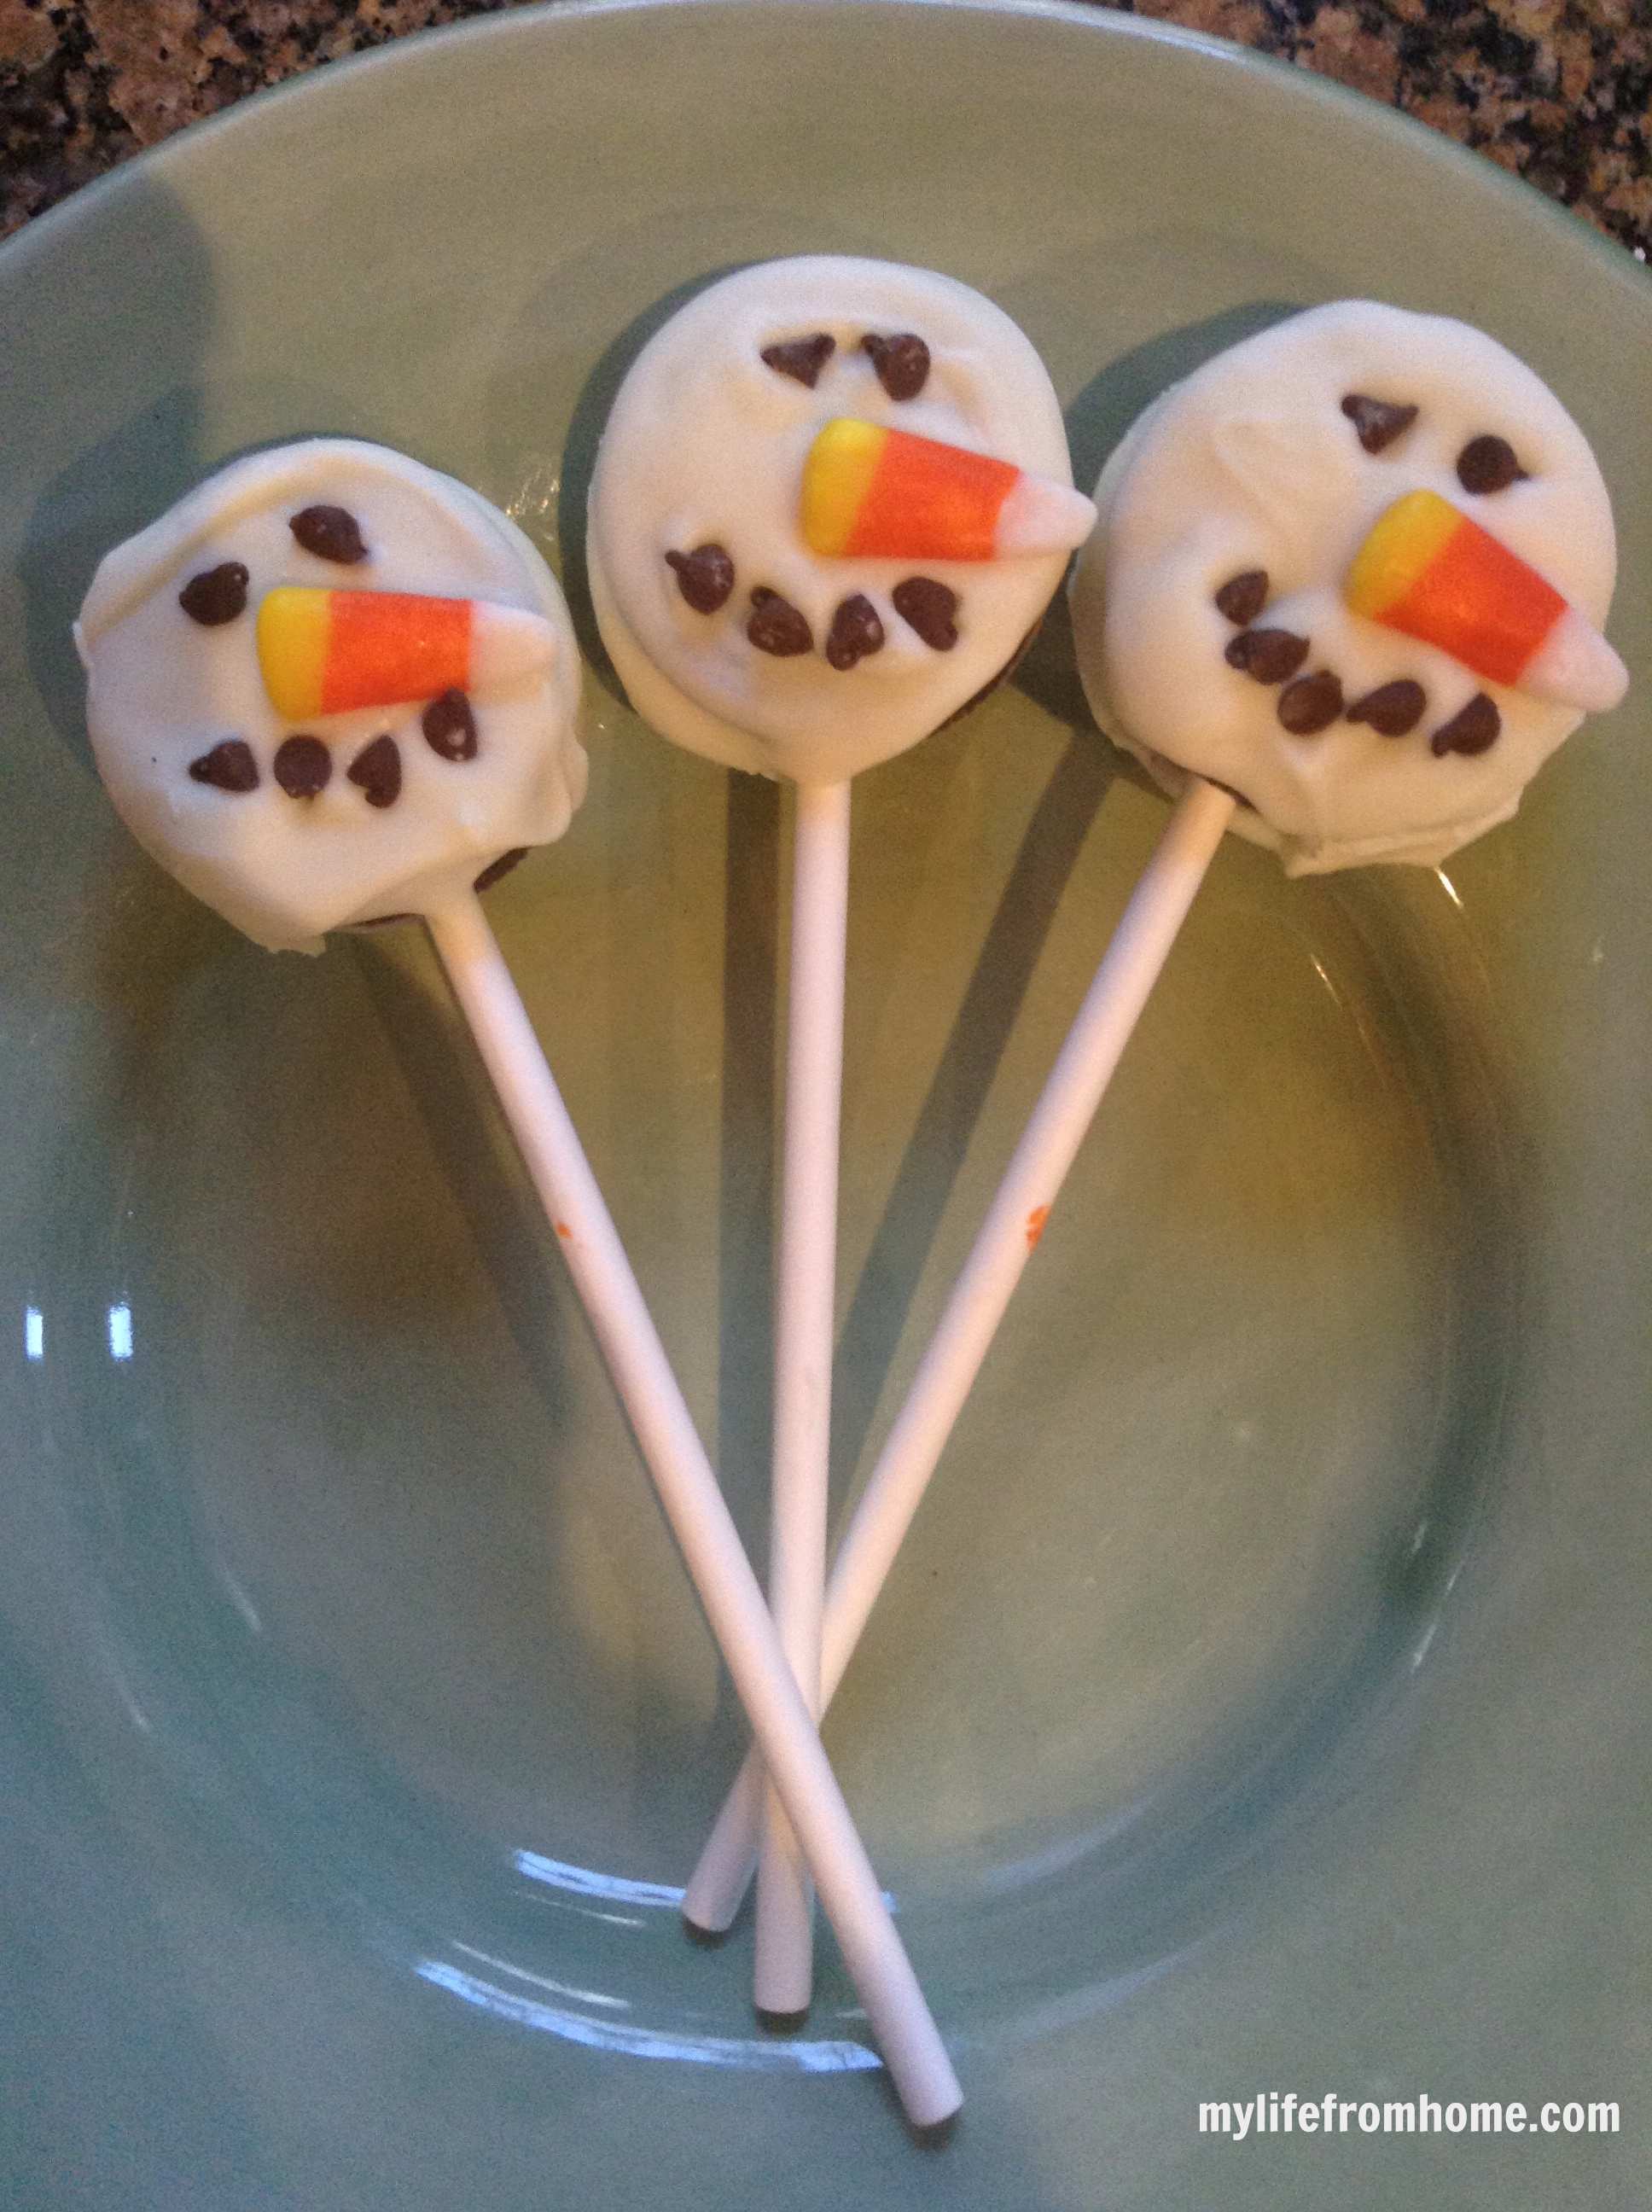
Christmas treats do not need to involve hours of detailed icing to feel magical. These snowman cookie pops turn chocolate sandwich biscuits into cheerful little faces with a smooth white coating, tiny chocolate features and bright orange noses. They are wonderfully festive, easy to hold and particularly useful for parties where cupcakes would be awkward to transport.
The most important improvement is in the assembly. Instead of pulling every biscuit apart and hoping it survives, the stick is dipped in melted coating and eased directly into the cream centre. A short chill fixes it firmly in place before dipping, which means far fewer broken biscuits and much less frustration.
Children can help add the faces once an adult has handled the warm coating. Each snowman develops a slightly different expression, which is part of their charm. Wrap them individually for a school treat, stand them in a jar on a dessert table or add one to each place setting for a small edible Christmas gift.
Why You’ll Love These Snowman Cookie Pops
- They look immediately festive. The simple snowman faces create a charming Christmas treat without advanced decorating skills.
- There is no baking involved. Ready-made sandwich biscuits keep the project manageable during a busy December.
- The improved method prevents breakages. Coating secures the sticks inside the cream filling before the biscuits are dipped.
- Children can personalise them. Different mouths, eyes and little expressions make decorating part of the fun.
- They are easy to transport. Individual wrapping protects the decorations and makes the pops suitable for parties or gifts.
- Most of the work can be done ahead. The finished pops keep well for several days in a cool room.
What You’ll Need for Snowman Cookie Pops
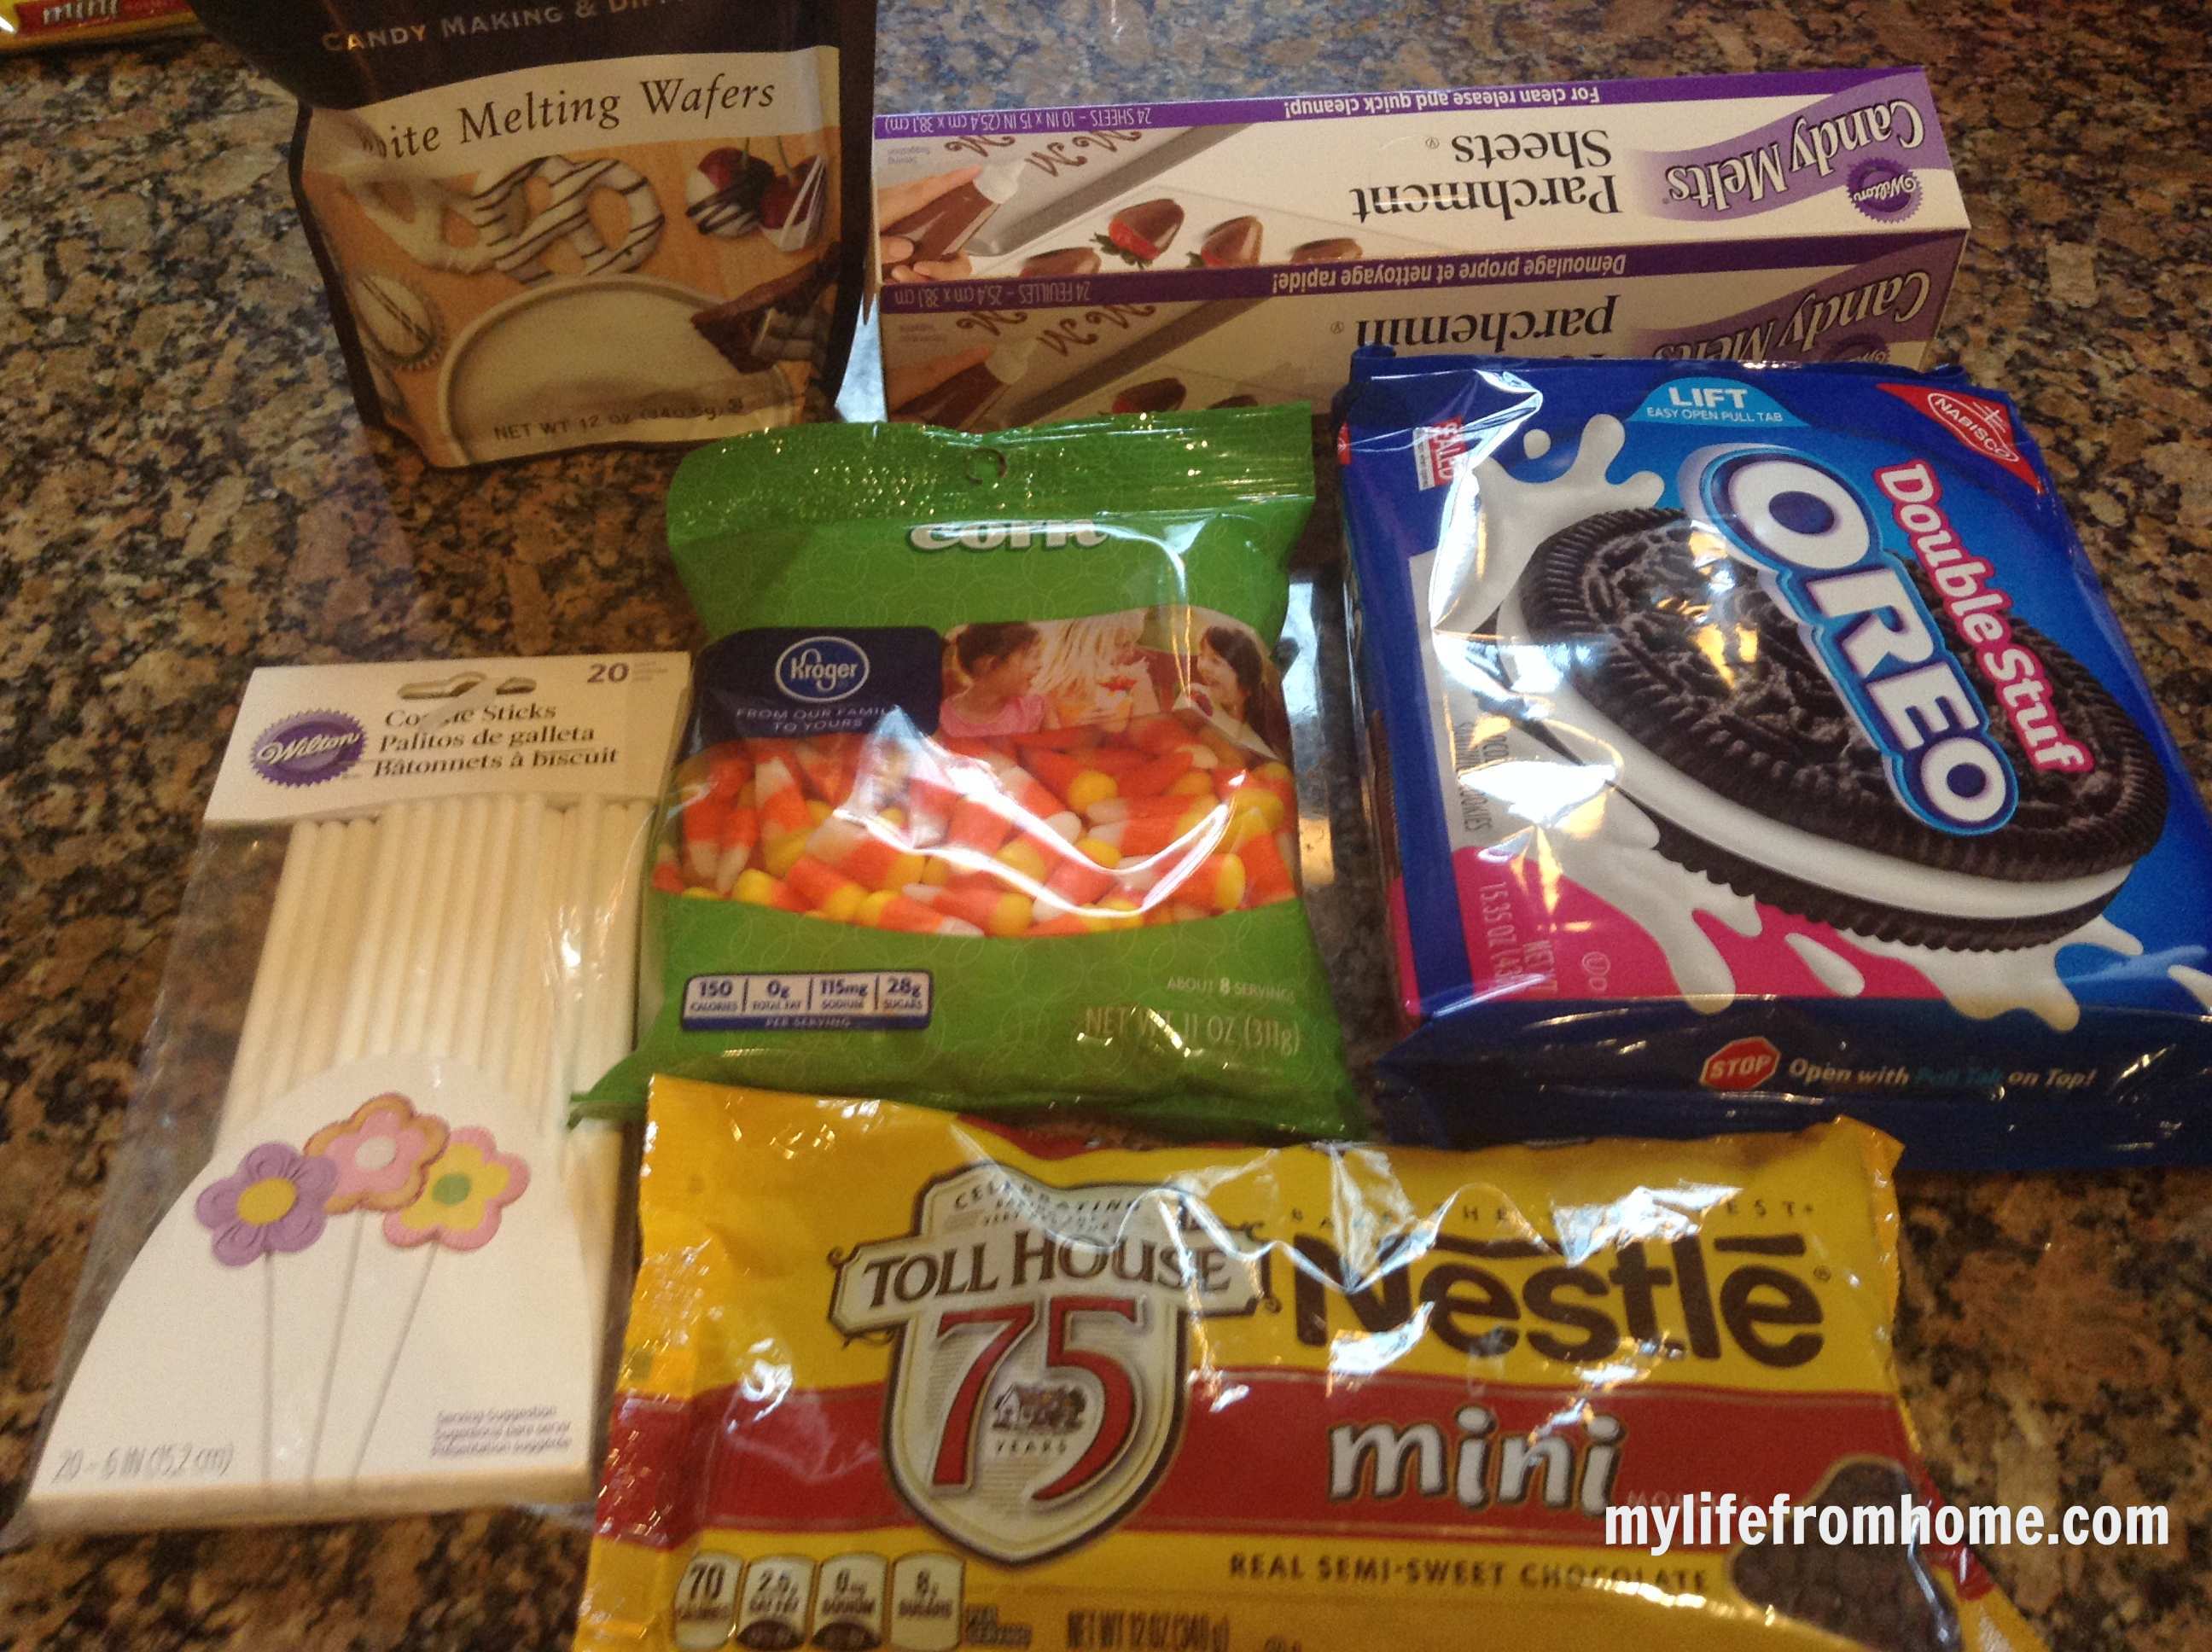
Double-filled sandwich biscuits are easiest because there is more cream to hold the sticks. Have every decoration ready before dipping because the coating begins setting quickly.
- 12 double-filled chocolate sandwich biscuits
- 350g white candy melts
- 12 paper lollipop sticks, approximately 15cm long
- 36 mini dark chocolate chips, for eyes and buttons or mouths
- 25g orange sugarpaste, shaped into 12 tiny carrot noses
- Black writing icing, optional, for smiles
- 1 tsp neutral coconut oil, only if the melted coating needs thinning
Note: White candy melts are sold in cake-decorating shops, Hobbycraft and online, and they set more reliably than ordinary white chocolate. If they are unavailable, melt 350g white chocolate very gently with 10g neutral coconut oil. Candy corn is difficult to find outside imported sweet shops, so small orange sugarpaste triangles make easier and neater carrot noses.
Equipment You’ll Need
- Digital kitchen scales
- A microwave-safe mixing bowl or heatproof jug
- A small palette knife or teaspoon
- A baking tray
- Baking paper
- A narrow drinking glass, optional for holding the melted coating
- A cocktail stick for positioning decorations
A tall narrow glass makes dipping easier and uses the coating more efficiently than a wide shallow bowl. Make sure it is completely dry because even a drop of water can make melted chocolate seize.
How to Make Snowman Cookie Pops
Step 1: Prepare the decorations
Line a baking tray with baking paper. Roll the orange sugarpaste into 12 tiny carrot shapes and count out the chocolate chips. Arrange everything beside the tray before melting the coating so you can decorate each pop while its surface is still wet.
Step 2: Melt the white coating
Place 100g of the candy melts in a completely dry microwave-safe bowl. Heat for 20-second intervals, stirring carefully after each one, until smooth. If it seems too thick, stir in a very small amount of coconut oil. Short bursts are important because white coating burns more easily than it appears.
Step 3: Secure the sticks without splitting the biscuits
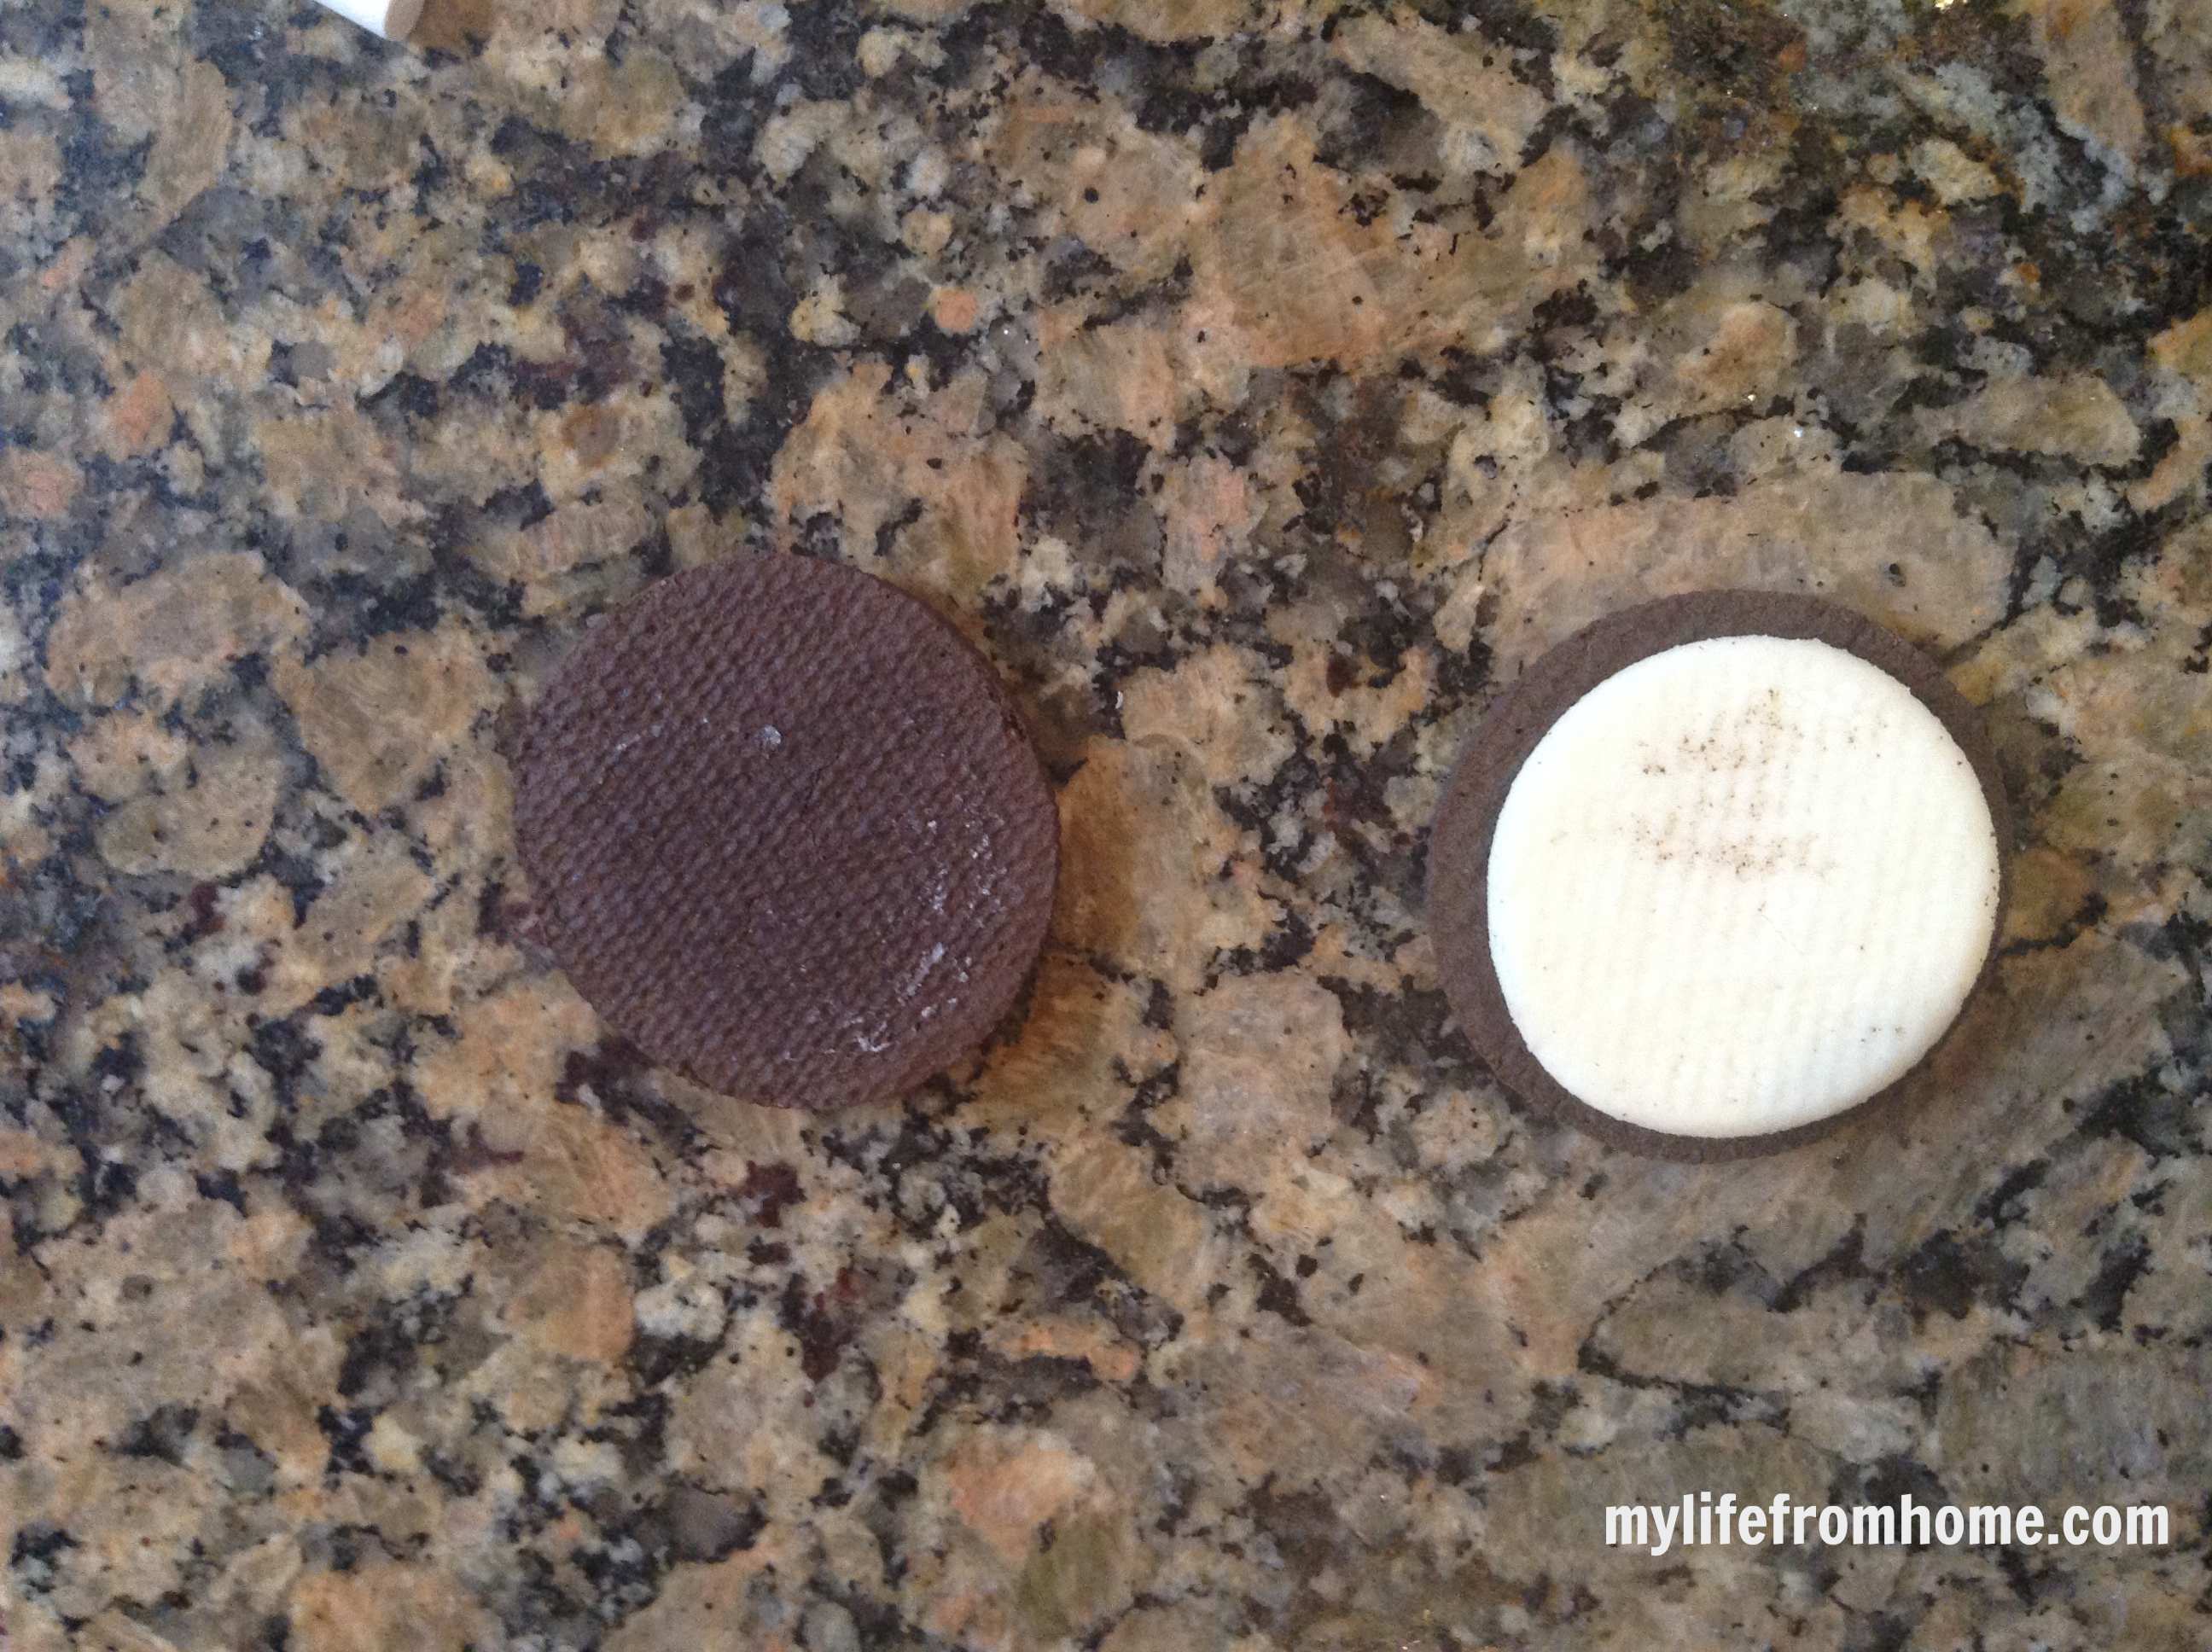
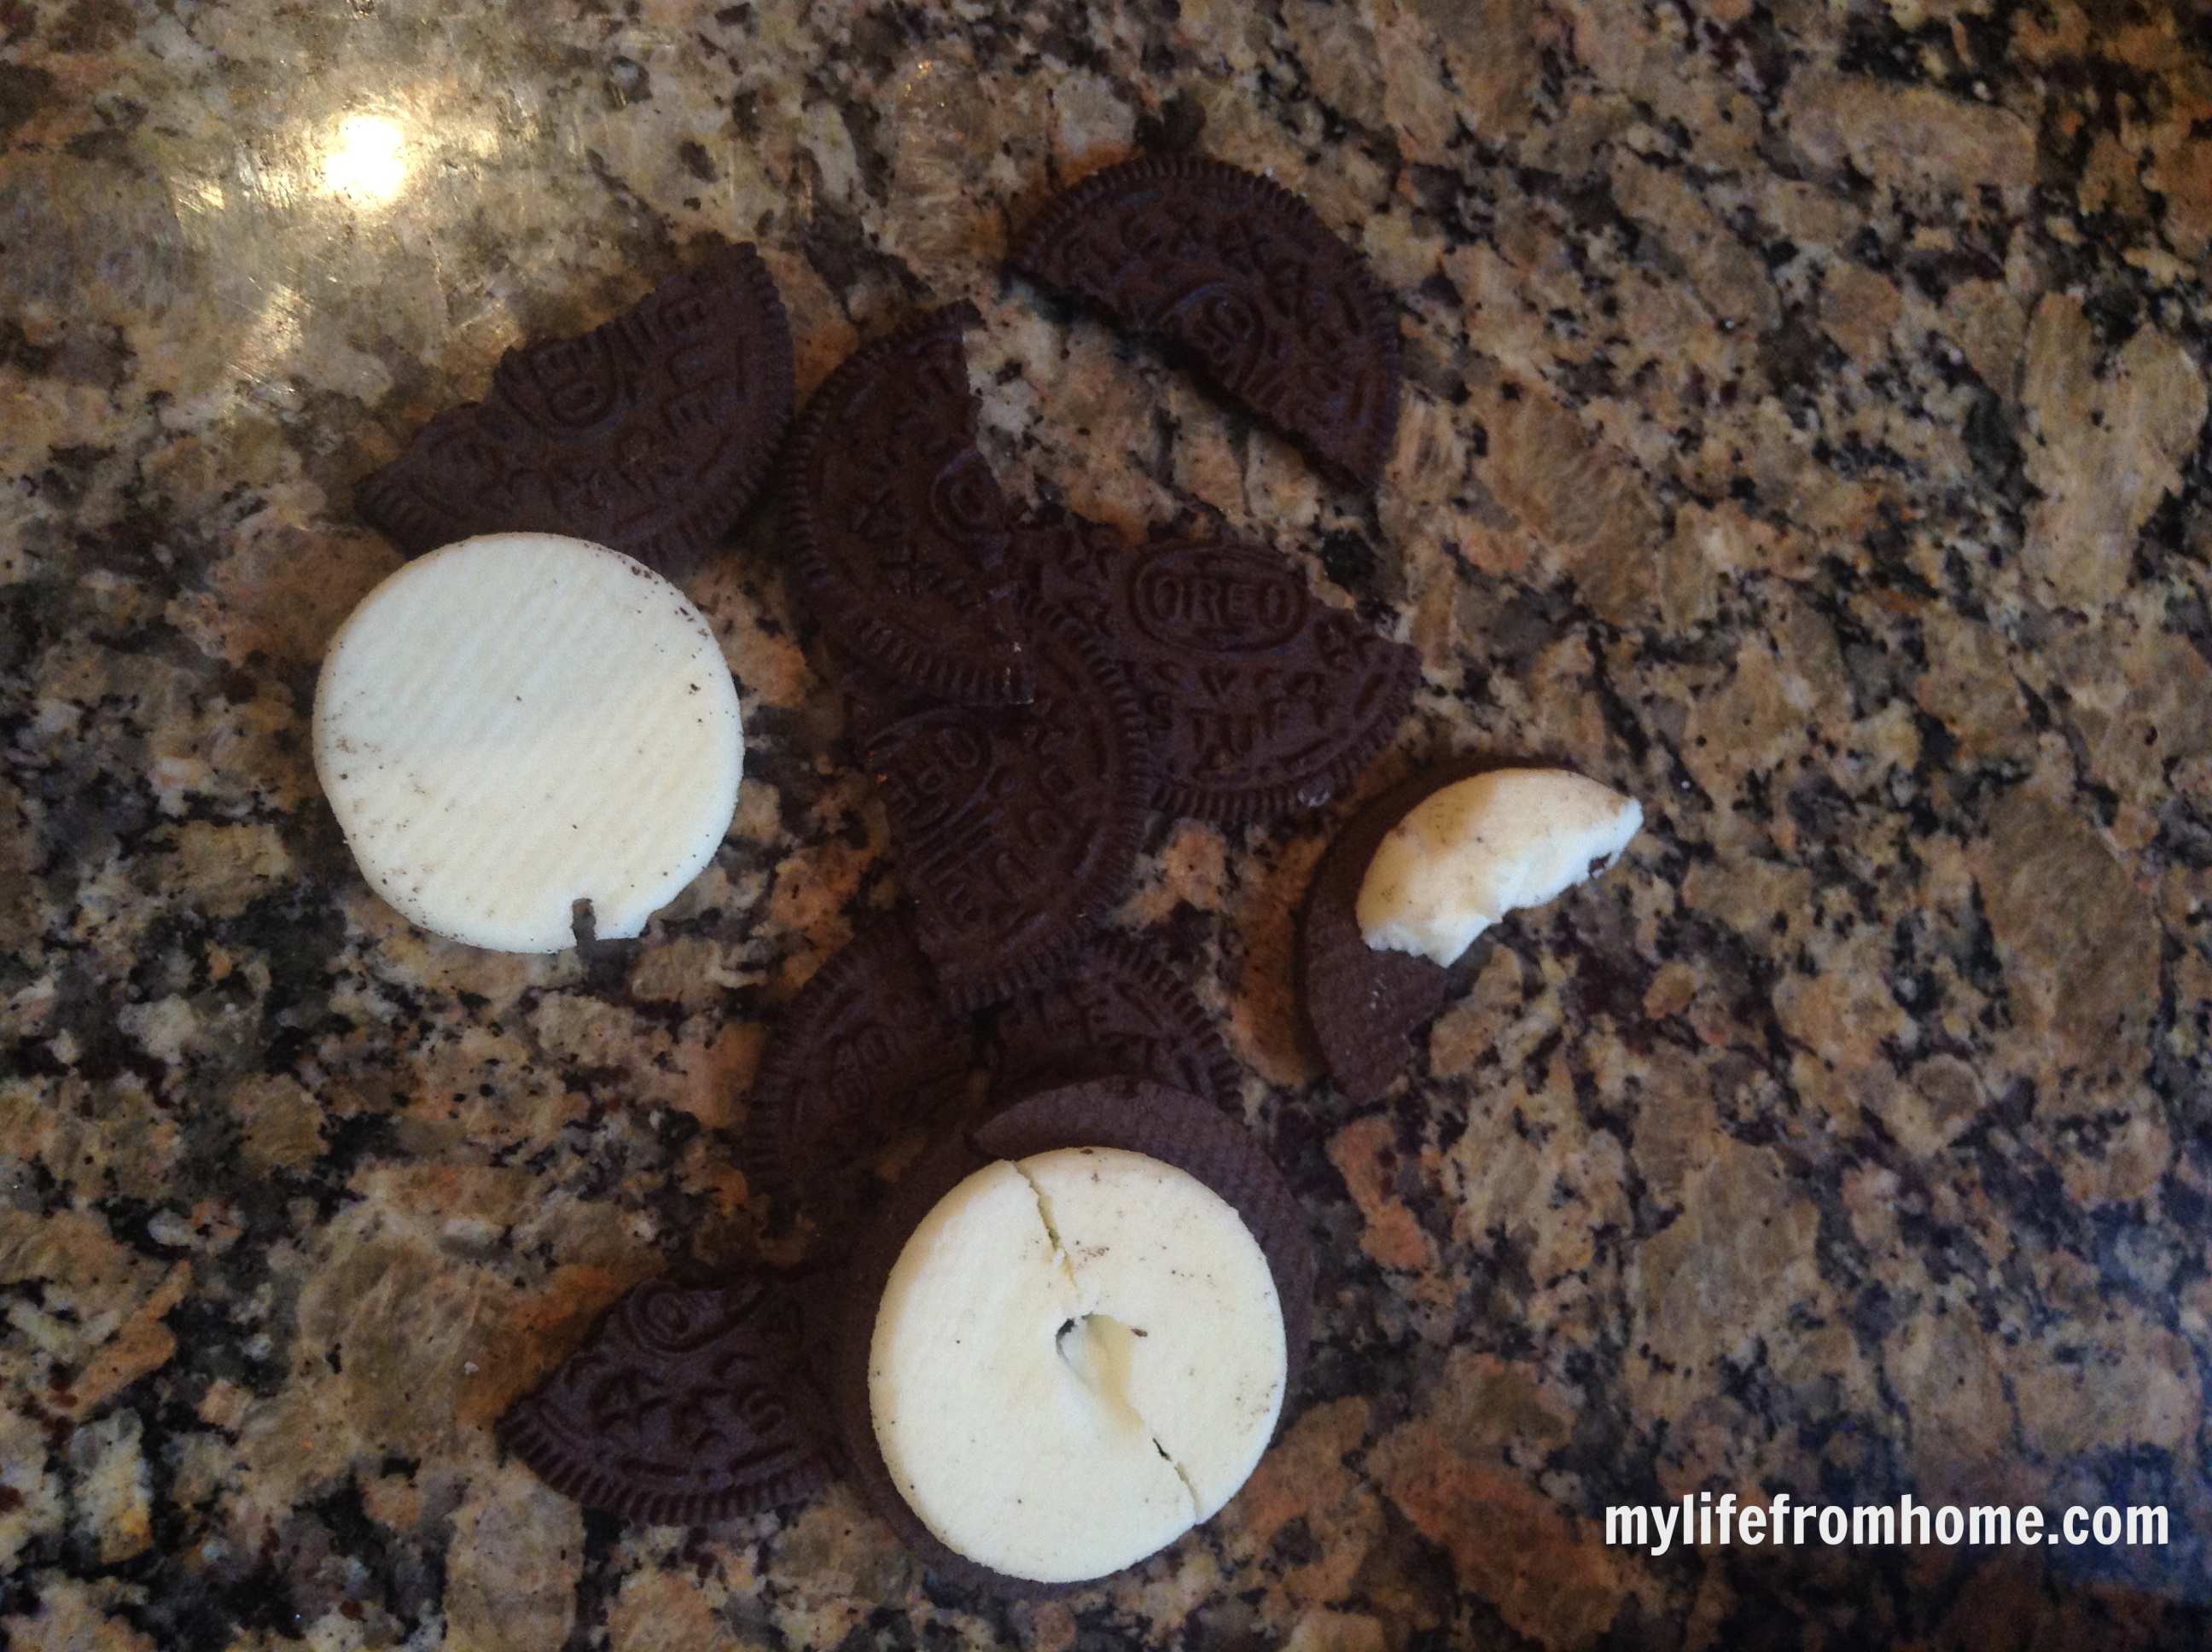
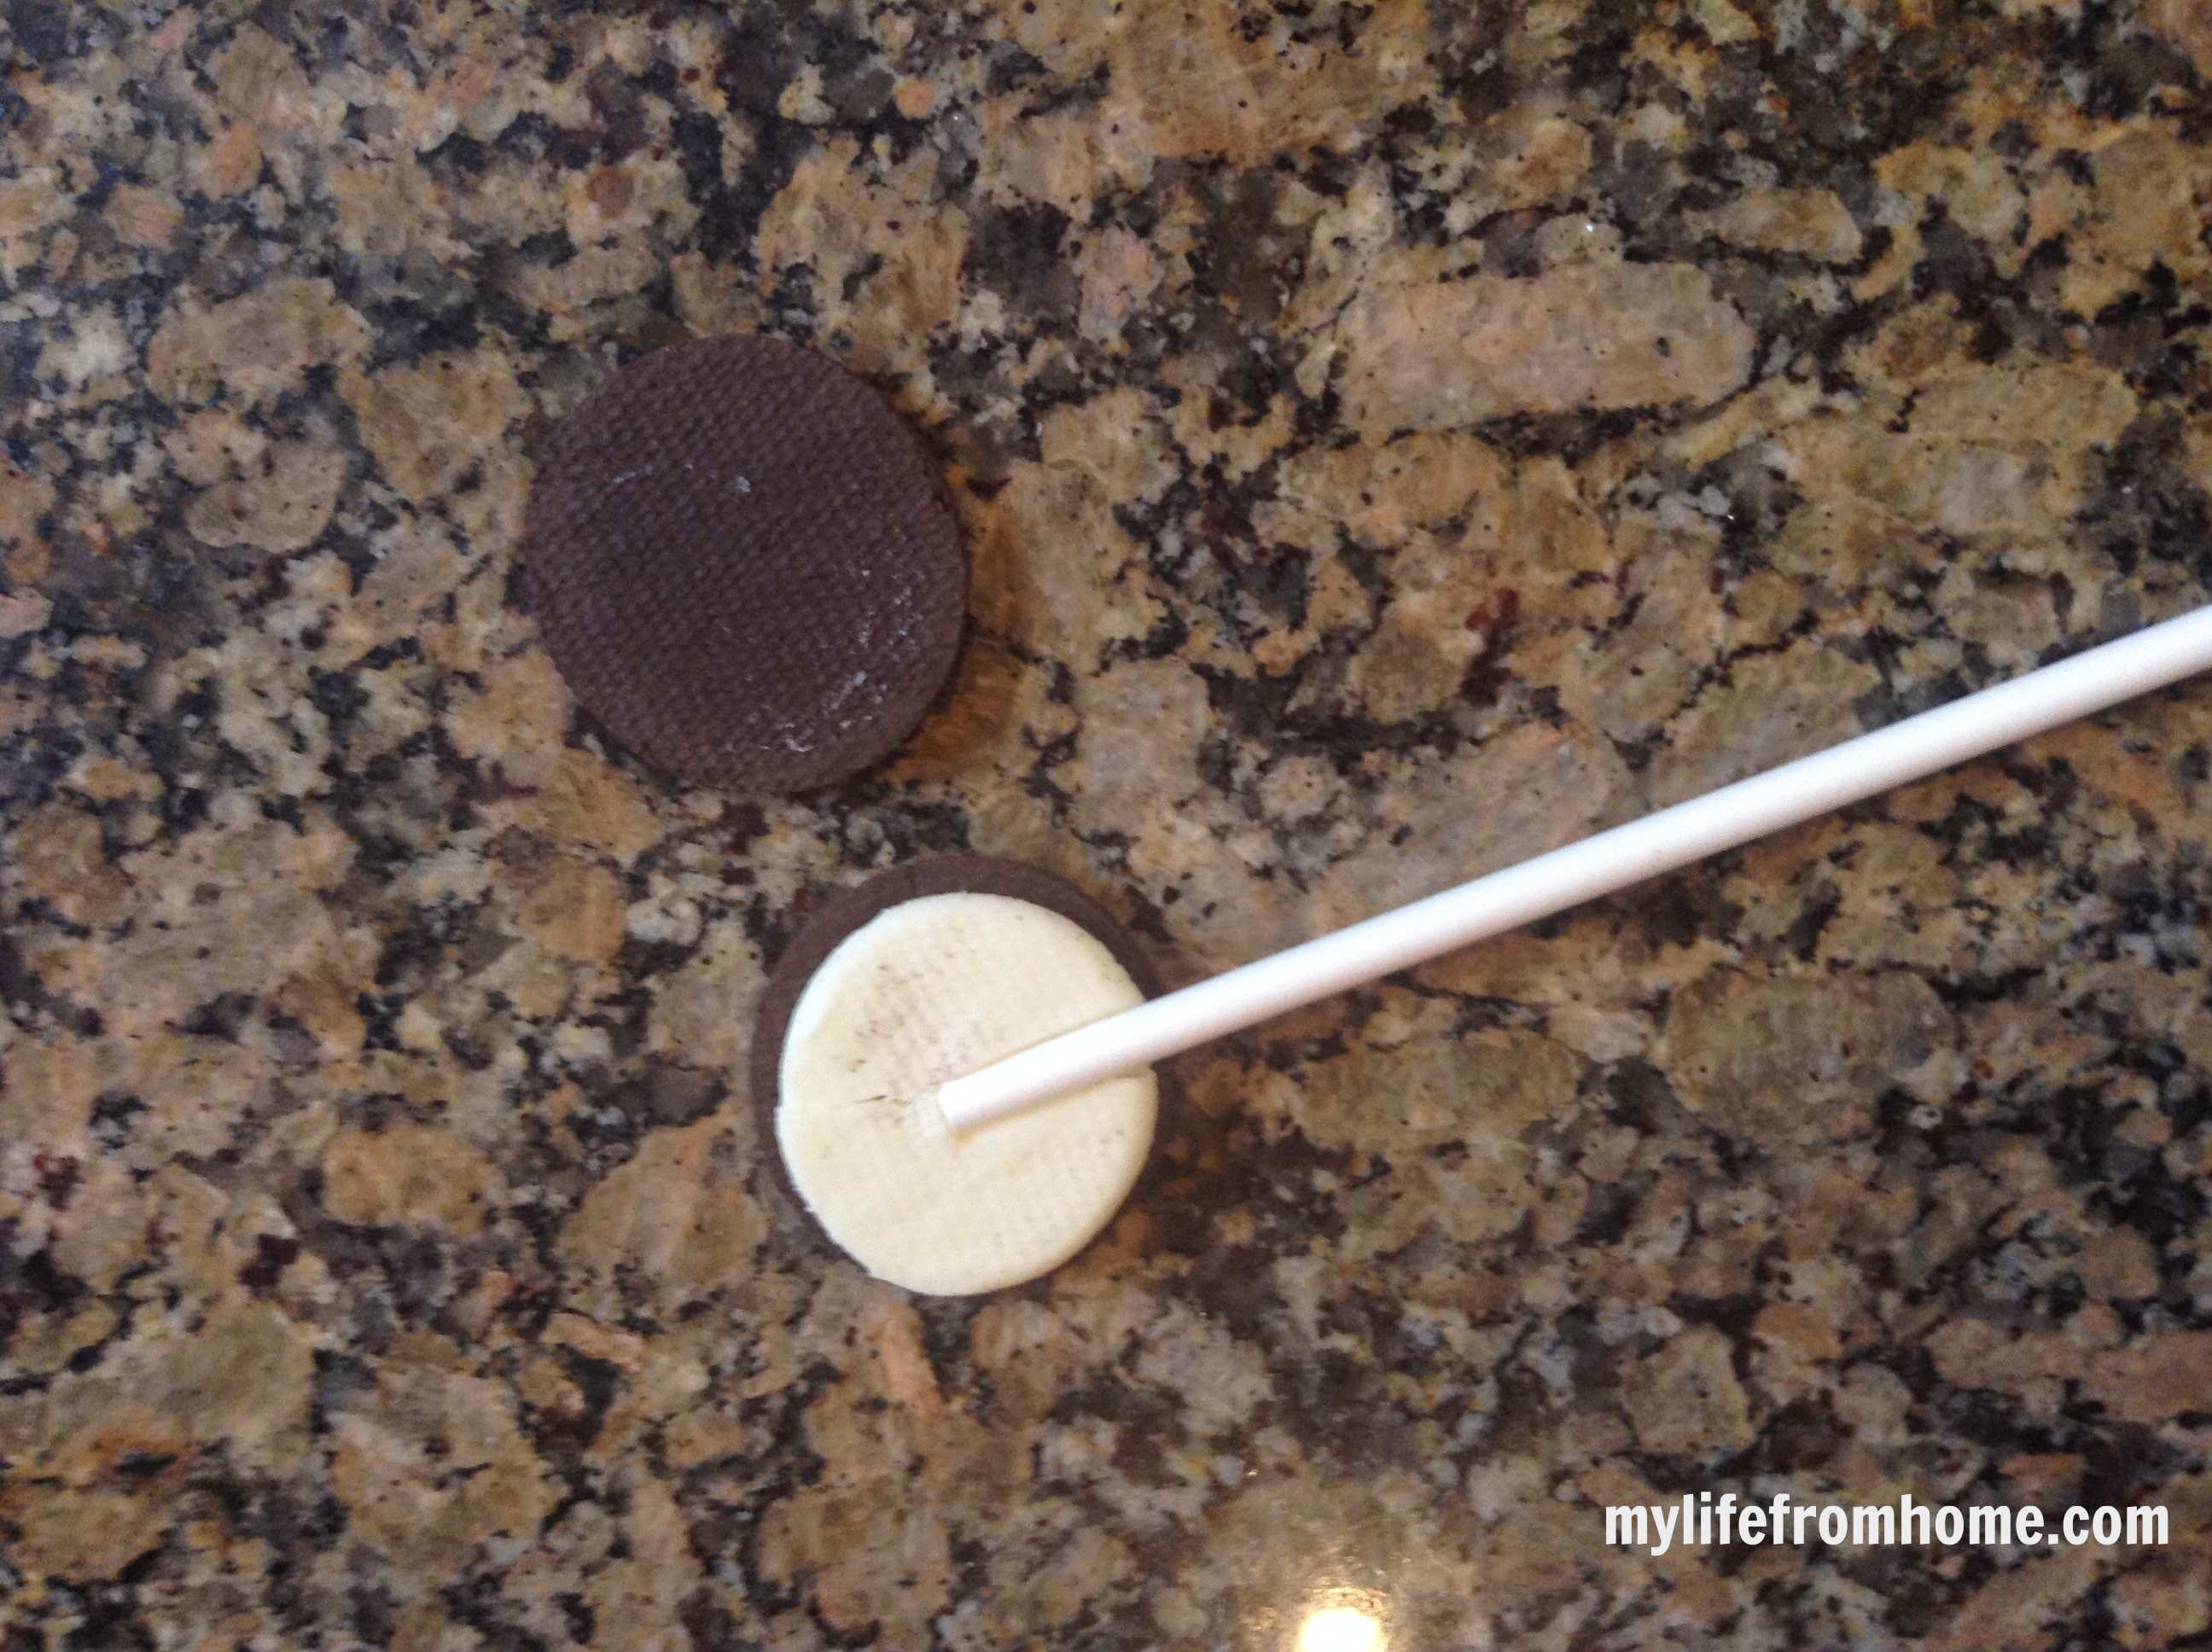
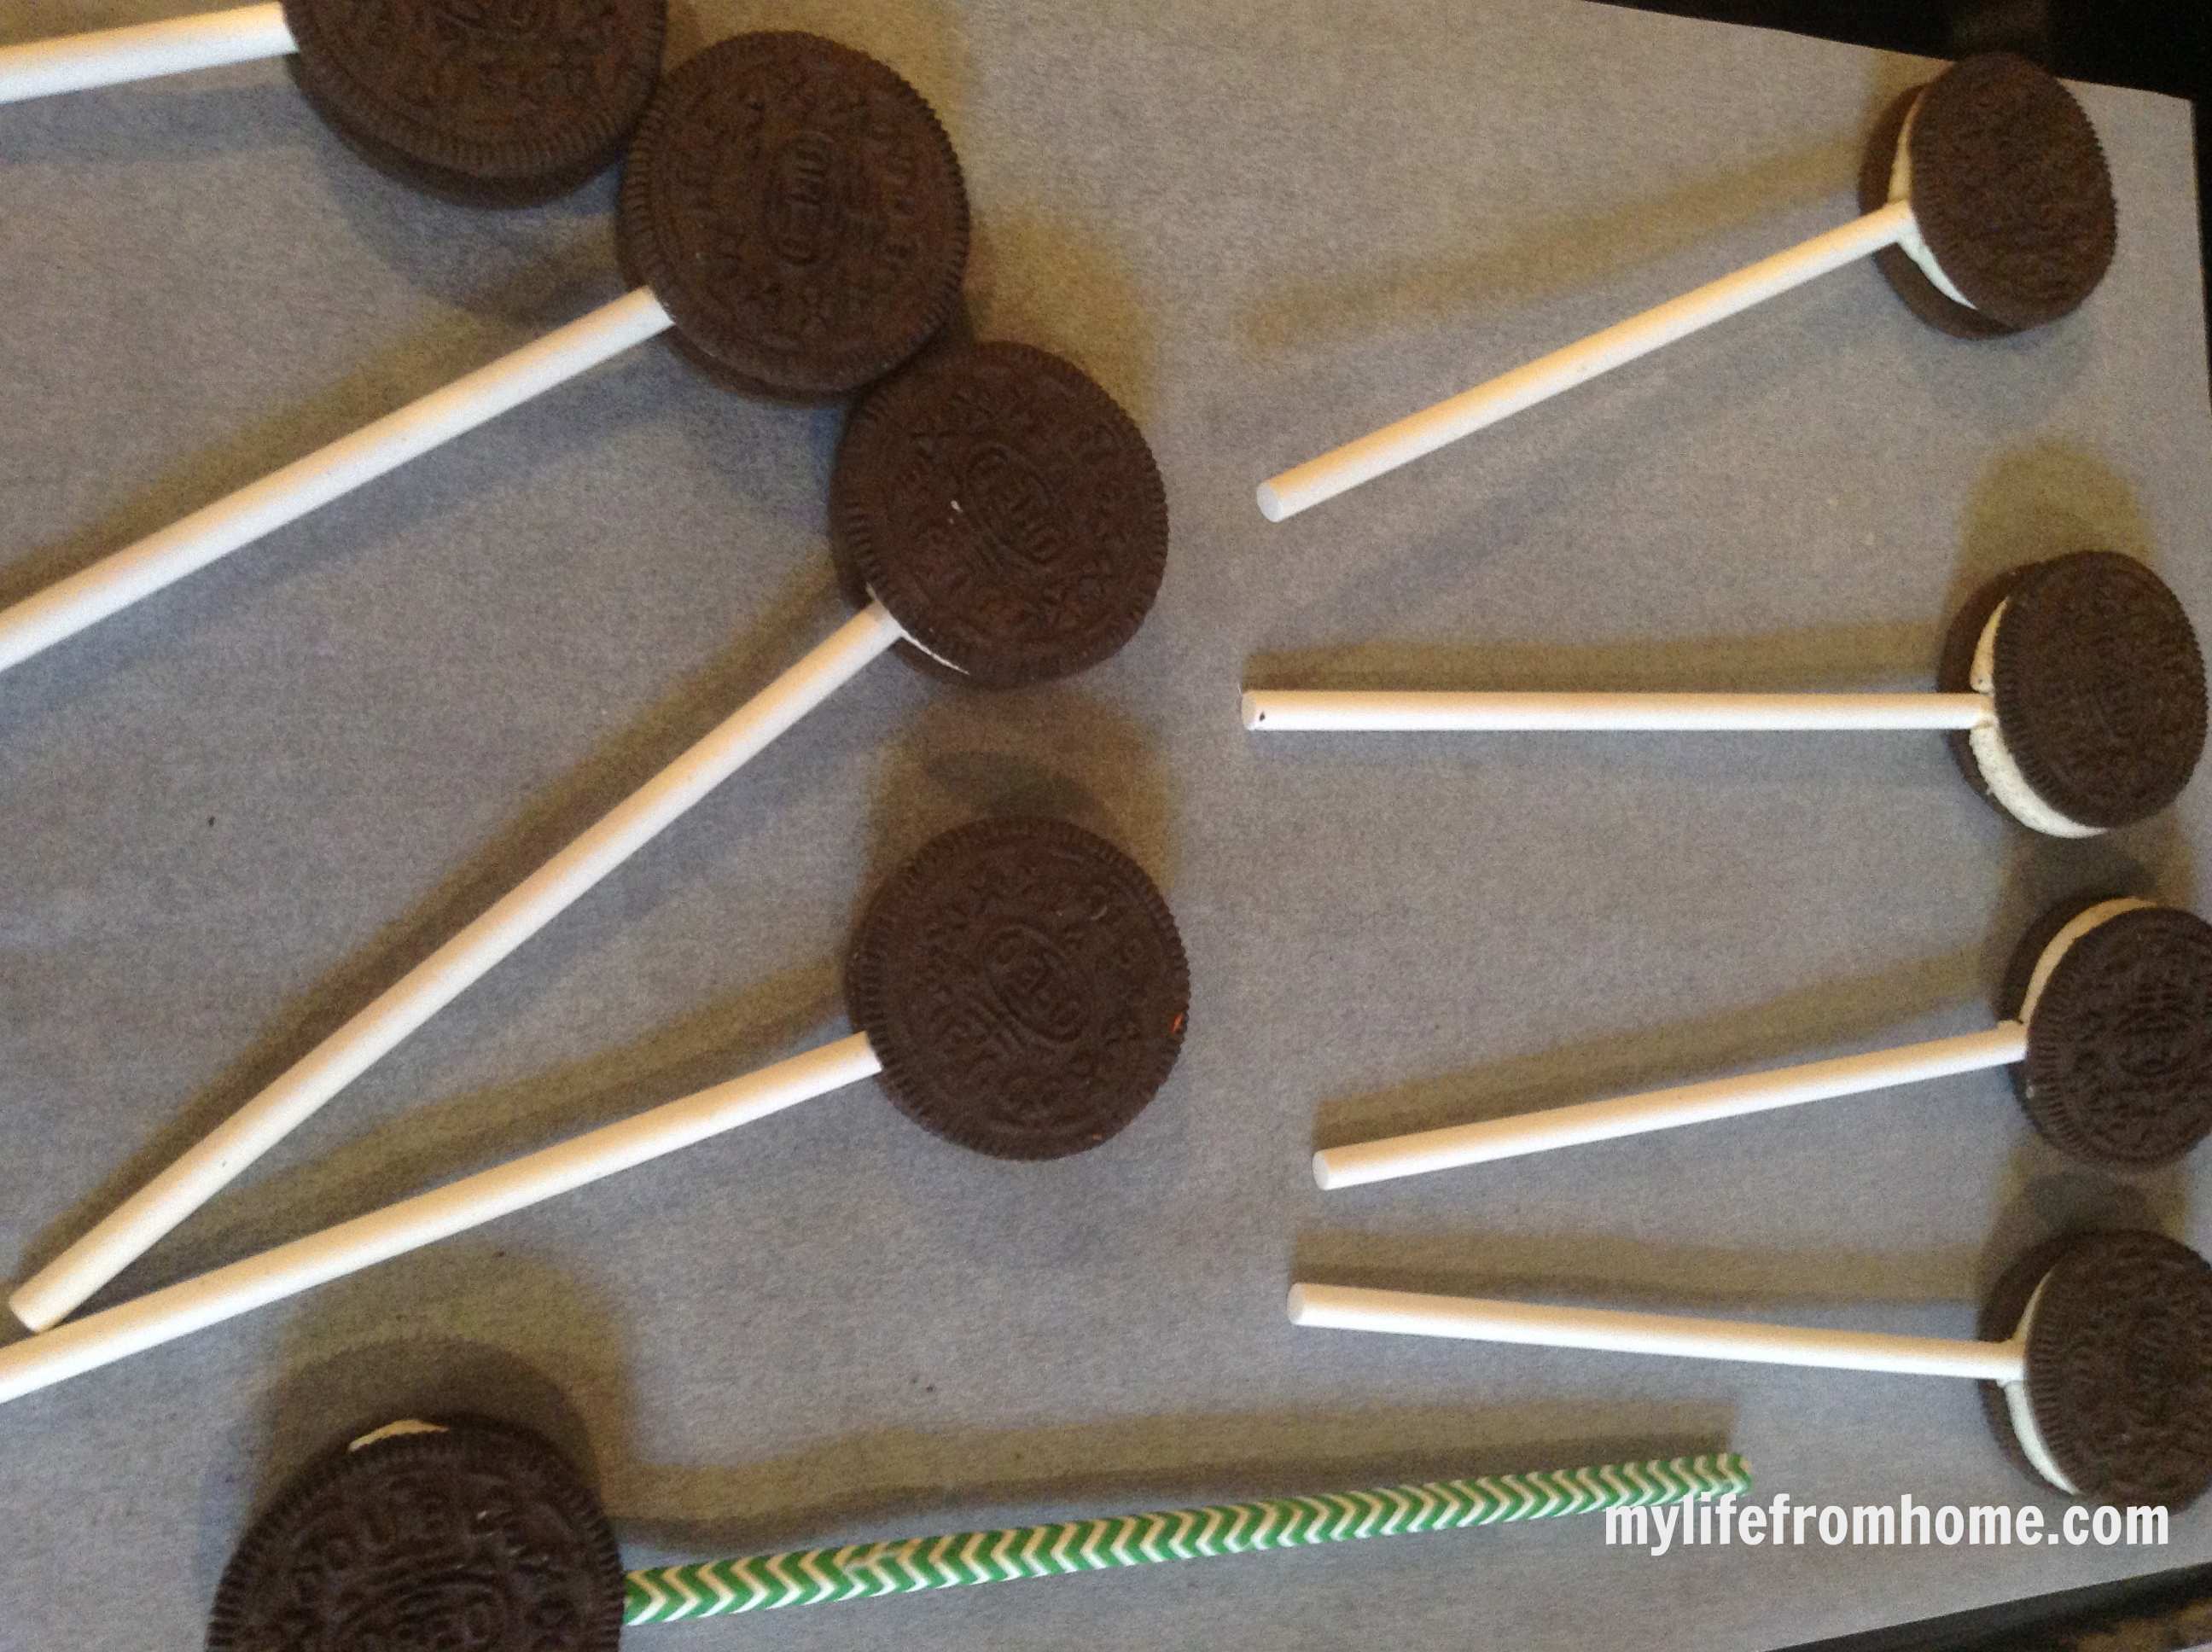
Dip the end of one lollipop stick approximately 2cm into the melted coating. Hold a sandwich biscuit flat and gently ease the coated end into the cream centre, stopping before it reaches the far edge. Repeat with the remaining biscuits and refrigerate them on the lined tray for 10 minutes.
Step 4: Repair any loose biscuits
Check each pop after chilling. If a biscuit has opened slightly, use a teaspoon to add a little melted coating around the stick and press the halves together gently. Return it to the fridge until firm. Do not force a stick into a cold brittle biscuit, as gentle pressure is far more effective than speed.
Step 5: Melt the remaining coating
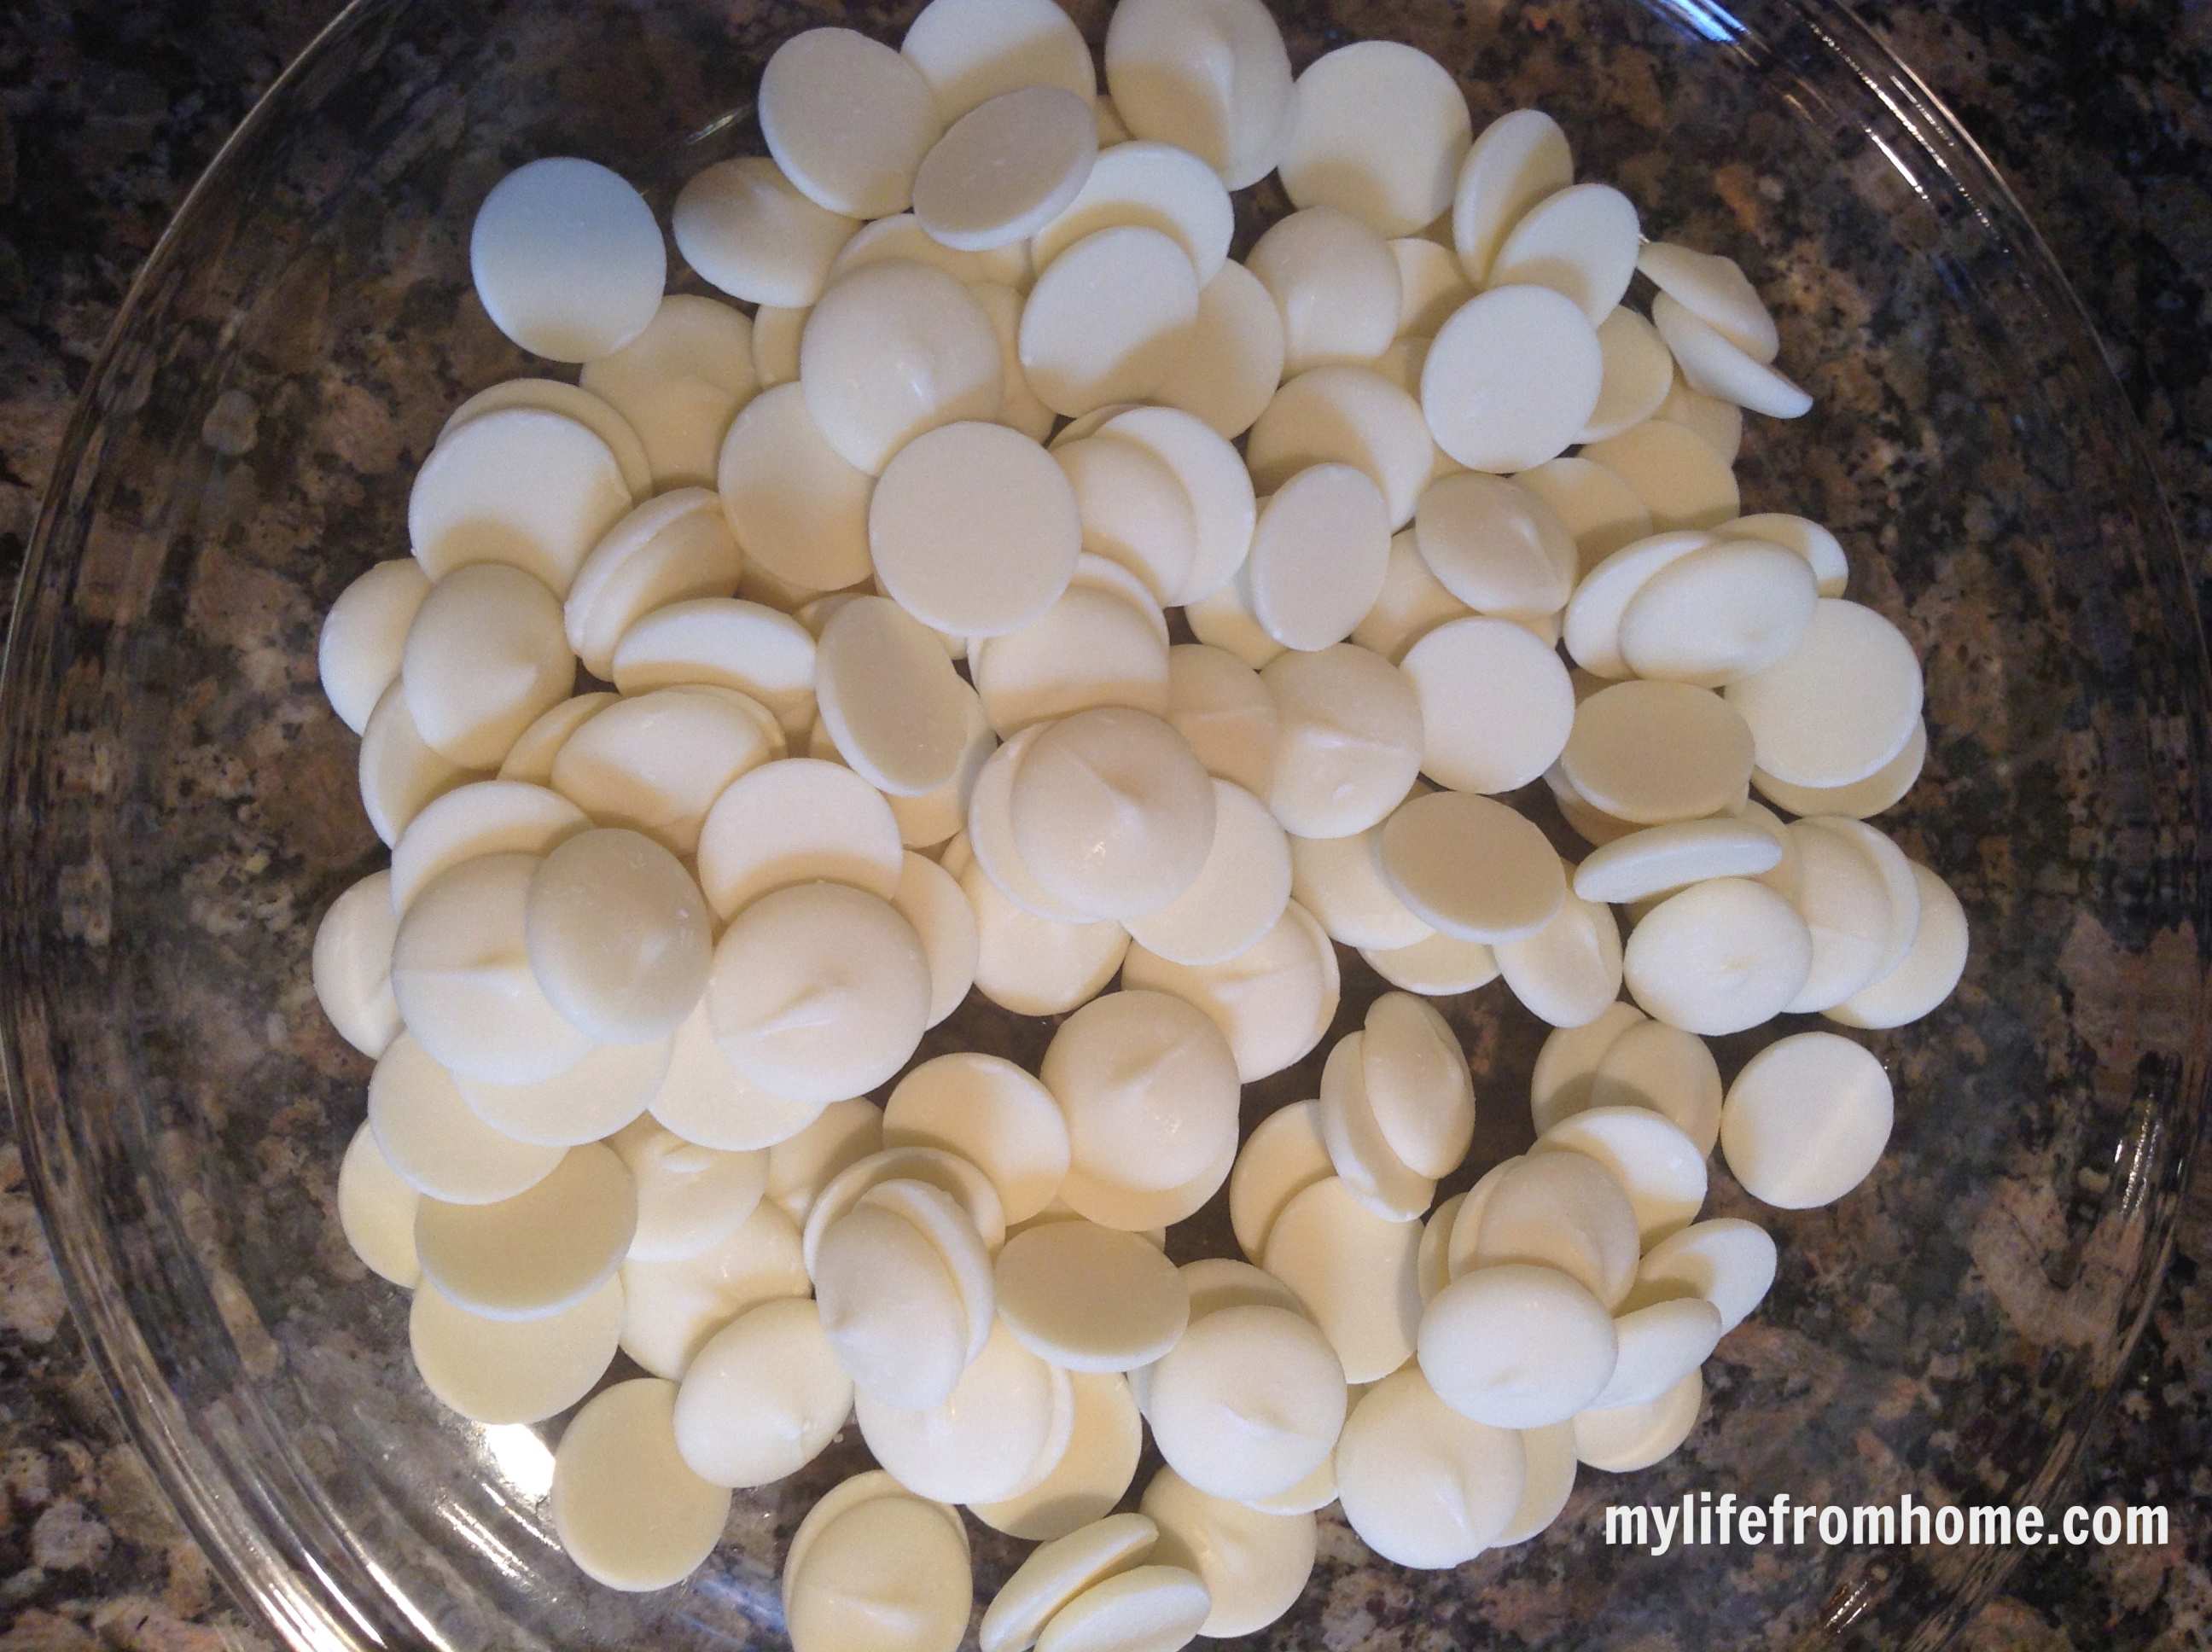
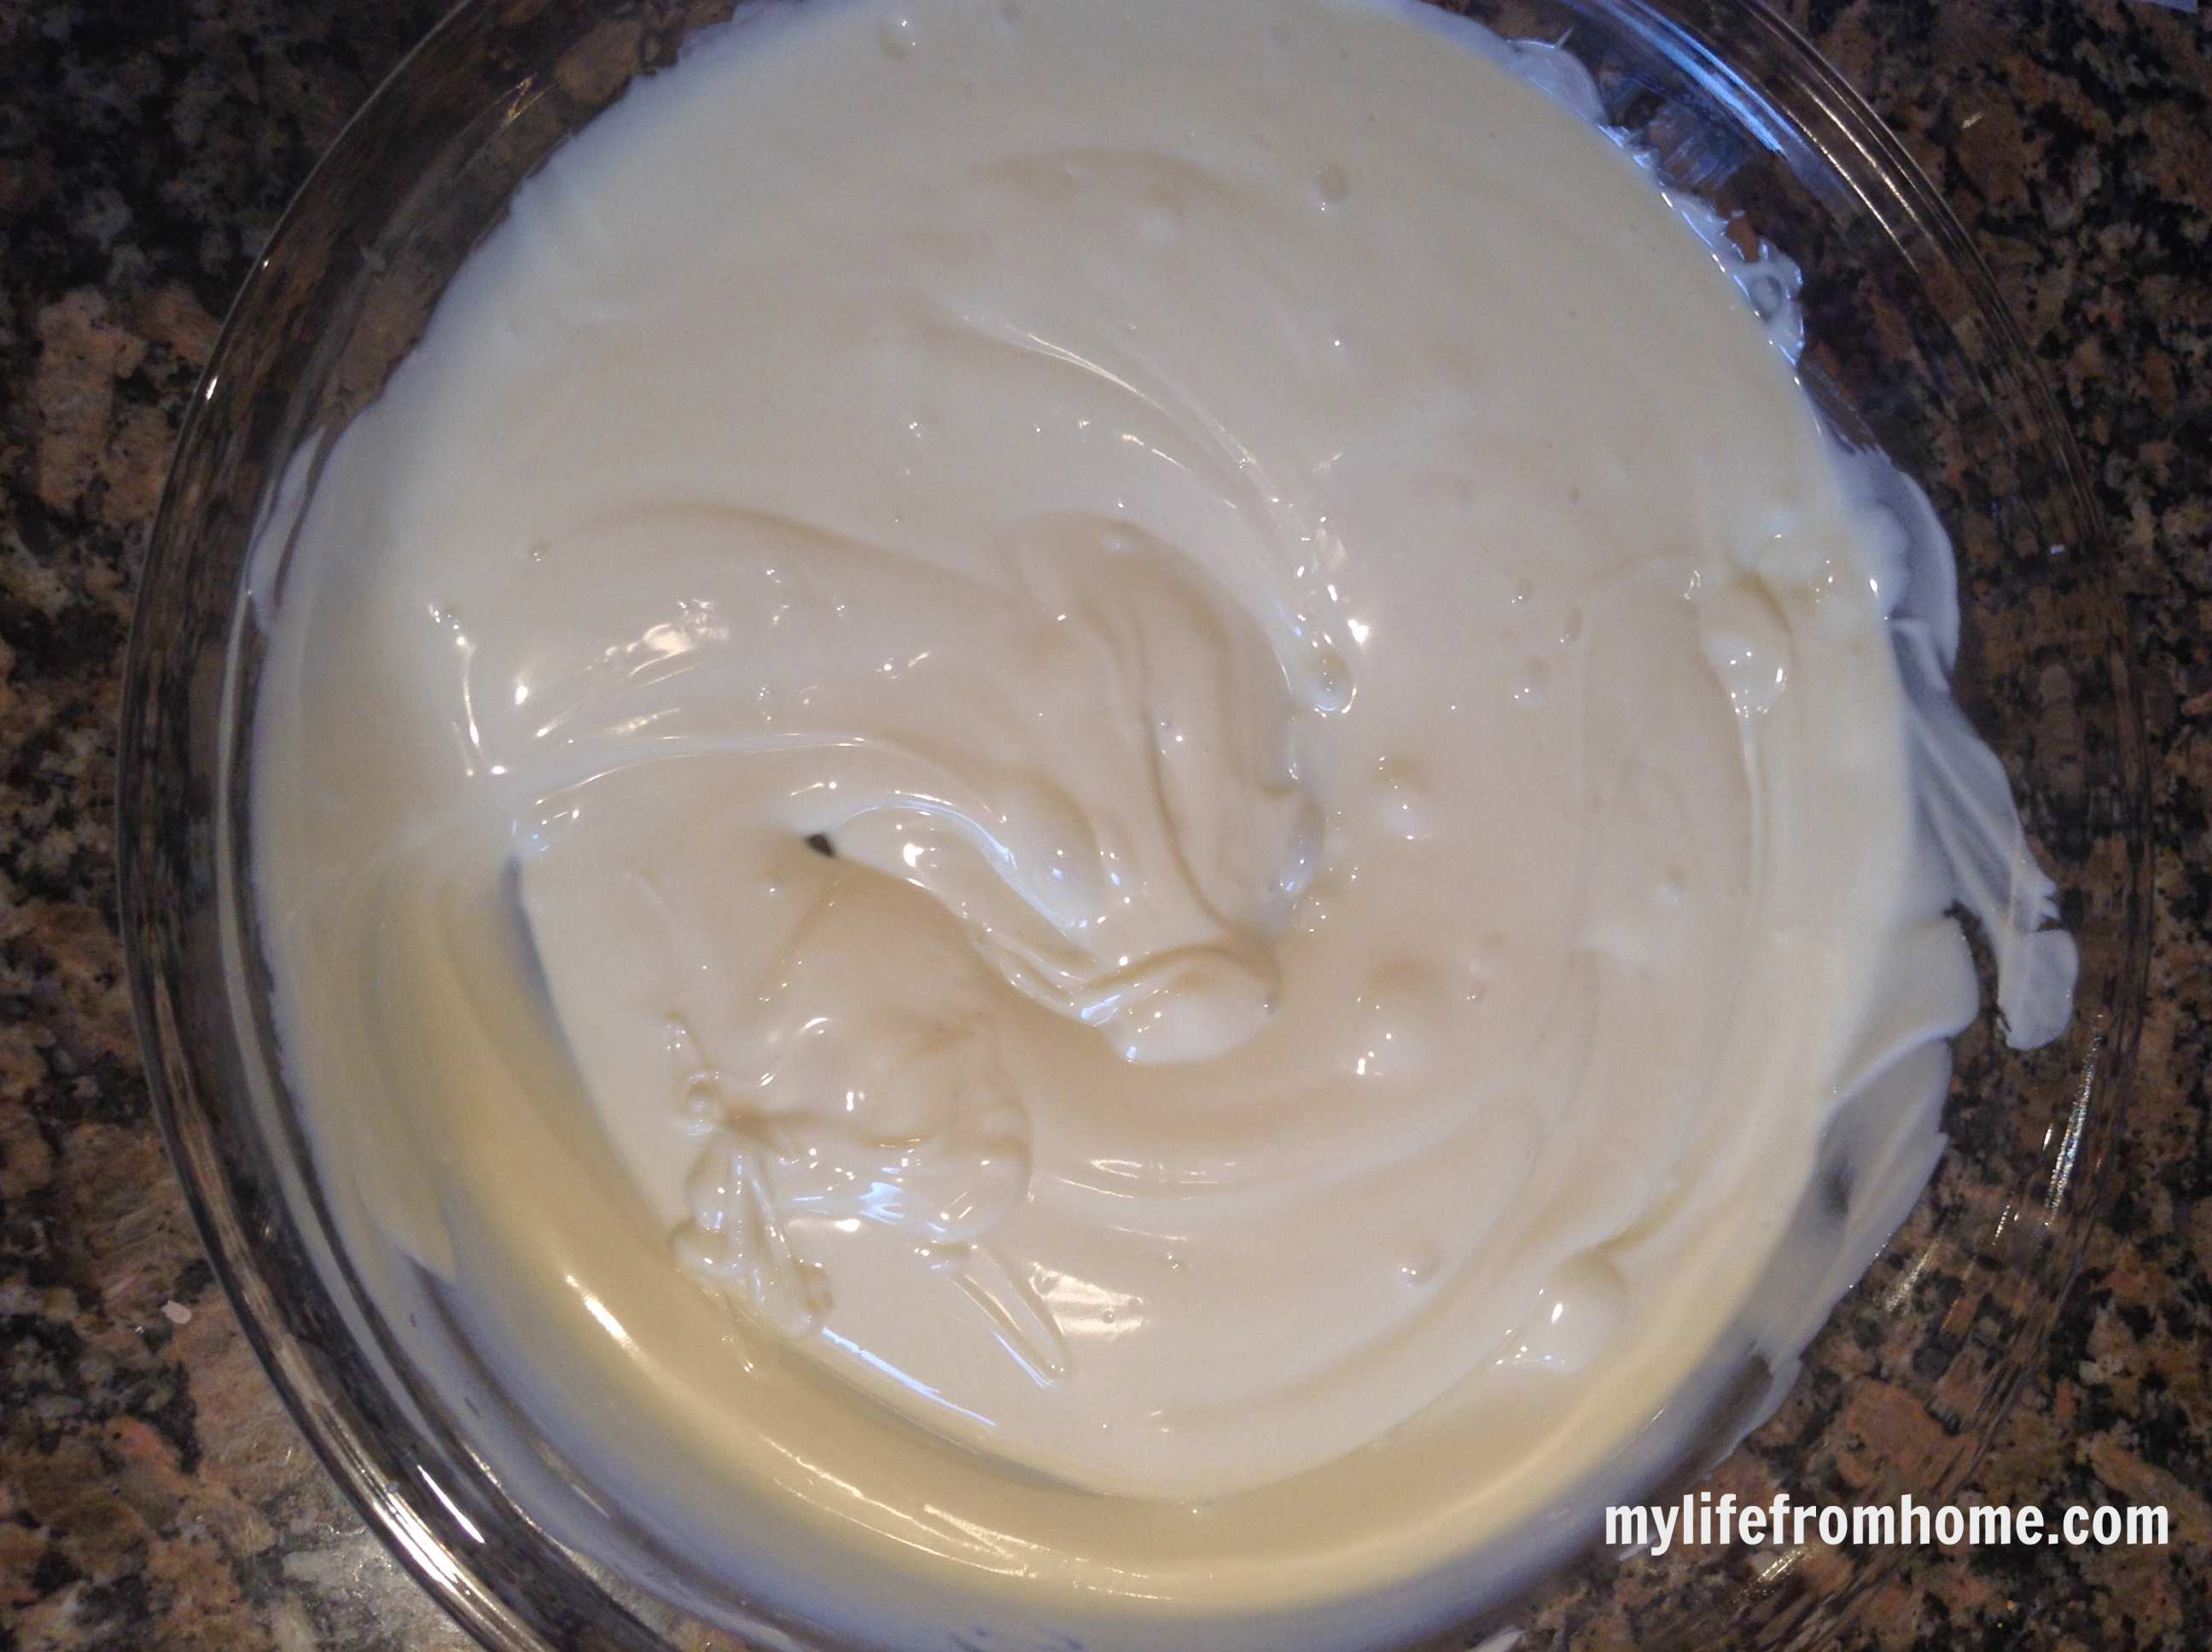
Melt the remaining candy melts in the same short intervals and transfer them to a narrow glass if helpful. Stir until completely smooth, adding no more than a few drops of coconut oil if thinning is needed. The coating should flow from a spoon in a thick ribbon.
Step 6: Dip each cookie pop
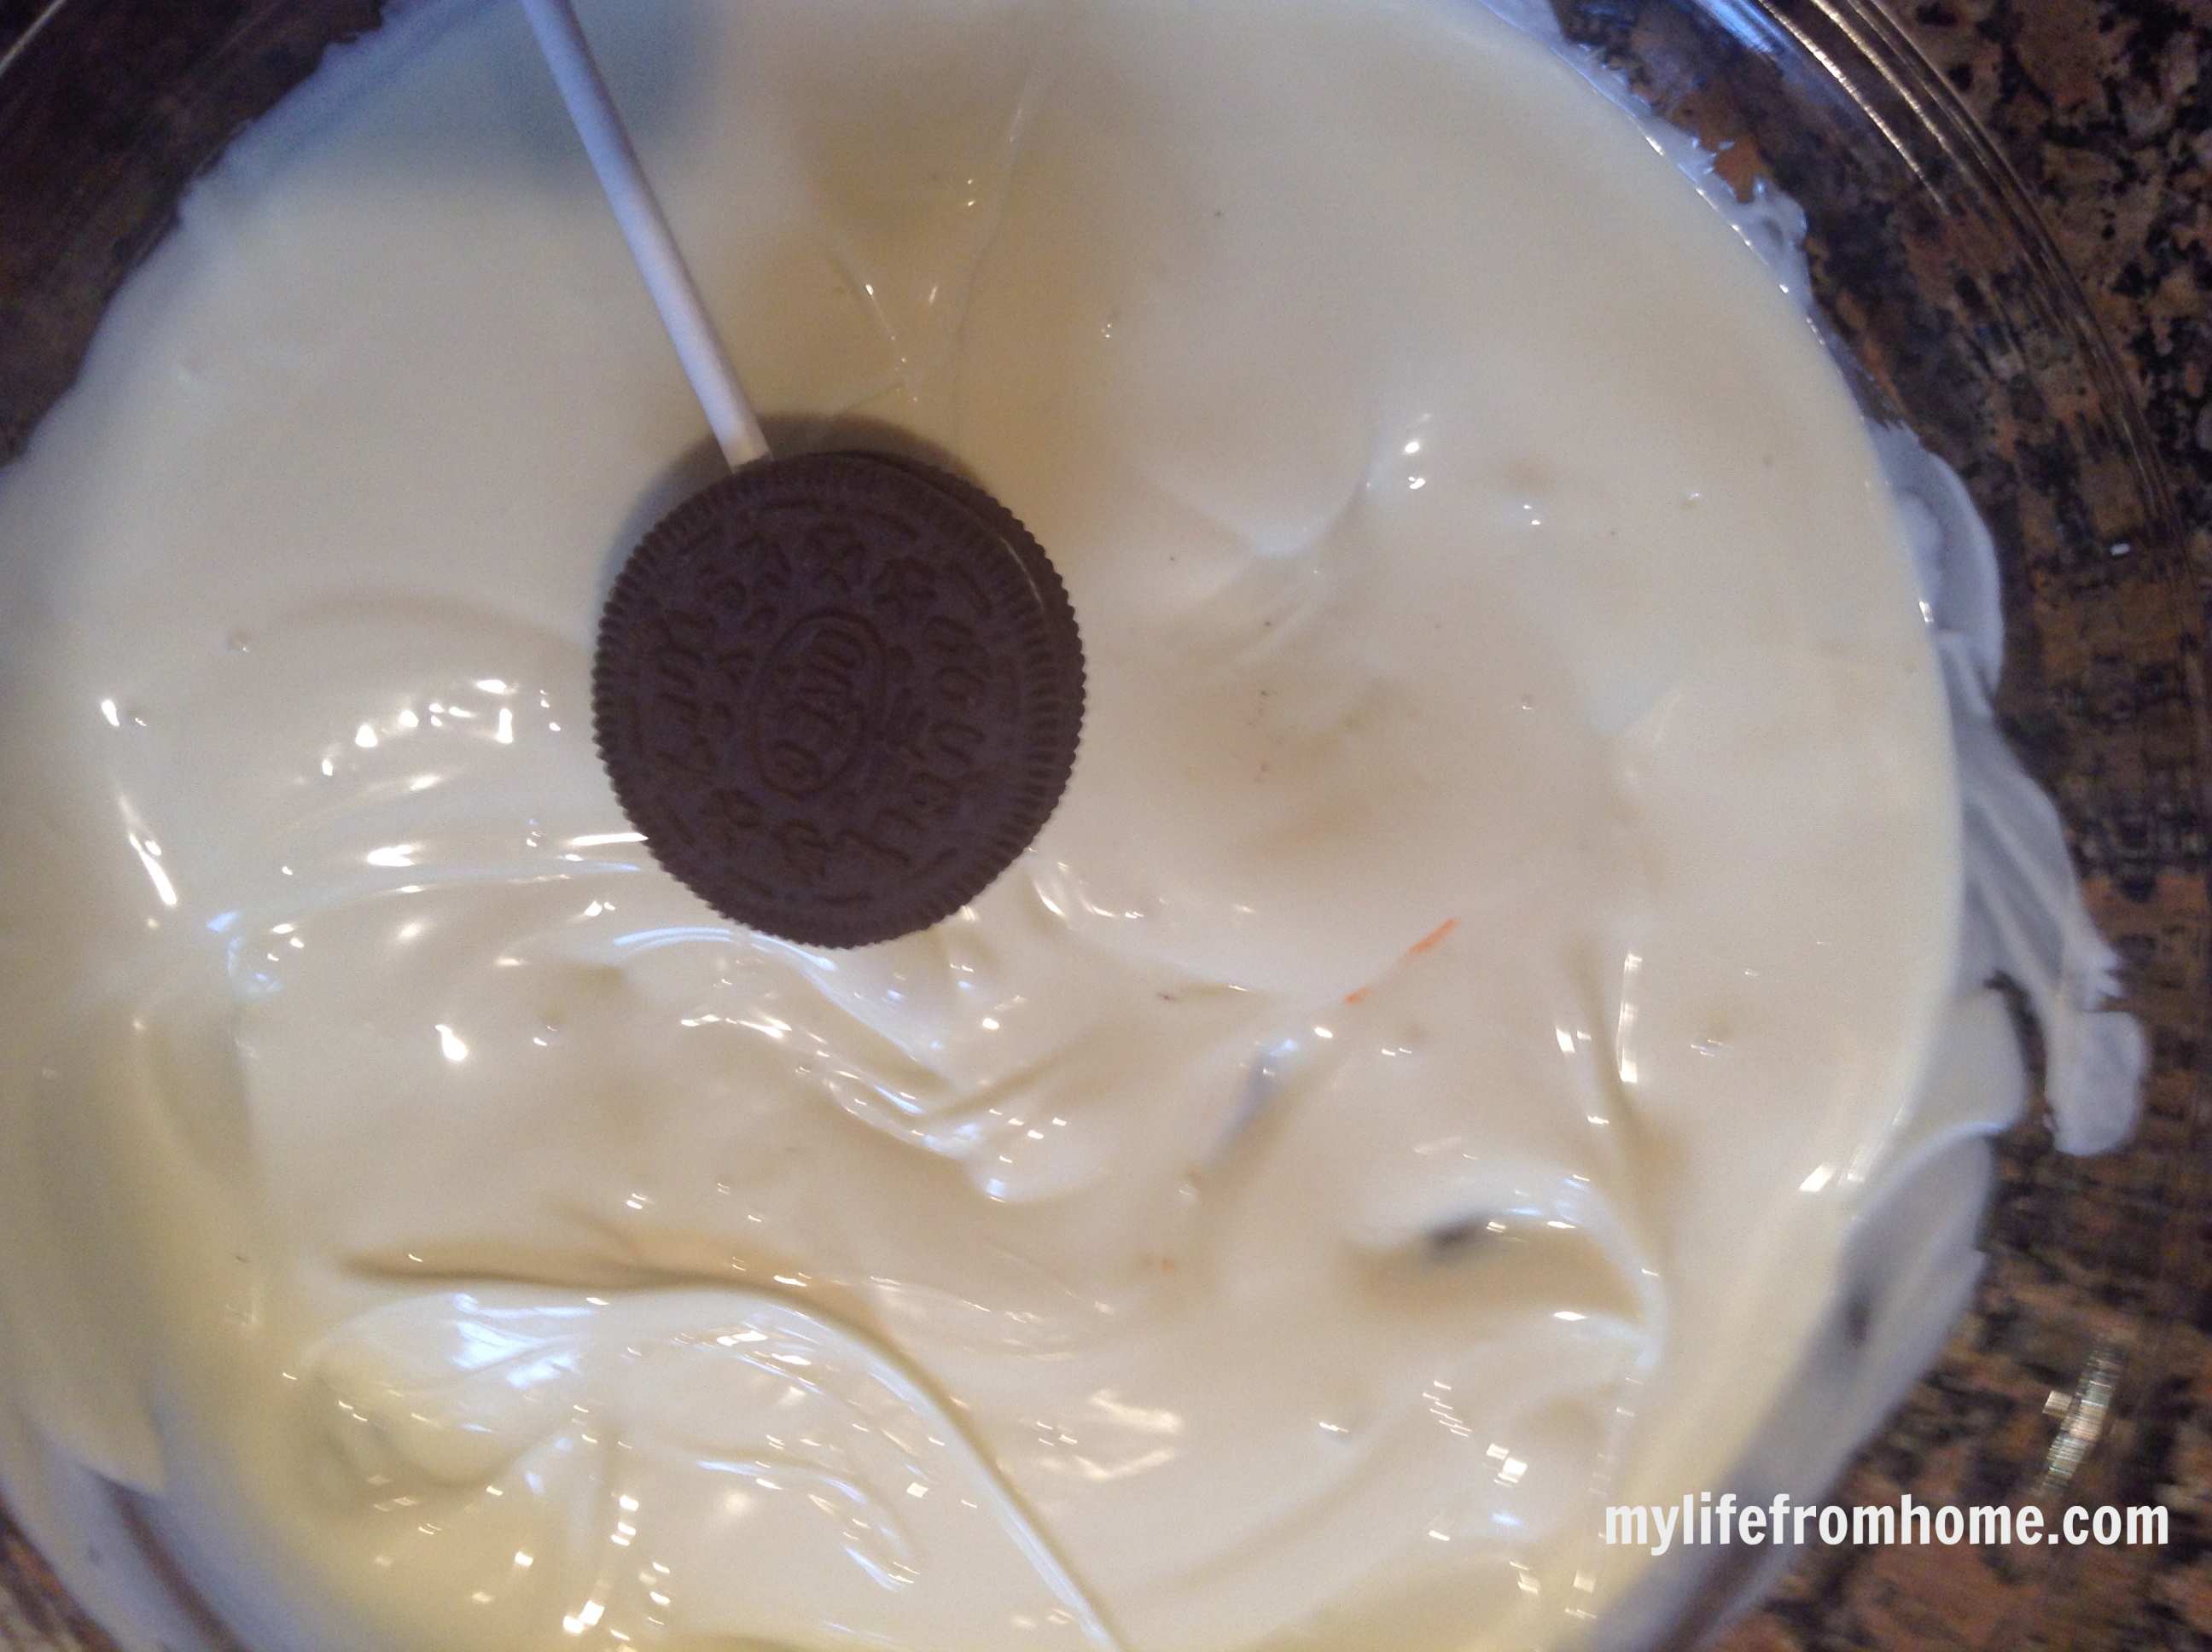
Hold a pop by its stick and lower the biscuit into the coating until completely covered. Lift it straight up and tap your wrist gently against the edge of the glass so excess coating falls away. Avoid tapping the stick directly on the bowl, which can loosen it from the biscuit.
Step 7: Add the snowman faces
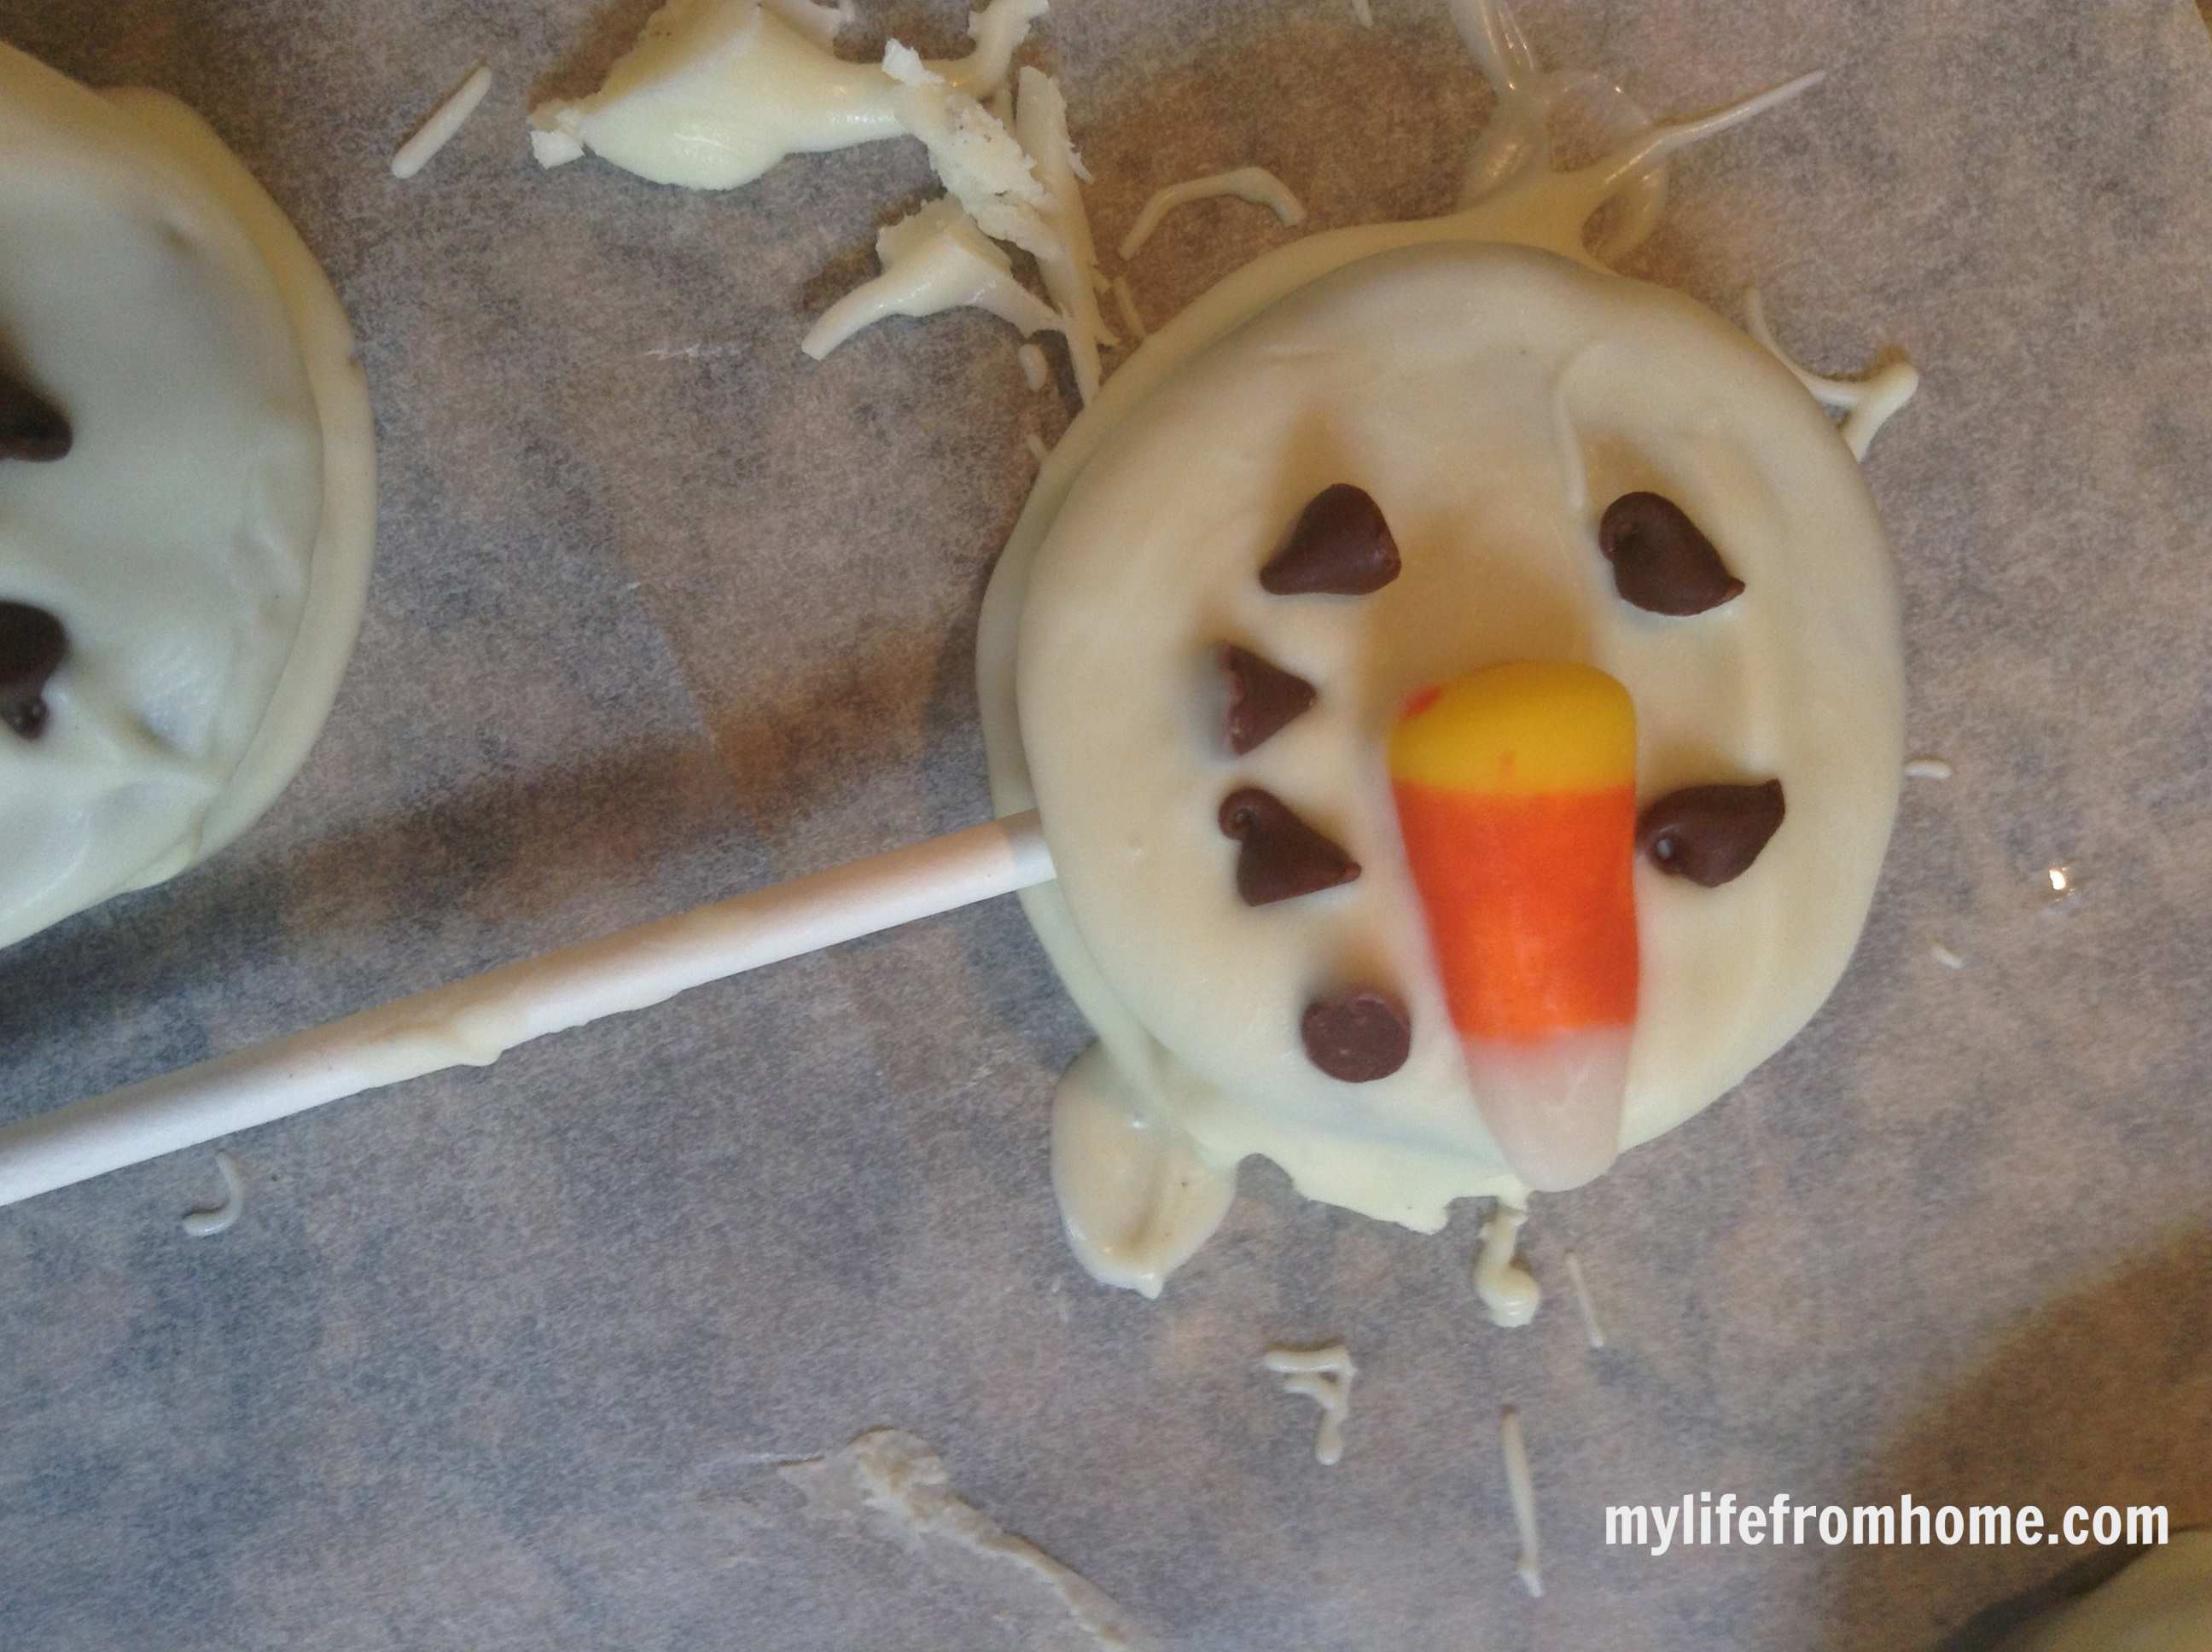
Place the dipped pop on the lined tray and immediately add two chocolate-chip eyes and one orange sugarpaste nose. Use another chocolate chip for a simple mouth or add a curved smile with writing icing after the coating has set. Repeat with the remaining pops, reheating the coating briefly if it thickens.
Step 8: Leave them to set
Allow the cookie pops to set flat at room temperature for 20 to 30 minutes. Trim any hardened puddles from the edges with a small sharp knife if needed. Once completely firm, serve them or wrap each pop individually.
Tips for the Best Snowman Cookie Pops
Choose double-filled biscuits. The thicker cream layer gives the stick more room and makes splitting less likely.
Do not pull the biscuits apart. Easing a coated stick directly into the filling is faster and considerably more reliable.
Chill before dipping. Ten minutes gives the small amount of coating around the stick time to become a firm anchor.
Keep everything dry. Water makes white chocolate and candy coating seize into a grainy mass.
Use a narrow vessel. Deep coating covers the biscuit in one movement, reducing the need to turn and handle it.
Decorate immediately. Candy melts set quickly, so complete one snowman face before dipping the next biscuit.
Give them a polished finish. Tie a narrow velvet ribbon around each wrapper or add a handwritten name tag for a simple place-setting gift.
Make It Your Own
Add tiny sugar snowflakes or white sprinkles while the coating is wet for a frosty finish. Keep the decoration fairly light so the snowman faces remain clear.
For snowman buttons, place three mini chocolate chips down the lower half of each biscuit and position the eyes slightly higher. Larger sandwich biscuits give you more room for this design.
Turn the pops into melting snowmen by placing them flat without sticks, adding the face slightly off-centre and piping little chocolate stick arms onto the baking paper.
Milk-chocolate sandwich biscuits create the classic flavour, but golden vanilla sandwich biscuits also work. Their lighter crumb may be helpful if a little biscuit shows through the coating.
For a fully edible stick-free version, coat the biscuits and place them in festive paper cases. They are easier for very young children and still make a lovely Christmas party treat.
Frequently Asked Questions
Use double-filled sandwich biscuits and avoid pulling them apart. Dip the end of the stick in melted coating, ease it gently into the cream centre and chill for 10 minutes before dipping the whole biscuit.
Yes. Melt 350g white chocolate gently with around 10g neutral coconut oil to help it flow. White chocolate remains slightly softer and needs more careful temperature control than candy melts.
Shape a tiny triangle from orange sugarpaste or fondant. Orange chocolate-coated sweets can also work, while imported candy corn may be cut into small pieces if you already have it.
Yes. Make them up to four days ahead and store them in a cool, dry place. Wrap them only after the coating has set completely so condensation and smudges do not spoil the faces.
It may have been overheated or exposed to moisture. Stir it thoroughly and add a few drops of neutral coconut oil if using candy melts. If it has become grainy or seized, replacing it is usually more reliable.
No. Store them at cool room temperature because refrigeration can create condensation on the coating. Chill them briefly only when securing the sticks, then return them to a dry room.
How to Store Snowman Cookie Pops
At room temperature: Place set pops in an airtight glass storage container with baking paper between layers and keep them in a cool, dry place for up to four days.
For gifting: Slide each pop into a food-safe bag only after the coating is completely firm. Tie below the biscuit with ribbon and keep the bags away from radiators and sunlight.
Freezing: Freezing is not recommended because condensation can mark the white coating and loosen the decorations as the pops defrost.
Snowman Cookie Pops Recipe Card
Recipe name: Easy Snowman Cookie Pops for a Truly Magical Christmas Treat
Description: Chocolate sandwich biscuits dipped in a smooth white coating and decorated with cheerful snowman faces.
Prep time: 35 minutes
Setting time: 30 minutes
Total time: 1 hour 5 minutes
Servings: 12 cookie pops
Estimated cost: Approximately £9 per batch or £0.75 per pop
Calories: Approximately 240 calories per pop. Nutritional figures are estimates only.
Equipment
- Digital kitchen scales
- Microwave-safe mixing bowl or heatproof jug
- Small palette knife or teaspoon
- Baking tray
- Baking paper
- Narrow glass, optional
- Cocktail stick
Ingredients
- 12 double-filled chocolate sandwich biscuits
- 350g white candy melts
- 12 paper lollipop sticks
- 36 mini dark chocolate chips
- 25g orange sugarpaste
- Black writing icing, optional
- 1 tsp neutral coconut oil, only if needed
Instructions
- Line a tray with baking paper and prepare the chocolate-chip eyes and sugarpaste noses.
- Melt 100g candy melts in short microwave intervals.
- Dip each stick end into the coating, ease it into a biscuit’s cream centre and chill for 10 minutes.
- Melt the remaining coating and transfer it to a narrow glass if helpful.
- Dip each biscuit completely, let the excess coating fall away and place it on the lined tray.
- Immediately add chocolate-chip eyes and an orange nose. Add smiles with writing icing after setting if desired.
- Set for 20 to 30 minutes before serving or wrapping.
Notes
- Do not separate the sandwich biscuits before inserting the sticks.
- Keep all bowls and utensils completely dry.
- Decorate each pop before dipping the next one.
- Store at cool room temperature for up to four days.
More Festive Treats
If you make these snowman cookie pops, leave a comment or share them with me on Instagram. Try my red velvet cookies with white chocolate, or browse the full recipe index for more celebration ideas.
Leave a Reply
If you like the sort of recommendation that still holds up six months later, leave your email below and I'll write to you on Sunday.
Most Sundays, once the house has gone quiet and it's edging towards nine, a letter goes out. It's the one I'd write to a friend with good taste and not nearly enough time: one thing worth reading, one thing worth buying, and one thing to skip. No noise, no pressure to spend, just the considered version of what I've actually been using, loving, or quietly sending back.