I'm Gillian, a Scotland based home & lifestyle blogger. Follow along as I navigate this new journey sharing my life from home.


Today is a Create and Share Monthly Challenge Day! I am excited to show you my project and connect you with the other wonderful projects my blogger friends did this month.
I am new to this group and I couldn’t be more thrilled to be connected with such a talented group of ladies.
Each month, bloggers are given the challenge to CREATE a DIY project using either a pre-selected basic item or a sponsored brand item. This month, Walnut Hollow supplied us with the items needed to make our projects.
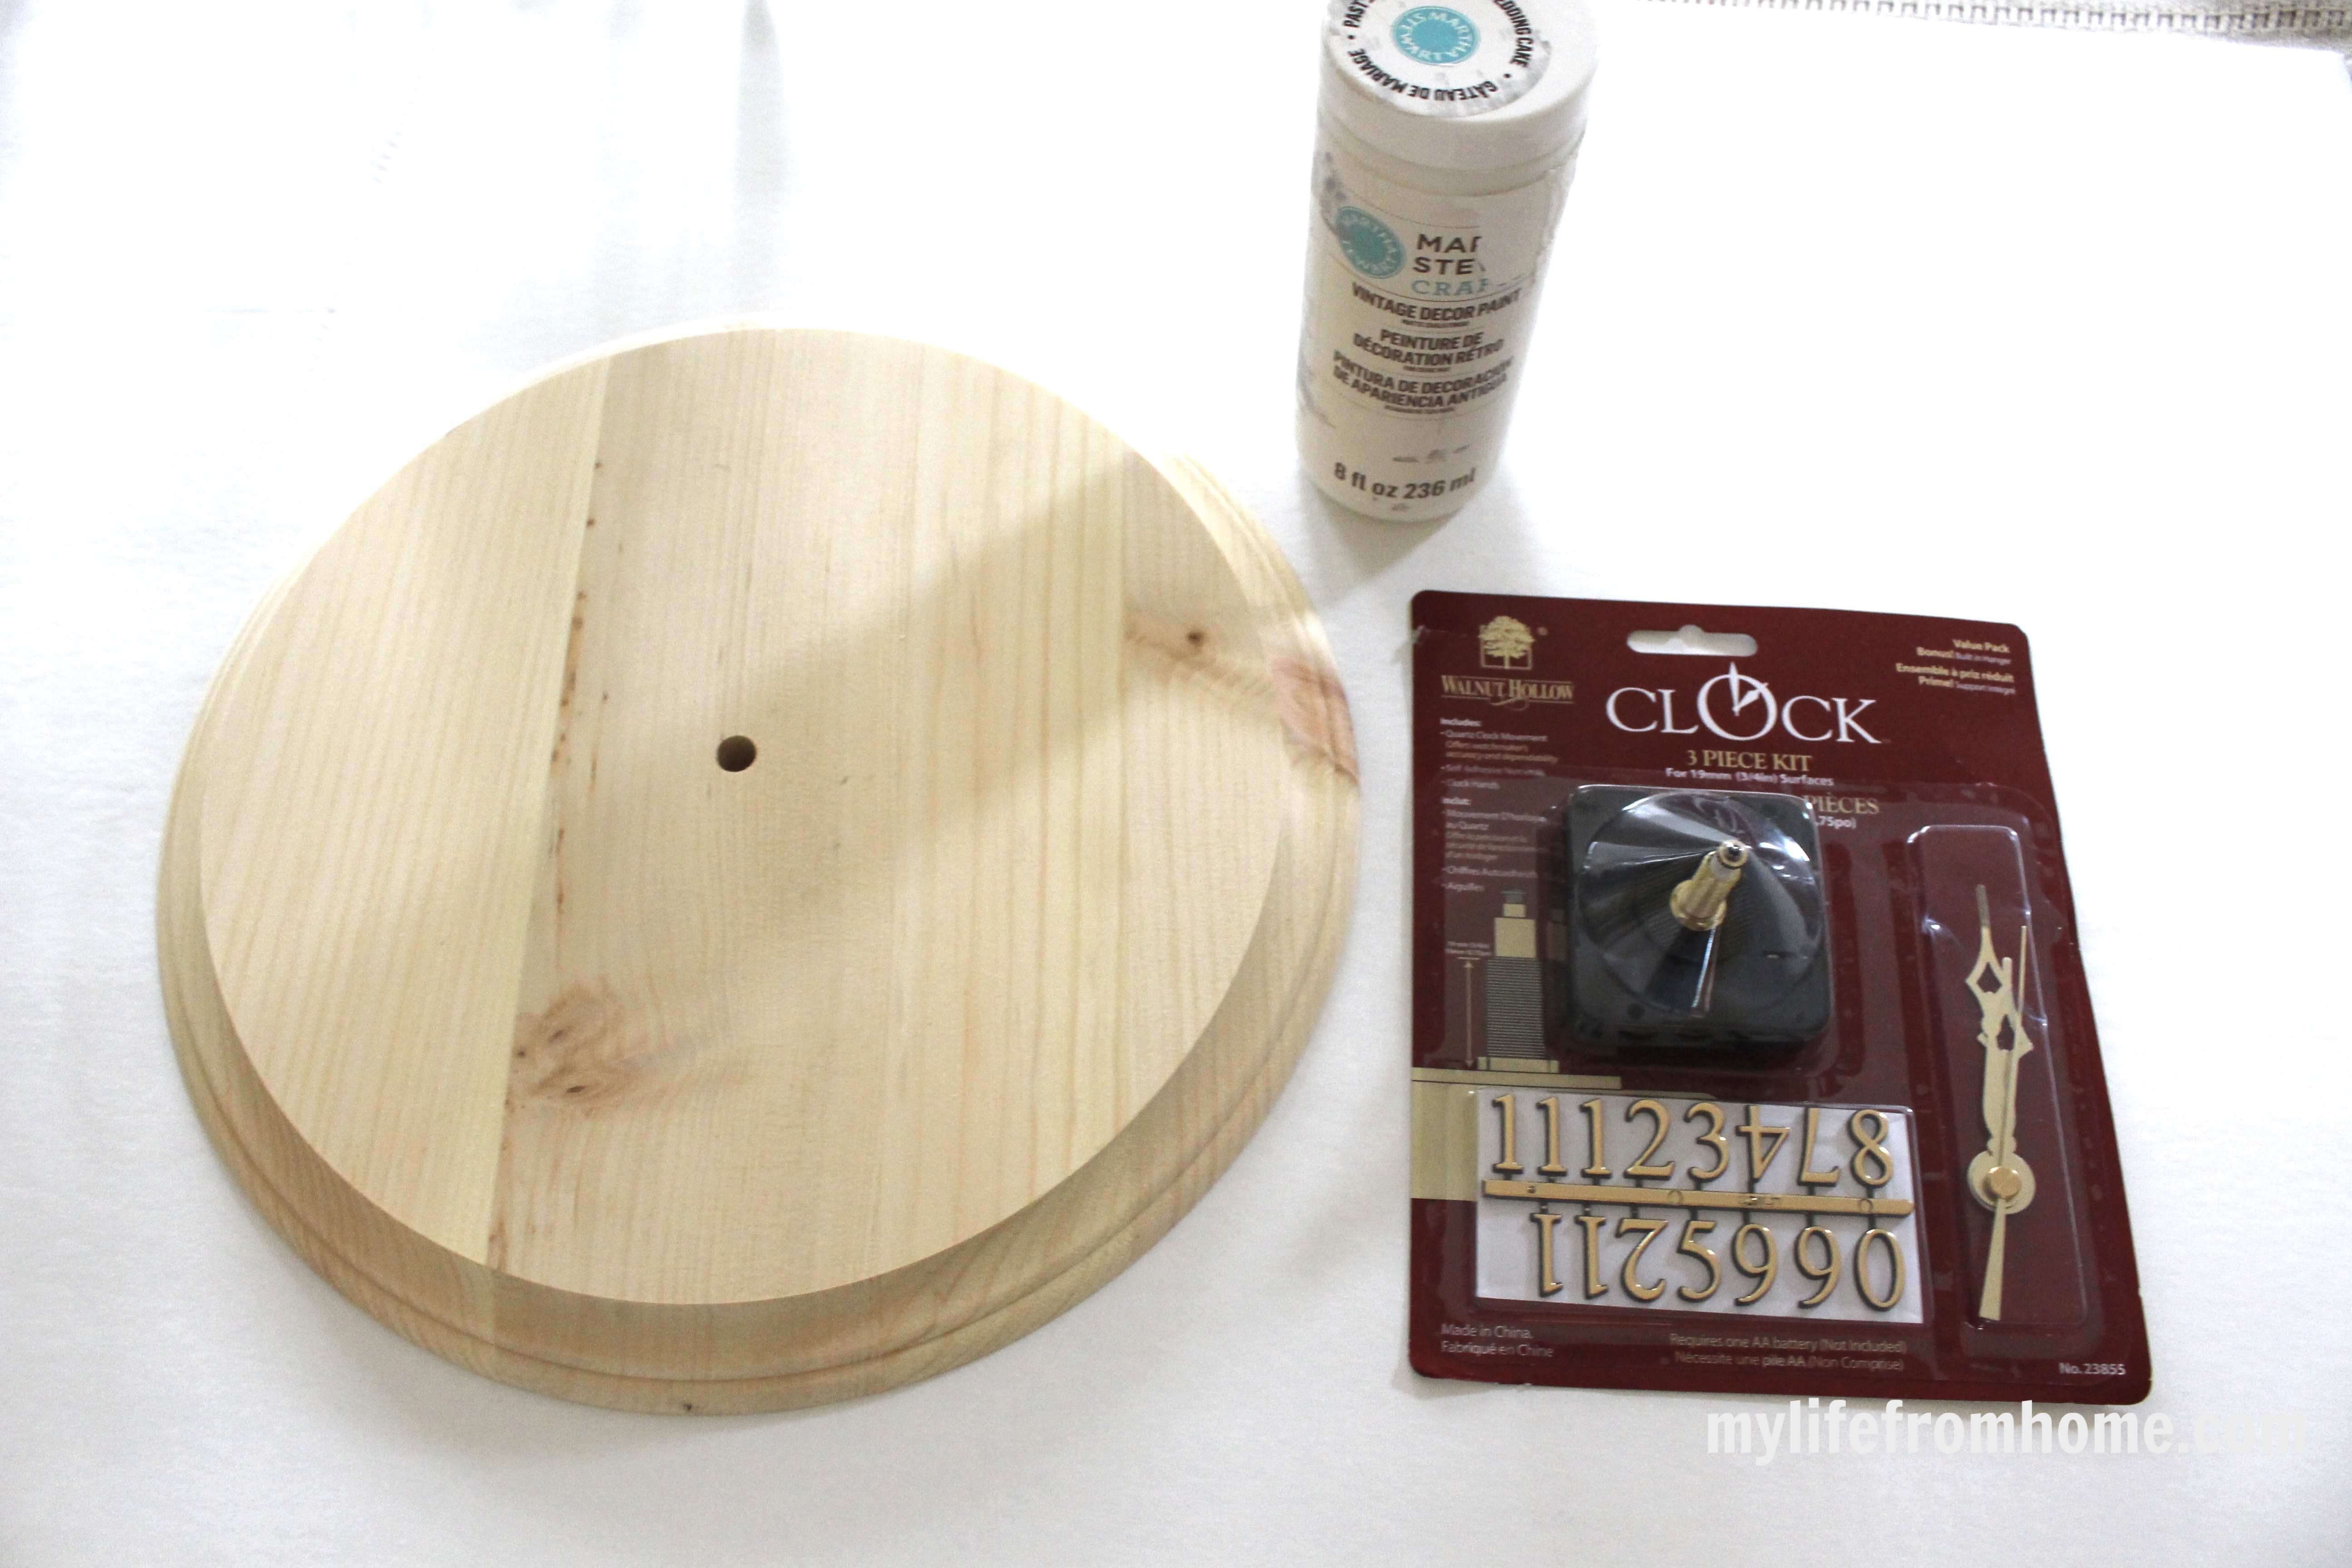
I chose the round clock and the clock parts to make my project.
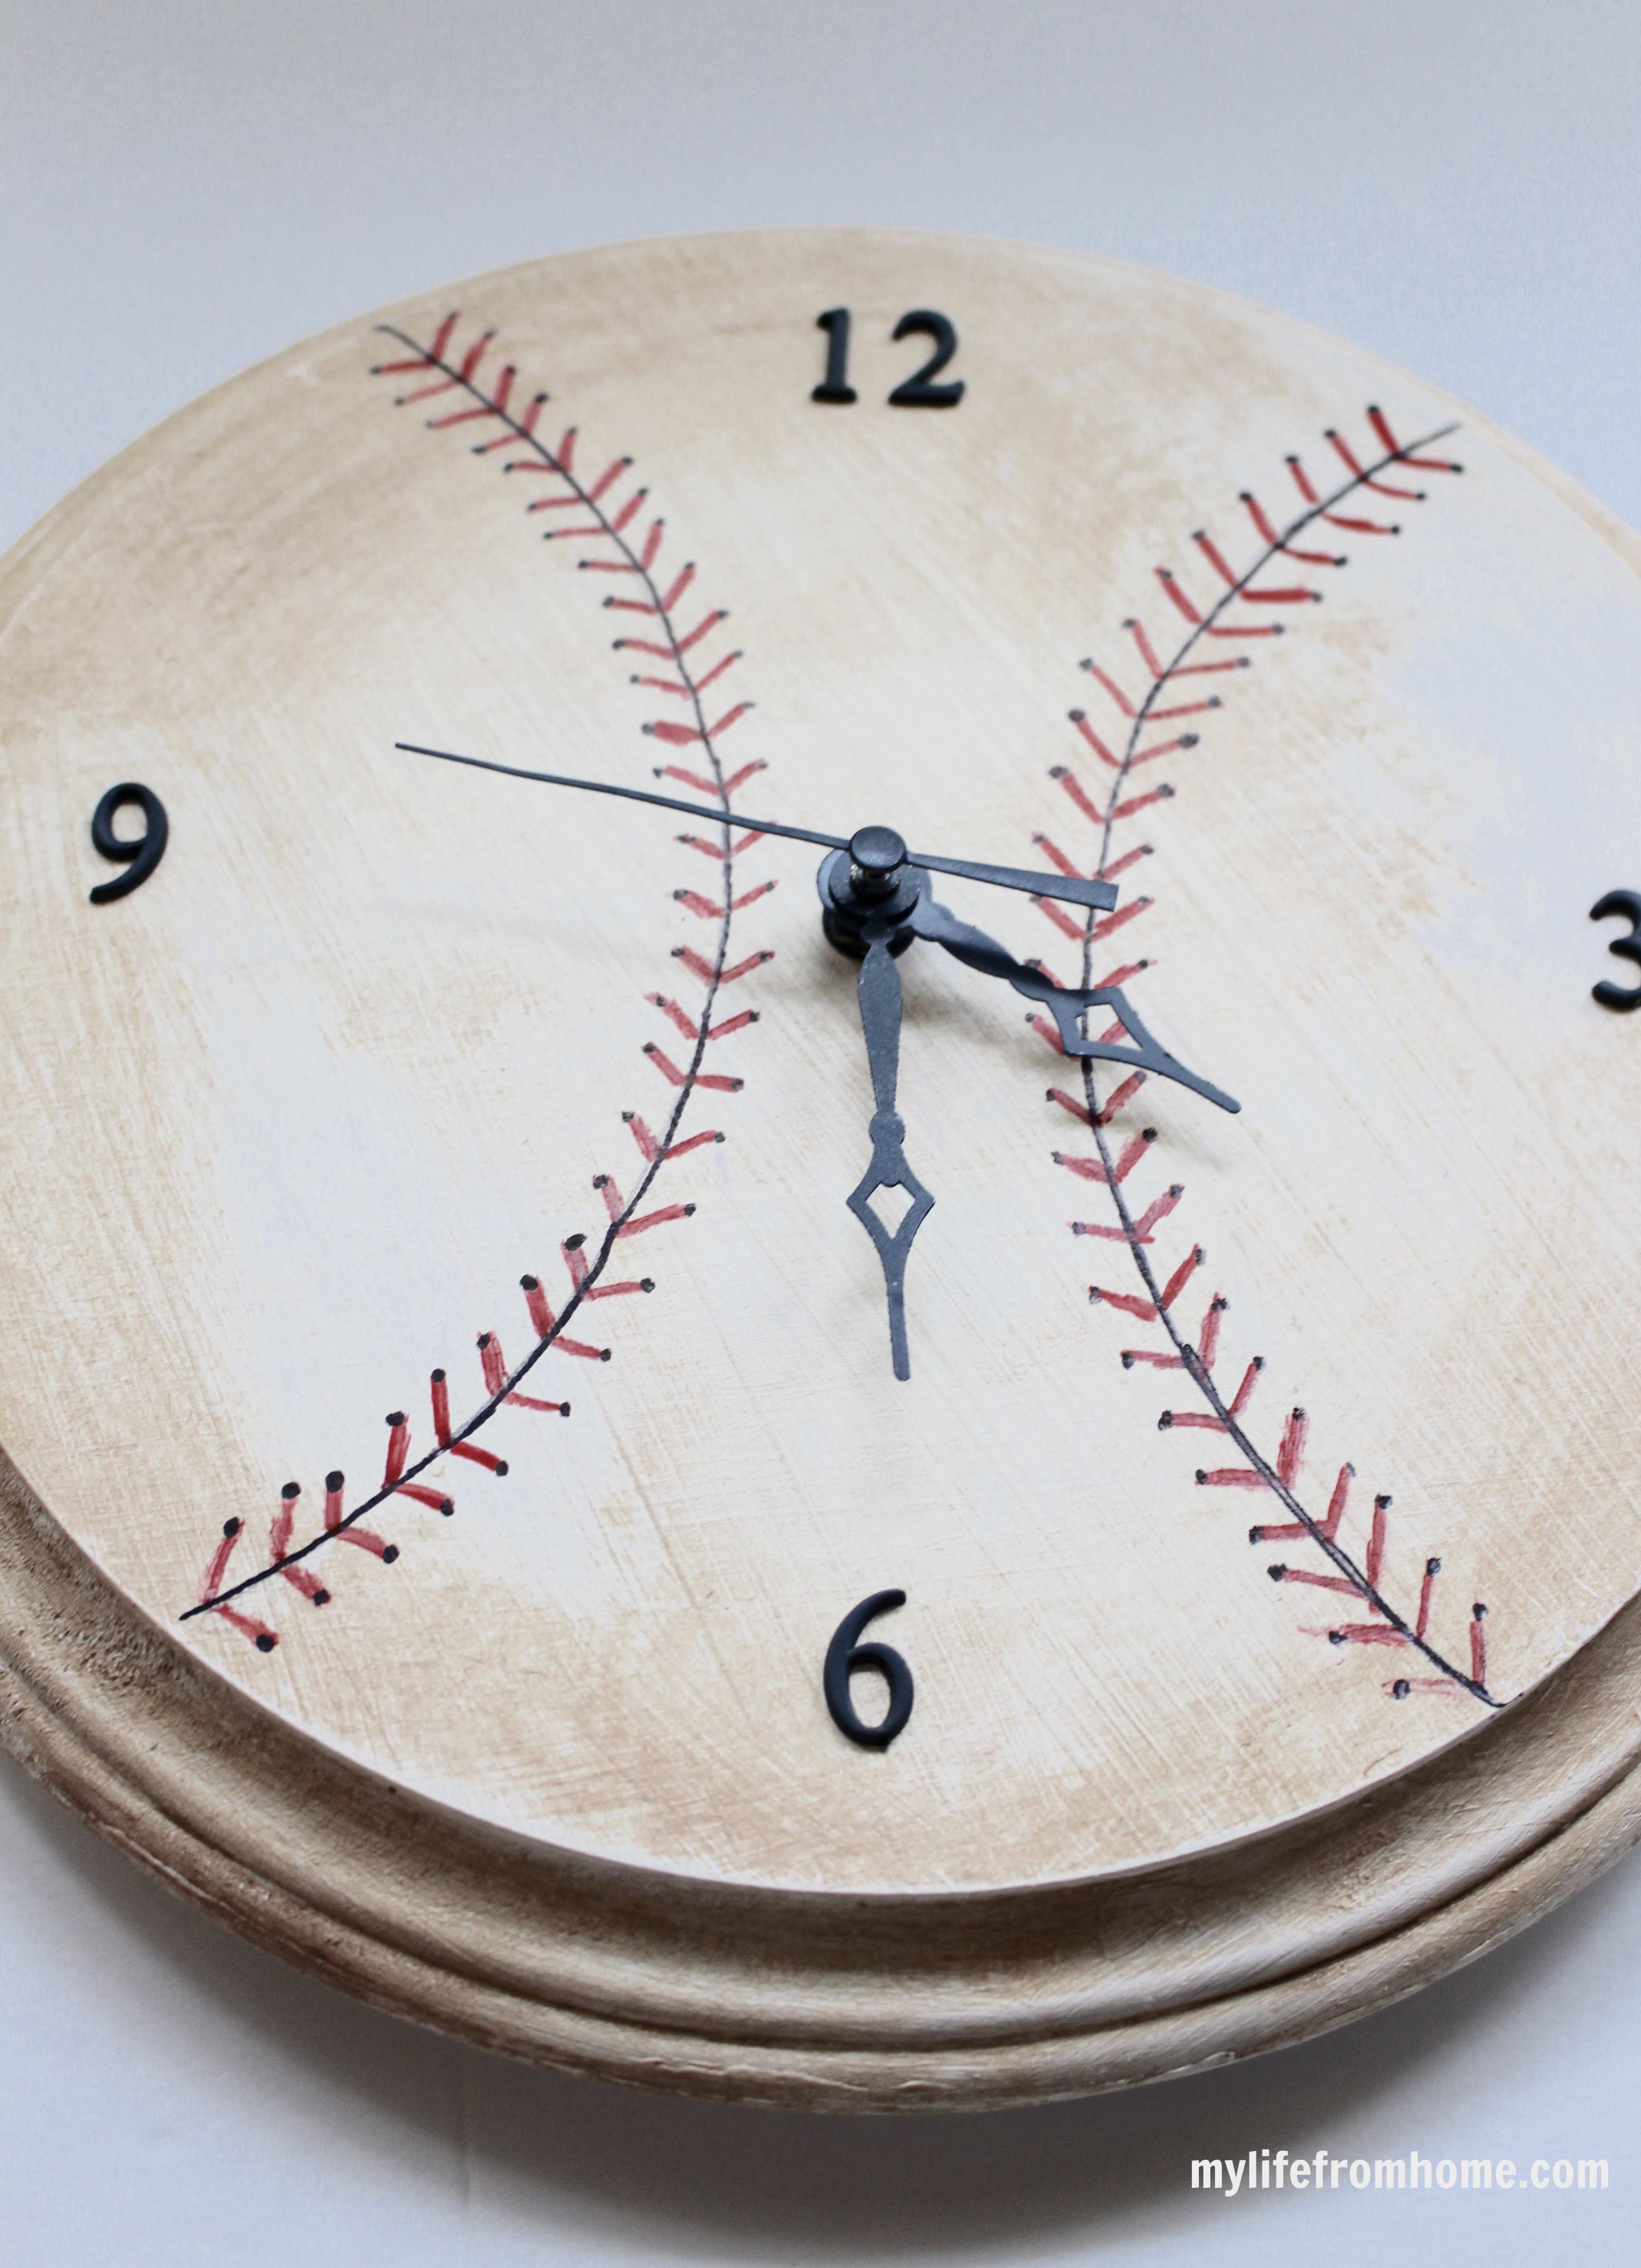
DIY BASEBALL CLOCK
My son’s bedroom is vintage sports. We have several items that were inherited from athletes in the family on display, so I thought an antique baseball clock would fit right in with his theme. Since I am not one of those athletes {see more about my lack of ability here, lol} at least he will have something representing my talents in his space!
It was really quite easy to make.
Supplies:
Instructions
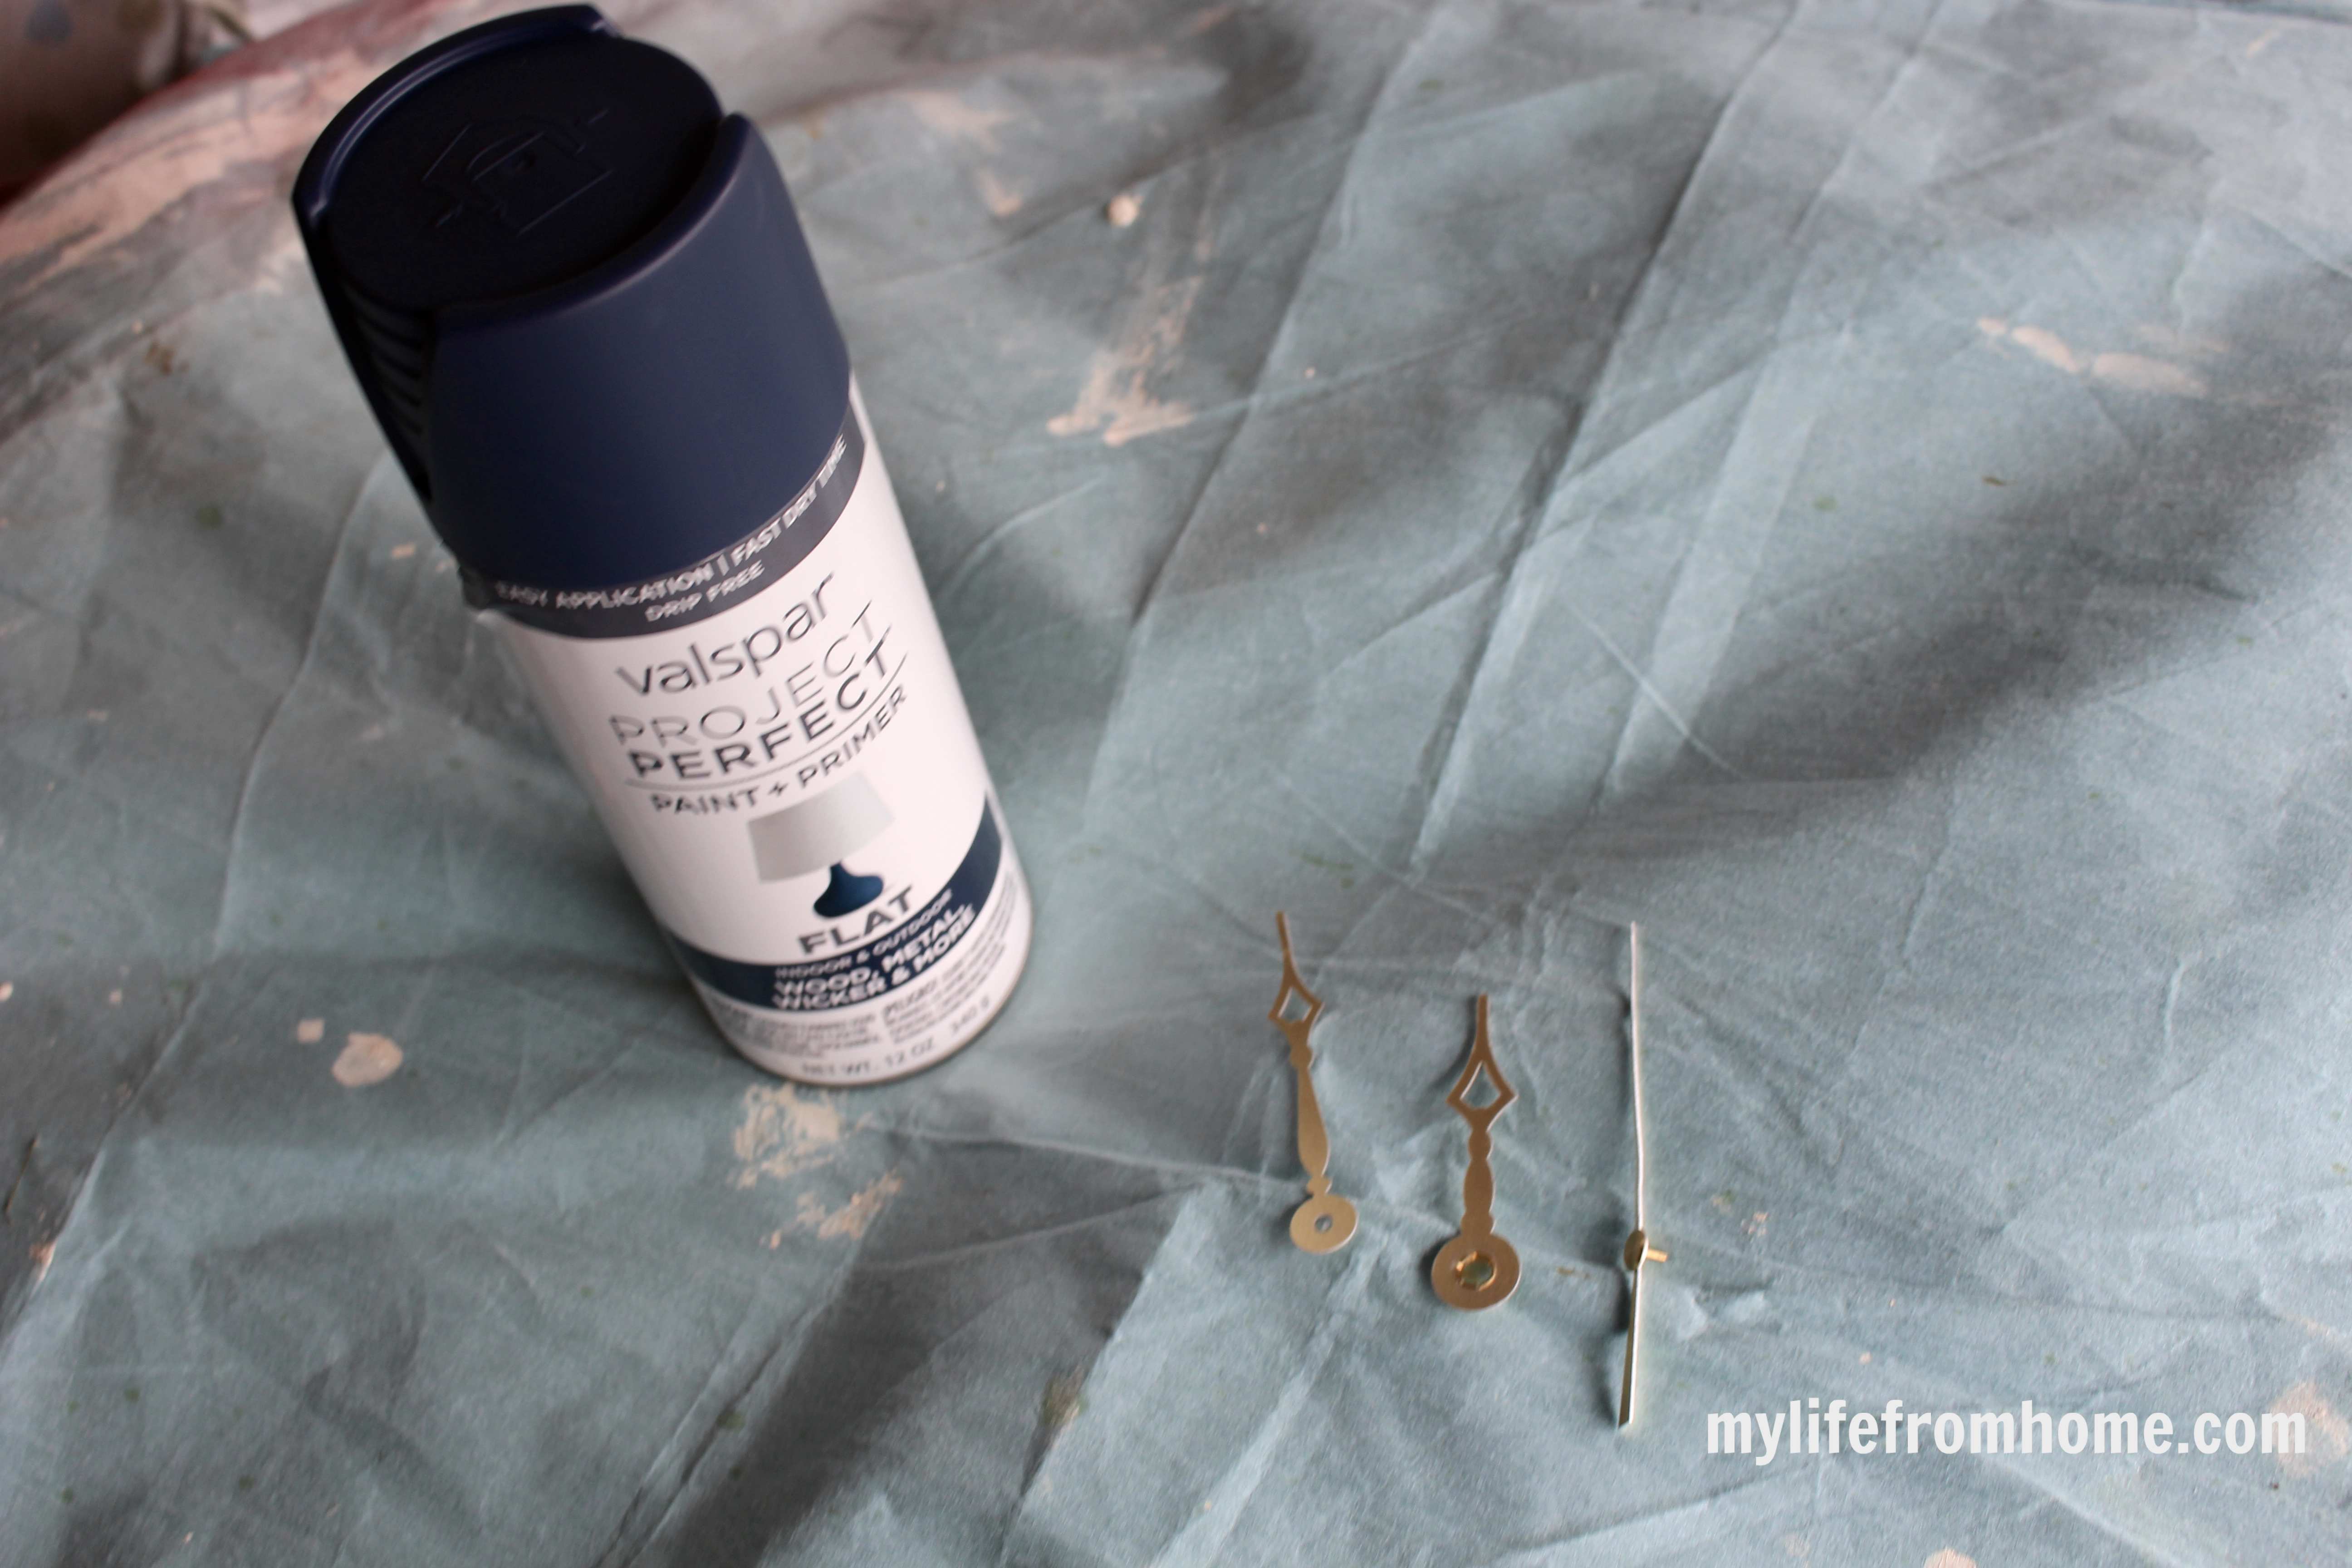
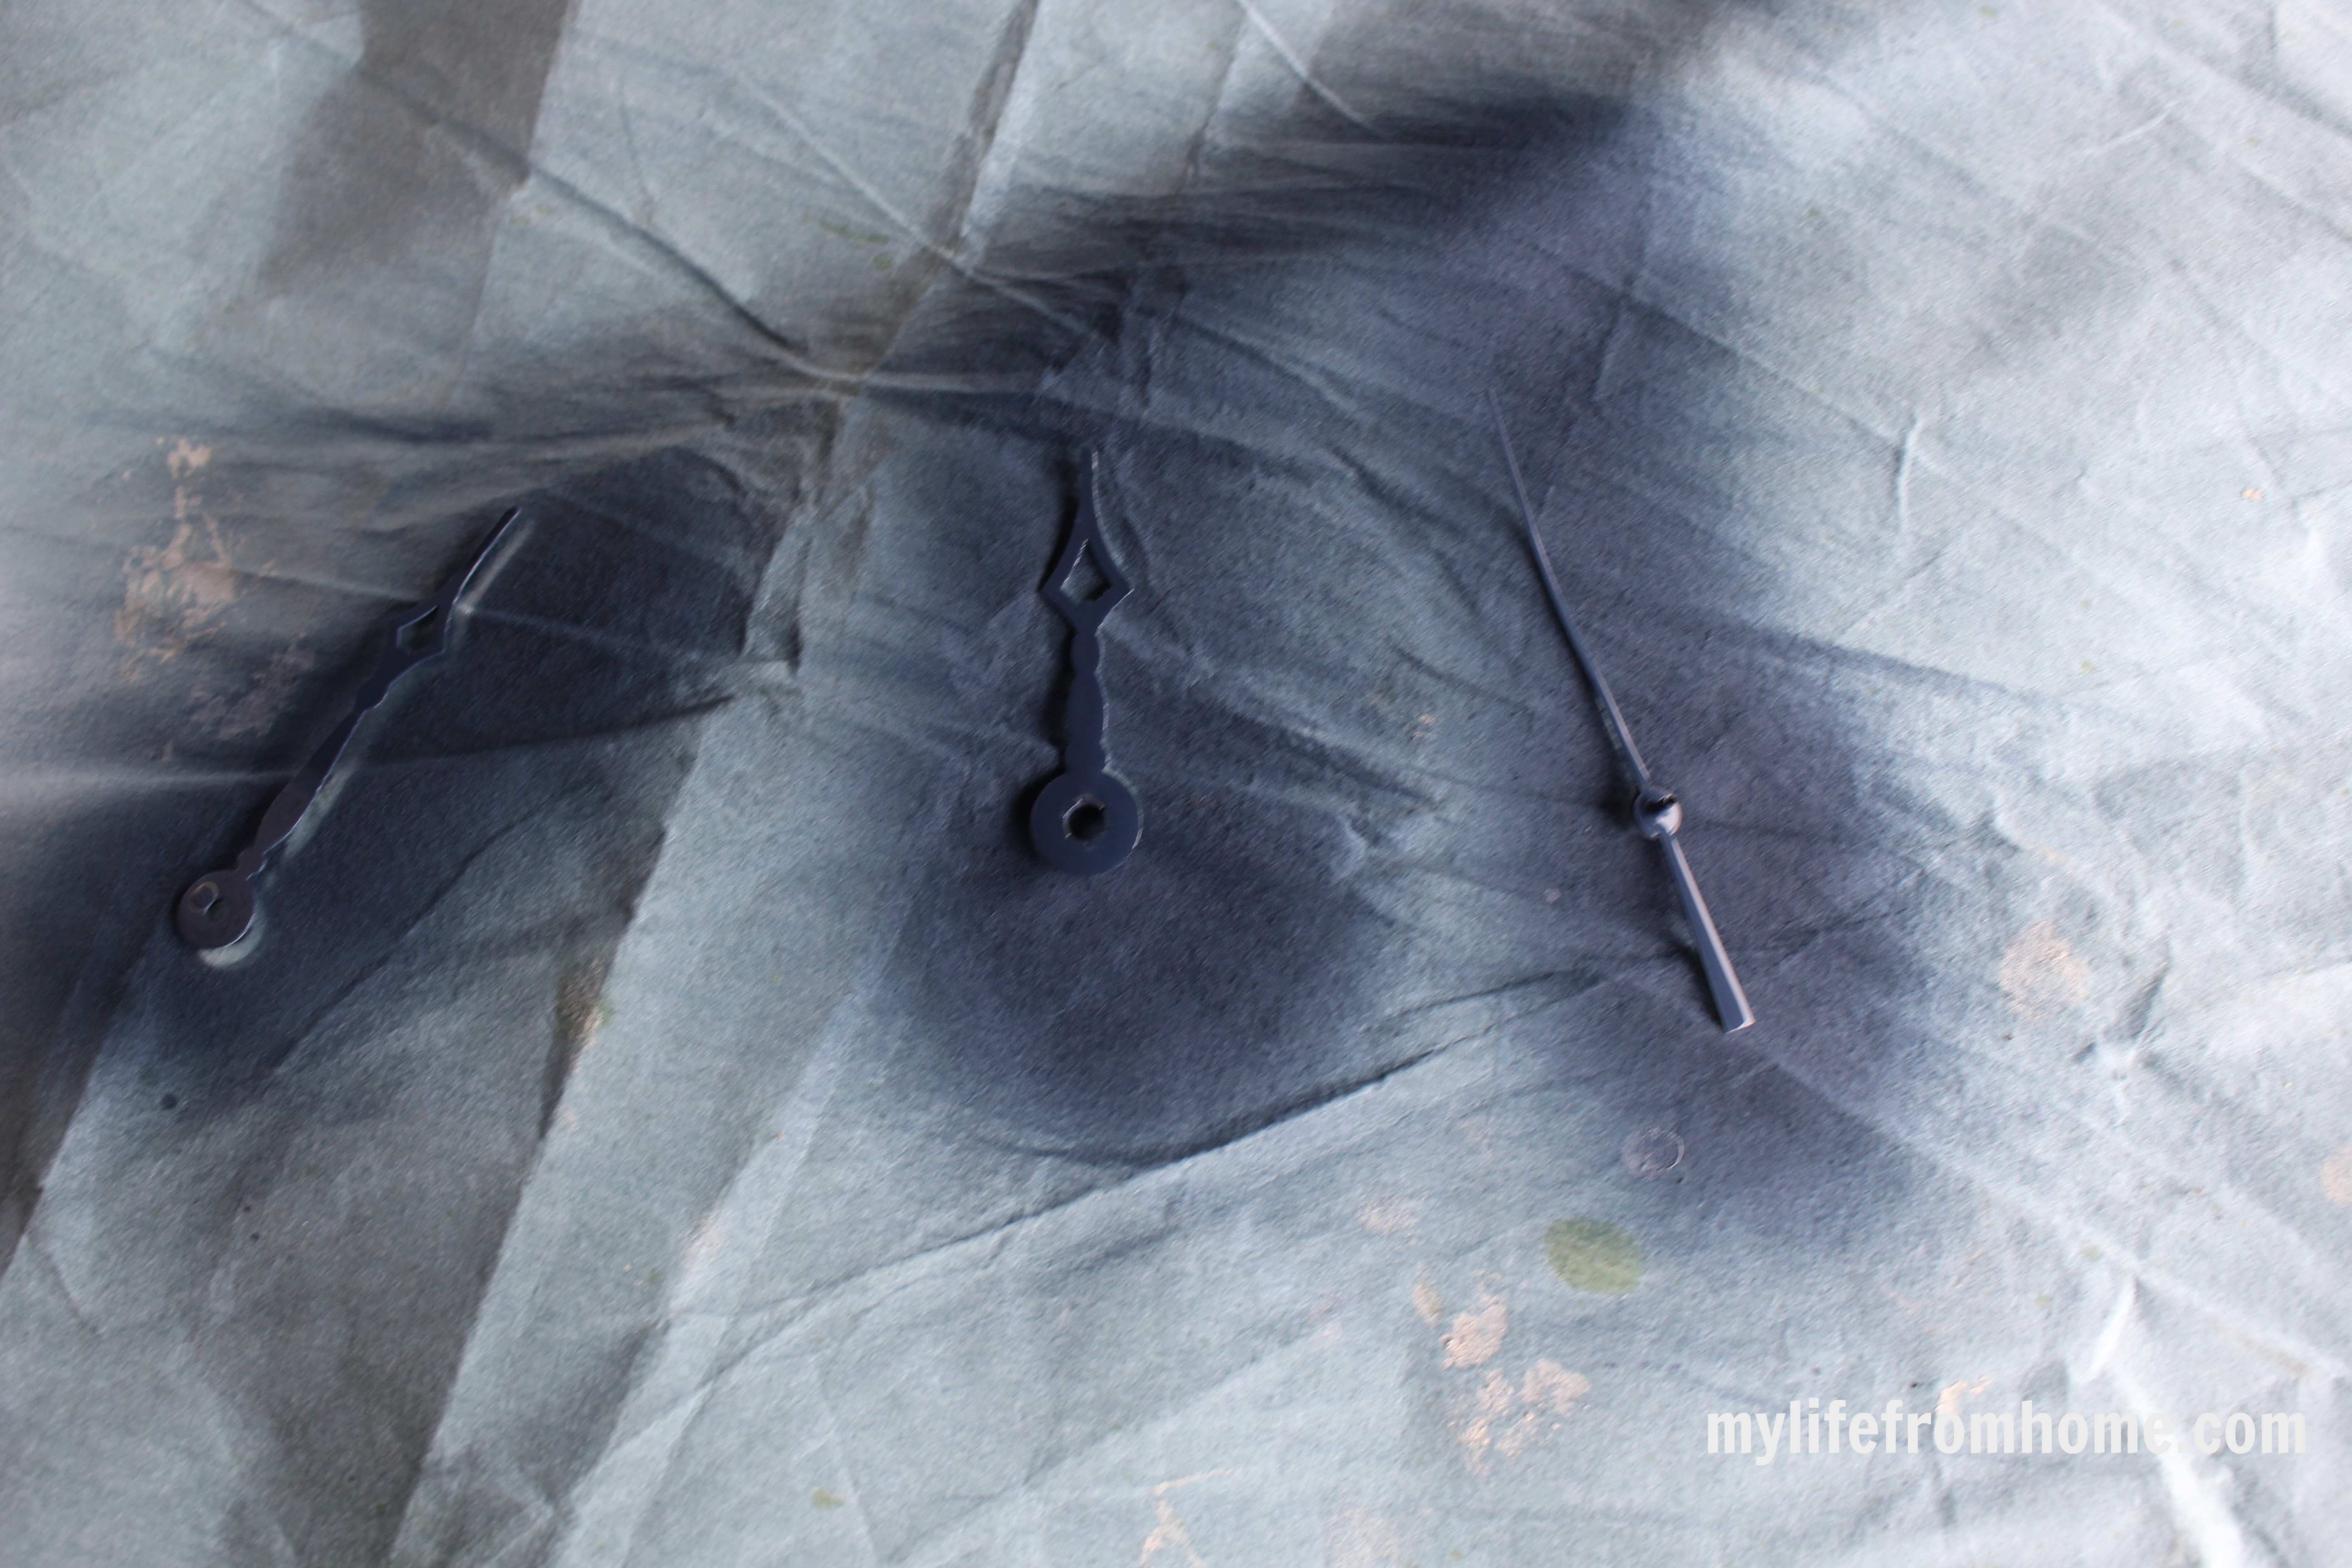
Step 1// I did not want brass hands, so I spray painted the parts and numbers with a navy spray paint.
Step 2// Using white craft paint, I painted the round white {face only}
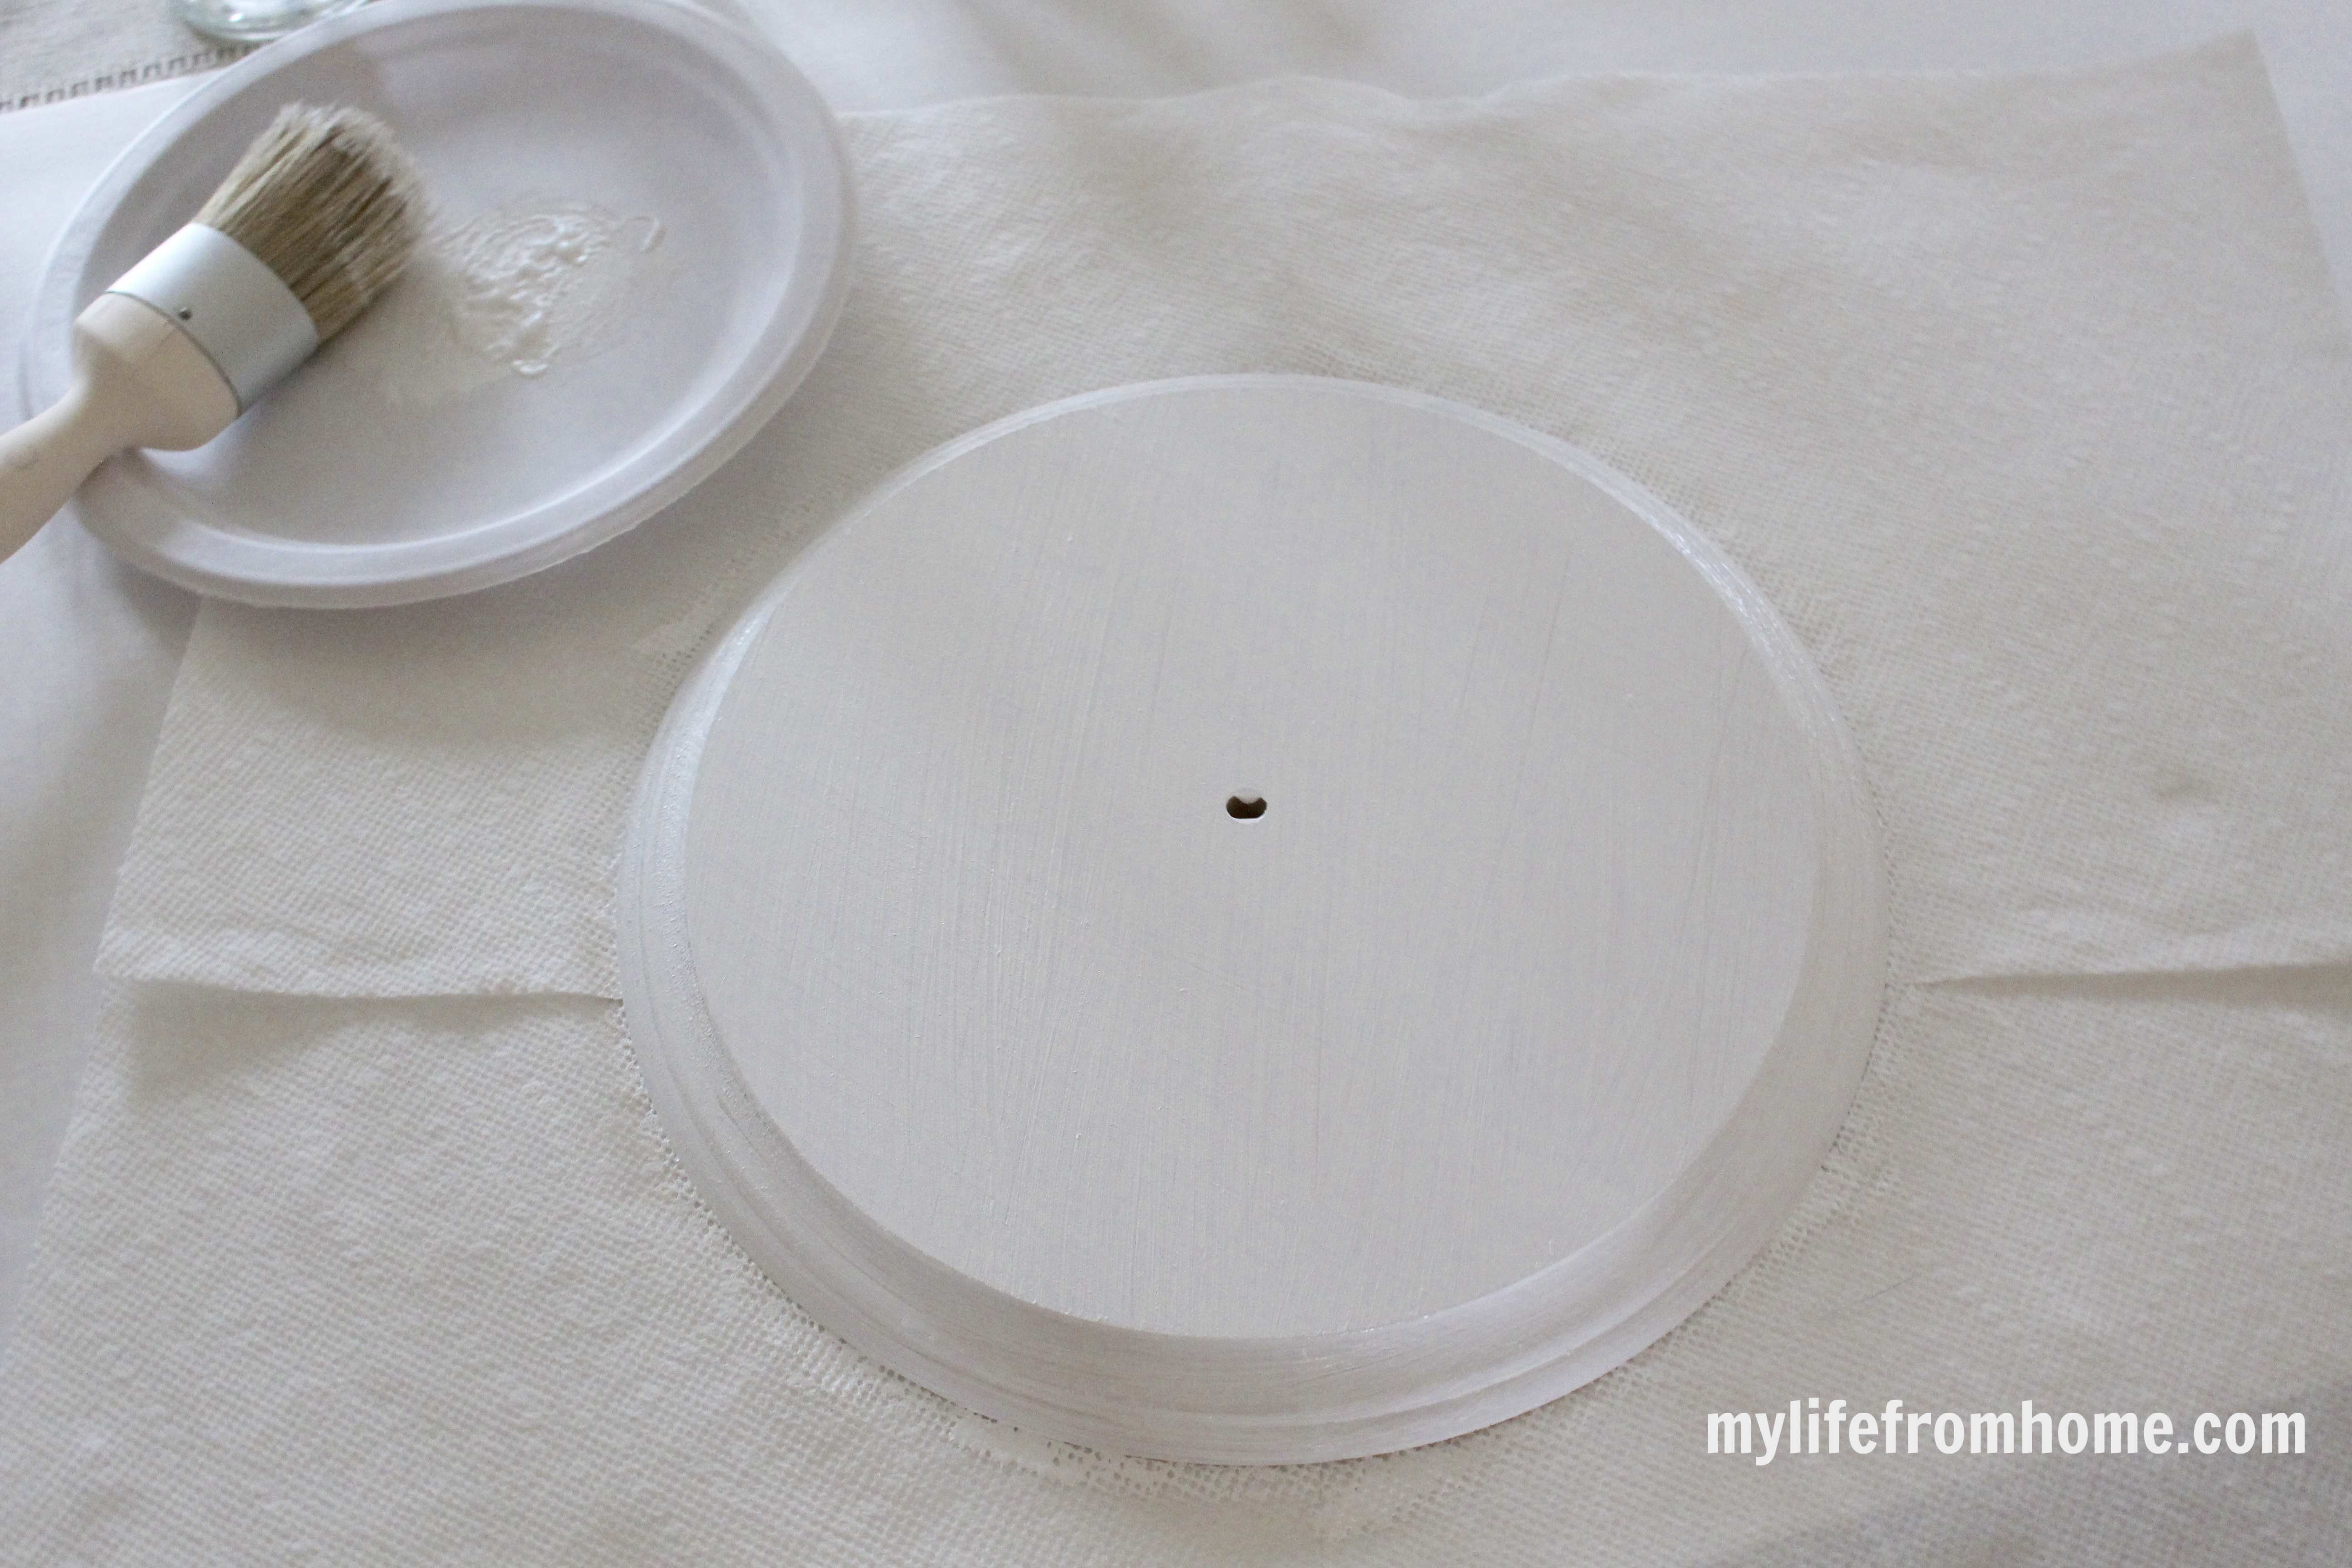
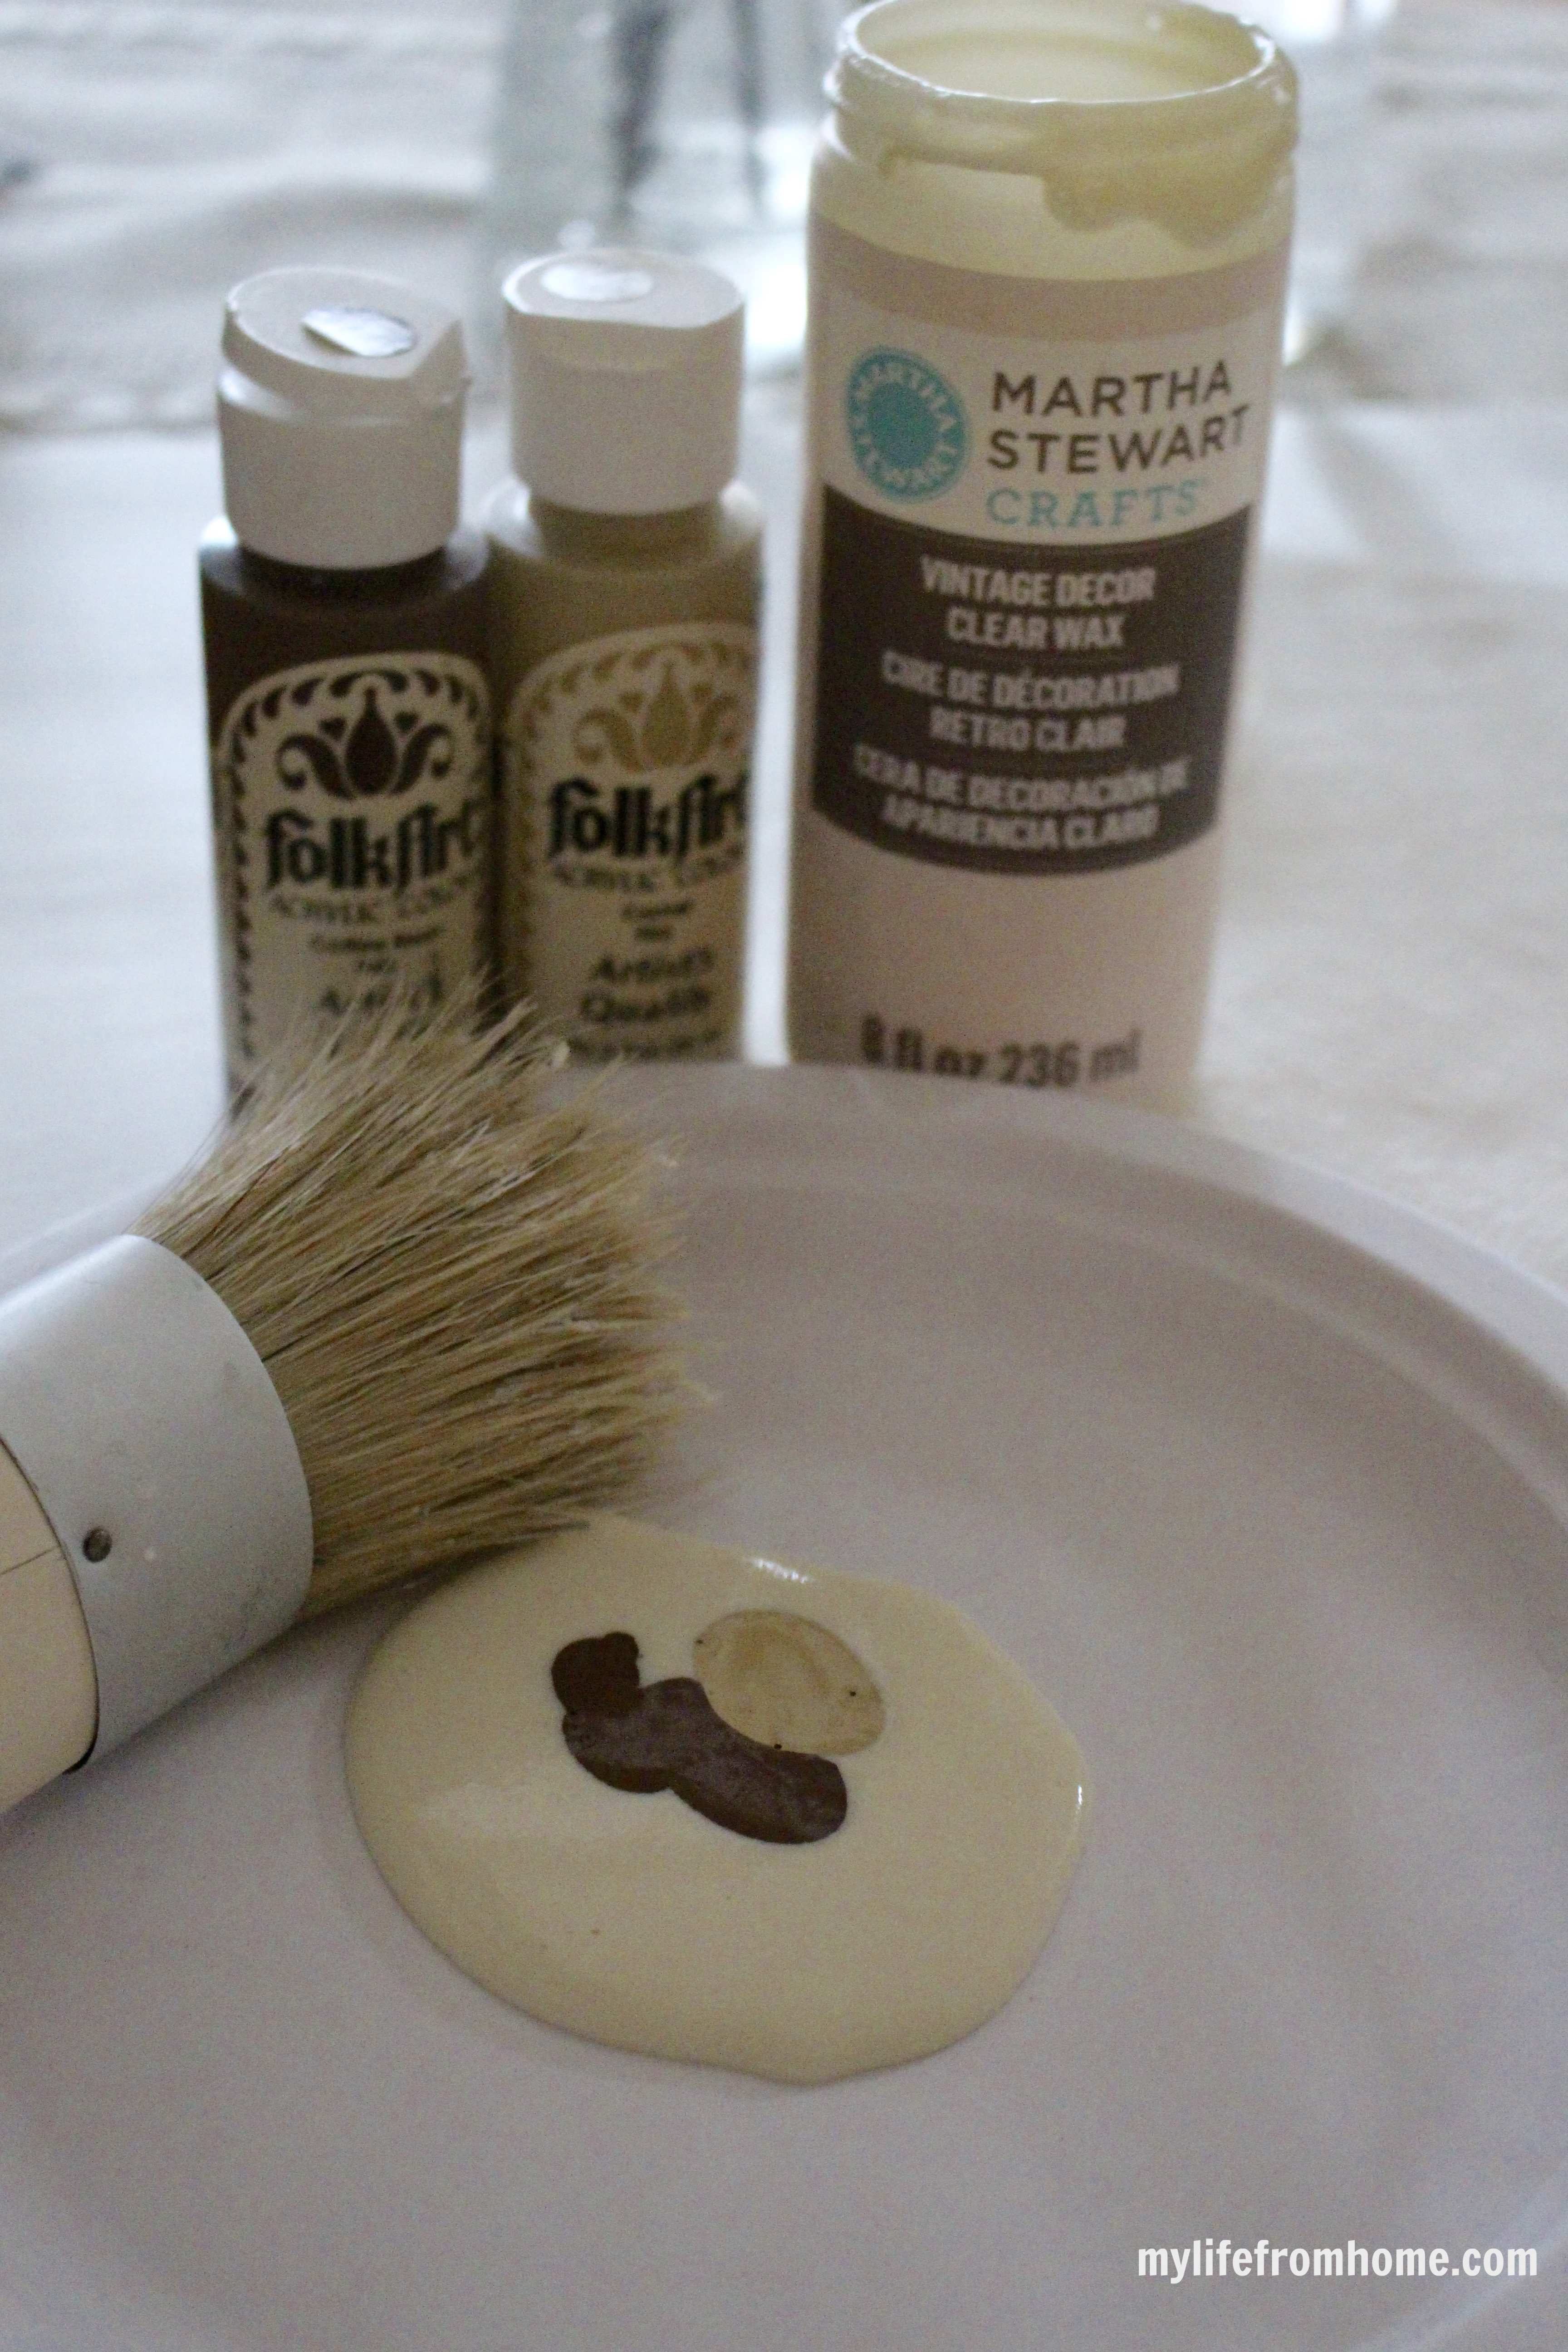
Step 3// I was really wanting the clock to have a vintage look, so to create the look I wanted, I mixed clear creme wax with a touch of dark brown and gold craft paints. I mixed it together until I got the color I wanted.
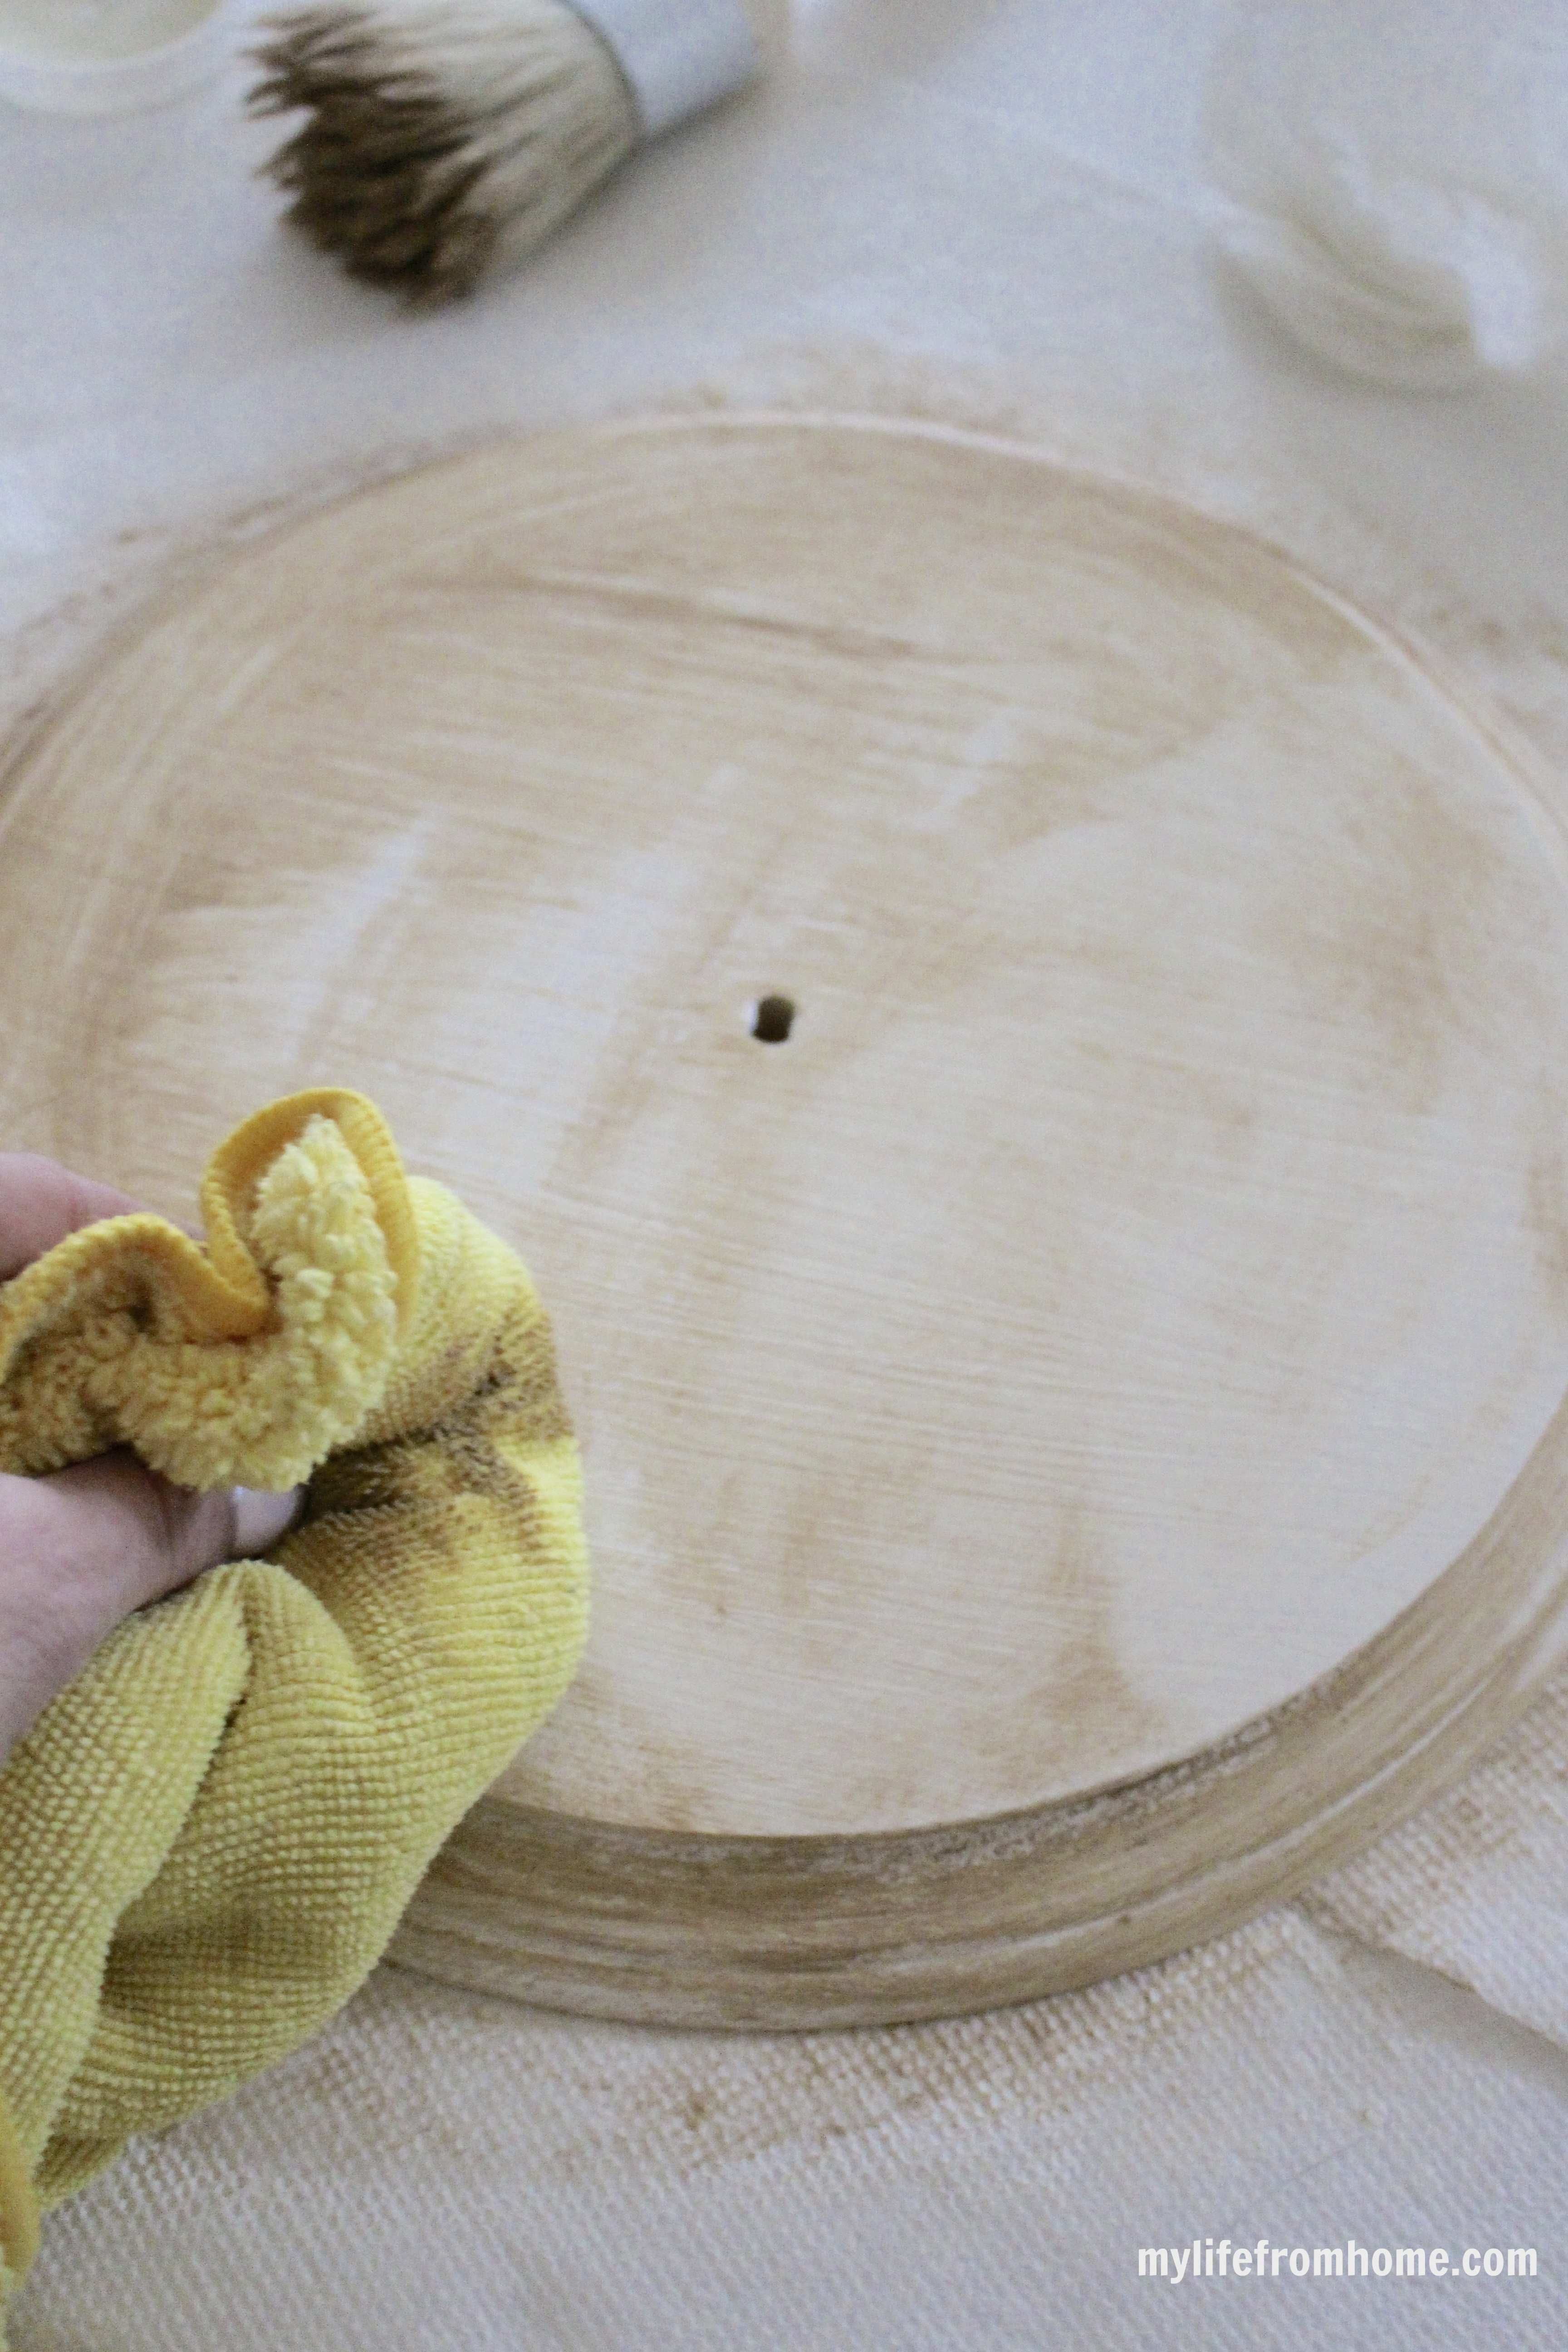
Step 4// Use a rag to rub it on. I wiped some spots off to give it the illusion it was worn over time.
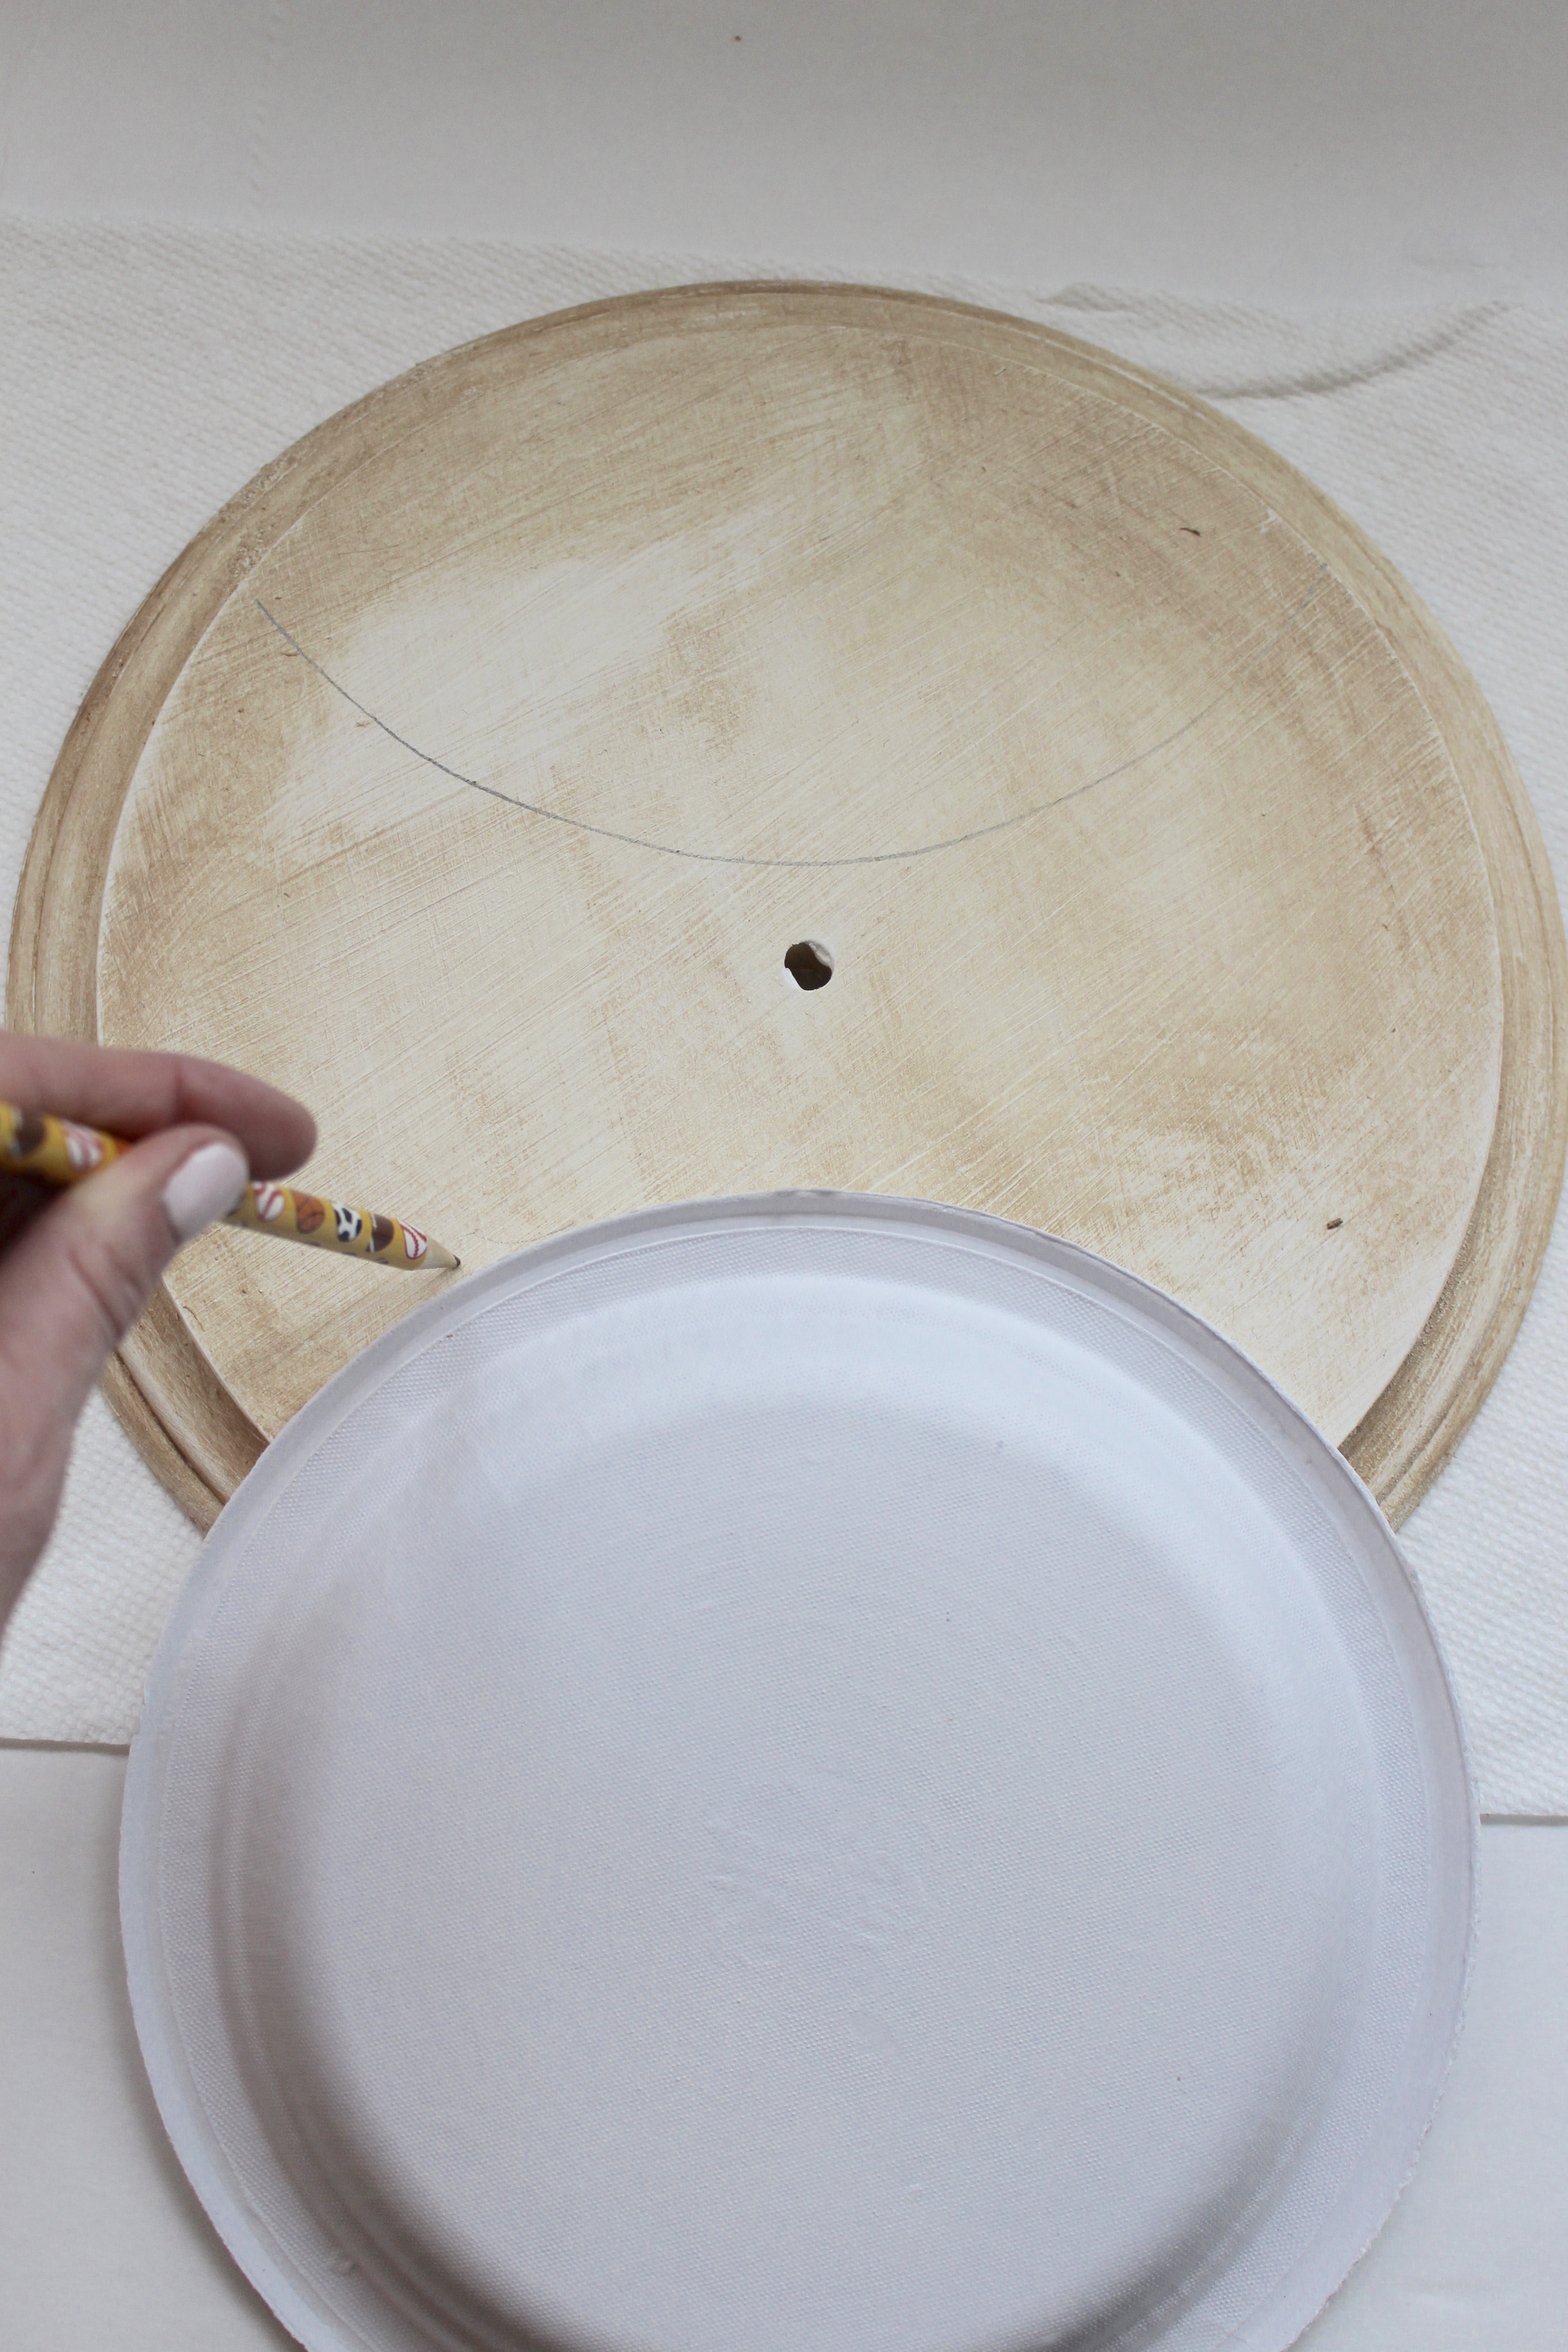
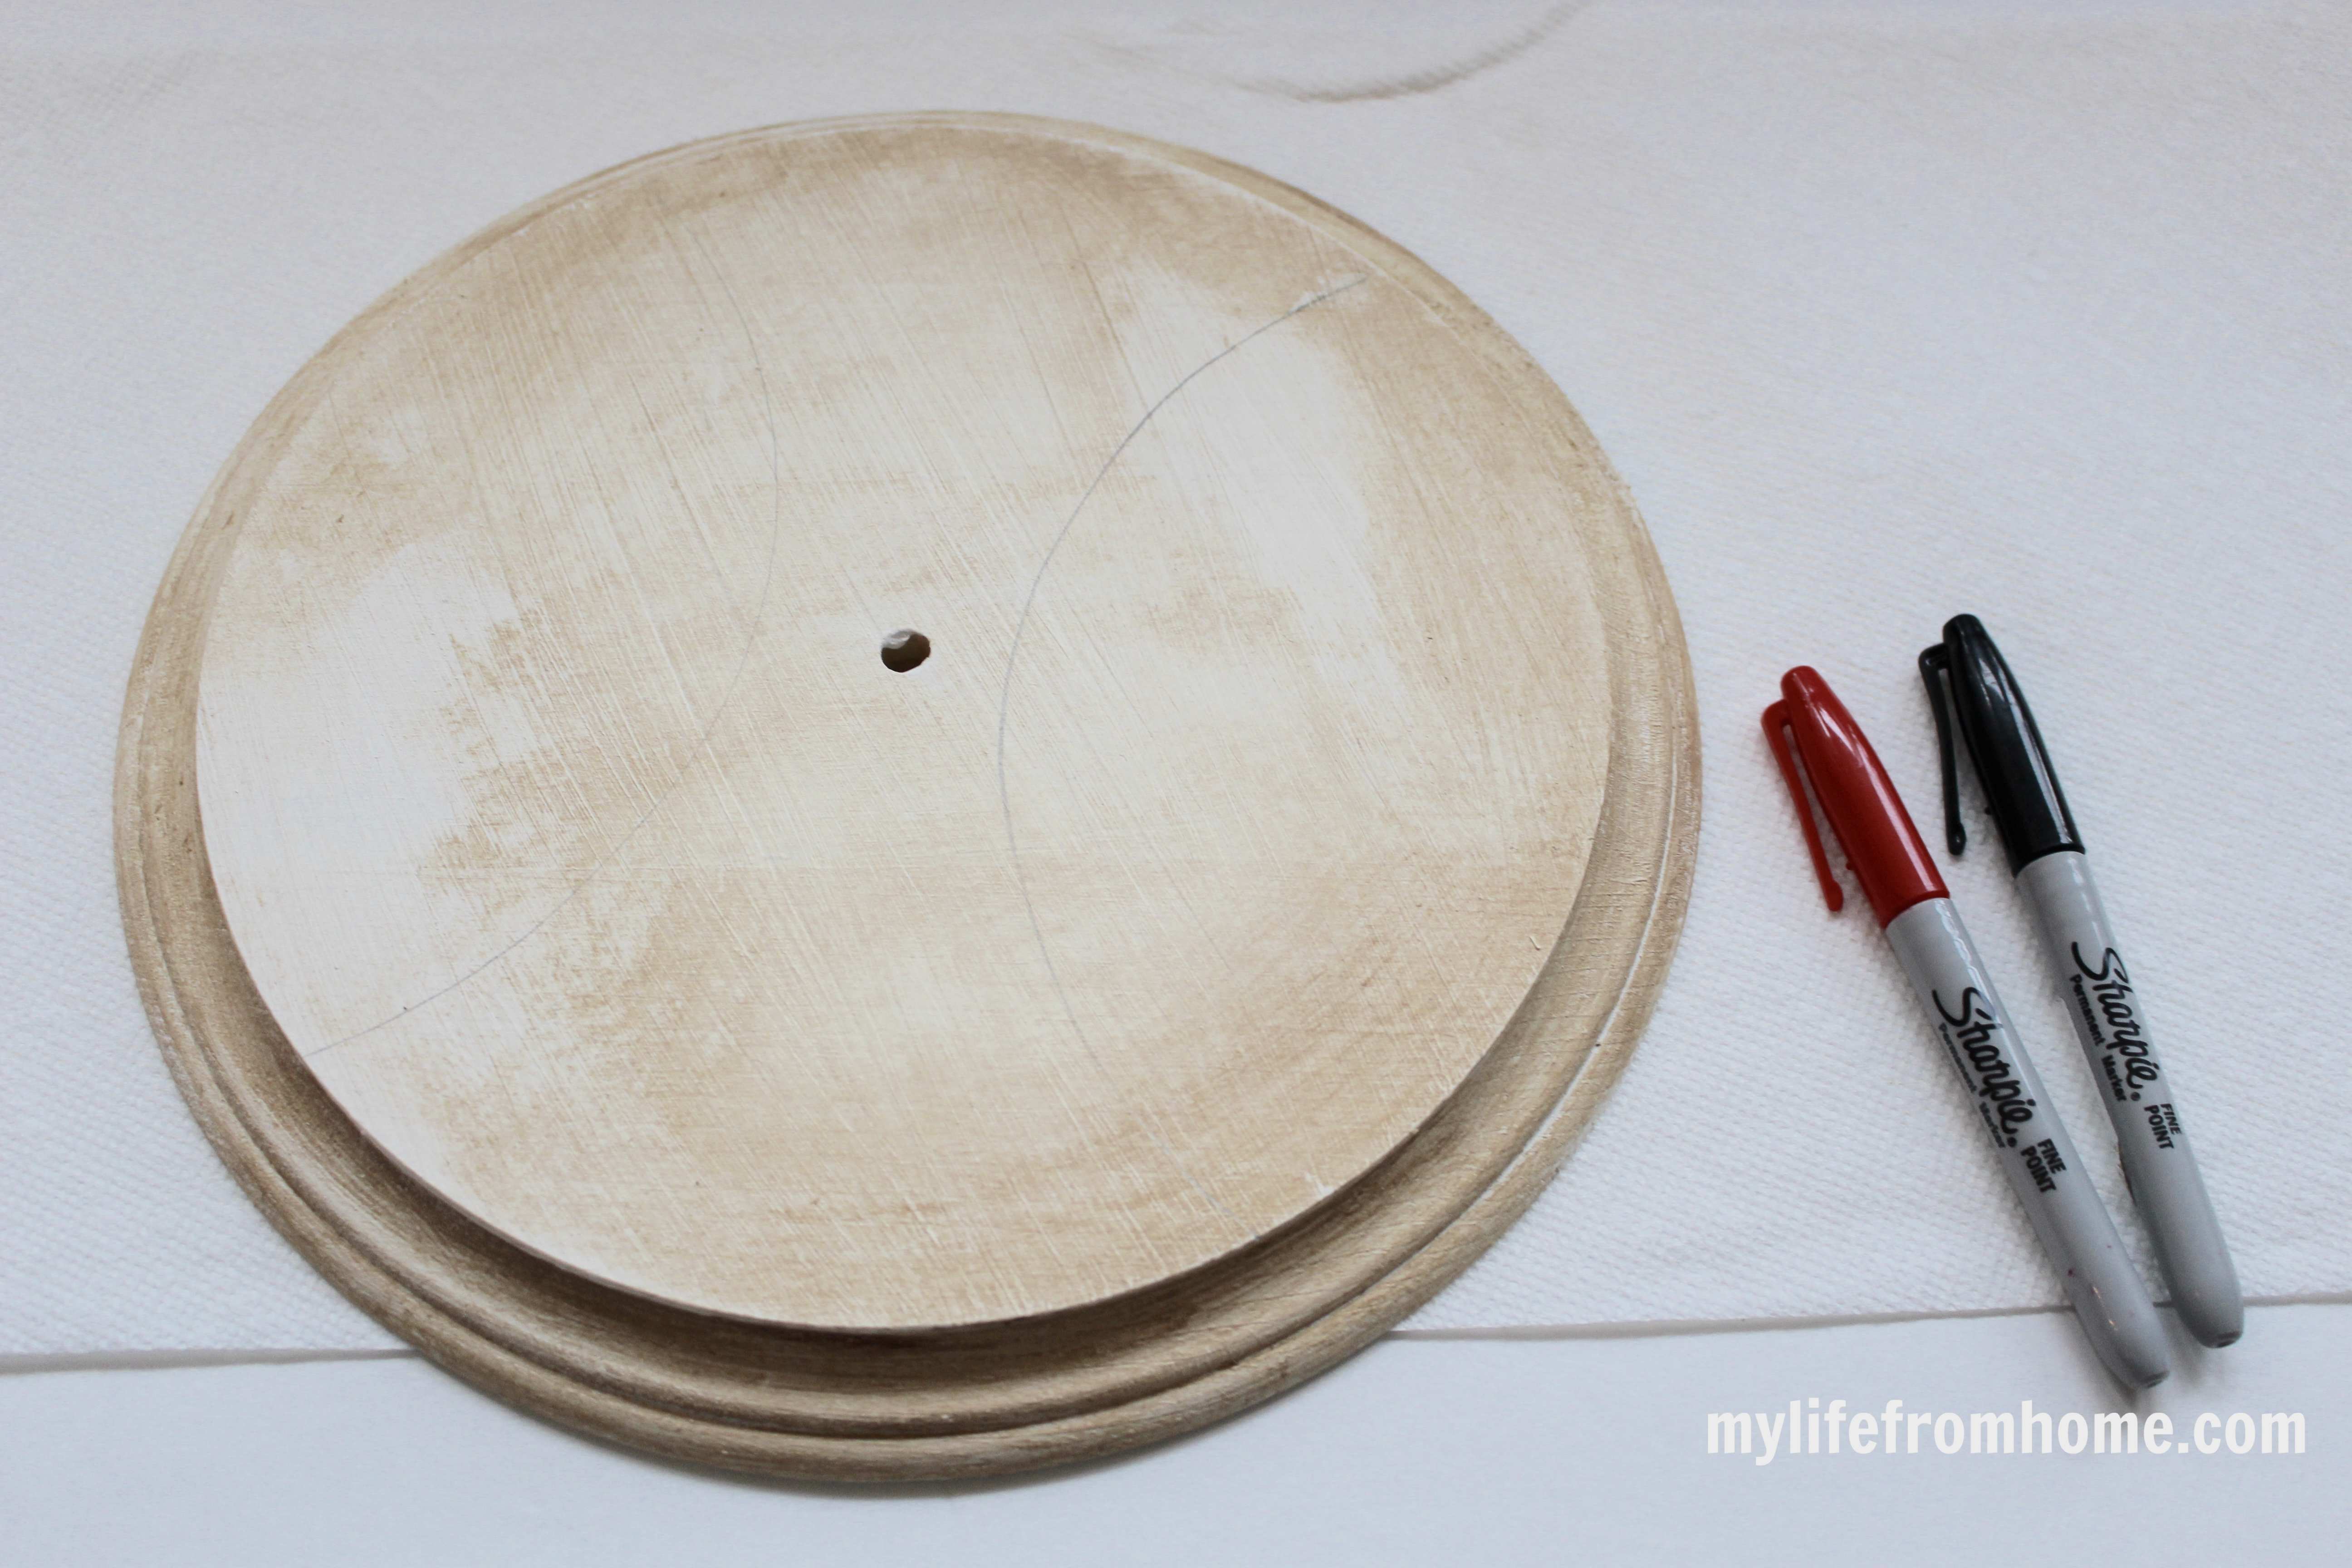
Step 5// Using a paper plate, I made half moon pencil marks for the soon to be stitches of the ball.
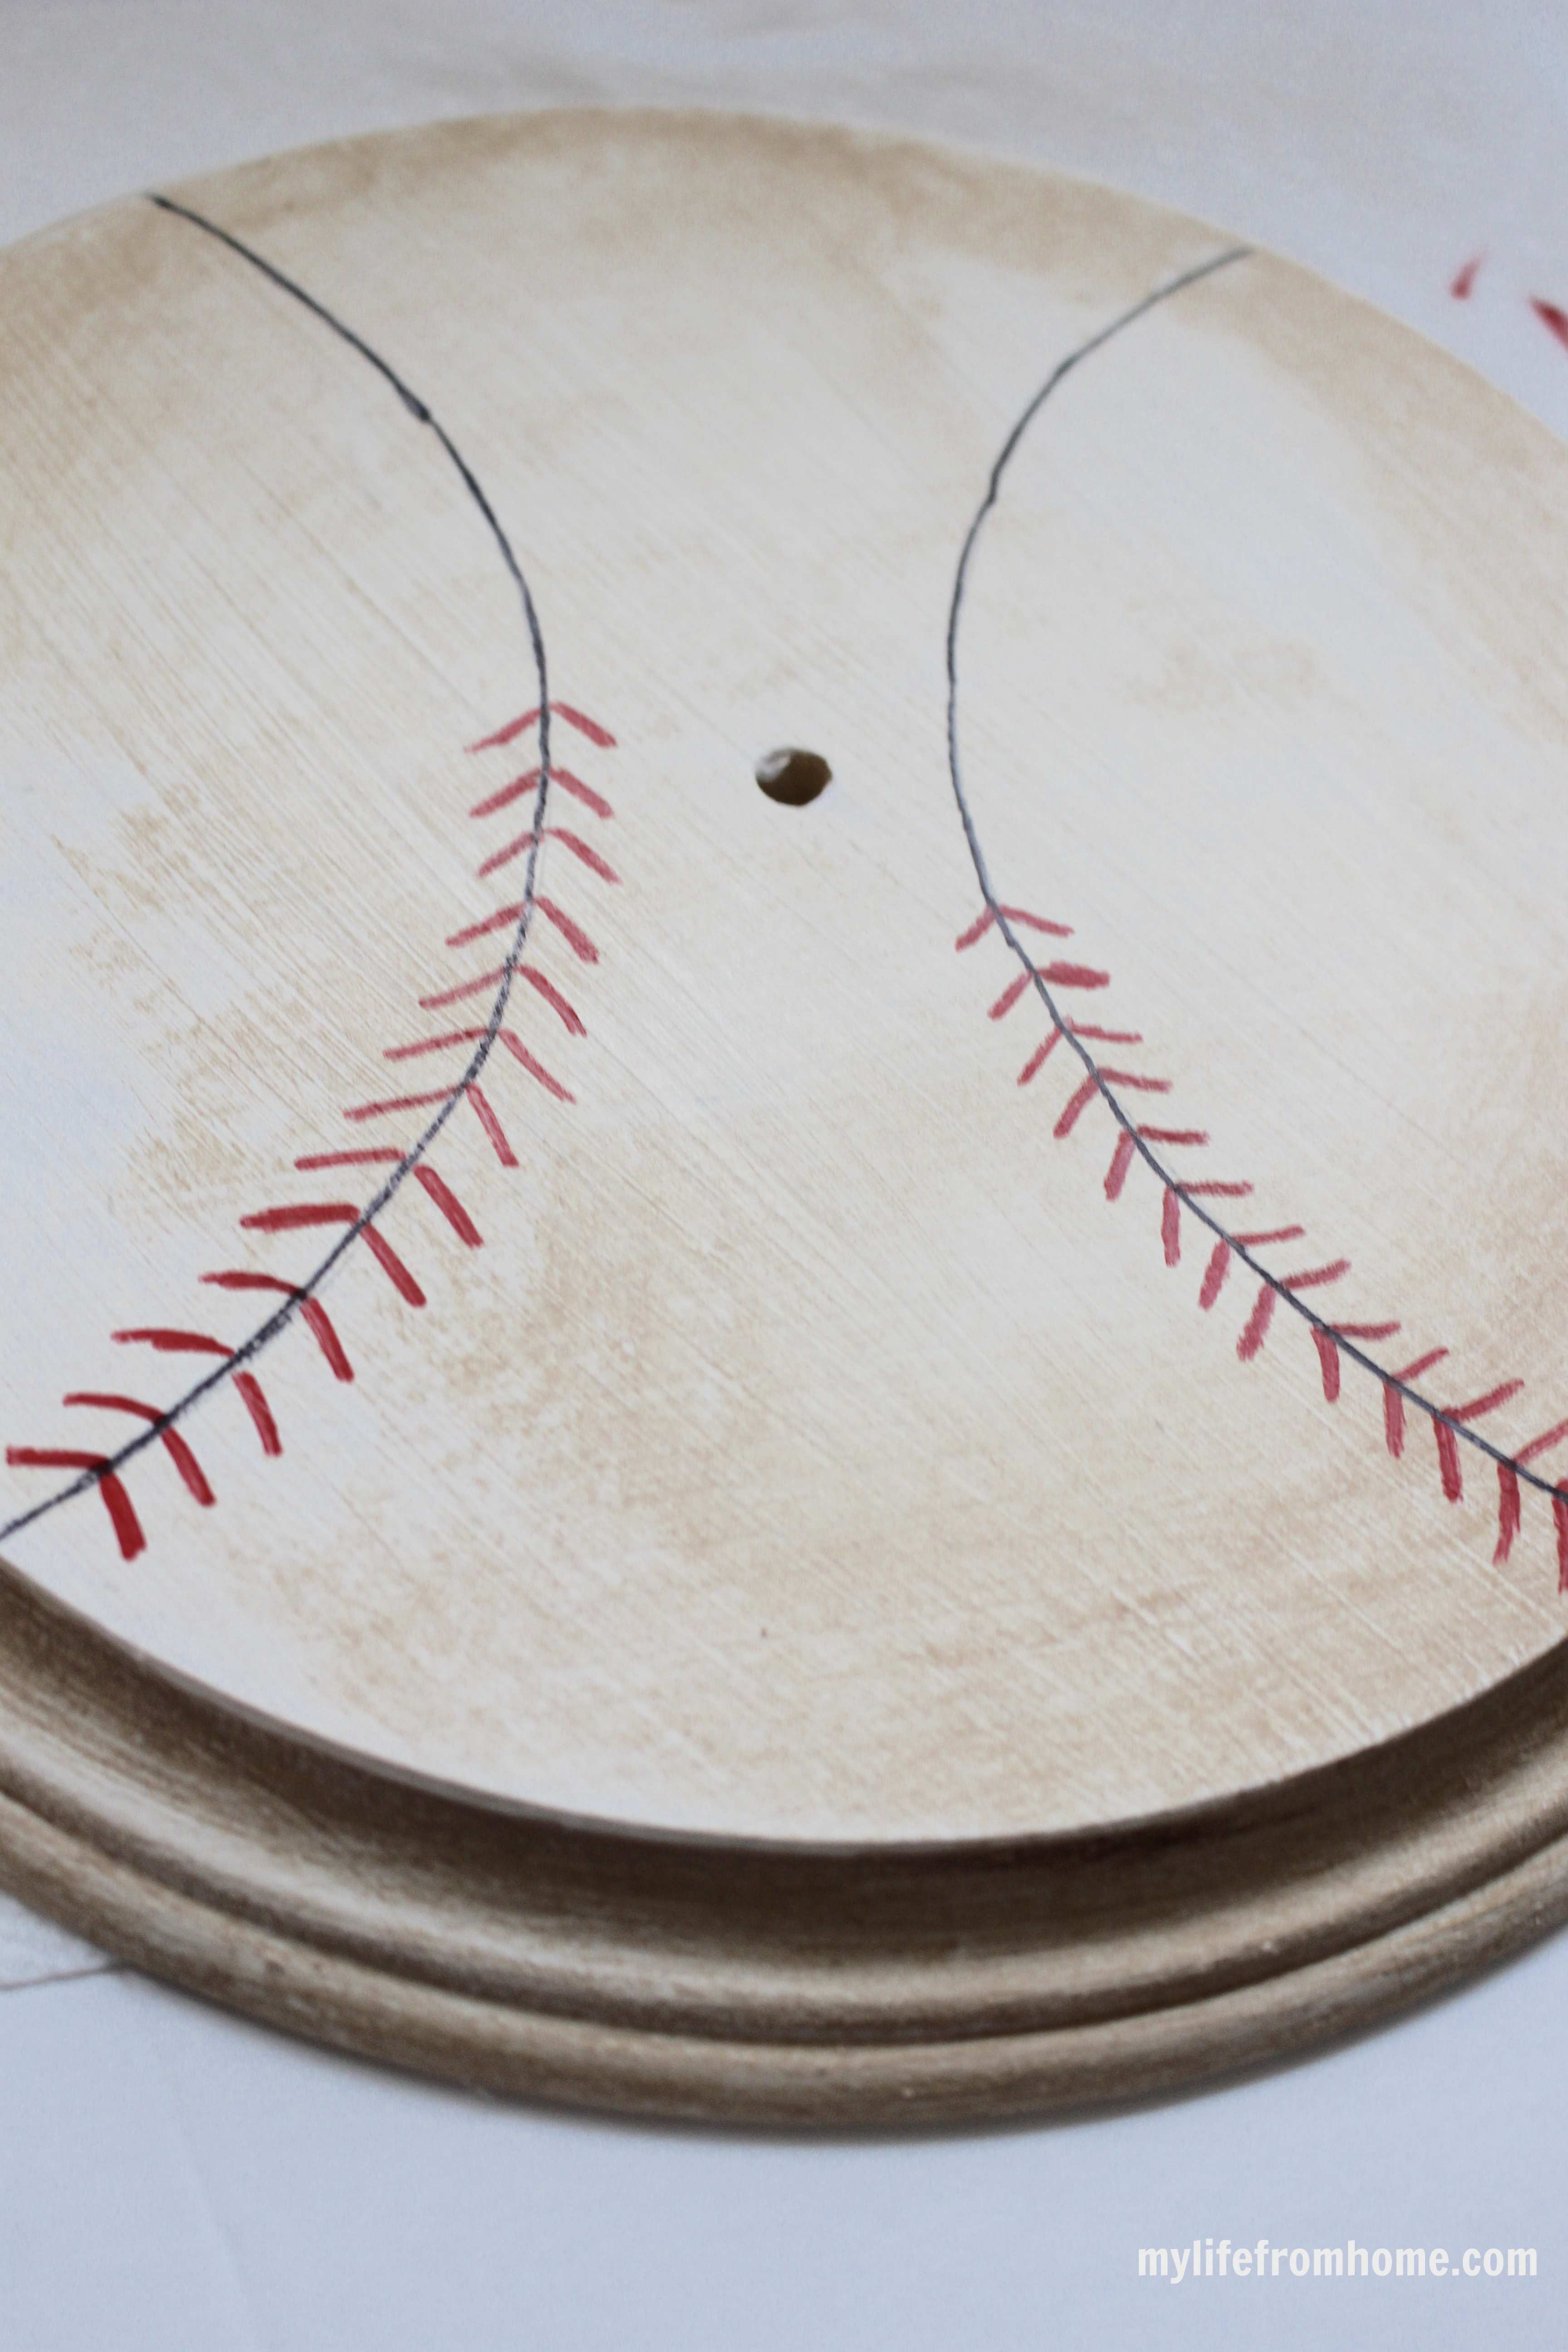
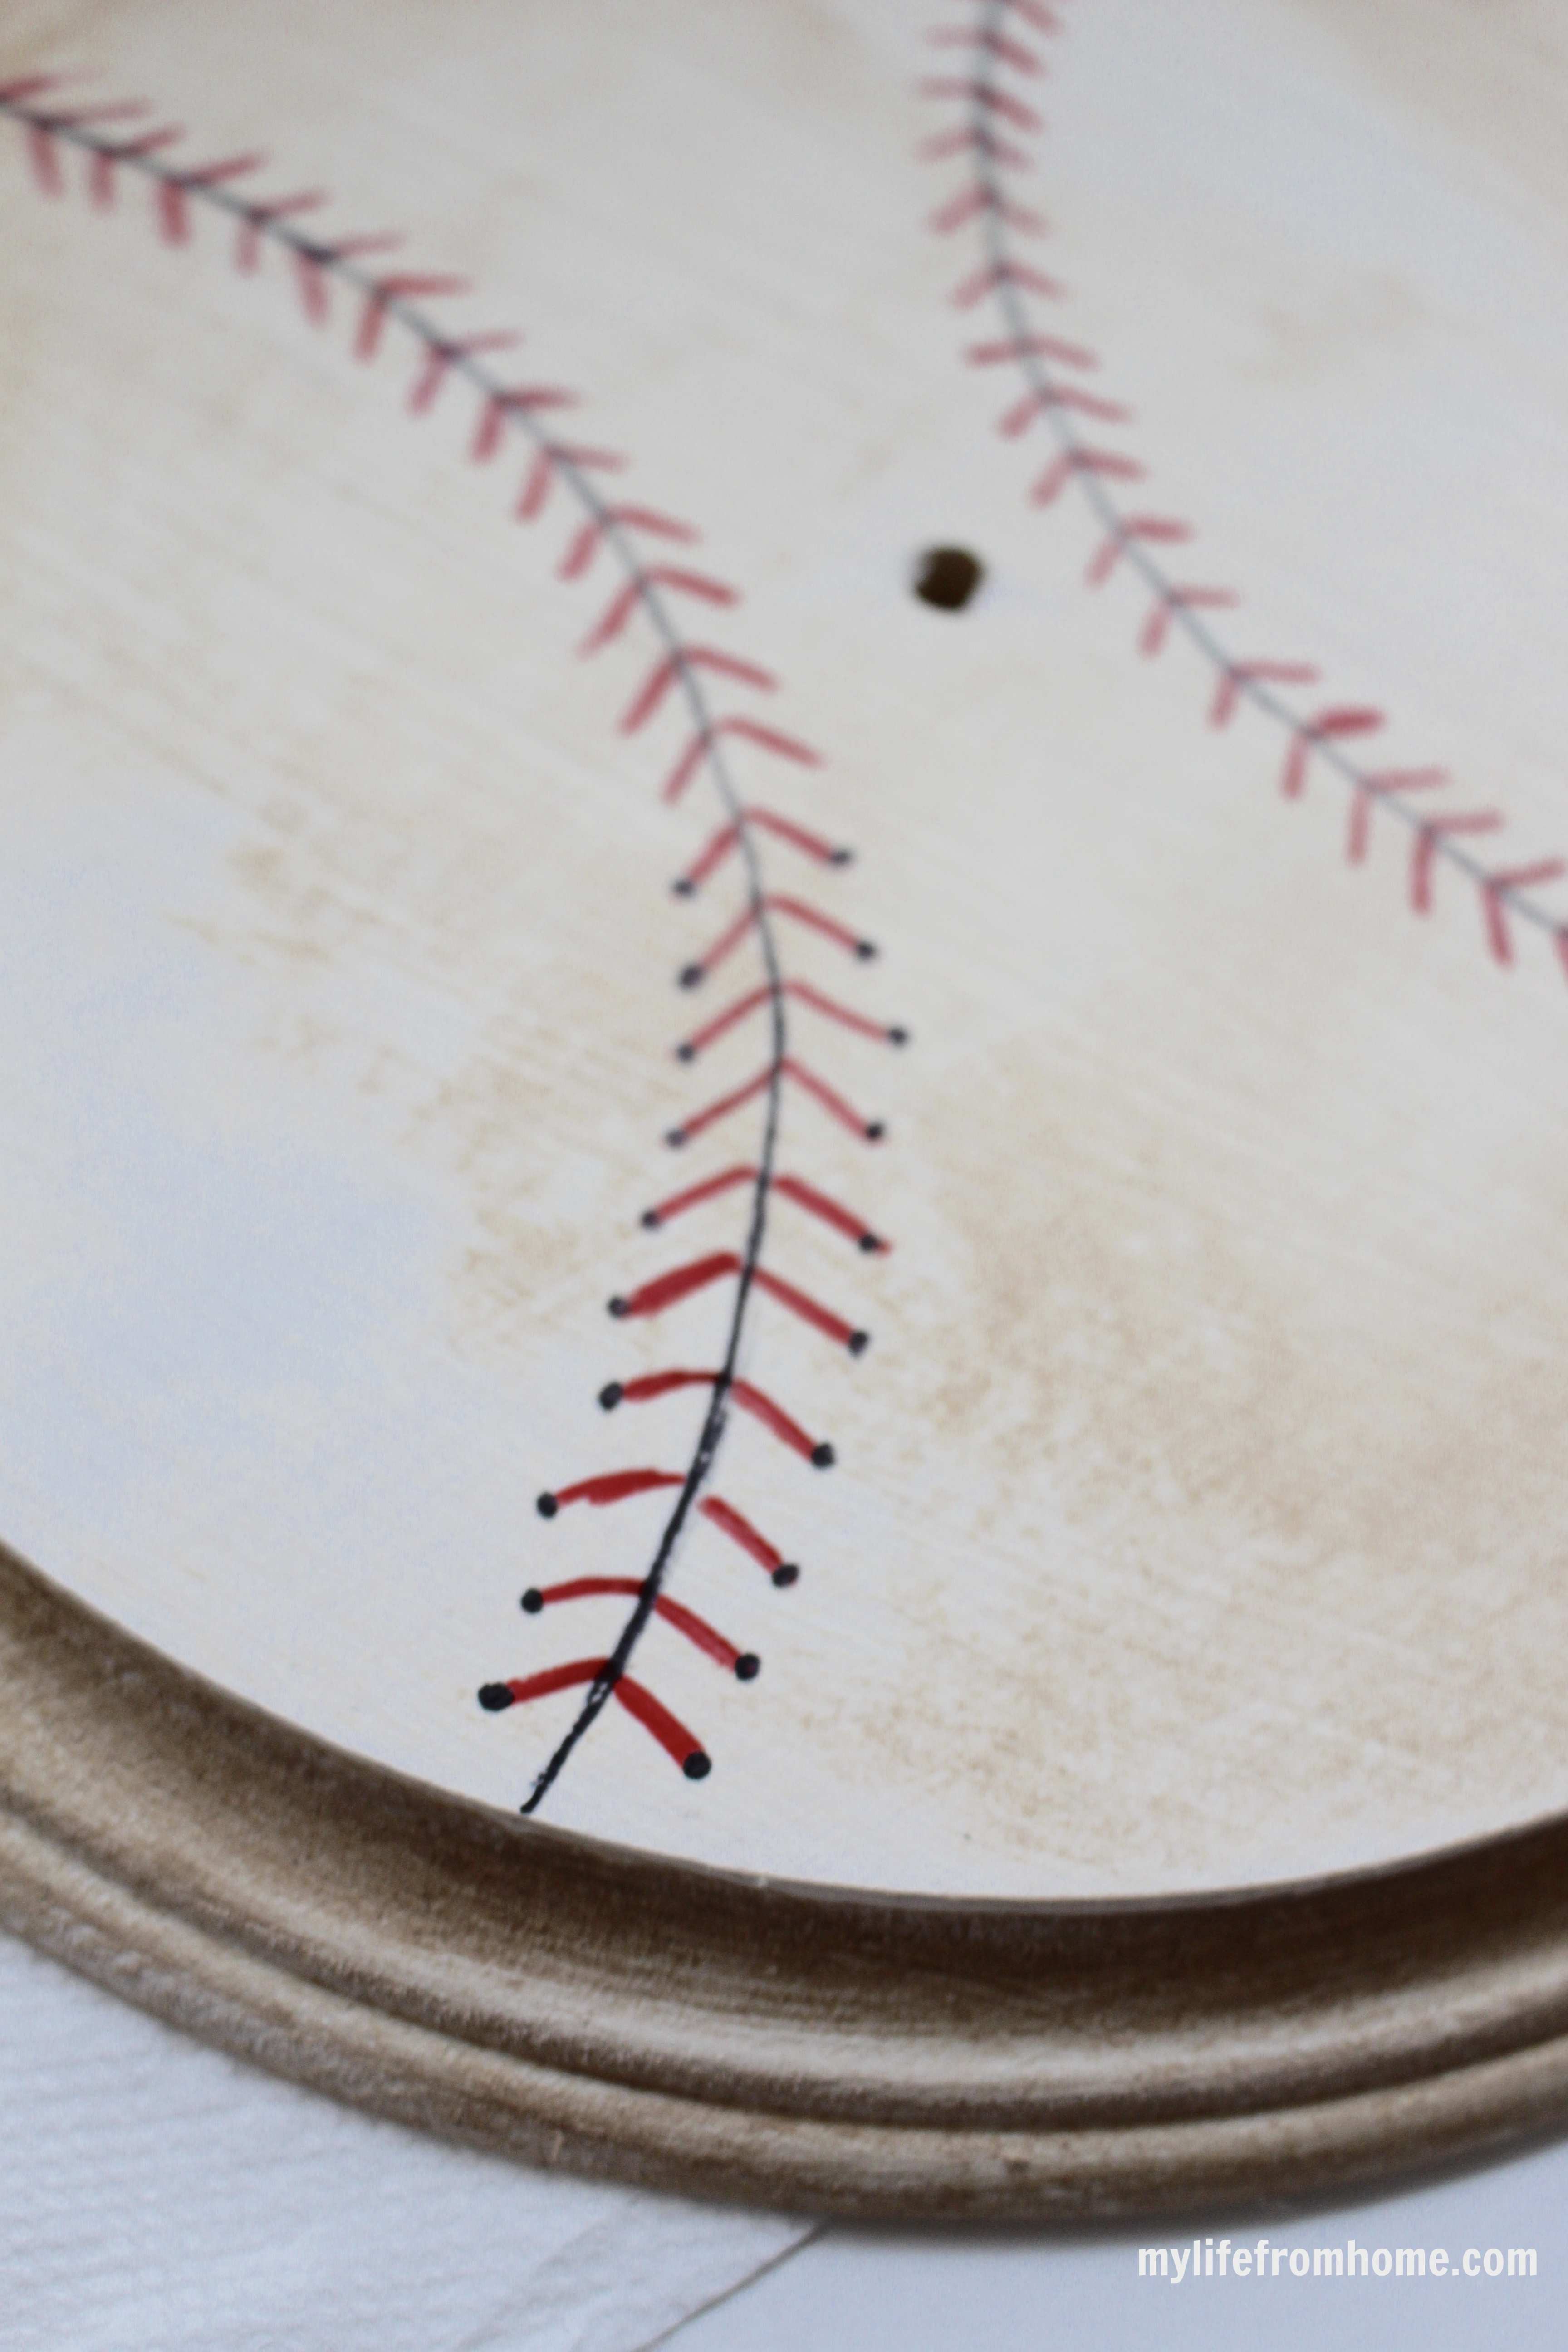
Step 6// I traced my pencil marks with a black Sharpie and followed with a red Sharpie for the stitches.
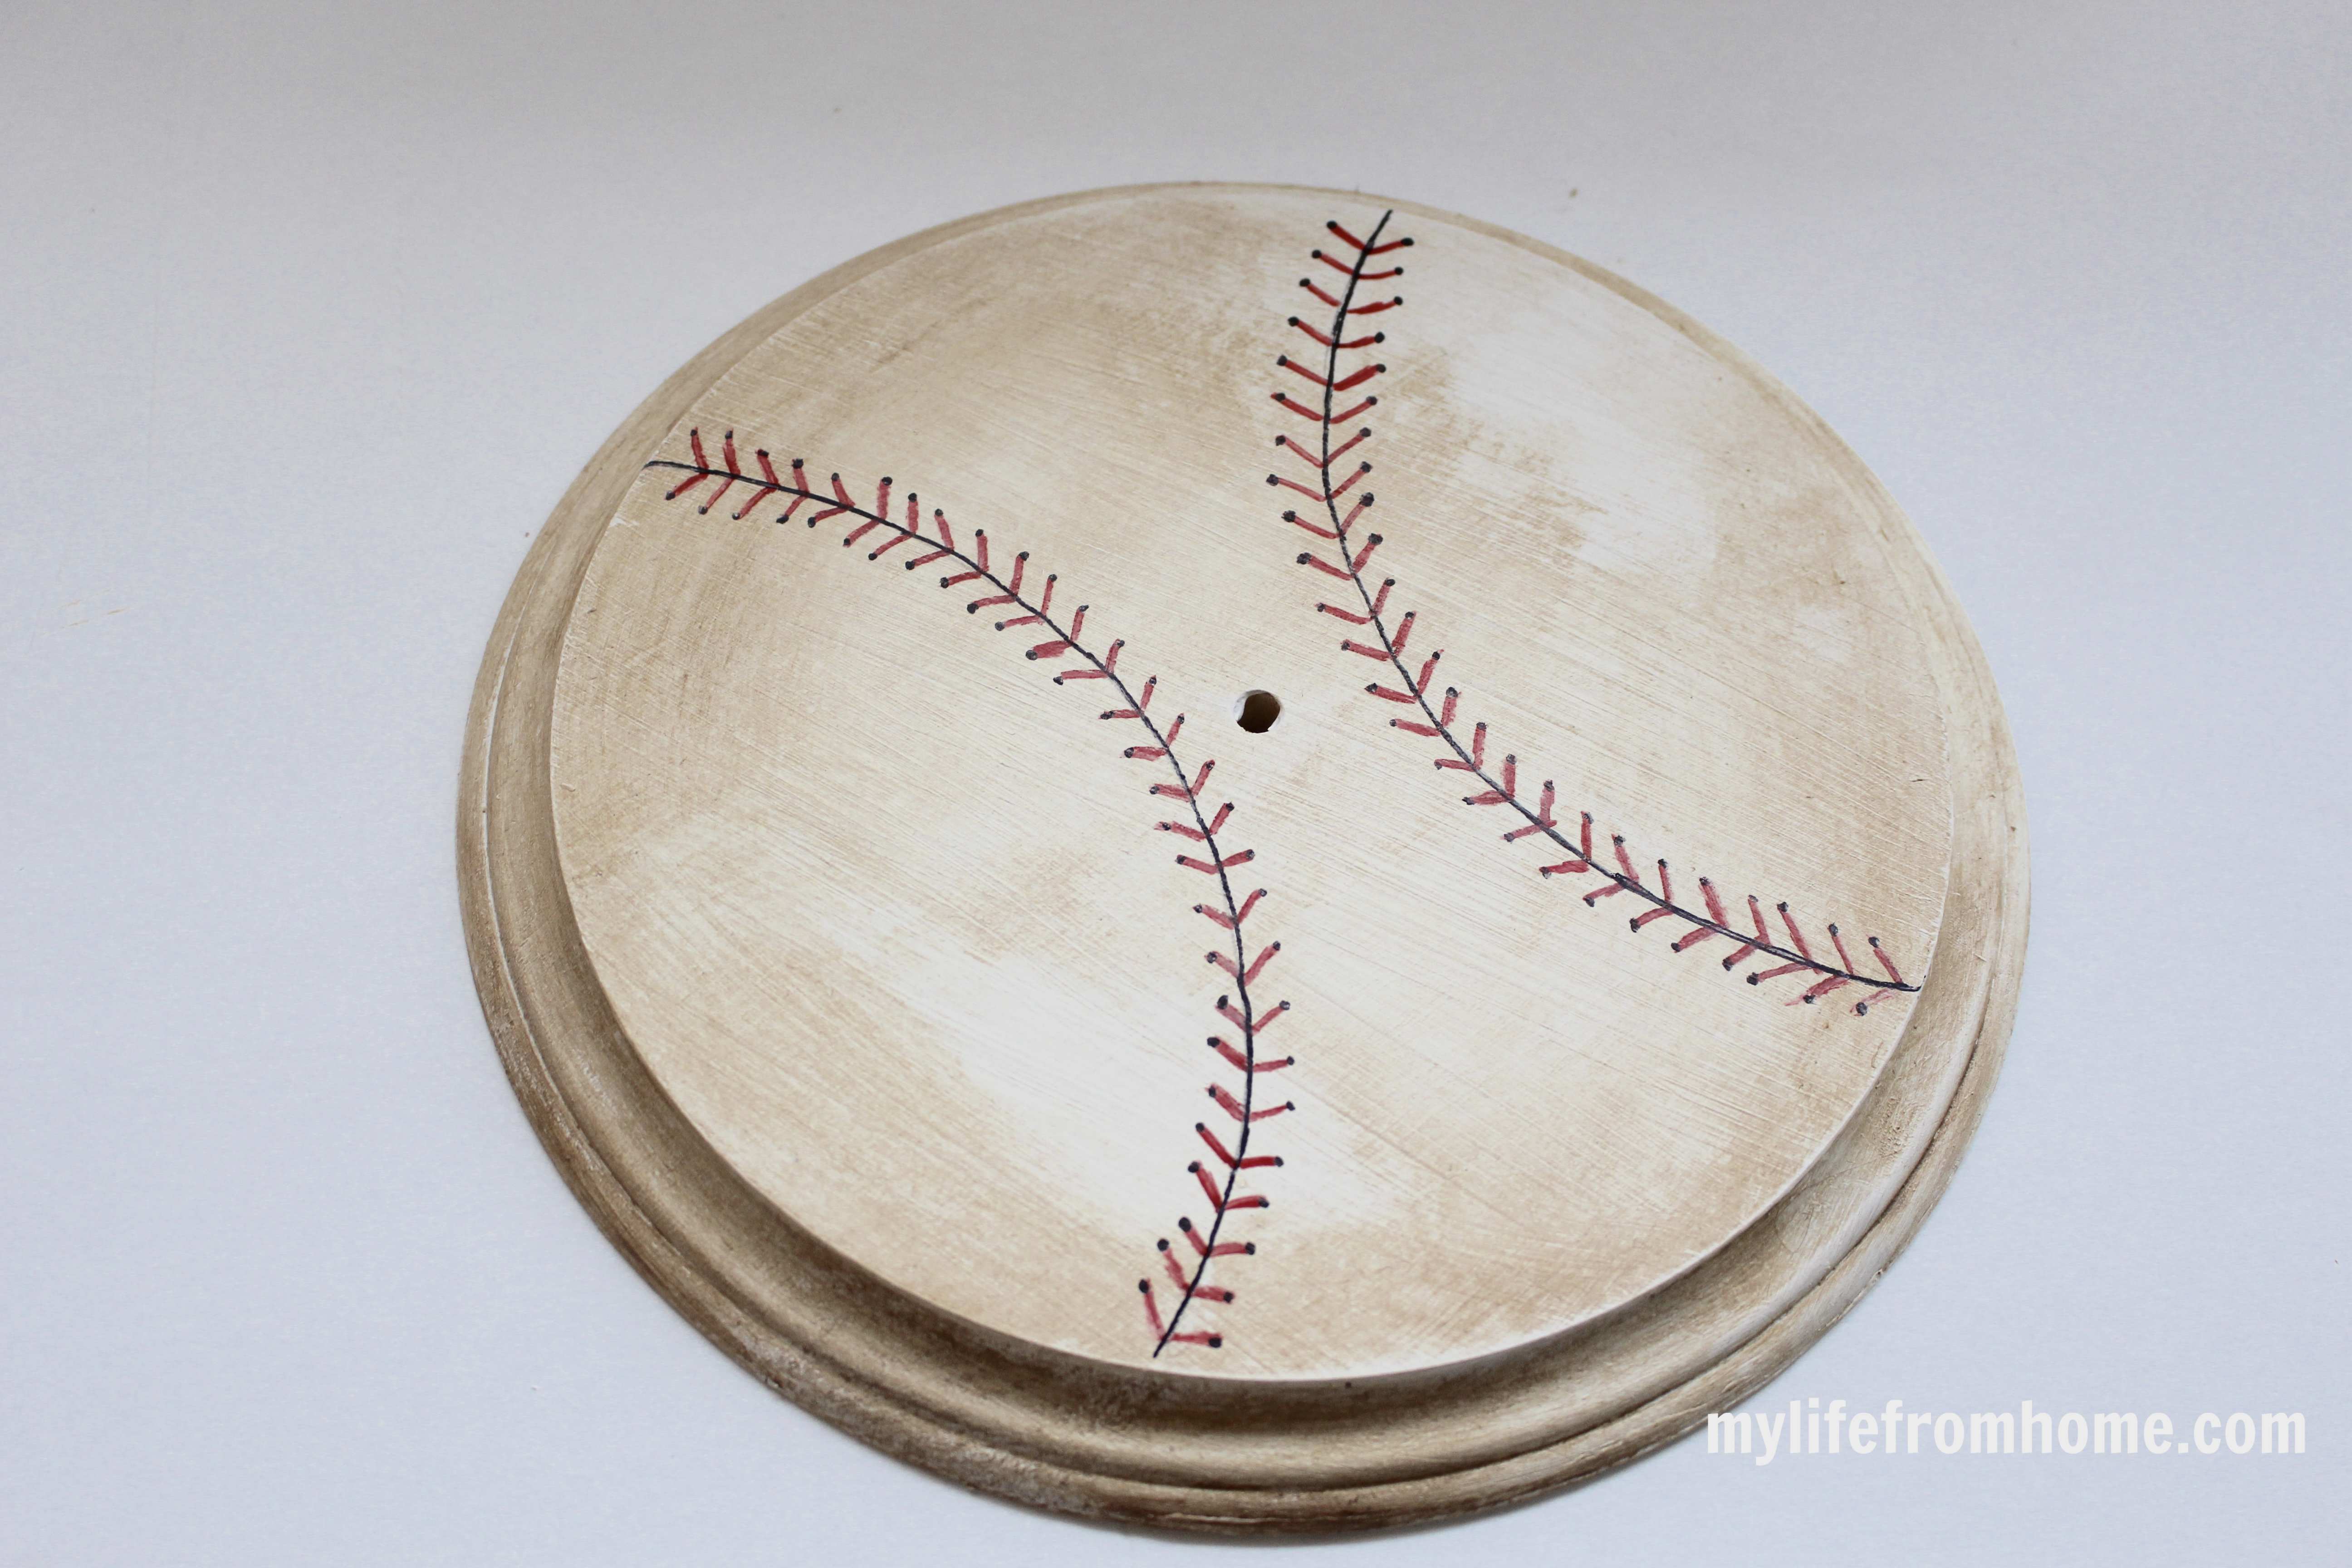
Step 7// Stick on the numbers and add your clock parts to finish.
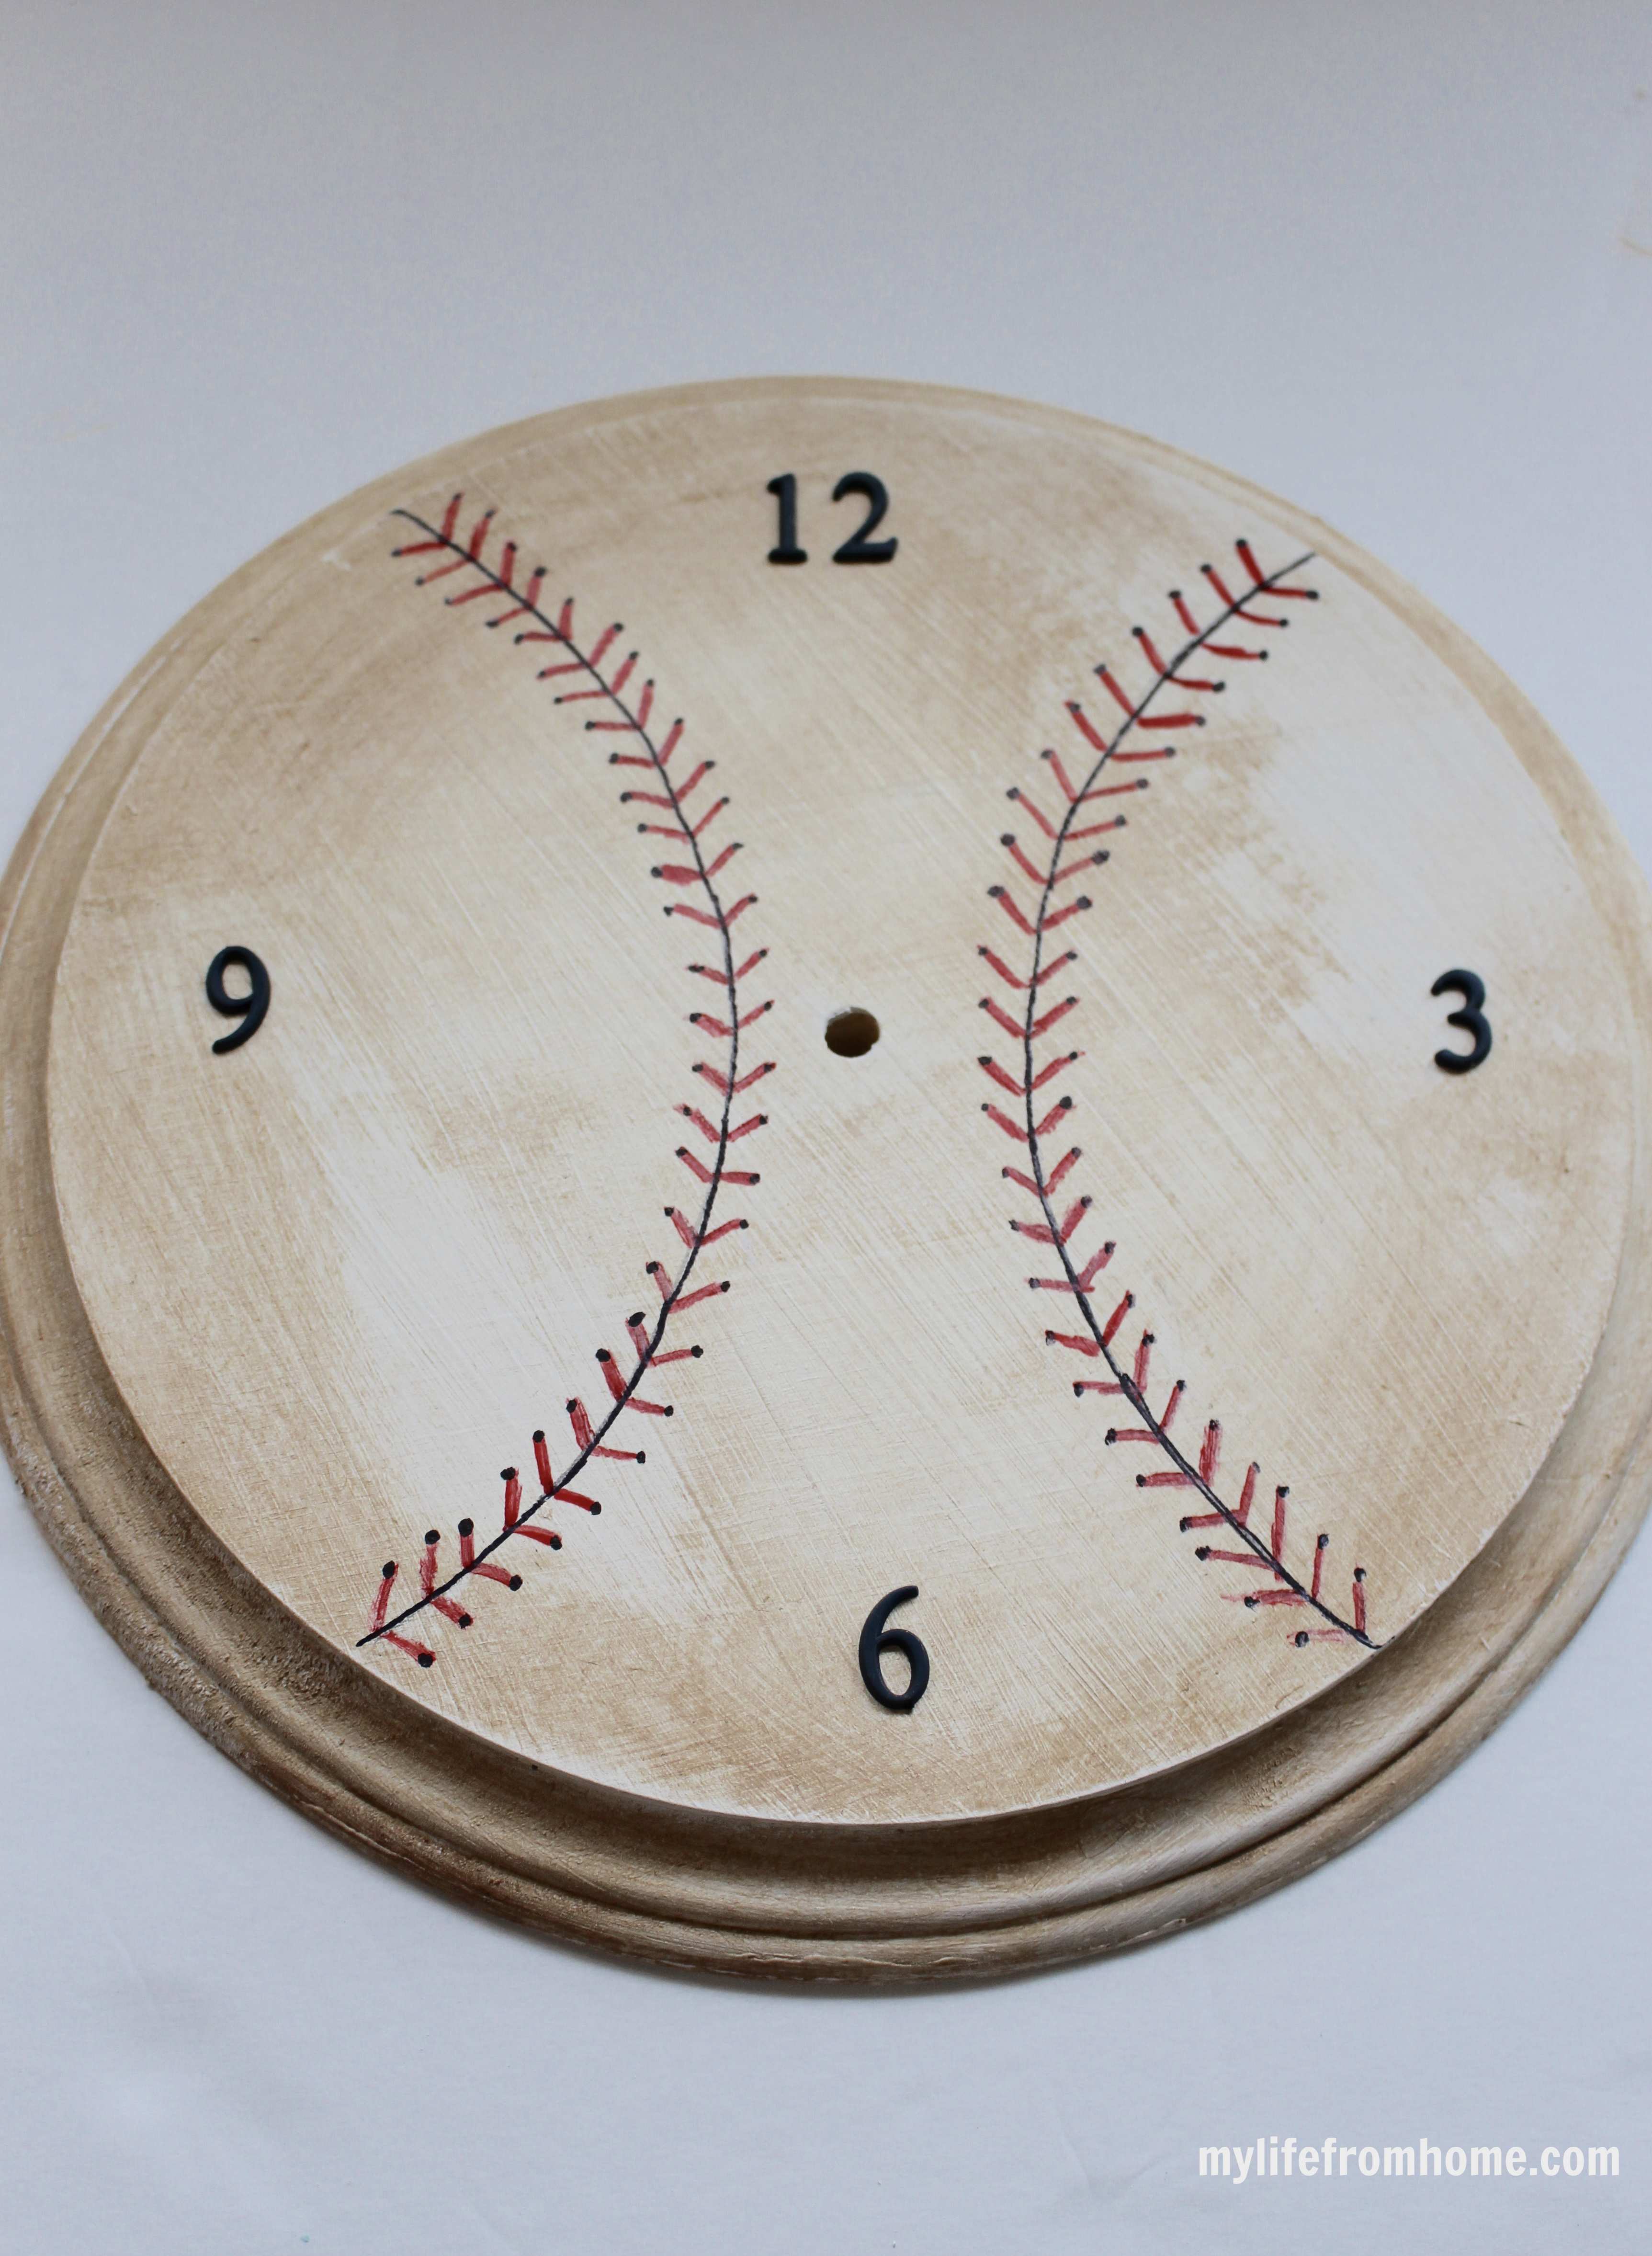
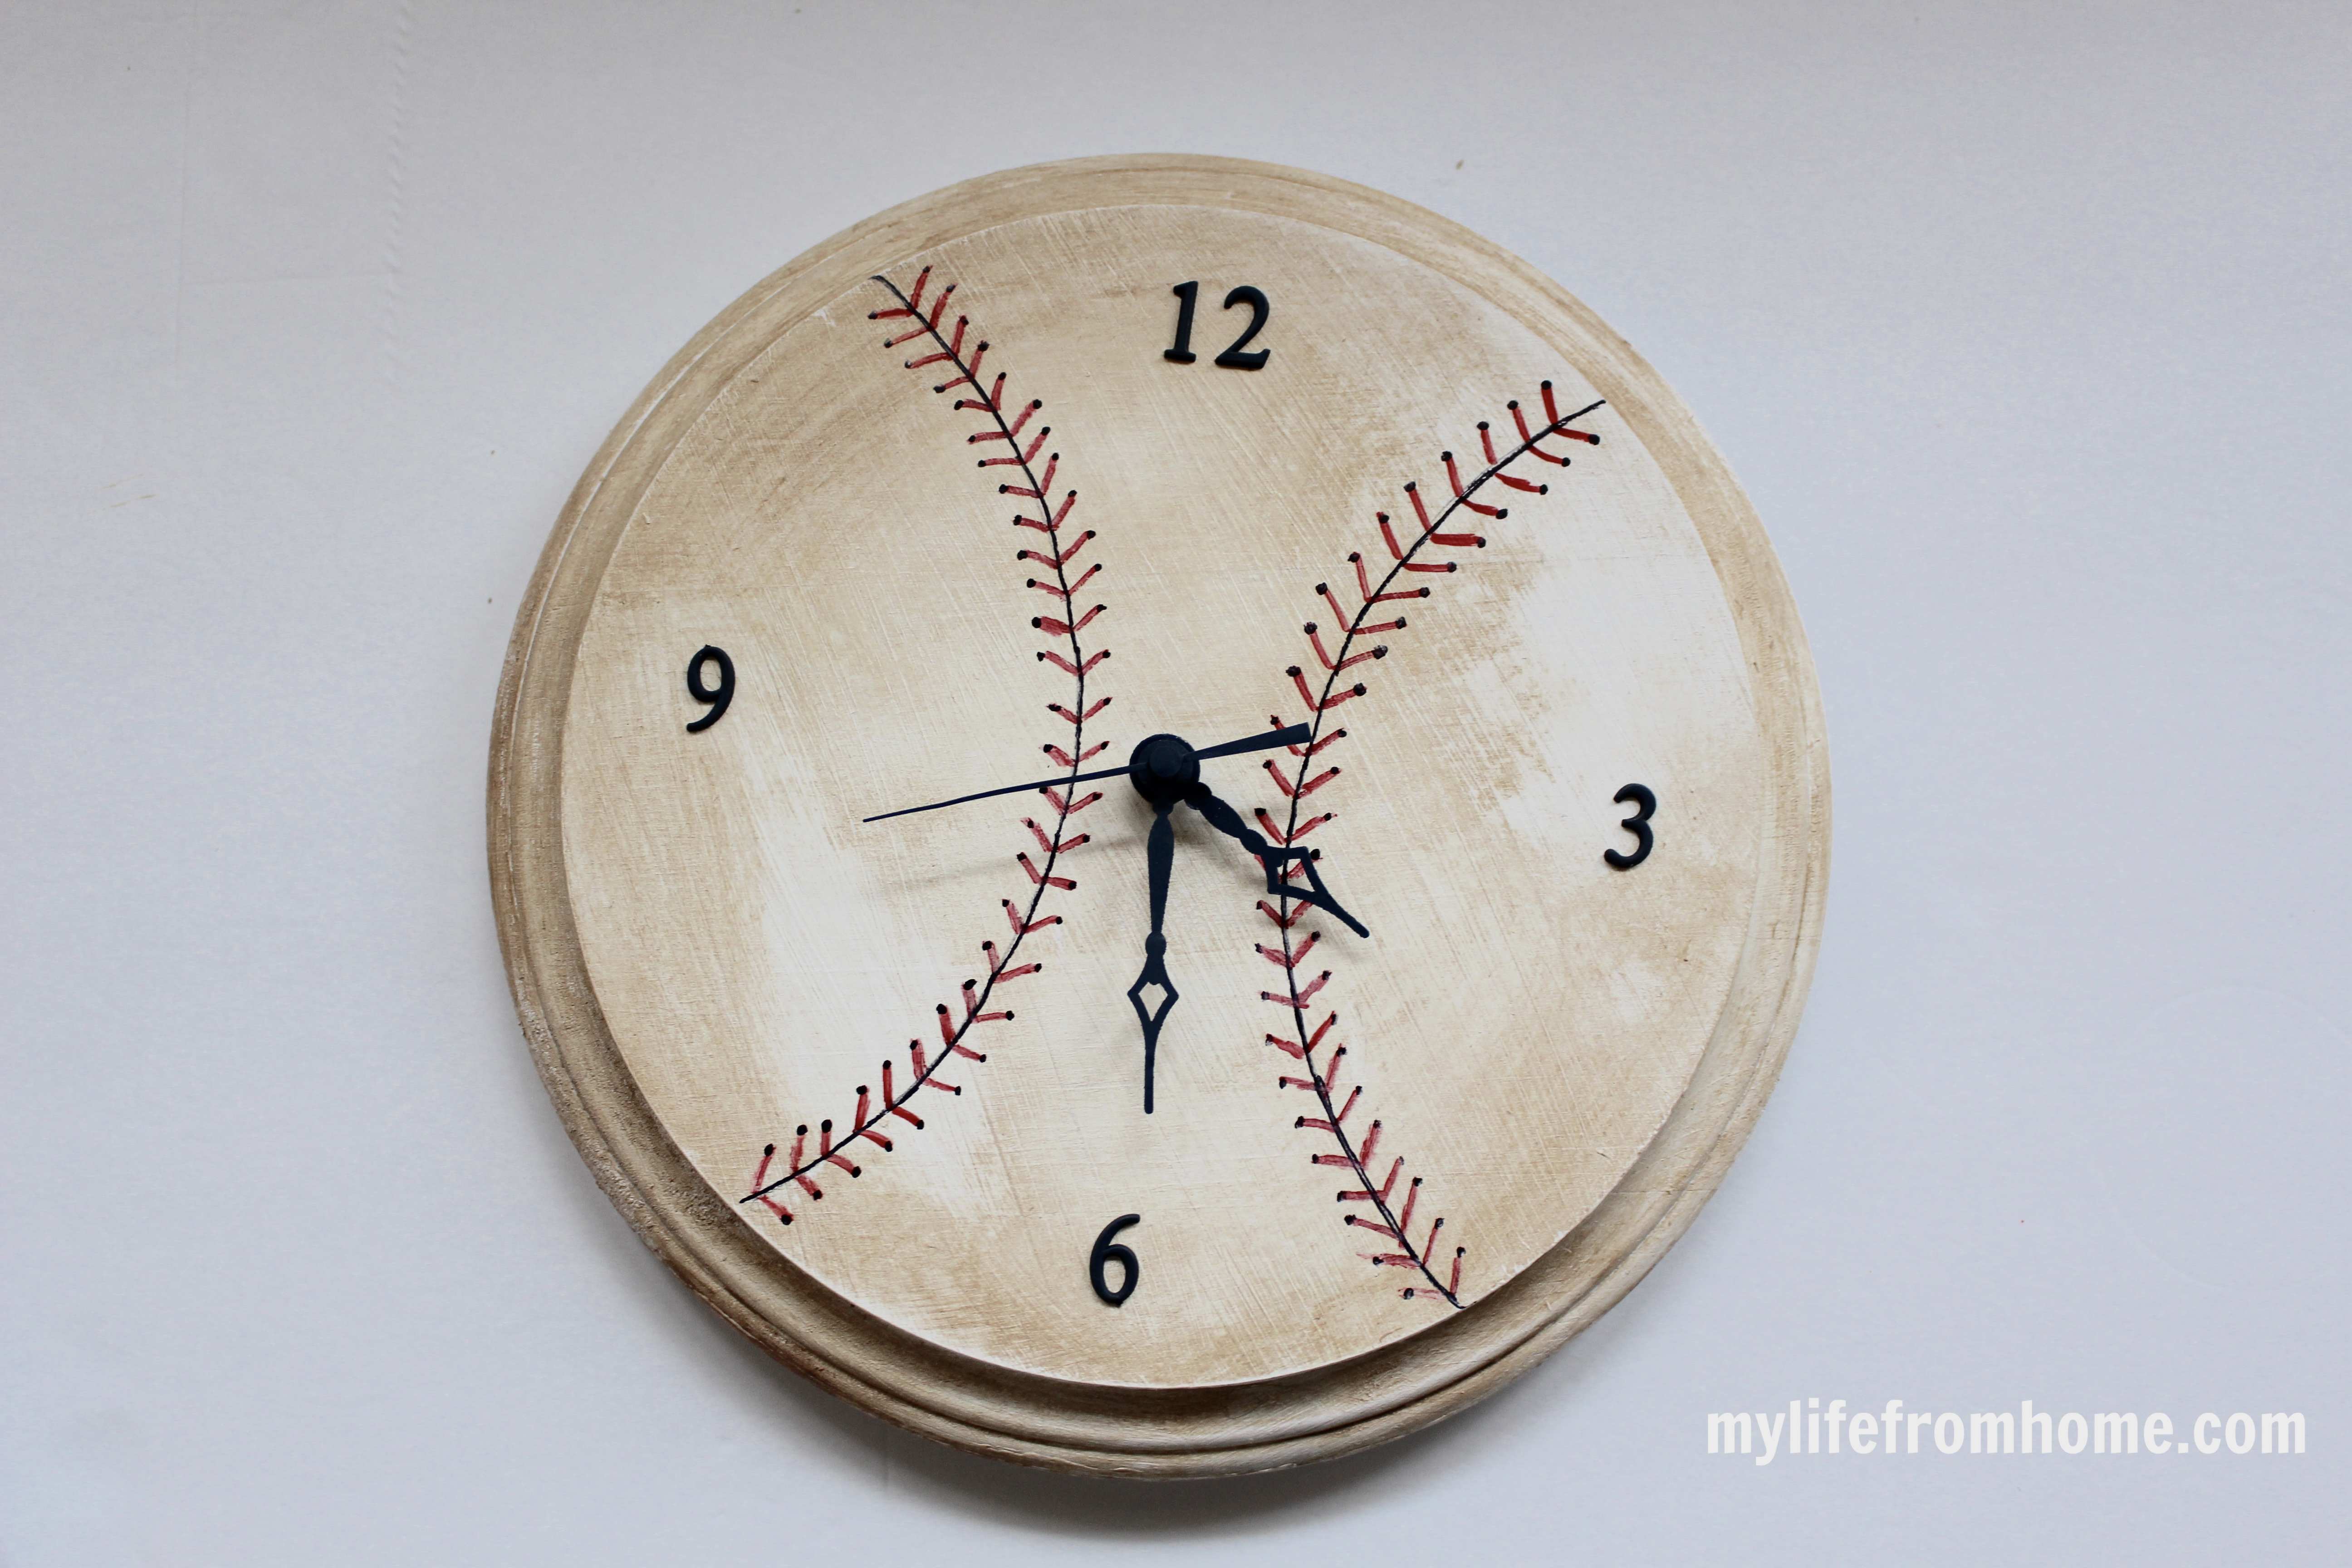
Yay! I’m excited to add this piece to his bedroom decor! It will be something he has for years to come.
Want to see all the other fabulous projects?
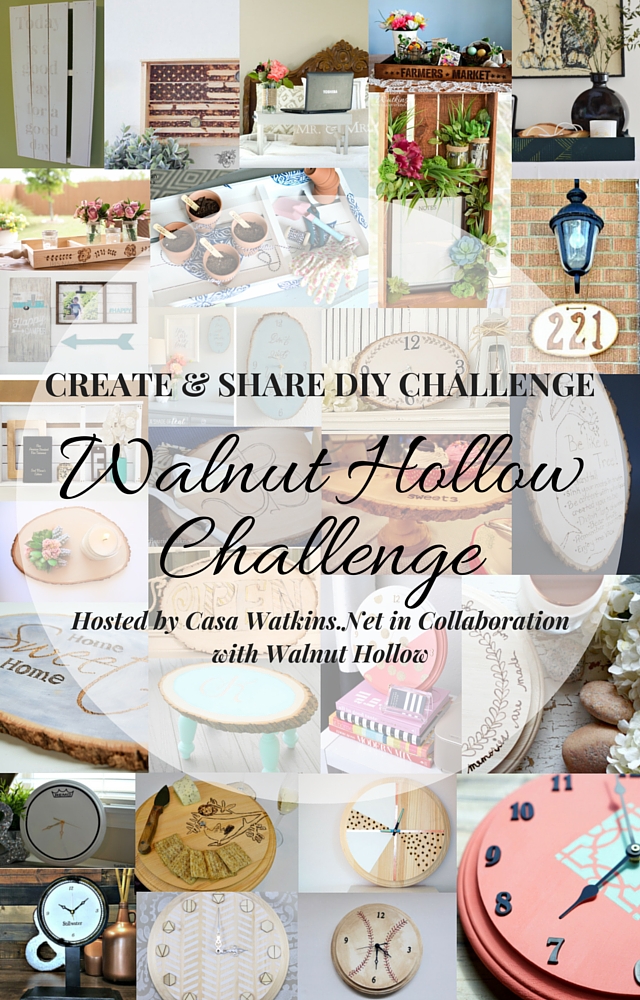
To life feeling like home!
XO,
Leave a Reply
If you like the sort of recommendation that still holds up six months later, leave your email below and I'll write to you on Sunday.
Most Sundays, once the house has gone quiet and it's edging towards nine, a letter goes out. It's the one I'd write to a friend with good taste and not nearly enough time: one thing worth reading, one thing worth buying, and one thing to skip. No noise, no pressure to spend, just the considered version of what I've actually been using, loving, or quietly sending back.


March 30th, 2016 at 10:20 am
hey girl this is awesome! Great job!
March 30th, 2016 at 8:28 pm
Thank you Shawnna! 🙂
March 30th, 2016 at 11:08 am
I love this! This would have been perfect for my boys rooms when they were growing up – so darn cute.
March 30th, 2016 at 8:27 pm
Thank you Cathy! 🙂
April 1st, 2016 at 9:54 am
I love it Amy! It turned out perfect! I’m working on a larger baseball wall art thingy now!
April 1st, 2016 at 5:00 pm
Oooo I can’t wait to see your project! 🙂
April 1st, 2016 at 11:41 am
Amy this is so cute! I love the color you created for the base!
April 1st, 2016 at 4:59 pm
Thank you Sara! 🙂
April 2nd, 2016 at 5:04 pm
Oh my gosh Amy, it’s perfect! I absolutely love it!!
April 2nd, 2016 at 9:23 pm
Thank you Iris!! 🙂
April 5th, 2016 at 8:35 am
[…] Spring Home Tour // DIY Rustic Wood Planter // DIY Baseball Clock […]
April 5th, 2016 at 9:27 am
[…] Spring Home Tour // DIY Rustic Wood Planter // DIY Baseball Clock […]
April 5th, 2016 at 10:04 am
Love it, Amy! So many fun details. This would look great in our planned sports themed basement. Thanks for the inspiration! Pinned and shared, friend!
April 5th, 2016 at 11:06 am
[…] Spring Home Tour // DIY Rustic Wood Planter // DIY Baseball Clock […]
April 5th, 2016 at 3:31 pm
Your baseball clock looks awesome Amy! I am sure your son will love it!!! I hope you are having a great week and take care, Tara
April 6th, 2016 at 8:19 am
Thank you Tara! 🙂
April 6th, 2016 at 5:57 pm
This turned out great! Such a cute idea for a boy’s bedroom. Thank you for sharing at Merry Monday!
April 6th, 2016 at 10:33 pm
This is too adorable, love what you did with the clock.
April 7th, 2016 at 7:23 am
Thank you Katy! 🙂
April 9th, 2016 at 3:38 pm
I think you hit a home run with this project! No seriously, you really knocked it out of the park. Okay, okay, enough puns, I’ll shortstop. (Please, someone, stop me before I strike out.)
April 9th, 2016 at 4:50 pm
Love it! Yes, it was a “crowd-pleaser”Ha
April 15th, 2016 at 1:13 am
Your clock looks awesome Amy. Love it! Pinned!
August 29th, 2016 at 11:56 am
[…] Some of my favorite DIY projects that you can read more about are the Wall Display Cubbies and the Baseball Clock. […]
May 31st, 2018 at 2:24 pm
The idea is simply awesome! Can’t wait to try this one. I just love it.
May 31st, 2018 at 4:20 pm
Thank you so much, Bradley! It’s a special piece for his room which we will cherish for a long time!
August 18th, 2018 at 2:31 am
My Mom loved doing crafts. I remembered she did something similar for me when I was younger. We were a big baseball family, and of course, my mom was my biggest fan. I miss her but do enjoy coming across posts like this. It brings back good memories. Nice Job!
October 12th, 2018 at 7:23 am
[…] Bring in the touch of baseball to your interior home spaces by making special baseball inspired wall art pieces and decors. A very fabulous example here is this given baseball clock that has been done to inspire. Here this wall clock is made of a round wooden disk that has been painted for a baseball look and next the clock kit has been installed for the accurate time countings mylifefromhome […]
April 28th, 2020 at 9:53 pm
[…] sports man cave does not have a clock, you can make them one. This do-it-yourself project shows how to make a baseball clock, but it can be done with any sports ball. It works best with round balls, but if you are willing to […]
June 1st, 2020 at 8:32 pm
[…] sports man cave does not have a clock, you can make them one. This do-it-yourself project shows how to make a baseball clock, but it can be done with any sports ball. It works best with round balls, but if you are willing to […]