I'm Gillian, a Scotland based home & lifestyle blogger. Follow along as I navigate this new journey sharing my life from home.


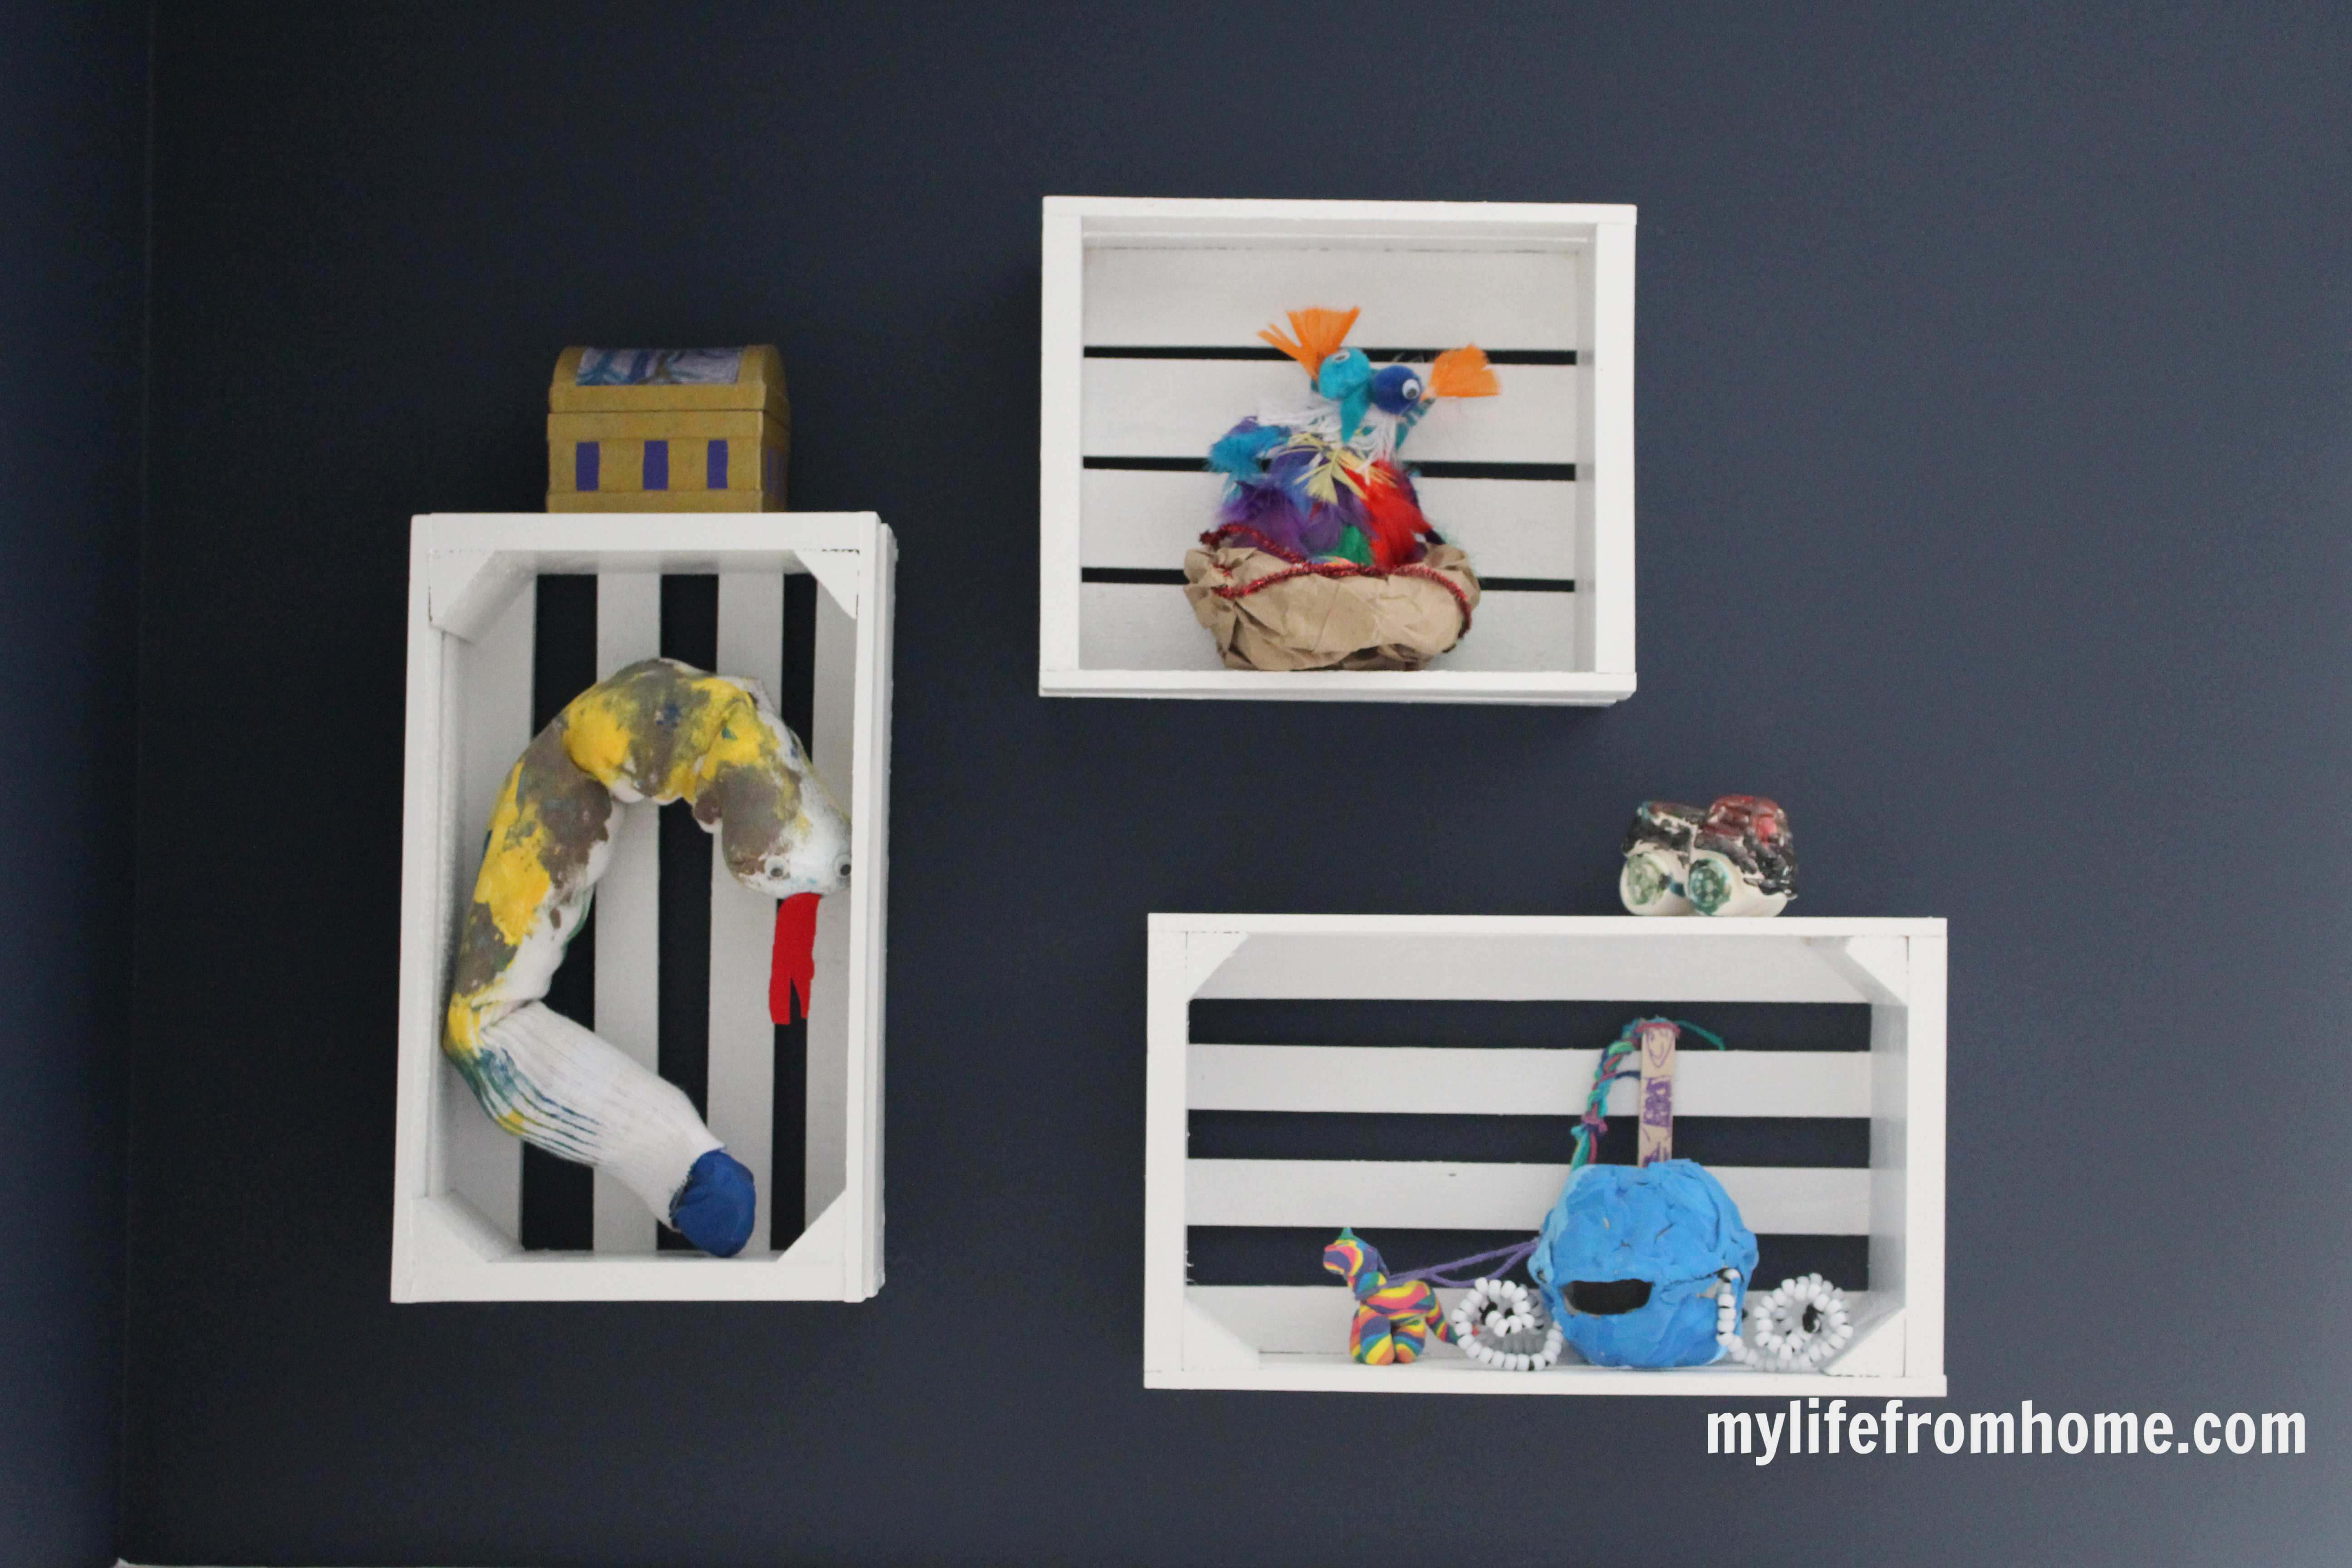
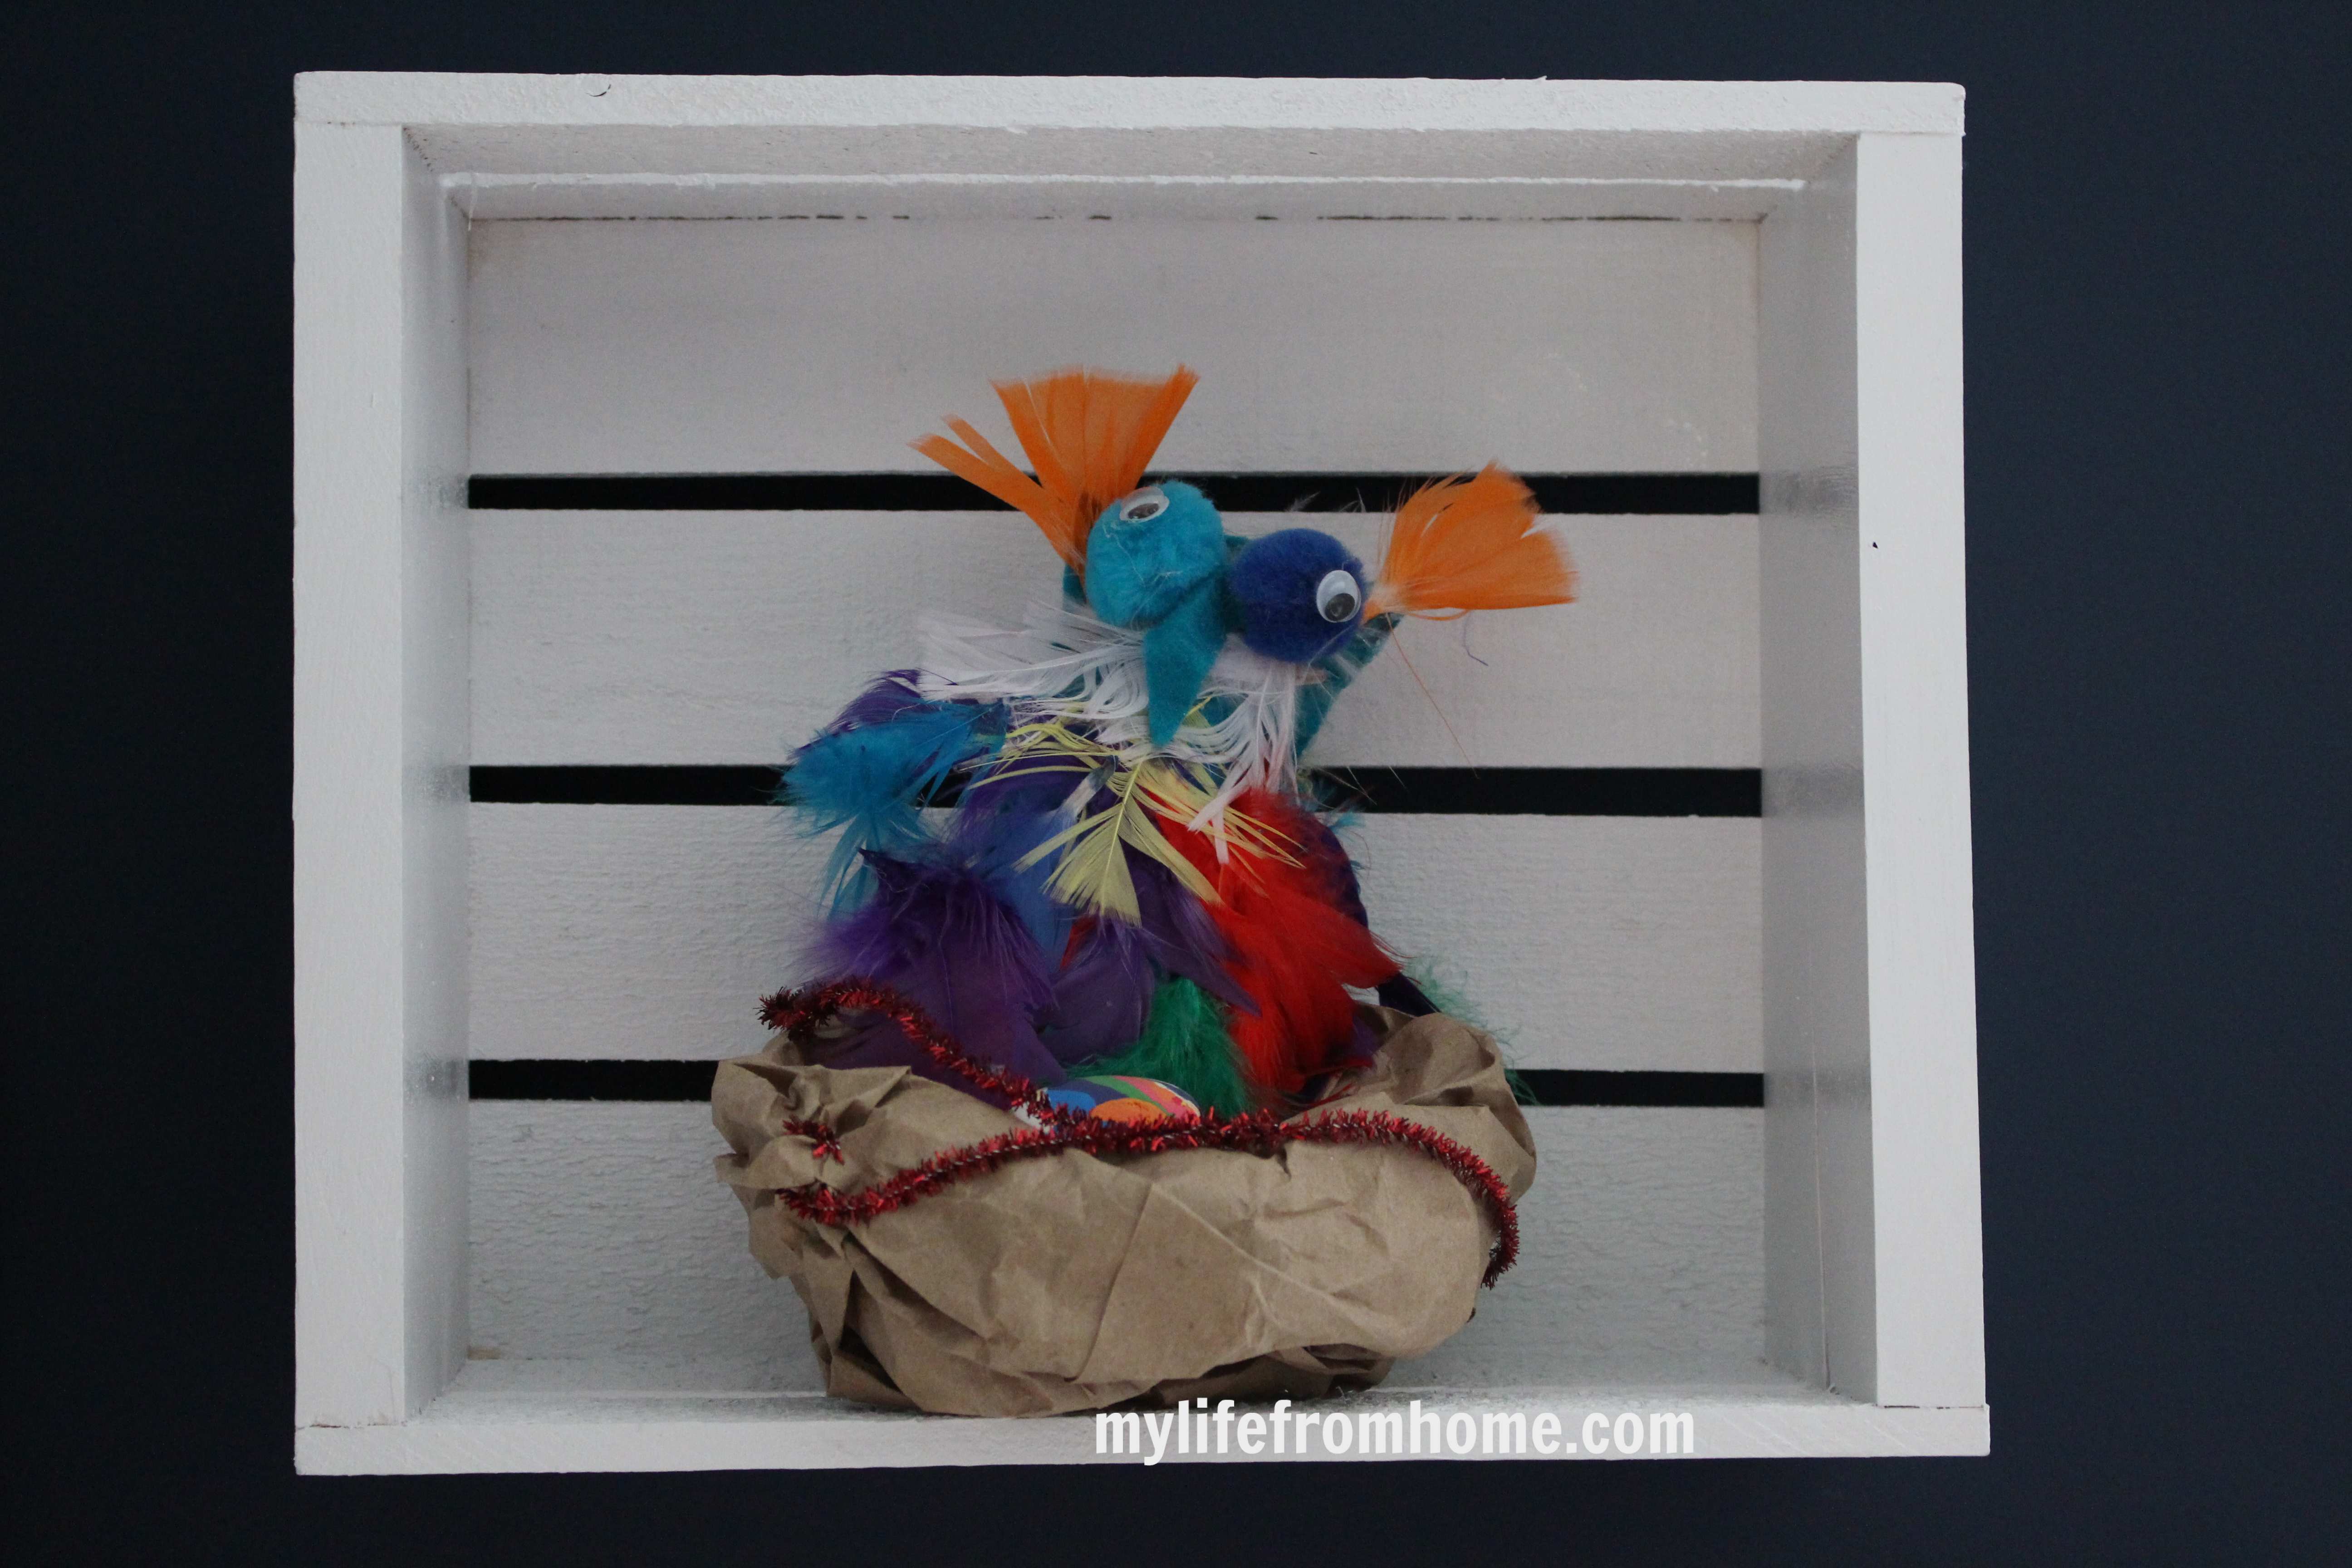
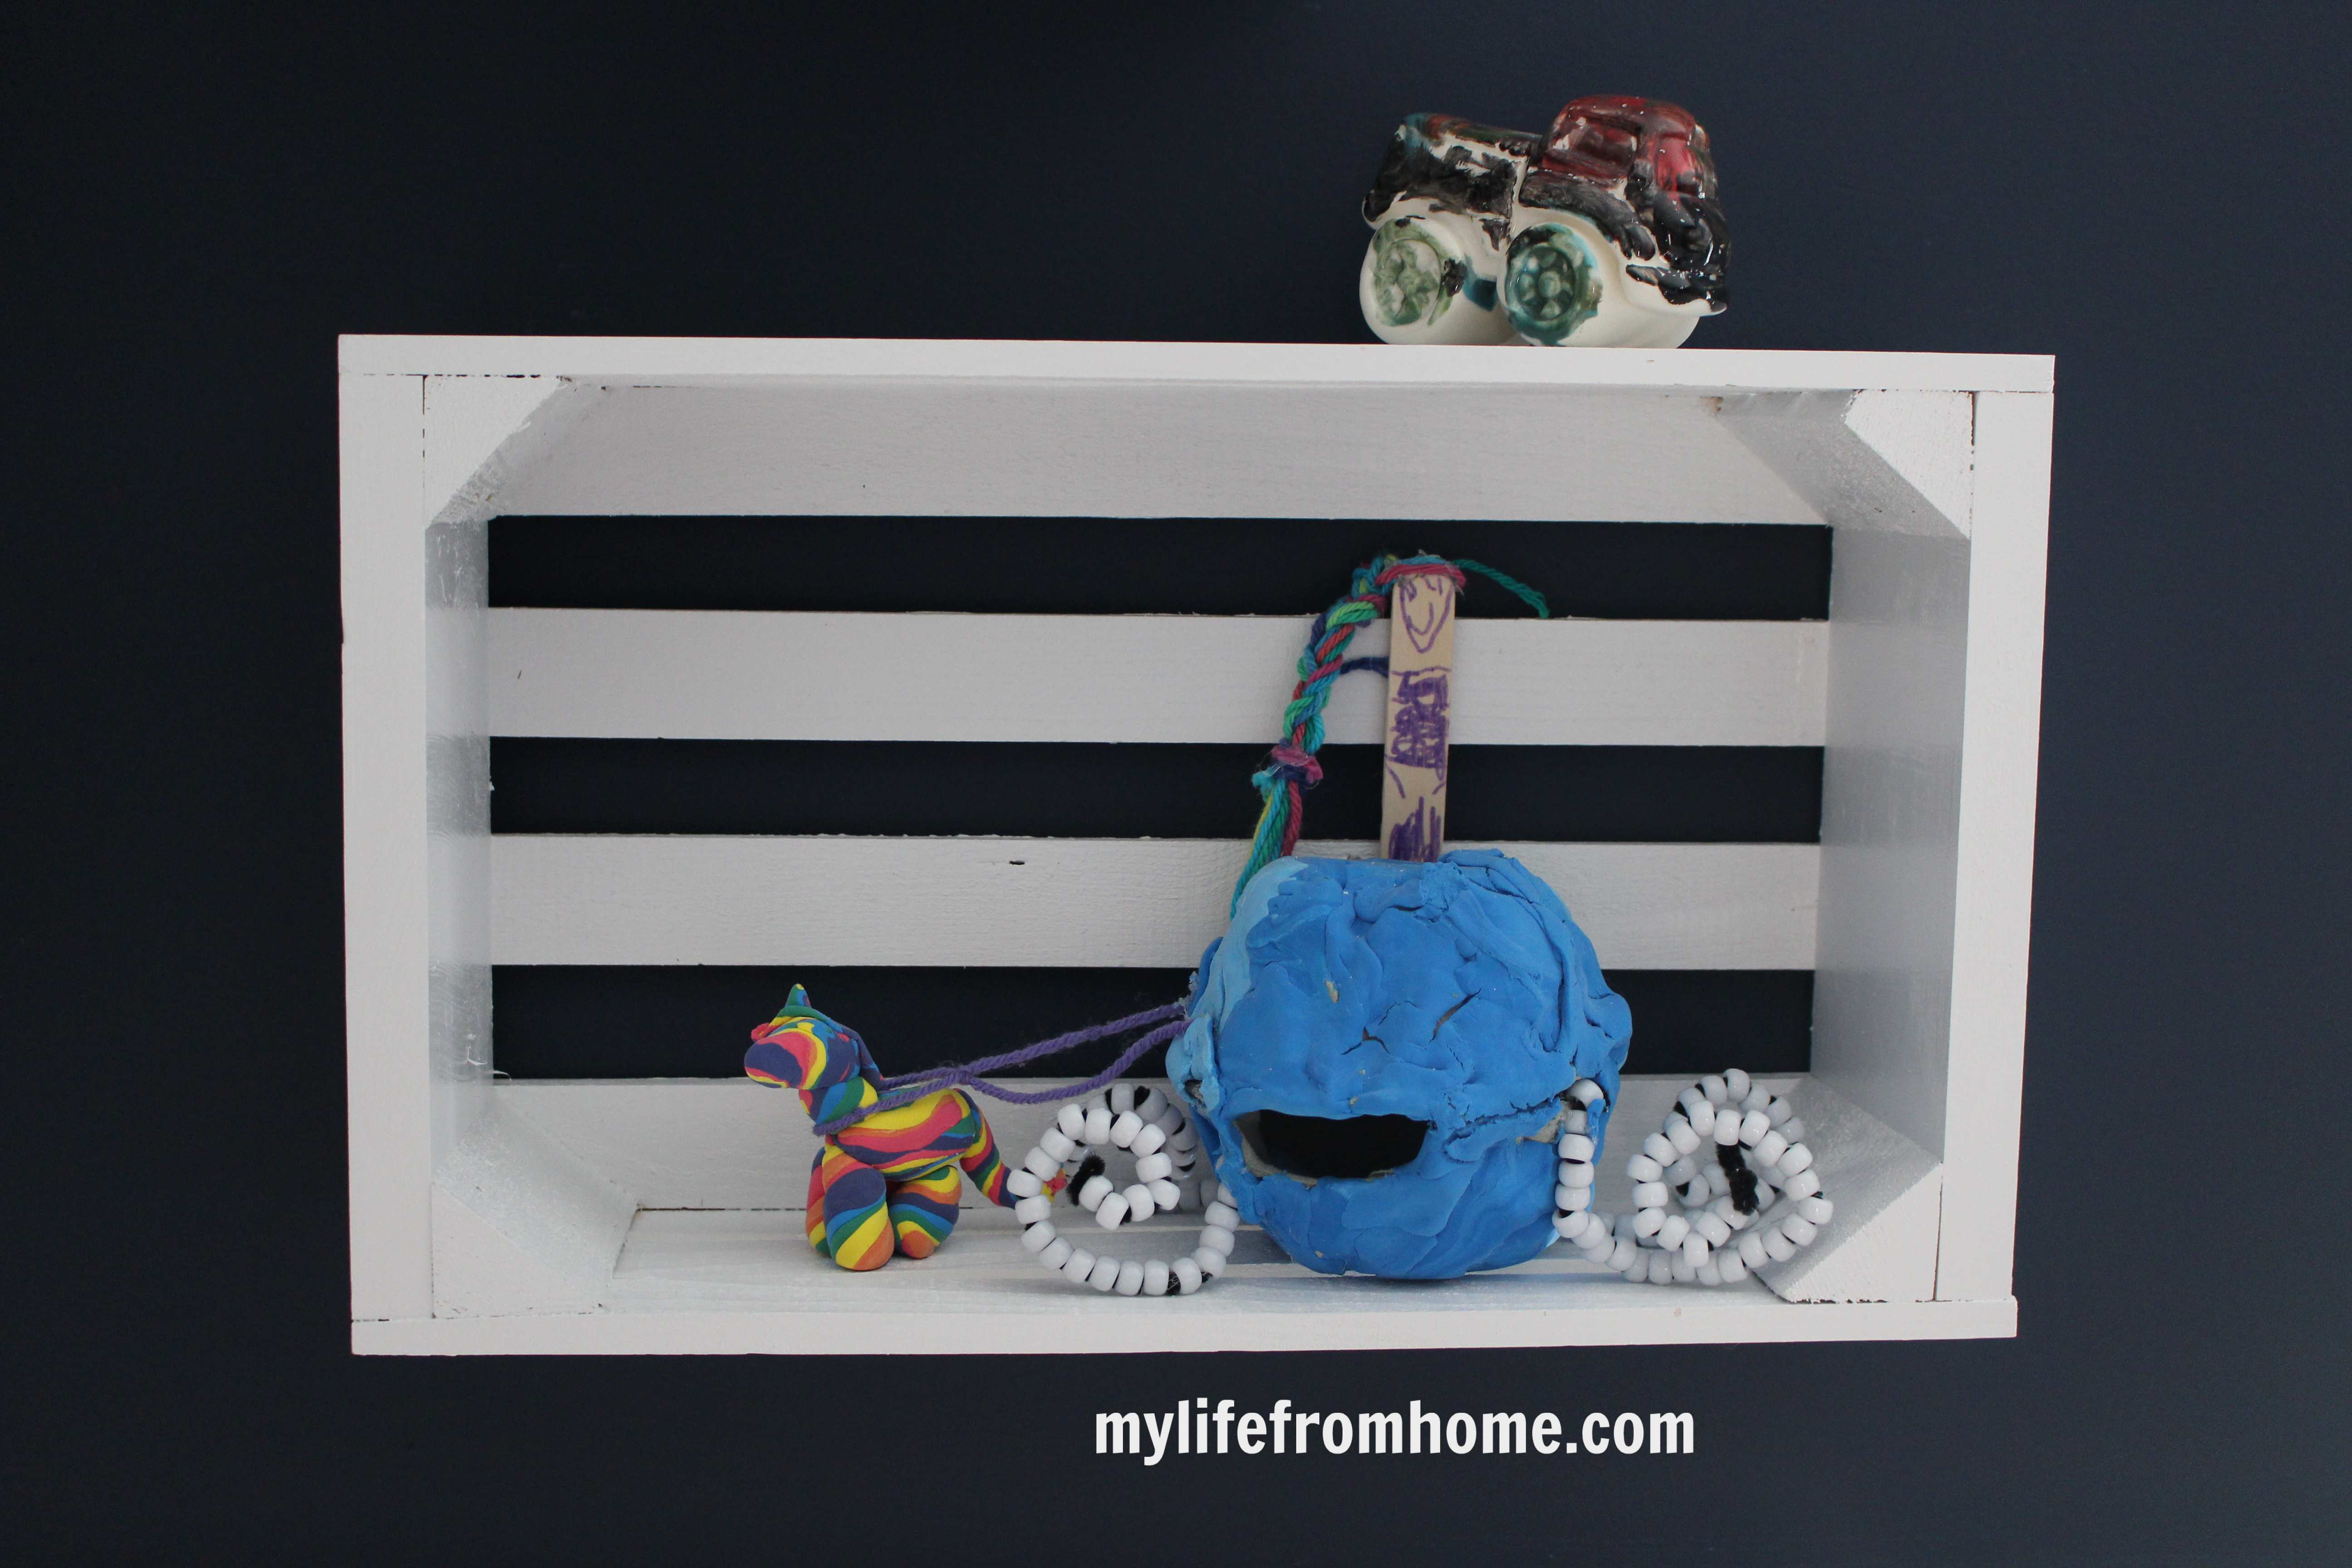
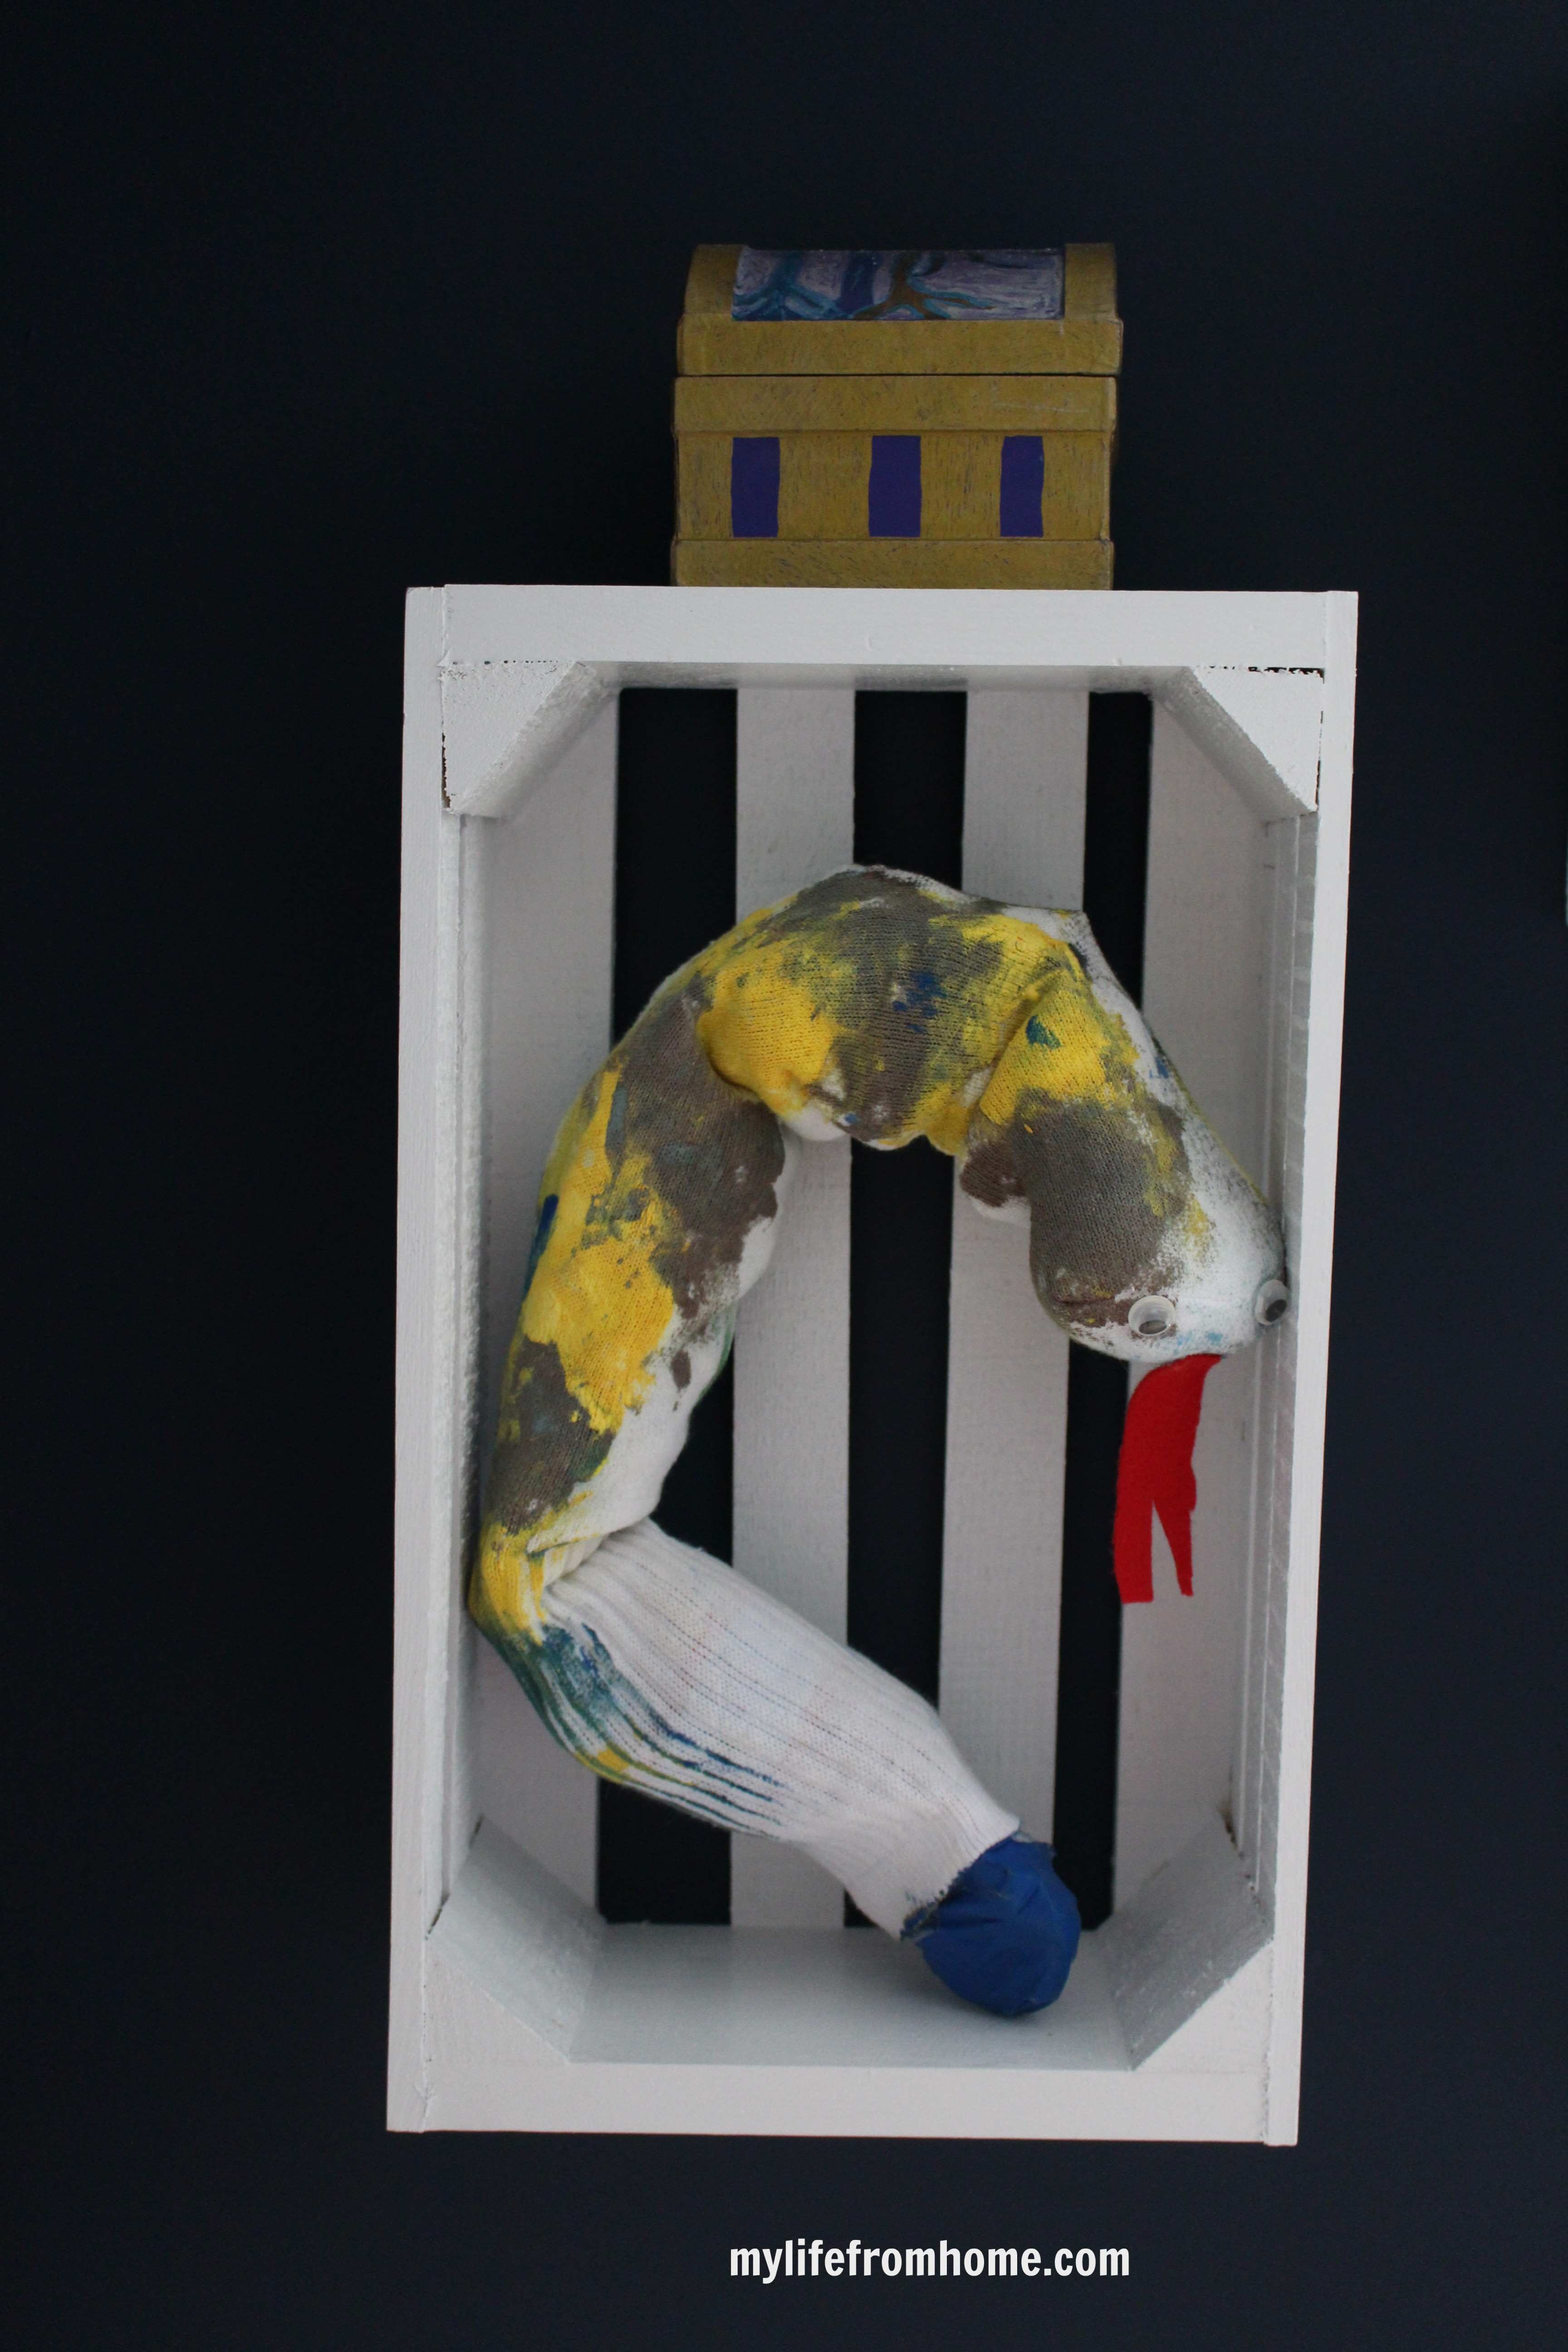
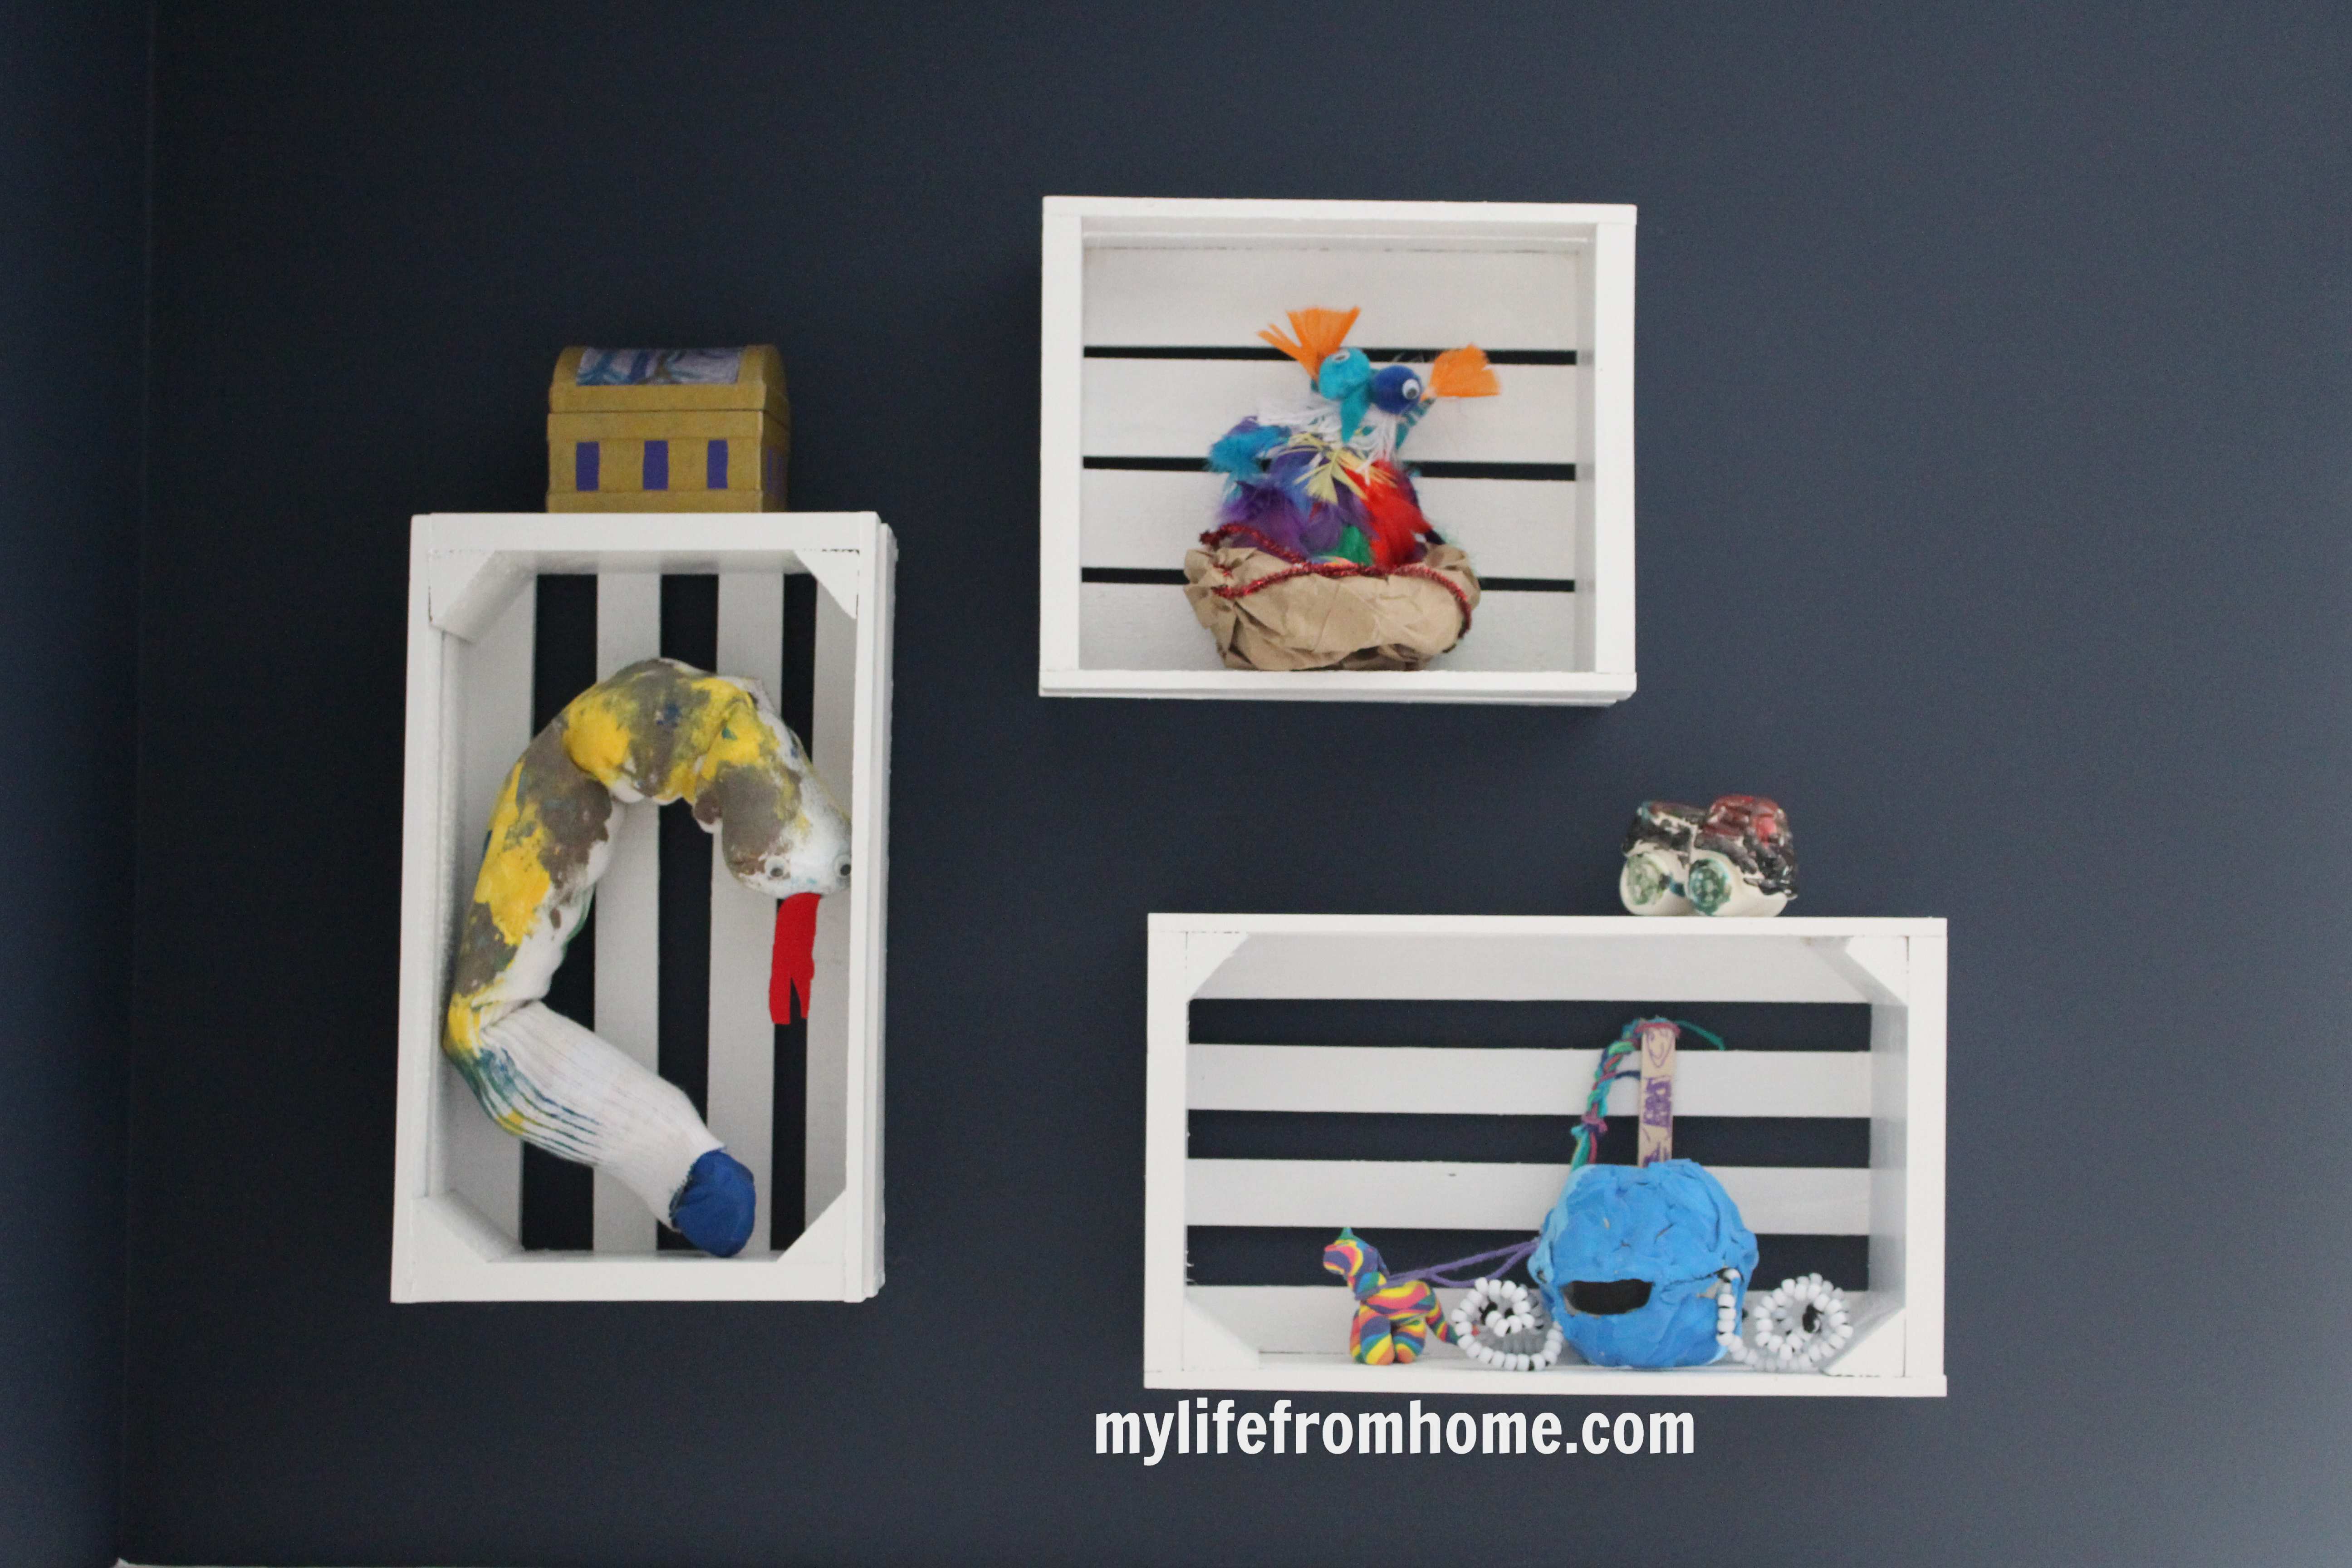
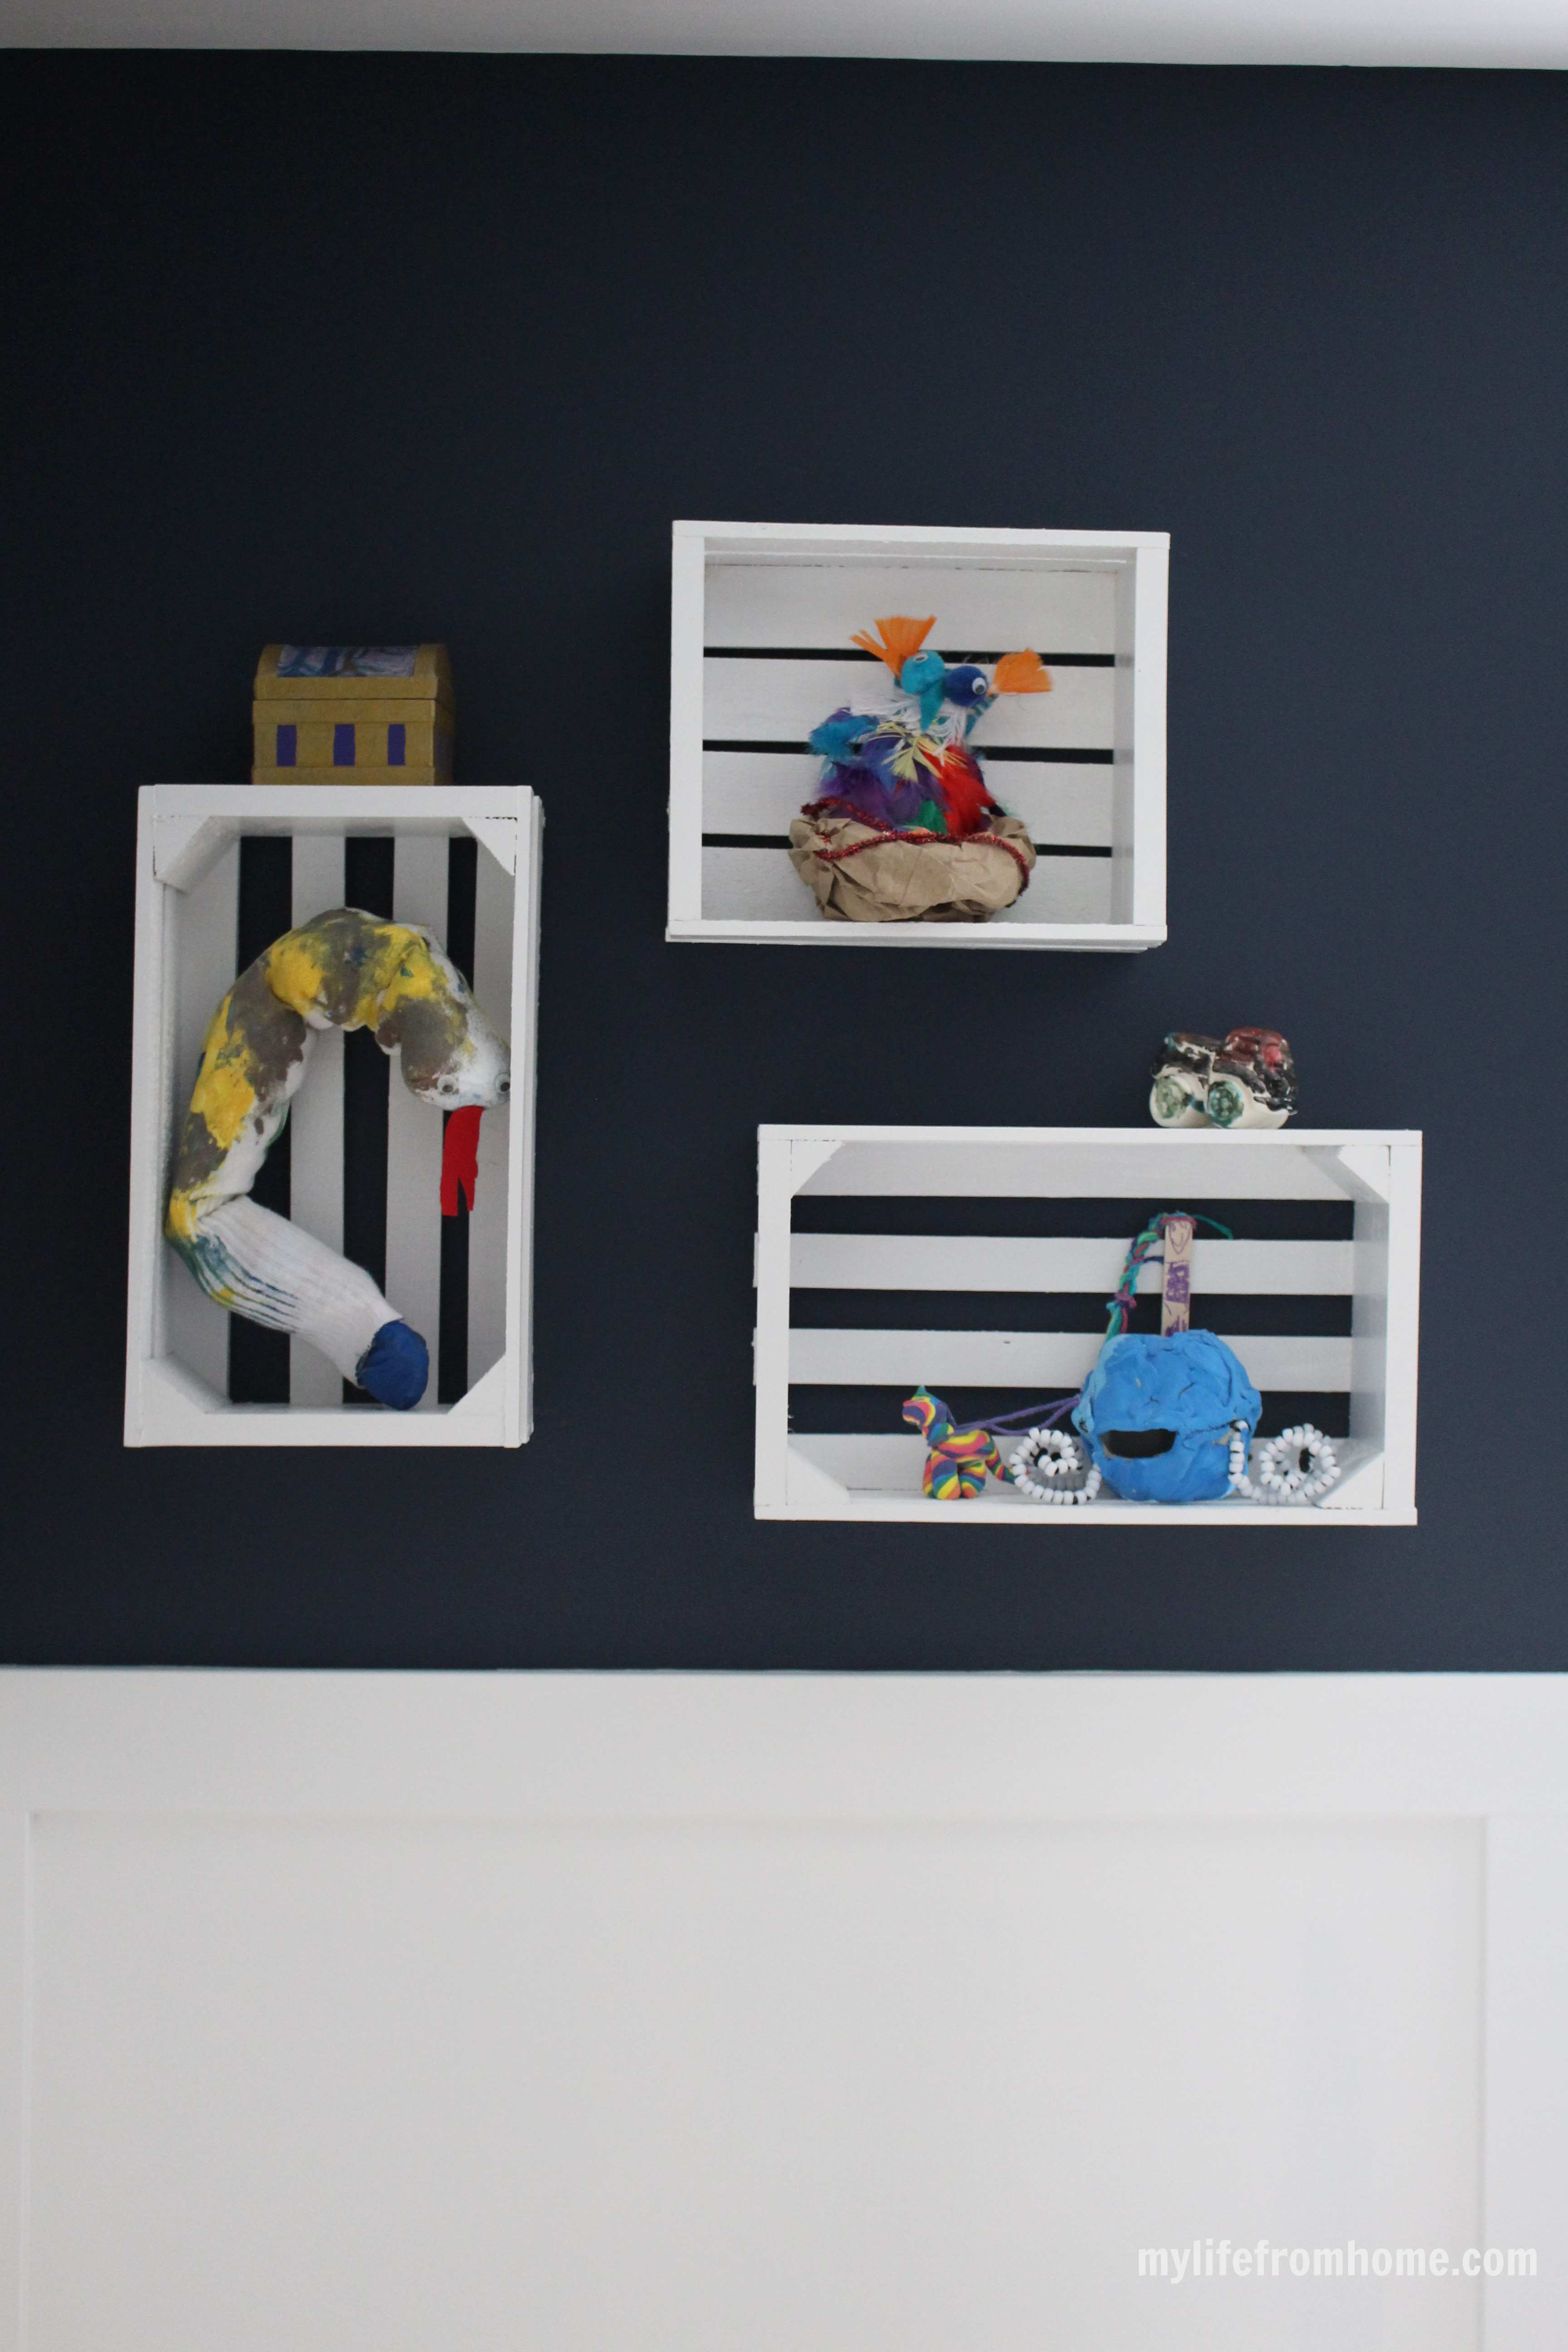
Today I’m featuring another project that I put together for my son’s bedroom. This is a part of a fun blog hop of Land of Nod Inspired projects. My son is the artist in our family and as such, he has little creations and creatures he’s built and painted all over his bedroom {and our home!} As I’ve been rethinking his space, I decided he needed a way to display his treasures like in an artists gallery. Since most are 3-D, it’s not as easy as putting his art in frames or lining them on a shelf.
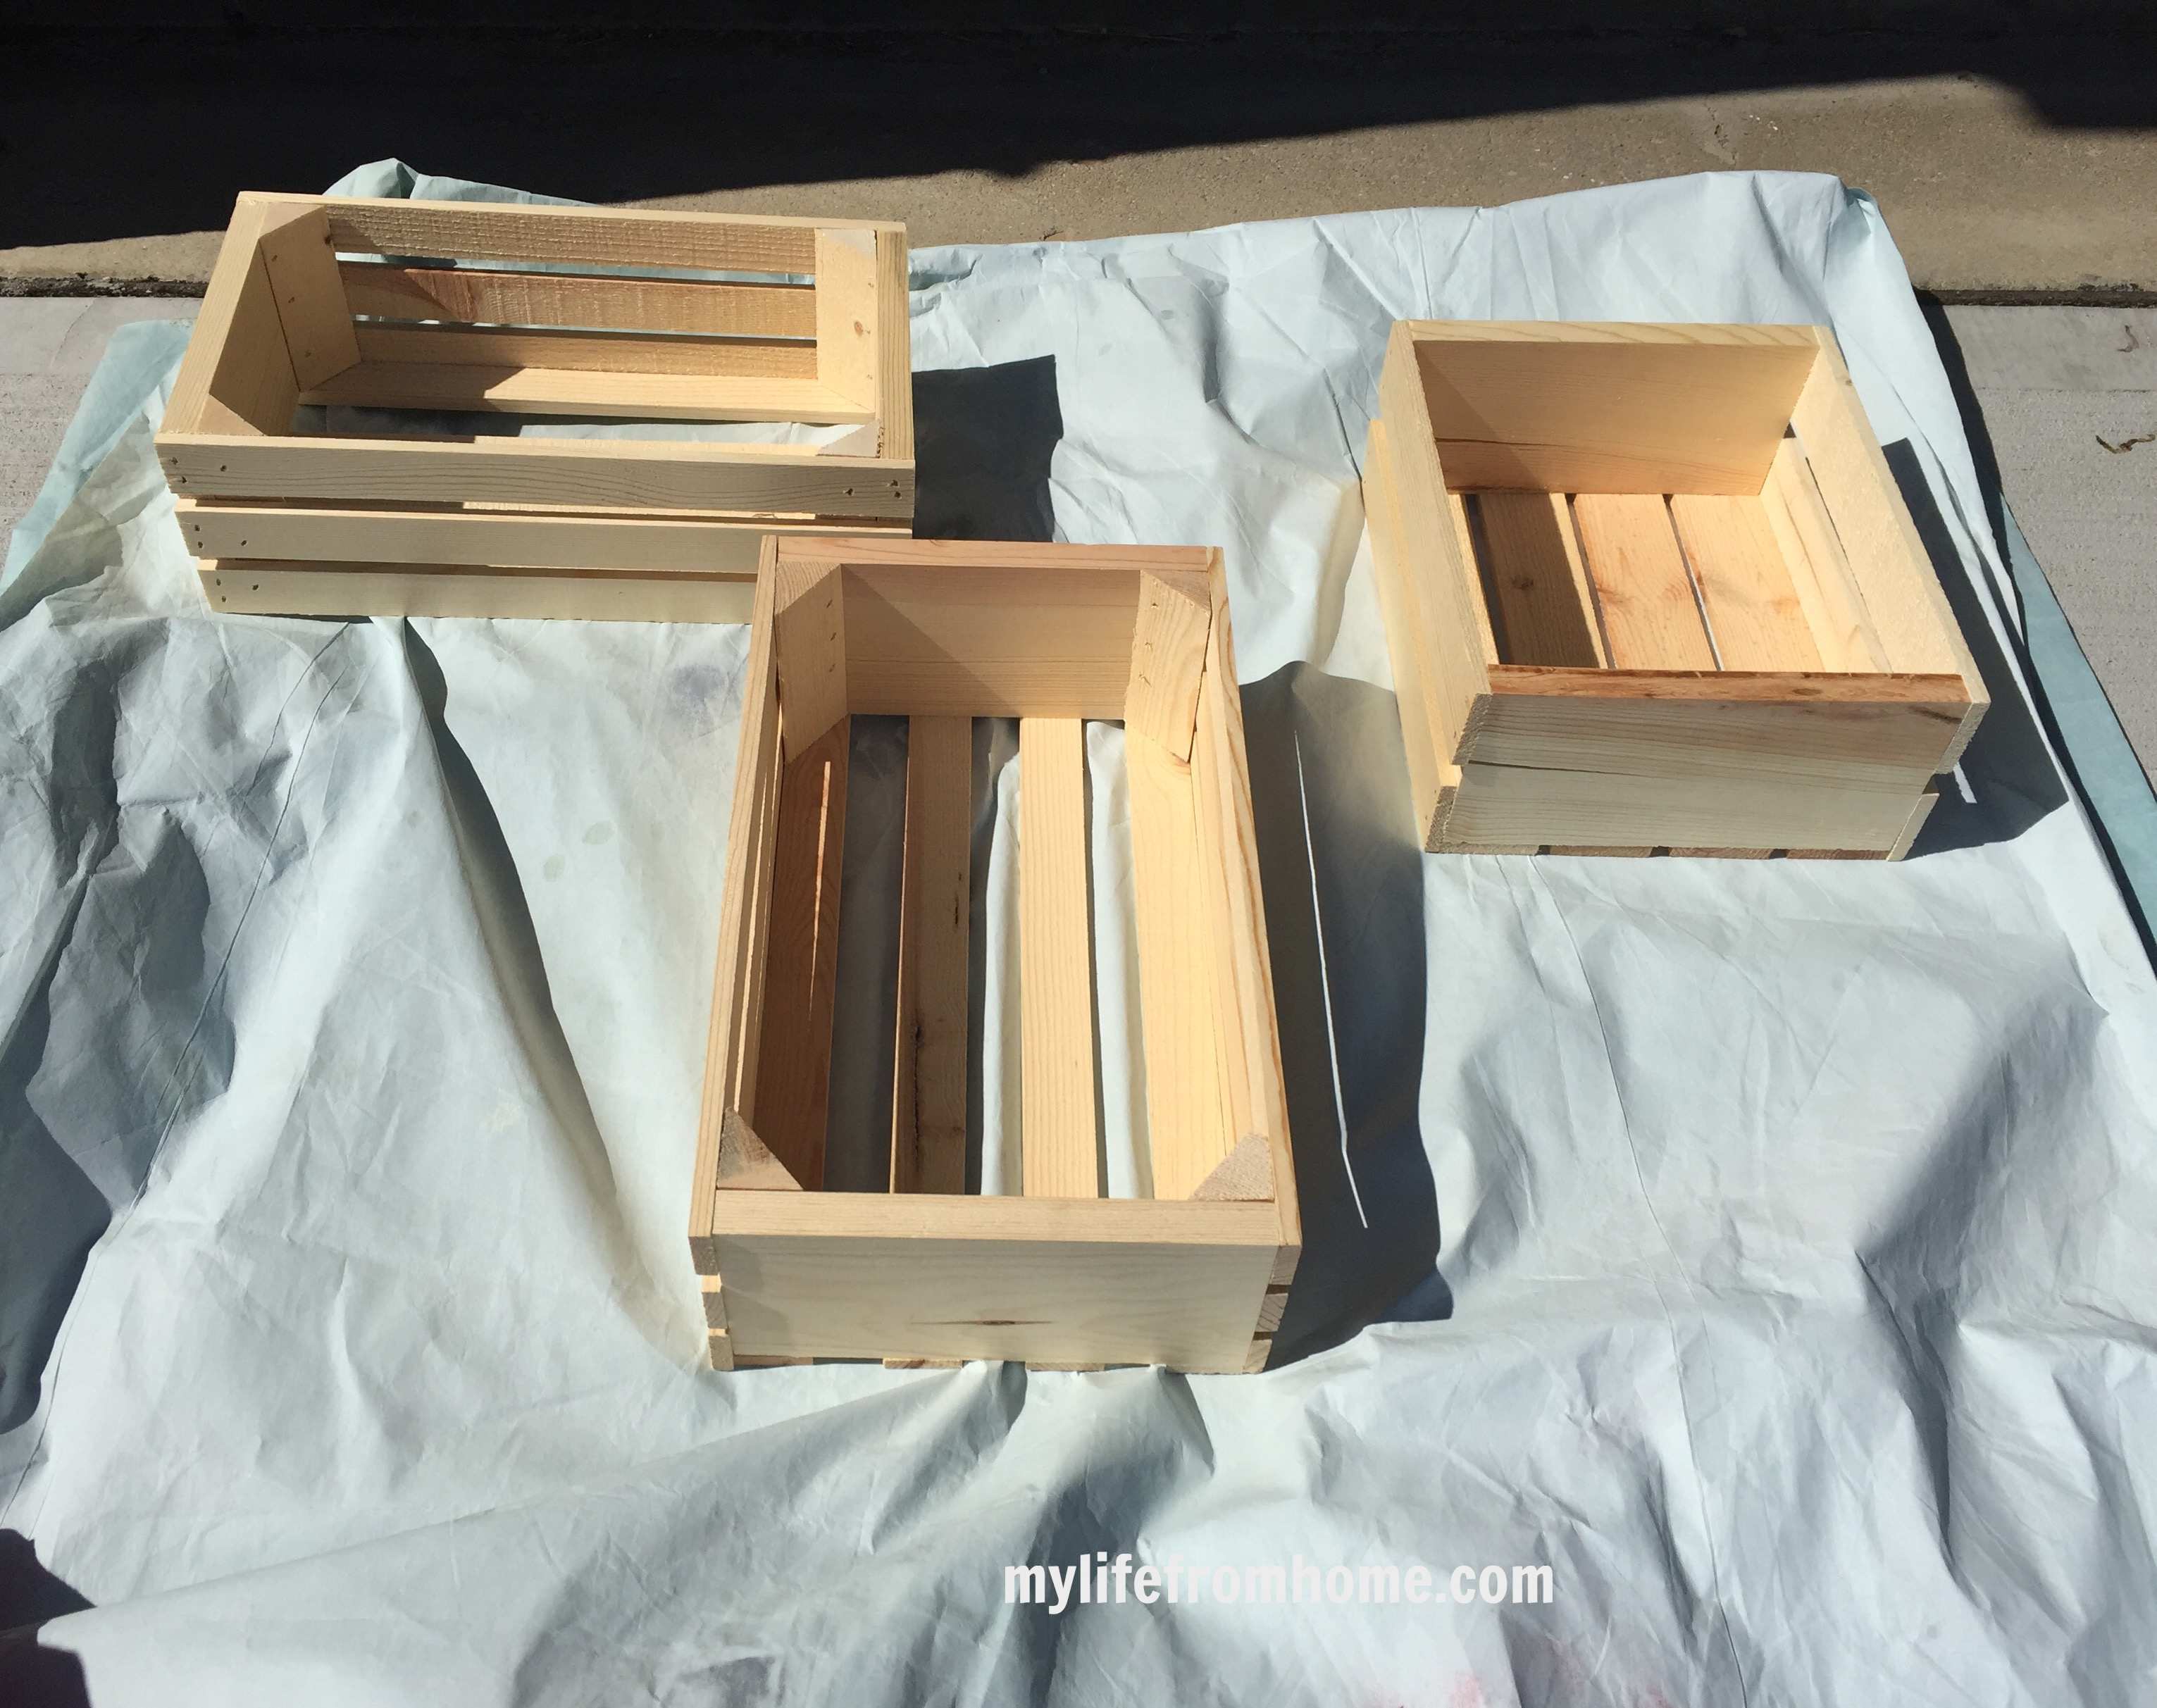
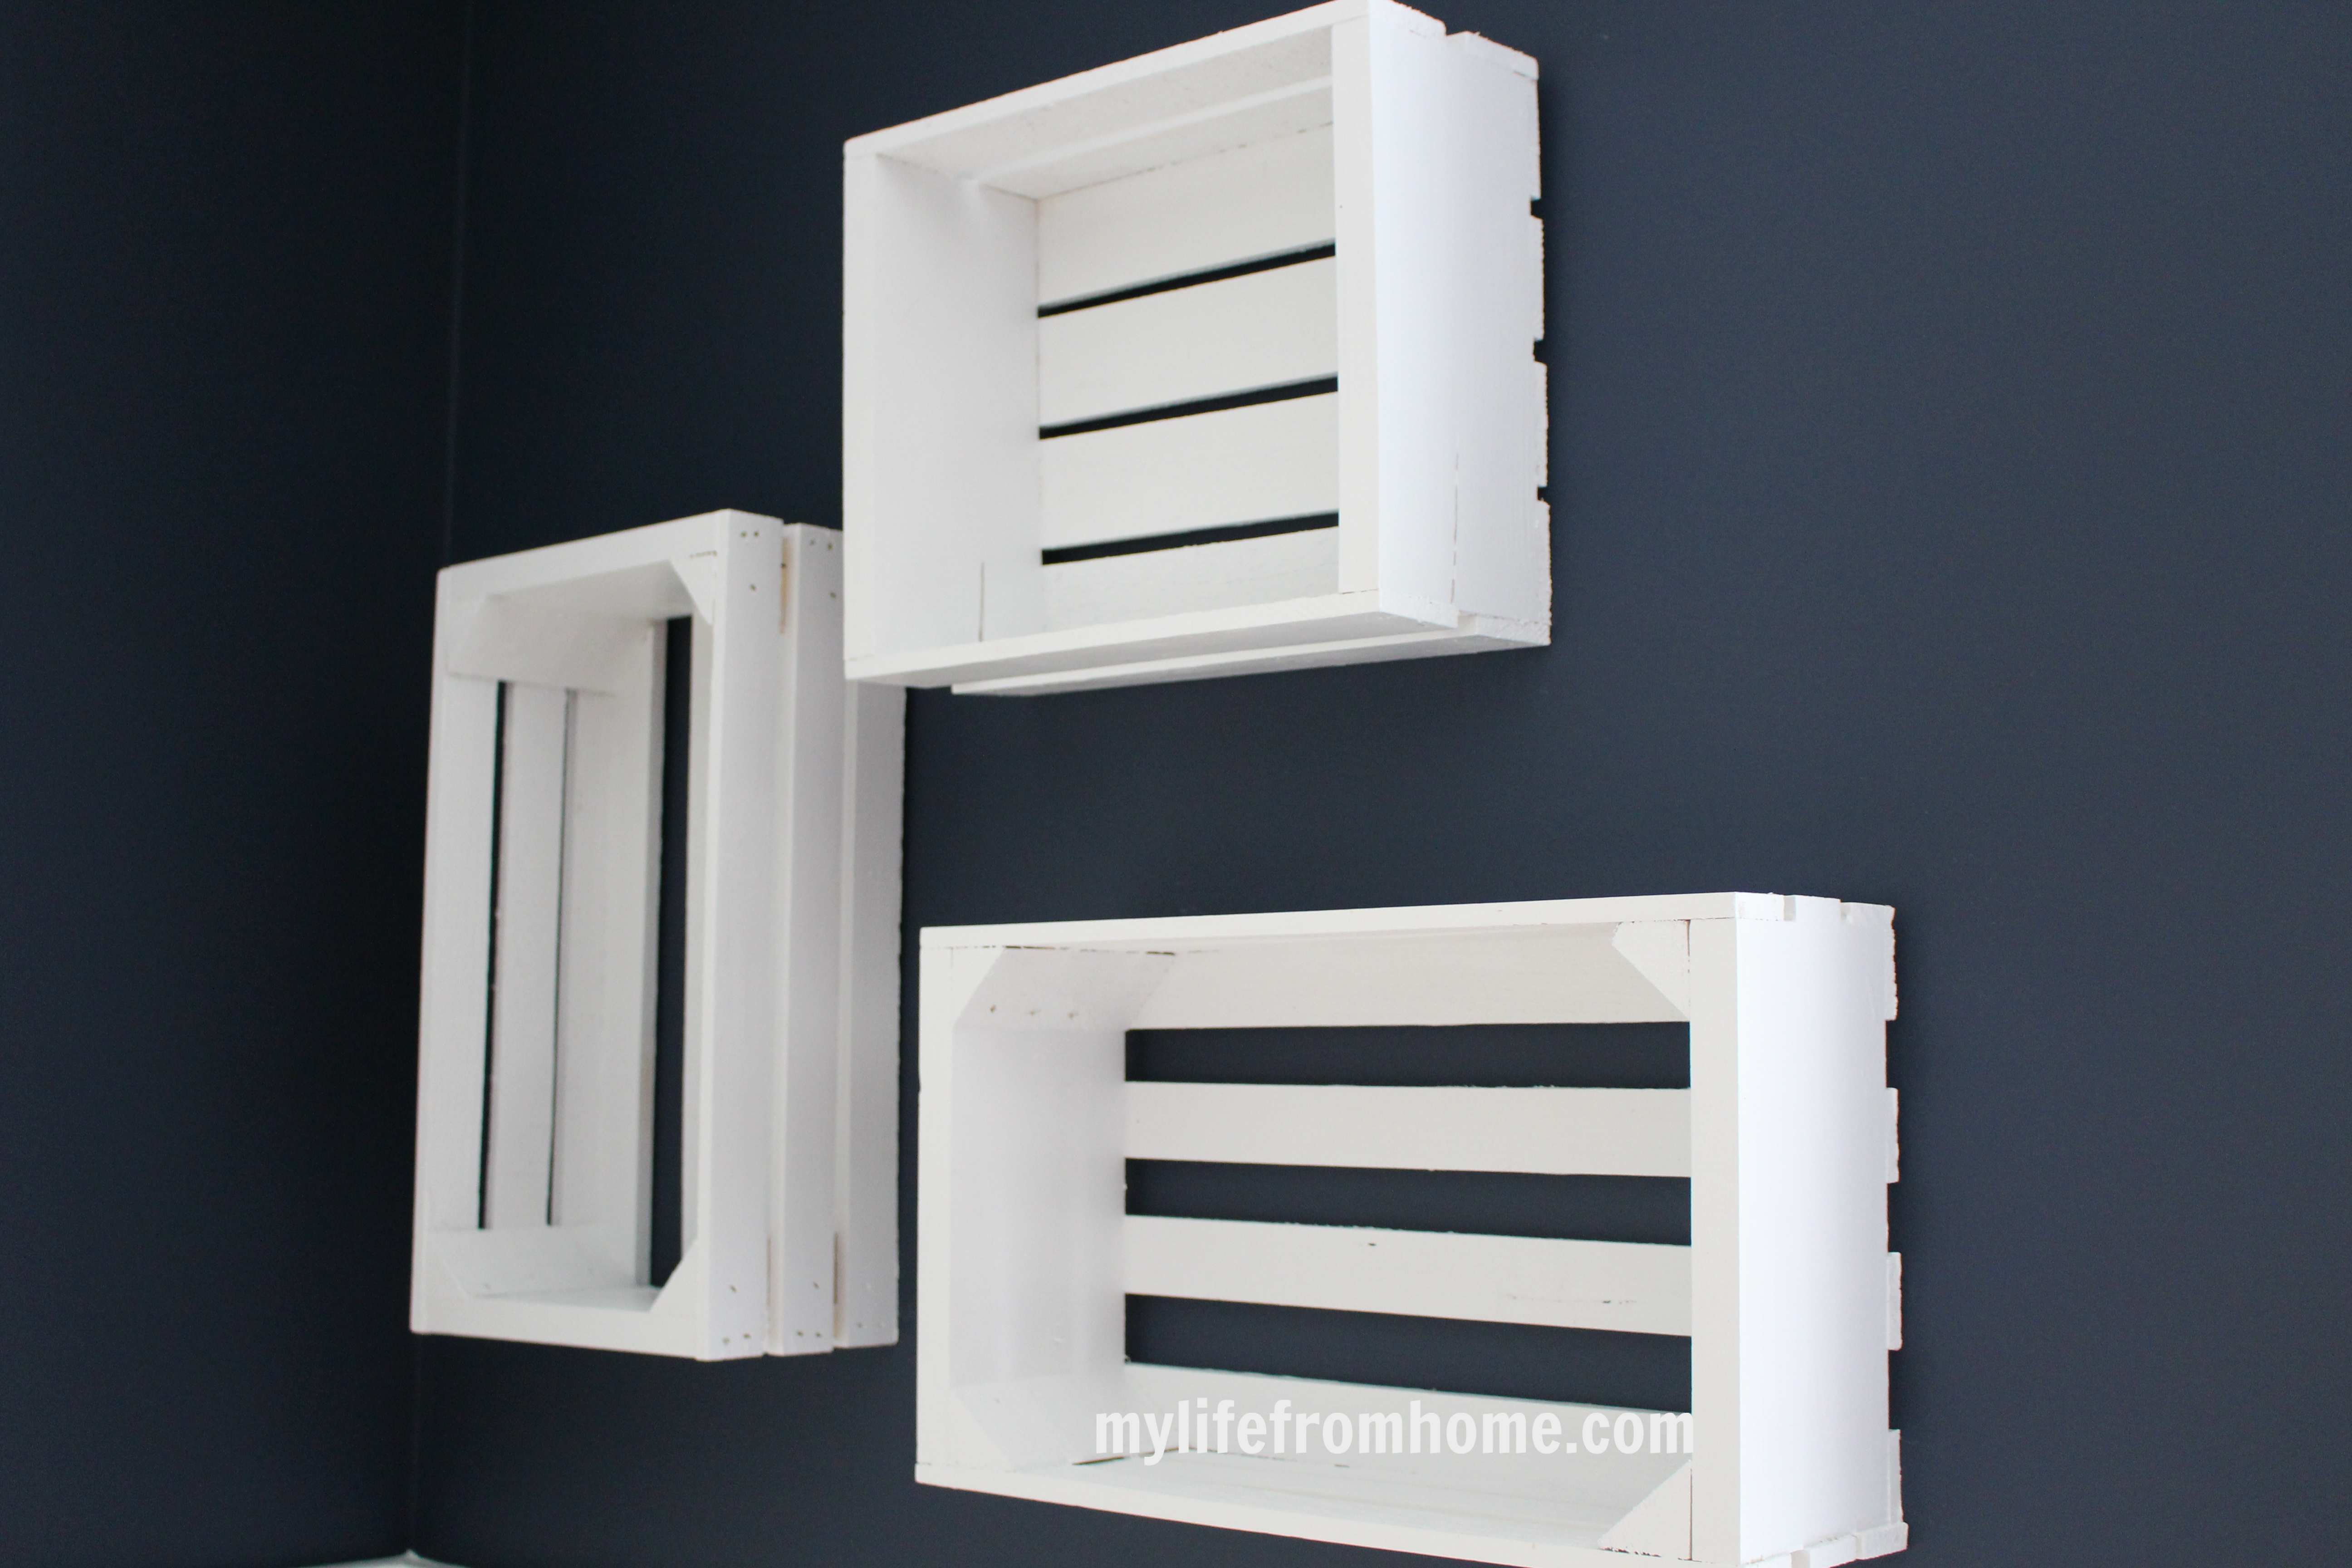
I really like the idea of having cubbies on the wall where he can make a movable display. Land of Nod has an awesome set of wall cubbies in bright, fun colors for $79 a piece. I used these as my inspiration jumping off point. My budget was in the $10 a piece range. With that in mind, I found several unfinished crates at Michaels which I thought would work perfectly for the display I was wanting and not cost nearly as much.
In order to keep the focus on his art, I decided to keep my shelves white, so his creations would pop.
DIY DISPLAY CUBBIES
This was almost too easy to even share, but sometimes a simple DIY makes the most impact. So here goes.
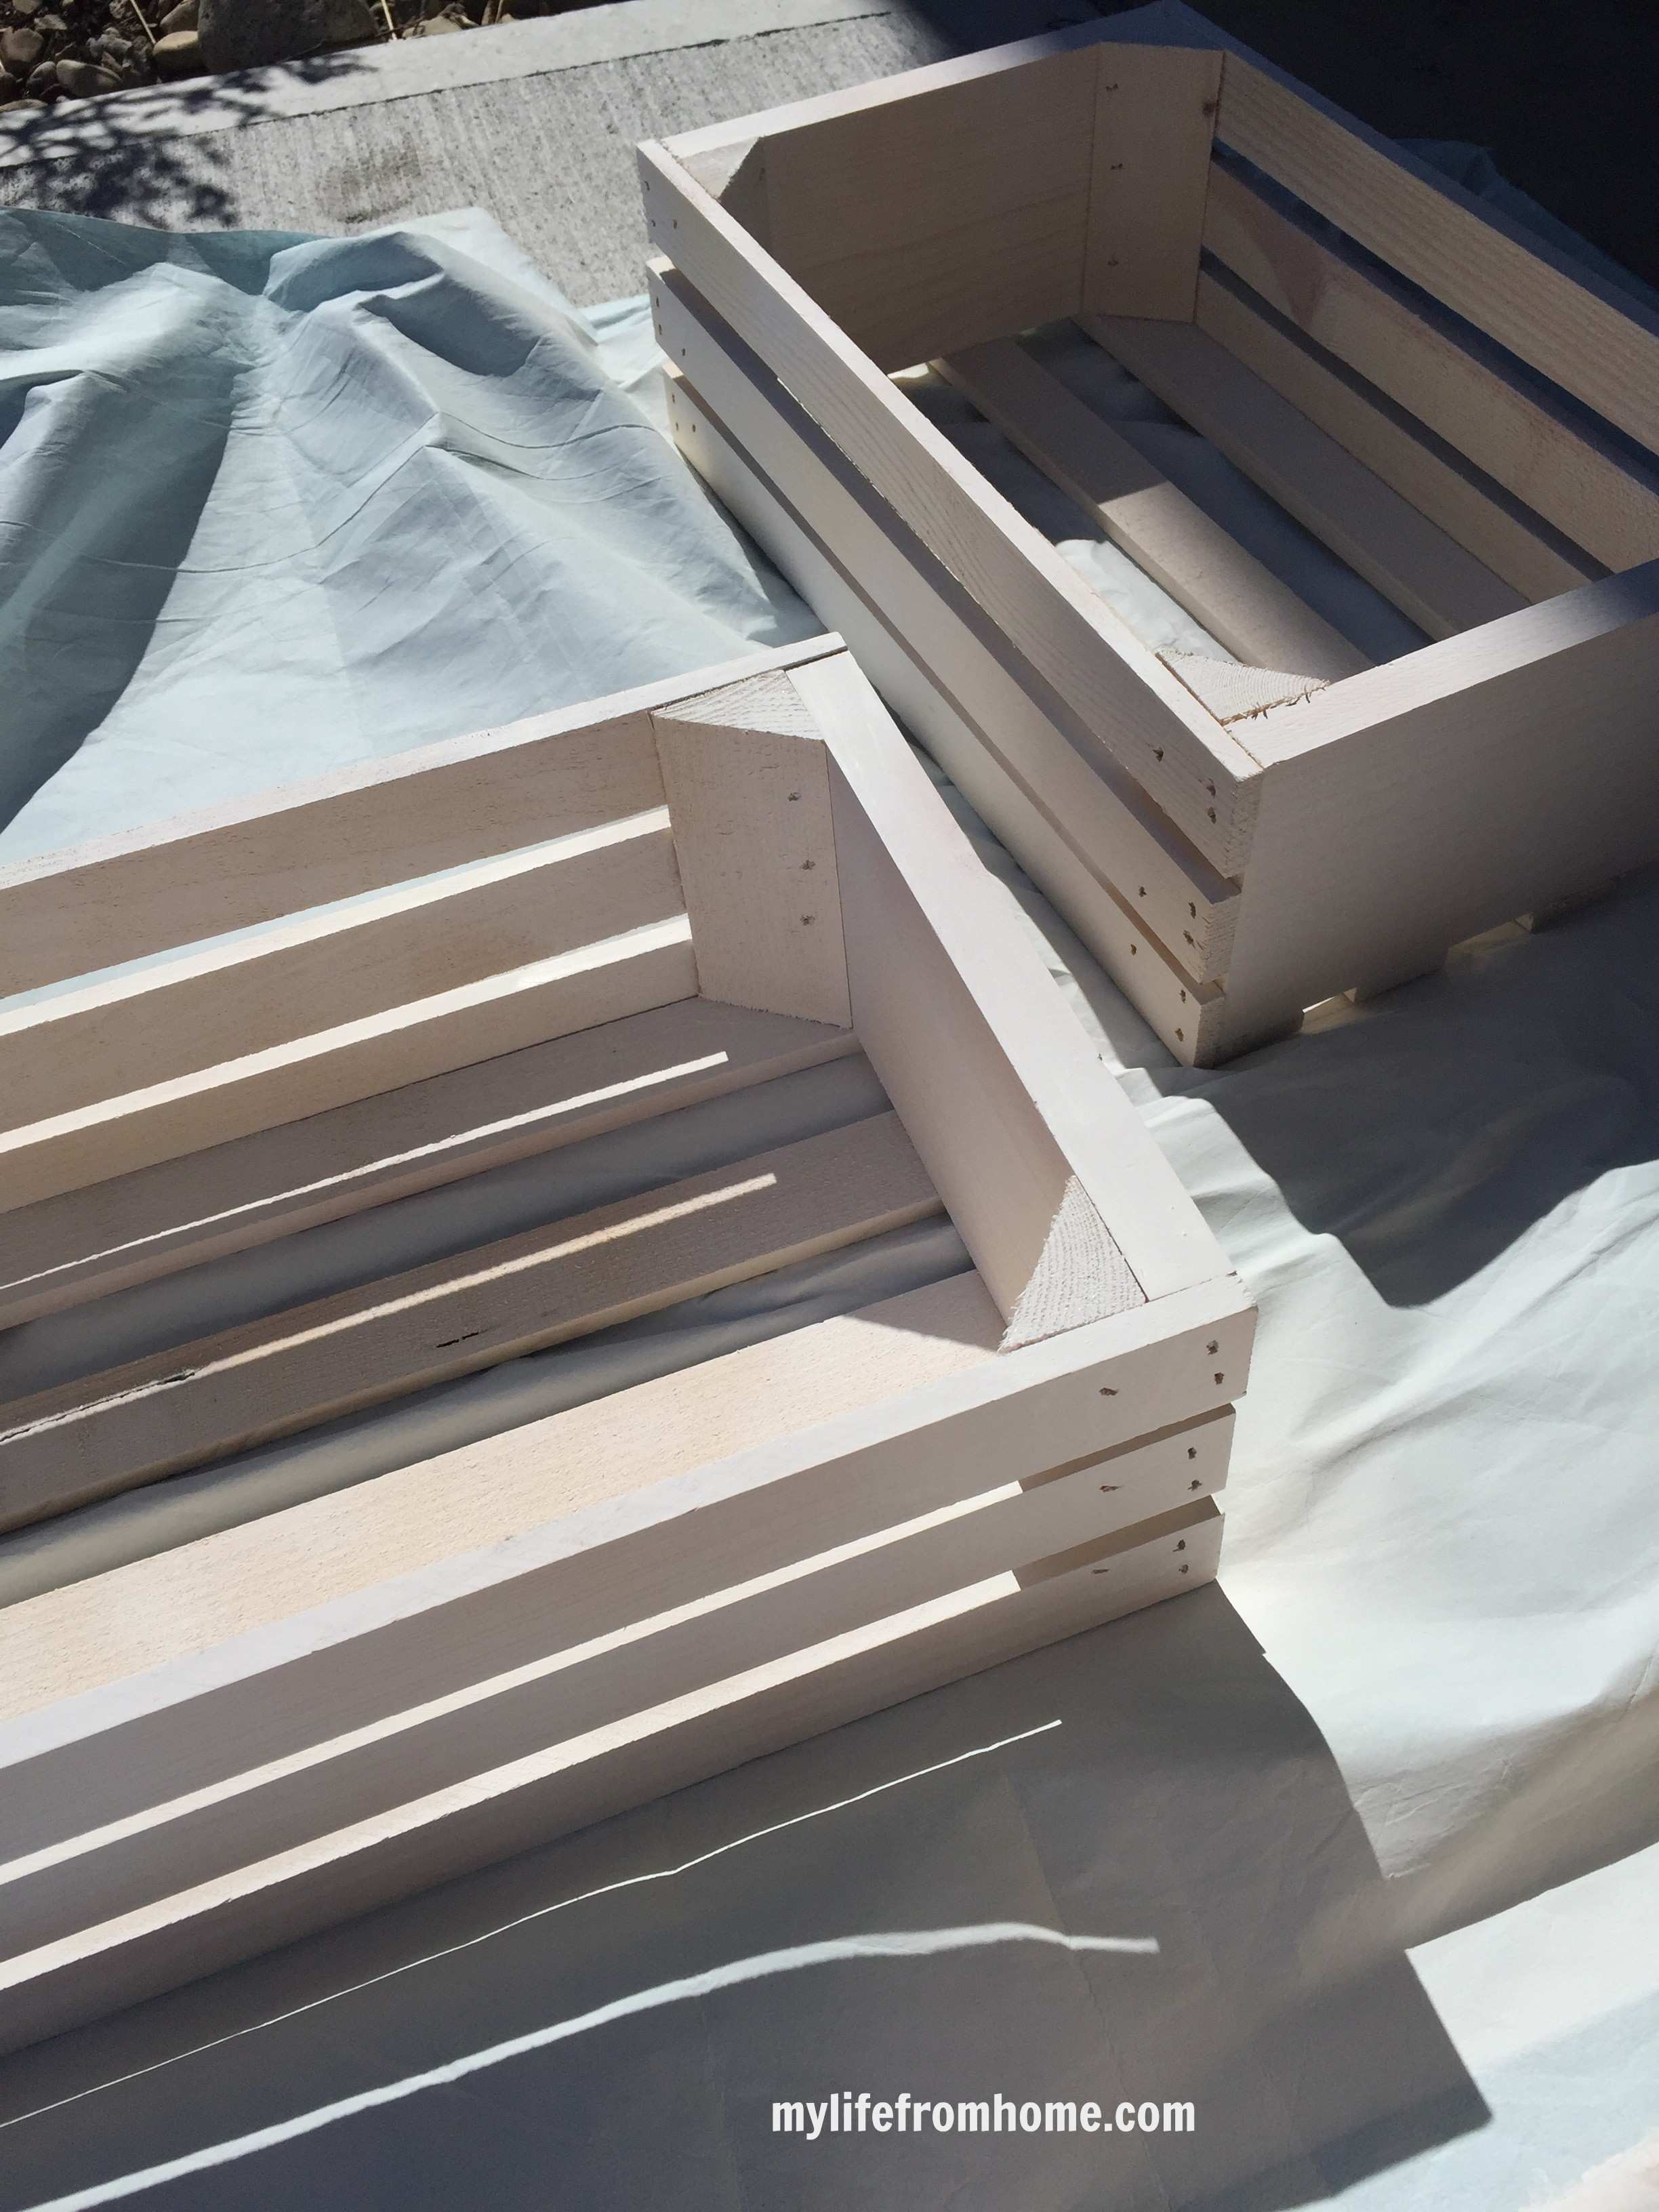
Step 1// I spray painted the crates with a white primer paint. You would not have to do this step, but it helps get the nooks and crannies which are harder to get your paint brush down in.
Step 2// I used white paint I already had from another project and painted them white. One coat was all they needed since I’d primed them.
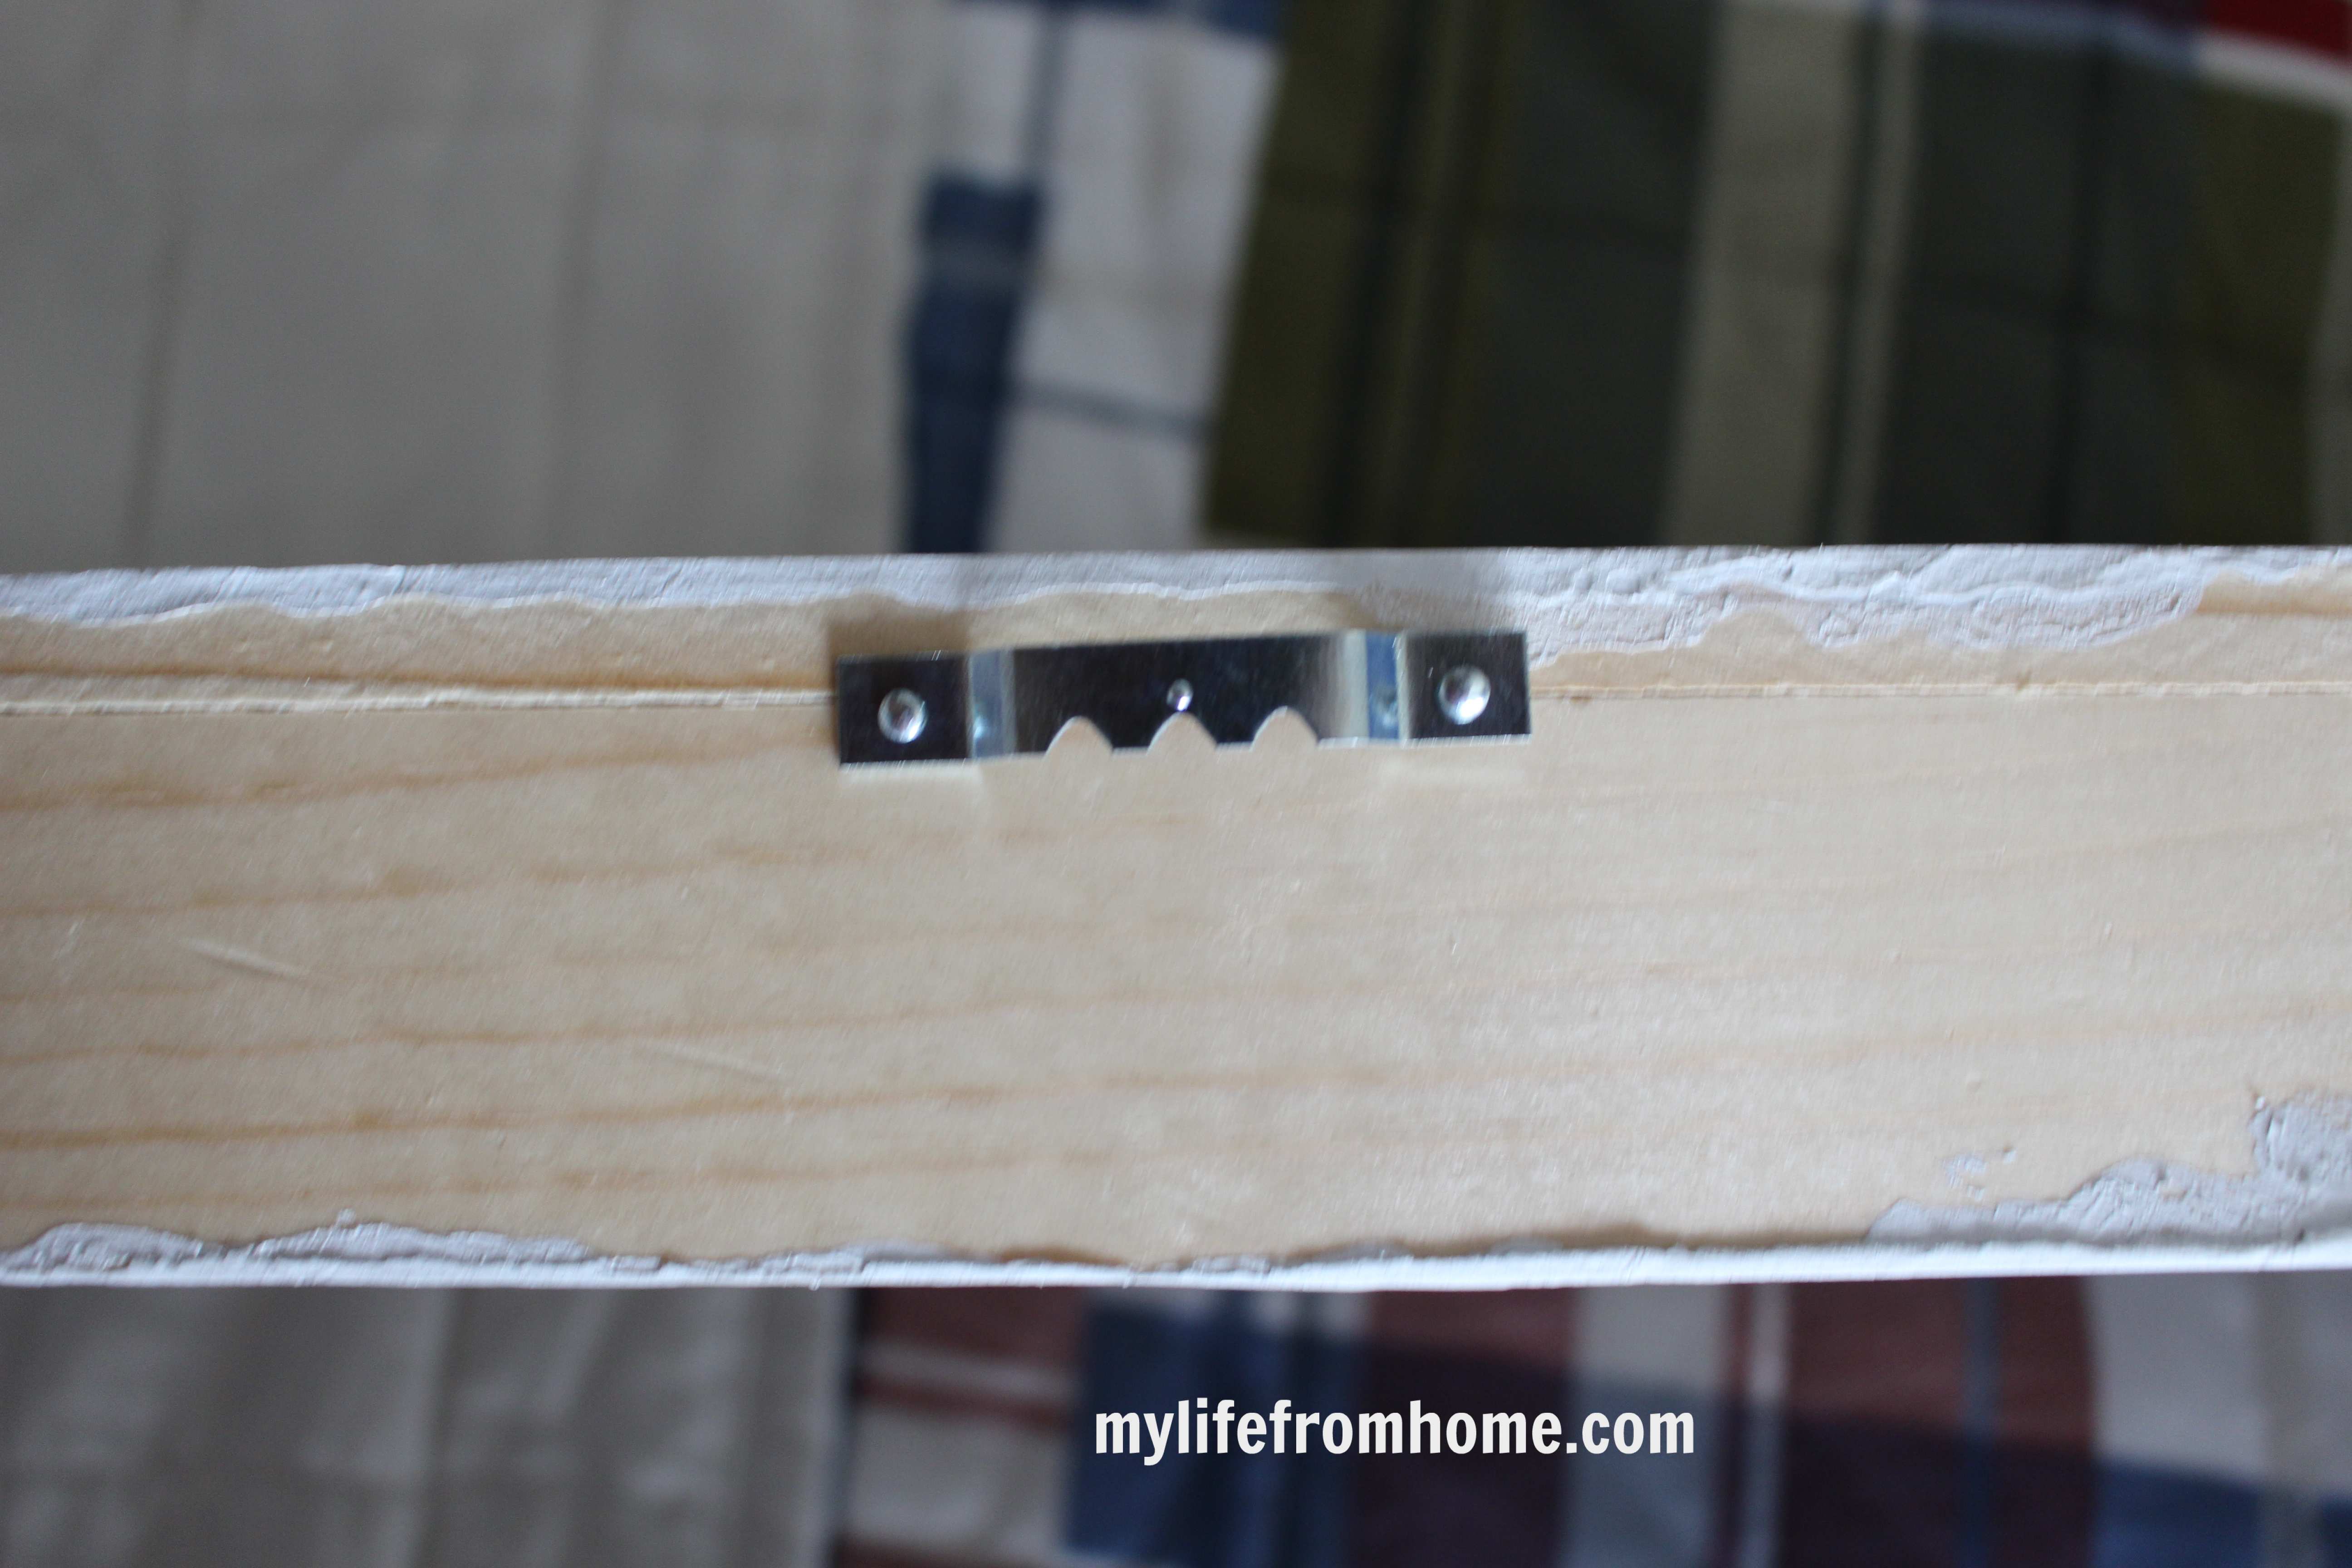
Step 3// I attached sawtooth hangers on the back of each. I’m not planning on anything super heavy so this worked perfectly. If you want heavier items, you may wish to screw them into a stud.
Step 4// Hang!
Do you want to make this project yourself? Here are the products you need to get started.
{This page contains affiliate links, see full disclosure here.}
Artminds half crate, Artminds Wood Crate, Medium
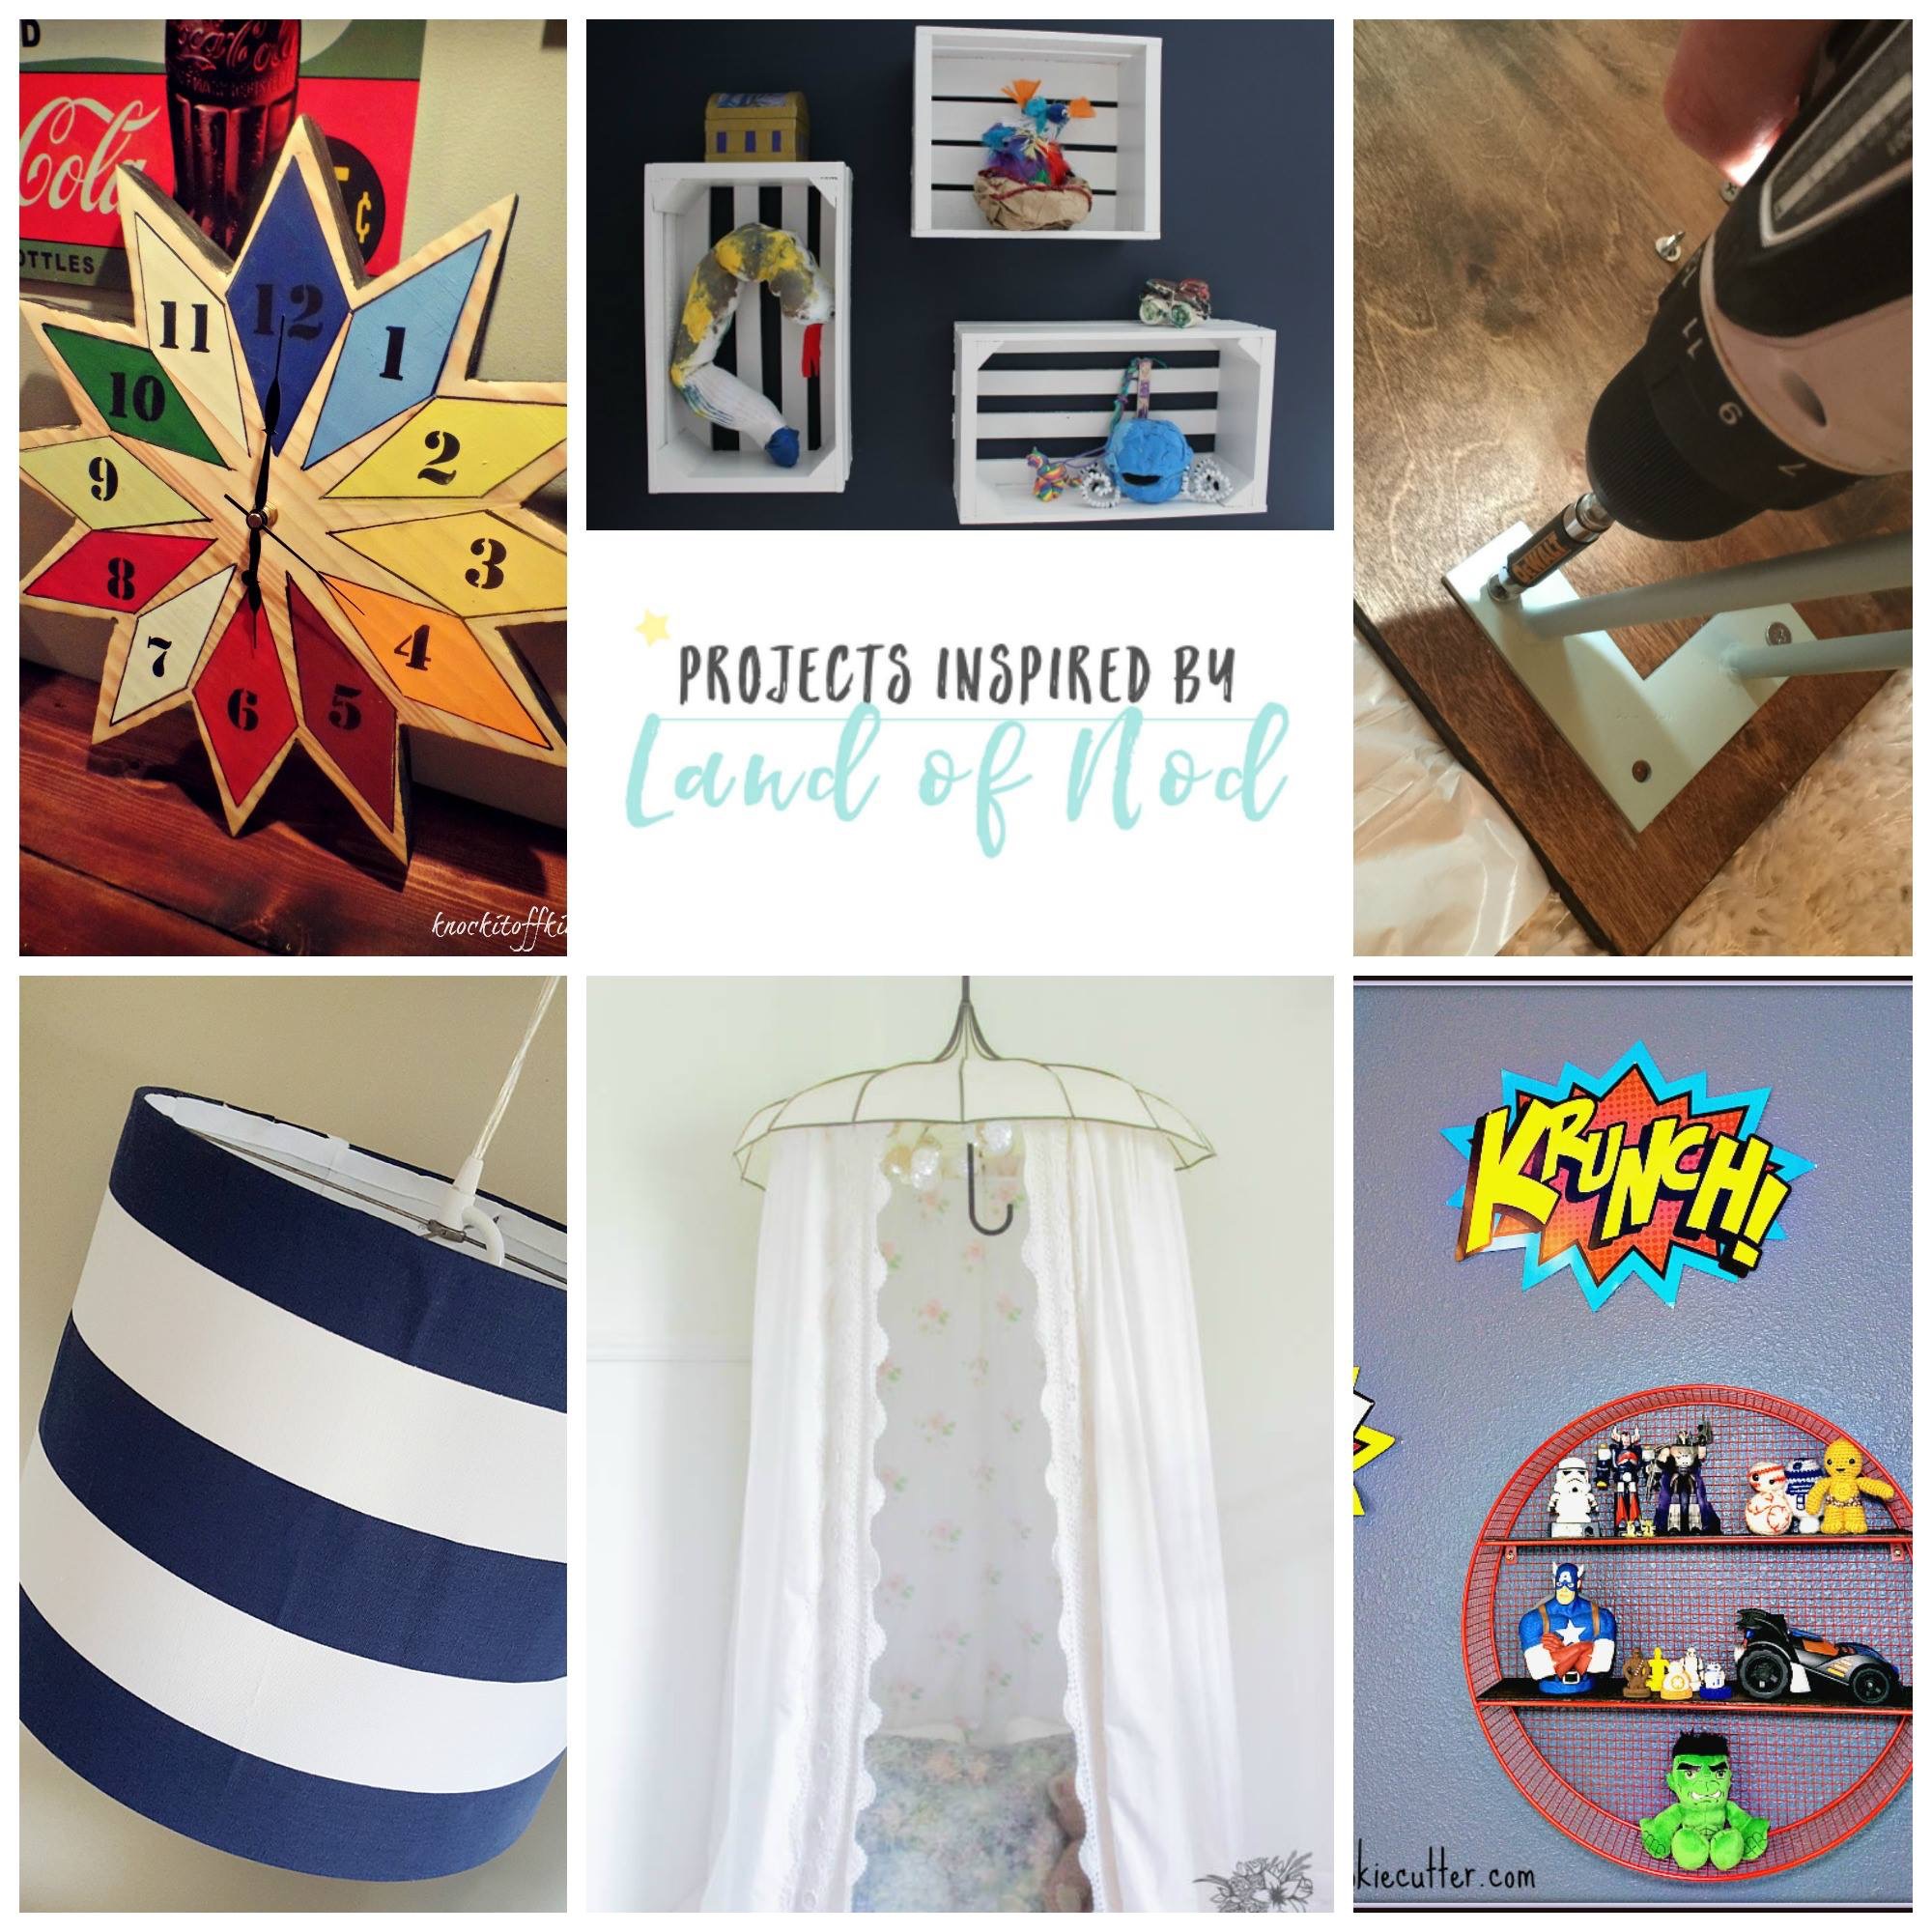
Want to see what other fabulous projects my other blogger friends came up with?
Hobnail House – Designer Inspired DIY Lighting
Uncookie Cutter – Simple Toy Shelf Upgrade
Pocketful of Posies – Rainy Day in Paris Play Tent
Pig + Rabbit – Easy DIY Kid’s Table
Knock It Off Kim – Monochromatic Wall Clock
My Life From Home – DIY Wall Cubbies
To life feeling like home!
XO,
Leave a Reply
If you like the sort of recommendation that still holds up six months later, leave your email below and I'll write to you on Sunday.
Most Sundays, once the house has gone quiet and it's edging towards nine, a letter goes out. It's the one I'd write to a friend with good taste and not nearly enough time: one thing worth reading, one thing worth buying, and one thing to skip. No noise, no pressure to spend, just the considered version of what I've actually been using, loving, or quietly sending back.


April 1st, 2016 at 8:29 am
Great idea!!! Your son is quite the artist!!
April 1st, 2016 at 9:36 am
Thank you Sue! ?
April 1st, 2016 at 9:26 am
OH MY I LOVE HIS ARTWORK! He and my daughter would be best buds. So cool. What a great way to save a ton of money! Thanks for sharing Amy!
April 1st, 2016 at 9:35 am
Thank you April! I love all his things, but glad they are now contained!
April 1st, 2016 at 9:30 am
So adorable. And, yes, simple tricks are so often the best!
April 1st, 2016 at 9:37 am
Thank you Chanell!! ?
April 1st, 2016 at 10:29 am
That snake! The BEST! If he’s anything like my son, I bet he loves having an area to “style” with his artwork. Beautiful job, Amy!
April 1st, 2016 at 5:00 pm
Yes! He was so excited. It’s super cute. 🙂
April 1st, 2016 at 10:51 am
These are adorable and I love how they are filled!!!
April 3rd, 2016 at 9:33 pm
Ya, my son was excited when he saw your ideas. 😀 Many thanks for sharing with us.
April 4th, 2016 at 7:28 am
Thank you Marsha! I’m so glad he liked it! 🙂
May 12th, 2016 at 3:08 am
[…] of my favorite DIY projects that you can read more about are the Wall Display Cubbies and the Baseball […]
October 24th, 2016 at 12:06 am
Love idea of wall cubbies. While I won’t have same ones you do have some others to substitute. I like to make projects with what I already have since we live few miles from stores to buy what bloggers have used and we have 5 weeks between paydays quite often. Like to challenge myself, see what can come up with. So many ways can take this idea, is another thing like about it.
Such cute art projects made to fill cubbies, your son has lots off imagination.
Hope you have wonderful week
October 24th, 2016 at 9:12 am
Thank you, JaneEllen! I agree. It’s amazing what you can do with what you already have!
December 8th, 2016 at 10:18 pm
Nice work. PINNED. Best wishes from Crafts a la mode
December 9th, 2016 at 7:20 am
Thank you, Linda! 🙂
January 2nd, 2017 at 8:02 pm
[…] How to Make a Cubby Wall Display Gallery from My Life from Home […]